Kyushu 9-Day Independent Trip|Busan to Hakata Cruise Entry and Scenic Tours
Explore a 9-day Kyushu trip starting from Busan via cruise to Hakata, covering Yufuin, Oita, Fukuoka, Shimonoseki, Itoshima, and Sasebo with seamless transport and rich cultural experiences.
点击这里查看本文章简体中文版本。
點擊這裡查看本文章正體中文版本。
This post was translated with AI assistance — let me know if anything sounds off!
Table of Contents
[Travelogue] 2024 Second Visit to Kyushu: 9-Day Independent Trip via Busan → Hakata Cruise Entry
11-Day Trip from Busan, South Korea to Japan via the New Camellia Cruise, Visiting Yufuin, Oita, Fukuoka, Shimonoseki, Itoshima, and Sasebo
Background
Taking advantage of the short break between finishing a phase of work and starting a new job, I went to Japan for some relaxation; resigned on 5/30, departed on 6/3, returned on 6/13, and started the new job on 6/24. The timing was perfect, as the break allowed for a longer trip (total of 11 days). This was a pseudo solo trip, teaming up with James Lin, who went to Tokyo with me last year (Ex-Binance Android Developer, feel free to refer job opportunities to him) ; this is my second visit to Kyushu. Last September was my first time in Kyushu, visiting must-see spots in Fukuoka, Kumamoto, and Nagasaki. This time, I mainly covered places I missed before, so the itinerary differed from James’s, and we acted separately.
The following are the places I visited last time and may not visit again this time. For those interested in learning more about Kyushu, please refer to my previous travelogue “2023 Kyushu 10-Day Solo Trip”:
Fukuoka: Mojiko, Kokura Castle, Kushida Shrine, Sumiyoshi Shrine, Nakasu Yatai, Fukuoka Tower, PayPay Dome, Tenjin Shopping, Hakata Canal City, Lalaport, Yanagawa Boat Tour, Dazaifu
Nagasaki: Chinatown, Glover Garden, Mount Inasa Night View, Atomic Bomb Museum, Peace Park
Kumamoto: Kumamoto Castle, Aso Nakadake, Aso Shrine, Suizenji Jojuen Garden, Tsurumai Department Store, Kamitori Shopping Street, Shimotori Shopping Street, Kato Shrine, Sakuramachi Department Store, Kumamon Square (Director’s Office)
Above, please refer to 2023 Kyushu 10-Day Solo Travel .
What I Learned This Line
Summarize what you learned from this trip at the beginning: “Independent travel means constantly paying tuition (spending time or money) to learn. The more experience you have, the fewer pitfalls you will encounter.”
At JR stations without electronic signboards, check the timetable on the platform bulletin board to confirm the train’s stopping platform. ⚠️
At small JR stations without a stationmaster, you must get off at the first car (the conductor also acts as the stationmaster, similar to getting off a bus).
JR limited express tickets are separate from regular tickets. After buying a regular ticket, you must also purchase a limited express ticket to ride the limited express; boarding without it will require paying a fare difference. (With a JR Pass, you can board freely without worry.)
JR Limited Express trains almost always have ticket inspections. If you take an unreserved seat, the conductor will often ask your destination for record-keeping.
If you book the JR Pass online in advance (payment of reservation fee by credit card required), you must present the same credit card for verification when exchanging the JR Pass. So be sure to bring that card to Japan. ⚠️
If you book the Camellia Express too late, only economy dorms are available (8–11 people, mixed gender, Japanese-style public bath only, lights out at 11 PM).
Yufuin no Mori was fully booked due to late reservation, so I had to take the regular Yufu JR train.
Boat rides at Takachiho Gorge require advance booking.
Two Shinkansen trains are not covered by the JR Pass: “Nozomi” and “Mizuho”; tickets must be purchased separately.
The JR Pass sometimes gets stuck at the Shinkansen ticket gate when entering or exiting Hakata Station, requiring manual assistance (since the two trains mentioned above cannot be used, as long as you confirm you are not taking these trains, staff will let you through).
Always double-check your bookings. This time, when booking the new Camellia train, the gender was entered incorrectly, so I quickly contacted customer service for correction on the same day. ⚠️
(Later found out that mixed-gender accommodation was probably fine, but it was still quite a shock.)Kyushu buses are not always on time, and Google Maps directions are not always accurate.
Japan Luggage Storage Coin Lockers Search and Reservation (But not all locations are listed; many places that accept luggage are not shown)
Korea power adapter needed.
Korean won can only be exchanged at the counter.
Korea allows you to buy only the Tmoney transportation card without needing the Wowpass.
KKday Promotion
Japan JR PASS|Kyushu Area Rail Pass|North Kyushu & South Kyushu & All Kyushu|E-ticket
Japan Nagasaki | Kyushu Huis Ten Bosch Ticket Huis Ten Bosch
Japan Fukuoka | Hakata Port - Busan Port Passenger and Cargo Ferry “New Camellia” Camellia Line
Japan eSIM Card|Daily High-Speed, Total Data, Unlimited Data Plans
Japan Fukuoka teamLab Forest Fukuoka Ticket — SBI Securities|Check Now
Preparation Work
Joy
This trip mainly explores the New Camellia Ferry from Busan, South Korea to Fukuoka (Hakata), Japan, as well as Yufuin, Oita Beppu, and Takachiho in Miyazaki Prefecture.
The pre-trip plan is as follows: (Planned only one day before departure, actual order may not follow the plan, did not go to South Aso because it was too far)
6/3 Around 19:00 Arrive at Busan-Gimhae Airport, 20:00 Arrive at Busan Station, hotel check-in, find food nearby
6/4 Haedong Yonggungsa Temple, Haeundae Beach, depart Korea at night, take the New Camellia Ferry
6/5 Arrive in Fukuoka, go to Karatsu, head up to Nanatsugama, head down to Yutoku Inari Shrine, Oya Shrine with its underwater torii gate, return via Lalaport
Actual: Only visited Yutoku Inari Shrine6/6 Morning: Take JR to Yufuin, afternoon: head to Oita
6/7 Oita and Beppu Hell Tour
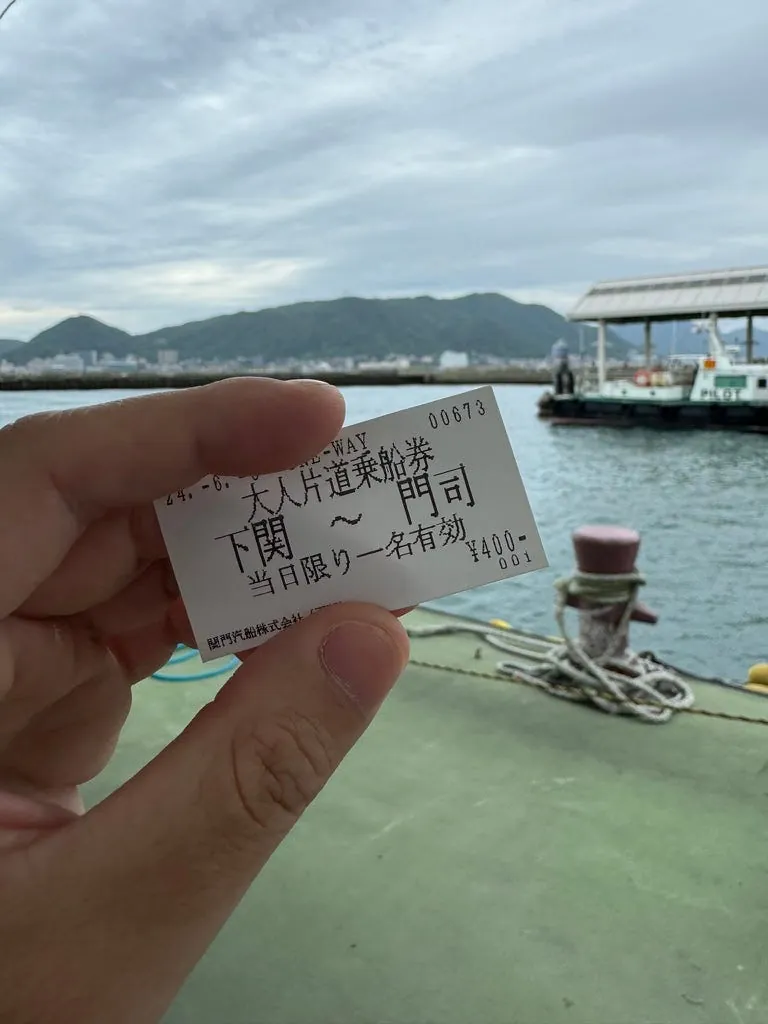
6/8 Moji, Shimonoseki, Karato Market
Actual: Visited Karatsu Castle more6/9 Minami Aso, Shirakawa Spring, Kamiiroki Kumanoza Shrine
Actual: Changed to Sasebo (Kujukushima Sightseeing Boat), Takeo Onsen6/10 Review the missed itinerary from 6/7: Oya Shrine Sea Torii, Yutoku Inari Shrine, Lalaport or shopping
Actual: Visited Sakurai Futamigaura Meoto Iwa, Nanzoin Temple, Hakata pilgrimage6/11 KKDAY Takachiho One-Day Tour, Takachiho Shrine, Takachiho Gorge, Amanoiwato Shrine, Amano Yasugawara
6/12 Sasebo, Kujukushima, Huis Ten Bosch, or Baseball
Actual: Shopping in Hakata, shopping in Tenjin, watching baseball at PayPay Dome6/13 Shopping in Fukuoka city, evening flight at 21:00 back to Taiwan
Actual: Visited Lalaport more
This time I bought DJB online again, with 2GB for 2 days in Korea and unlimited data for 9 days in Japan, totaling NT$1,250.
Takachiho is very difficult to reach from Fukuoka, so I directly booked the KKDAY Takachiho One-Day Tour, which includes private car, lunch, and a Chinese-speaking guide, at a price of NT$2,272 per person.
Row
✈️ Flights
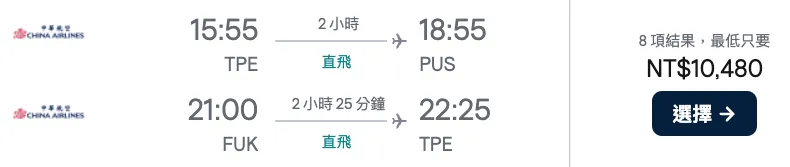
Departure: China Airlines Taipei Taoyuan TPE 15:55 -> Busan Gimhae International Airport PUS 18:55
Return: China Airlines Japan Fukuoka Airport FUK 21:00 -> Taipei Taoyuan TPE 22:25
Round trip including checked baggage (23 kg per piece)
Price: NT$10,480
🛳️Cruise New Camellia
Departure: 18:30 Check-in at Busan Port International Ferry Terminal
Arrival: 07:30 Hakata Port International Terminal
Price: Economy/Second Class Compartment: Shared Cabin NT$1,450 per person
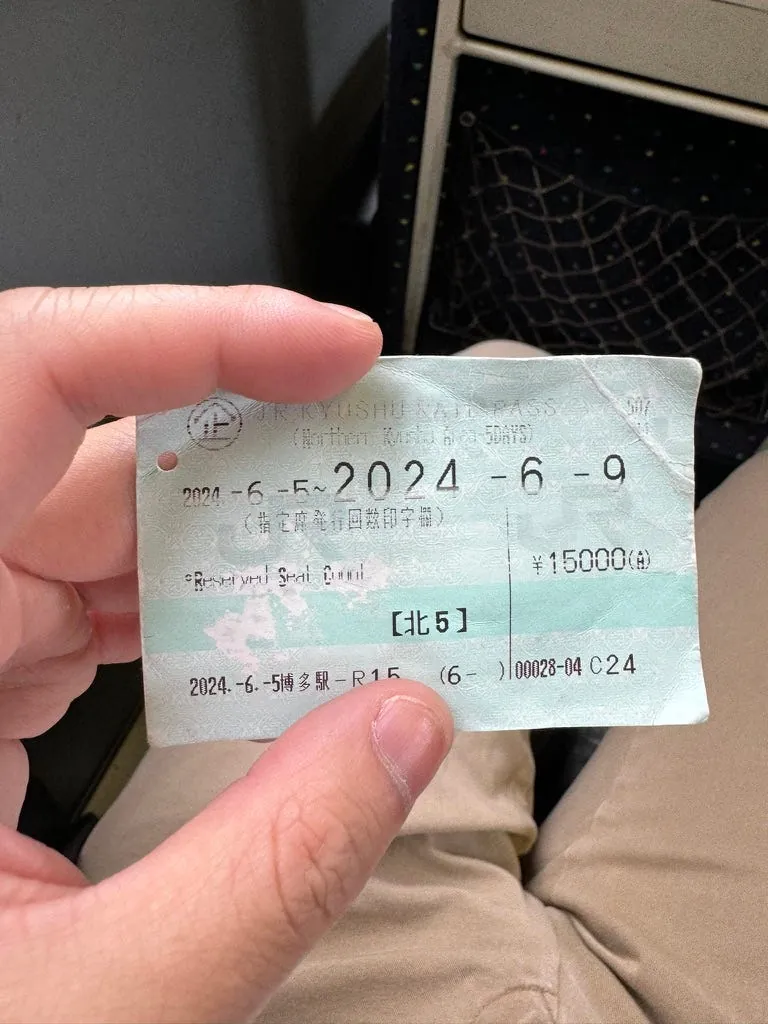
🚅 JR Pass Kitakyushu Rail Pass (5 Days)
Price: NT$3,042
During this trip in Kyushu, I took the limited express trains whenever possible with the JR Pass. Except for Yufuin, which required a reserved seat, I used the non-reserved cars for all other trains (not crowded, seats were available).
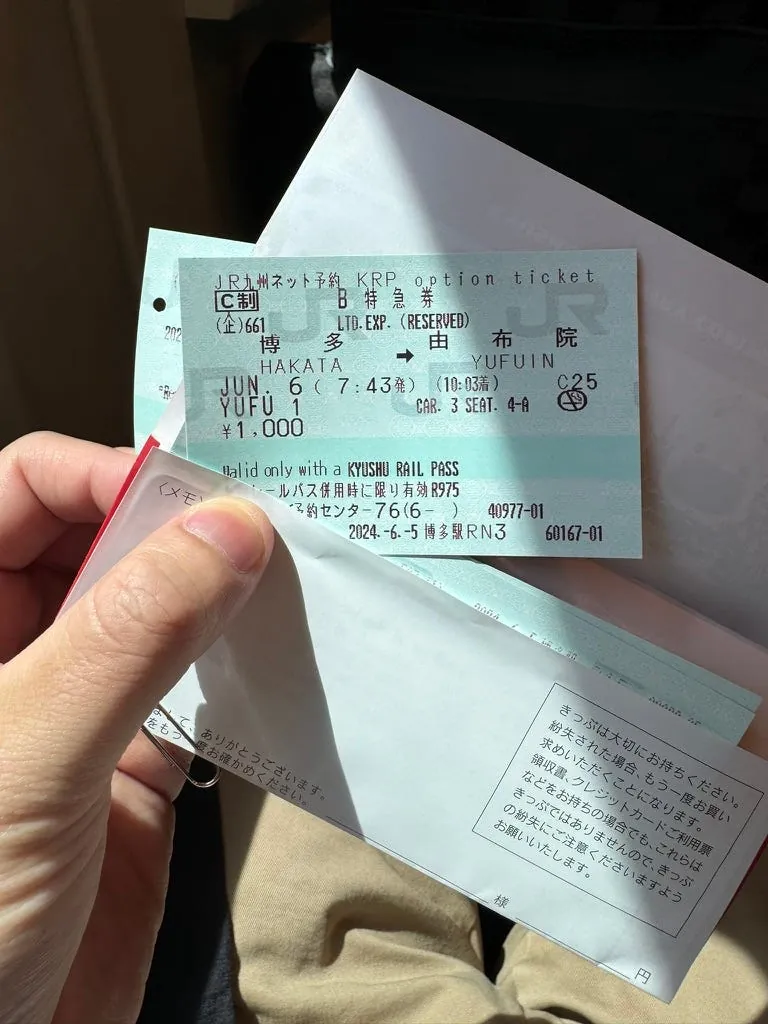
From “Buin no Mori,” I couldn’t book from Hakata to Yufuin, so I could only reserve a seat on “Yufu 1.”
Please note that Yufuin no Mori is different from the Regular Train (Yufu X). When booking, make sure you are reserving Yufuin no Mori.
Booking Method:
You must buy the JR Pass first before booking, as the travel agency option for reservation is only KLOOK. Other agencies may not be able to make reservations. (The page states that customers with MCO issued by agencies other than those mentioned should not make any selections. It should still be fine.) Therefore, I bought the JR Pass from KLOOK.
1. Go to the JR Pass reservation homepage:
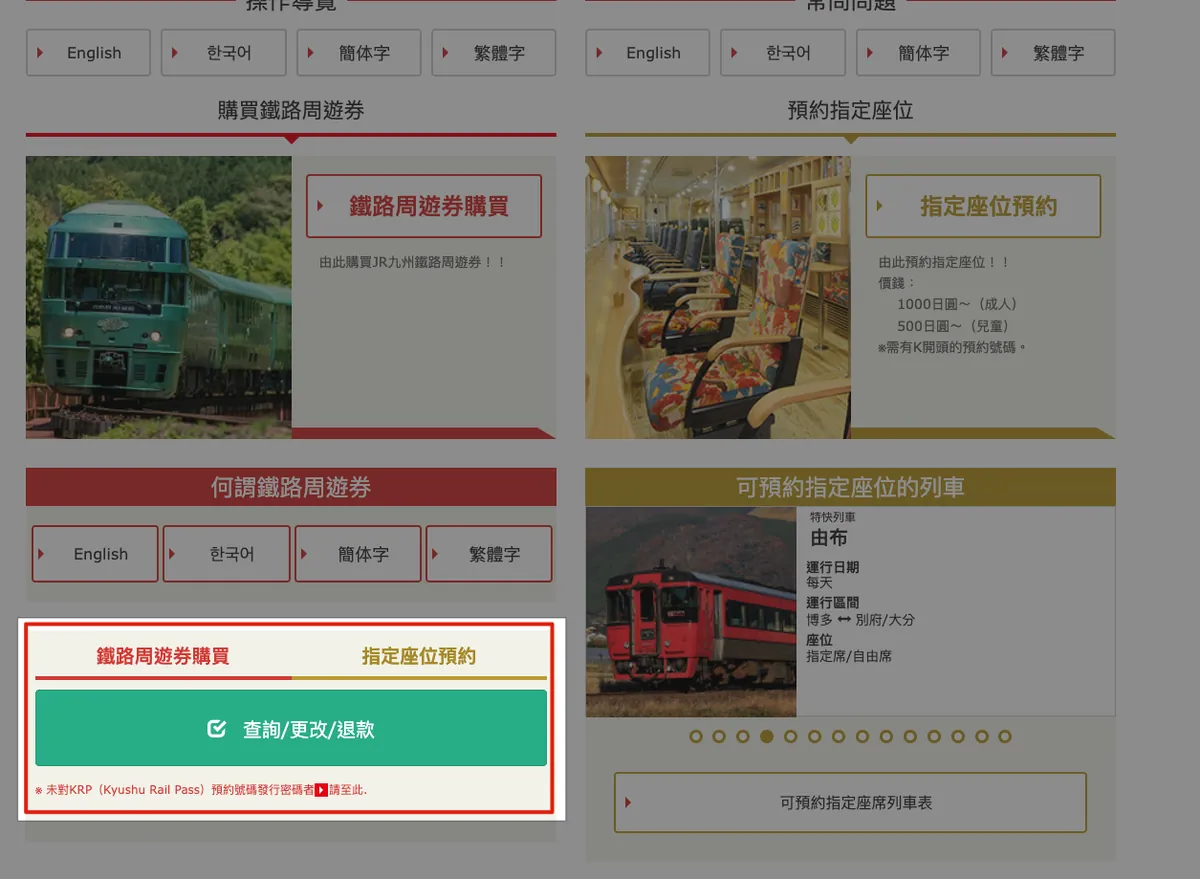
Scroll down to find “Rail Pass Purchase” -> “Inquiry/Change/Refund”
2. Access the JR Pass Reservation Page :
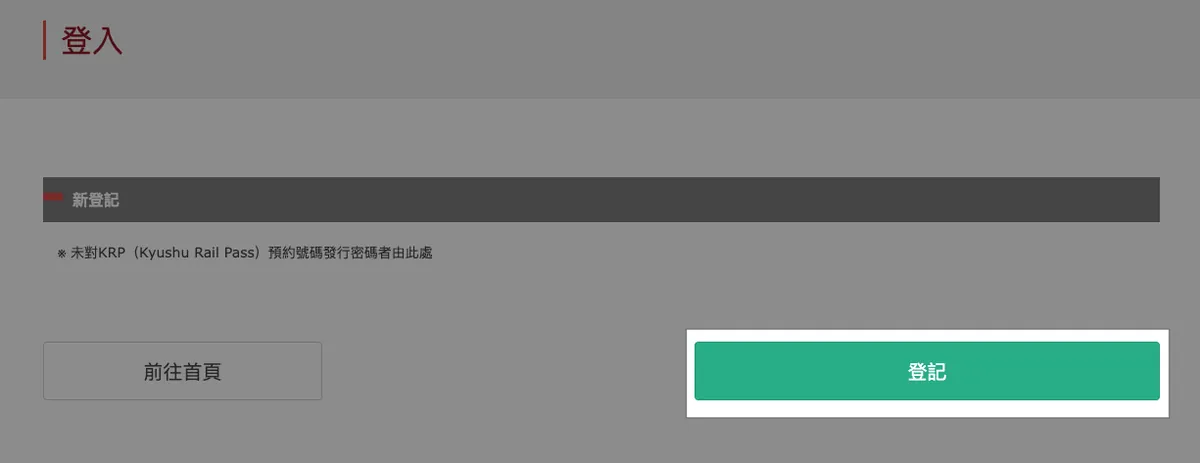
Select “Register”
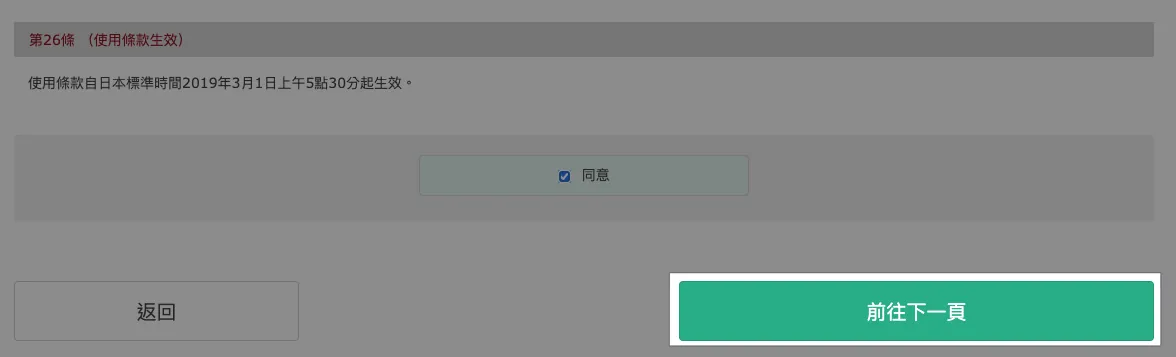
Read and agree to the terms, then click “Proceed to the next page”
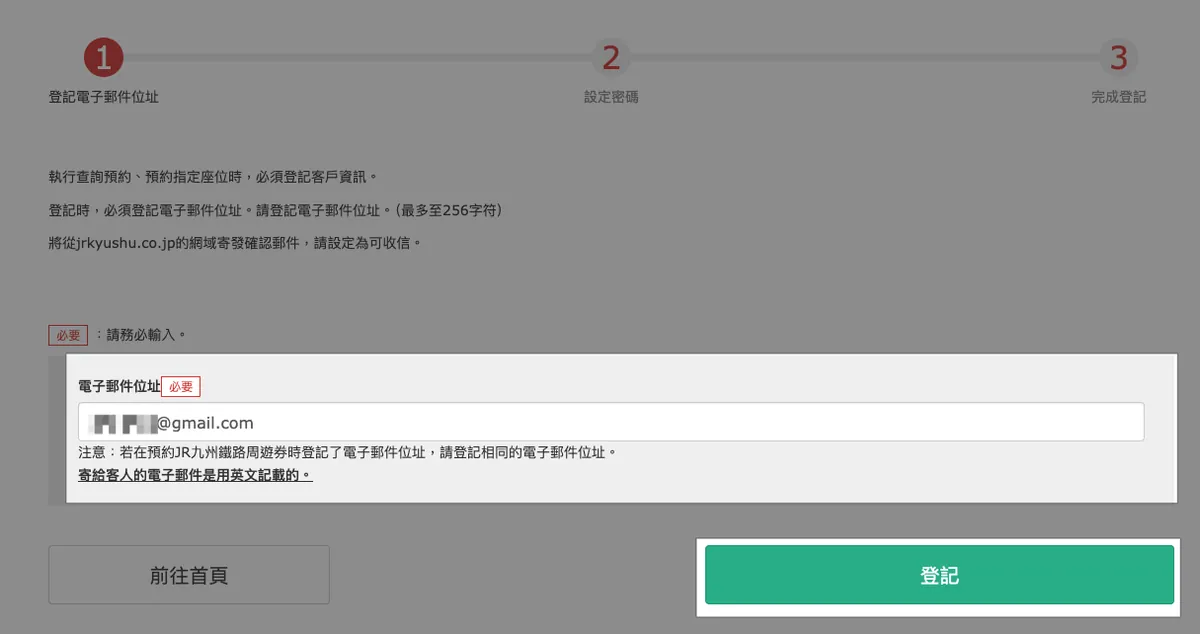
Enter the email you want to register and click “Sign Up”.
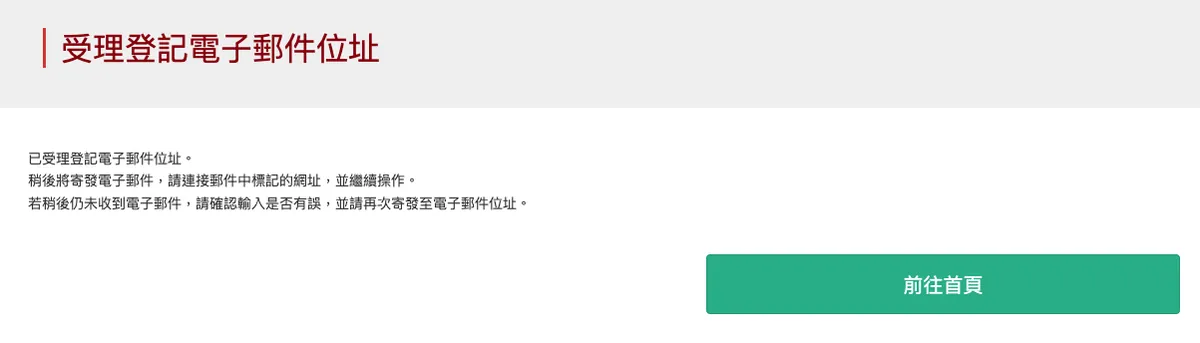

Check your inbox, note the “temporary password,” and click the continue link.
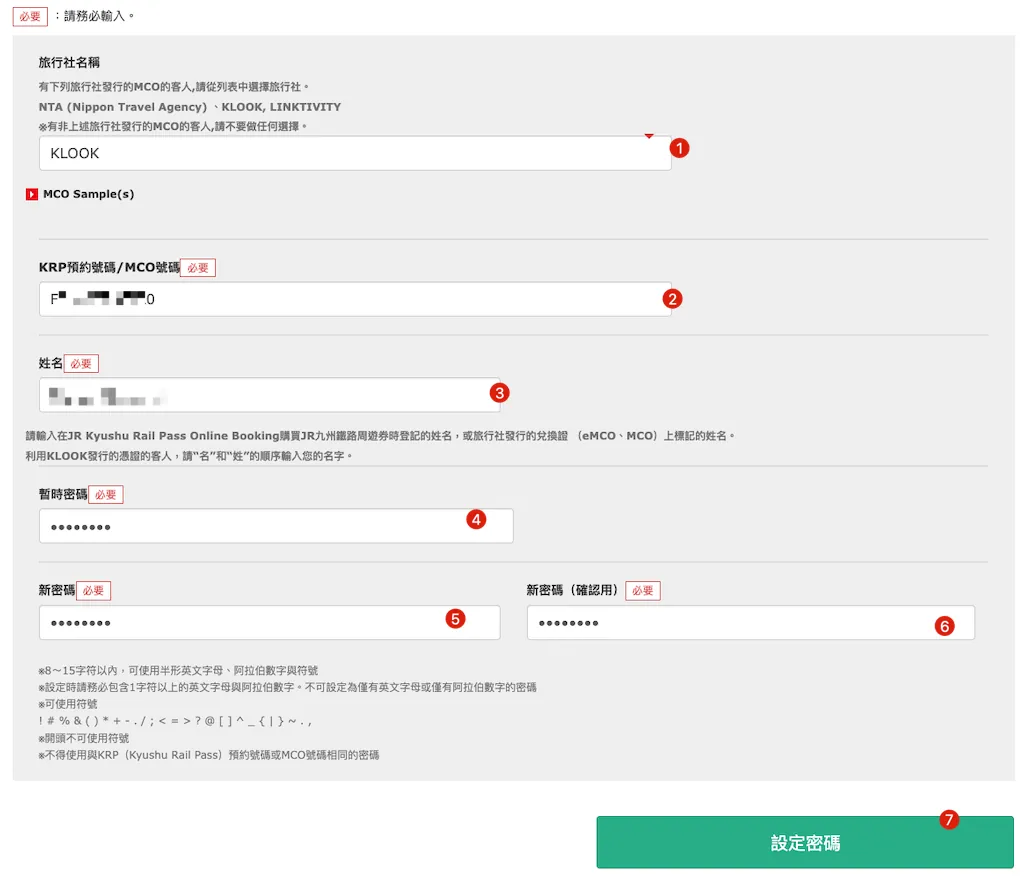
- Travel Agency Name Selection: KLOOK
- For guests with MCOs not issued by the above travel agencies, please do not make any selections.
- KRP Reservation Number / MCO Number
Go to KLOOK to check the JR Pass voucher and copy-paste the following voucher number.

- Name
Enter the name on the JR Pass order. According to the instructions, if the voucher is issued by KLOOK, you need to enter the given name followed by the surname. For example, if the voucher shows LI ZXXX CXXX, you should enter ZXXX CXXX LI here.
Please enter the name registered when purchasing the JR Kyushu Rail Pass Online Booking, or the name shown on the exchange voucher (eMCO, MCO) issued by the travel agency.
For customers using vouchers issued by KLOOK, please enter your “First Name” and “Last Name” in that order.
- Enter the temporary password from the email
5.6. Enter the password you want to set for login
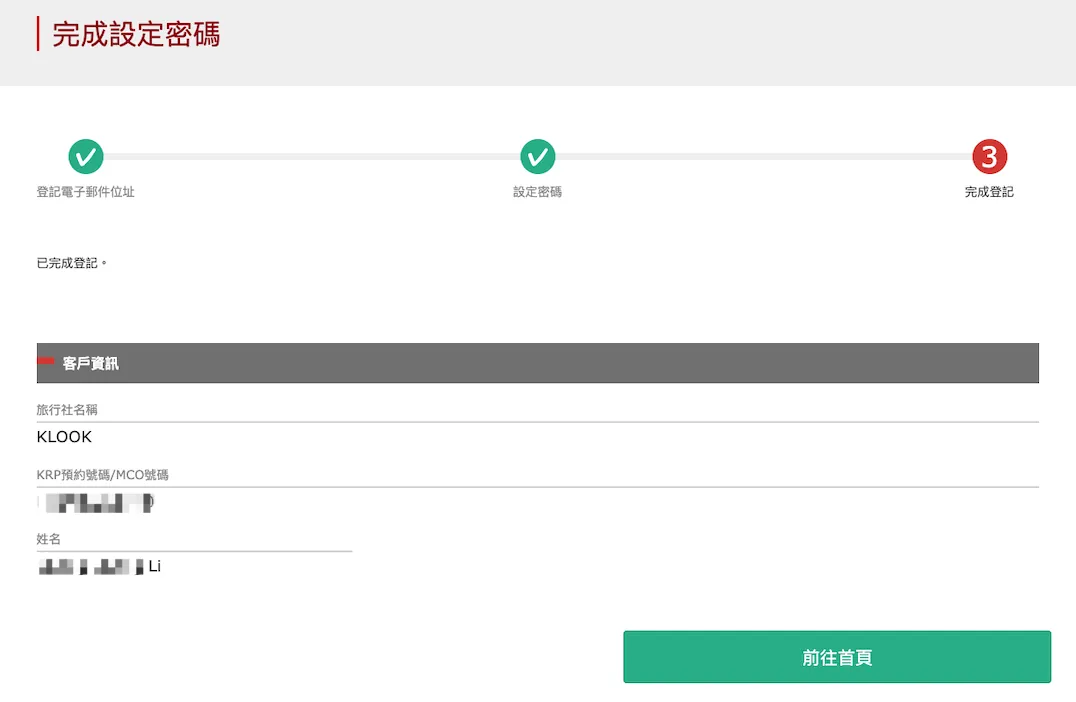
After setting the password, you can check and book reserved train seats on the homepage during the available booking hours (Japan Time 05:30~23:00). Booking is not available outside these hours.

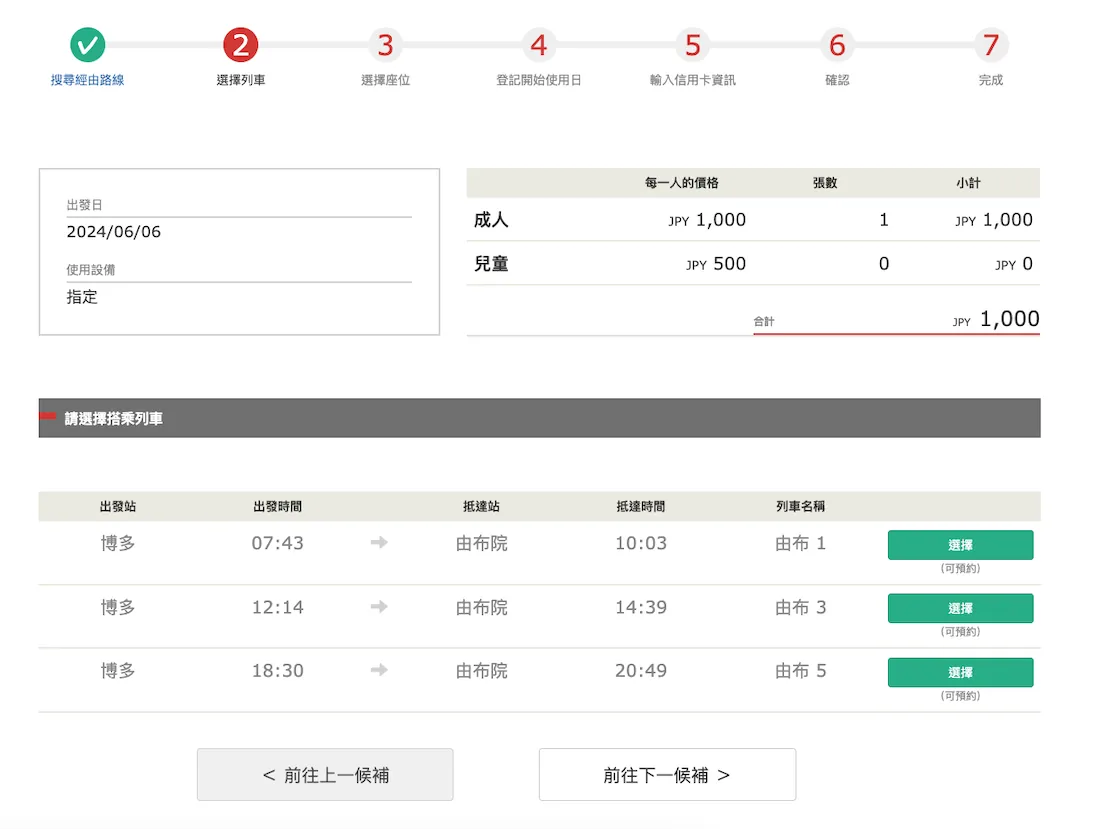
Departure Date
Departure Station: Hakata
Arrival Station: Yufuin
Yufuin no Mori is fully booked, so you can only reserve the regular train Yufu 1, which departs at 07:43 and arrives at 10:03.
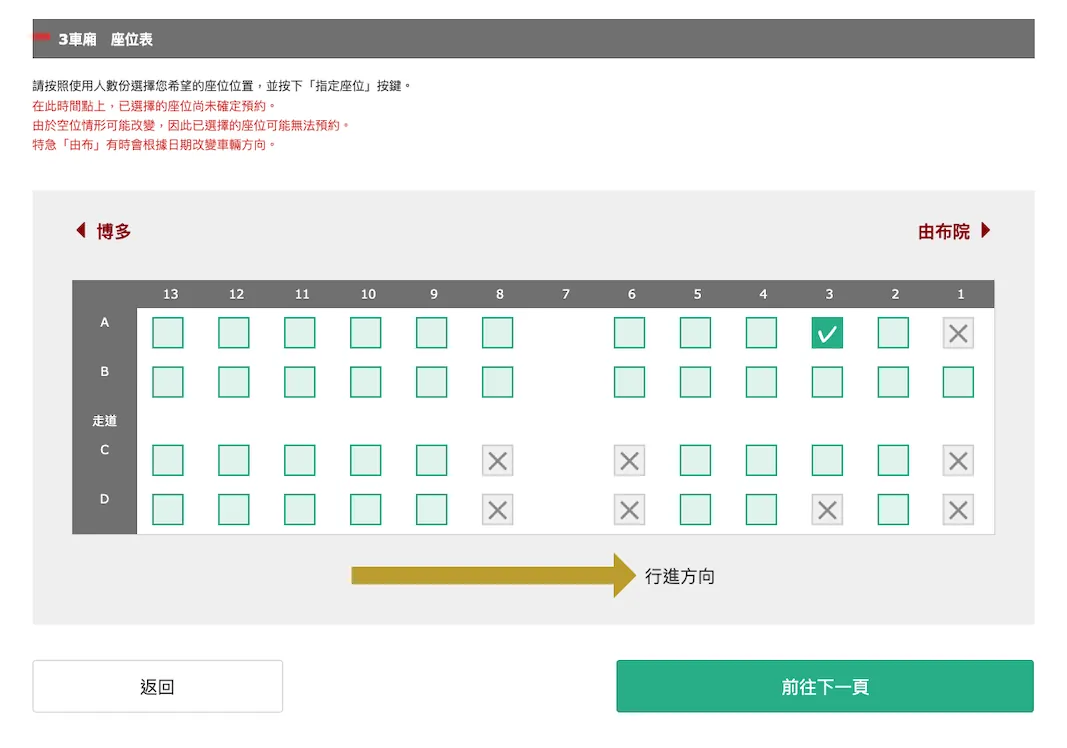
- Continue to the next page to select seat preference, location, and carriage.

Enter the start date for using the travel pass.
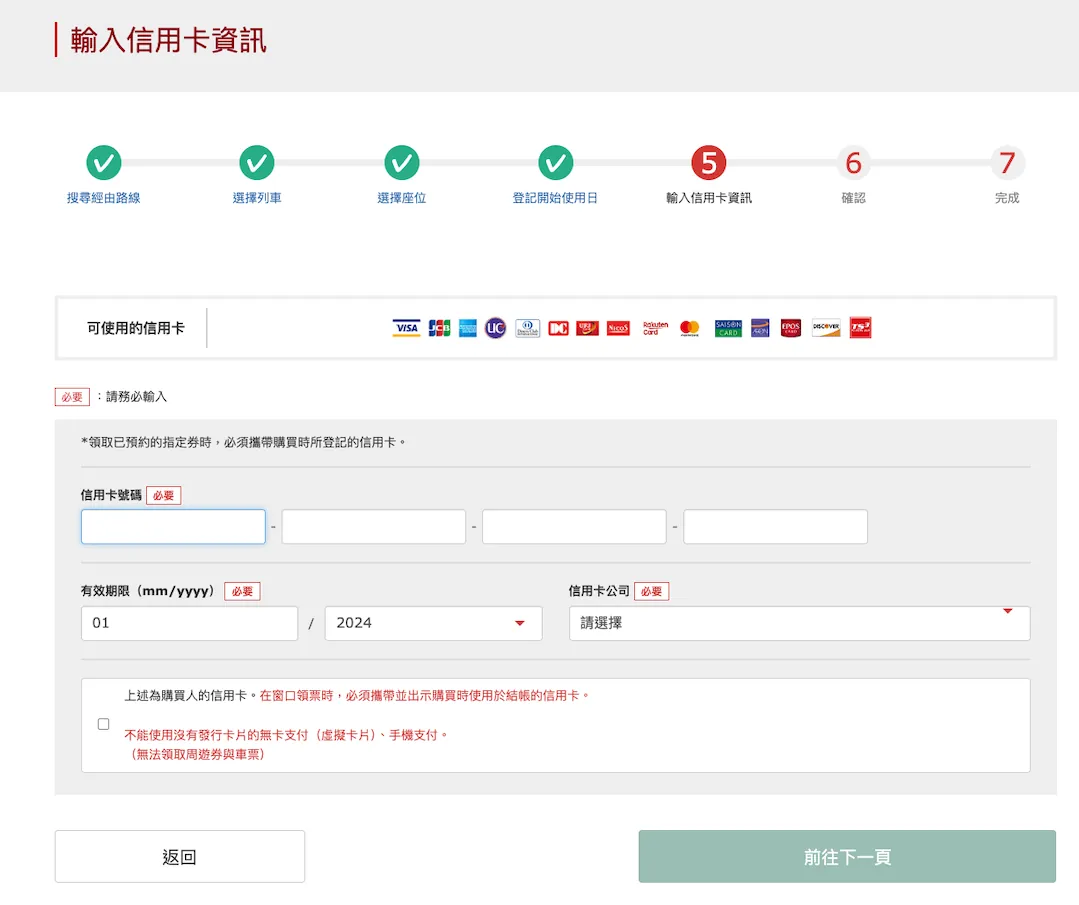
Enter credit card information to pay the reservation fee (1,000 yen per adult / 500 yen per child).
The above is the purchaser’s credit card. When collecting the tickets at the counter, you must bring and present the credit card used for payment.
The above is the buyer’s credit card. When picking up the ticket at the counter, you must bring and show the credit card used for the purchase.
The above is the purchaser’s credit card. When collecting tickets at the counter, you must bring and present the credit card used for payment.
⚠️ Please be sure to bring the credit card used when collecting the tickets ⚠️
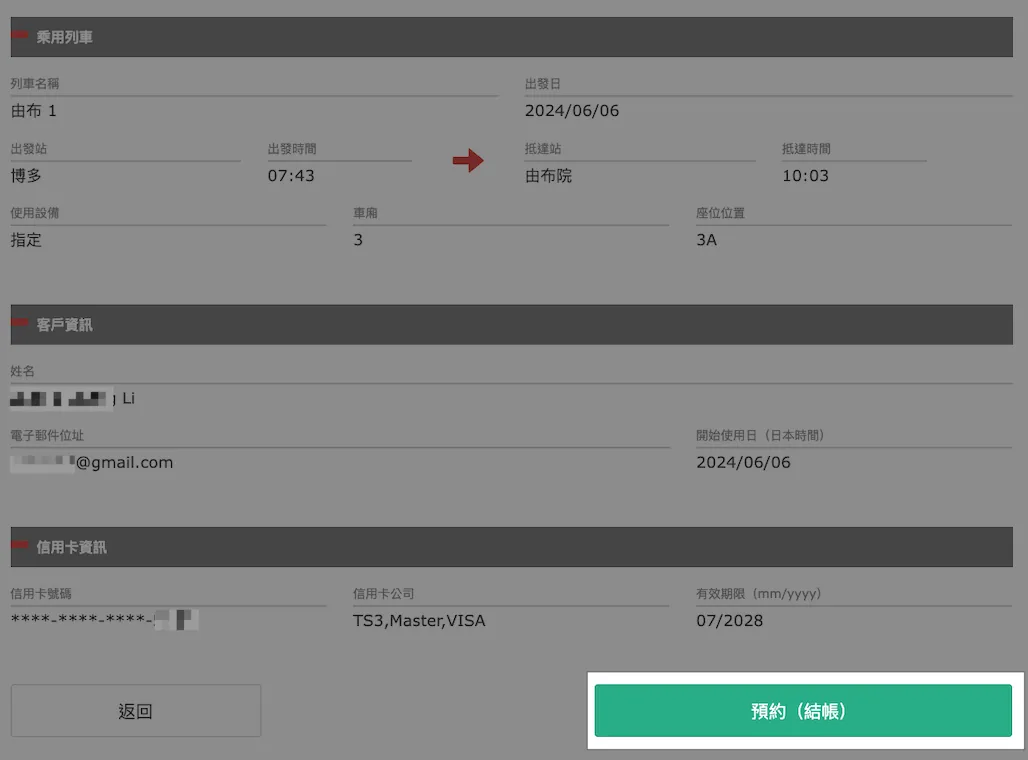
Checkout, reservation complete!
Accommodation (10 nights, including 1 night on a cruise)
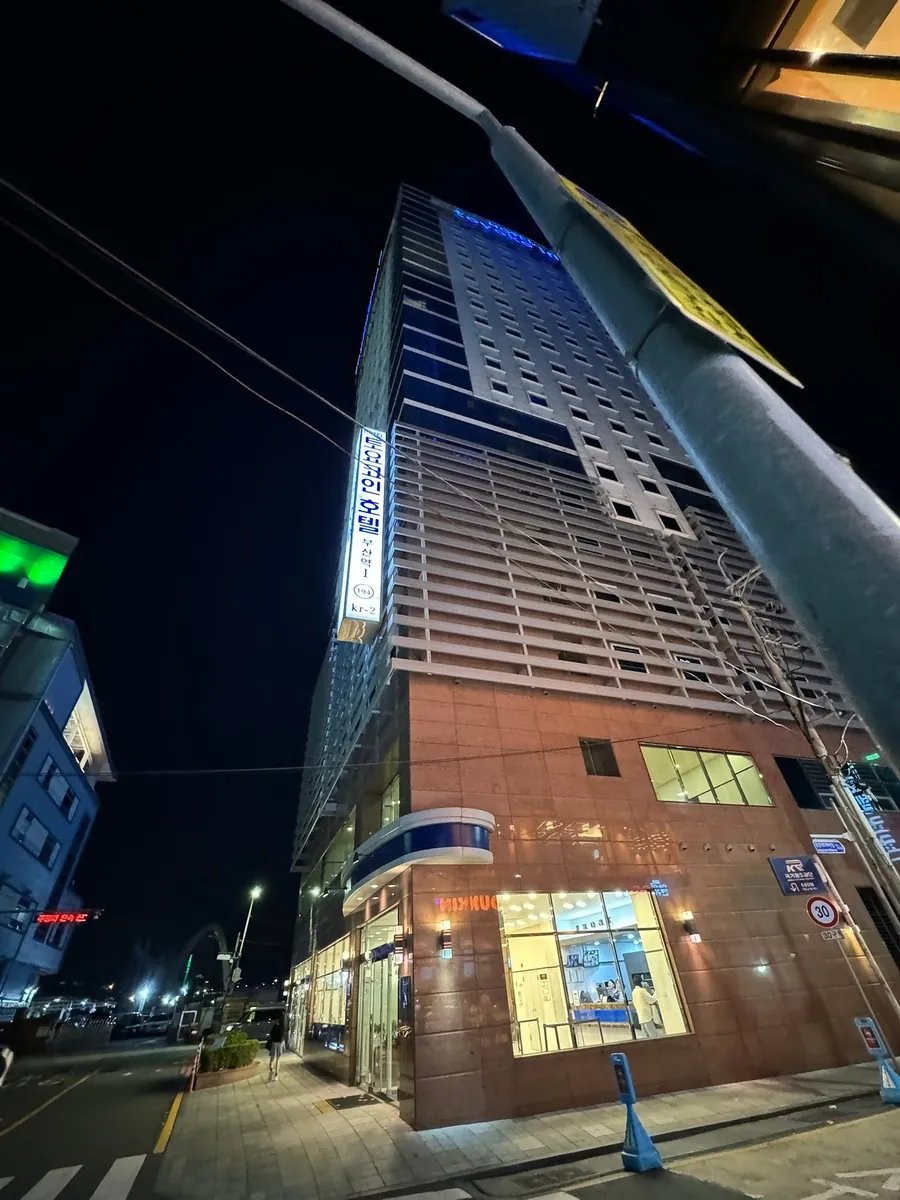
[6/3] Toyoko INN Busan Station No.1 (1 night)
The location is excellent, right outside Busan Station. Walking further leads to Busan Port International Shipping Terminal, making travel convenient.
Price: NT$1,940 for a twin room for two people[6/4] New Camellia Ferry (1 night)
Price: NT$1,450 per person[6/5] Toyoko INN Hakata-guchi Ekimae (1 night)
About a 10-minute walk from Hakata Station.
Price: NT$2,911 for a twin room for two people[6/6, 6/7] Toyoko INN Oita Station Front (2 nights)
About a 10-minute walk from Oita Station.
Price: NT$4,389 for a twin room for two people[6/8, 6/9] APA Hotel Fukuoka-Watanabedori EXCELLENT (Fukuoka Watanabedori Station Front) (2 nights)
About a 5-minute walk from Watanabe-dori Station.
Price: NT$9,311 for a twin room for two people[6/10, 6/11, 6/12] Toyoko INN Fukuoka Tenjin (3 nights)
About a 10-minute walk from Tenjin-Minami Station.
Price: NT$7,131 for a twin room for two people
Total: $14,291, averaging $1,400 per night. This time, I finally kept it under $1,500 per night. Thanks to Toyoko INN!
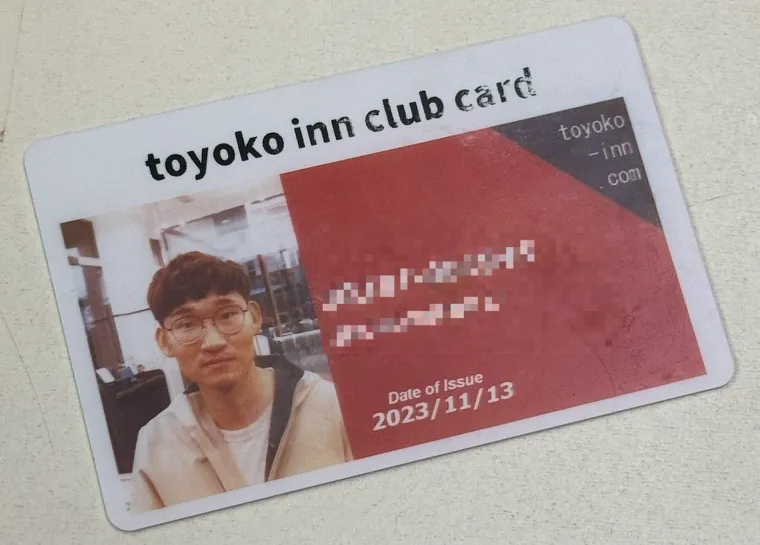
Last time I stayed at Toyoko INN in Hiroshima, I signed up for their membership. Just tell the front desk you want to join when checking in, fill out a simple form, pay the one-time membership fee of 1,500 yen, have your photo taken on the spot, and get your card immediately. You can use it from then on.
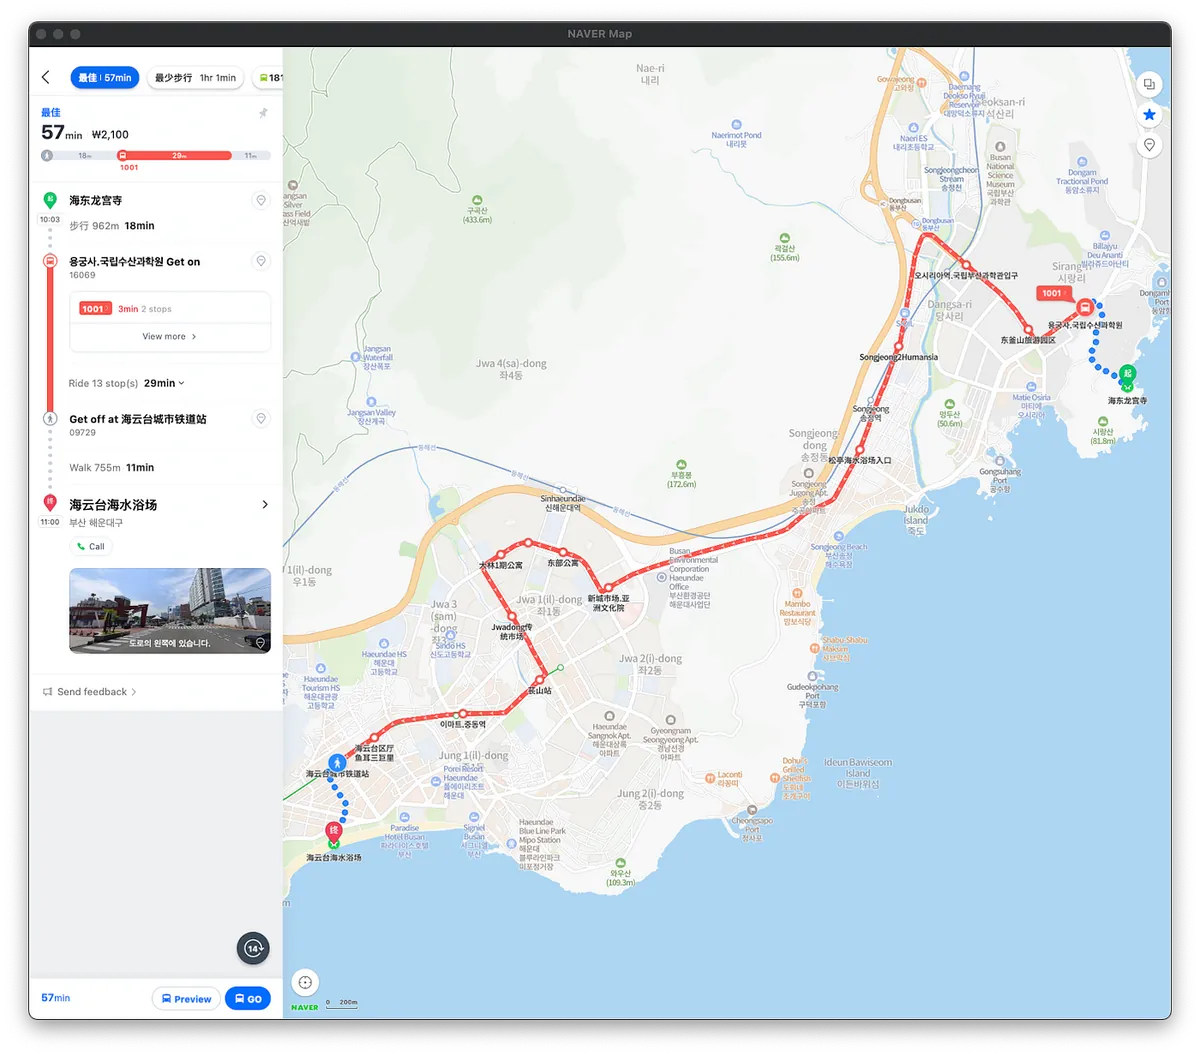
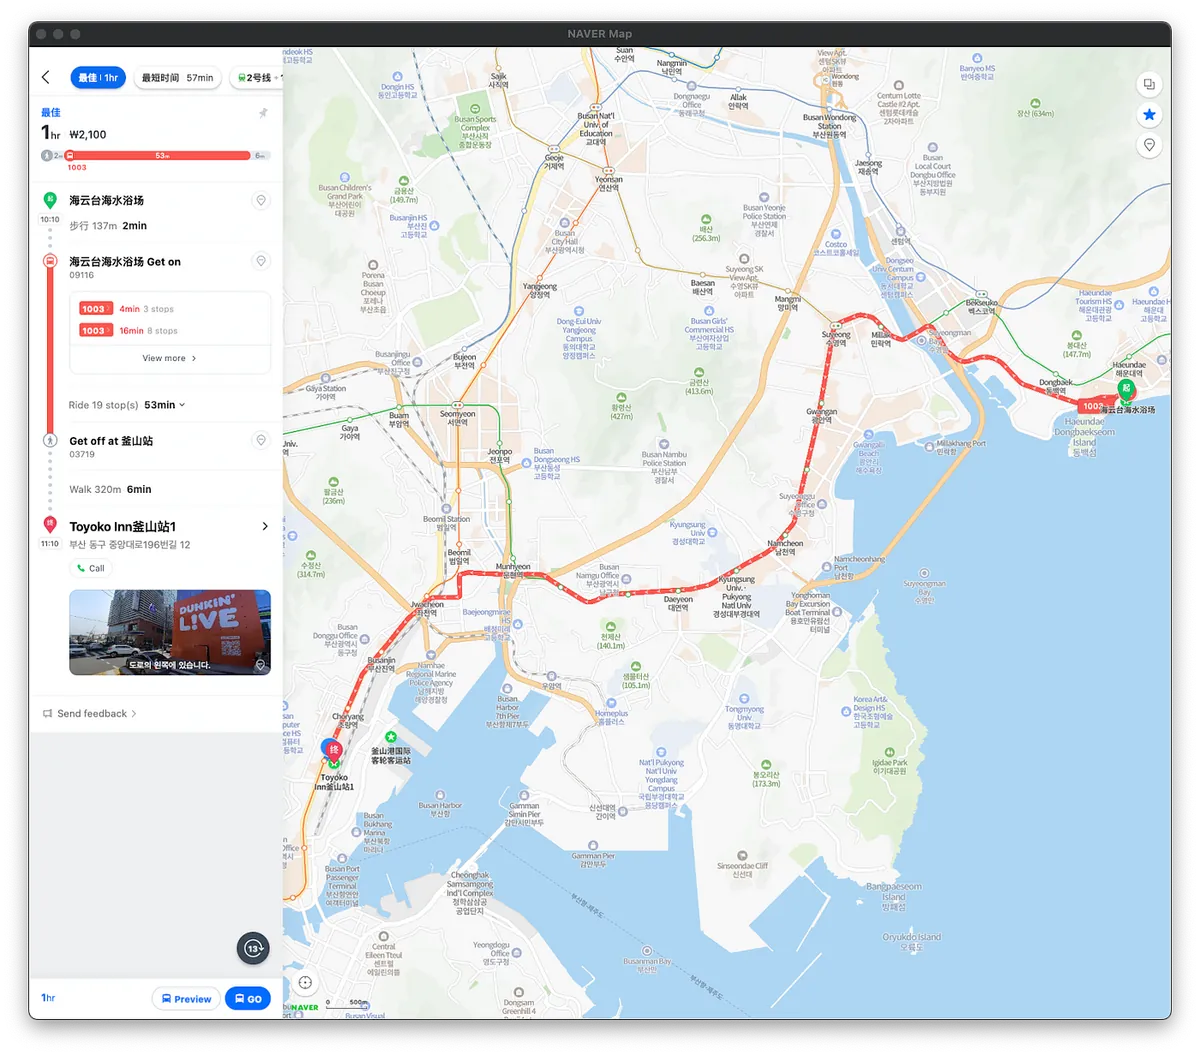
In South Korea, use Naver Map to plan your trips and routes in advance for easy reference:
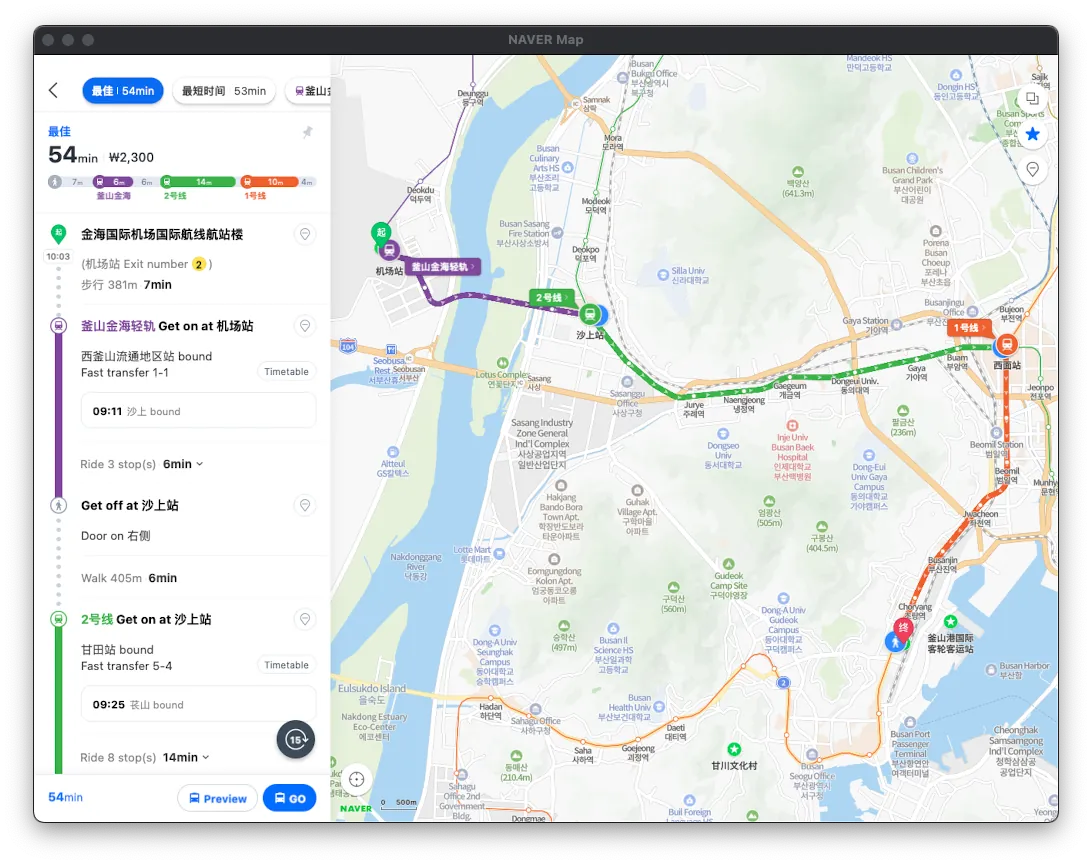
I think it’s more useful than Google Maps for travel maps!
Can log in directly using Line
Go!
Visit Japan has now combined into one: the same QR code is used for both immigration and customs.
Day 1 Departure
As with previous trips abroad, I went to the Airport MRT Taipei Station A1 to check in early, so I could go straight to immigration at the airport. ( For flights eligible for early check-in and regulations, please refer to the official website ).
I originally planned to take the Orange Line to Sanchong to transfer to the Airport MRT, but the other check-in station for the Airport MRT is at A3 New Taipei Industrial Park Station, not Sanchong Station. Also, there is no direct train from Sanchong Station, so I still went to Taipei Main Station to transfer.
- Like before, I placed an AirTag in my suitcase for easy tracking when traveling abroad.
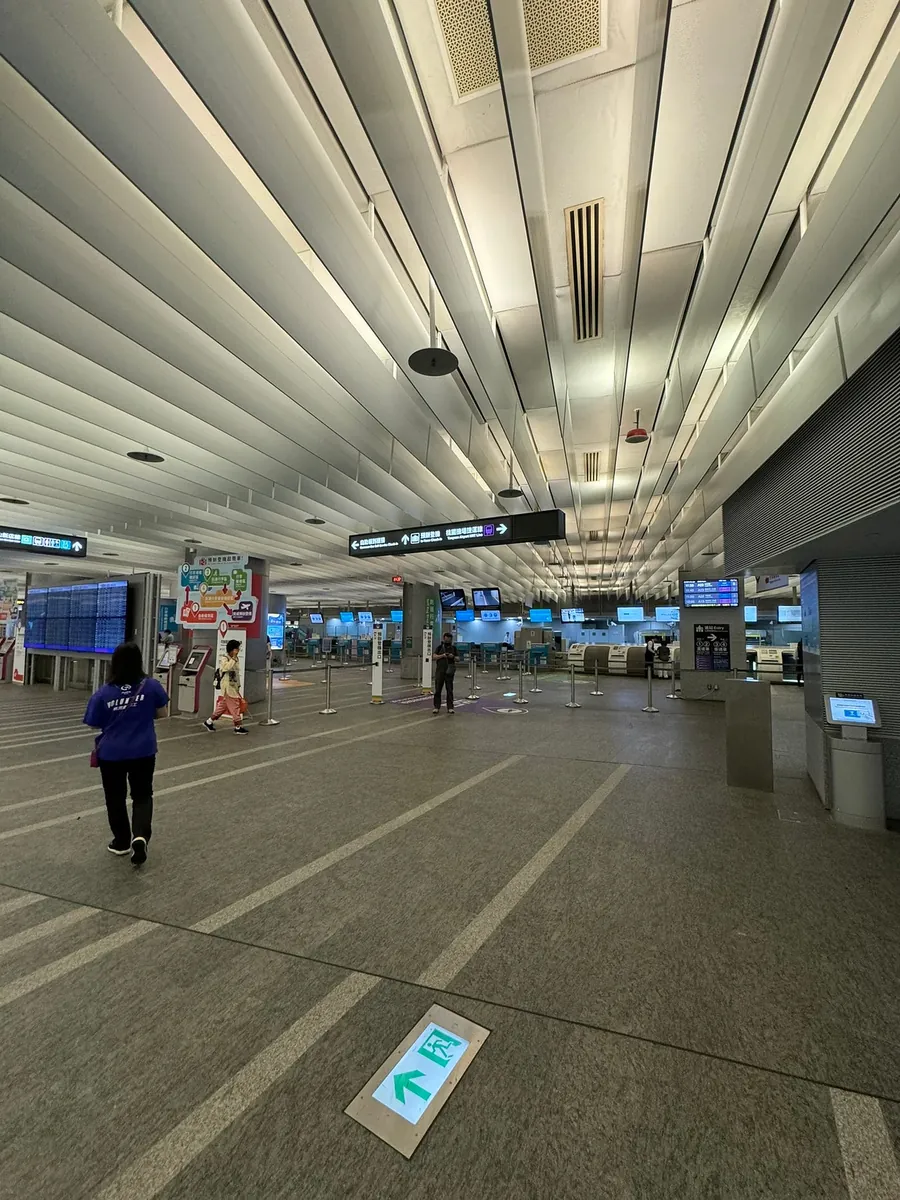
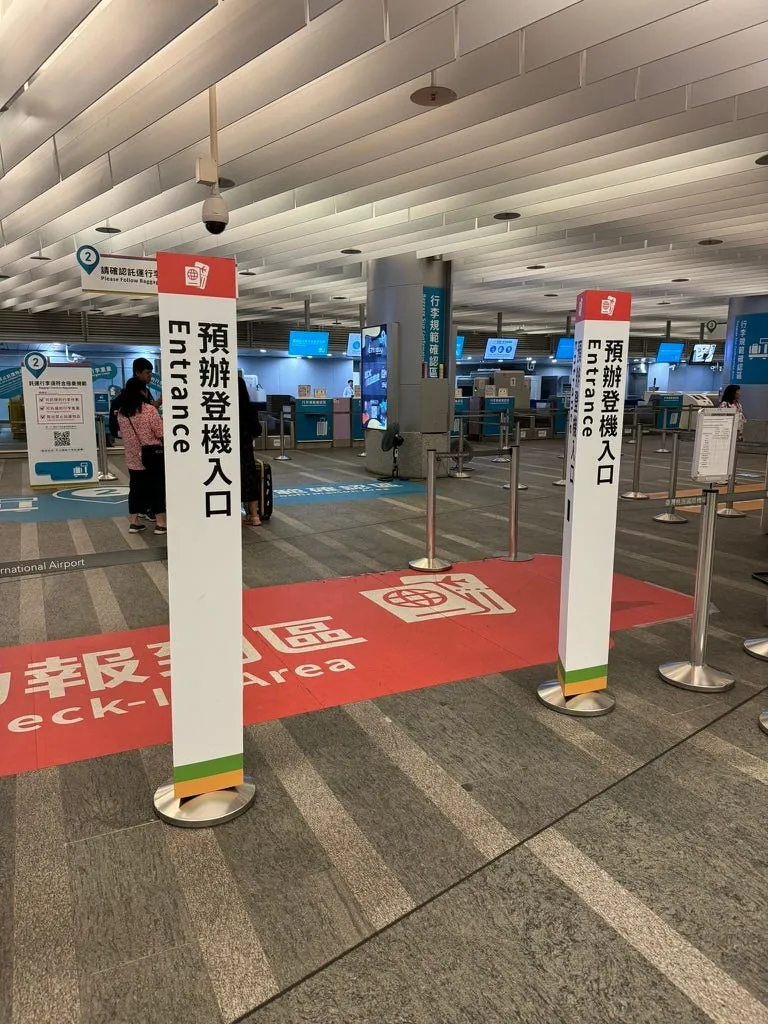
Taoyuan Airport TPE Terminal 1
This time, China Airlines flies to Busan from Terminal 1.
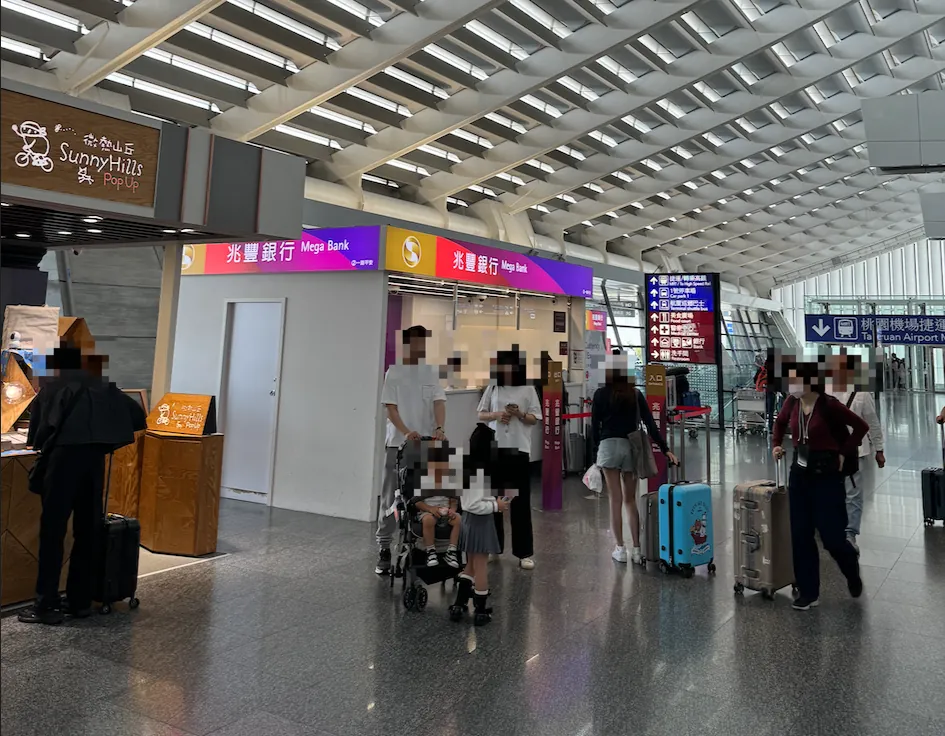
At the airport, first find the counter to exchange Korean won. Foreign currency ATMs rarely offer Korean won and usually only provide Japanese yen; the airport exchange rate is poor and charges a NT$100 handling fee. Therefore, if you have time, it is recommended to exchange currency at the bank counter in advance.
13:00 Departure Immigration
Around 1:00 PM, I finished the exit procedures.
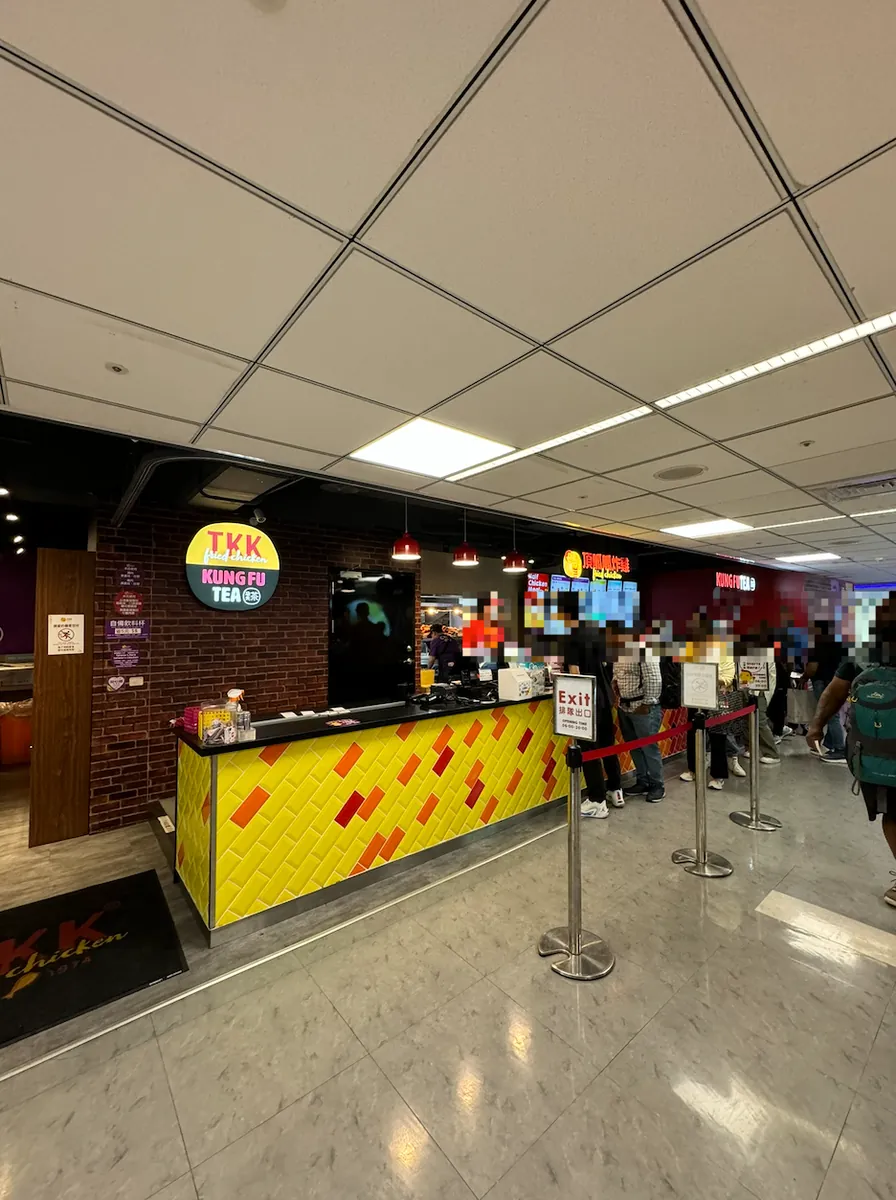
Bought a Ding Gua Gua fried chicken at Terminal 1 departure for lunch.
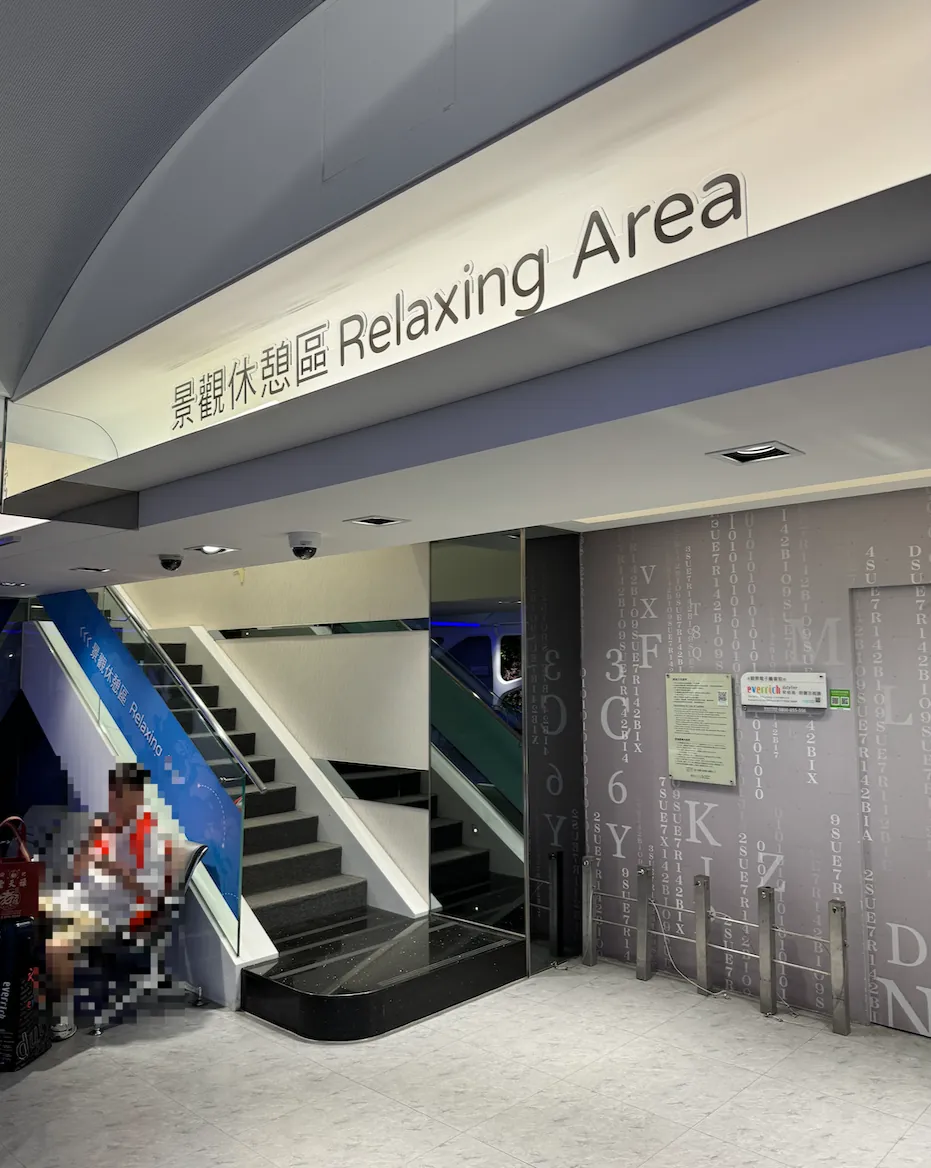
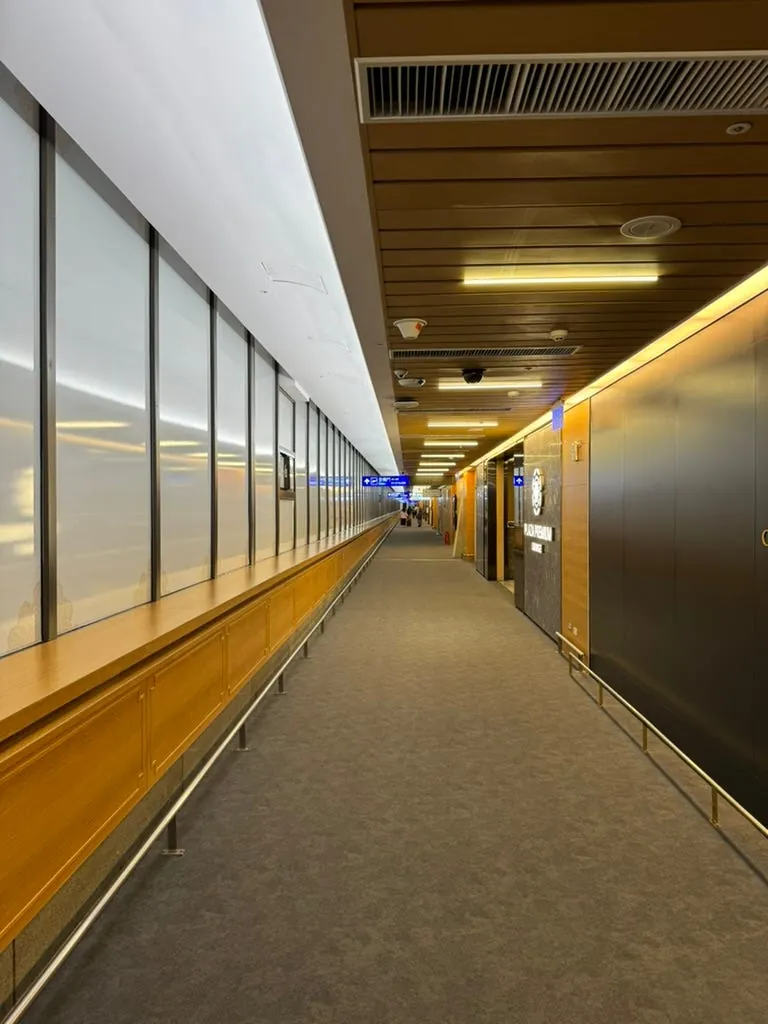
Previously, the scenic rest area was always closed when I passed by. This time it was open, so I went up to take a look. Unexpectedly, it was very small.
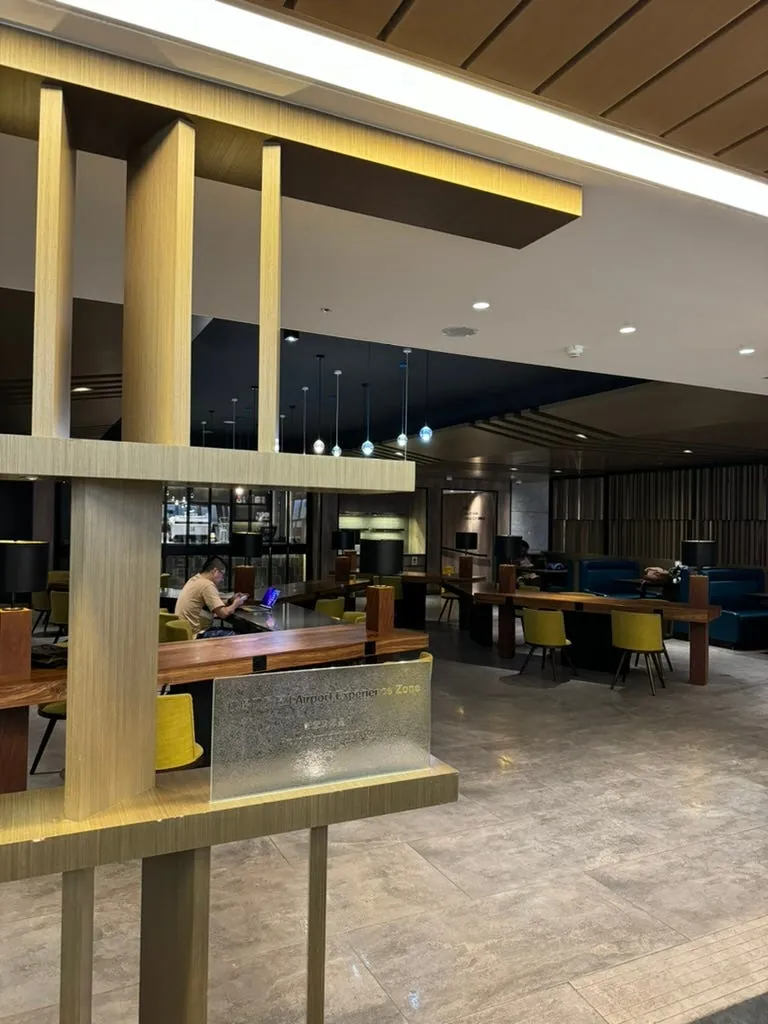
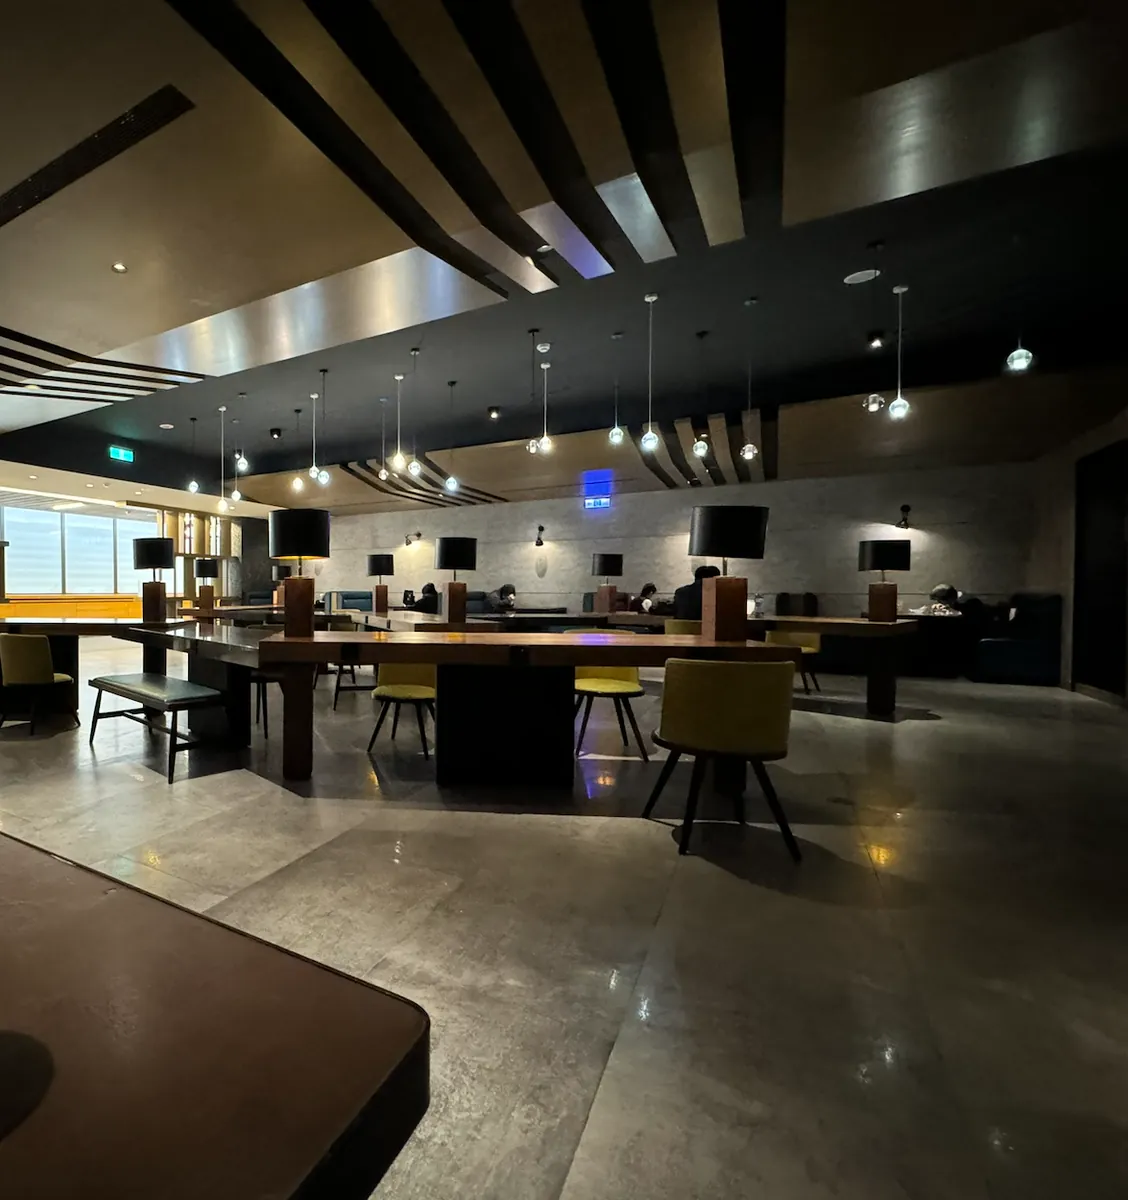
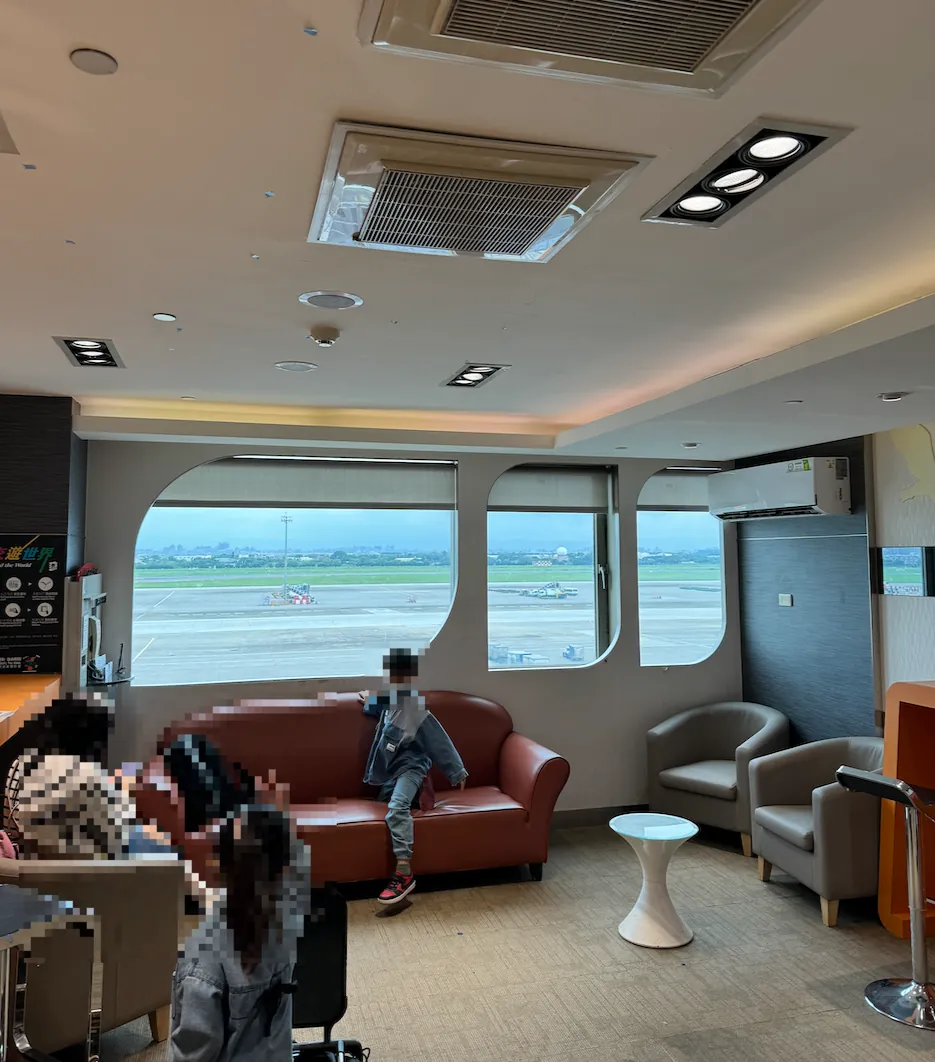
Since it was still early, I decided to rest in the EVA Air’s free lounge area. There weren’t many people at this time.
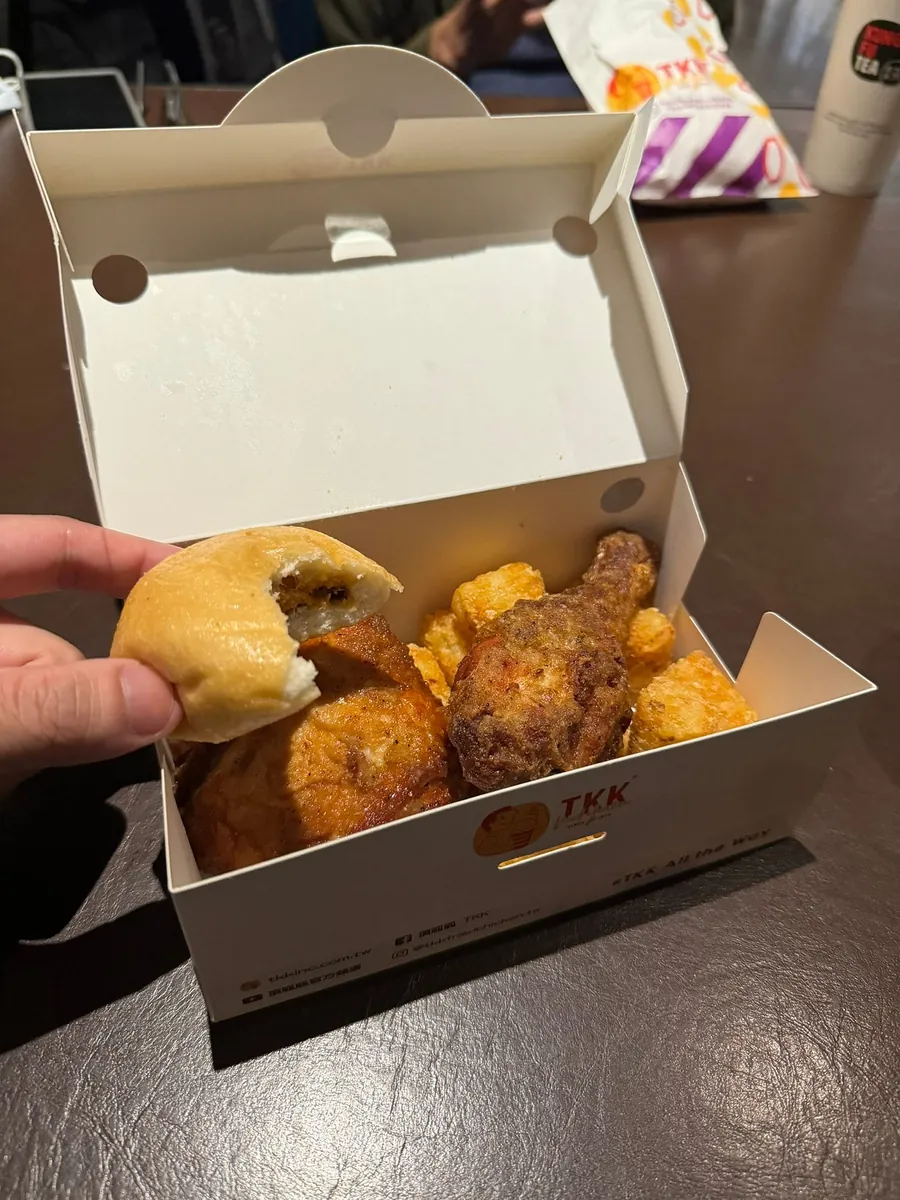
Ding Gua Gua fried chicken is marinated and very tasty. Unfortunately, this airport branch does not offer Gua Gua buns; also, I noticed that all the charging stations here have been removed, leaving only the shells, so charging is not possible.
The bathrooms, which include toilets, are few in number (about five by estimation), very clean and upscale, with cleaning staff attending promptly.
15:20 Boarding begins
Boarding begins around 15:20.
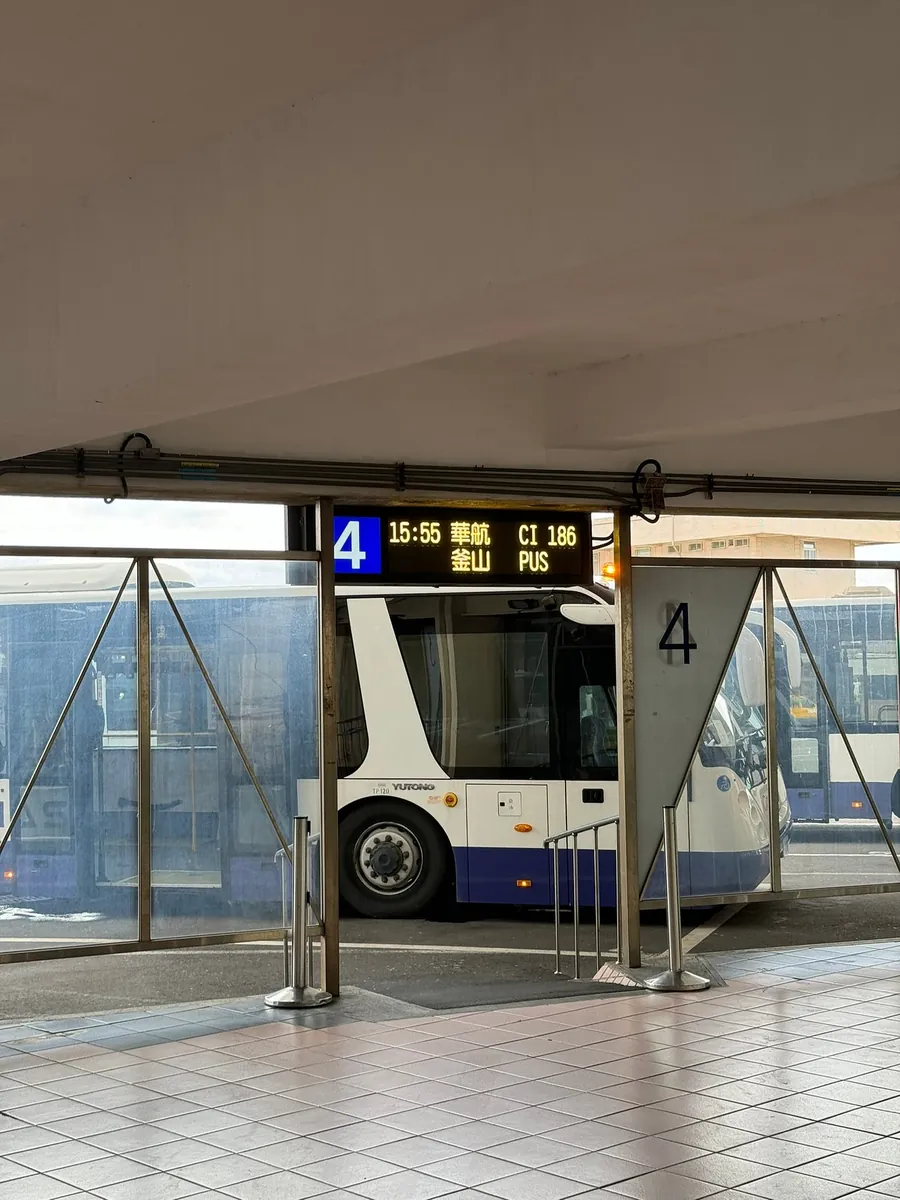
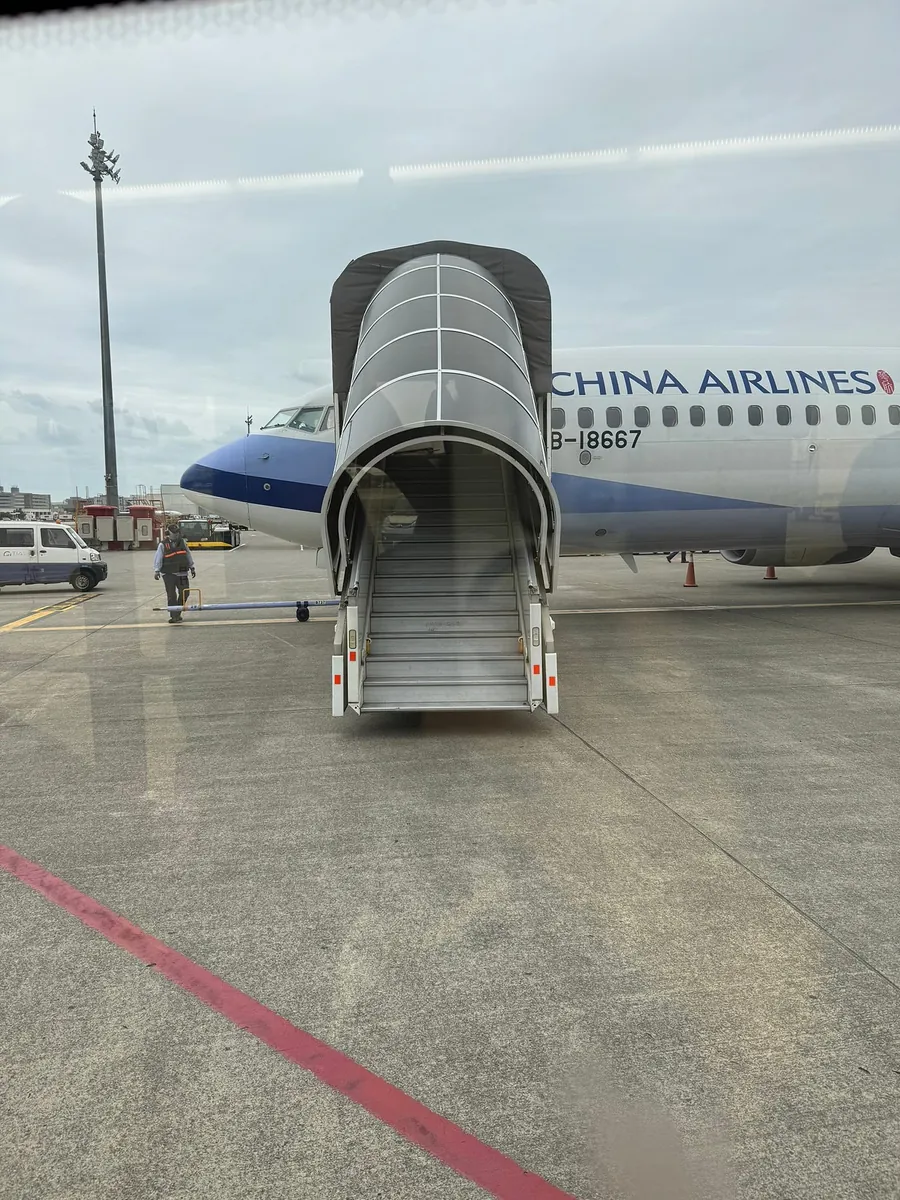
Terminal BR requires a shuttle bus transfer to the boarding gate. There are very few people on the flight to Busan! As shown in the picture, there appear to be fewer than 30 people.
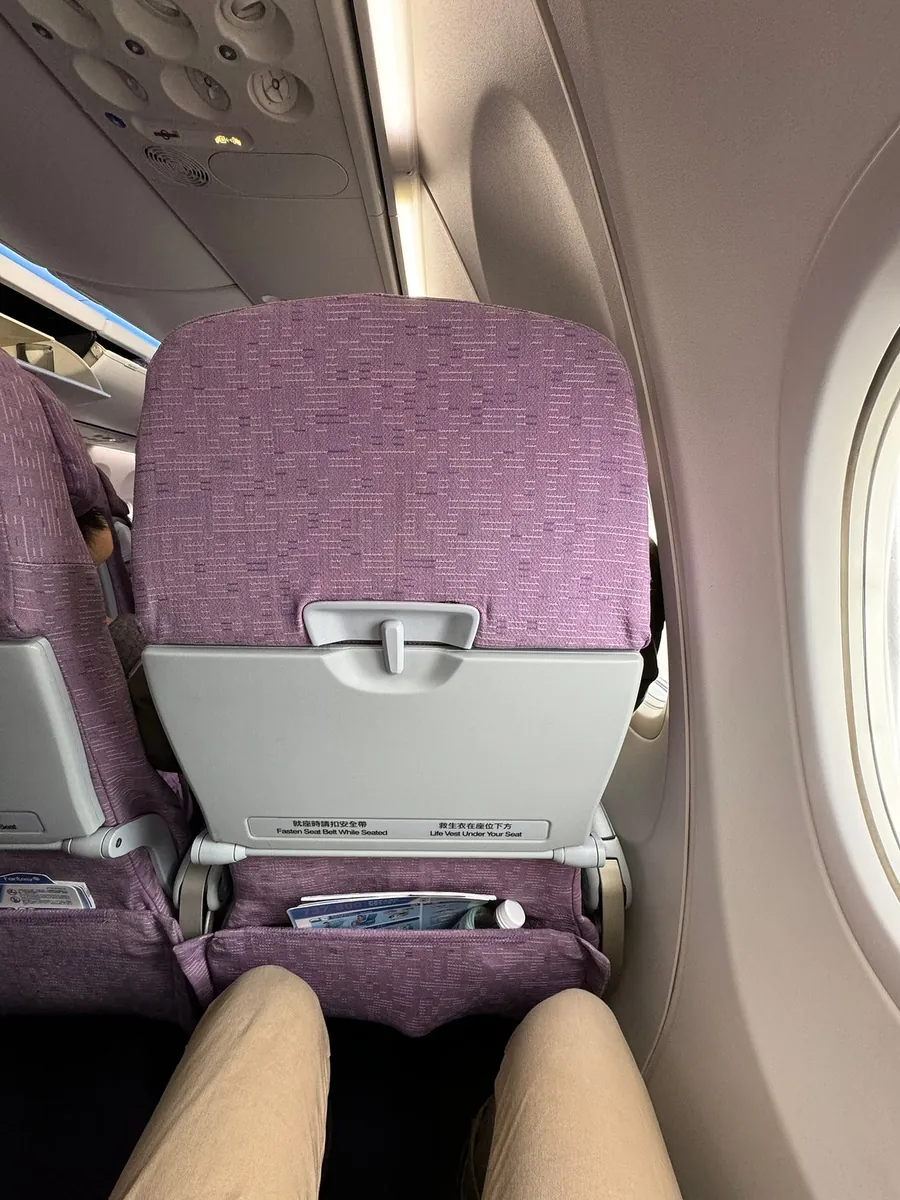
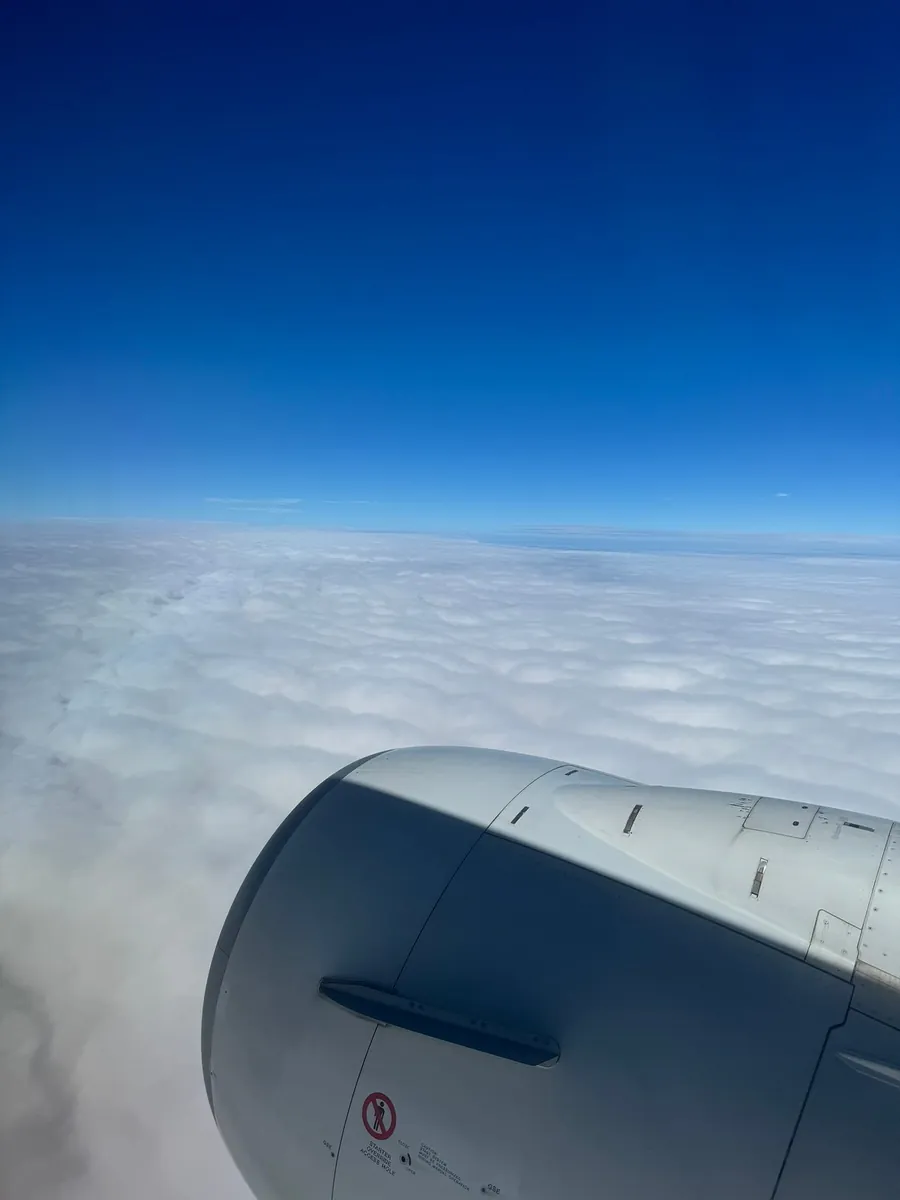
This China Airlines flight to Busan uses a 737–800 medium-sized aircraft with no entertainment screen. Bye Taiwan!
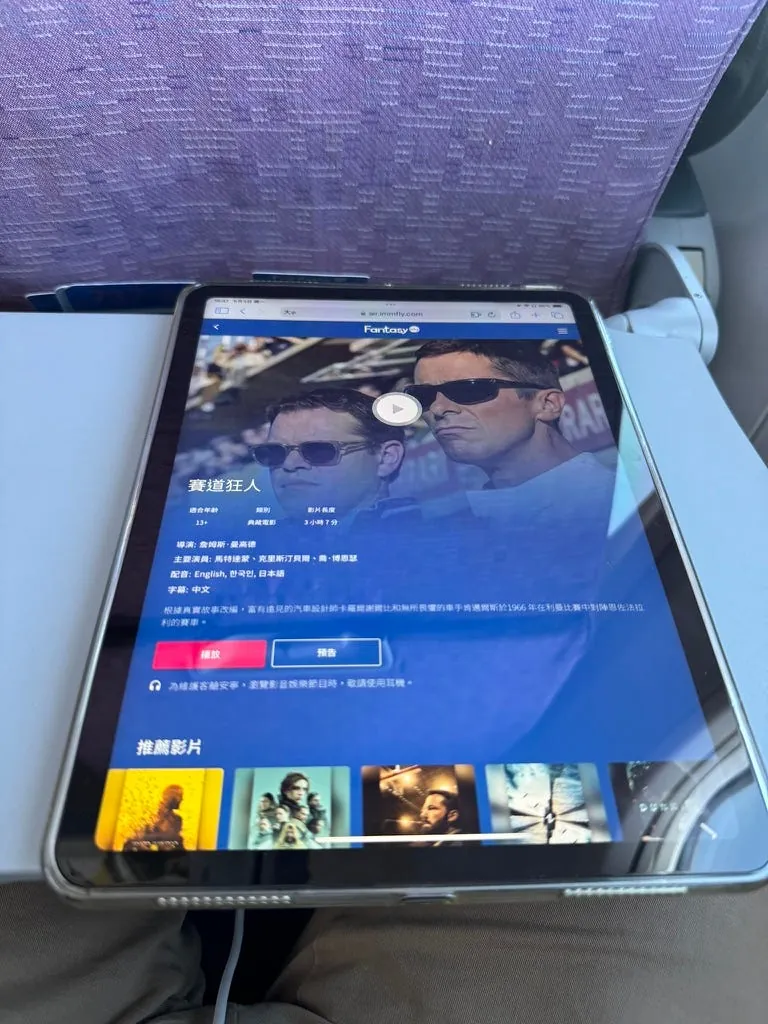
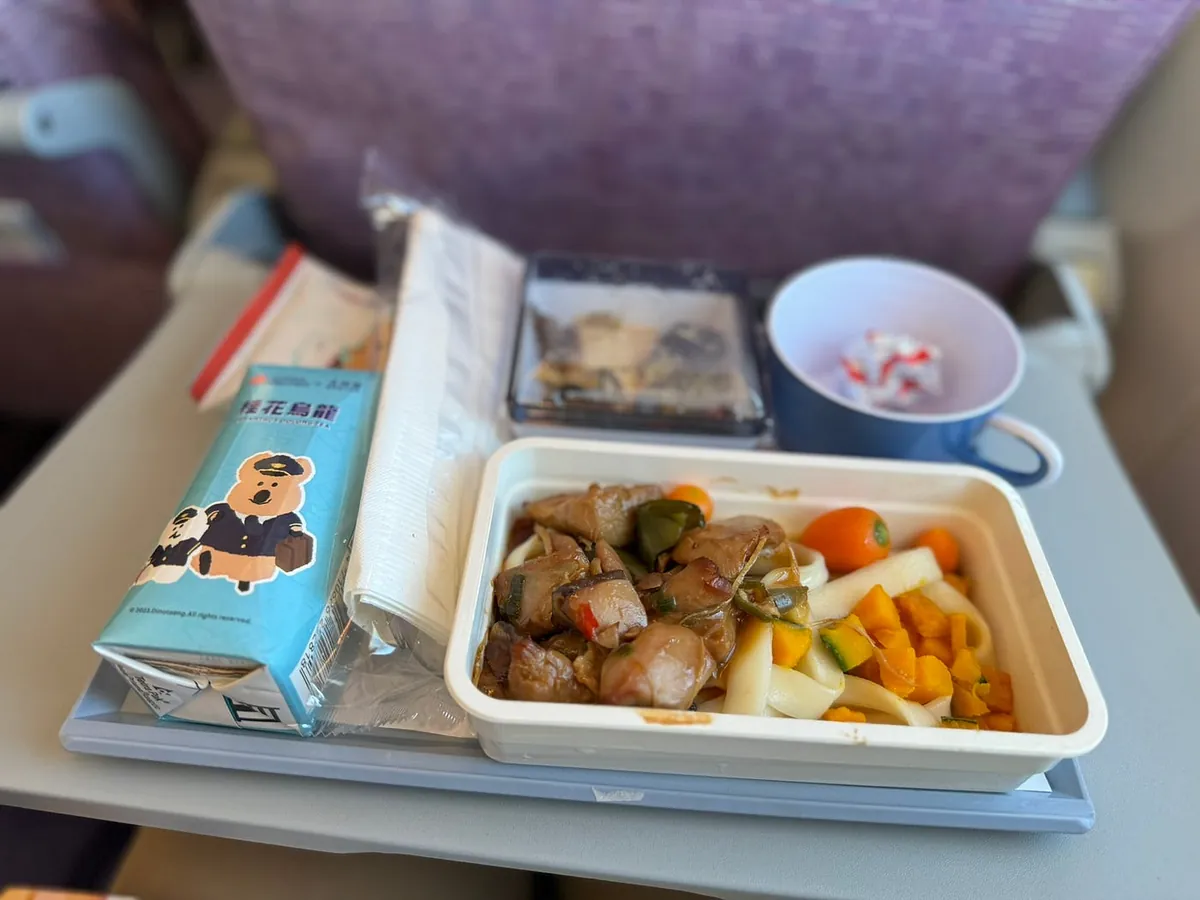
You can only access entertainment content via the onboard Wi-Fi, and there are quite a few movies! “Rush” is available! The in-flight meal was three-cup chicken noodles (pretty bad), but surprisingly, there was a collaboration from China Airlines x Wutonghao x Dinotaeng Quokka, and I received a short-tailed possum snack.
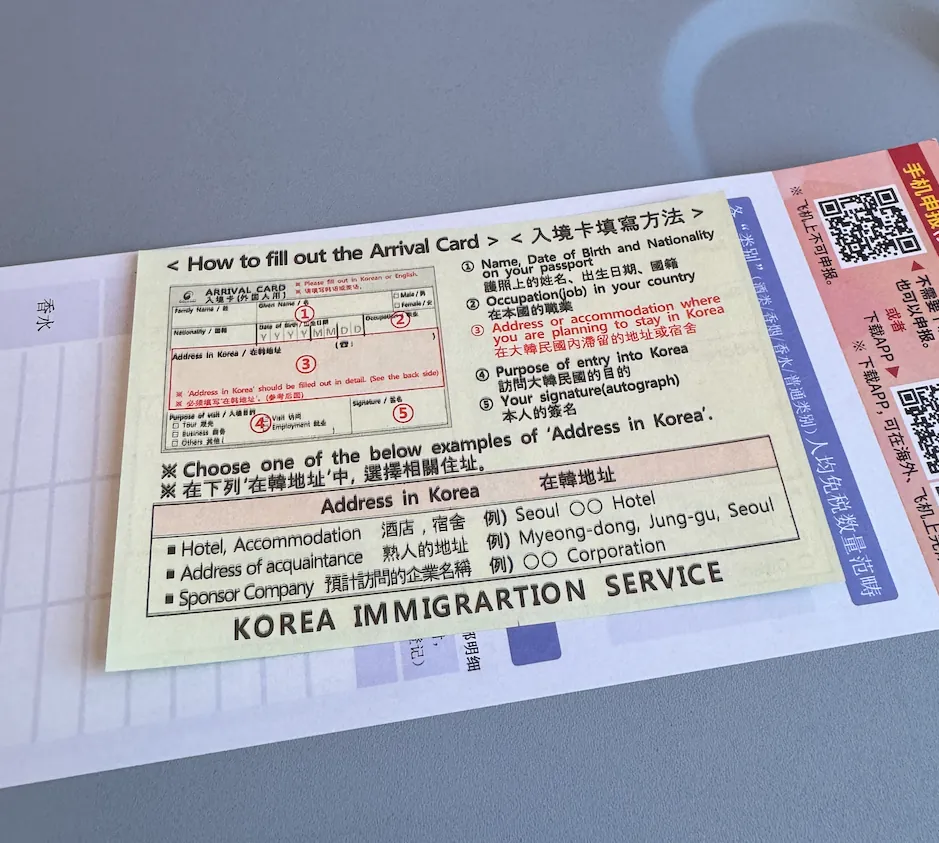
Fill out the immigration card and customs declaration form. You can apply for the quarantine QR Code in advance. If not applied, you need to fill out an additional quarantine card.
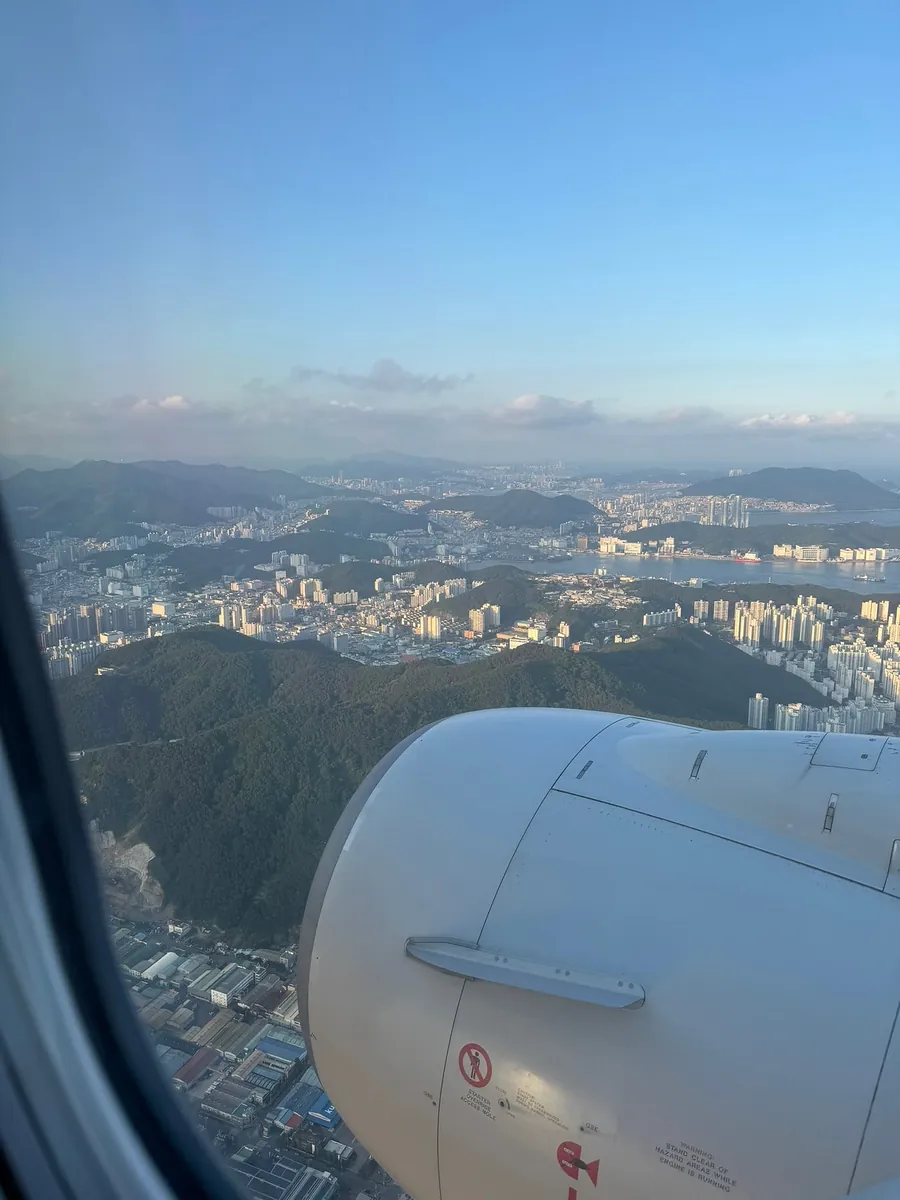
19:05 Arrive at Busan Gimhae International Airport PUS, South Korea
The daytime temperature in Korea is around 20–25°C, while at night it may drop below 20°C; it’s somewhat similar to autumn in Taiwan.
19:20 Exit the airport
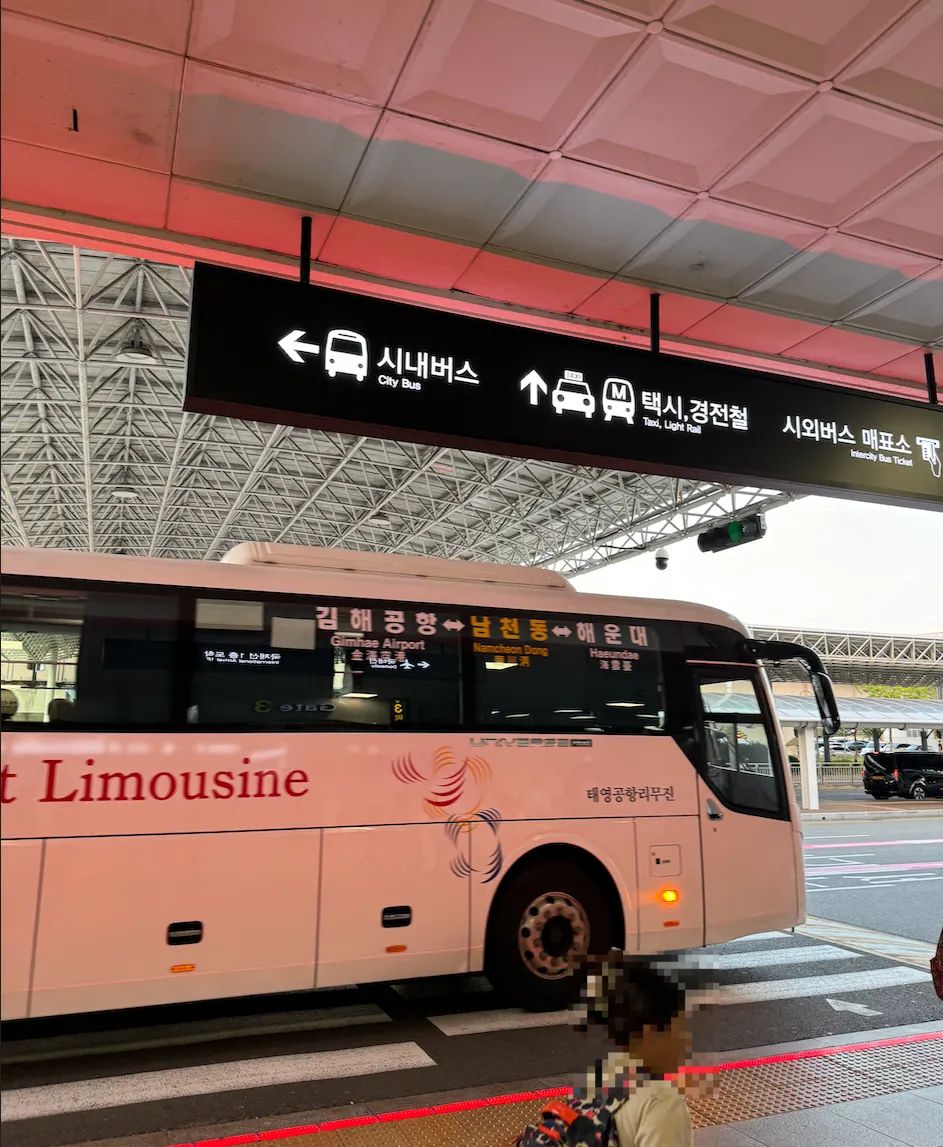
Around 19:20, enter the country and collect luggage before leaving the airport.
At that time, I misunderstood the relationship between wowpass and tmoney, thinking they were just two cards combined into one; my understanding was that wowpass is a cash card that includes top-up, currency exchange, withdrawal, and shopping, while tmoney is a transportation card, and wowpass would include tmoney; in reality, you only need to buy tmoney, not wowpass. I didn’t realize this and kept looking for wowpass instead of tmoney. There are no wowpass machines at Busan International Airport, so I relied on cash to buy tickets and took the bus all the way to Busan.
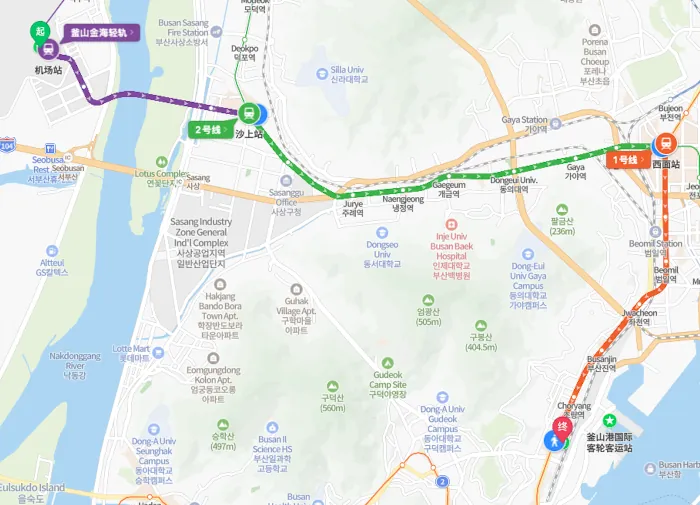
From Gimhae Airport to Busan Station, you need to transfer three times on the subway; there are not many passengers getting off, so it’s not crowded.

If you have a transportation card, you can tap it directly to enter.
First Ticket Purple Line Busan Gimhae Light Rail from Airport Station to Sasang Station
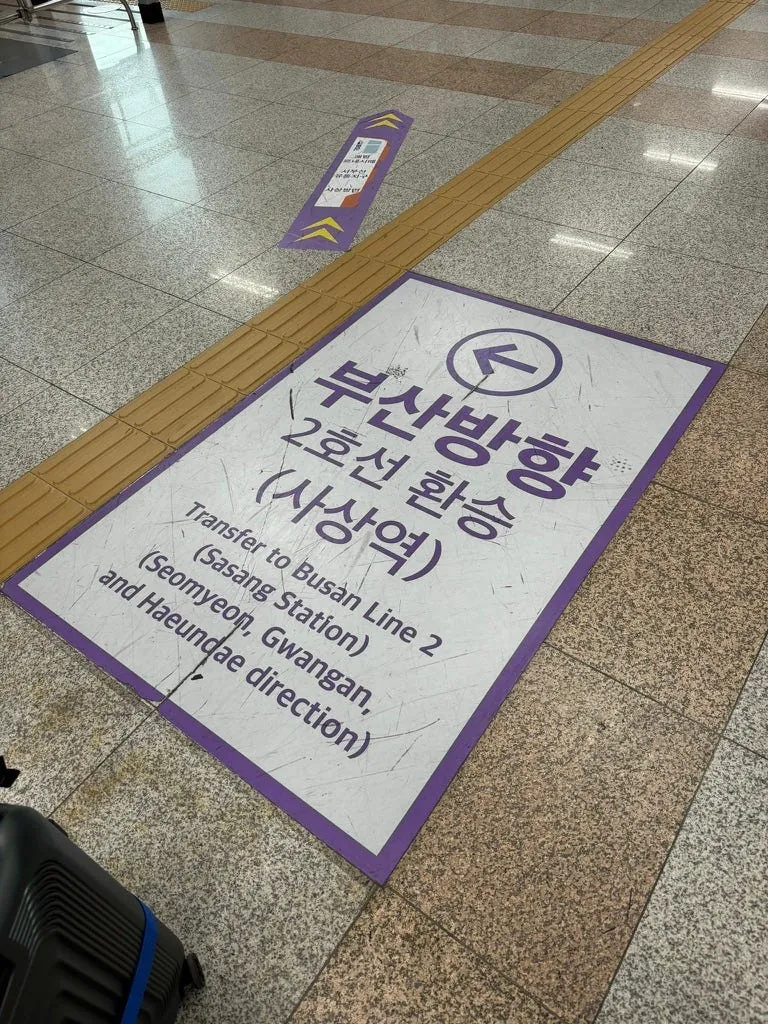
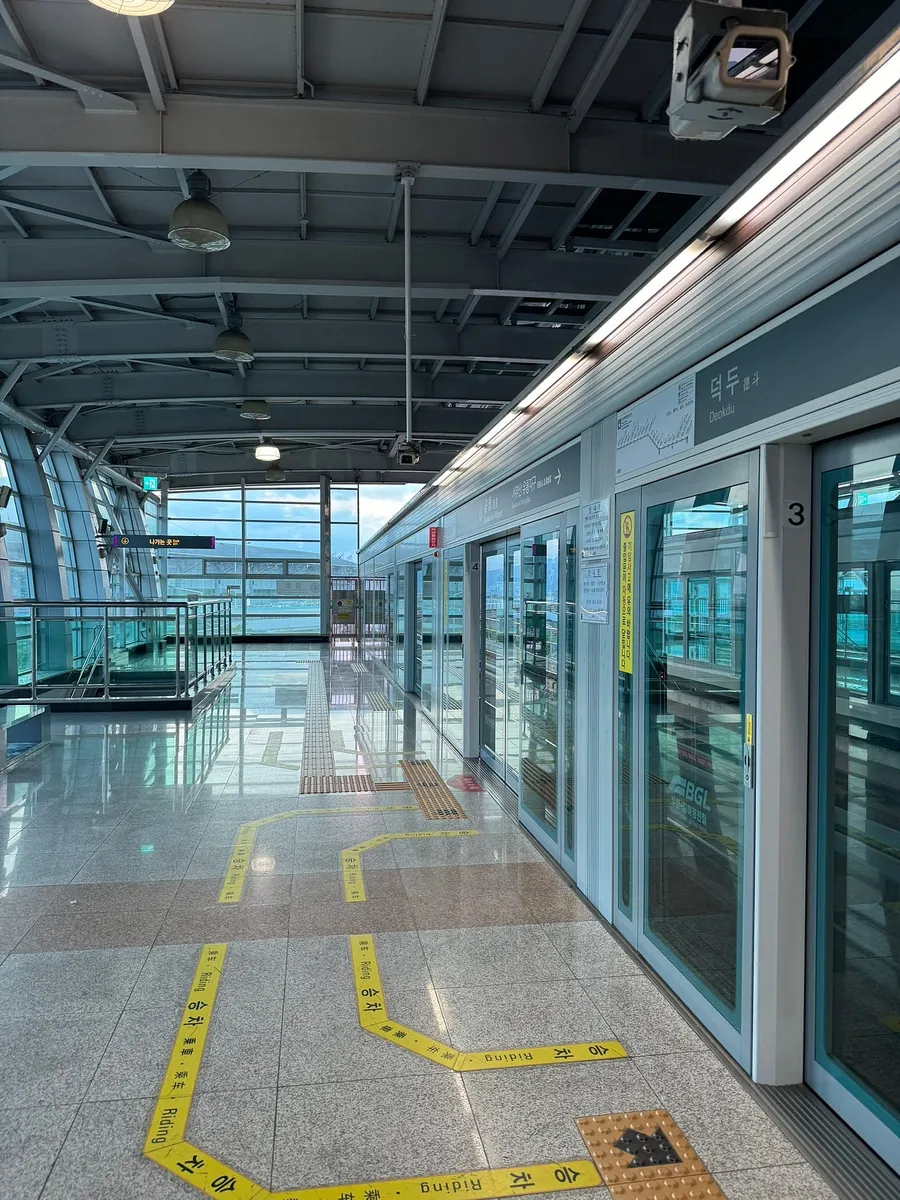
Follow the floor markings to the platform
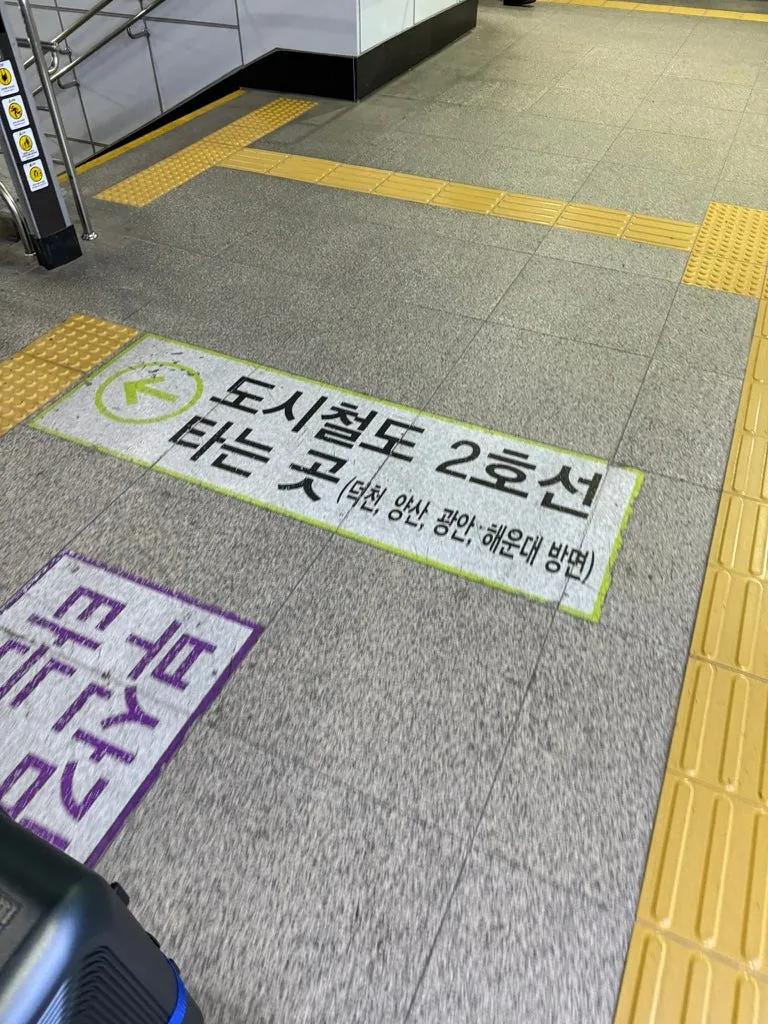
After getting off at Sha Shang Station on the Purple Line, follow the signs to transfer to the Green Line.
Take the Green Line 2 to Ximen Station.
Buy a second ticket to Seomyeon Station.
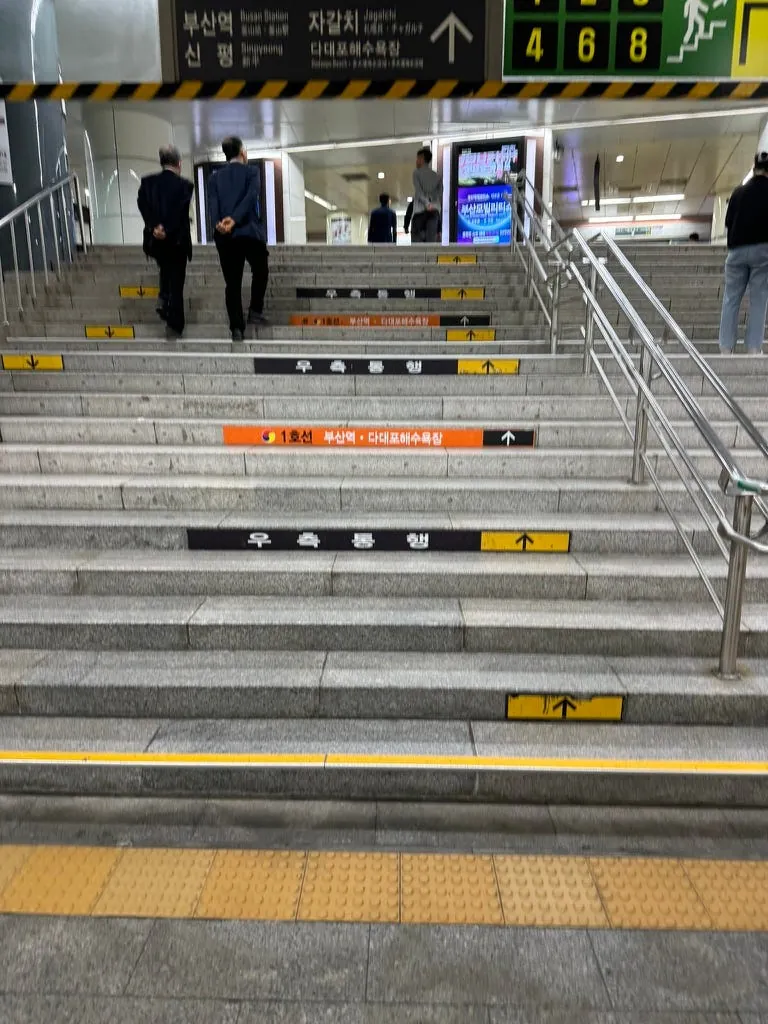
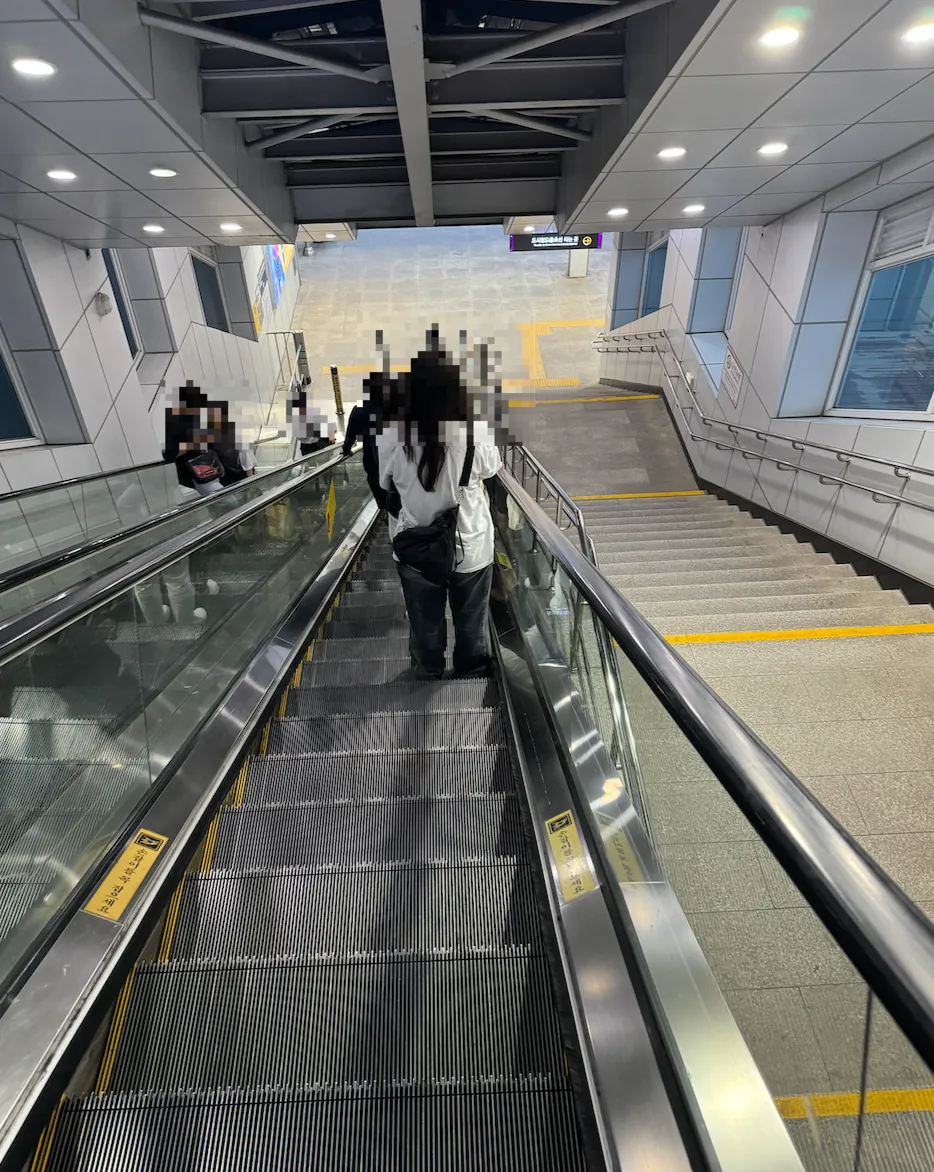
Take the Green Line to Ximending Station, then get off and walk straight to the Orange Line platform.
Take Orange Line 1 to Busan Station and get off.
Transferring from the Green Line to the Orange Line does not require leaving the platform. I’m not sure if it was possible to buy a ticket to Busan Station on the Green Line at that time, as I didn’t check carefully. Therefore, I couldn’t exit at Busan Station without manual ticket adjustment.
20:20 Arrive at Busan Station
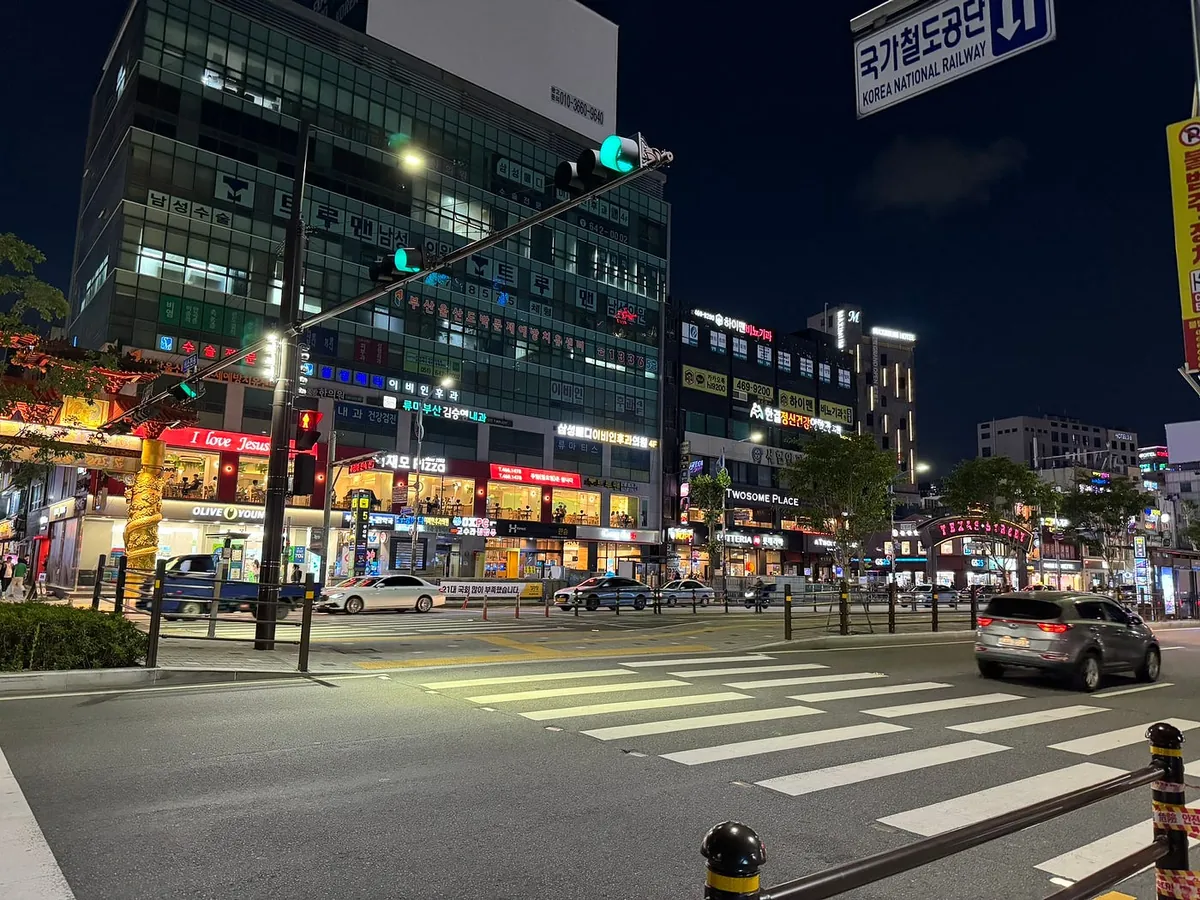
The outbound station is Toyoko INN Busan Station No. 1.
Put your luggage away and go out to find food.
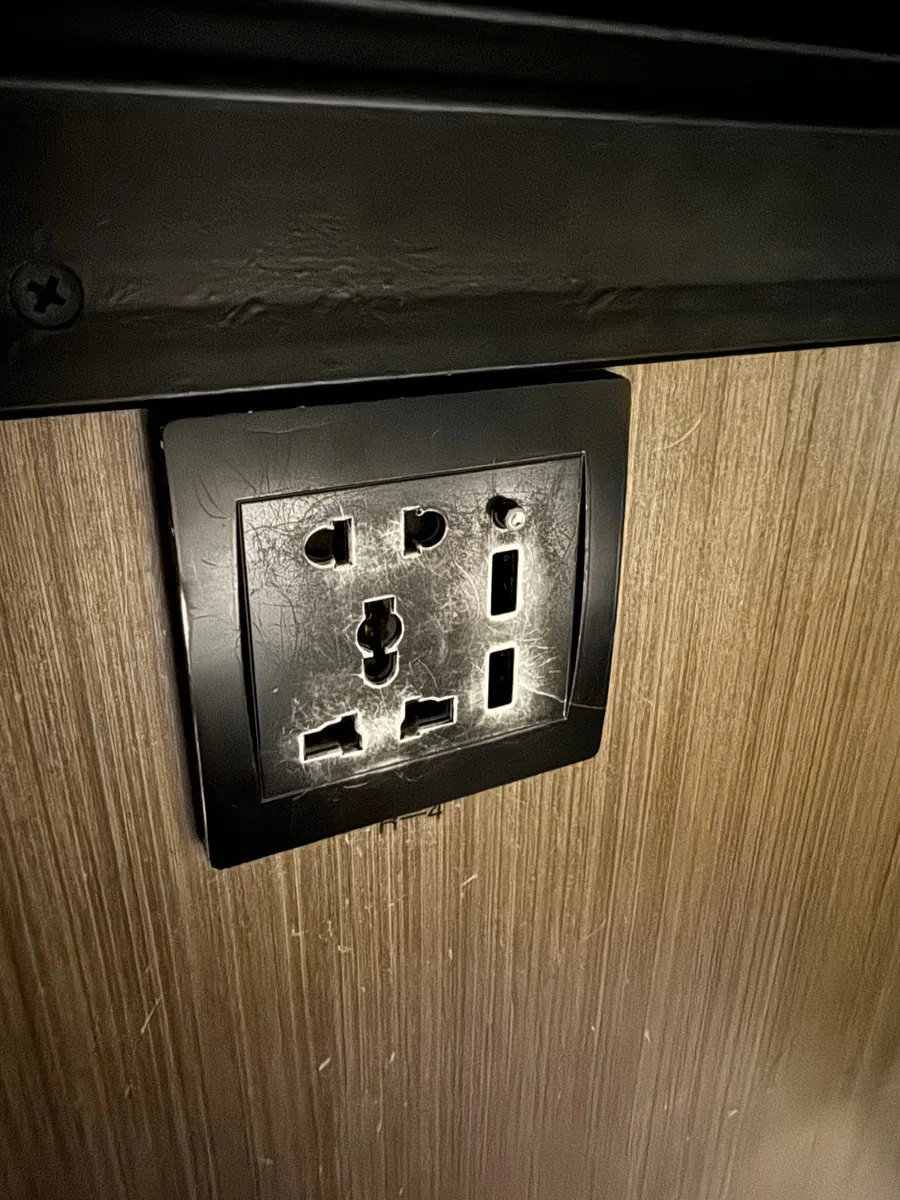
- Fortunately, the hotel has 100V Taiwanese power outlets/USB sockets, so no adapter is needed.
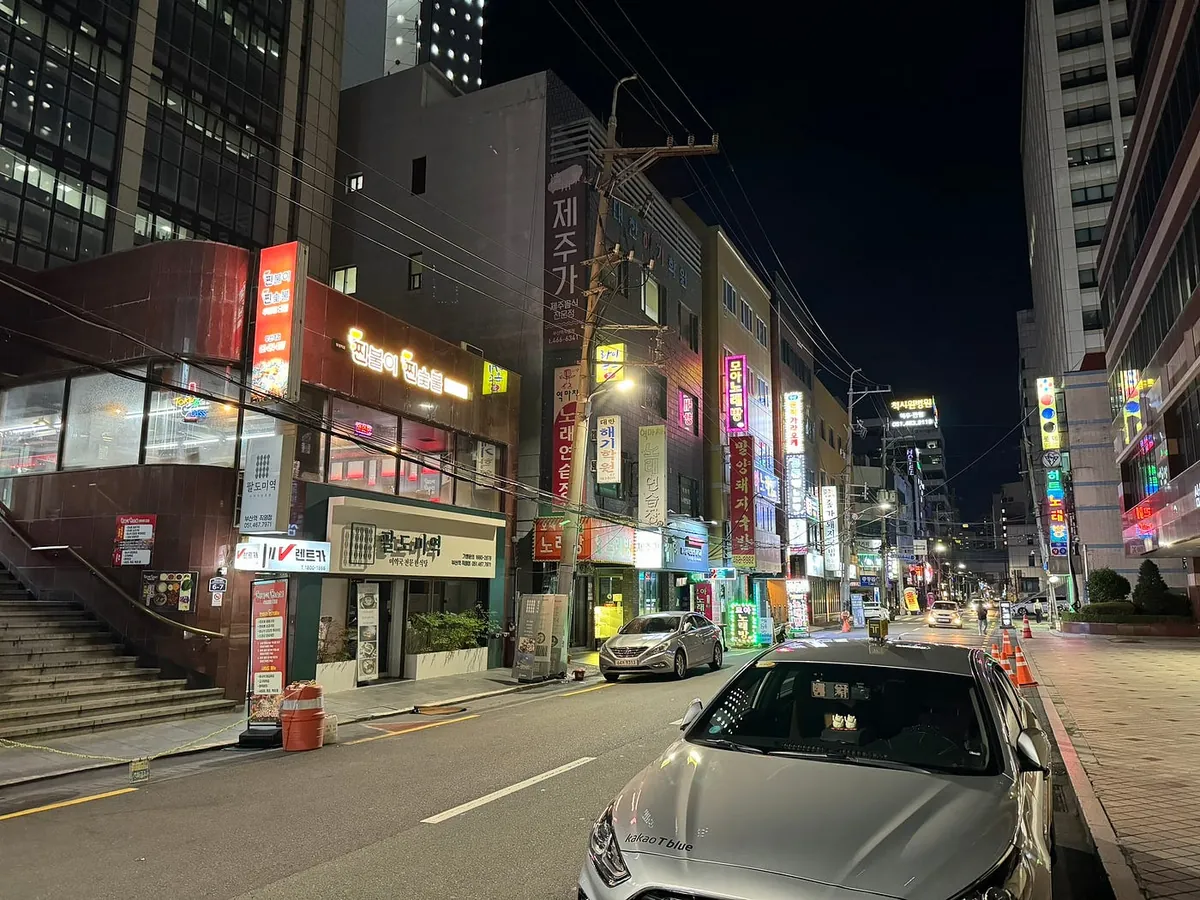
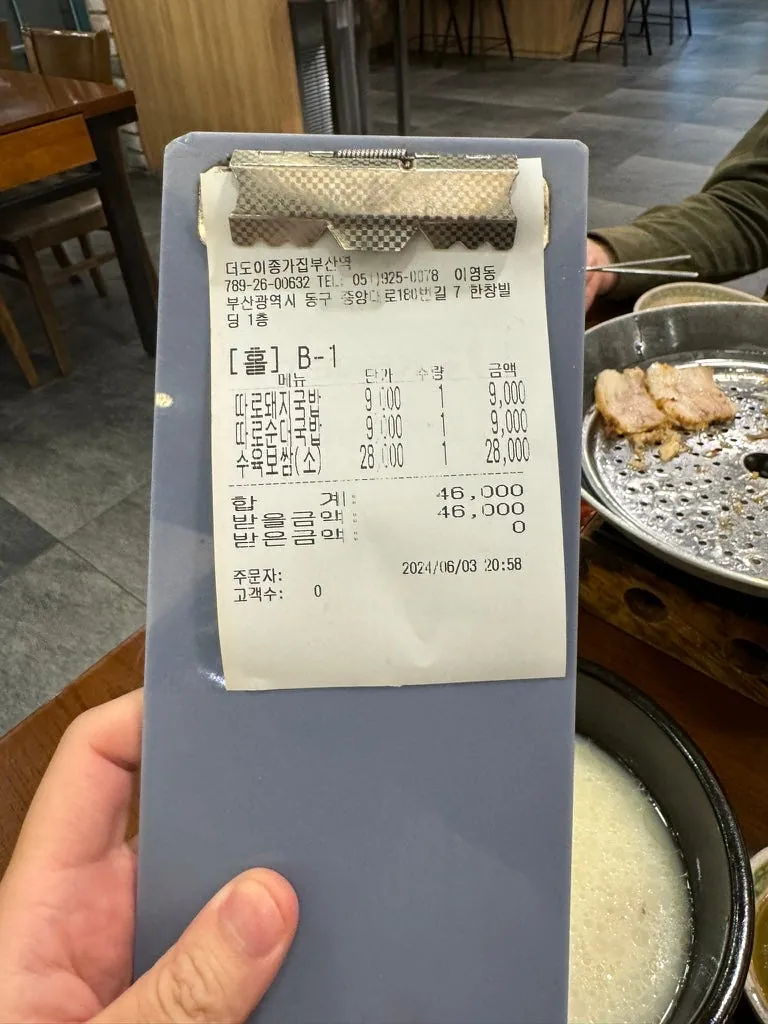
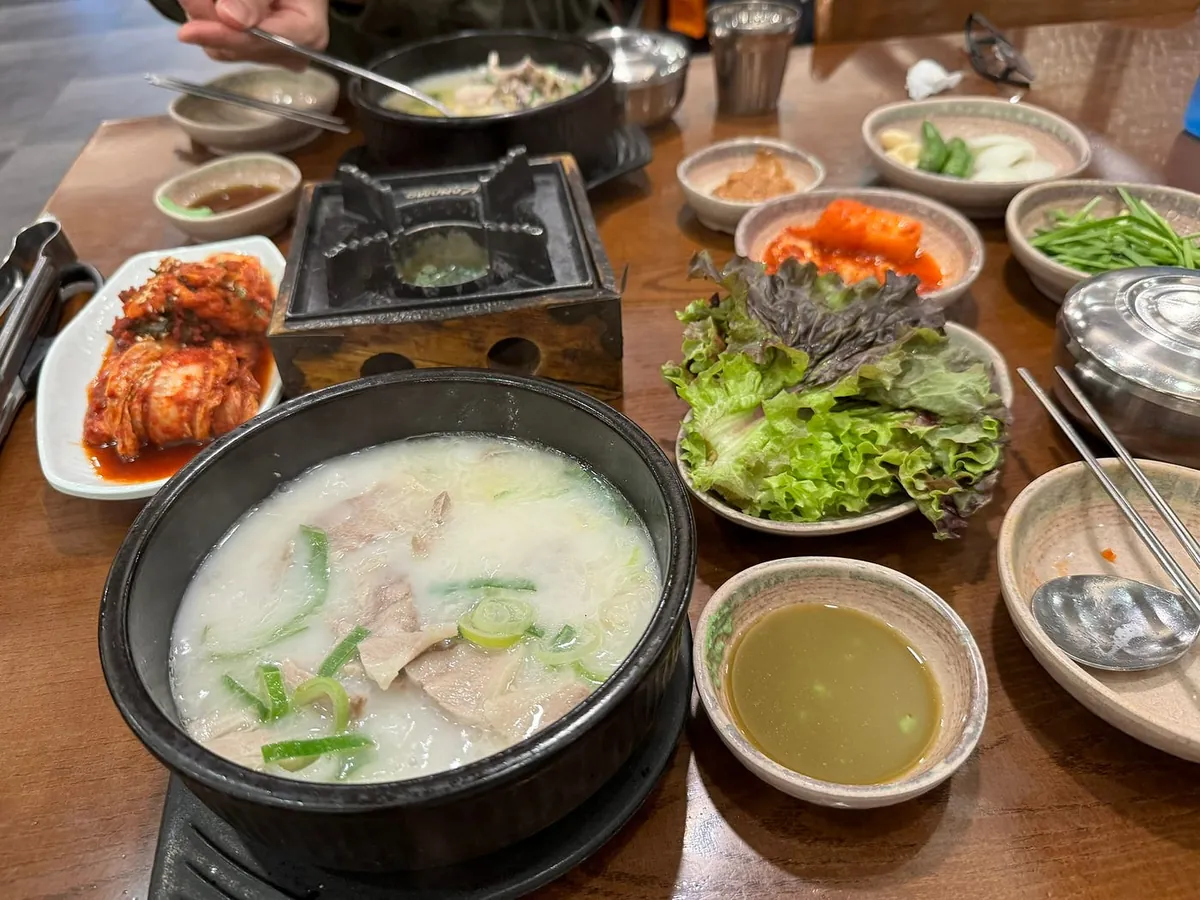
Because it was late, nearby barbecue places were closed; I randomly chose a pork soup rice restaurant to eat at ( The Doi Jongga Dwaejigukbap Busan Stn. ).
Pork soup rice has a strong pork flavor. The broth is oily but not heavy, and pairs well with rice.
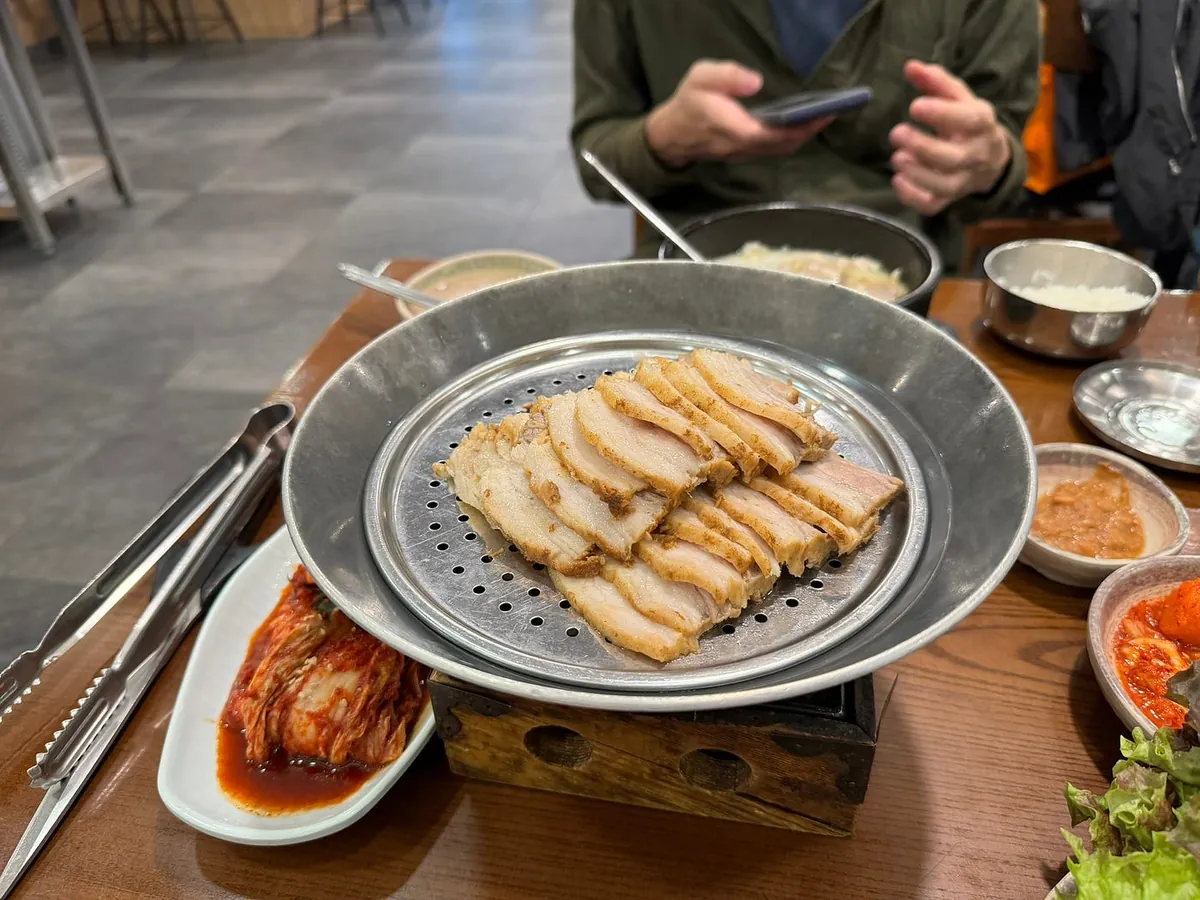
Grilled pork neck on a pan, wrapped in lettuce and kimchi, tastes good but can be greasy if eaten too much.
Two servings of soup rice + one plate of pork neck meat, total 46,000 KRW.
Wowpass / Tmoney
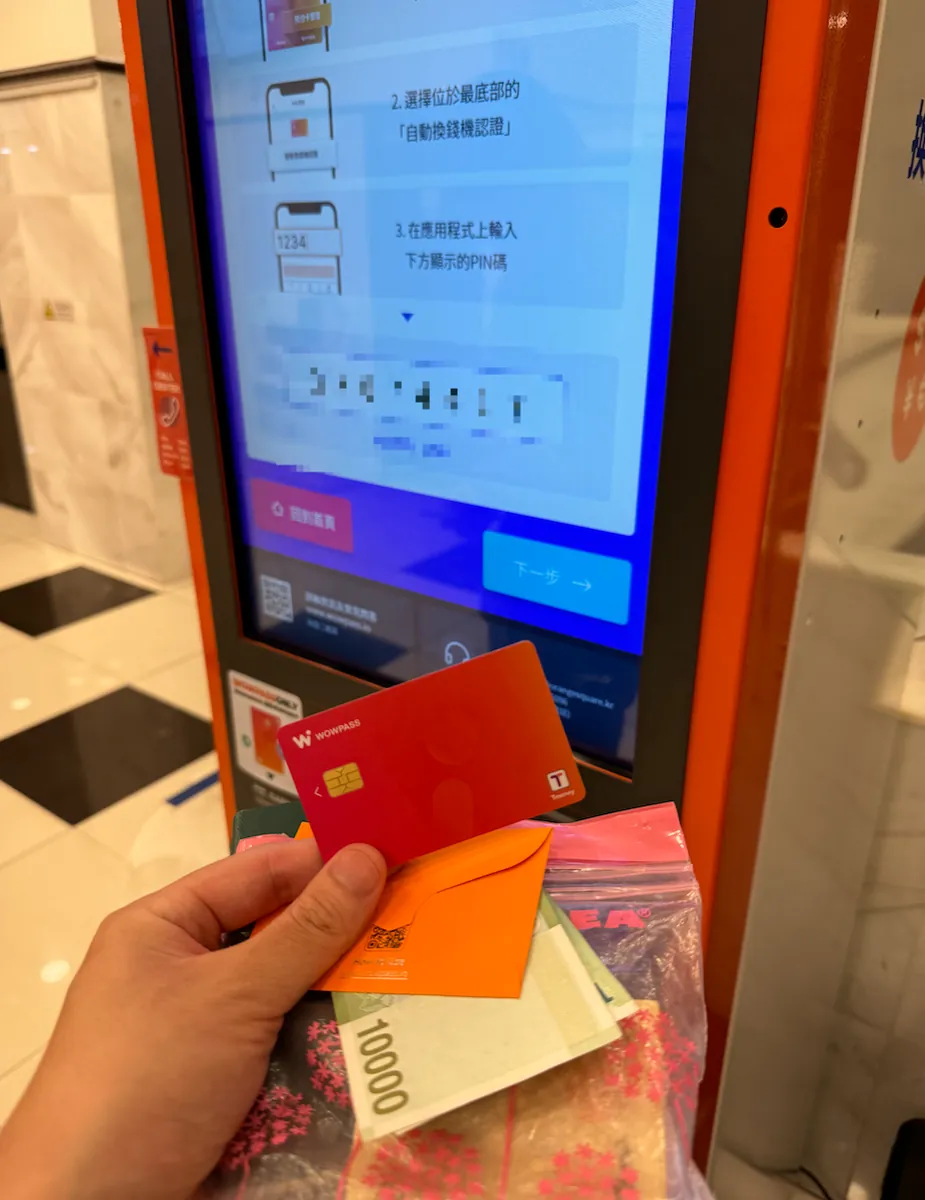
The hotel lobby has a wowpass machine. Scan your passport and follow the instructions to complete the process, and the machine will print out a wowpass+tmoney combo card.
The upper part is Wowpass
The chip is Wowpass
Wowpass top-up and Tmoney are separate.
Wowpass allows top-up via Wowpass machines, direct top-up in TWD, online credit card top-up, currency exchange, and withdrawal (fees apply).
Wowpass has an expiration date , unused for too long may cause the balance to disappear
The chip can be used for card payments at merchants.
Tmoney can be recharged at convenience stores or subway recharge machines.
Temporarily unable to deposit Tmoney via Wowpass (officially stated to be available in the future)
Wowpass card issuance requires a deposit of 5,000 KRW, but it seems this step can be skipped. Does skipping mean free card issuance?
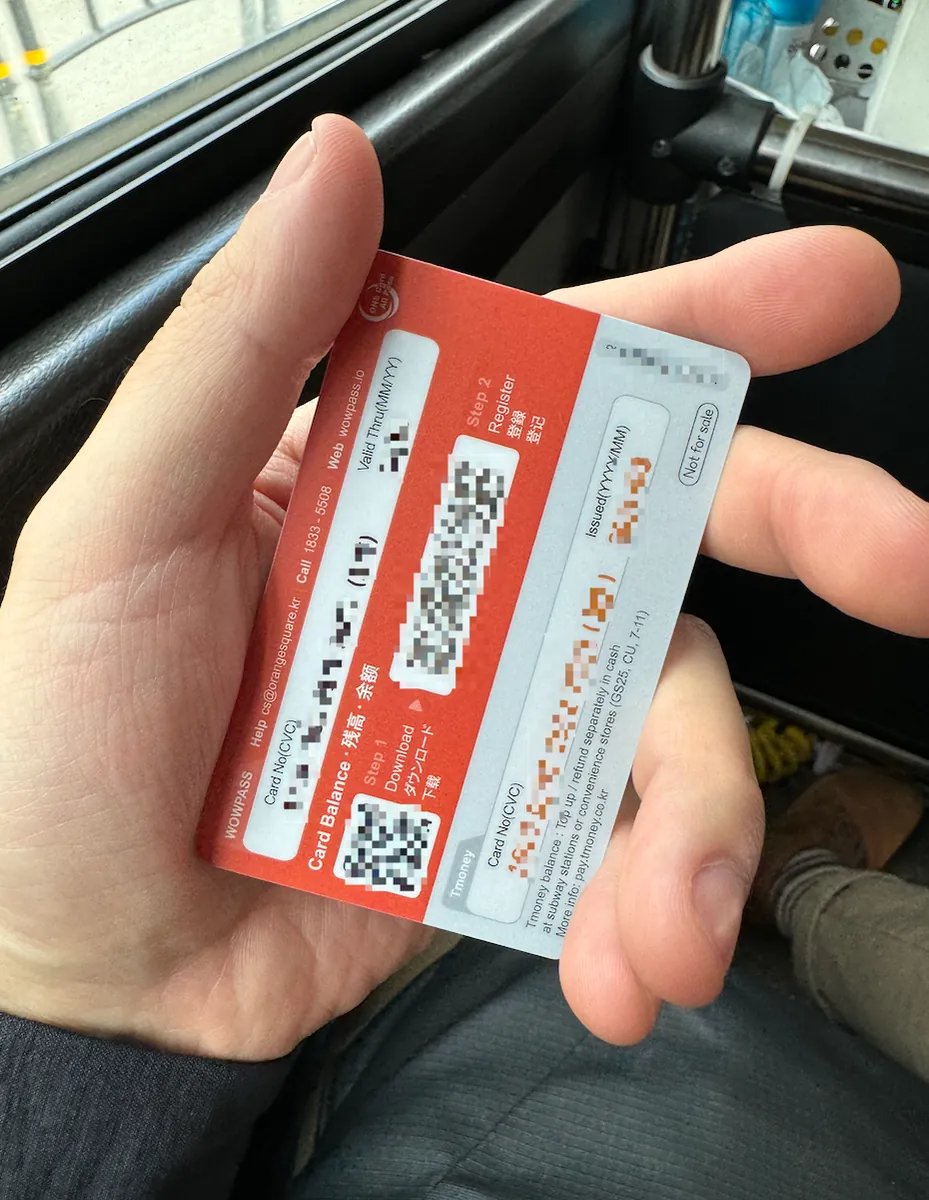
The lower part is Tmoney. Remember to use the lower part when taking the subway or bus; my first time using the whole card failed repeatedly, as it seemed to detect Wowpass.
After receiving the physical card, you can link it in the Wowpass App.
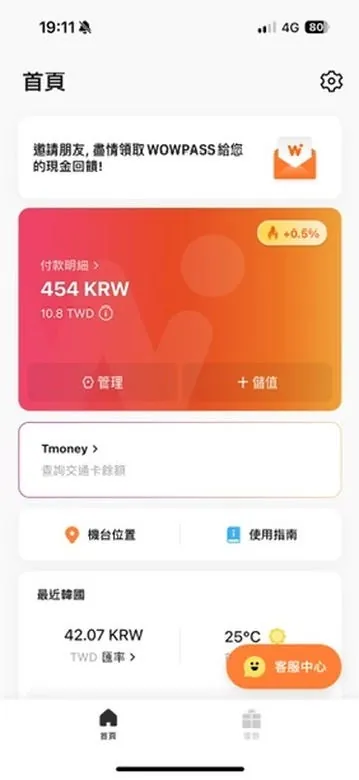
The Wowpass App can check the Wowpass balance.
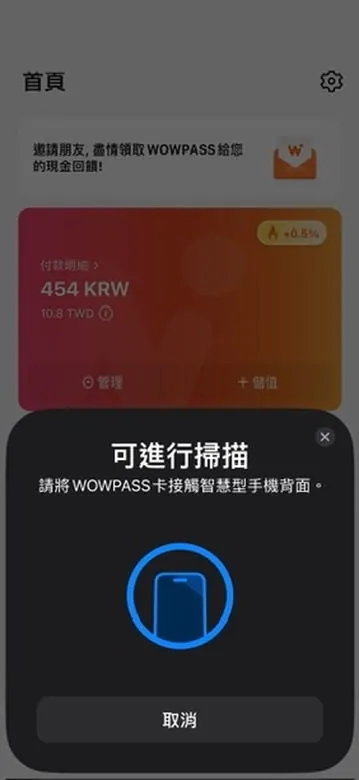
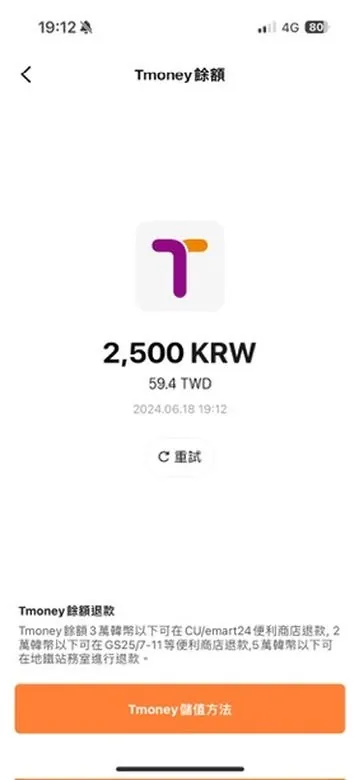
Tmoney balance can only be checked by tapping the card (so unique!).
As shown in the image above, the Wowpass balance is 454 KRW / the Tmoney balance is 2,500 KRW.
If you want to check tmoney top-up and deduction details, you need to install the App (BucaCheck):
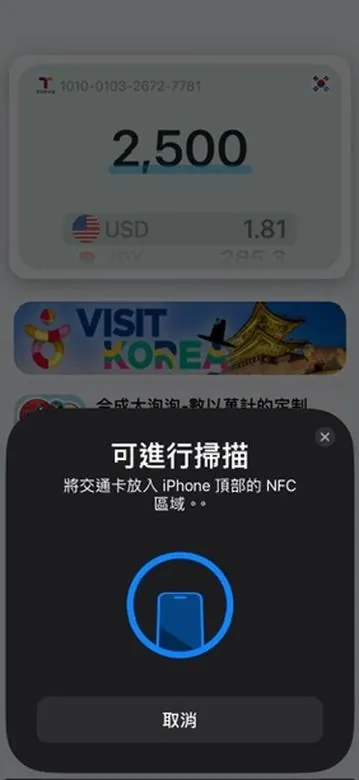
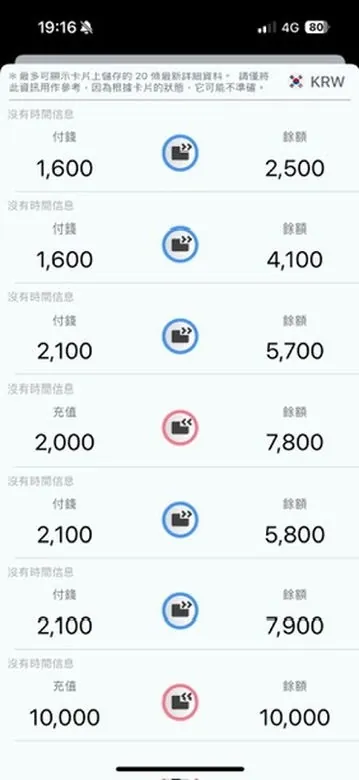
- Still relies on card sensing to read content
If this travelogue is helpful to you, you can enter my invitation code
373TBH87when registering on Wowpass.
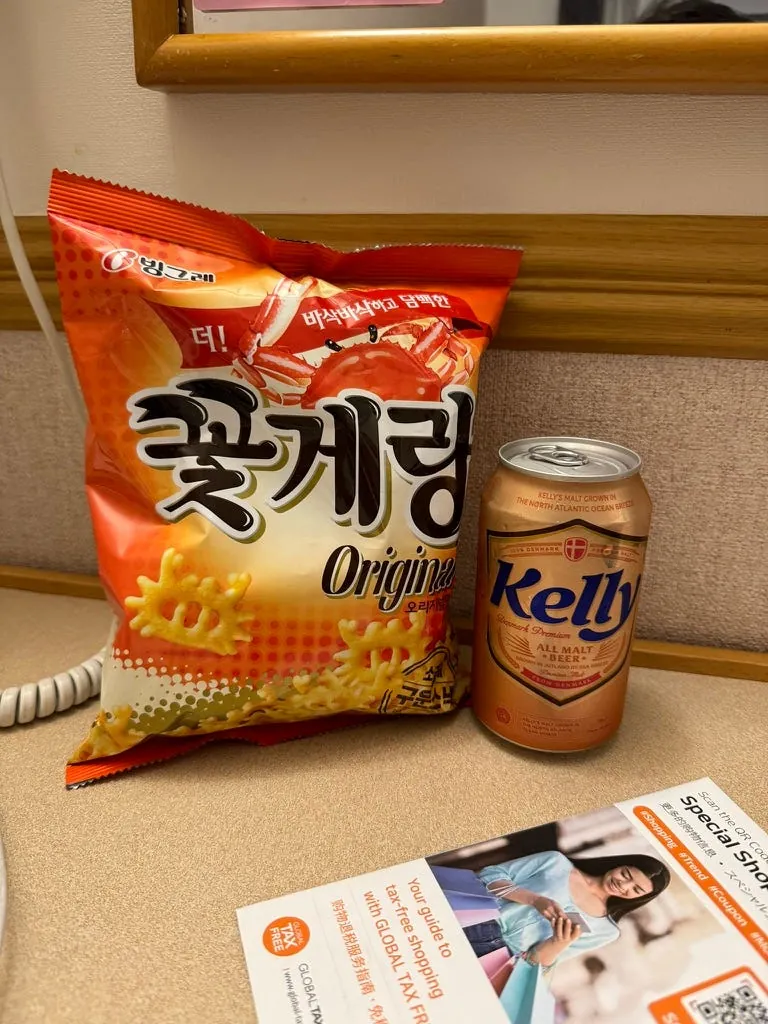
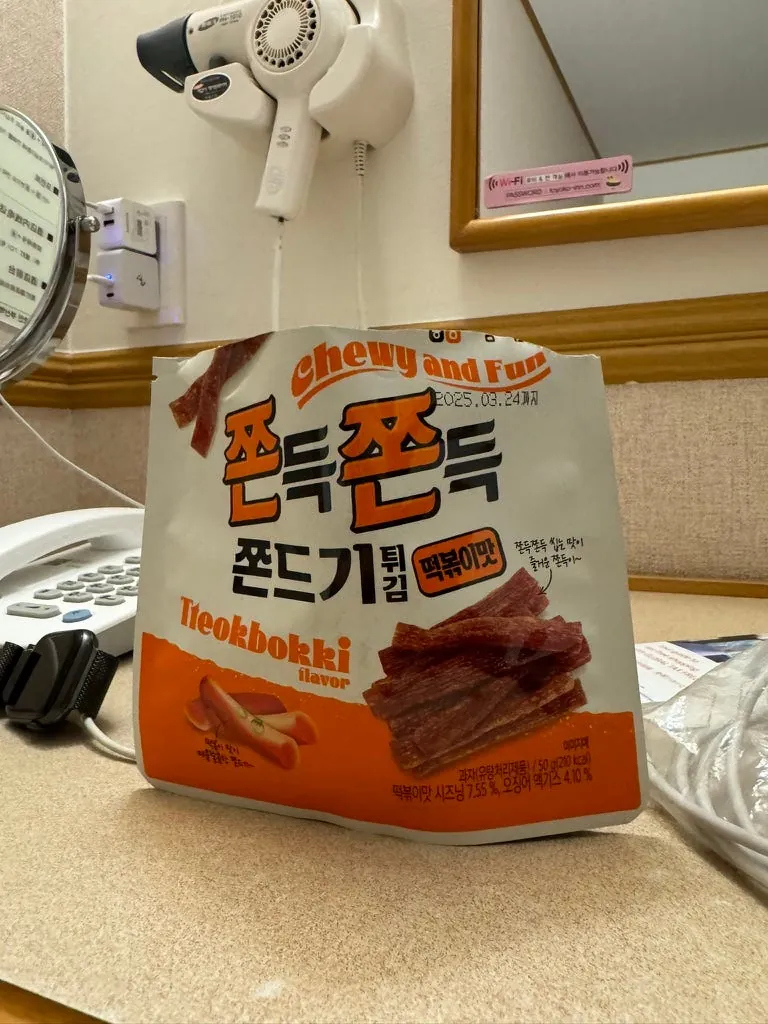
After dinner, we went to GS 25 to buy Korean beer and some Korean snacks. Kelly is tasty, the one on the right is like spicy strips but less salty and spicy, perfect as a drinking snack. The crab-flavored crackers are just okay.
Rest, end of the hectic Day 1.
Day 2 Haedong Yonggungsa Temple, Haeundae, and Riding the New Camellia Cruise
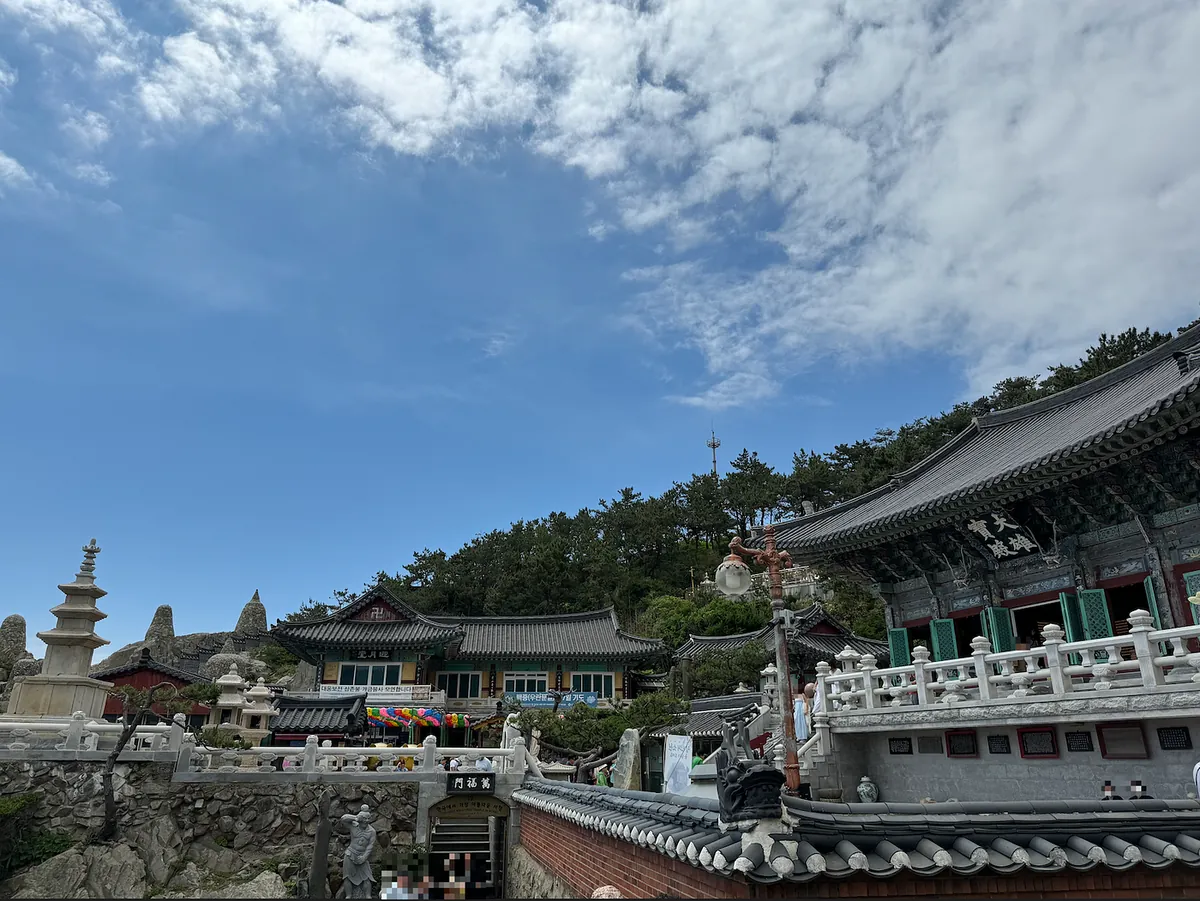
Haedong Yonggungsa Temple
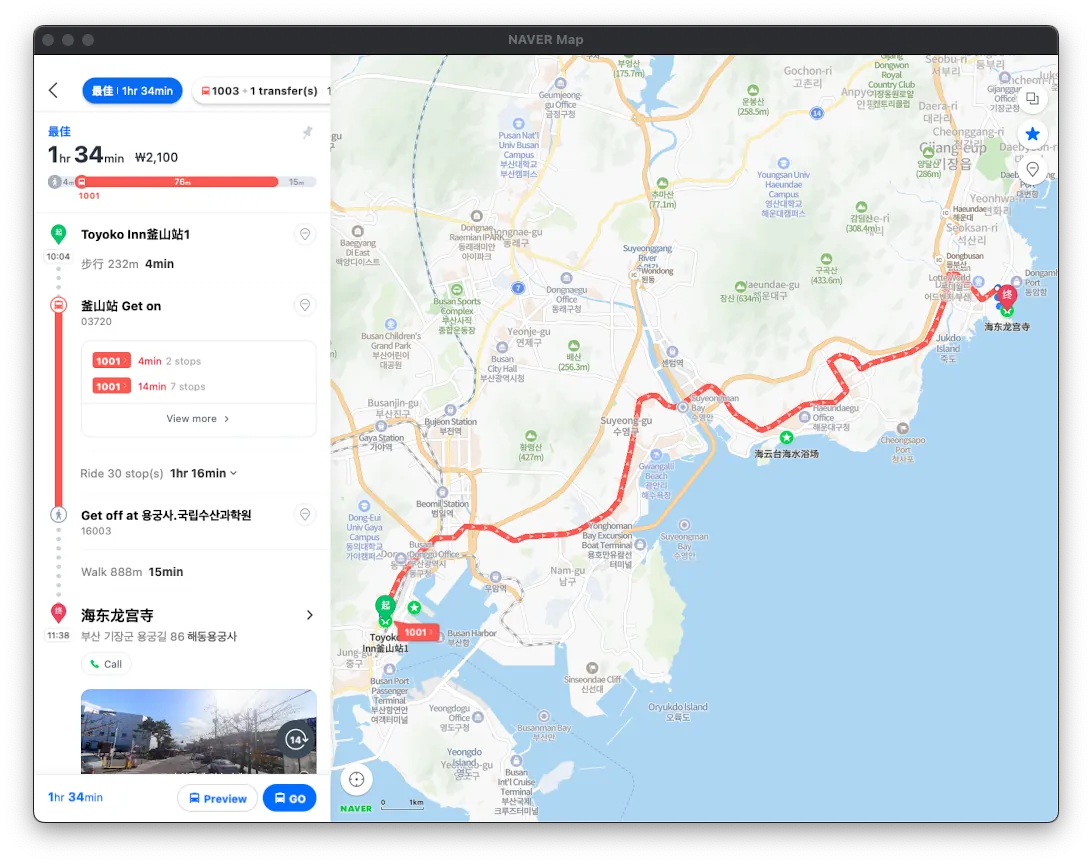
Early in the morning, take the 1001 bus from Busan Station bus stop to Haedong Yonggungsa Temple; frequent service and not crowded.
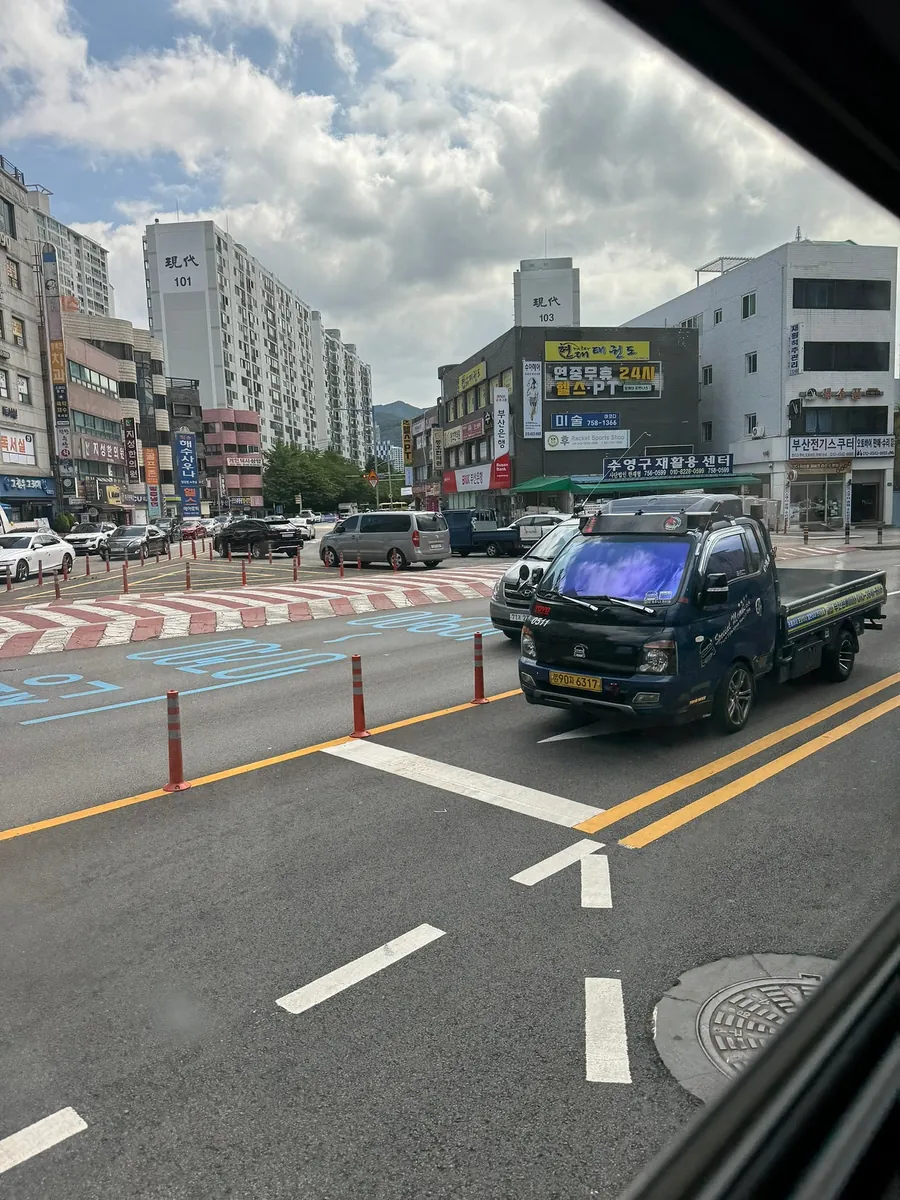
The trip is a bit long, about an hour and a half. Korean buses are similar to those in Taiwan, and the drivers tend to drive quite fast. Normally, passengers board from the front and exit from the rear, but some buses have the opposite arrangement.
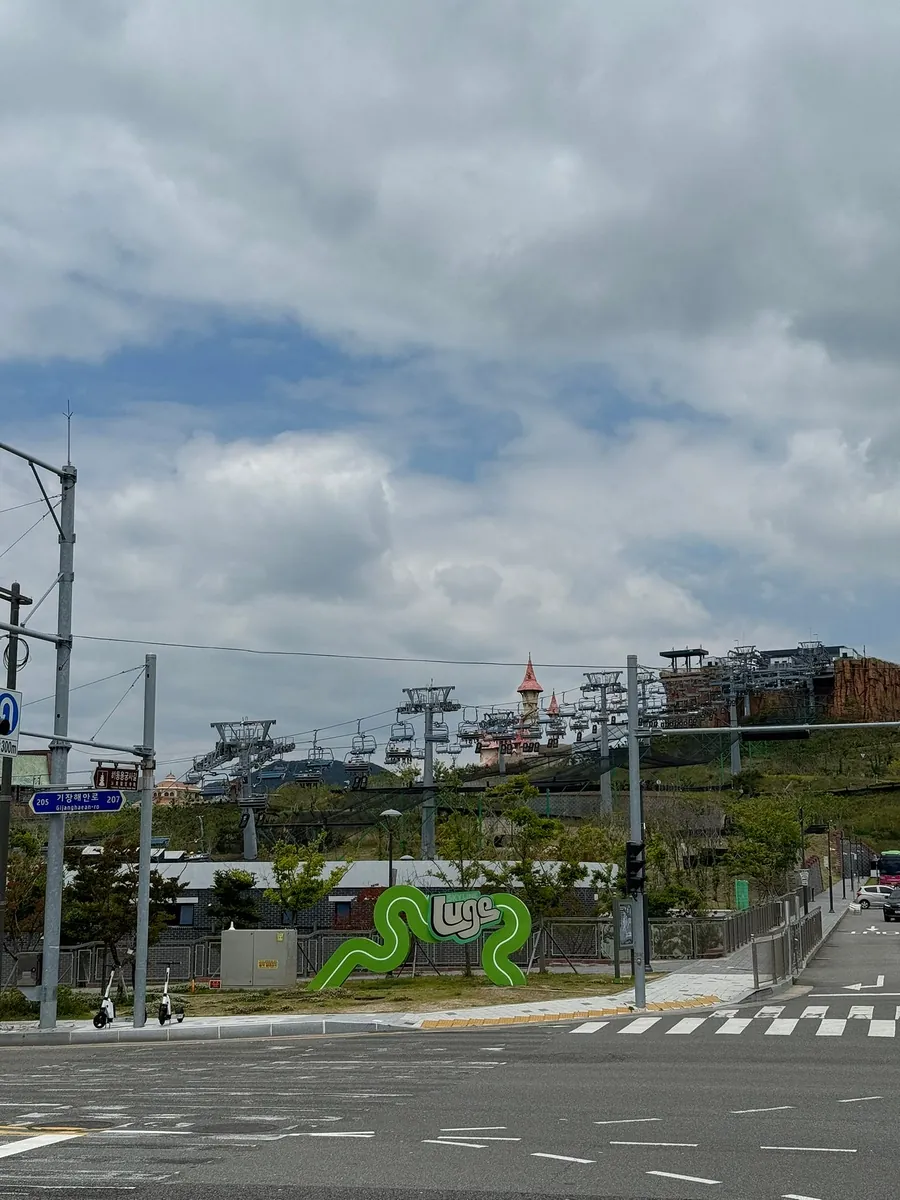
The drop-off point is right across from Skyline Luge Busan.
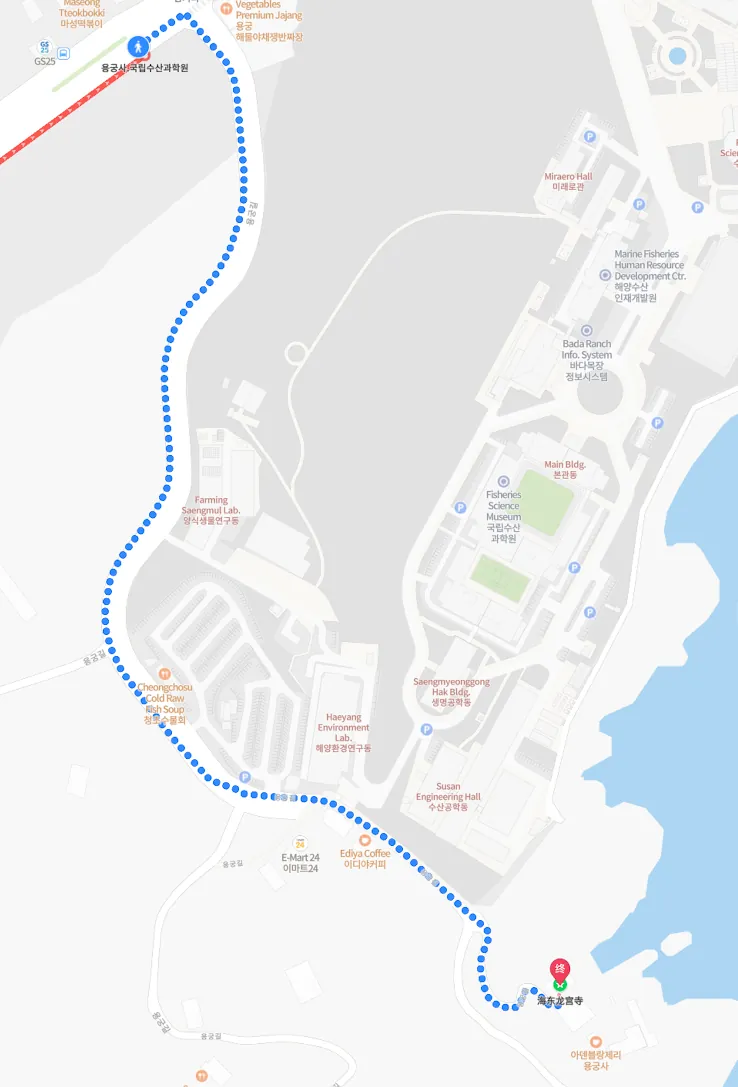
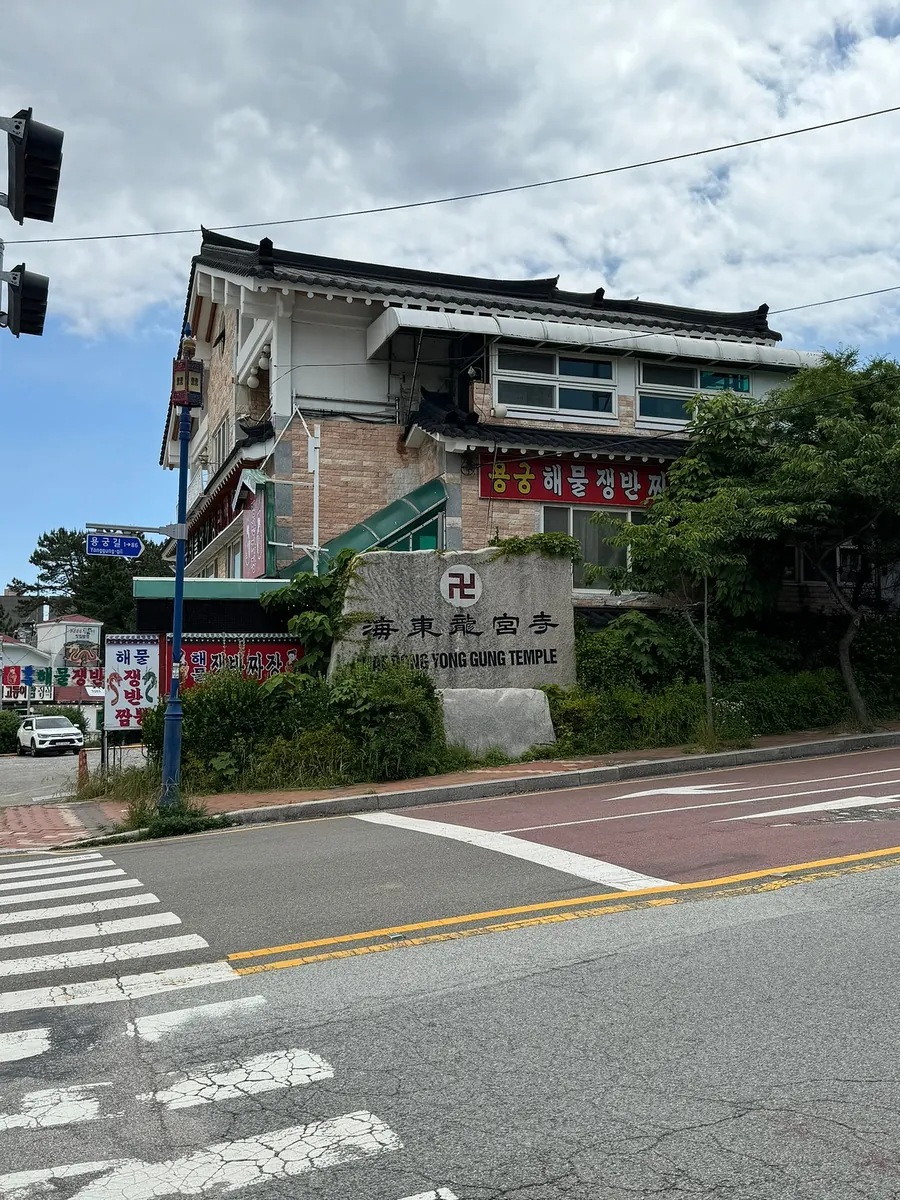

After getting off, walk straight ahead and you will see the sign for Haedong Yonggungsa Temple. Turn right and walk up a hillside path to reach it; the map says it takes 15 minutes, but since it’s uphill, it usually takes about 30 minutes. If you don’t want to walk, you can also take a taxi.
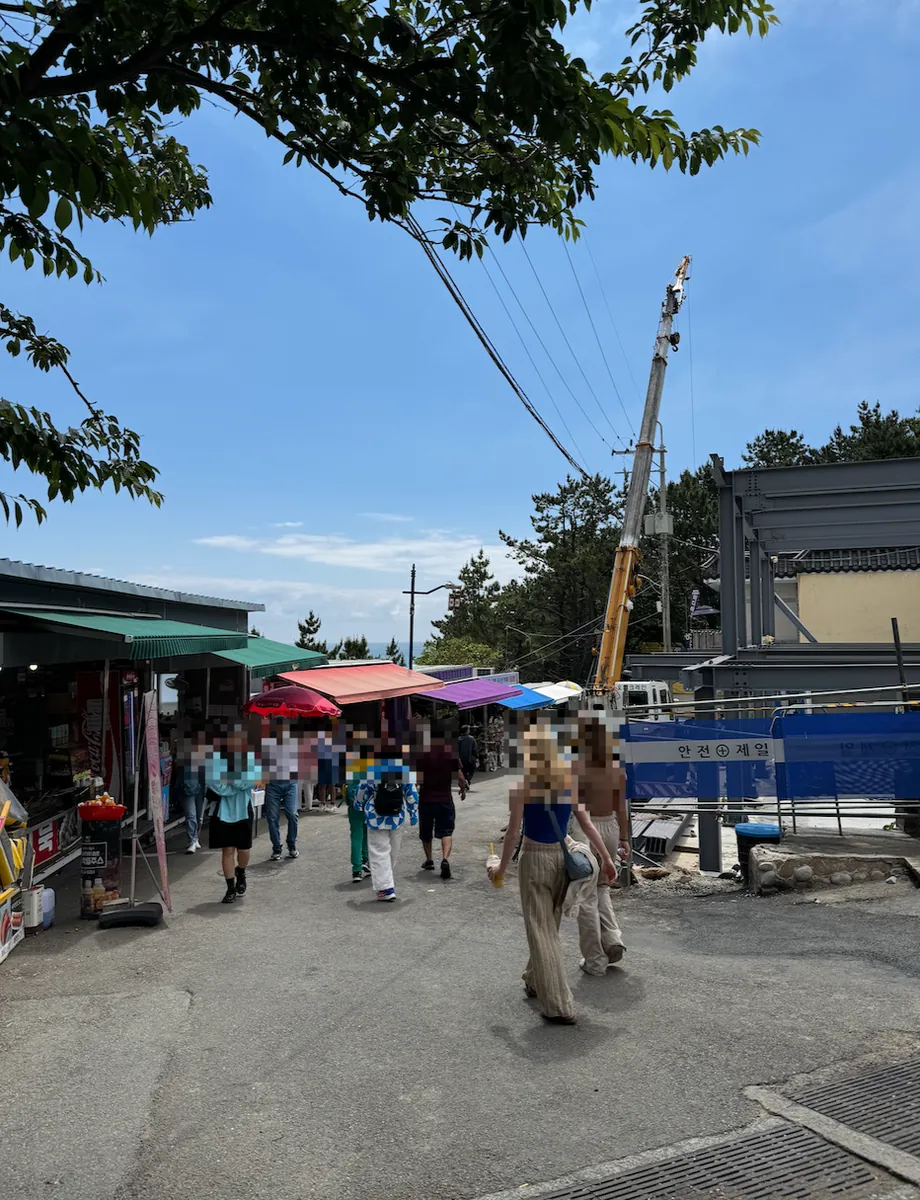
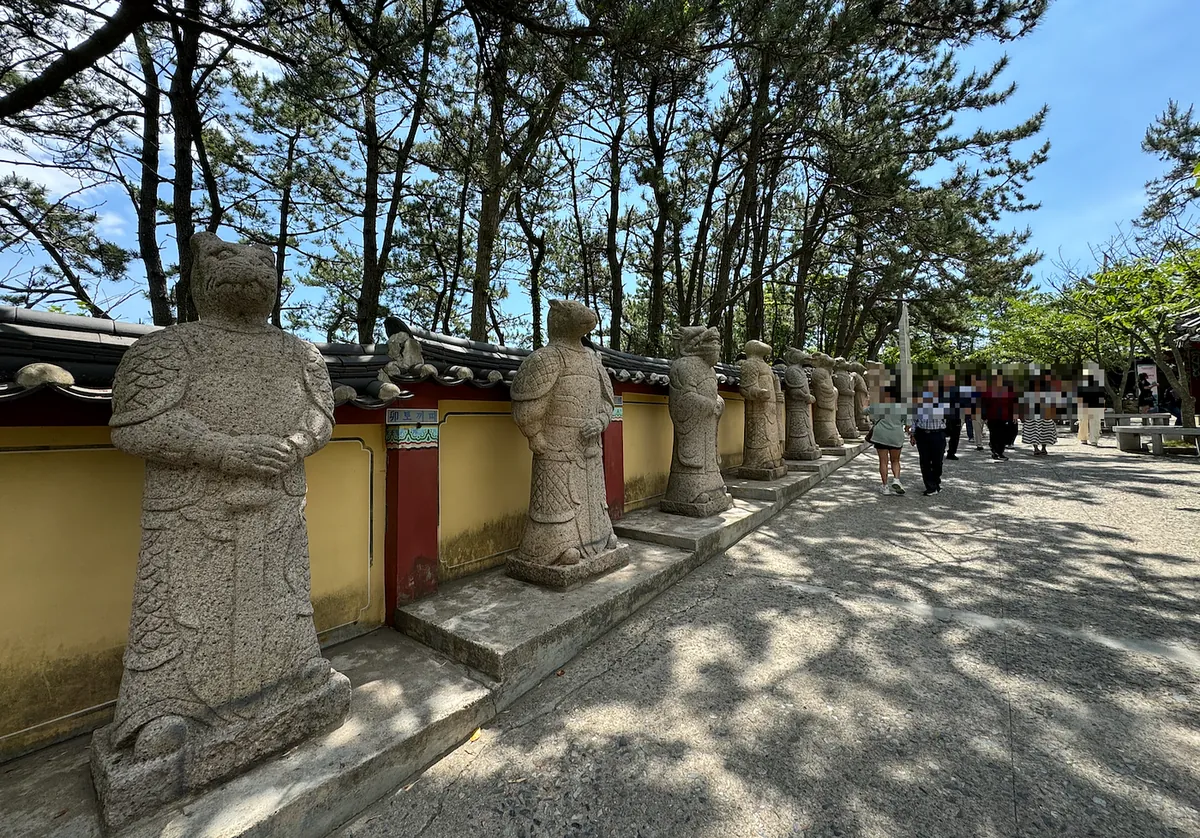
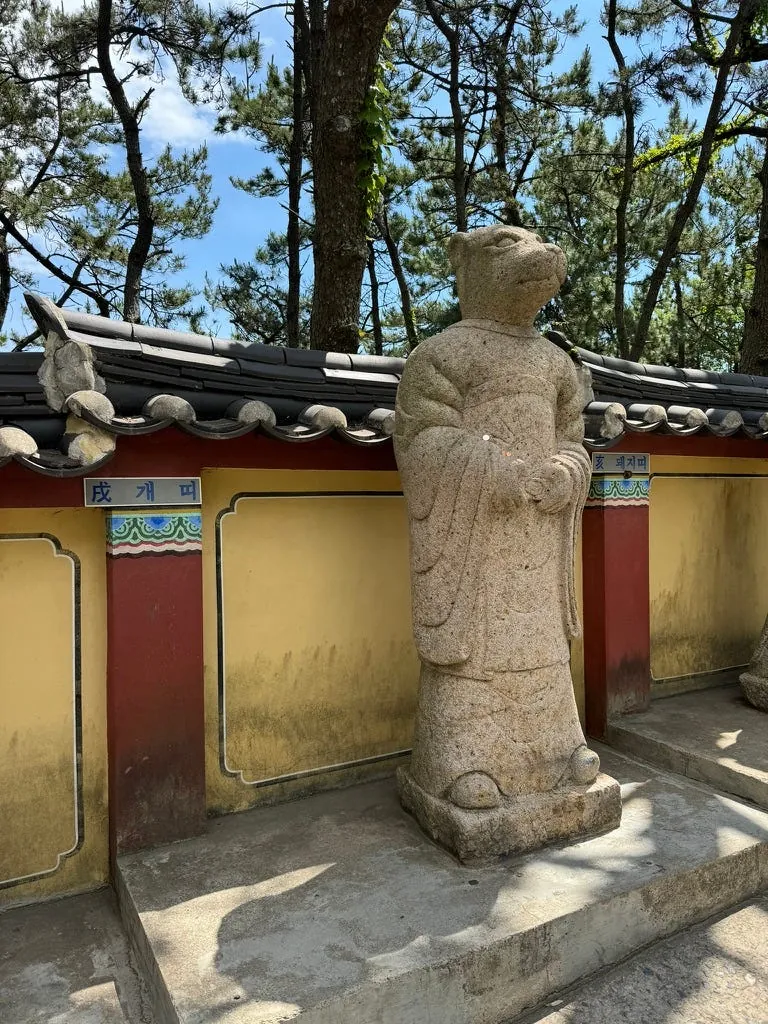
You will first pass through a shopping street, and nearby there is a container market area where you can rest and grab some food. Inside, you can see a row representing the 12 zodiac signs, including the Dog (Year of the Dog).
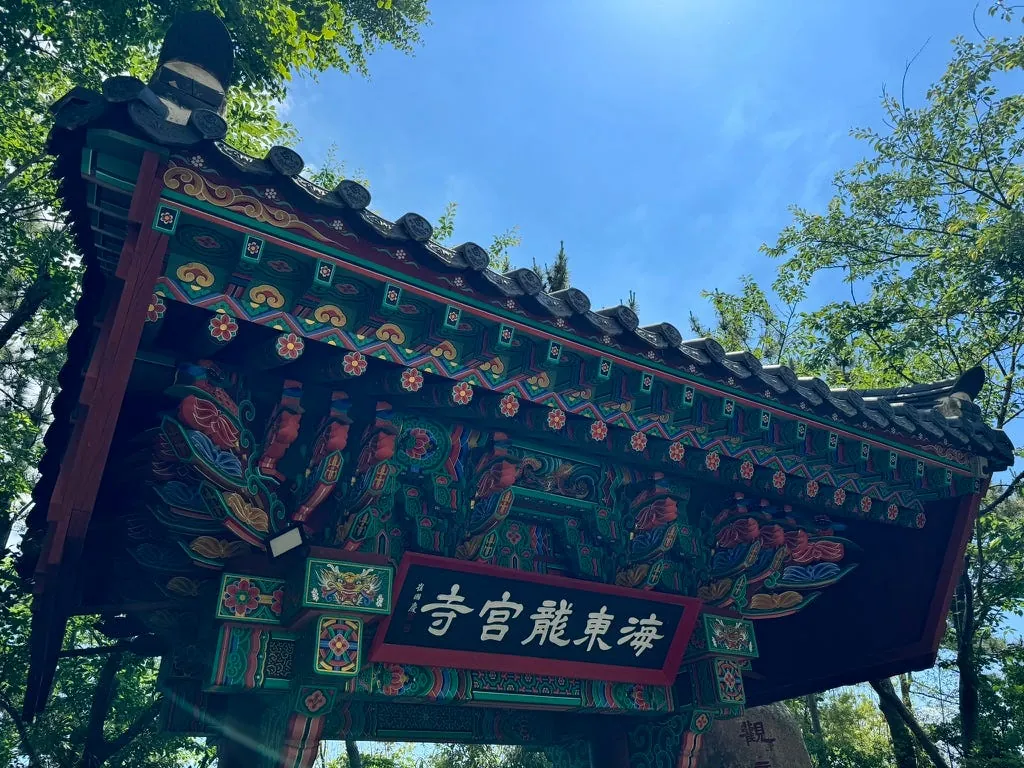
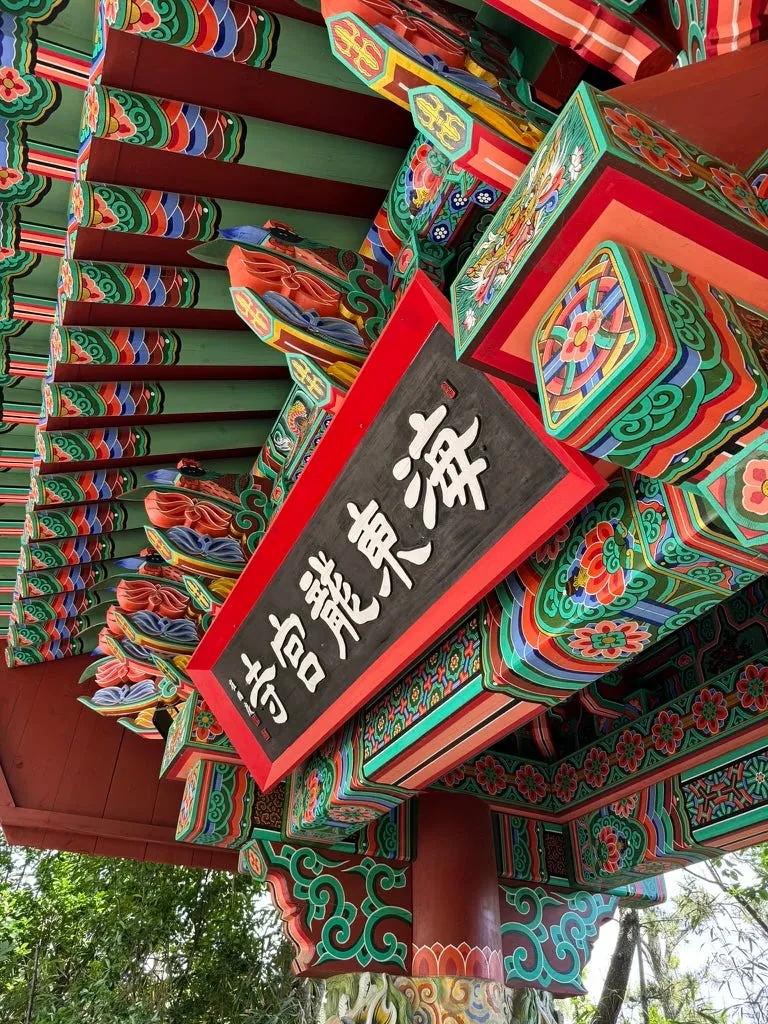
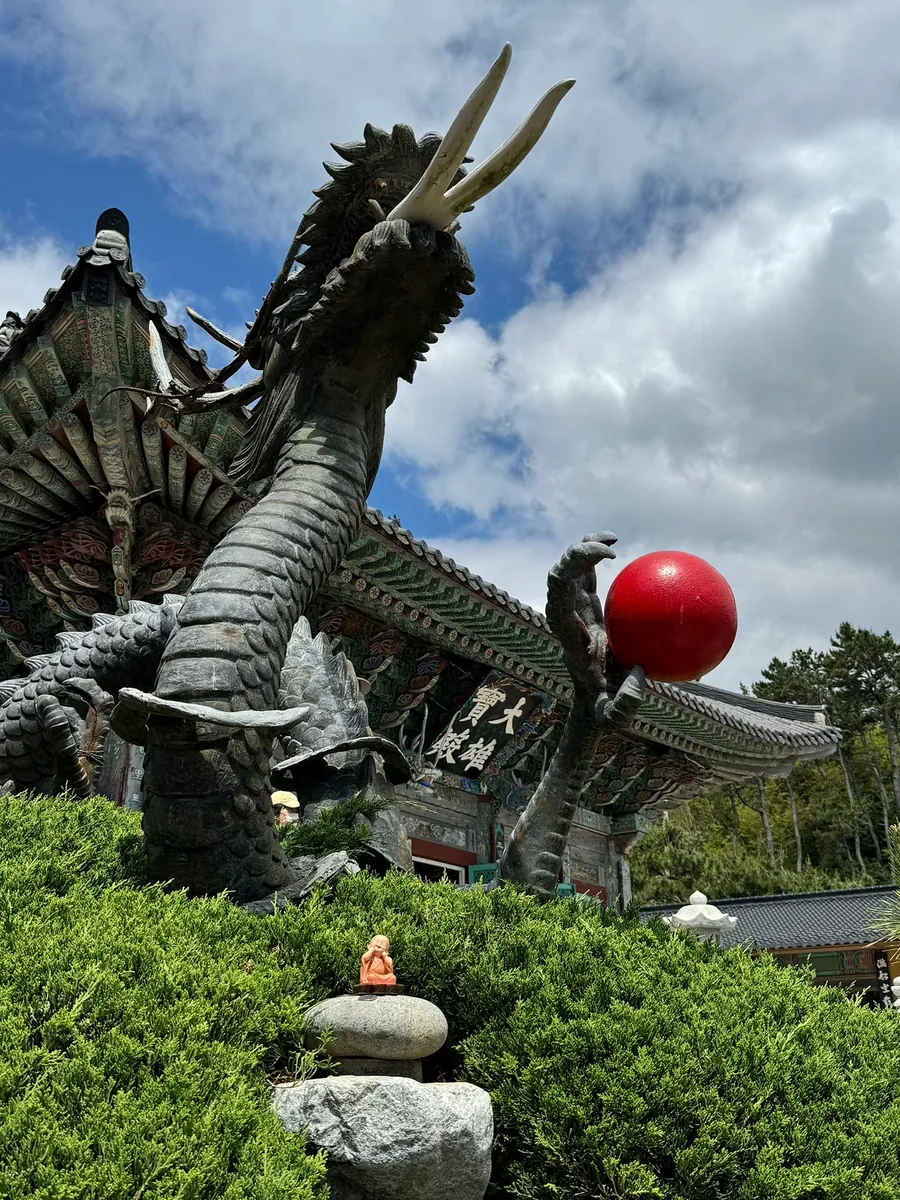
If you walk a bit further, you will see the archway of Haidong Longgong Temple, which is very colorful and distinctive.
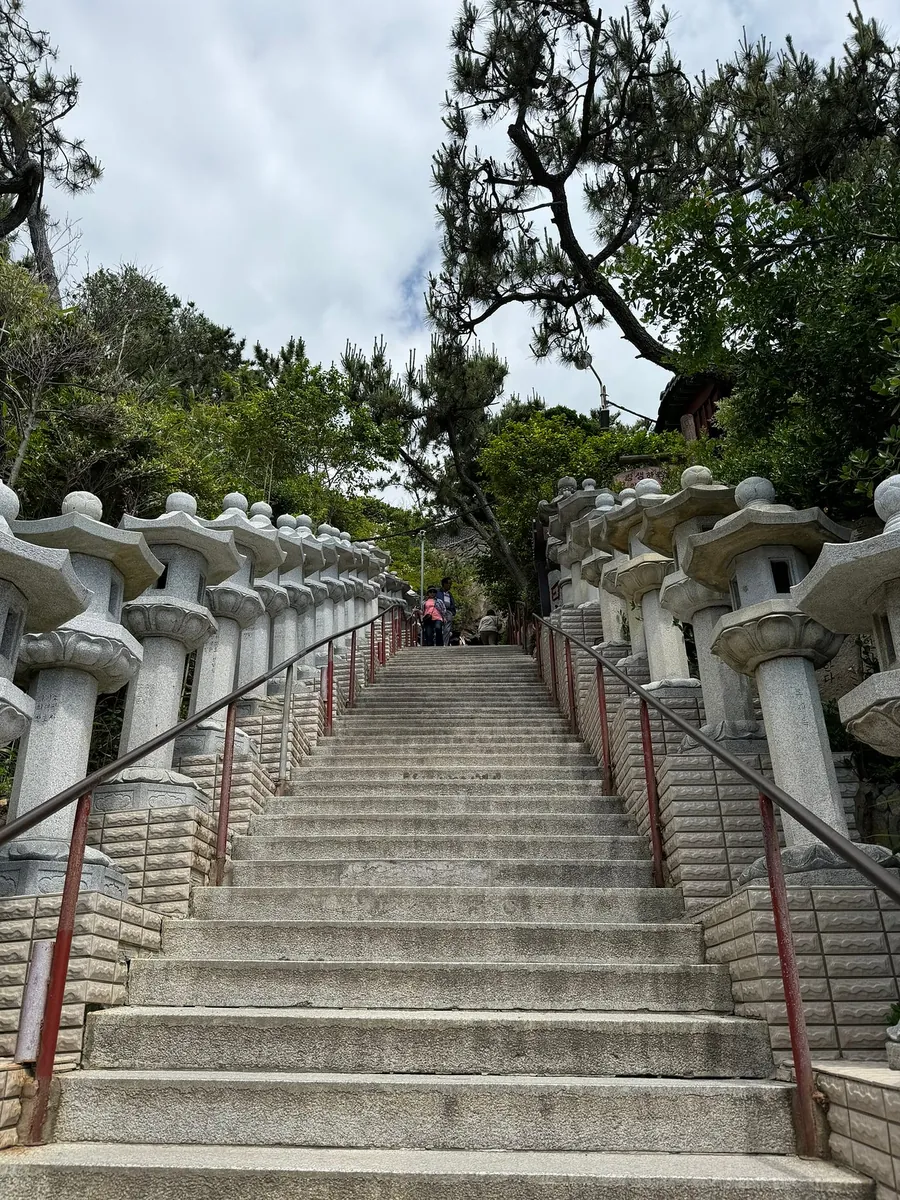
It’s a downhill walk to the main hall of Haidong Longgong Temple, so be careful on the long flight of stairs.
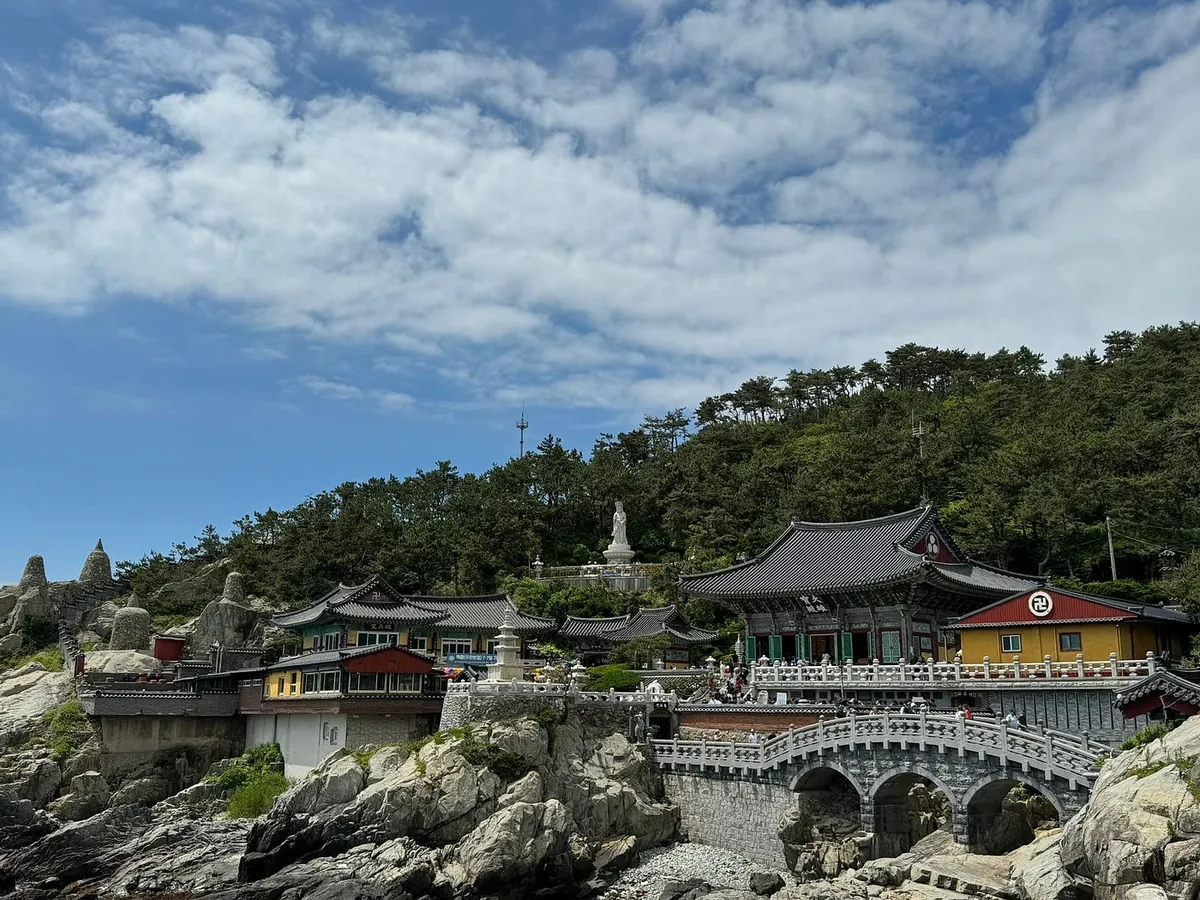
You can first go to the viewing platform on the left to overlook the entire temple.
Entering the main hall, you can buy a tile outside to write your wish on (10,000 KRW).
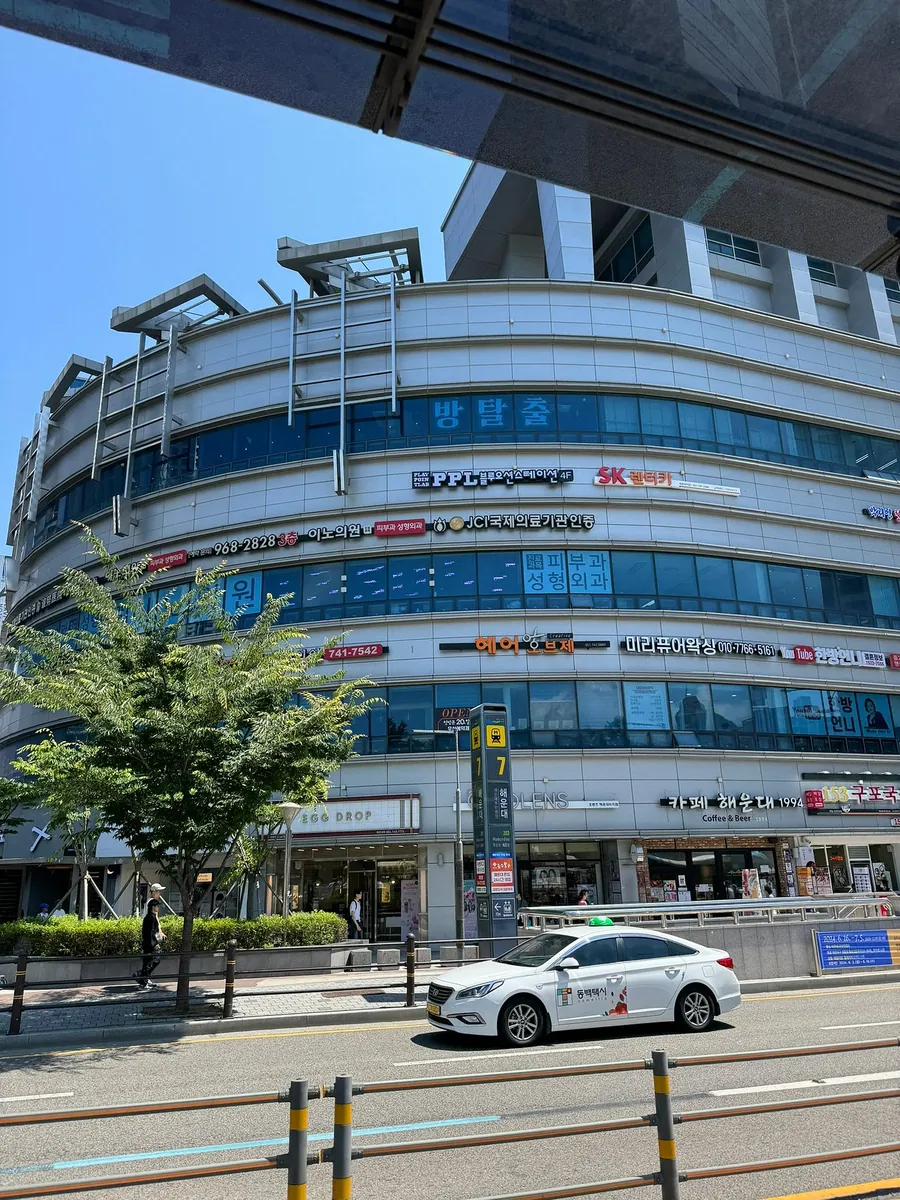
Haeundae
Take bus 1001 again from the Haedong Yonggungsa Temple bus stop back to Haeundae (about 1 hour).
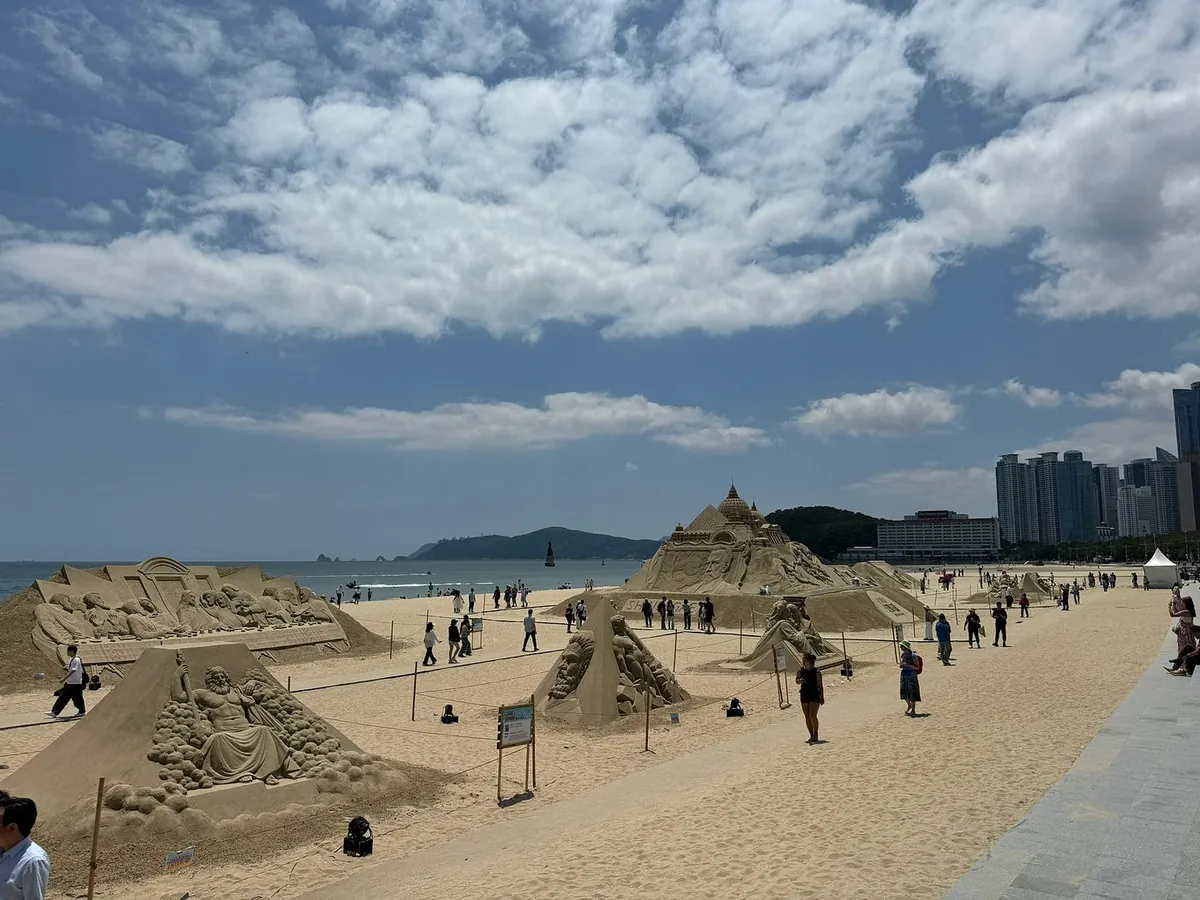
The sun was shining brightly that day, and there was a sand sculpture exhibition on the beach.
Be careful going down the stairs. I saw a Korean man miss a step and fall into a pile of sand (fortunately, it was just sand).
Hi
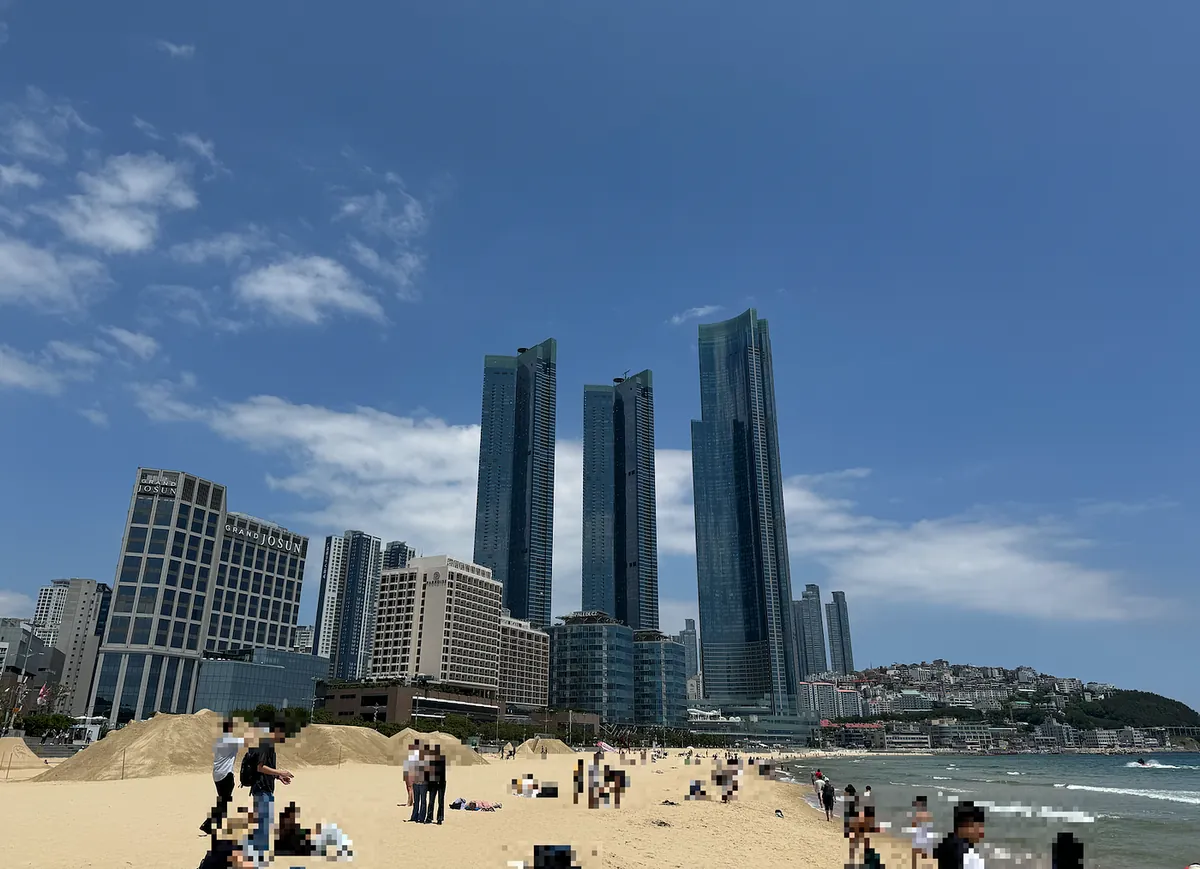
Haeundae LCT, a landmark building in Busan.
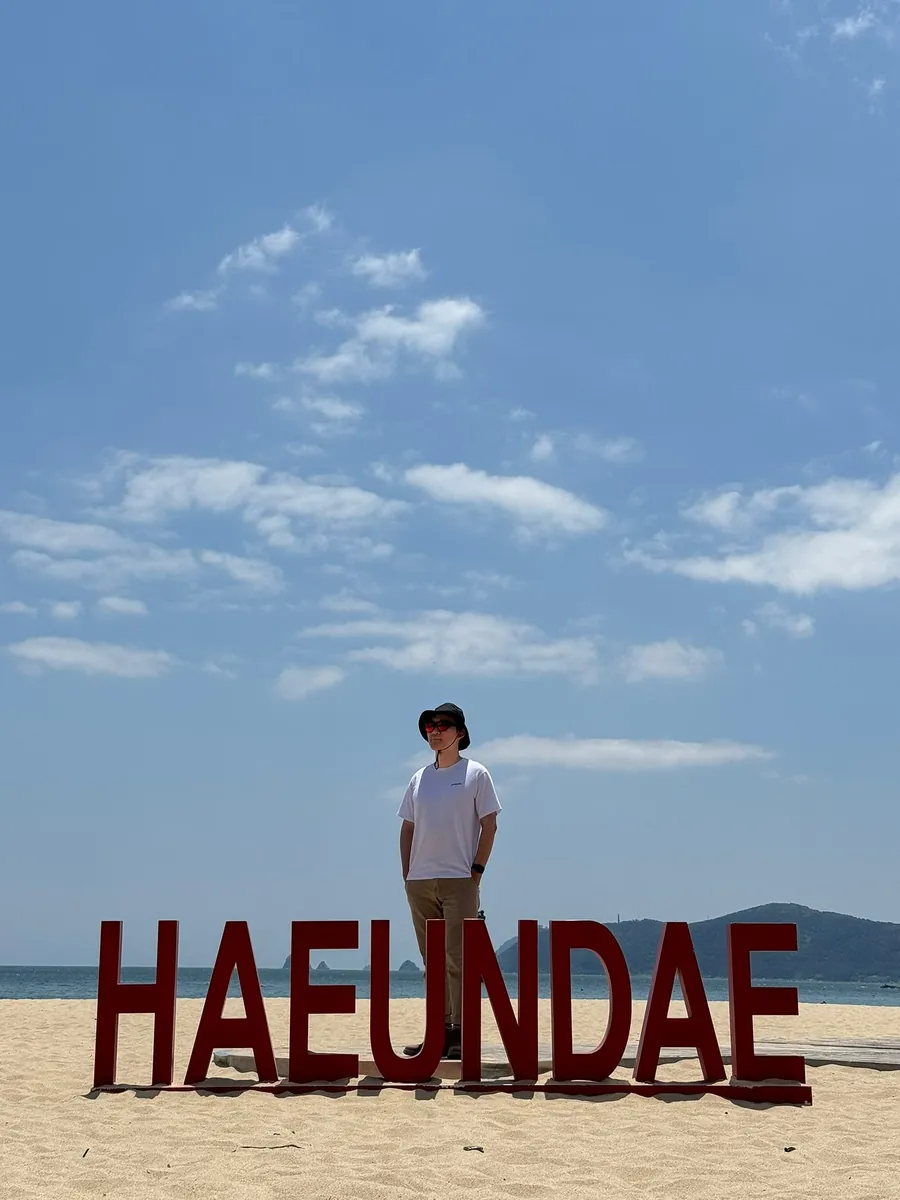
HAEUNDAE Haeundae, clear blue sky.
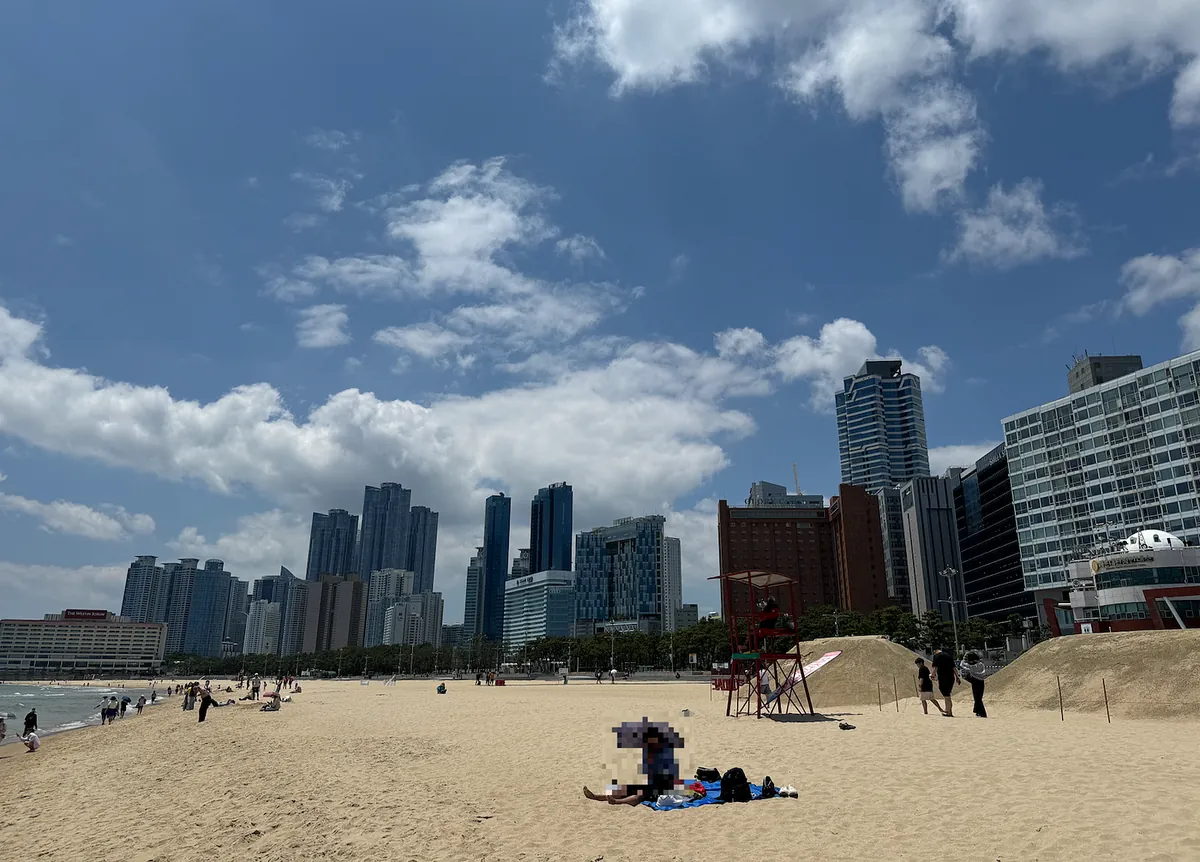
Haeundae Beach has lifeguards and marked red-line zones, and water activities can also be arranged.
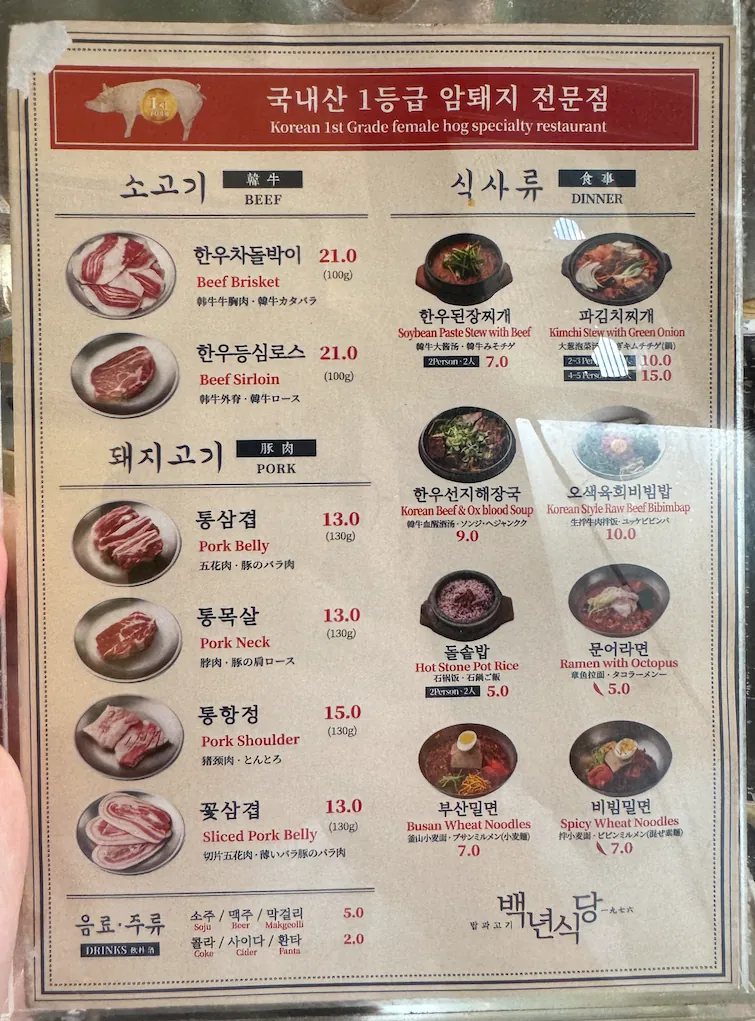
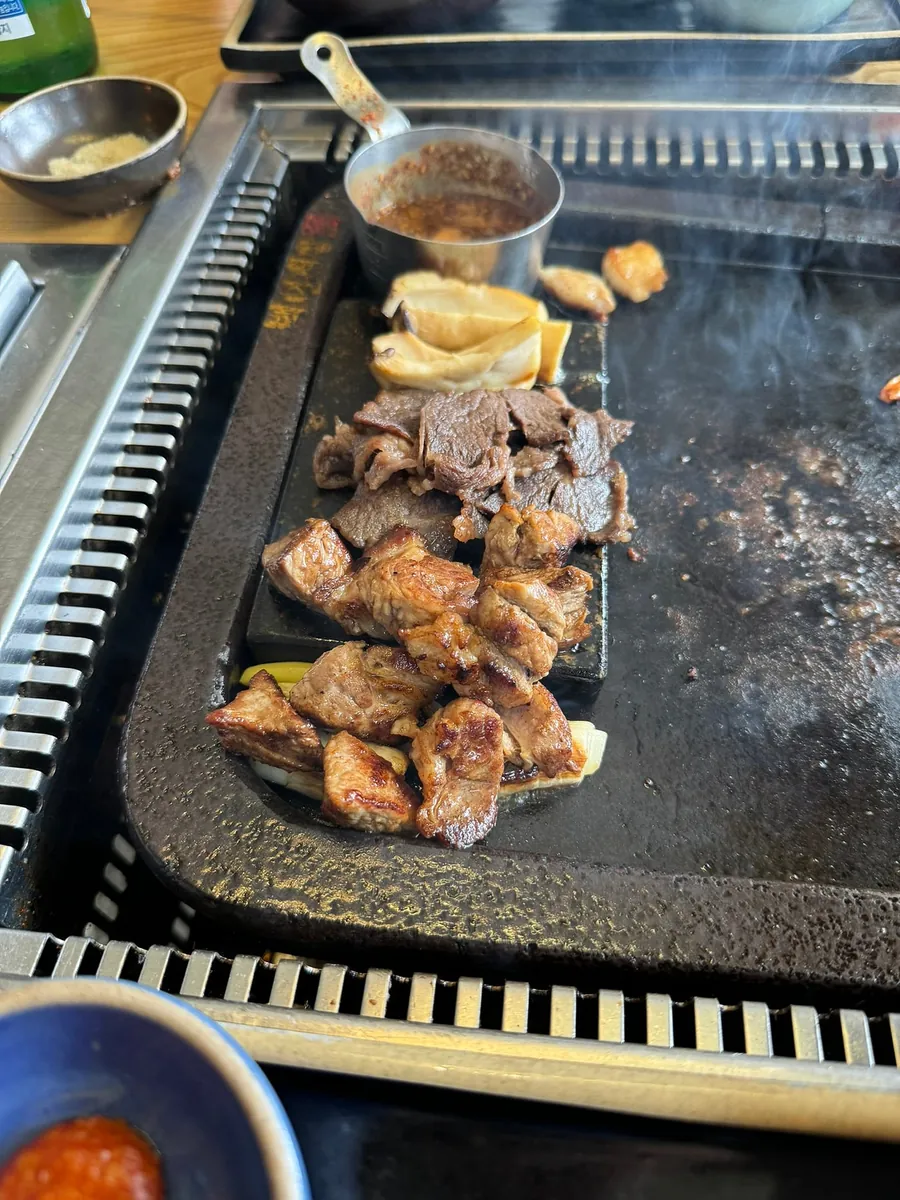
For lunch, we ate Korean BBQ near Haeundae at Baegnyeon Sikdang. The staff grilled the meat for us. We ordered Korean beef sirloin and pork neck, both very delicious. We also had a stone pot rice with a strong crispy rice crust aroma. The meal was shared between two people.
Also ordered Korean beer and soju to drink heartily. (Forgot to try soju beer)
Price 13.0 means 13 * 1000 = 13,000 KRW
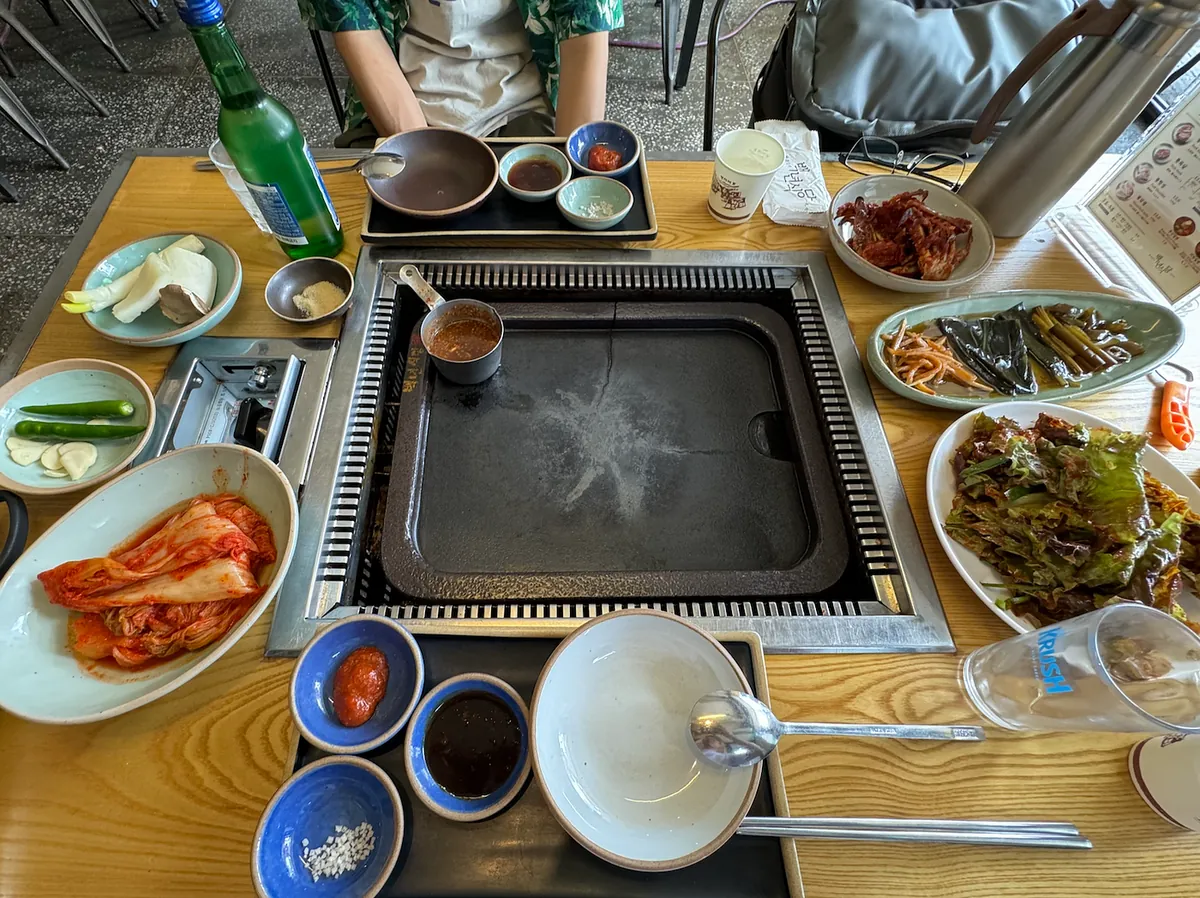
There are also many Korean side dishes, all pickled items, kimchi, and marinated raw crab (supposedly eaten raw but very fishy, so I didn’t try it).
The staff are nice, and their English is fairly good.
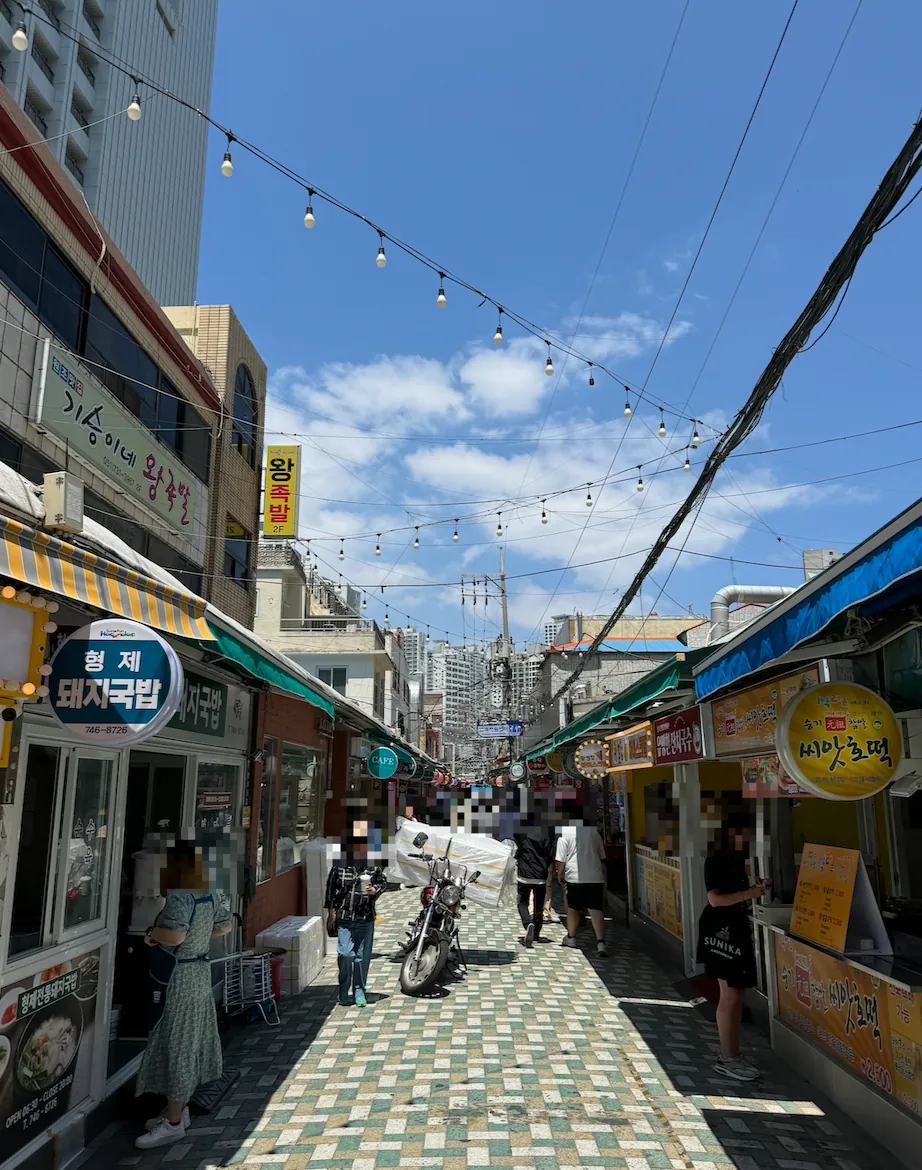
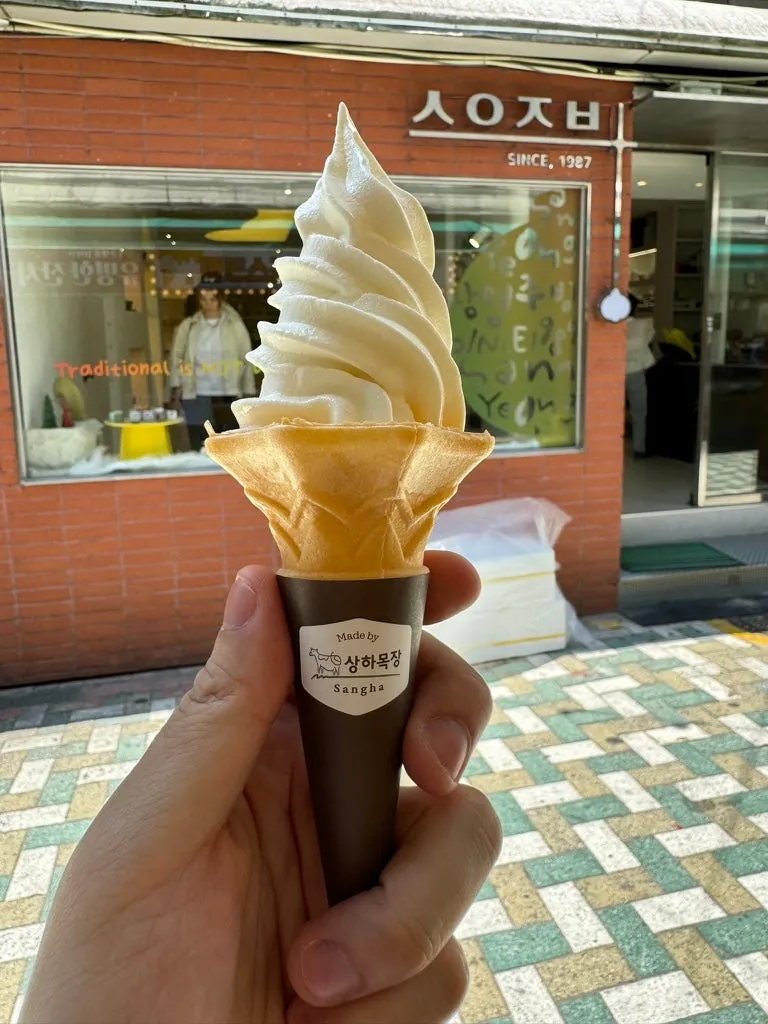
Next to it is the Haeundae Traditional Market, mainly selling local seafood. After buying an ice cream and taking a walk around, I went to another shop that sells ice cream croissants and had a certain tea ice cream croissant (crispy outside, soft inside, delicious!).
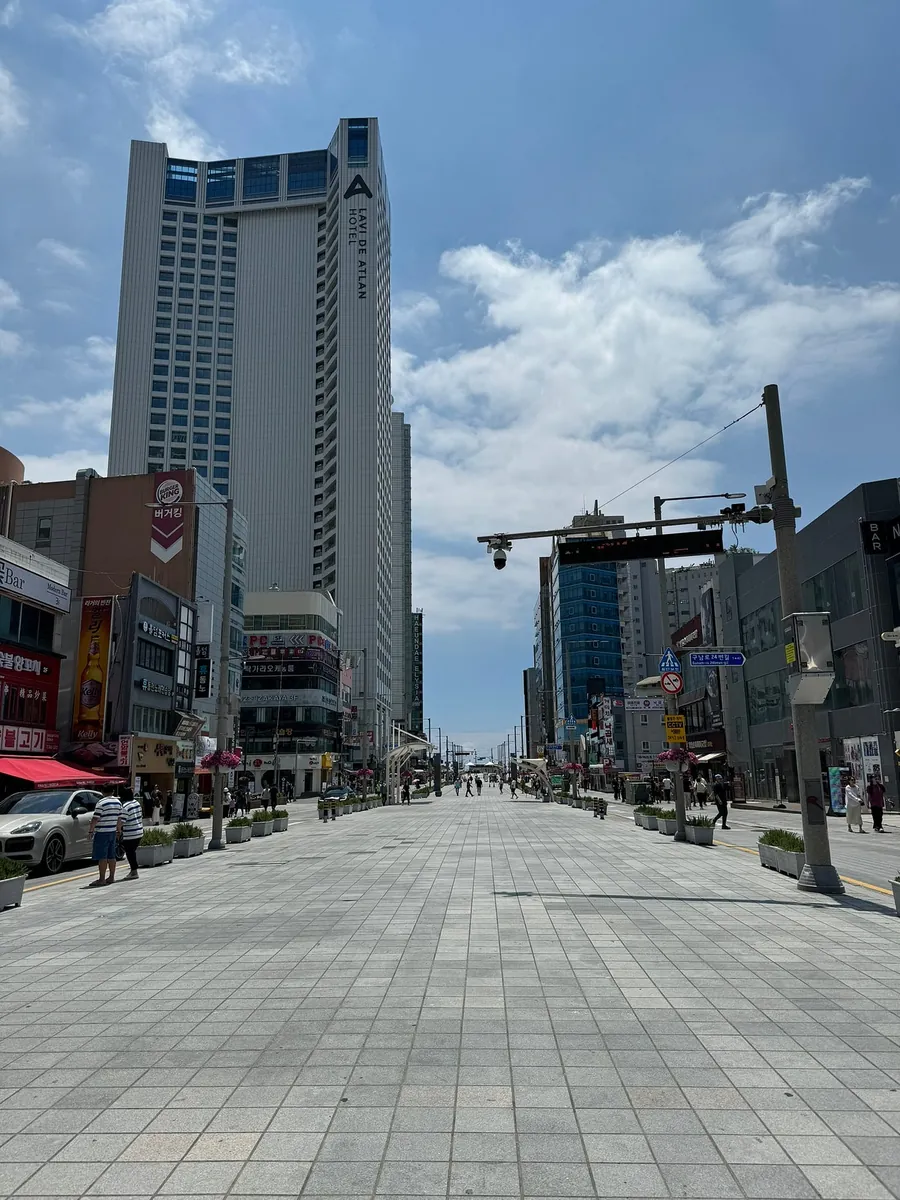
After eating, I forgot that Haeundae also has a monorail and the Haeundae LCT, which is worth visiting (I didn’t research the Busan itinerary carefully when planning). It was around 14:00, so I took the 1001 bus back to Busan Station, planning to decide where to go next or explore around Busan Station.
Back at Busan Station around 15:00, there was still plenty of time before the cruise check-in at 18:30. Upon returning, I realized there was nowhere to explore at Busan Station (it seems there are no department stores, shopping streets, or attractions). I was hesitant to go to Gamcheon Culture Village because it seemed too far, but I found that a few stops down from Busan Station, you can visit Busan Tower and nearby department stores and shopping streets.
Originally planned to go to Busan Tower but got off at the wrong subway station, walked a long way, gave up, and returned.
KKday Busan, South Korea | Yongdusan Park Busan Tower Observatory Electronic Ticket .
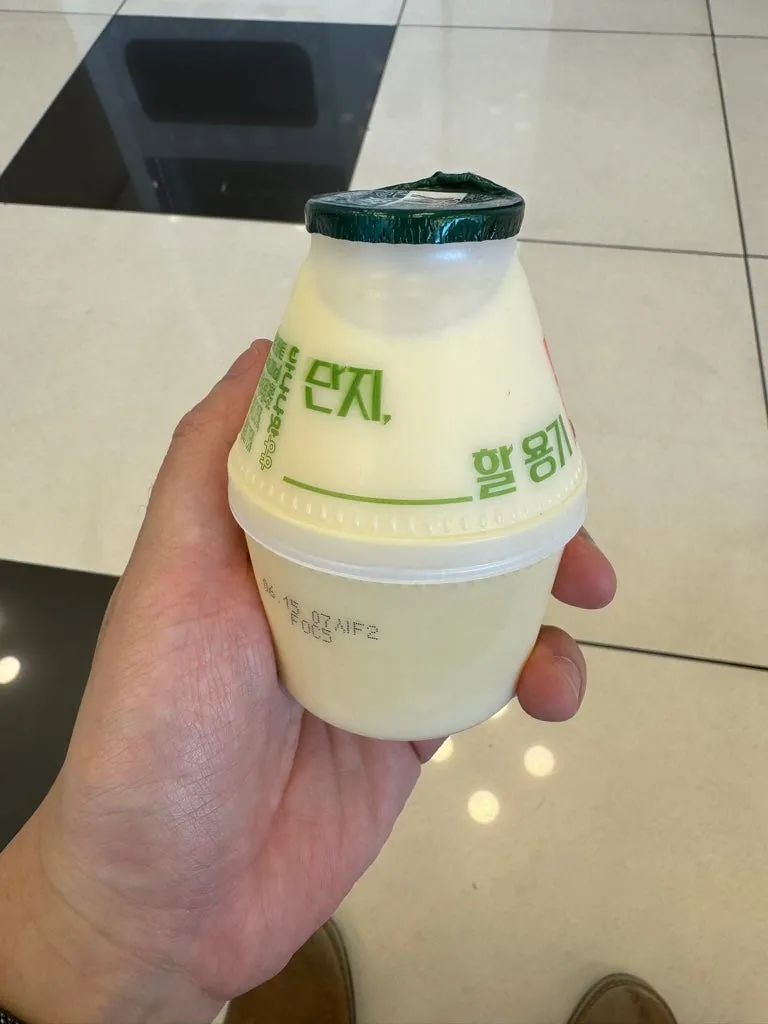
Bought the famous Korean banana milk to drink.
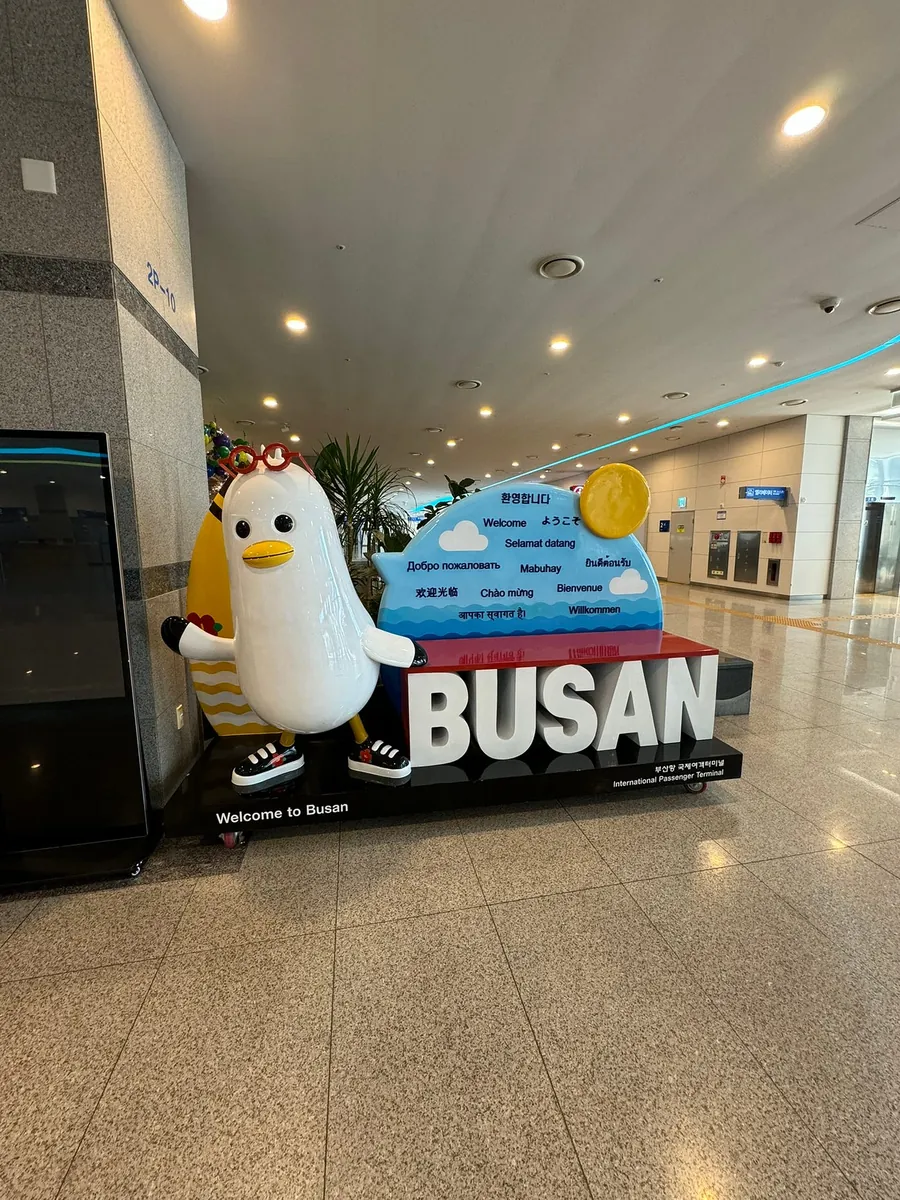
17:00 Head to Busan Port International Ferry Terminal
Around 5 PM, after wandering near Busan Station, I went to the hotel to pick up my luggage and headed to Busan Port International Passenger Terminal.
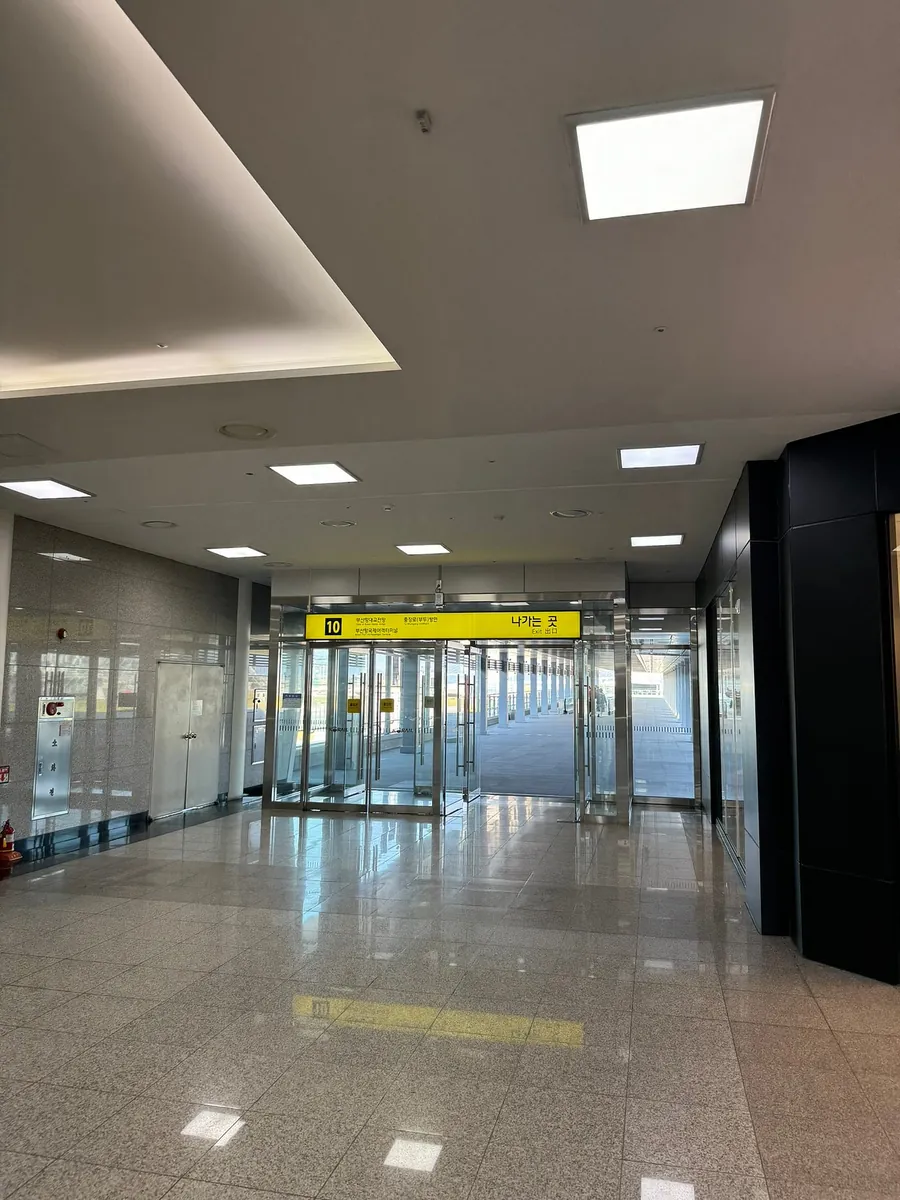
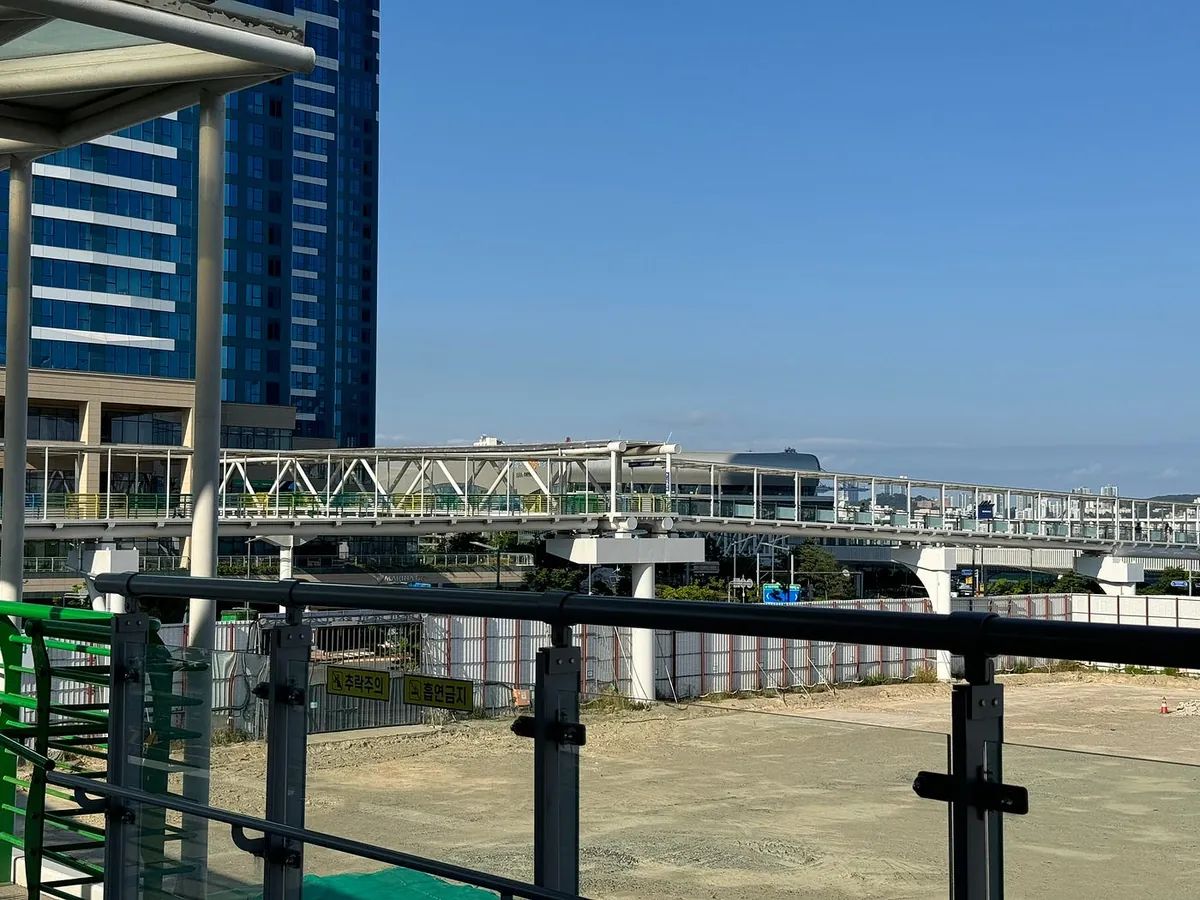
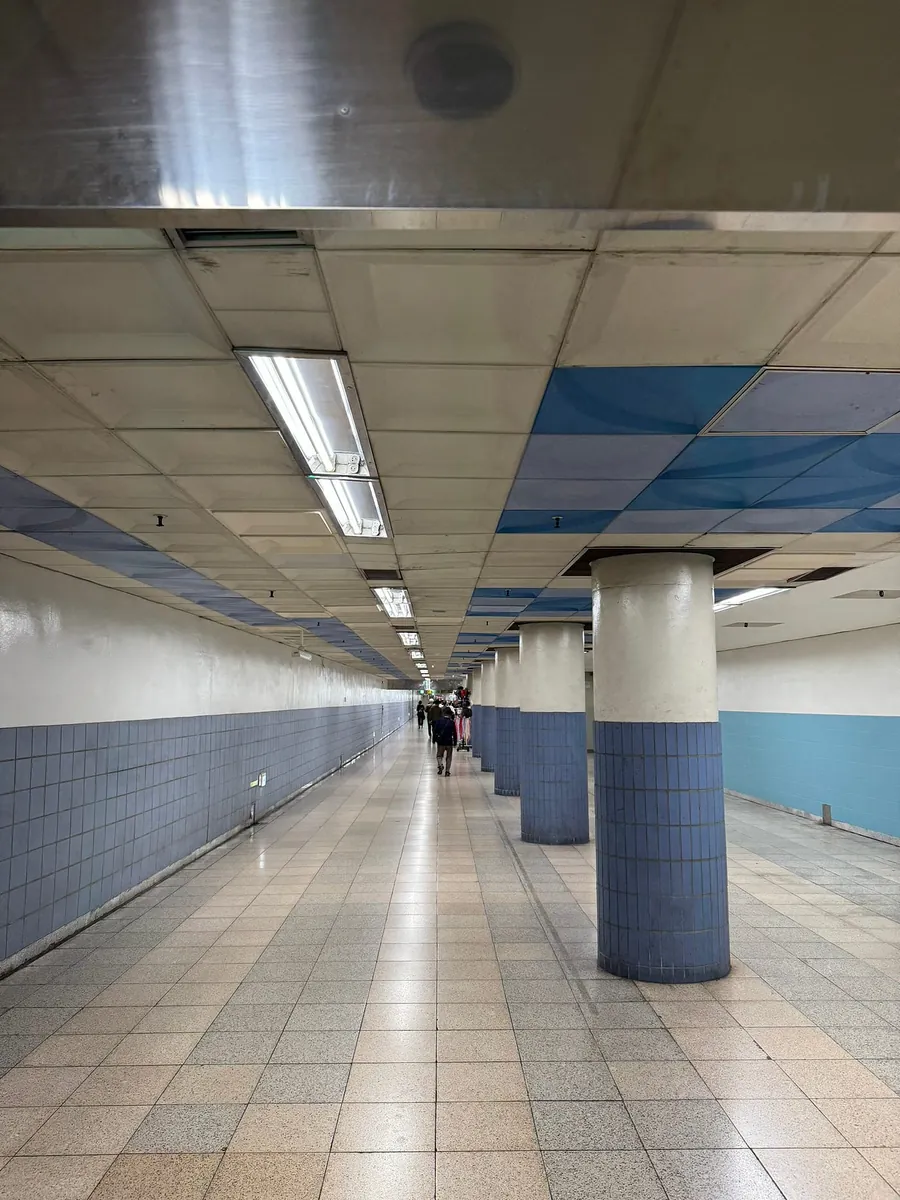
Enter the Busan Station lobby (2nd floor), find Exit 10, and walk along the skybridge to reach Busan Port International Ferry Terminal (about a 15-minute walk).
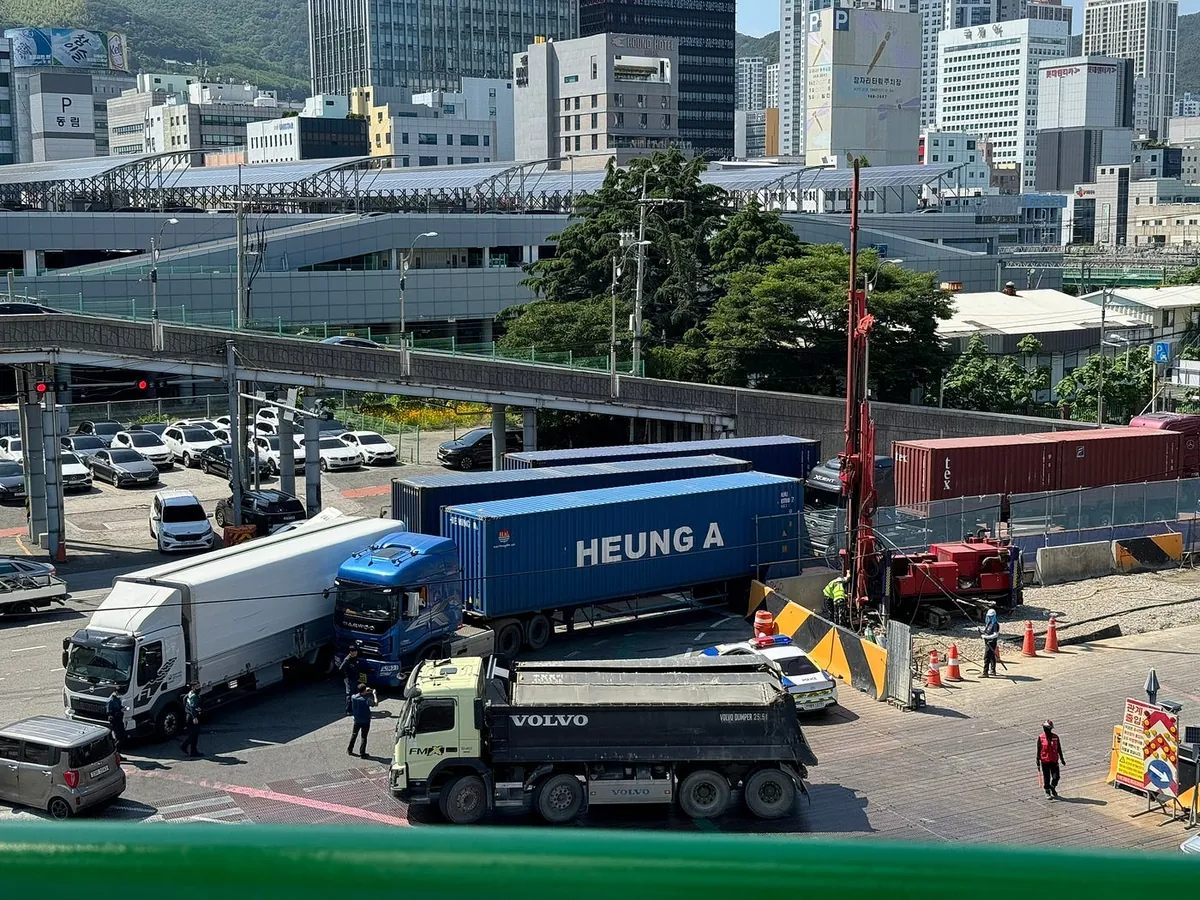
Never take the ground-level road; there are many large vehicles, and it is very dangerous.
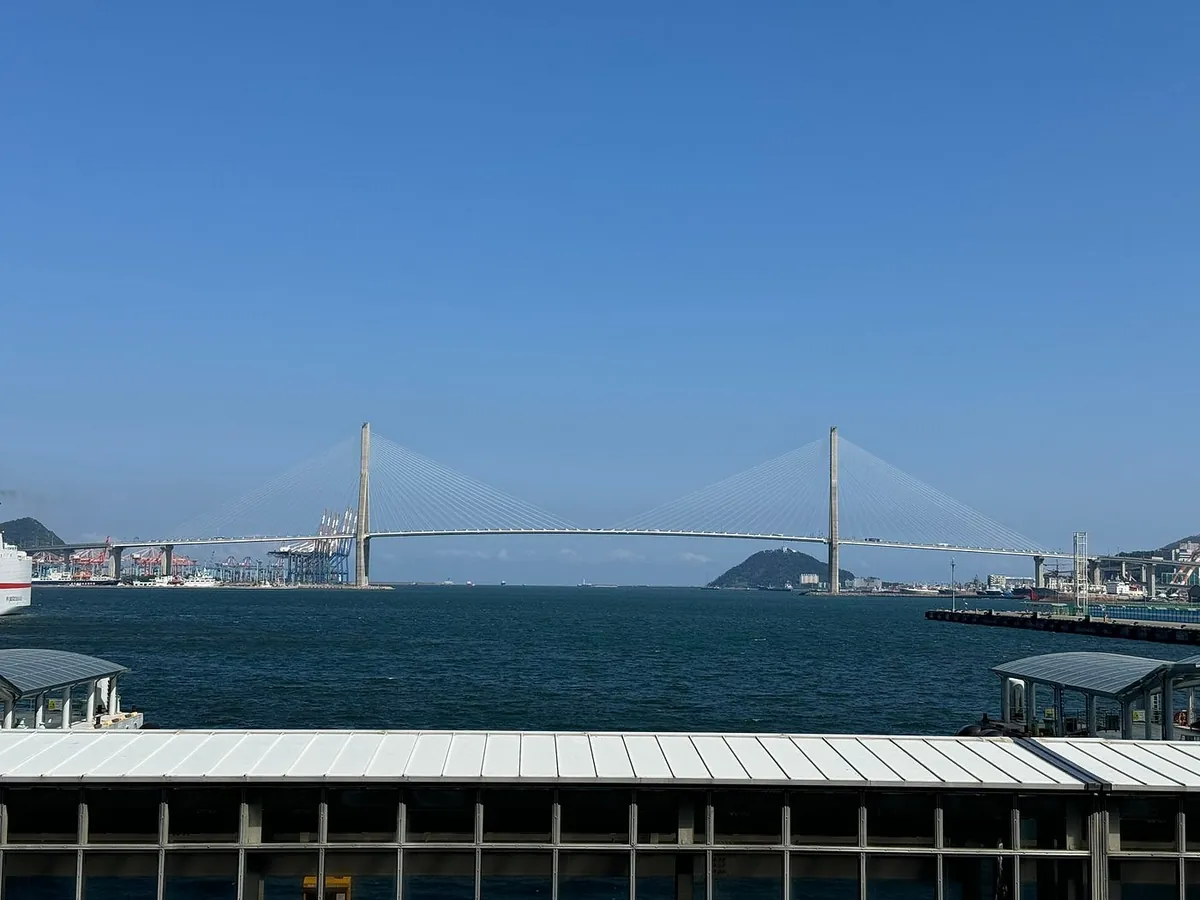
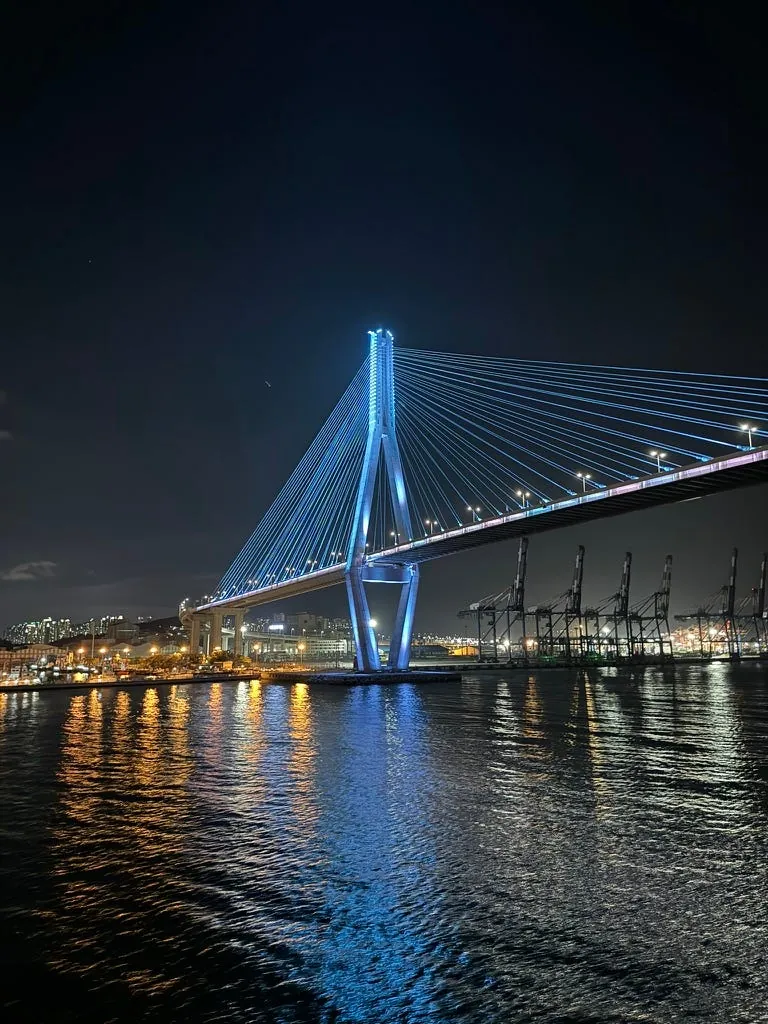
Busan Port Bridge during the day.
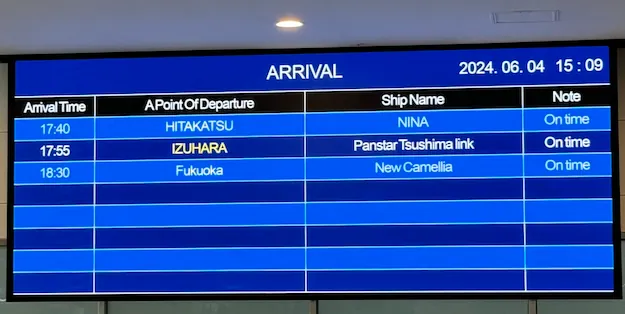
Busan Port International Passenger Terminal (pier) is quite empty inside, with few people, as daily flights are also limited; besides trips to Fukuoka Hakata, there are cruises to Shimonoseki, Tsushima Island, Osaka, Kumamoto, and more.
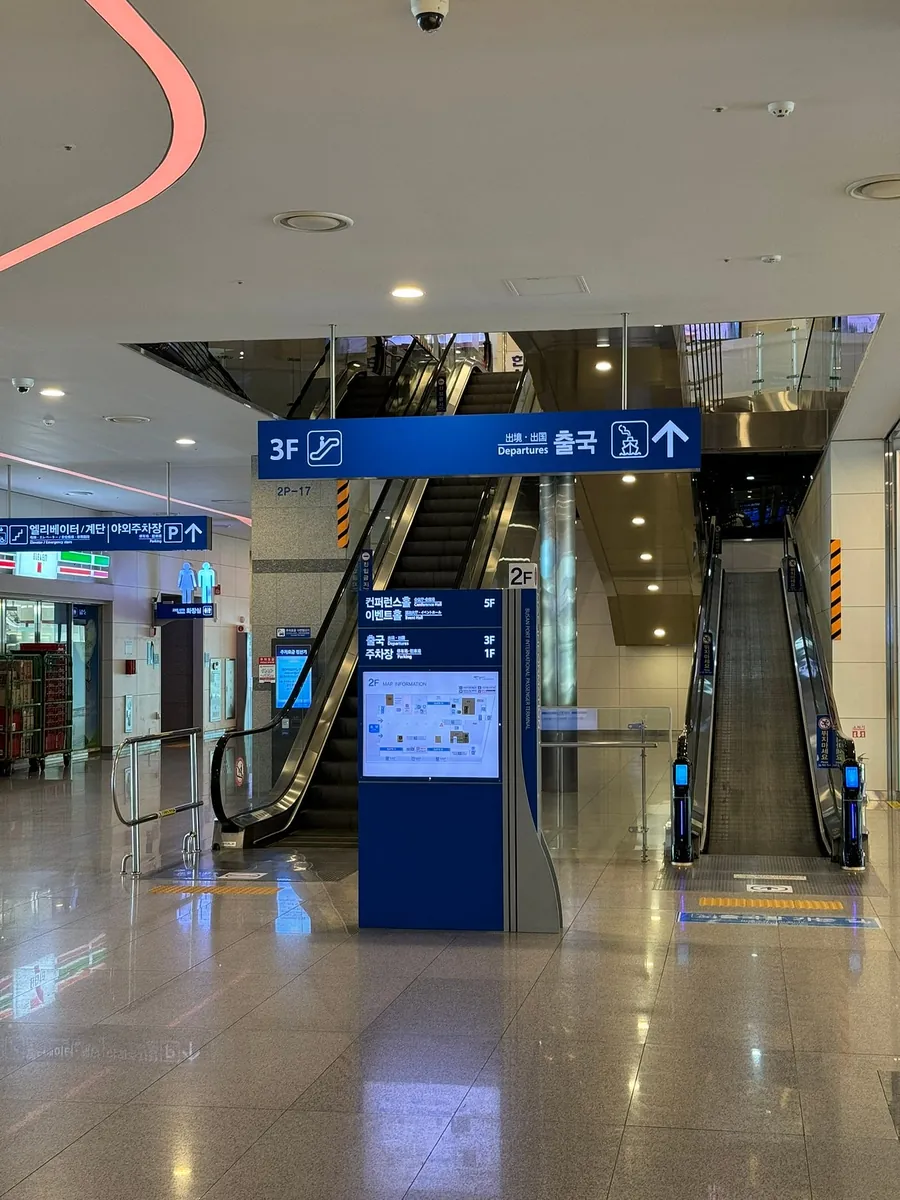
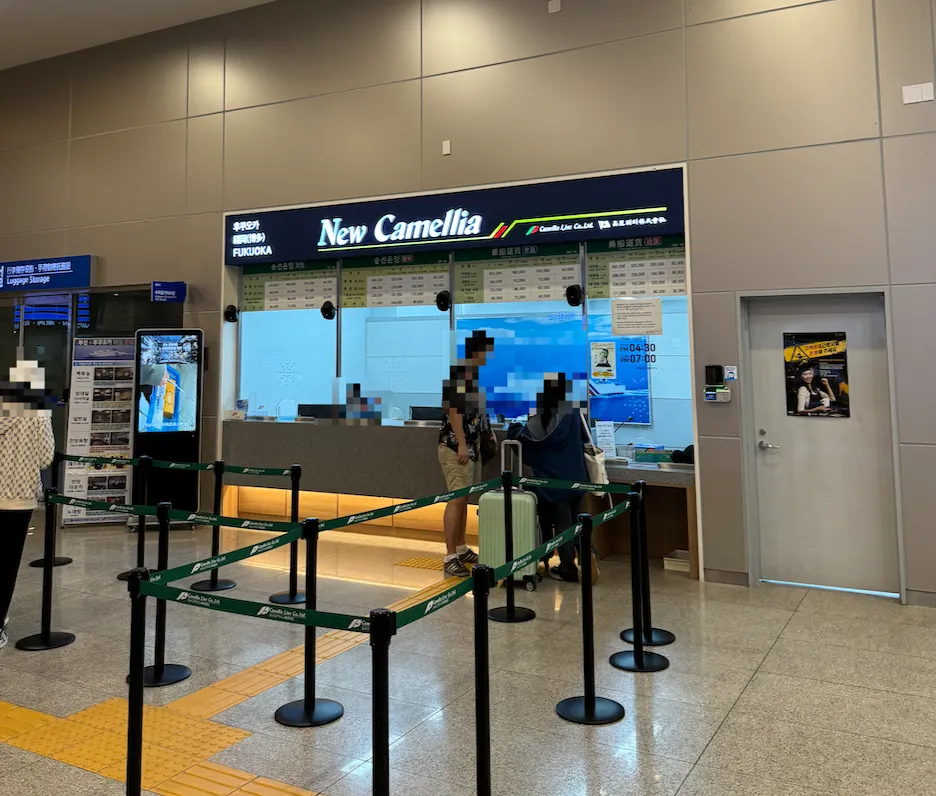
From the lobby, go up to the 3rd floor departure area and first go to New Camellia to exchange your ferry ticket. (Passport required)
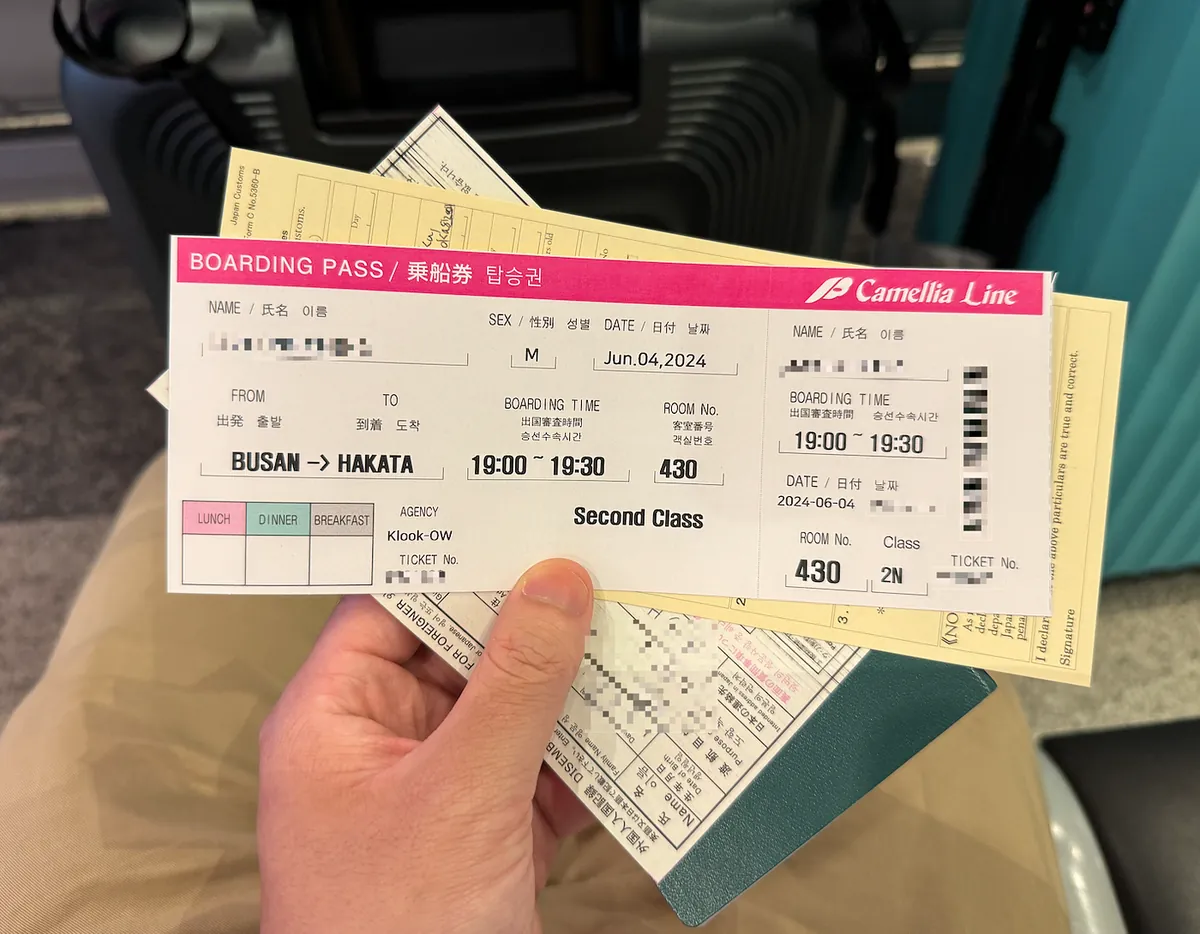
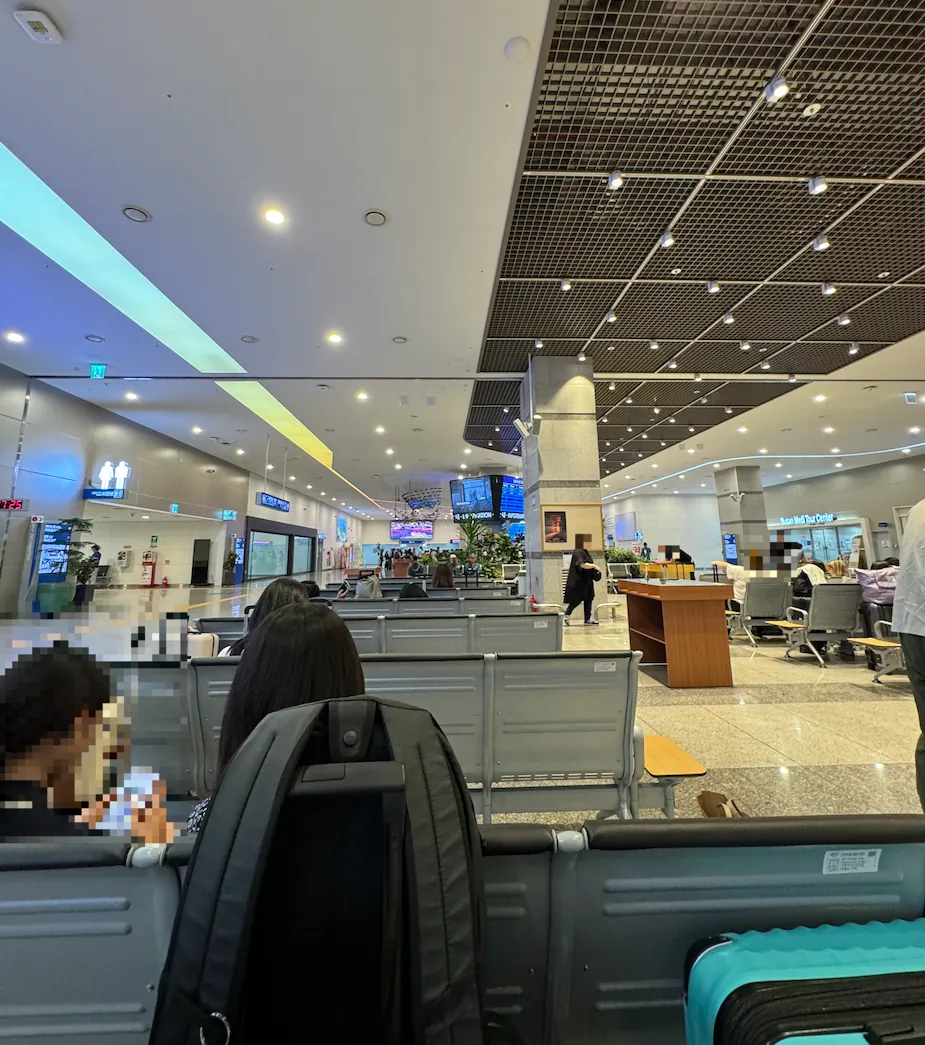
Around 17:30, boarding began. The waiting area for departure is very spacious; you can actually walk around and buy food to bring on the boat.

Things to Note:
Hakata Port does NOT support electronic customs clearance, so please be sure to fill out the arrival card and customs declaration form ⚠️
You can bring food and water without putting them in your suitcase since there is no need to check in luggage; the suitcase stays with you on the ship.
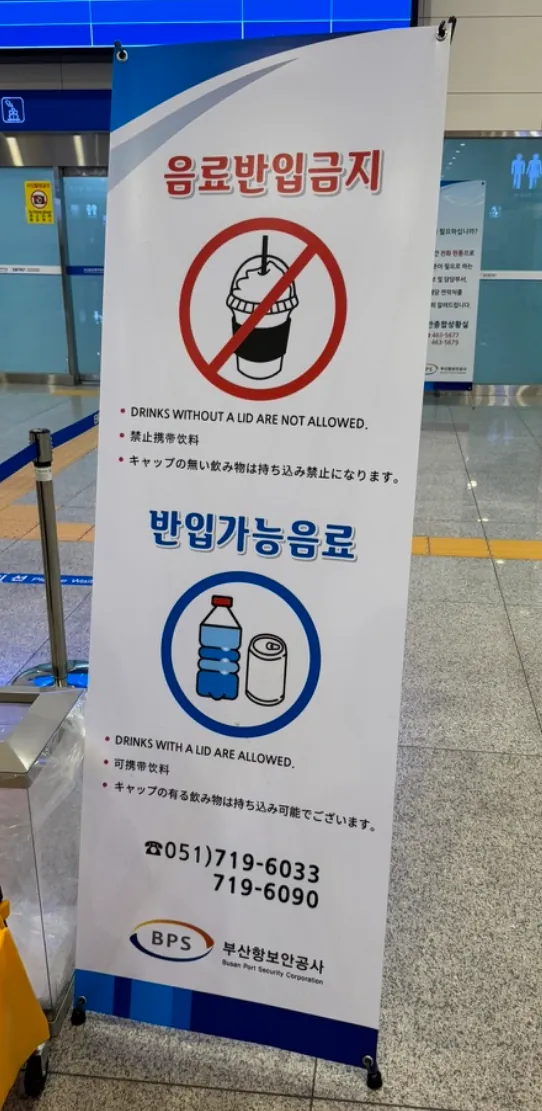
Holding a drink alone is not allowed
The entire departure process was very quick, and the security check was just a formality (everything went through the X-ray).
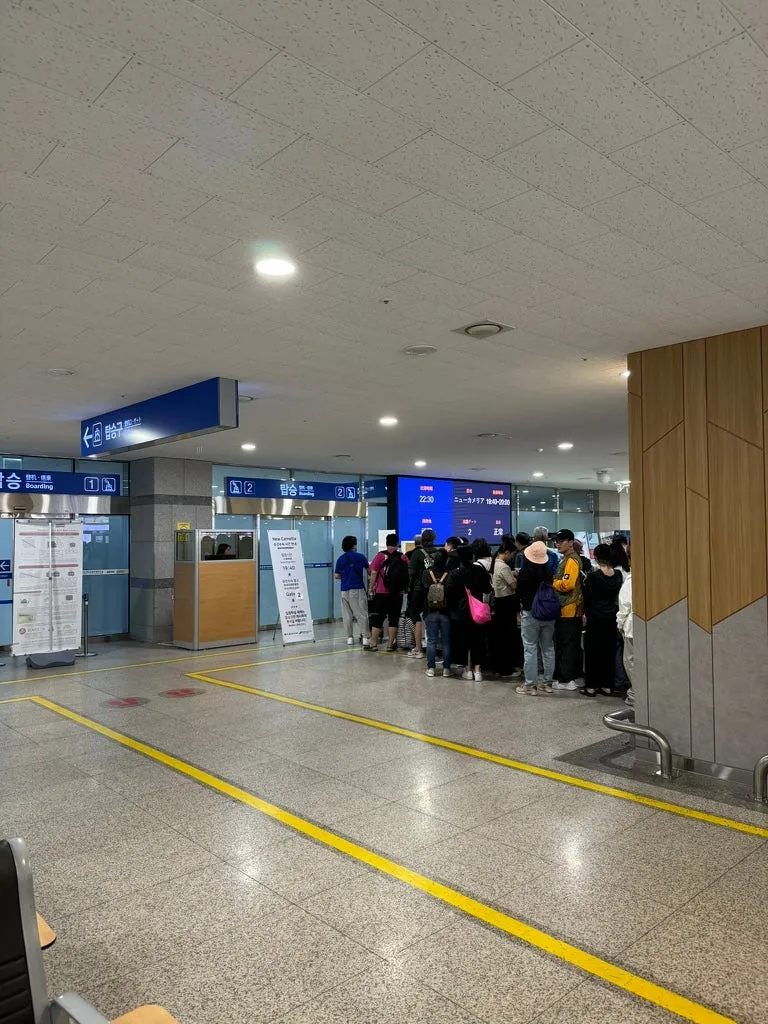
18:30 Departure gates open.
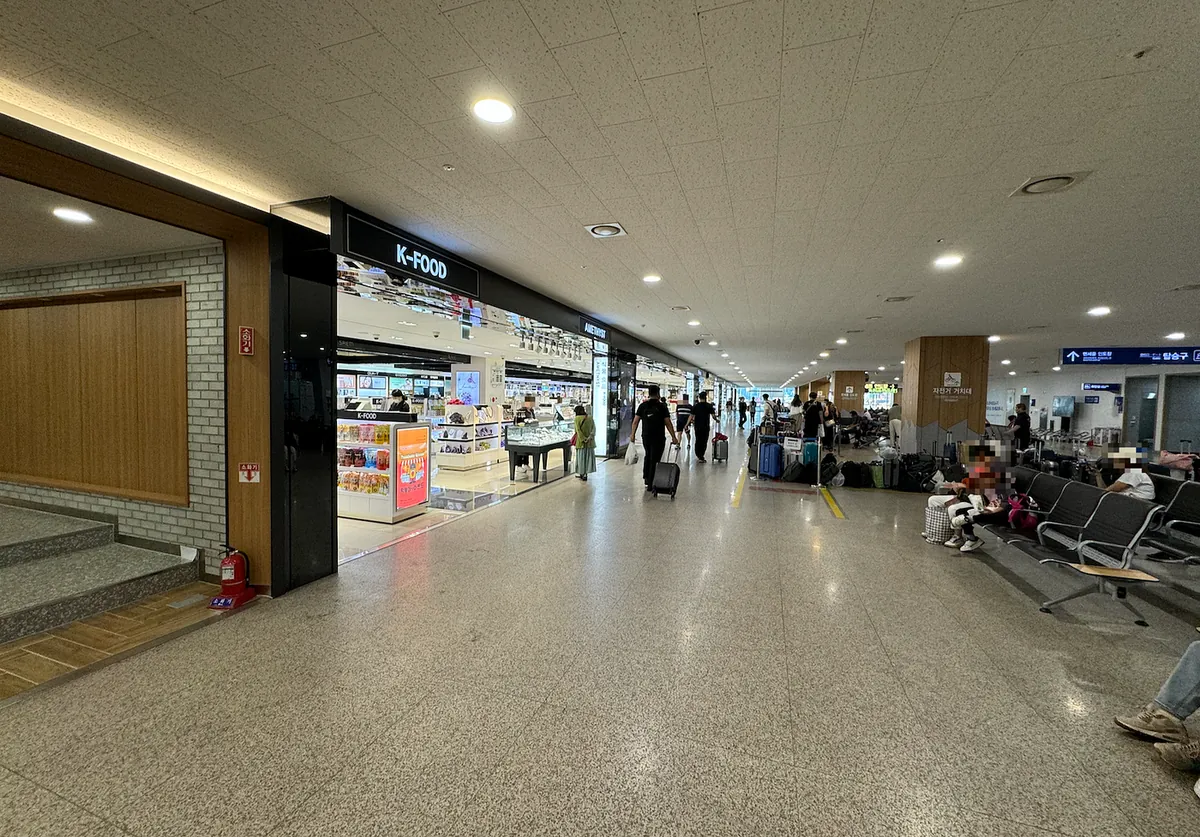
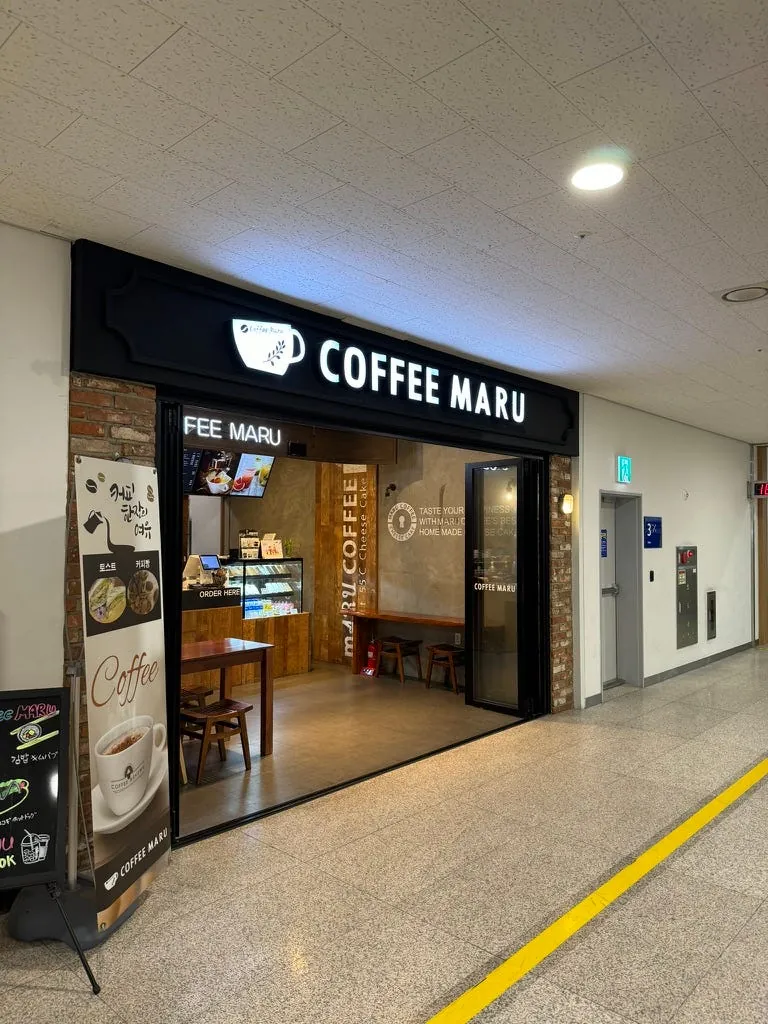
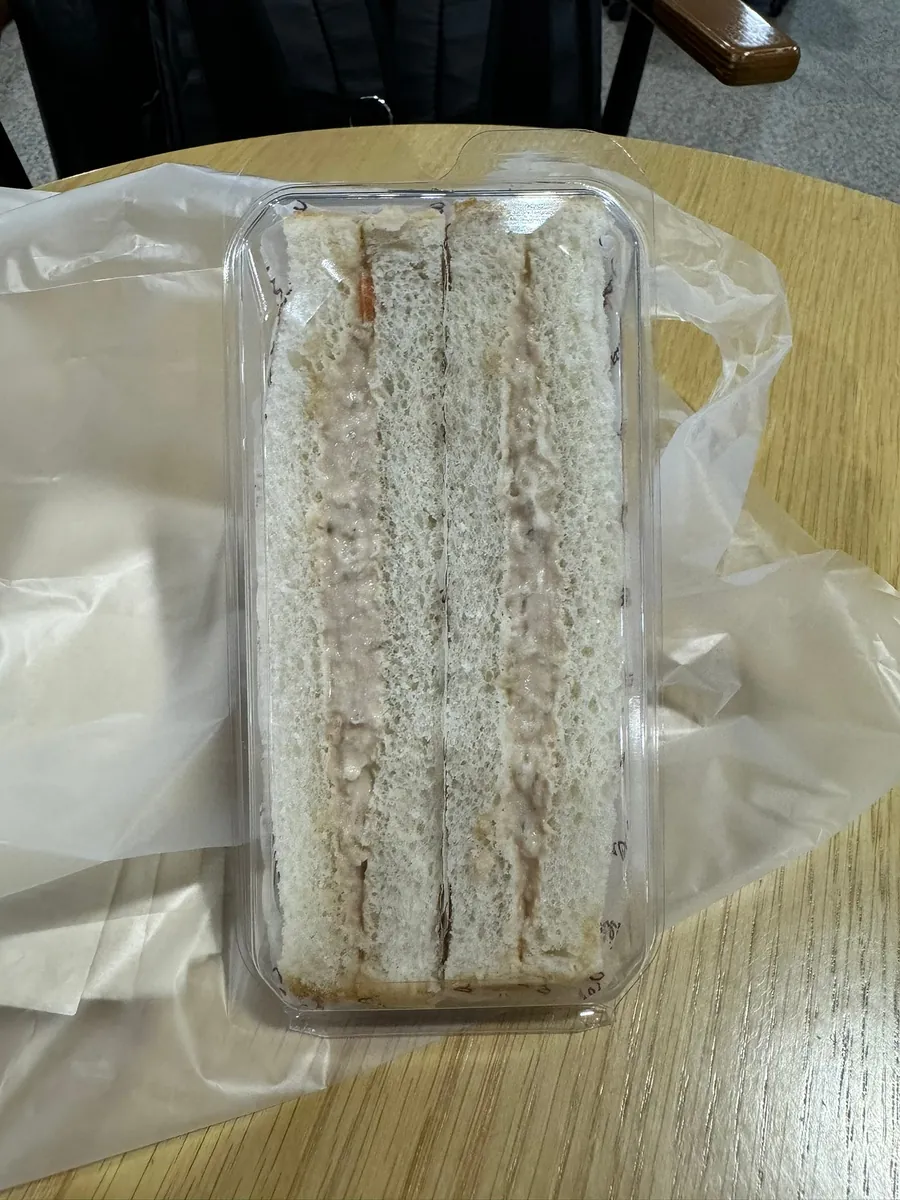
The waiting area after exit is small, with a few duty-free shops and cafes (only this one sells food). I bought a tuna sandwich to fill my stomach.
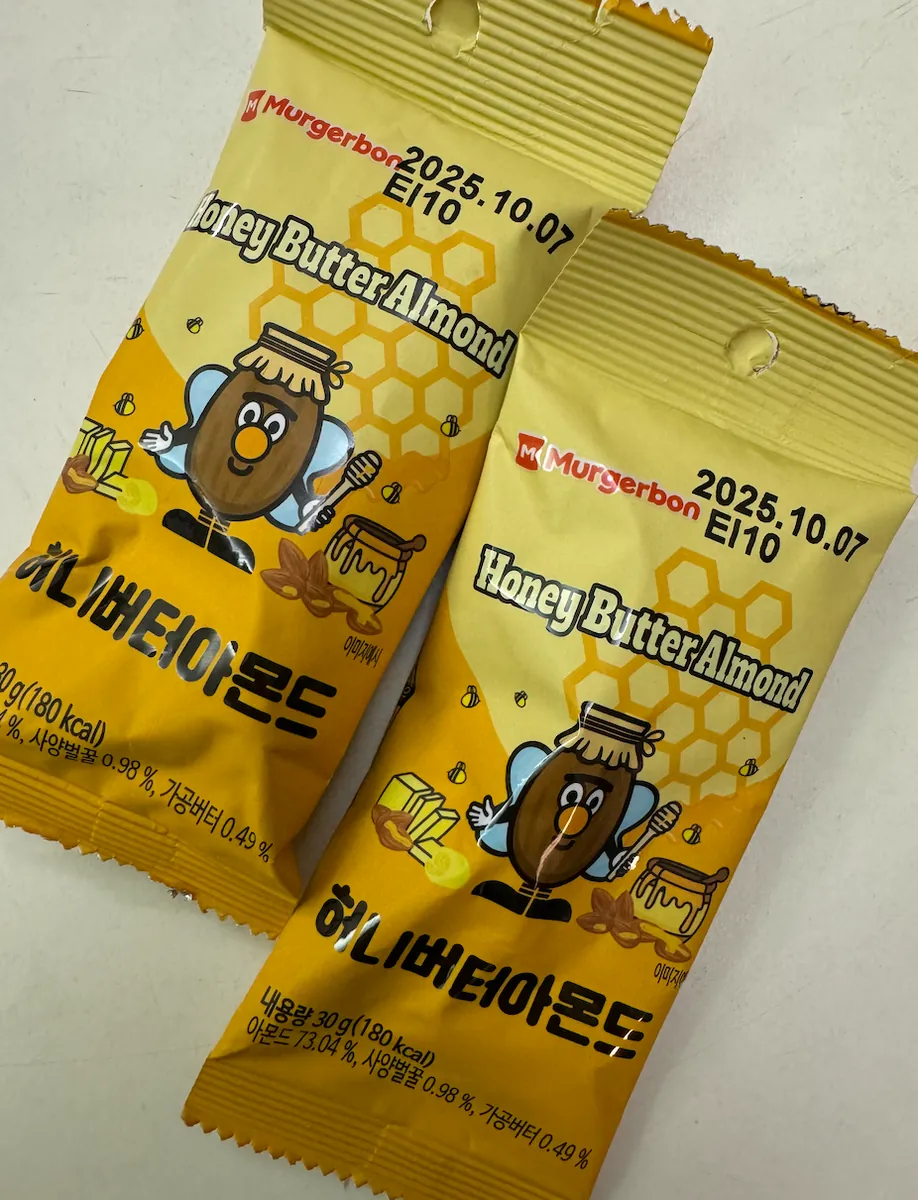
Bought some Korean Toms Gilim almonds (classic honey flavor, coated strawberry chocolate, tiramisu flavor) at the duty-free shop as souvenirs.
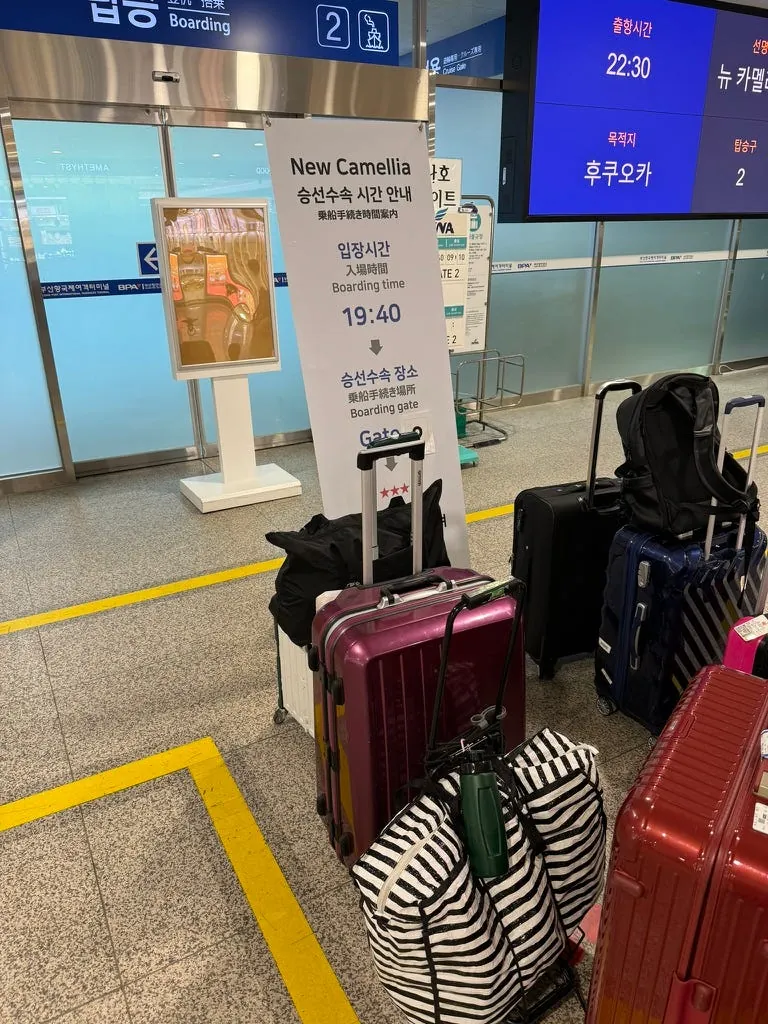
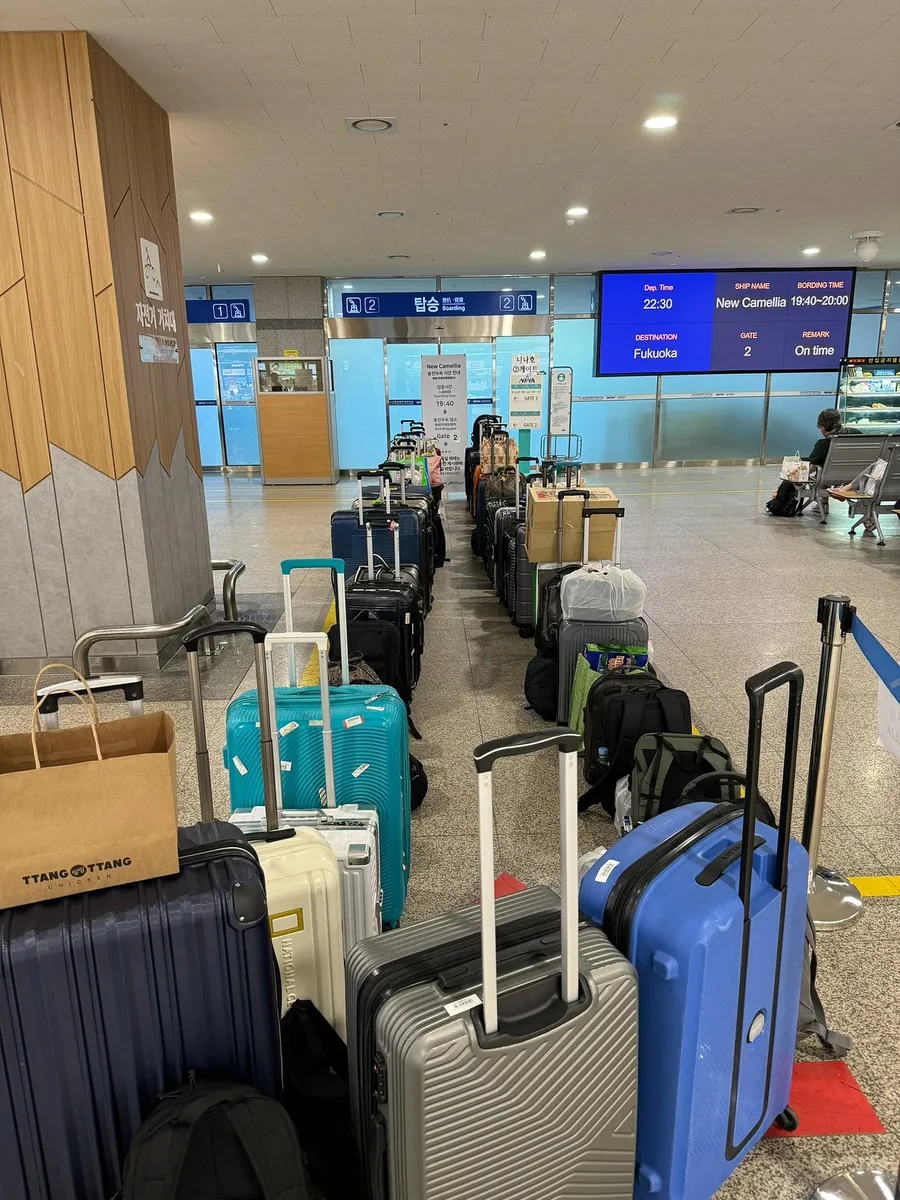
After exiting, you can line up with your luggage first. Everyone lines up with their suitcases, ready to board the boat.
About 90% are Korean.
You can see Busan Port from the window. When it’s almost time, everyone will return to their luggage to get ready to board the ship.
It takes about 15–20 minutes to walk and wait from the pier to boarding the ship.
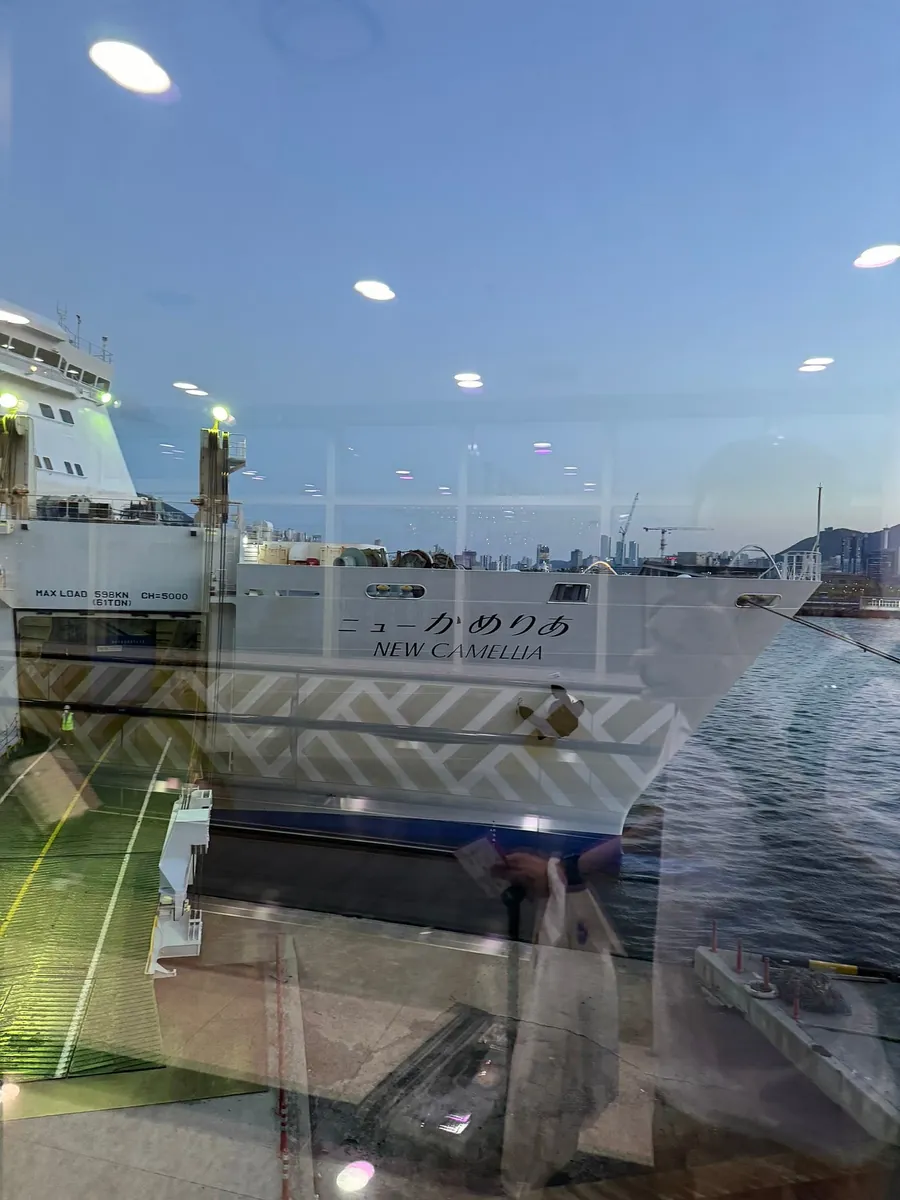
Shinshan Camellia
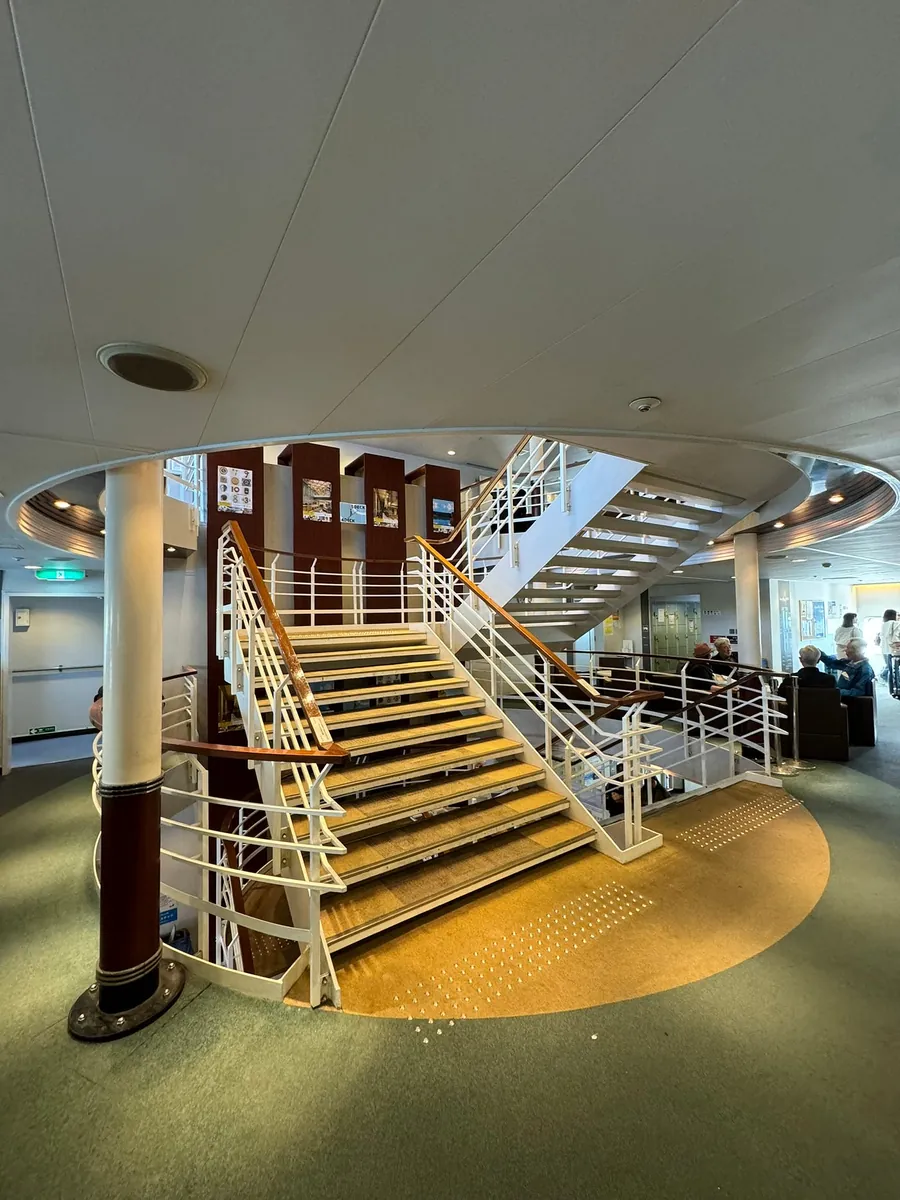
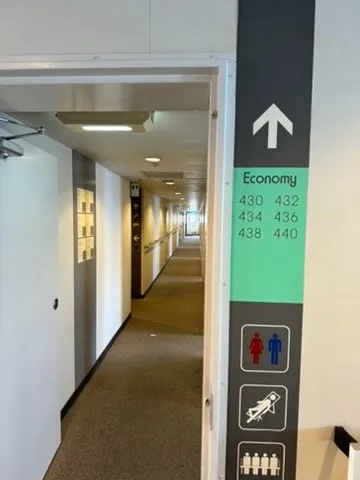
Room 430, go up to the 4th floor to room 430 after boarding.
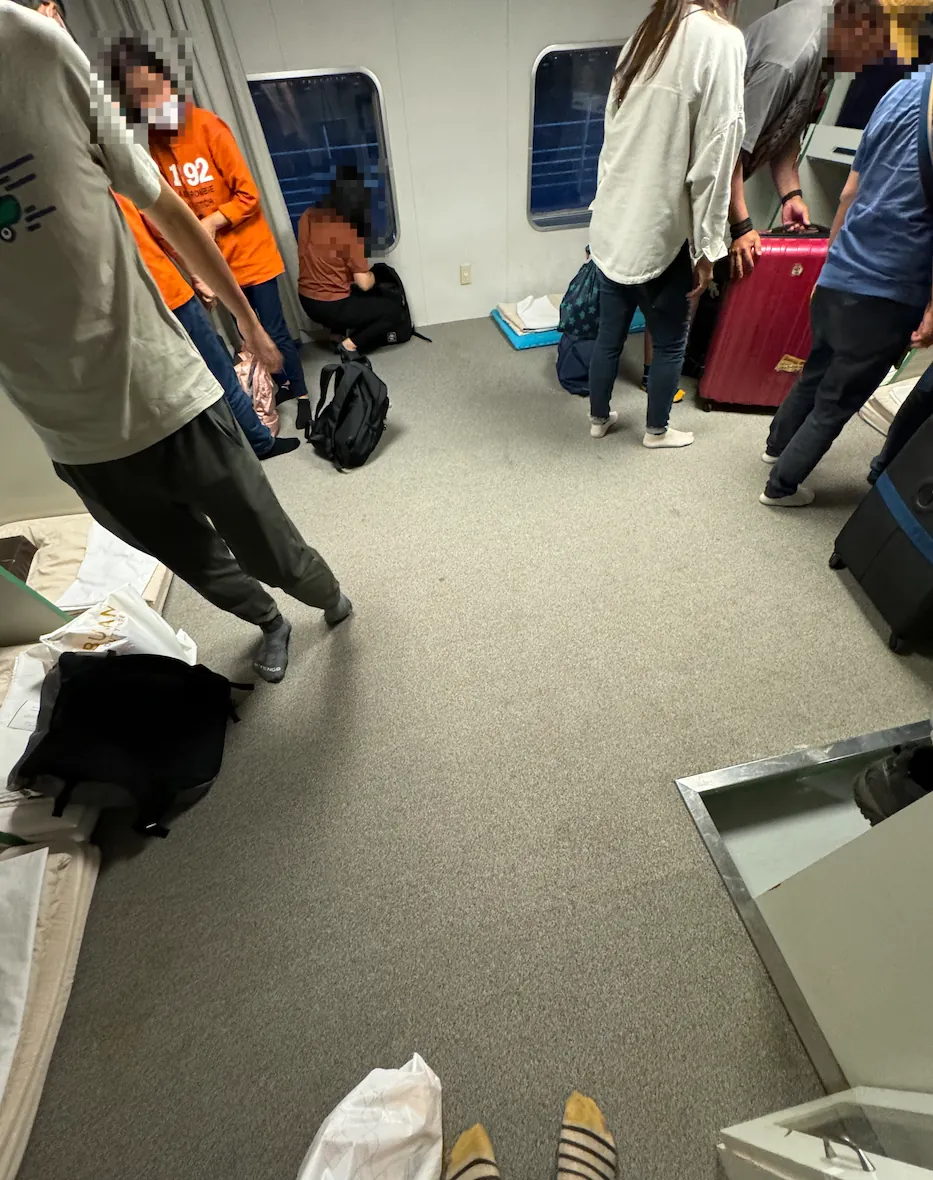
The space is very small, accommodating up to 11 people. This time, it was a family group (3 people) + two couples (4 people) + me and my friend (2 people), so it wasn’t full; it seems they arrange people who speak the same language or are from the same country together (in this room, except for one couple from Hong Kong/Macau, the rest are Taiwanese).
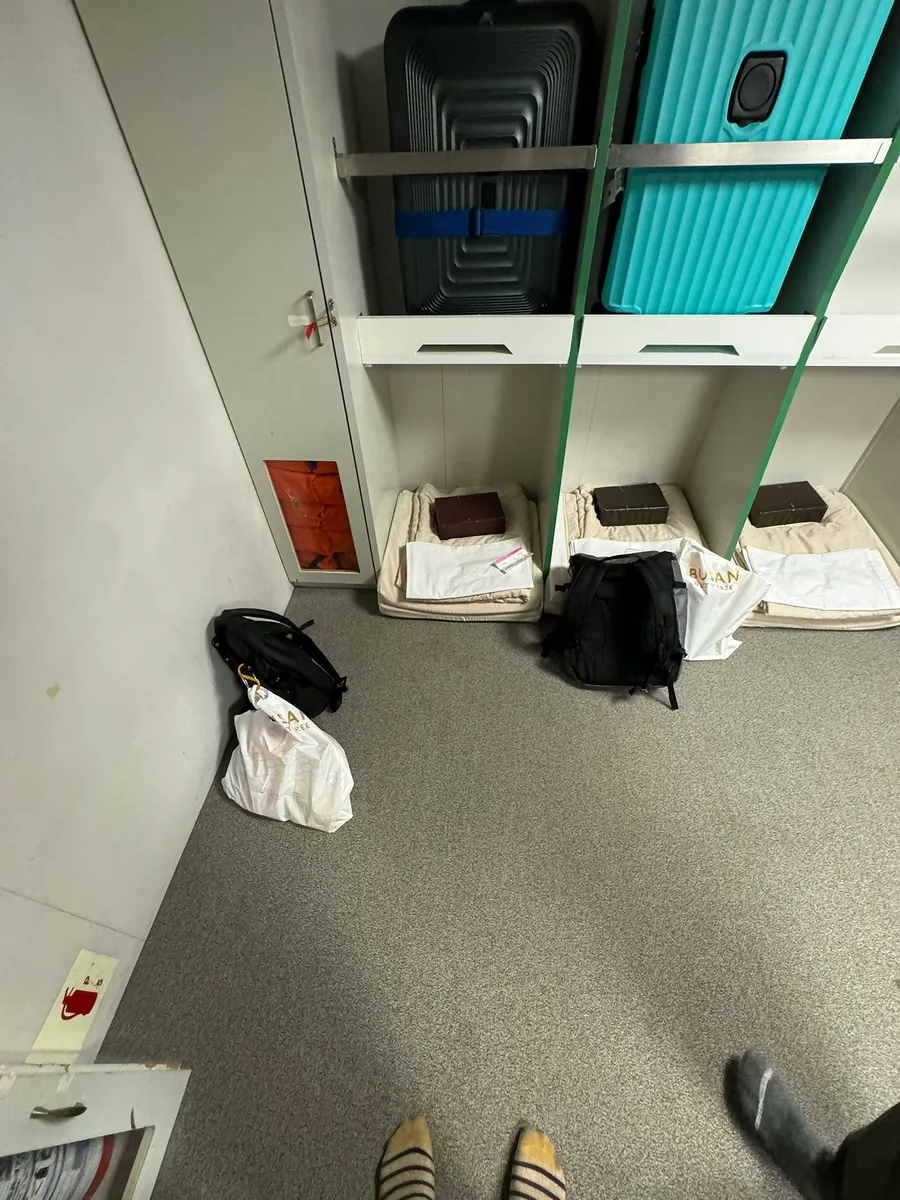
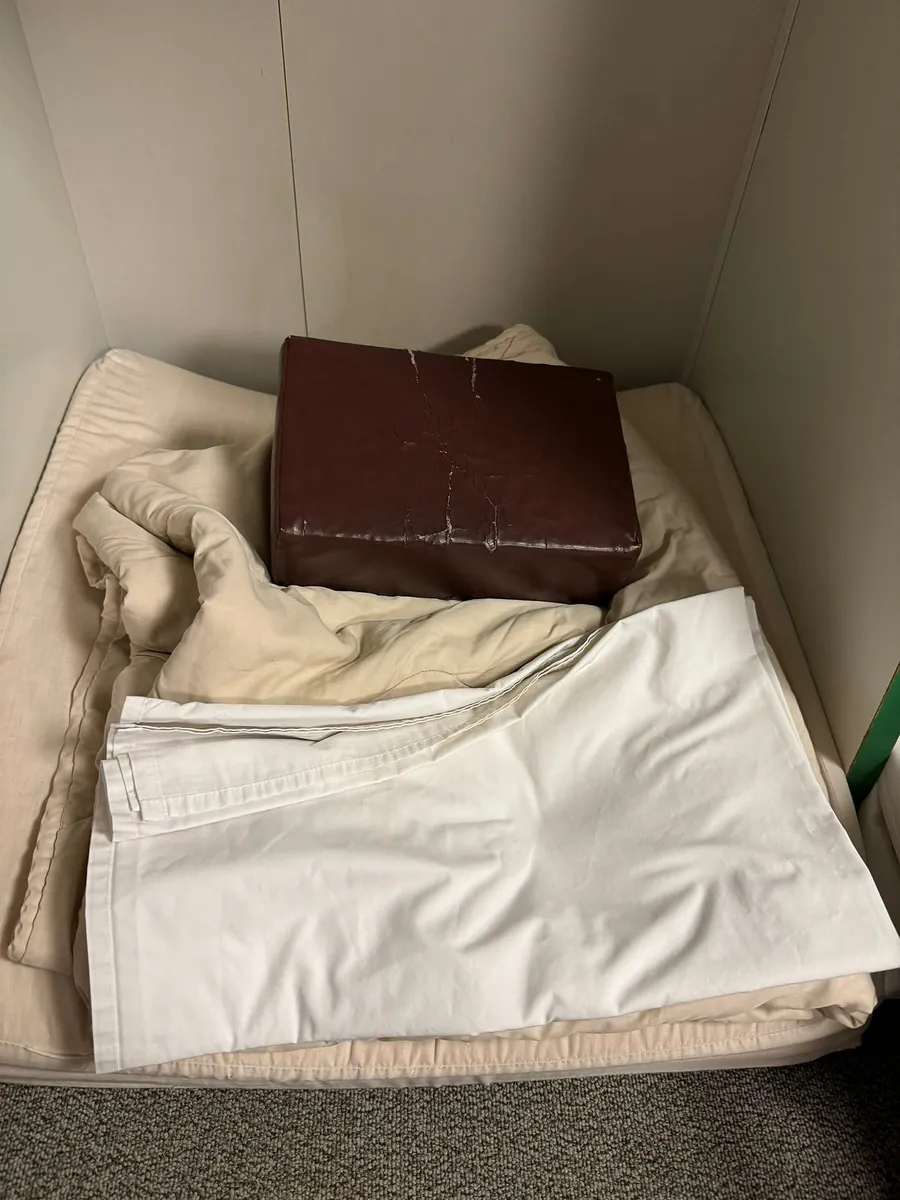
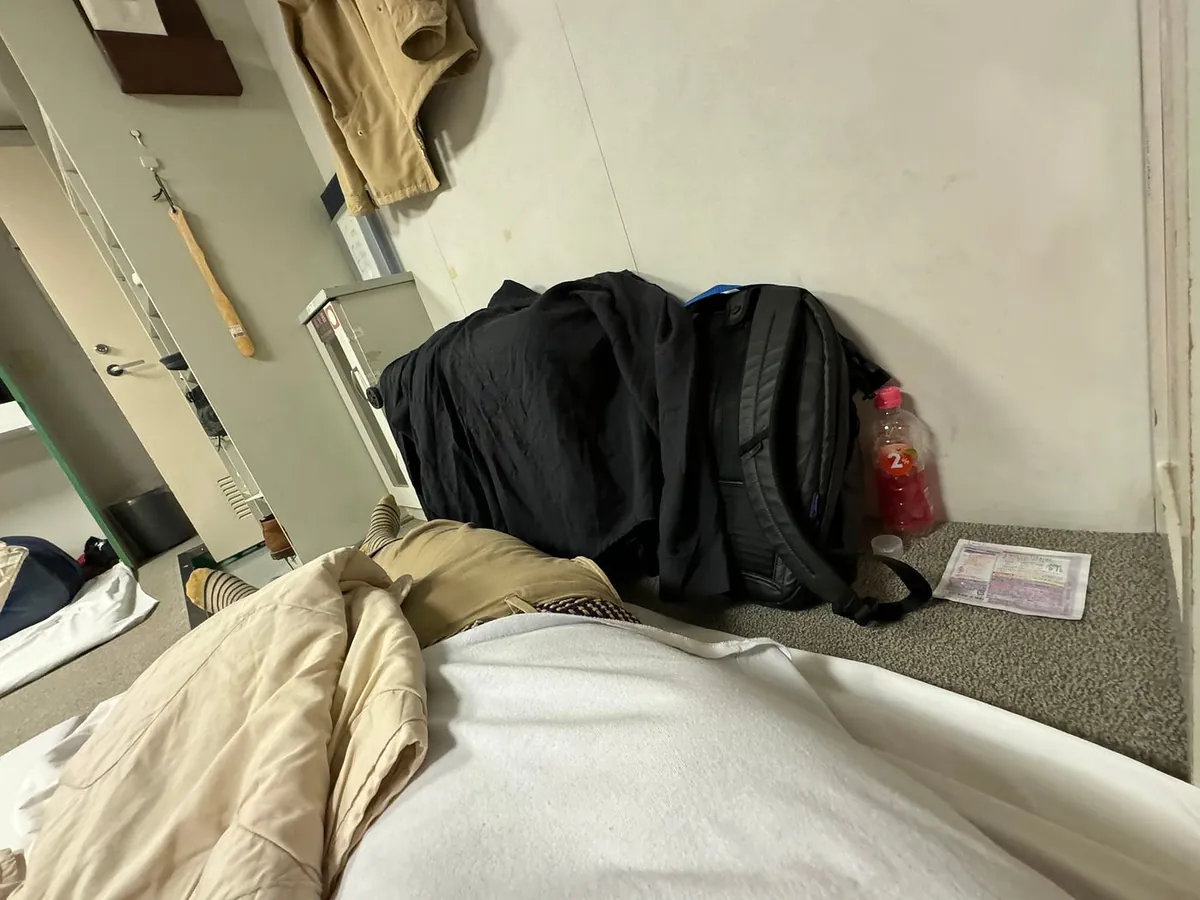
Each person has a small space, a hard pillow, a simple mattress, new bed sheets, and a quilt.
First come, first served. Just got a corner seat, slightly bigger.
There are two outlets (no adapter needed), allowing you to charge alternately.
After settling the luggage around 20:00, the ship will start to depart at about 10:30.
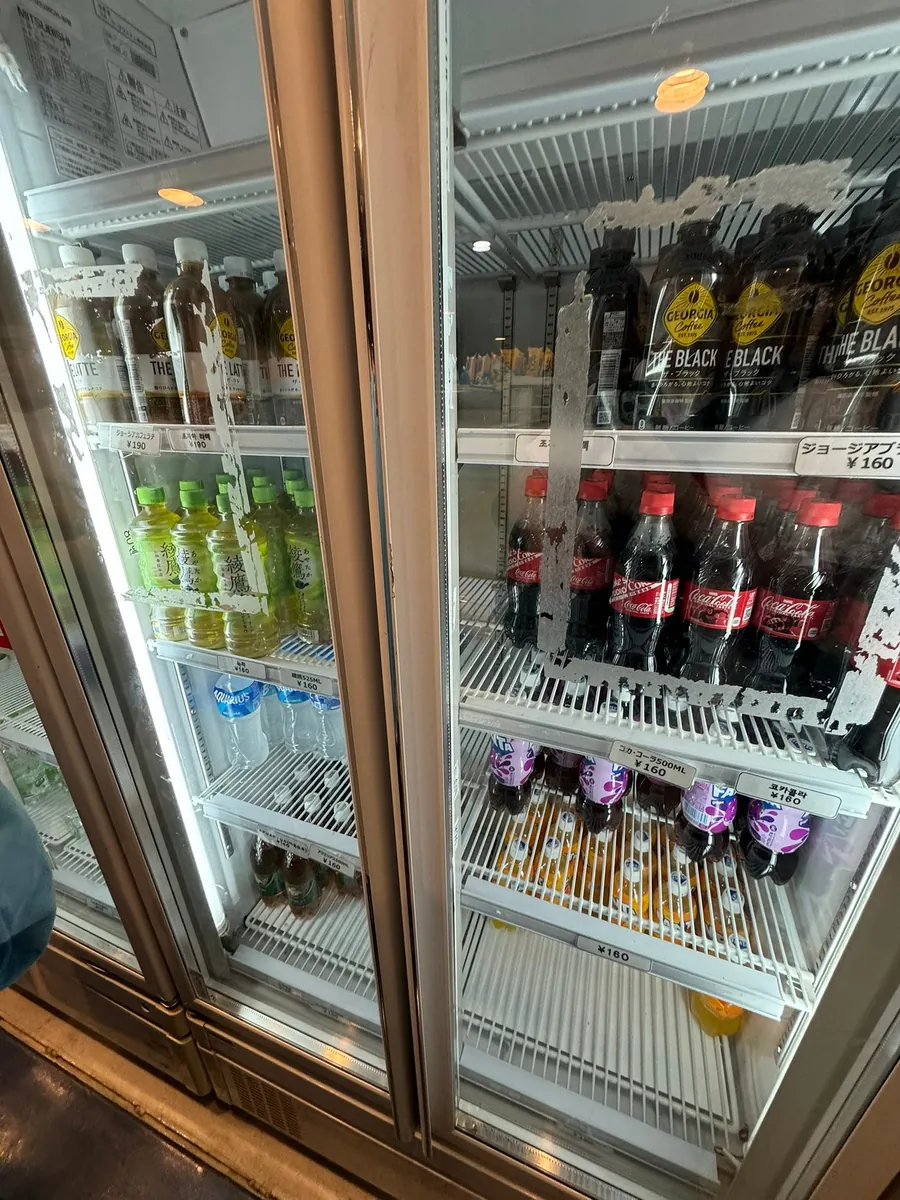
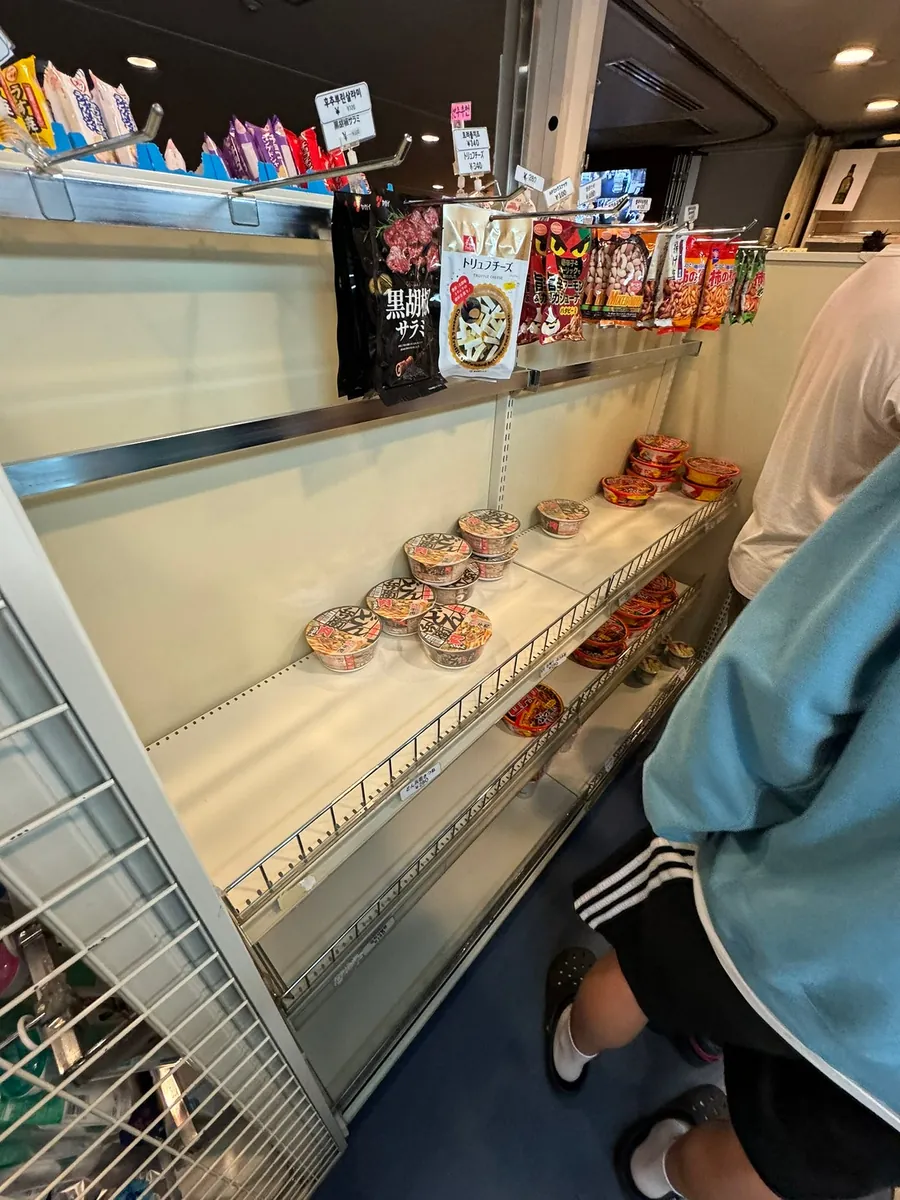
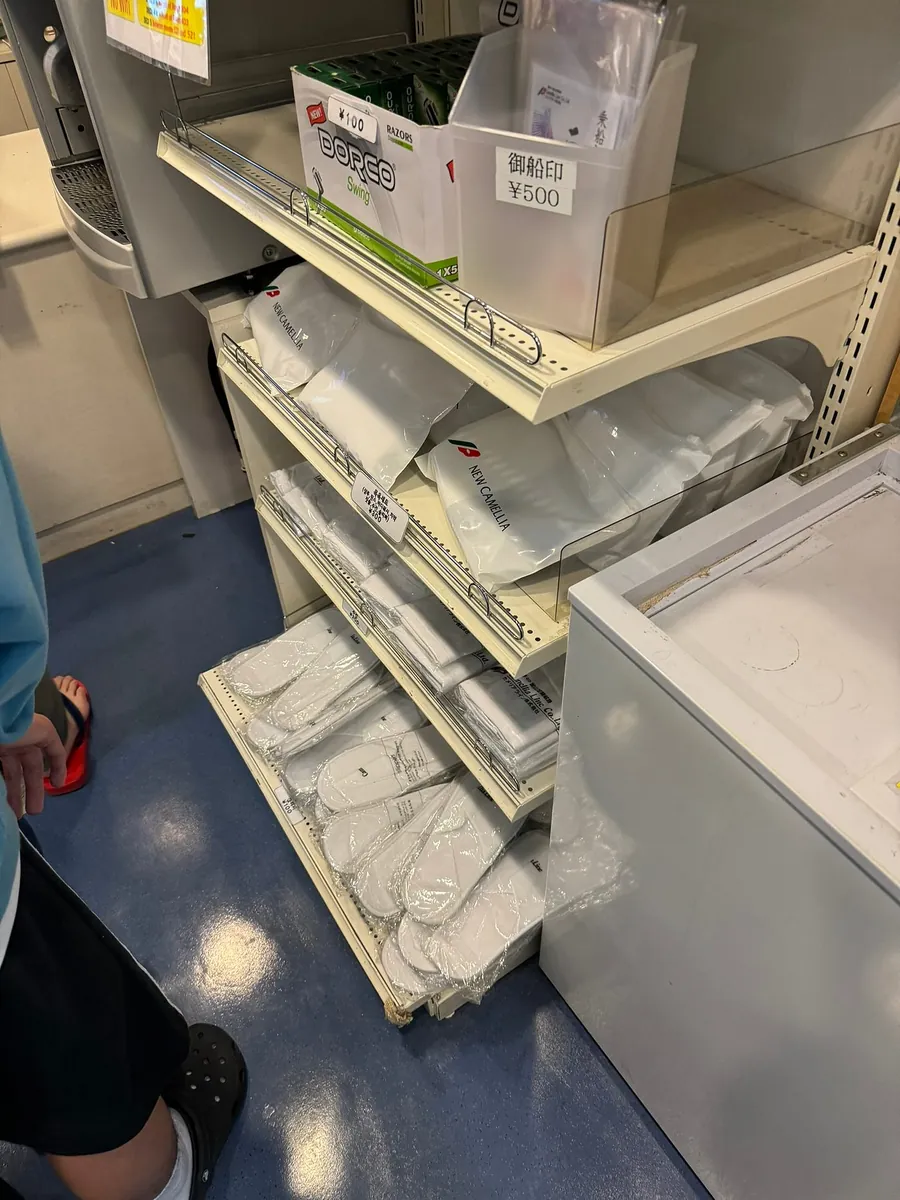
The 3rd floor has a restaurant, a small shop, and vending machines (all use Japanese yen). They sell slippers, toiletries, and hygiene products. The restaurant does not serve meals, so you can only buy instant noodles from the small shop or microwave meals from the vending machines. Therefore, it is recommended to bring food from Busan.
Note: Meat products cannot be brought into Japan. Discard any leftovers. ⚠️
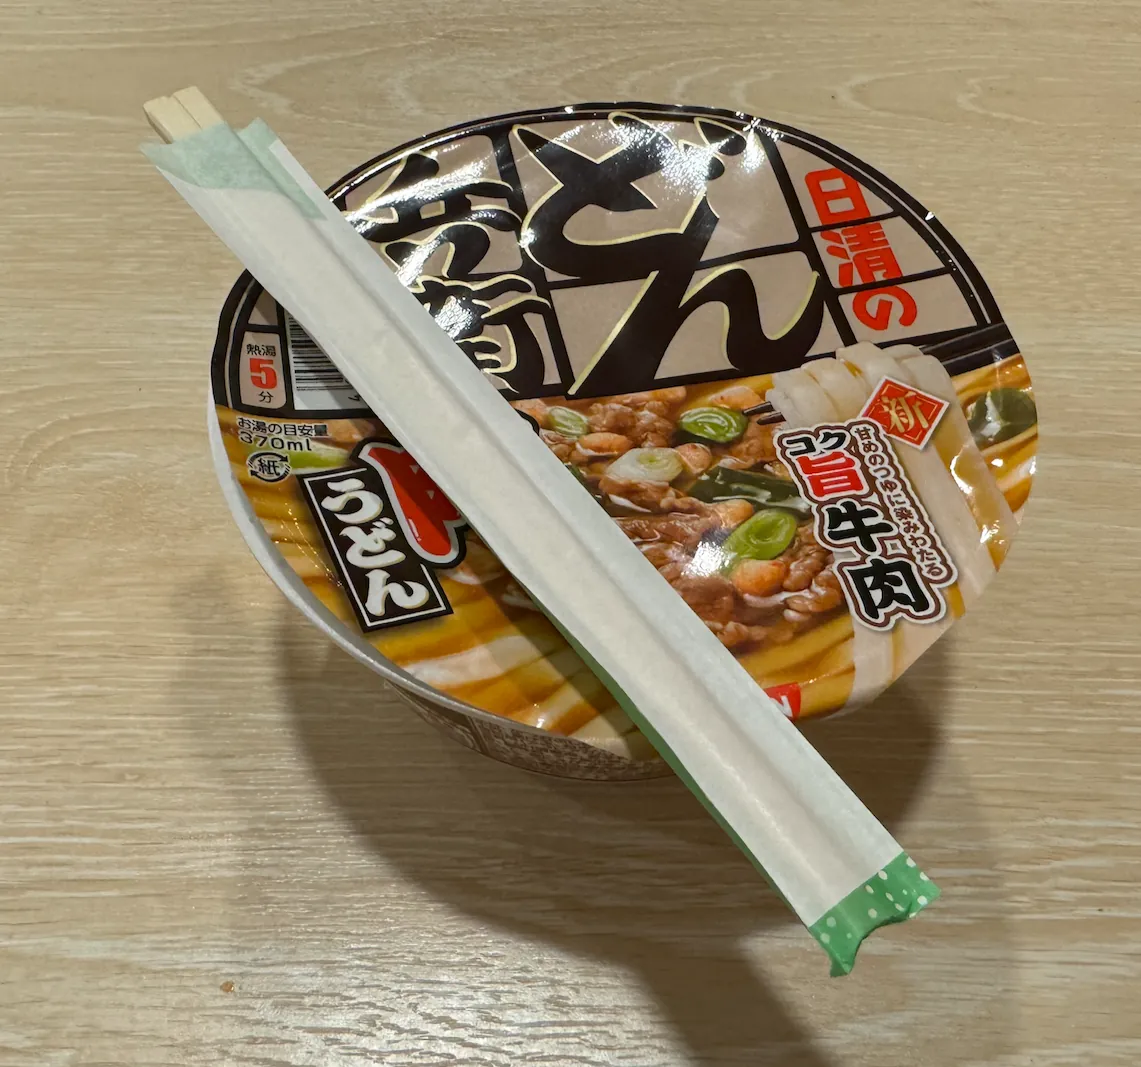
Fortunately, I ate a sandwich before boarding, so I wasn’t very hungry and just bought some instant noodles to settle a meal.
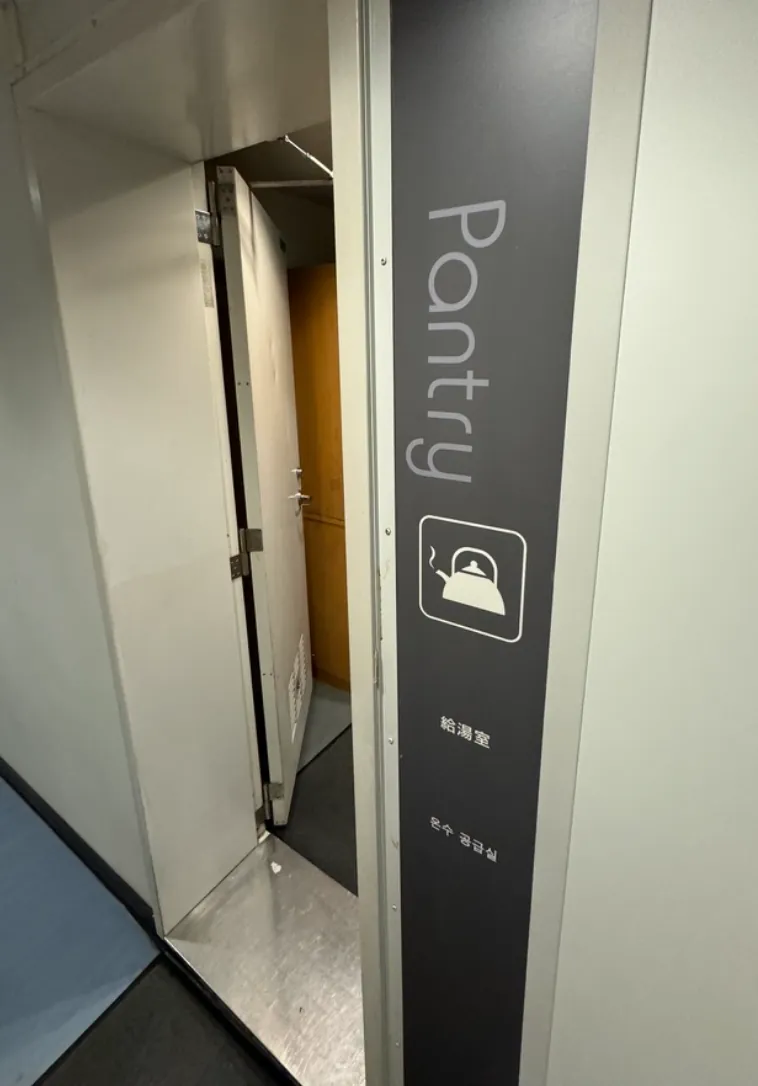
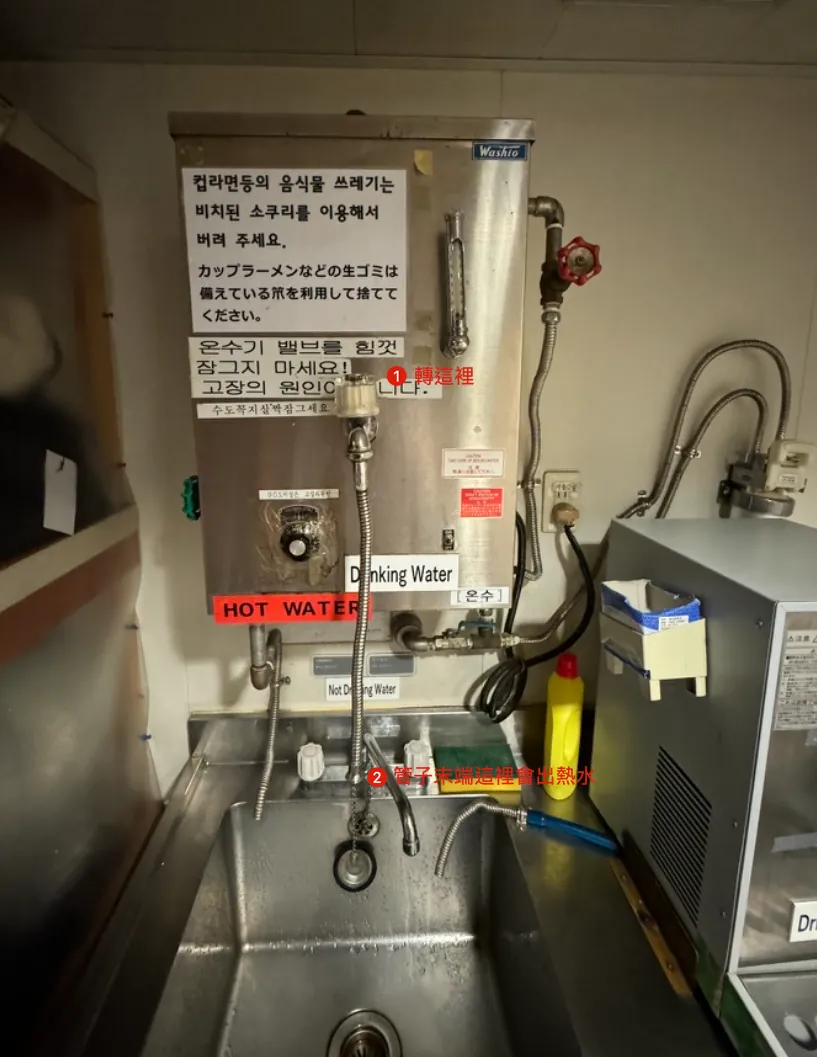
Note: Hot water is not available in the restaurant area; only a cold water dispenser is there. Hot water can be found in the pantry near the cabins at the aft of the ship. It took me a long time to find it.
Also, be careful when operating the water heater. Turn on the switch first; water will not come out immediately, so wait a moment. Once water flows, handle it carefully. After use, make sure to turn it off tightly to prevent scalding the next person.
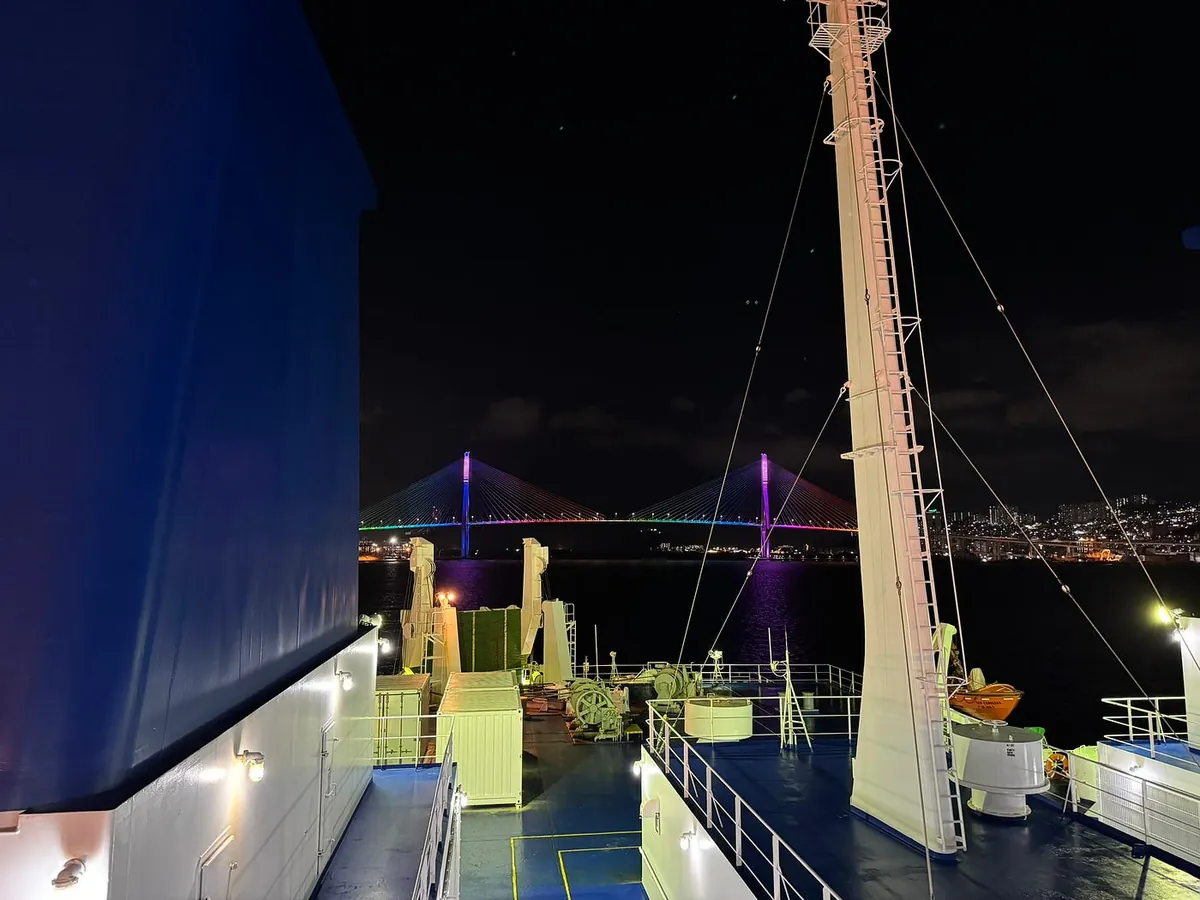
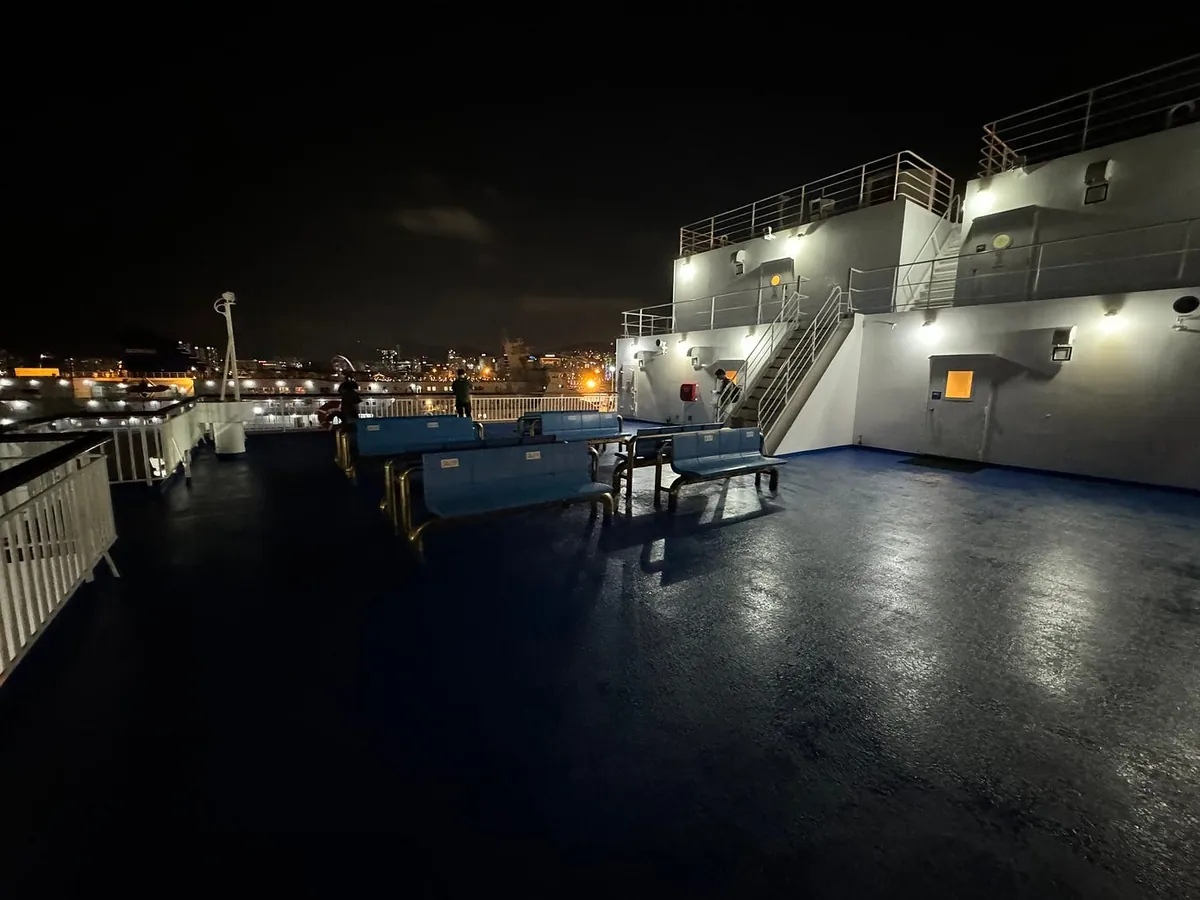
After eating, go out to the deck for a stroll (free access, be careful of slippery floors).
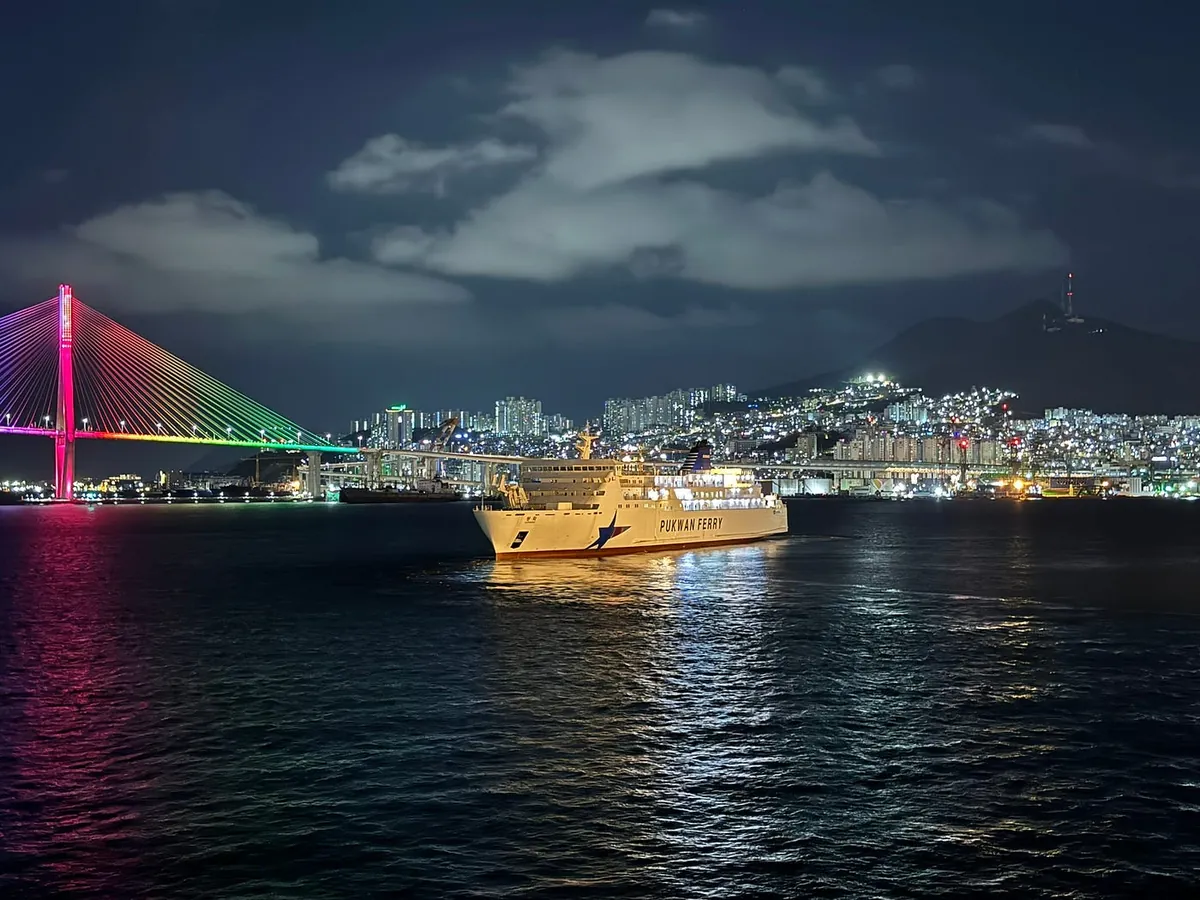
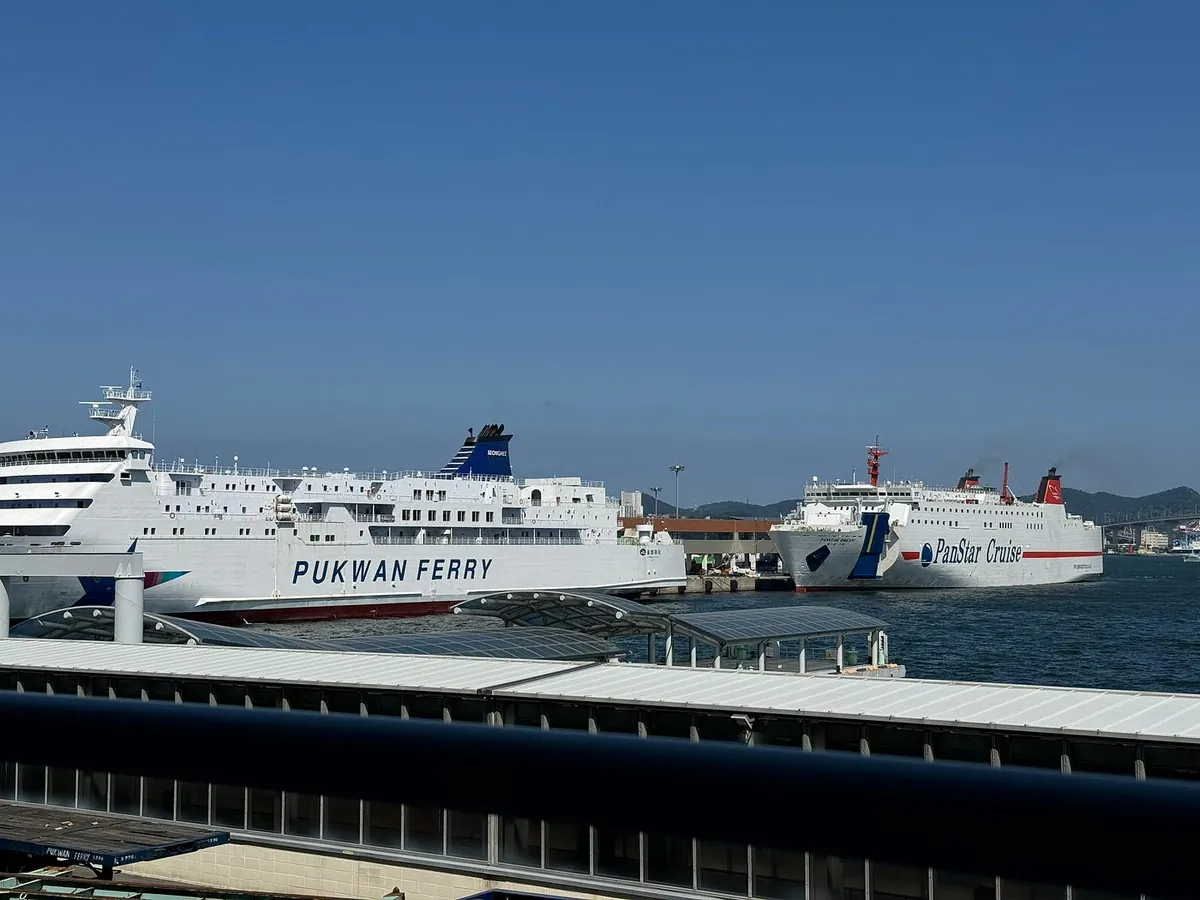
Around 21:00, another ferry (PUKWAN FERRY) heading to Xiaguan will depart first.
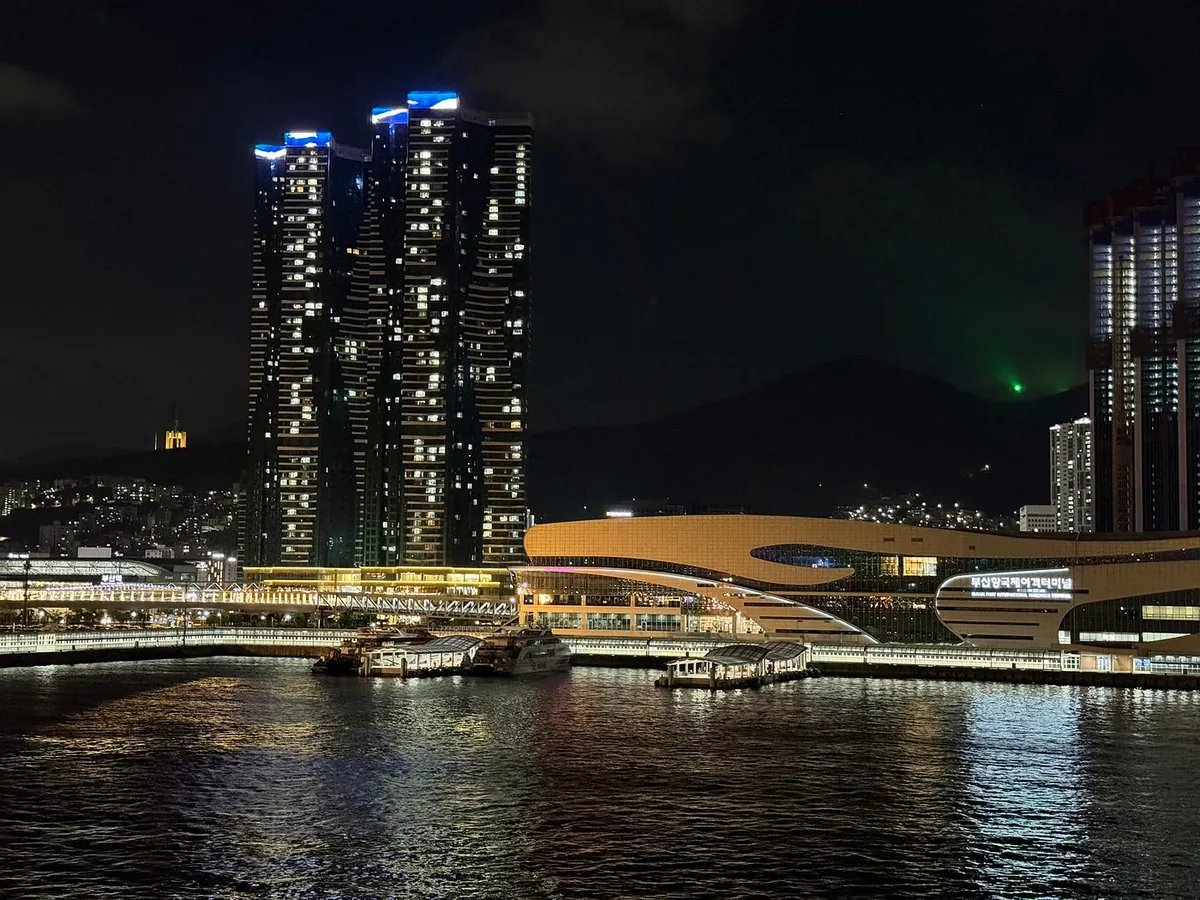
Looking back at the night view of Busan Port Pier.
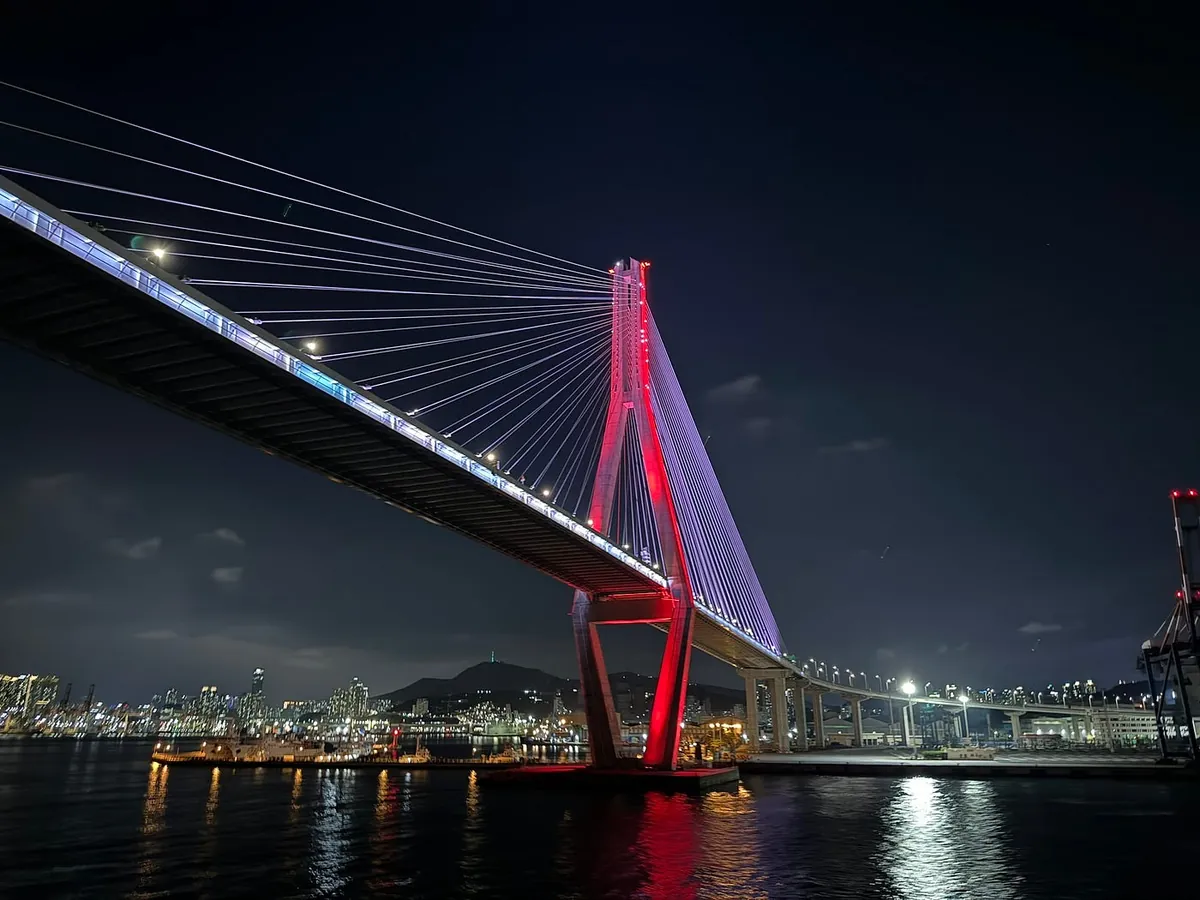
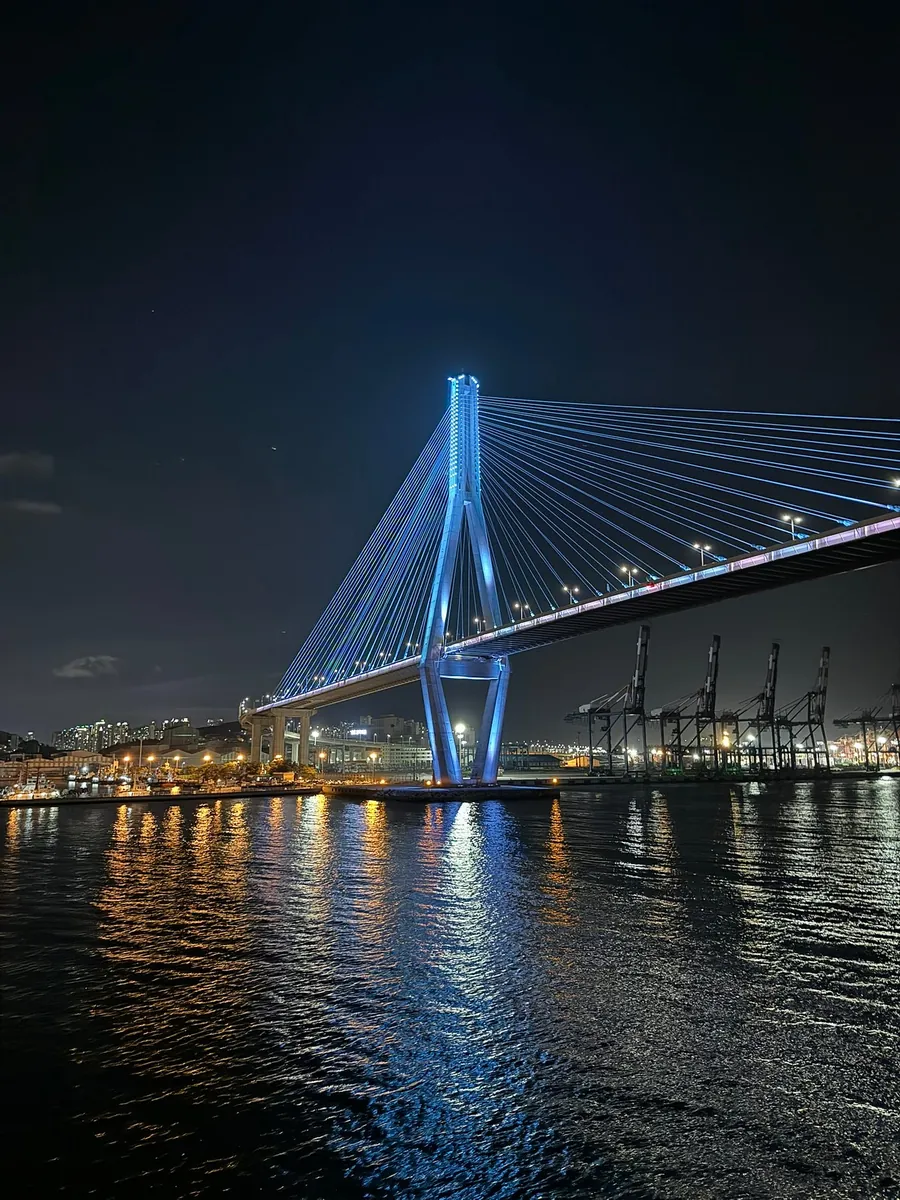
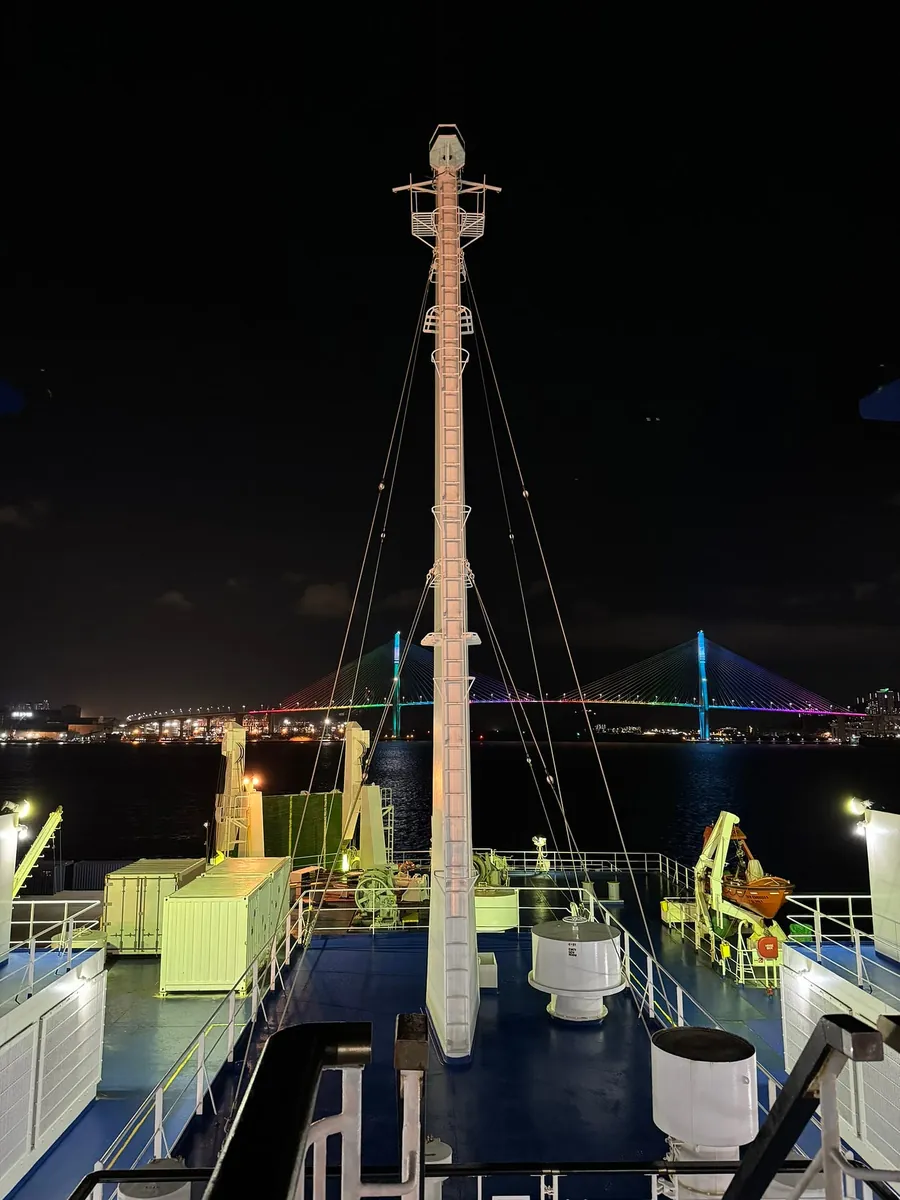
Around 22:30, the ship will start leaving Busan Port, passing under the Busan Port Bridge. The night view of the bridge is very beautiful. (It will be cold, so dress warmly)
The economy class cabin lights go off uniformly at 11 PM. After watching the departure, you can pretty much head back and lie down.
Only the VIP room has a private bathroom; others share a common bathroom.
The bathroom is a public bathhouse in Japan, where full nudity is required. There are small partitions in the washing area; since I was too shy, I didn’t bathe.
The overall facilities are quite old but well maintained and clean.
There is a recreation room and KTV.
Public spaces will not have lights turned off.
The internet connection lasts until around 11 PM after departure (it is said there is only a short period without internet).
Approaching Tsushima Island means entering Japan, so you need to switch to a Japanese SIM card.
There will be slight rocking and swaying while driving; those prone to motion sickness should consider taking motion sickness medicine.
Good night, Busan.
Day 3 Hakata, Yutoku Inari Shrine
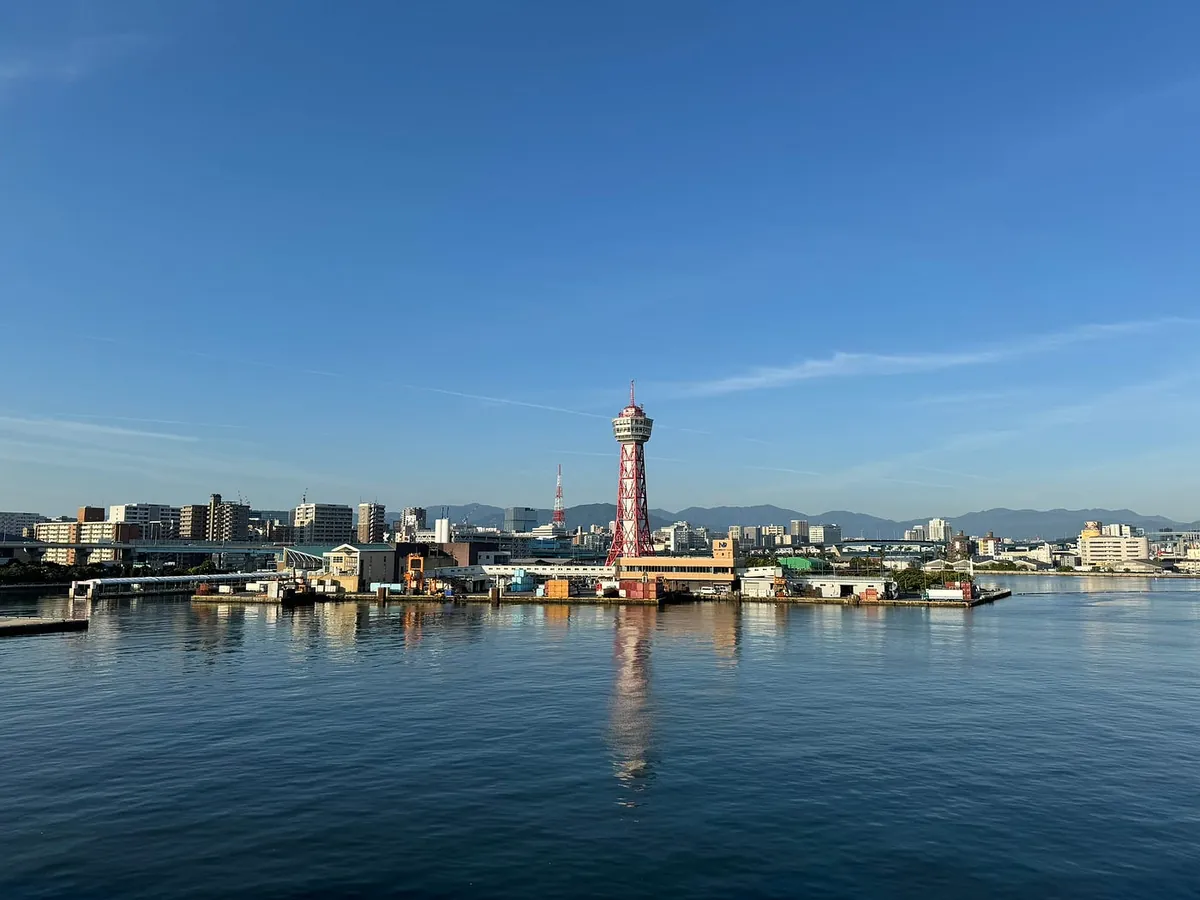
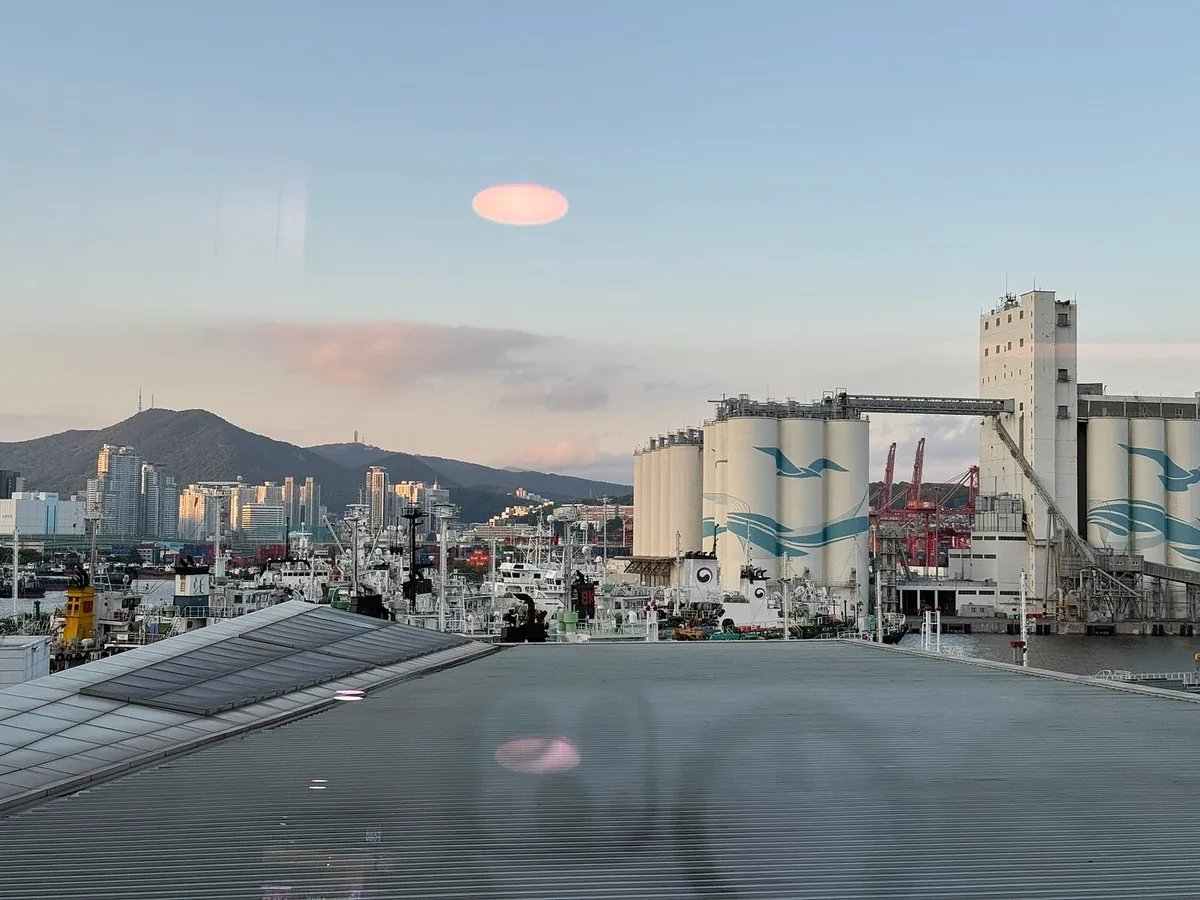
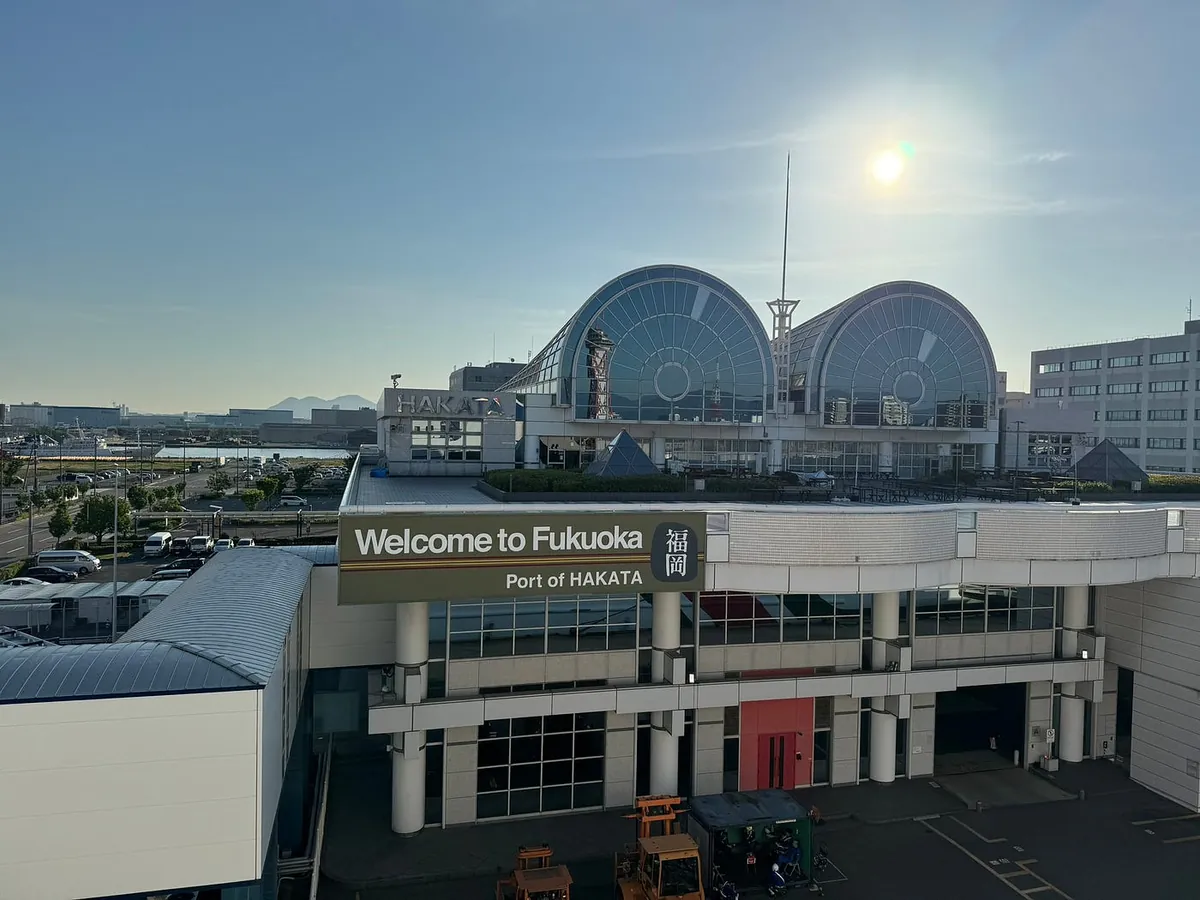
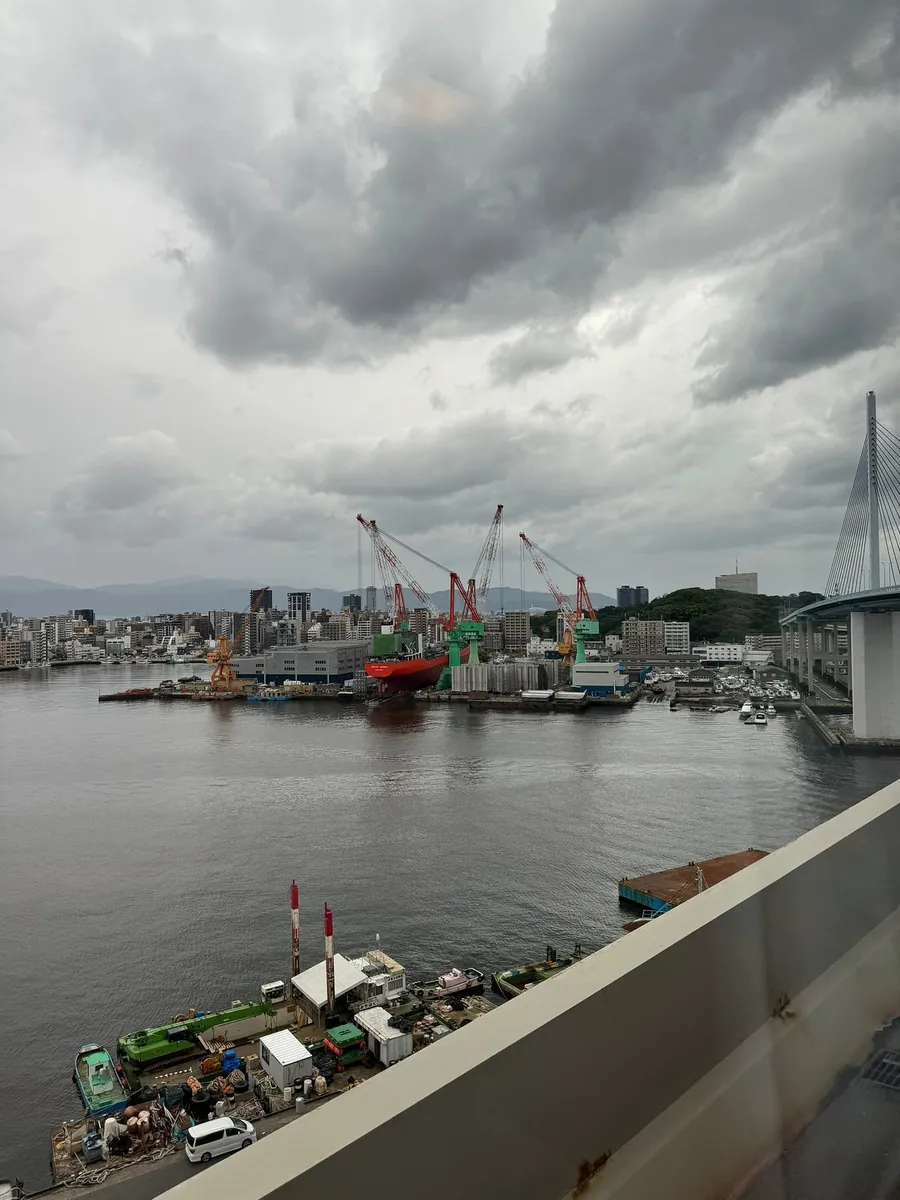
Arrived in Busan around 5:30 AM, dormitory lights turned on simultaneously; went out on the deck to see the quiet early morning view of Hakata Port and Hakata Port Tower.
Those who purchased breakfast can dine at the restaurant. We didn’t, so we took our time washing up, wandering around the deck, and packing up to get ready to disembark.
Disembarkation will start uniformly at 07:30. Everyone will line up with their luggage at the 3F lobby exit as usual.
Around 08:00 Complete Immigration in Japan and Exit Hakata Port International Terminal
Reminder: Hakata Port does NOT support electronic customs clearance, so please make sure to fill out the arrival card and customs declaration form ⚠️
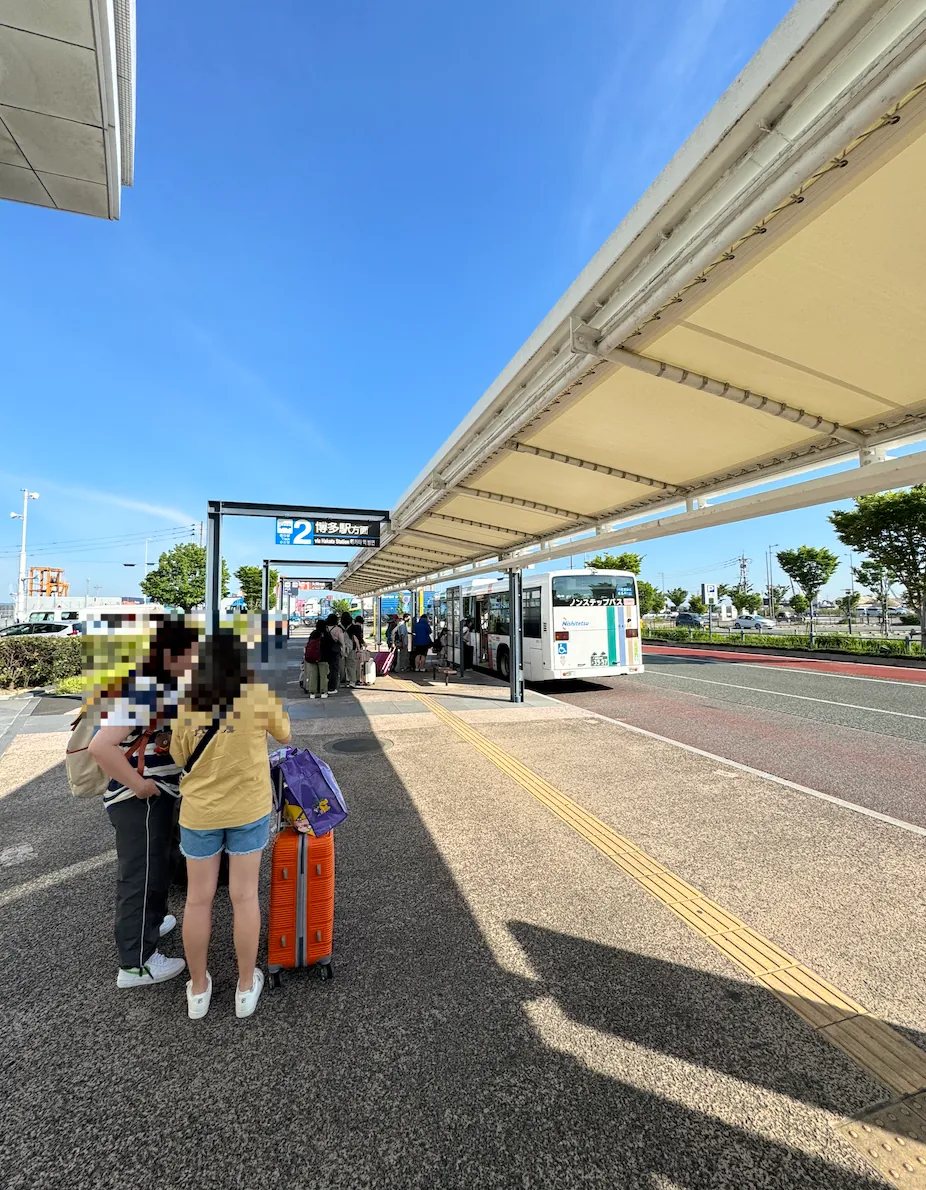
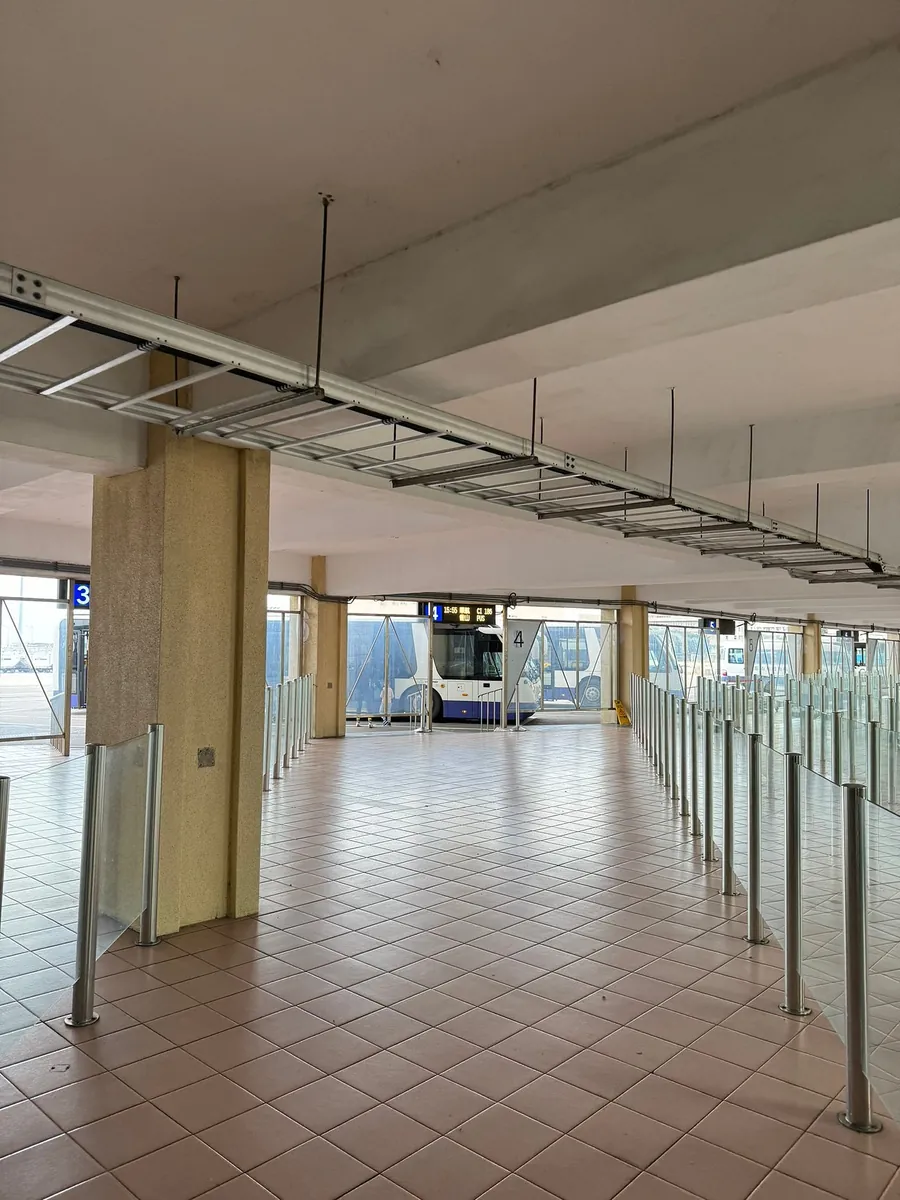
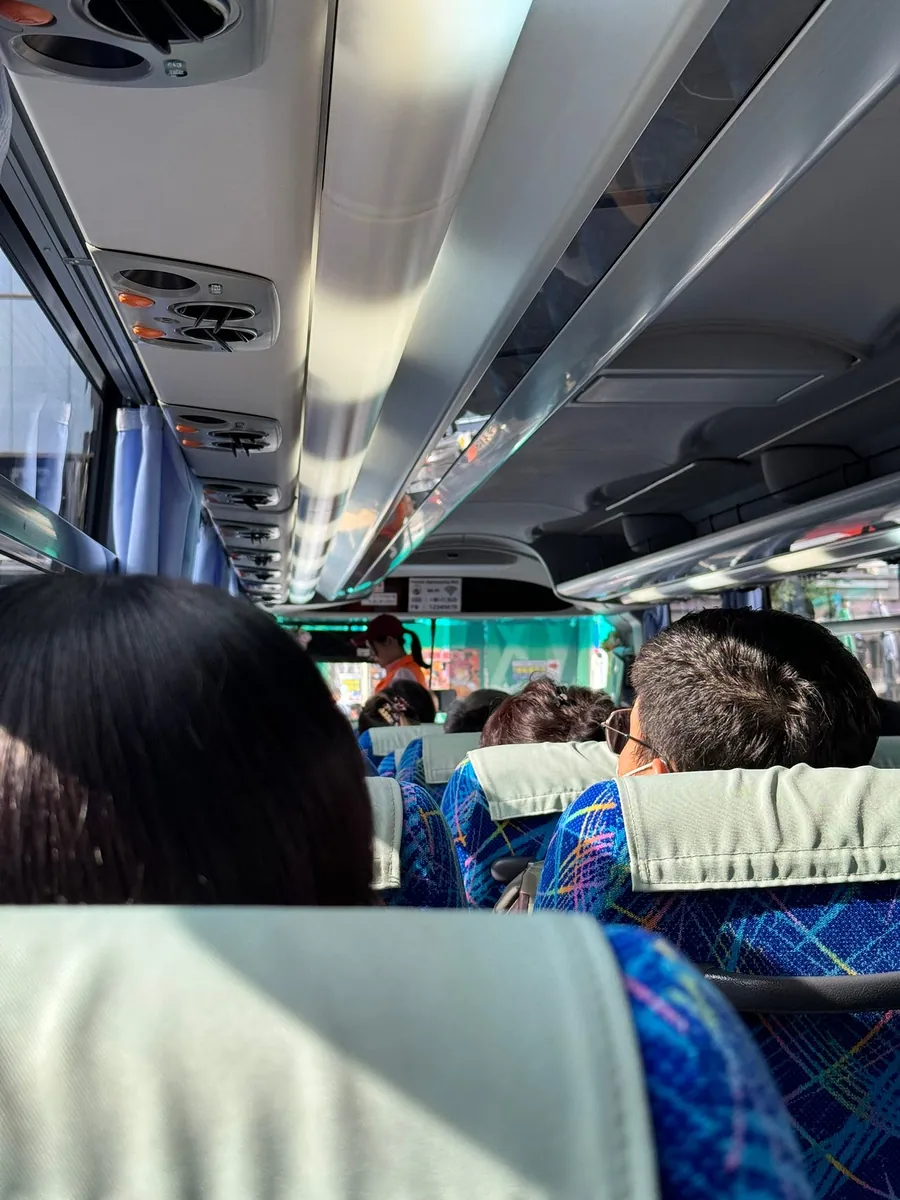
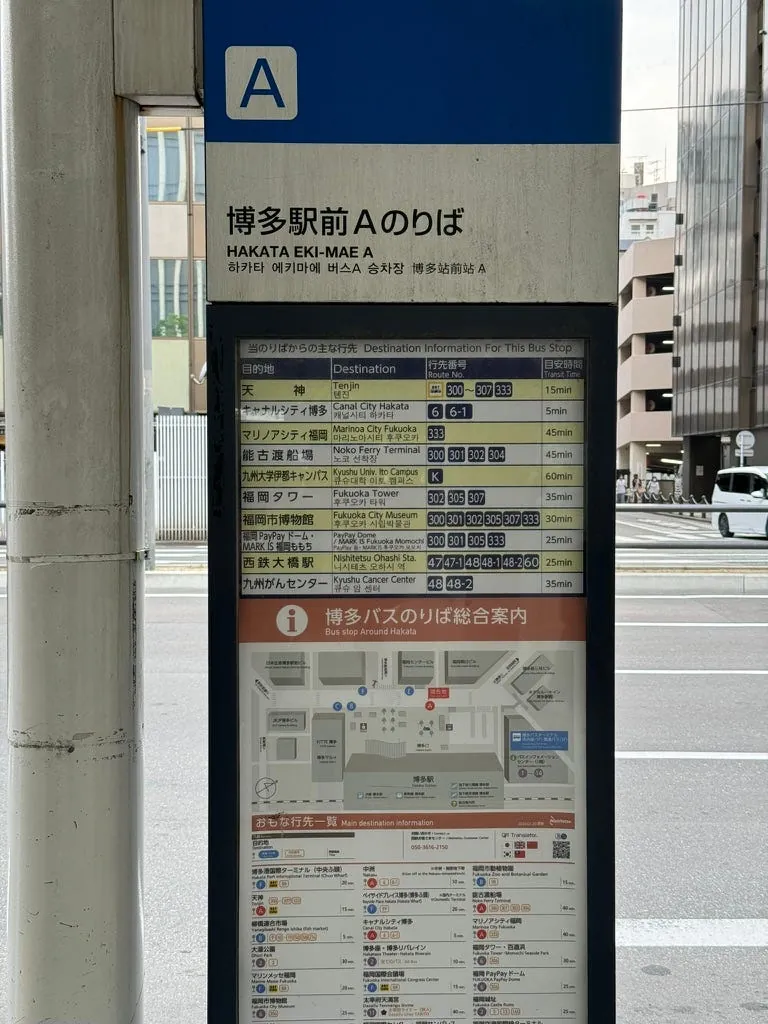
Buses to Hakata Station or the Tenjin area are available right outside.
Although carrying large luggage on the bus is inconvenient, since this is the departure station, seats are always available. Most people also bring luggage, so it feels less awkward.
Some passengers board at intermediate stops, but there aren’t many, so it’s fine.
On weekday mornings, few people take the subway back to Hakata, so there’s no need to worry about awkwardness (Kyushu is just spacious!).
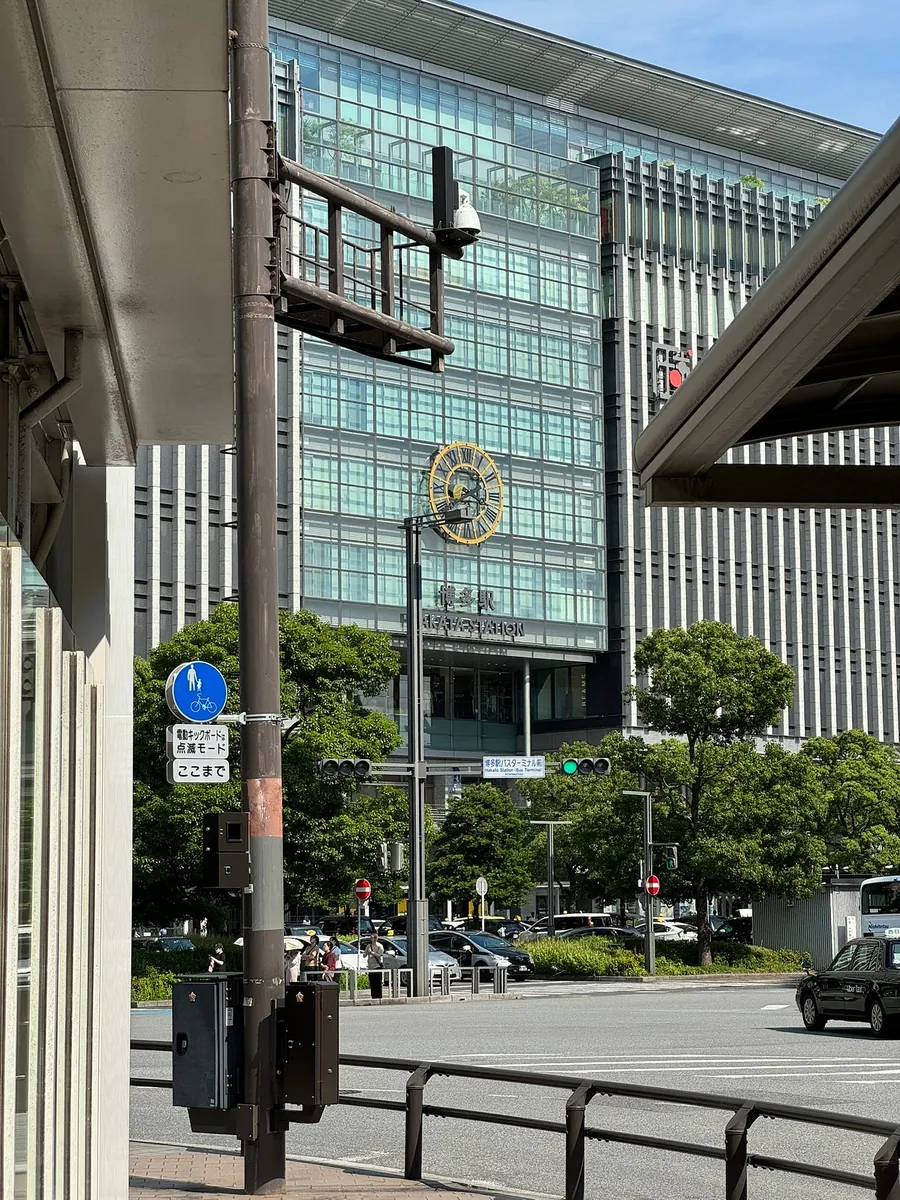
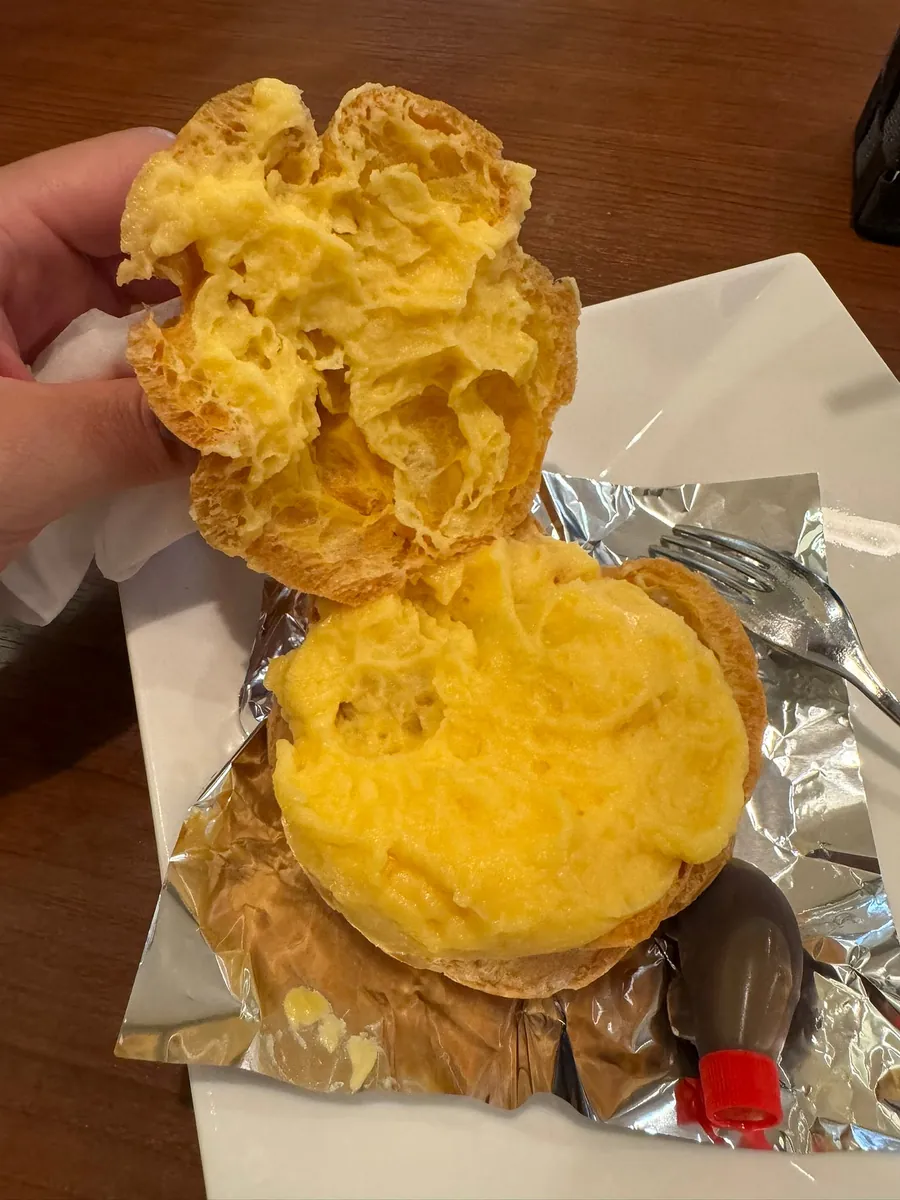
Around 9:30, after dropping off luggage at the hotel, have breakfast with the Morning Shellfish Soup Set at the food court in Hakata Station department store to fill up, then pick up the JR Pass and the train ticket for Yufuin tomorrow morning.
The JR Kyushu Pass still requires manual exchange at the counter. Please arrive early to line up for the exchange. If Hakata Station is too crowded, you can consider exchanging at nearby stations for a faster process!
Yude Inari Shrine
Originally planned to visit Karatsu Castle, but after checking the JR limited express schedule, going to Yutoku Inari Shrine is faster and closer. Considering yesterday’s fatigue, decided to change the itinerary.

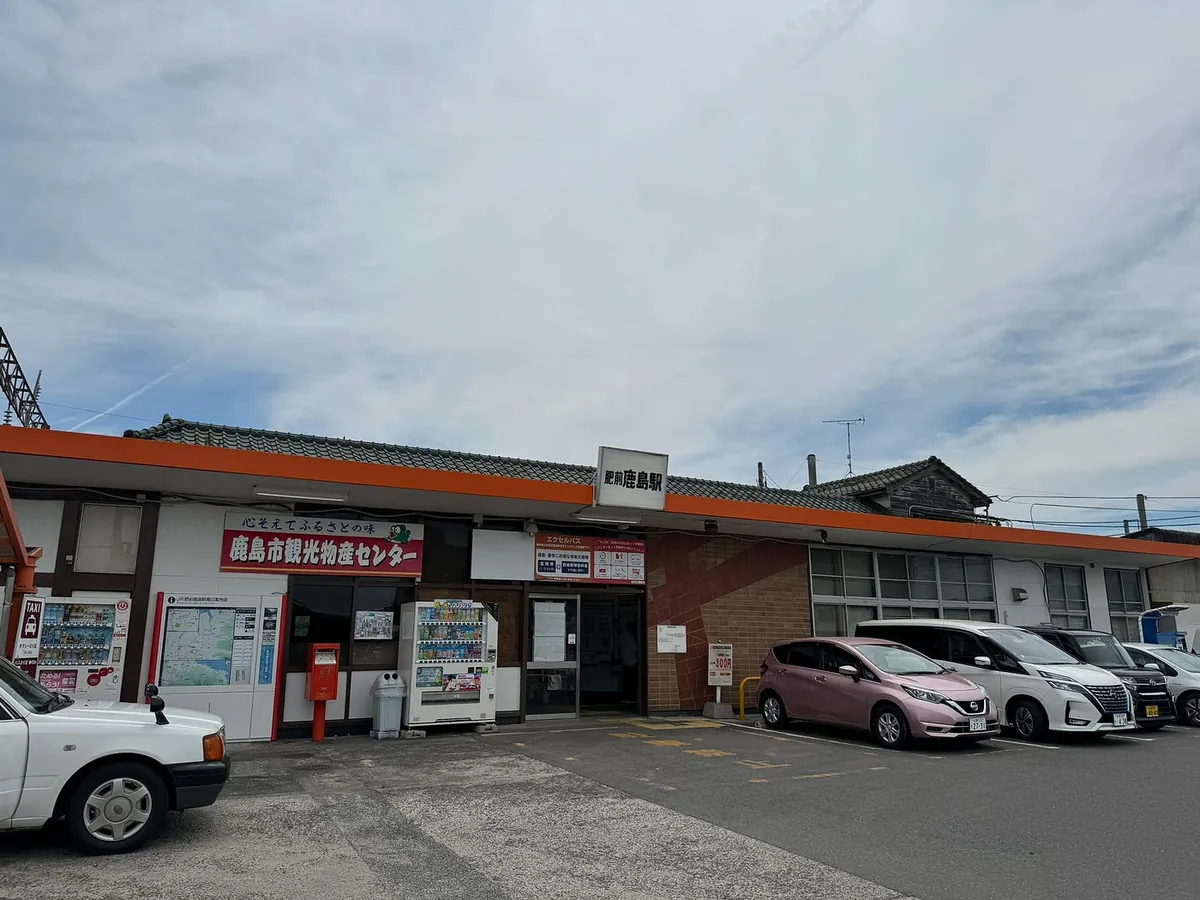
Travel from Hakata to Kashima City - Hizen Kashima Station.
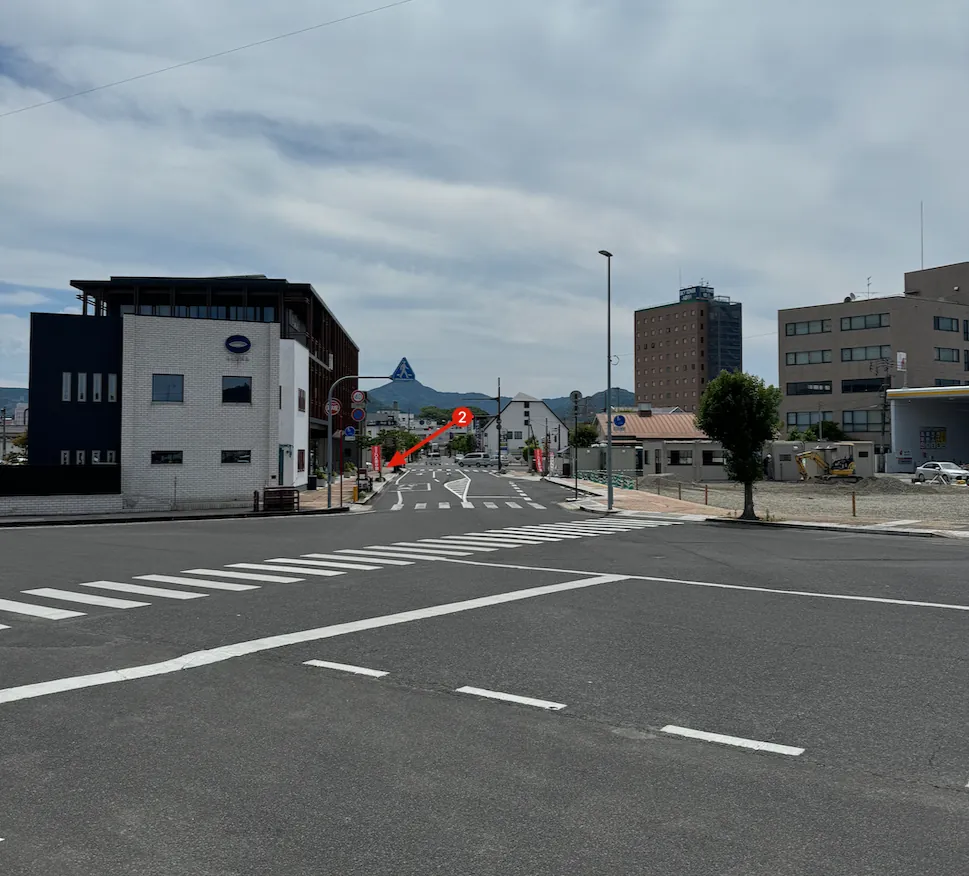
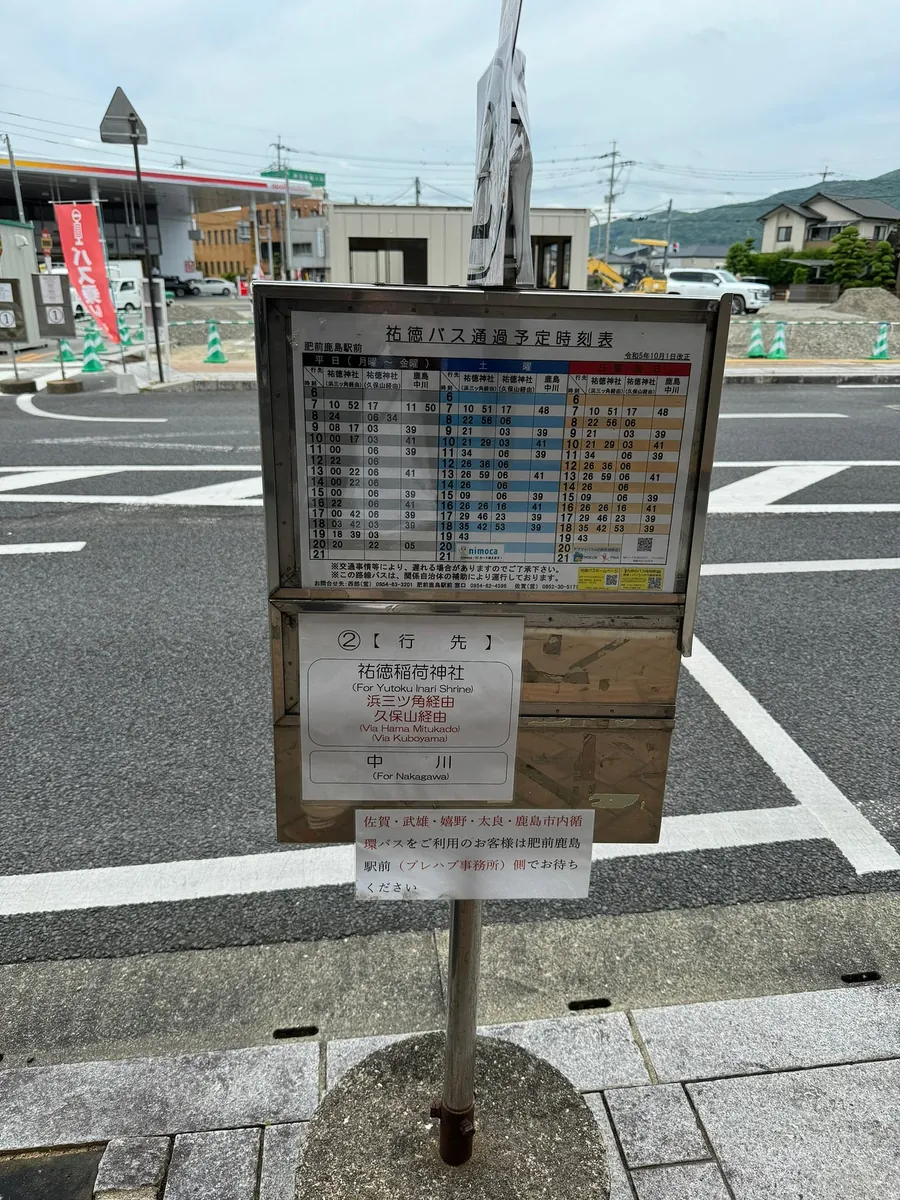
After exiting, walk along the road on your left and wait at stop number 2 across the street.
This differs from Google Map’s directions, which tell me to walk to Nakamutada Station to catch the train, about 500 meters away.
Please note that I visited in June 2024, and the station may have changed over time.
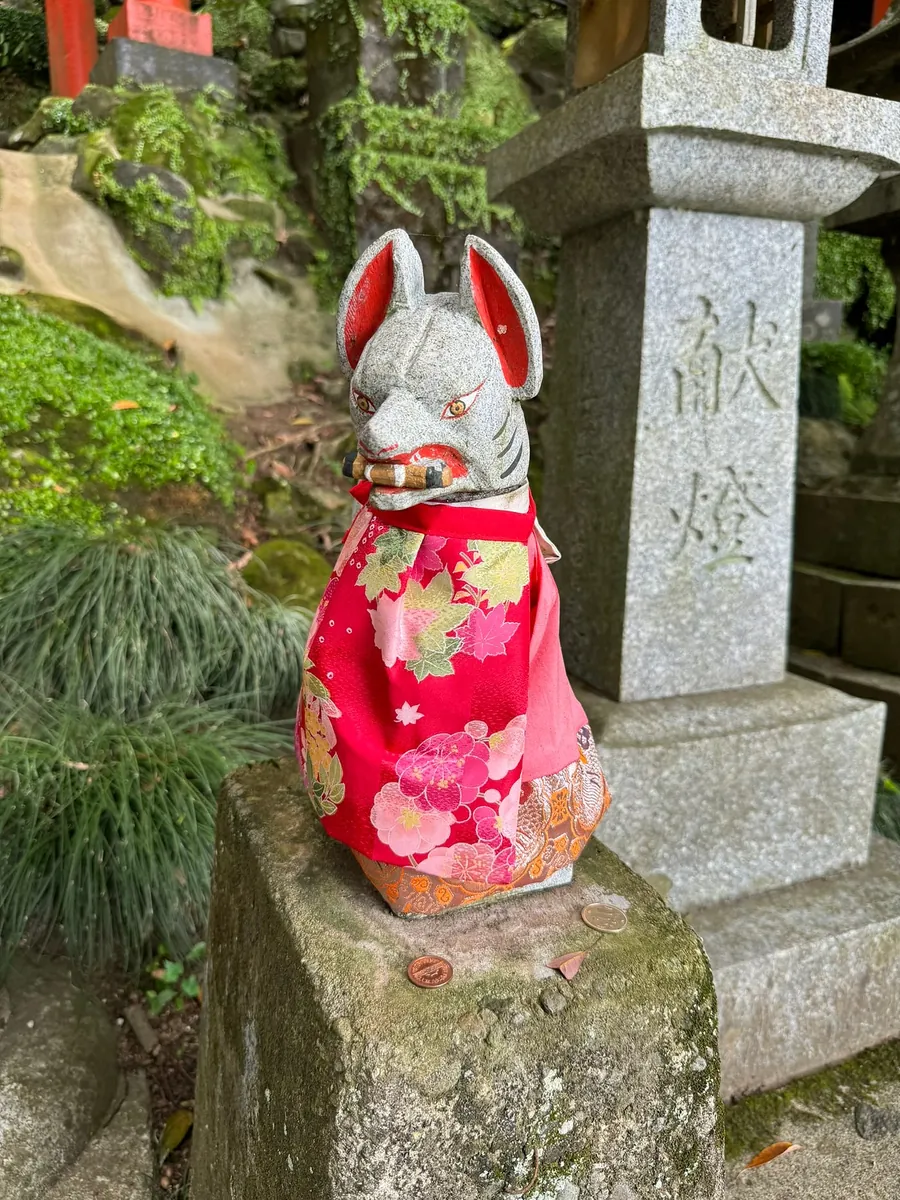
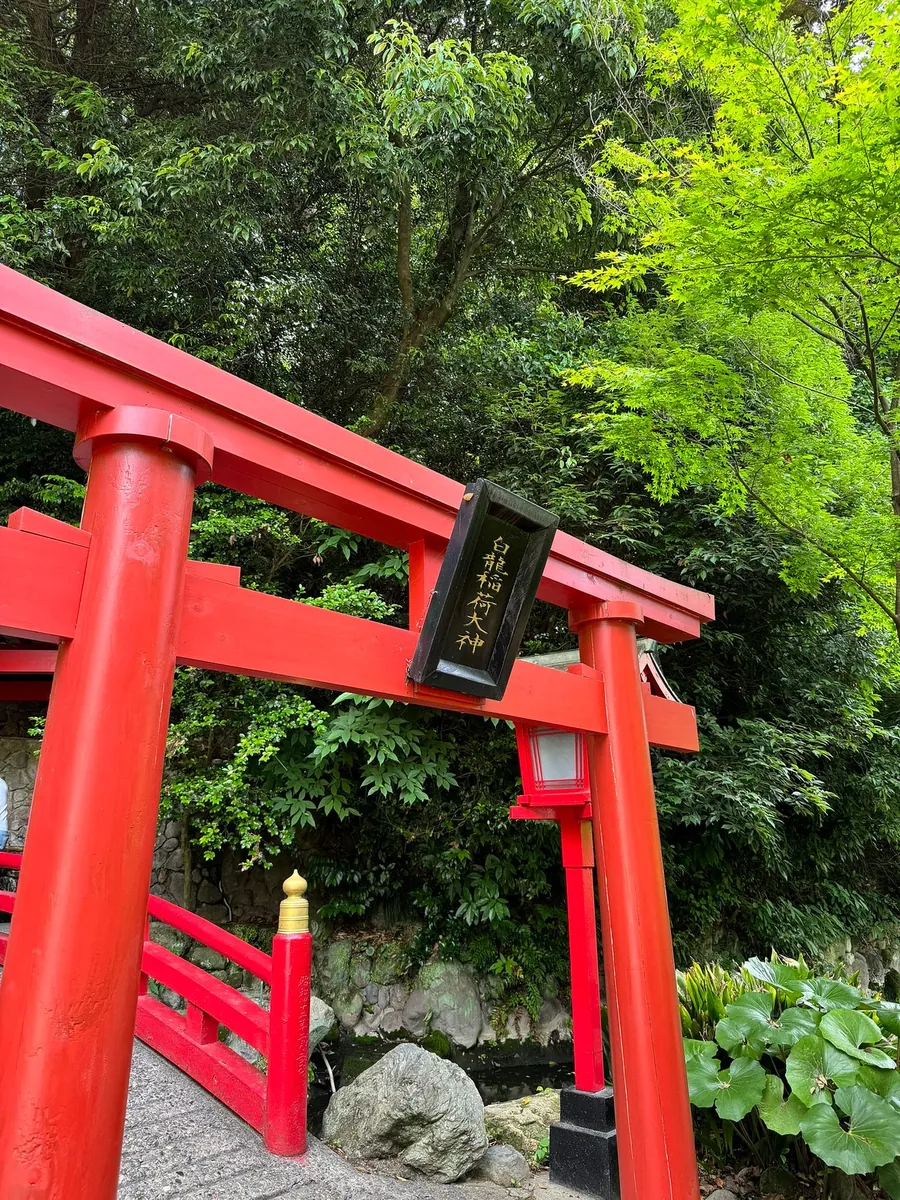
Yude Inari Shrine
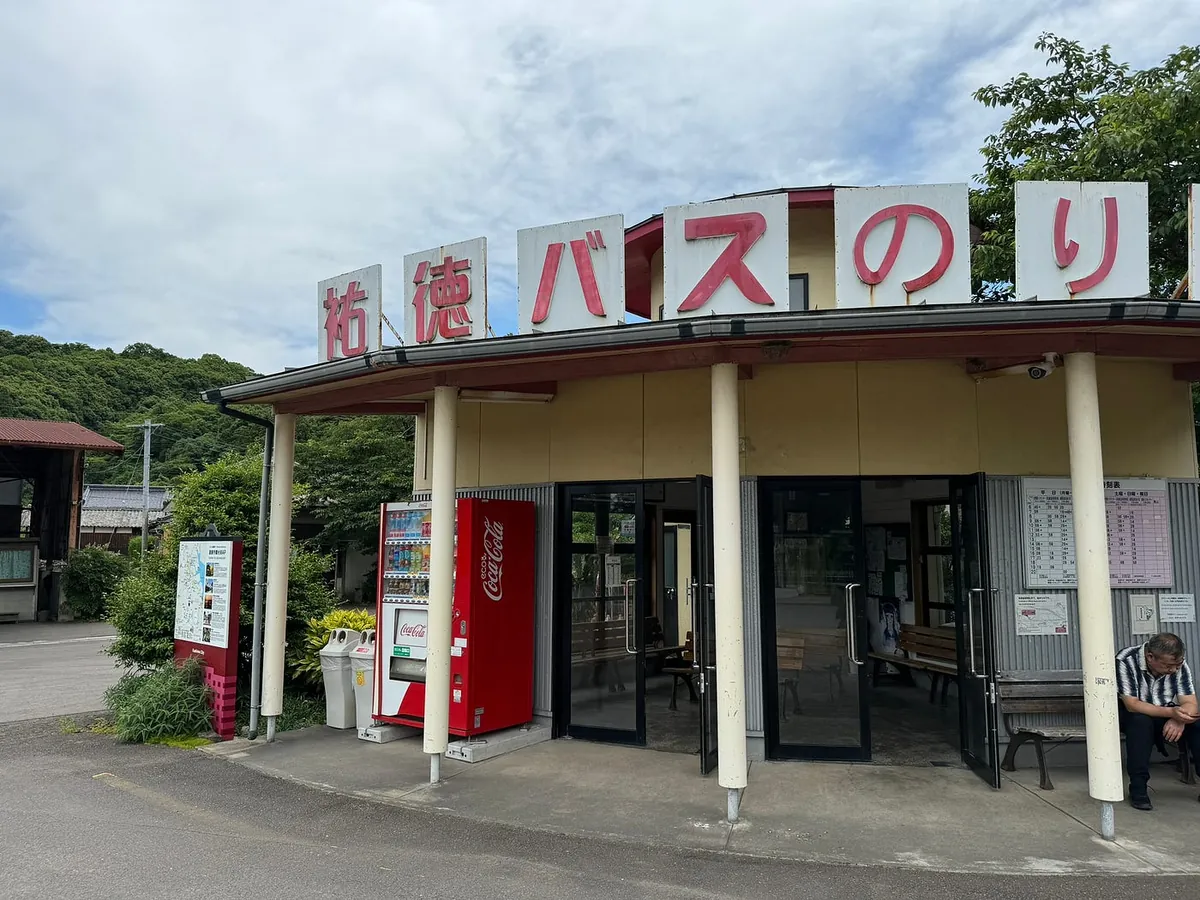
After getting off at Yude Shrine, walk backward to reach Omotesando.
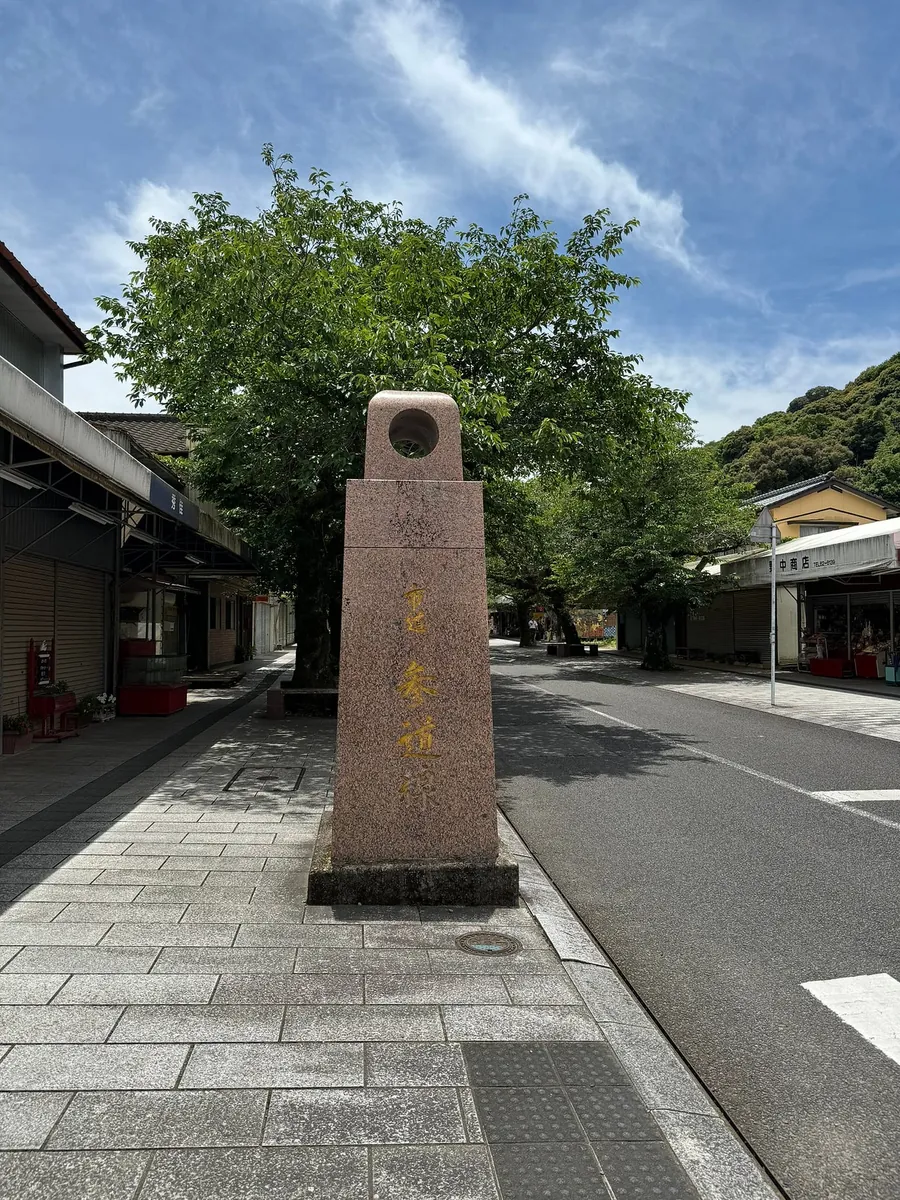
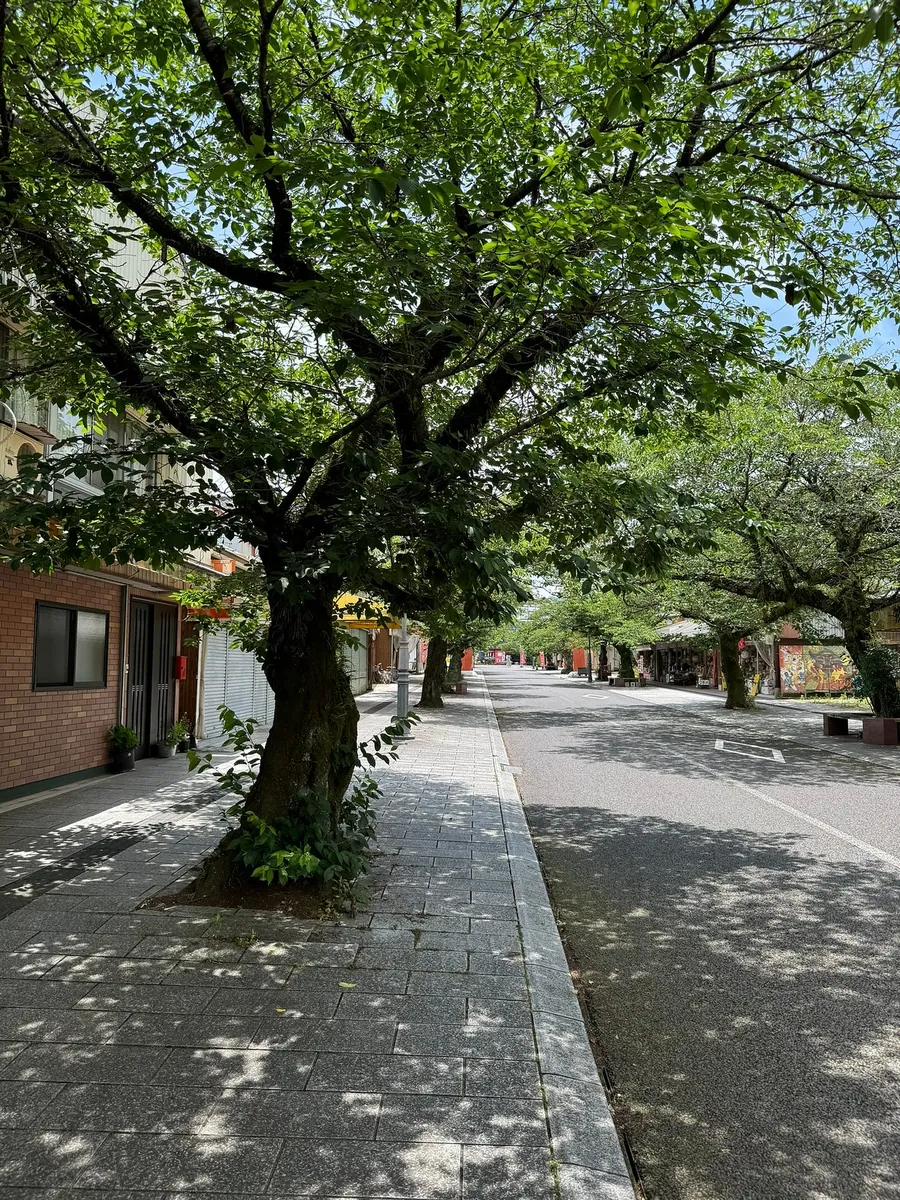
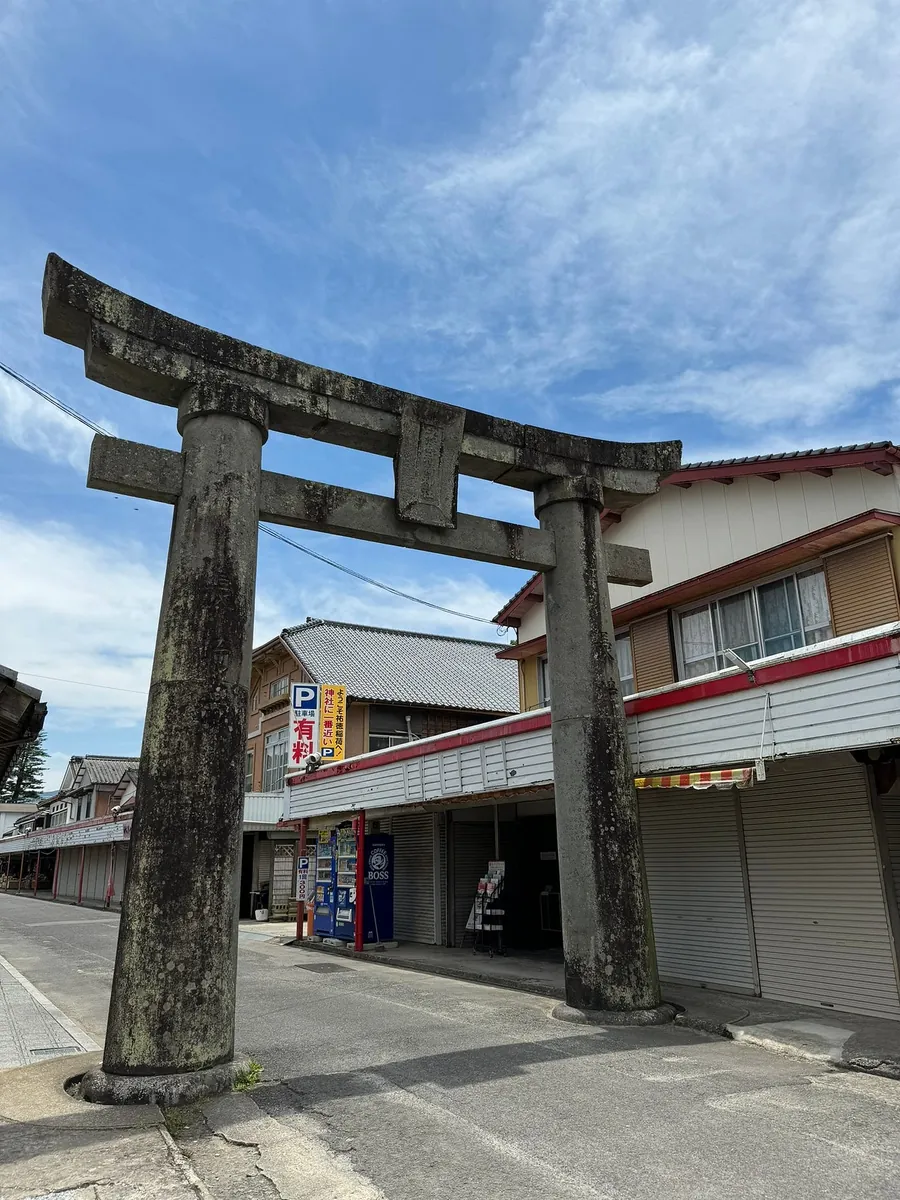
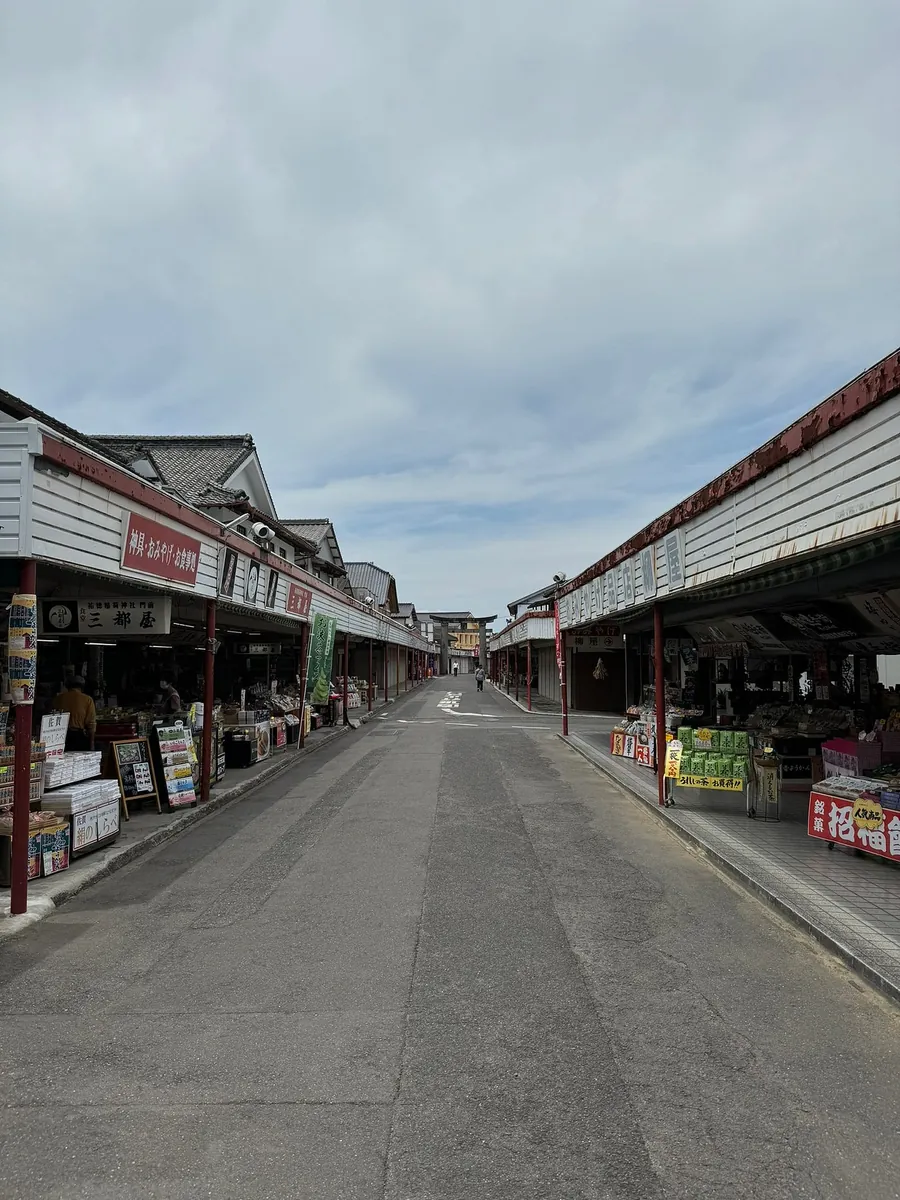
Not sure if it’s because on weekdays Omotesando and the shopping streets are almost empty, and very few shops are open.
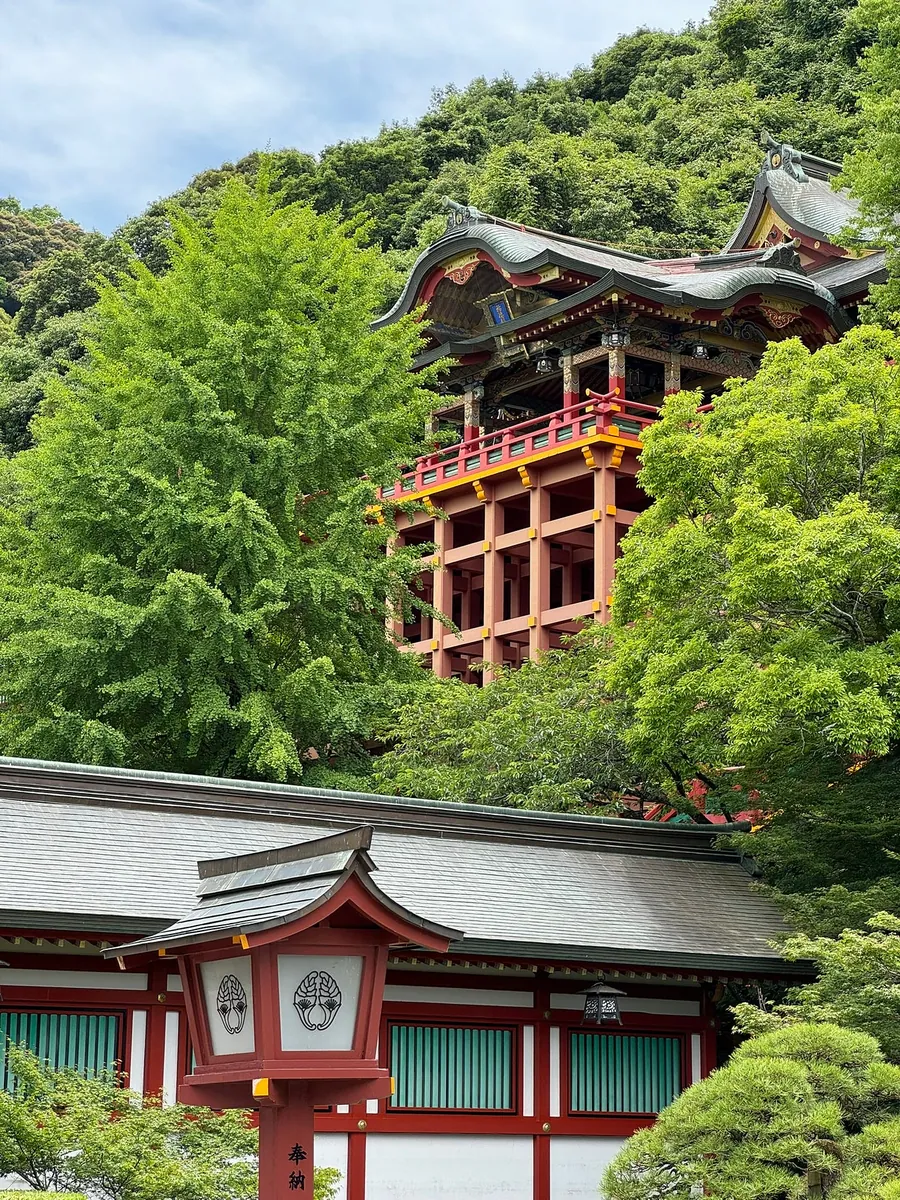
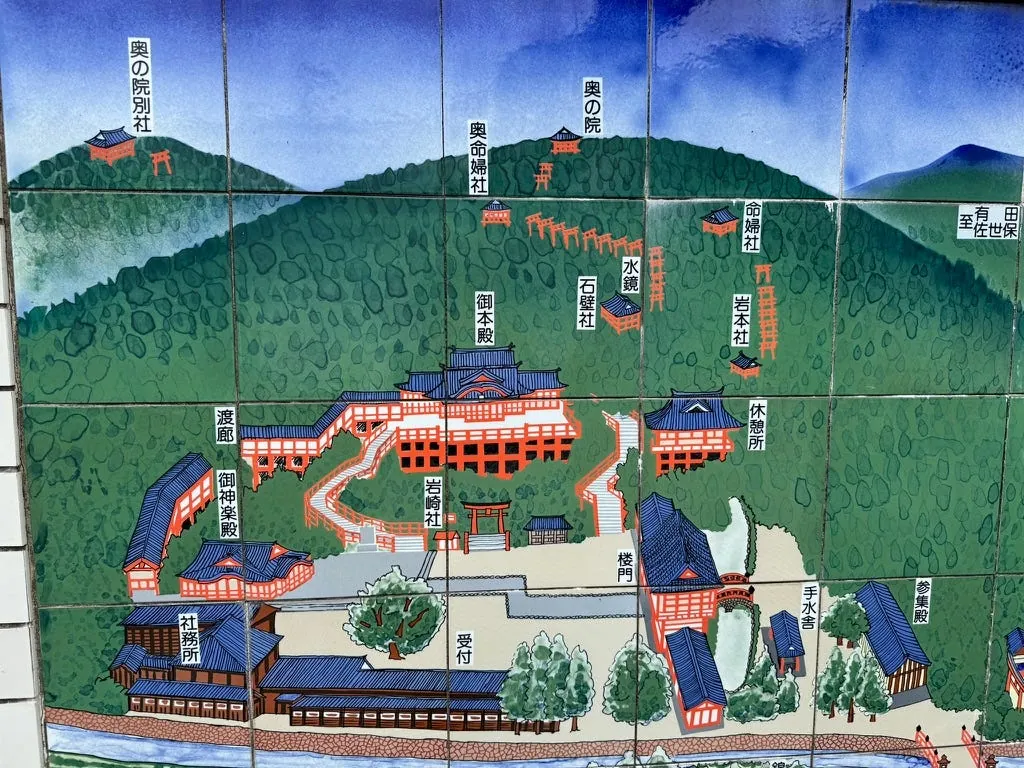
Walk straight ahead (about 15 minutes), and you’ll reach the shrine.
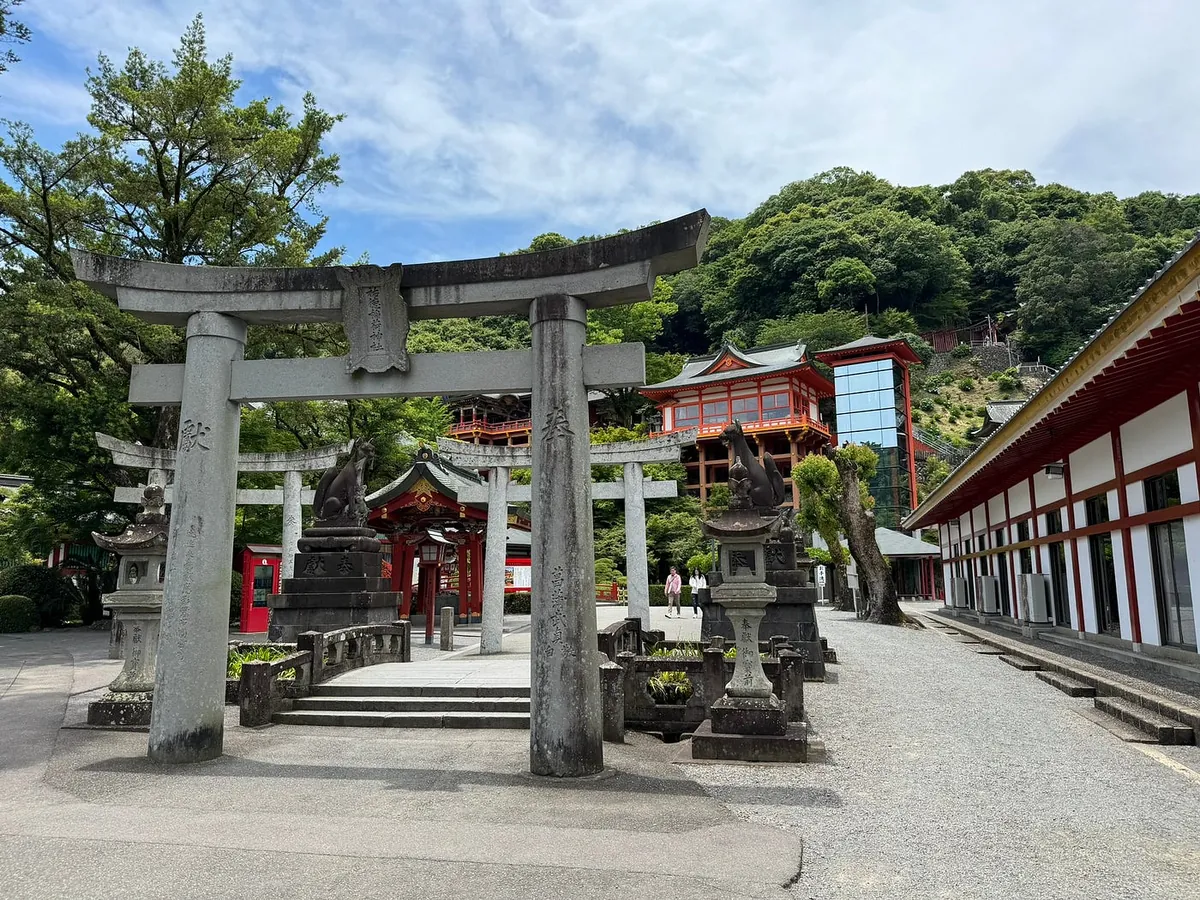
At the shrine entrance, the glass building behind houses an elevator. If you prefer not to walk up, you can take the elevator for a fee.

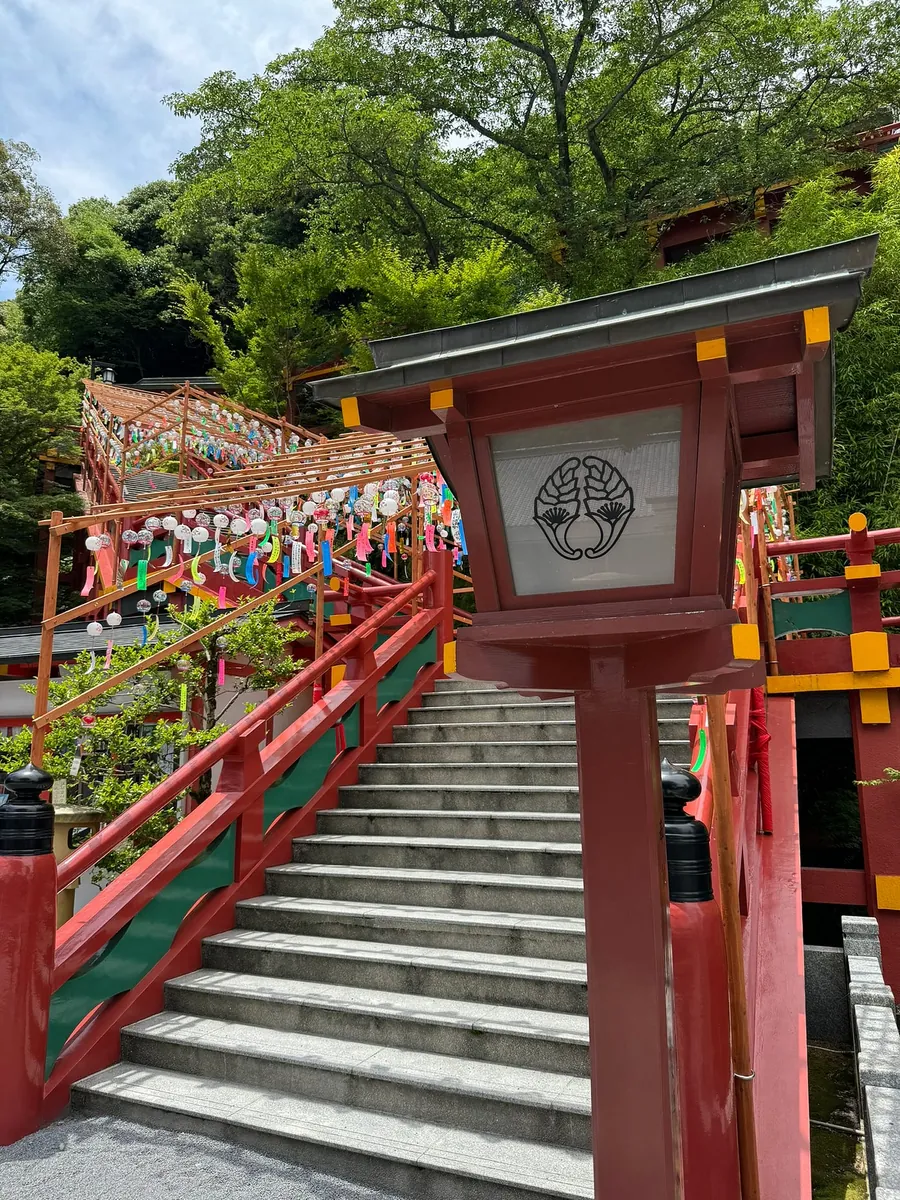
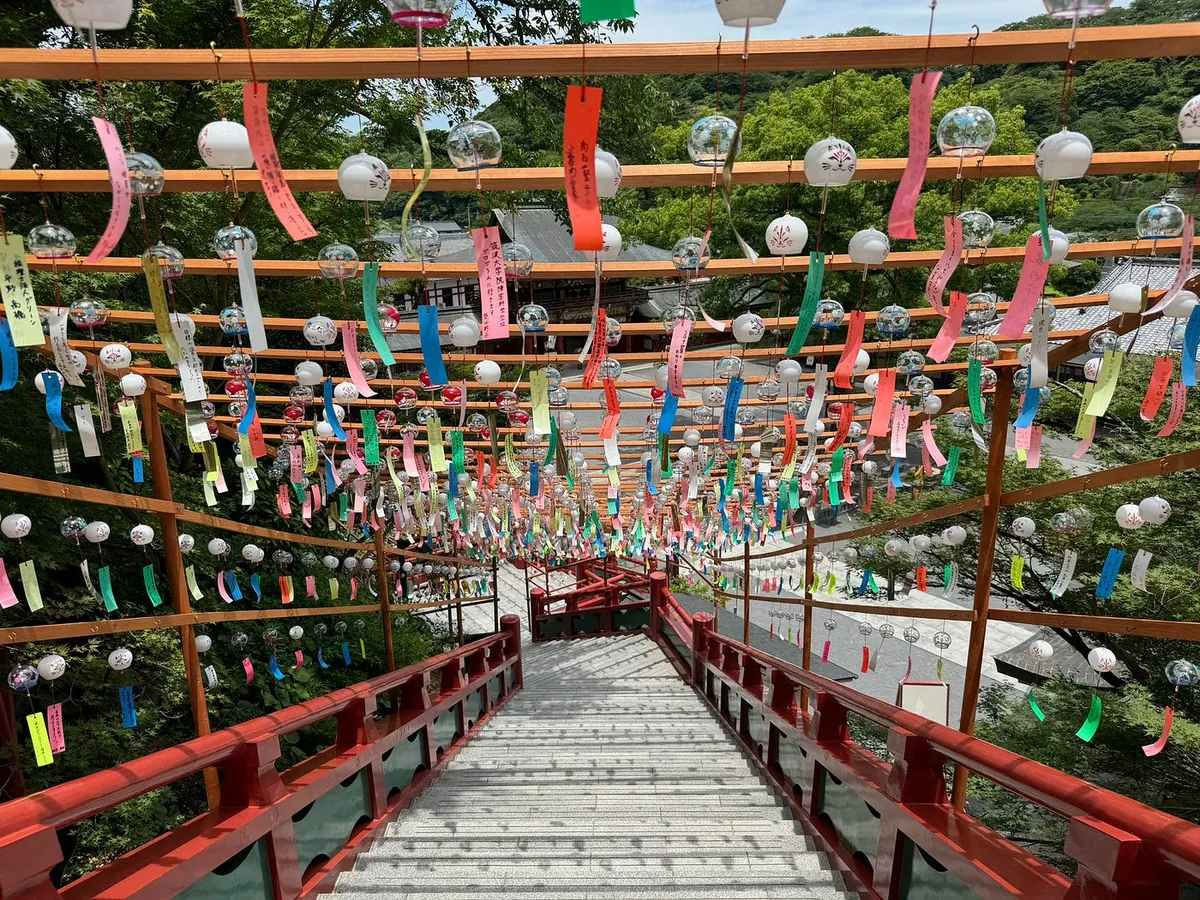
Going up, there is a row of prayer wind chimes. When I visited, no one was around. As I passed by, a gust of wind made them ring loudly.
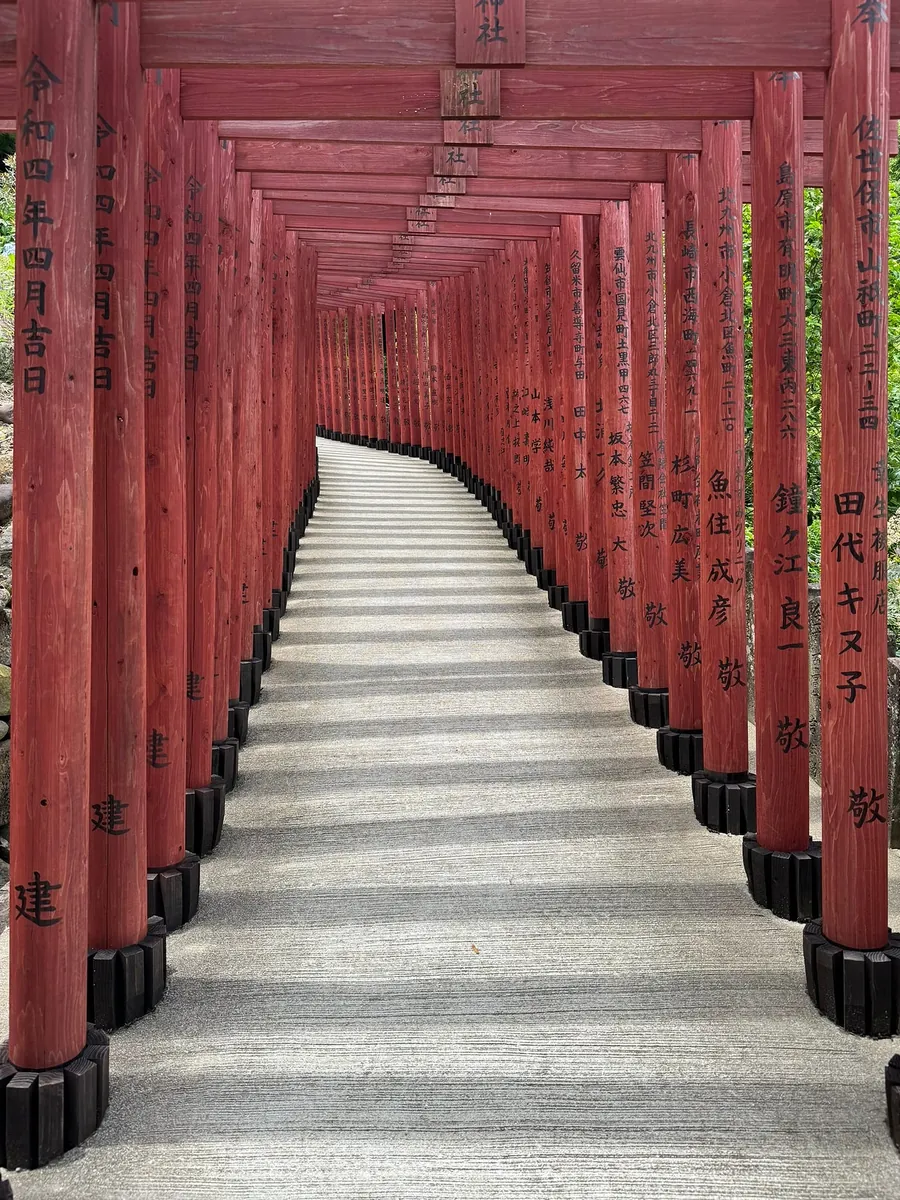
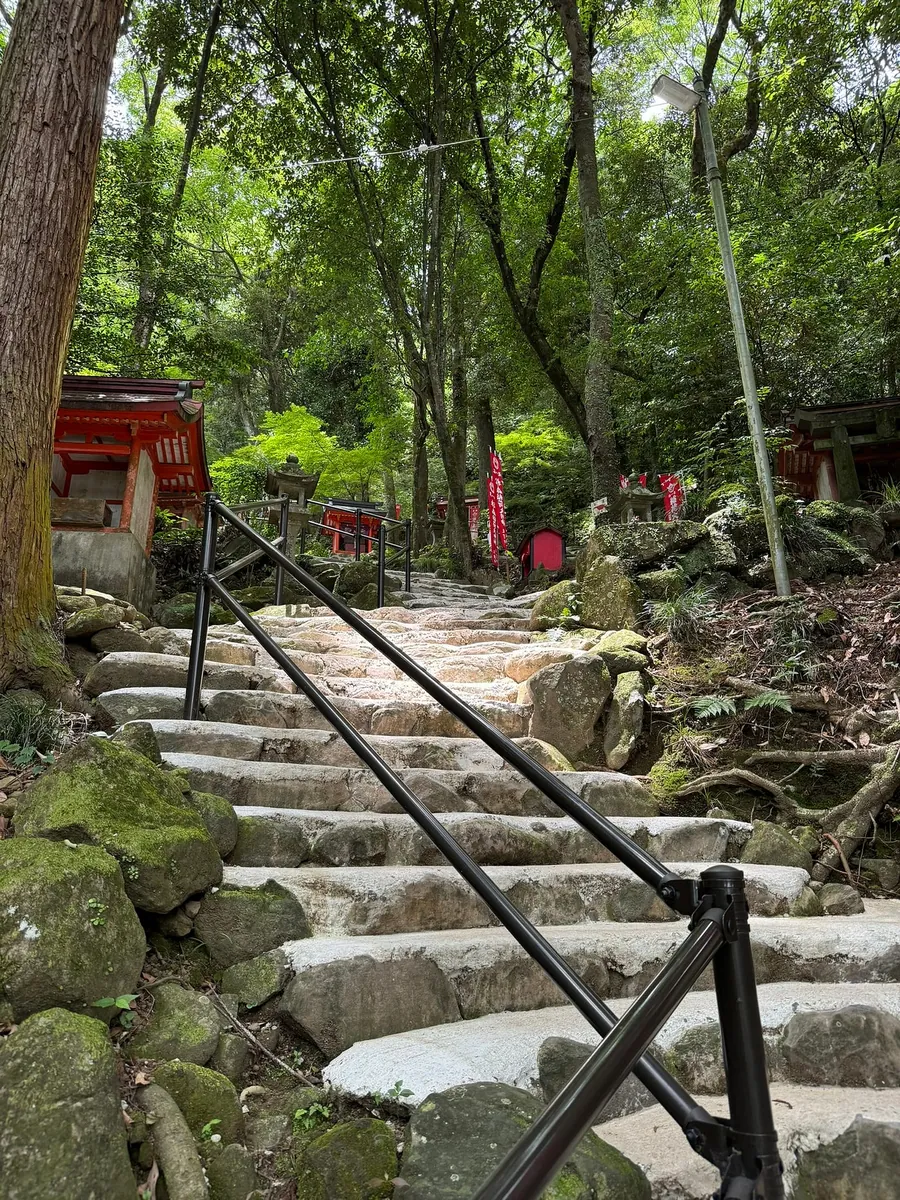
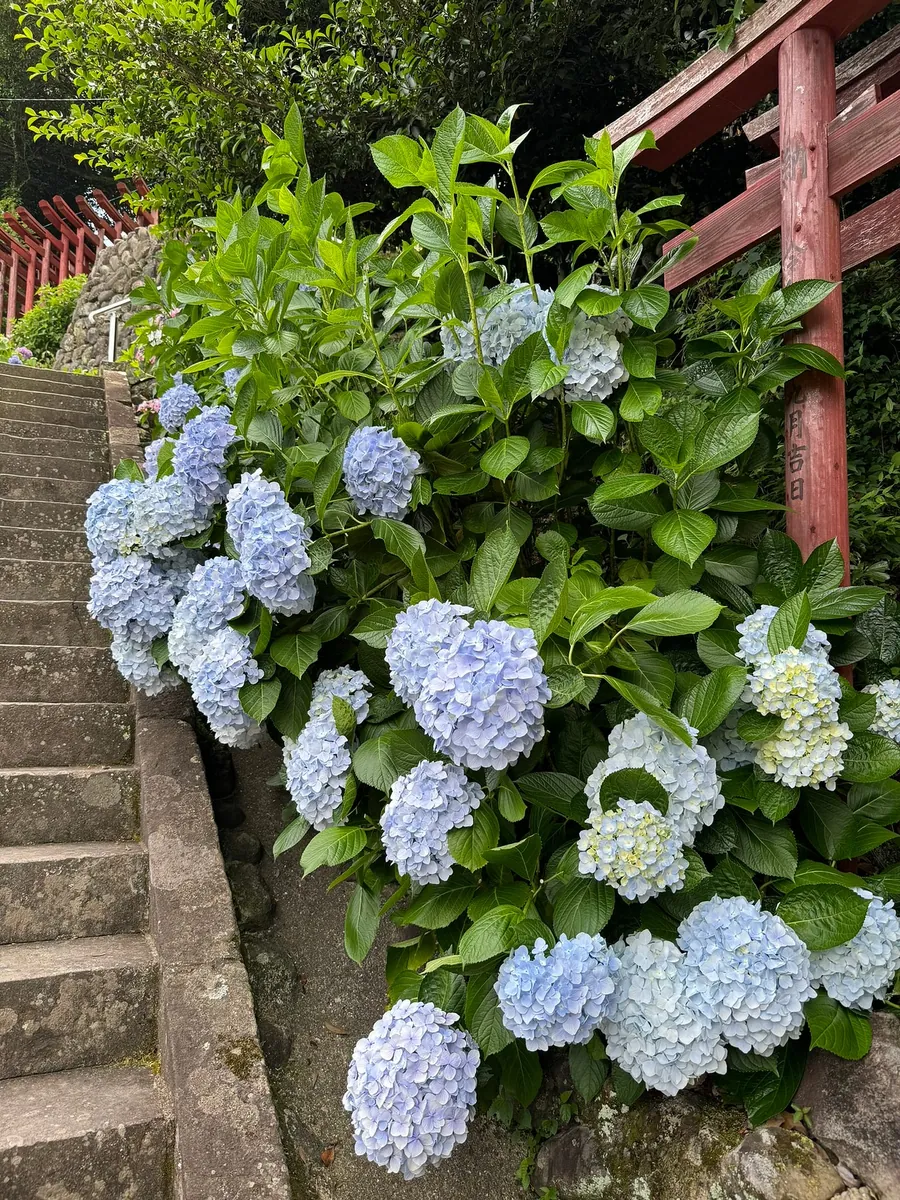
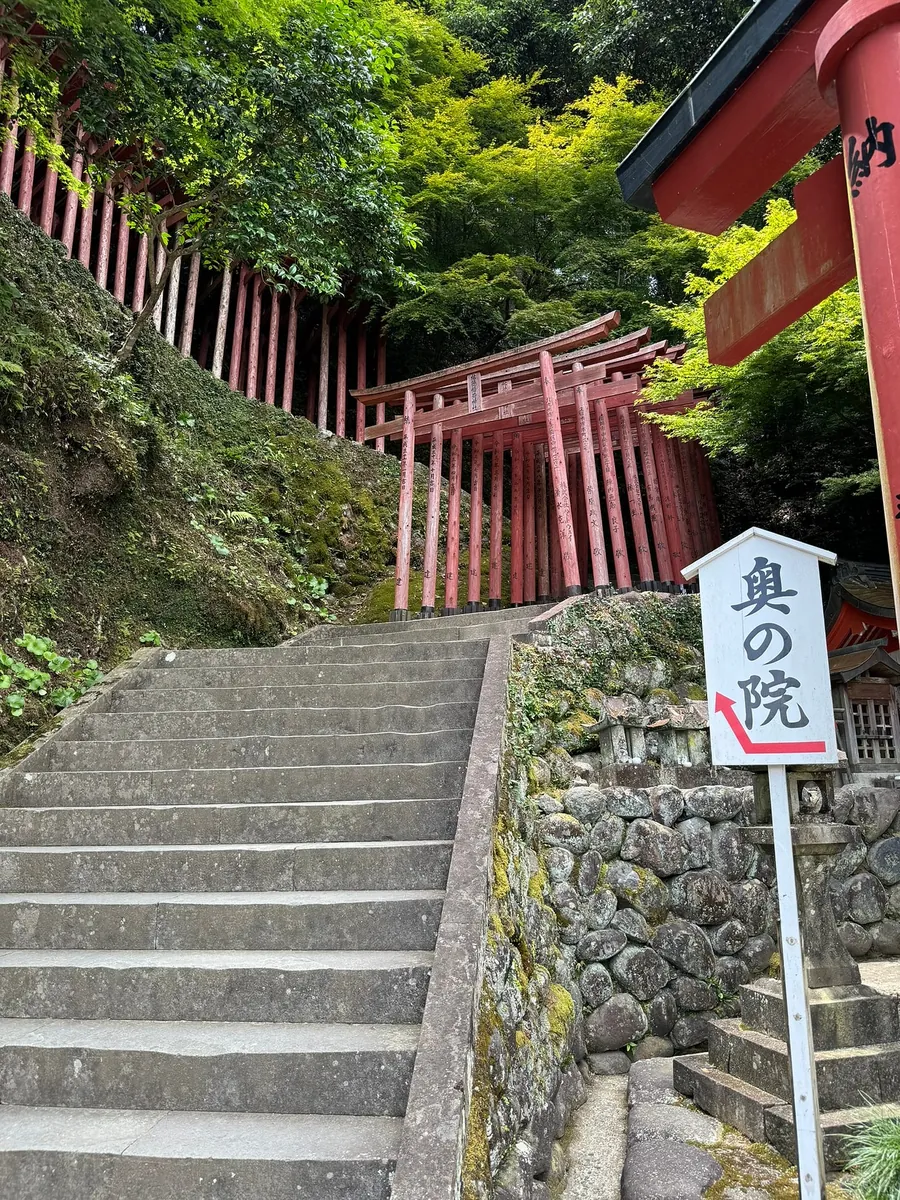
Walk through the entire row of torii gates and beautiful blooming hydrangeas. Behind, you can hike up to Okunoin (about 200 meters, very steep and difficult).
After the visit, return to the station and head back to JR.
Compared the Oyashiro Shrine Sea Torii and Karatsu Castle, felt the Sea Torii was quite ordinary ( after all, I’ve seen the famous Itsukushima Shrine’s sea torii ) and the transportation is inconvenient, so I plan to visit Karatsu instead.
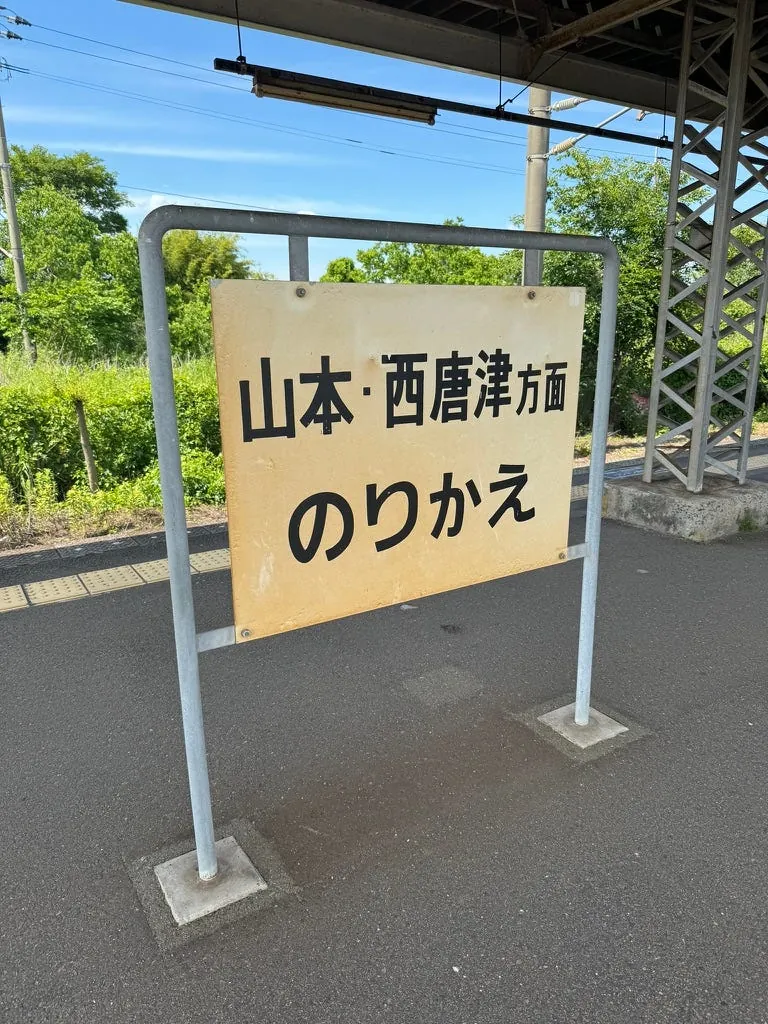
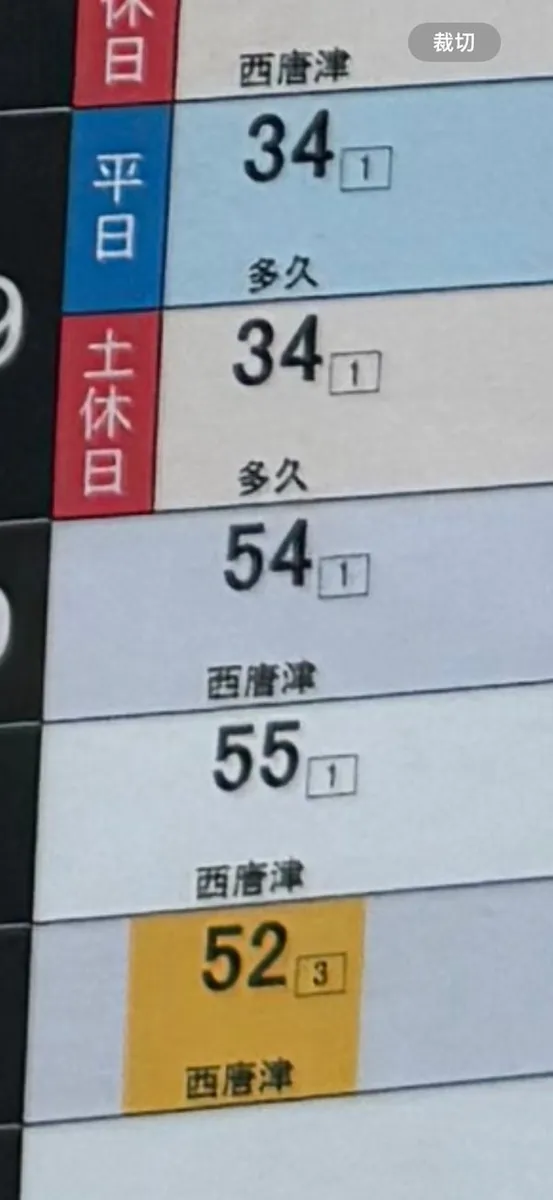
There was an error when changing trains. This small station has no electronic boards. After getting off, I saw the platform sign saying “For Karatsu” and thought I should change trains there. However, when the time came, the train passed on another platform, and I missed boarding.
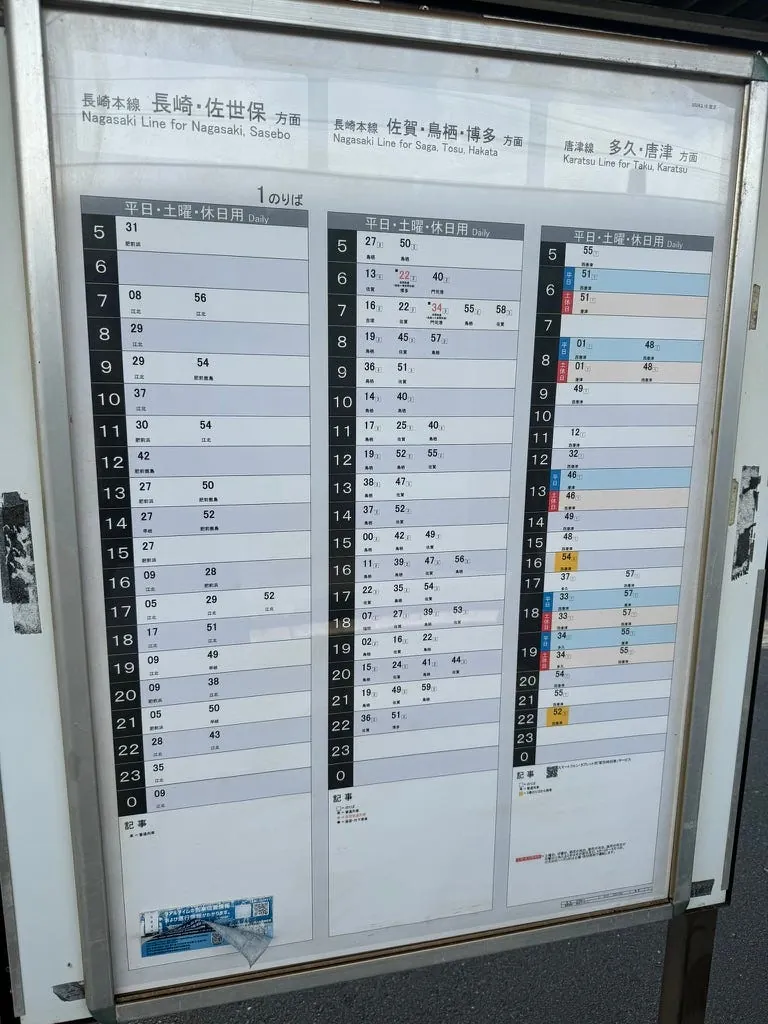
After careful study, I realized that checking the box at the bottom right of the timetable shows the correct boarding platform. The platform may differ between weekdays and holidays.
Because I missed the train to Karatsu and couldn’t return to the Oya Shrine’s sea torii gate, and after yesterday’s ordeal, I fortunately decided to go straight back to the Hakata hotel to rest.
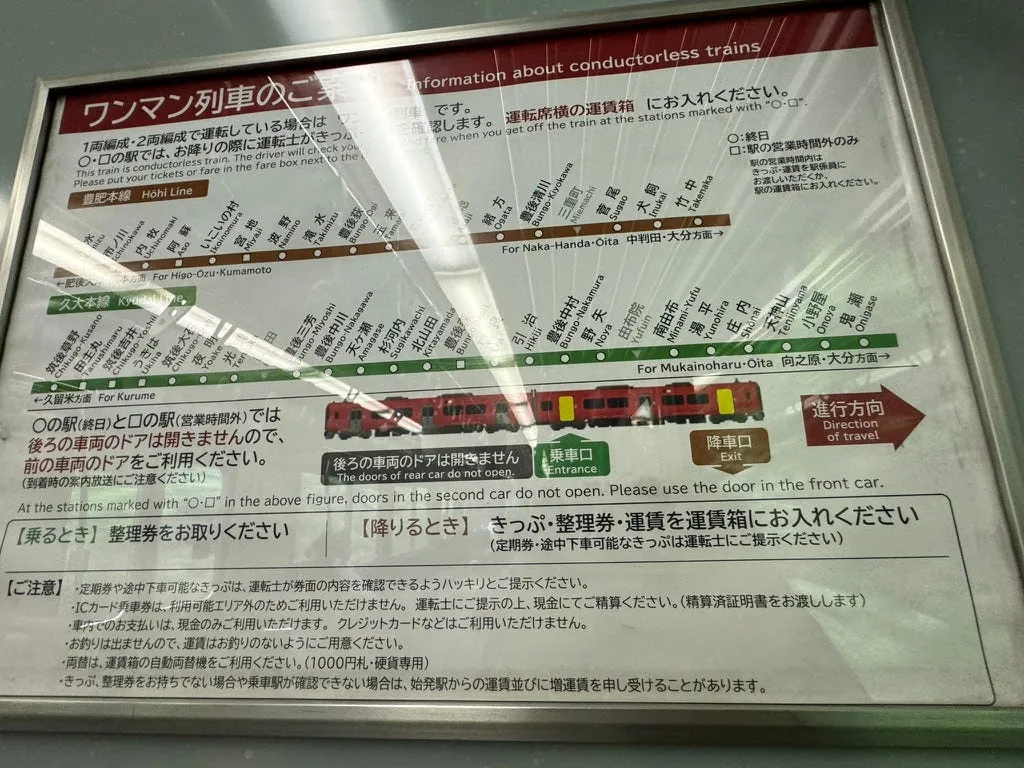
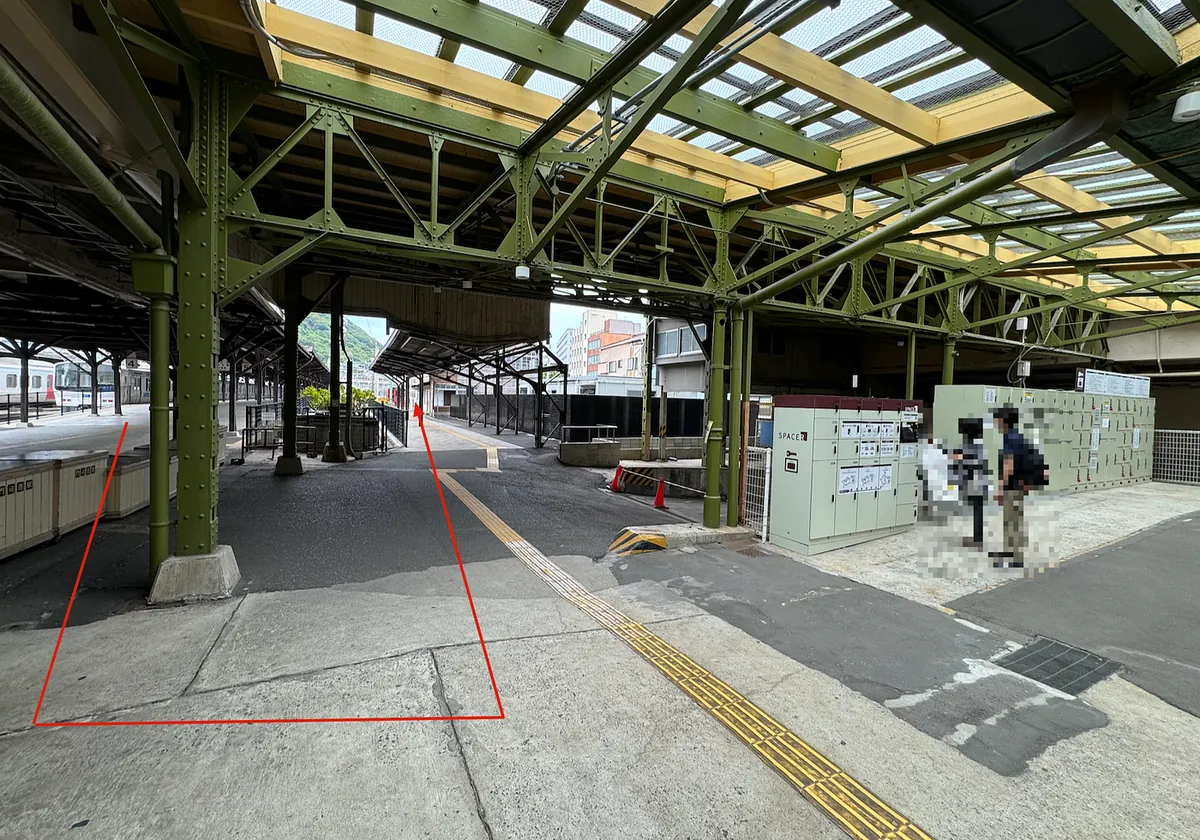
On the return trip, I noticed something interesting. I wondered why the train doors didn’t open at the small stations (I was sitting in the rear car). Upon closer observation, I found that at stations without staff, the conductor acts as the station staff. Passengers must get off from the first car and pay the fare by inserting coins or tapping a transit card on the screen (just like a bus). If using a JR Pass, simply show it to the driver.
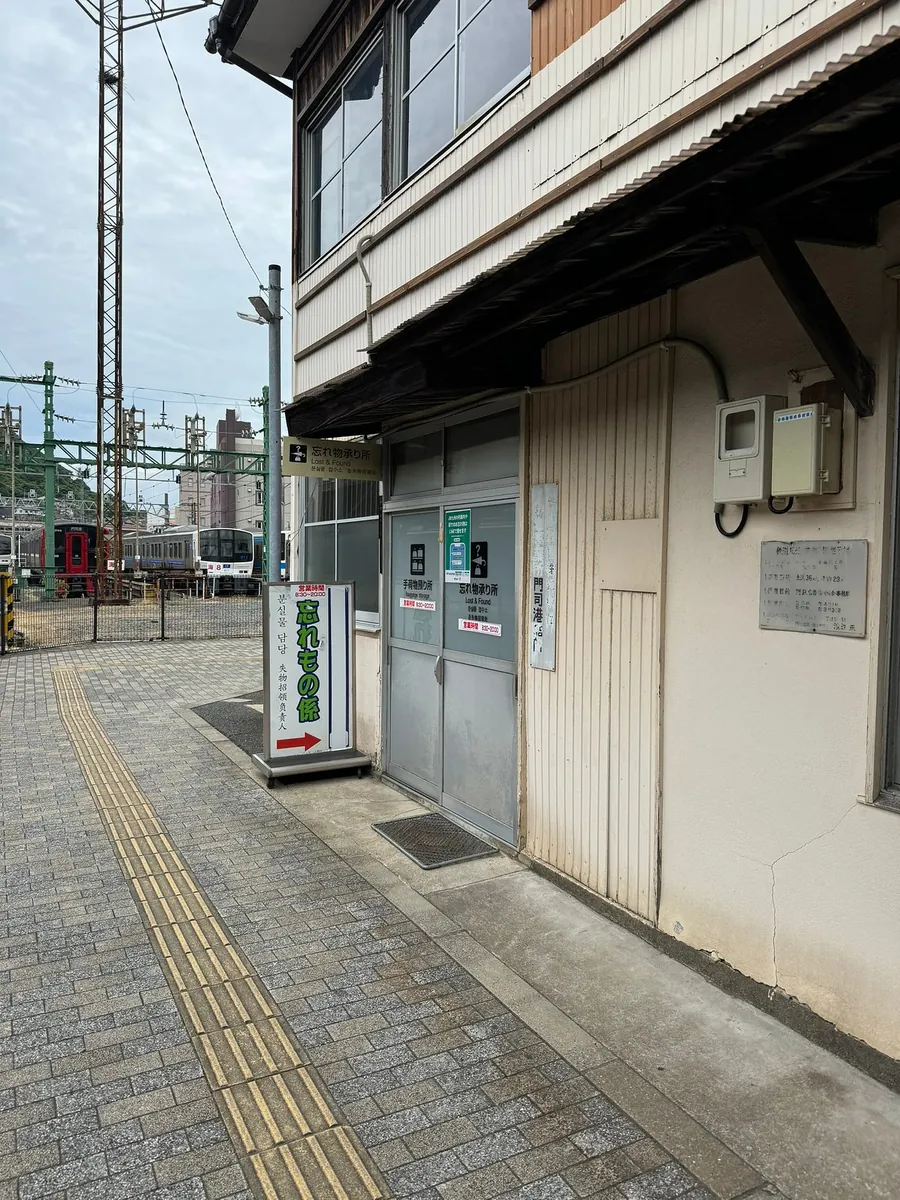
Also, a reminder: if you exit an unmanned JR station using a JR Pass, just walk out directly. Do not insert the JR Pass into the ticket collection box. ⚠️
Around 16:00 Return to Hakata, hotel
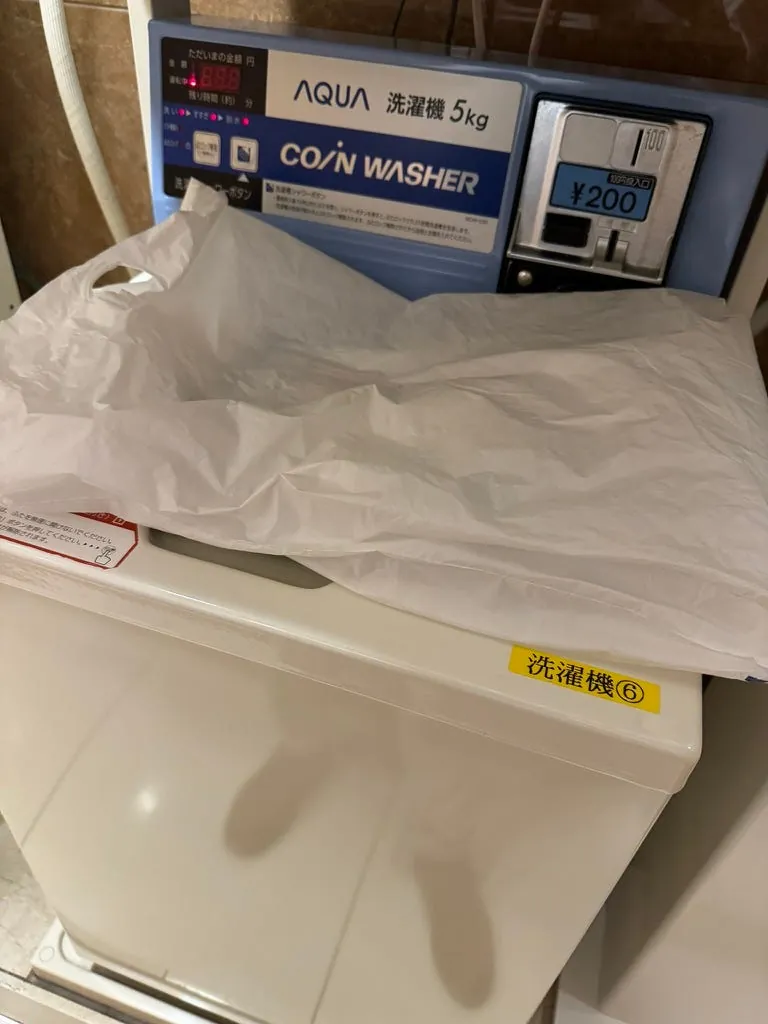
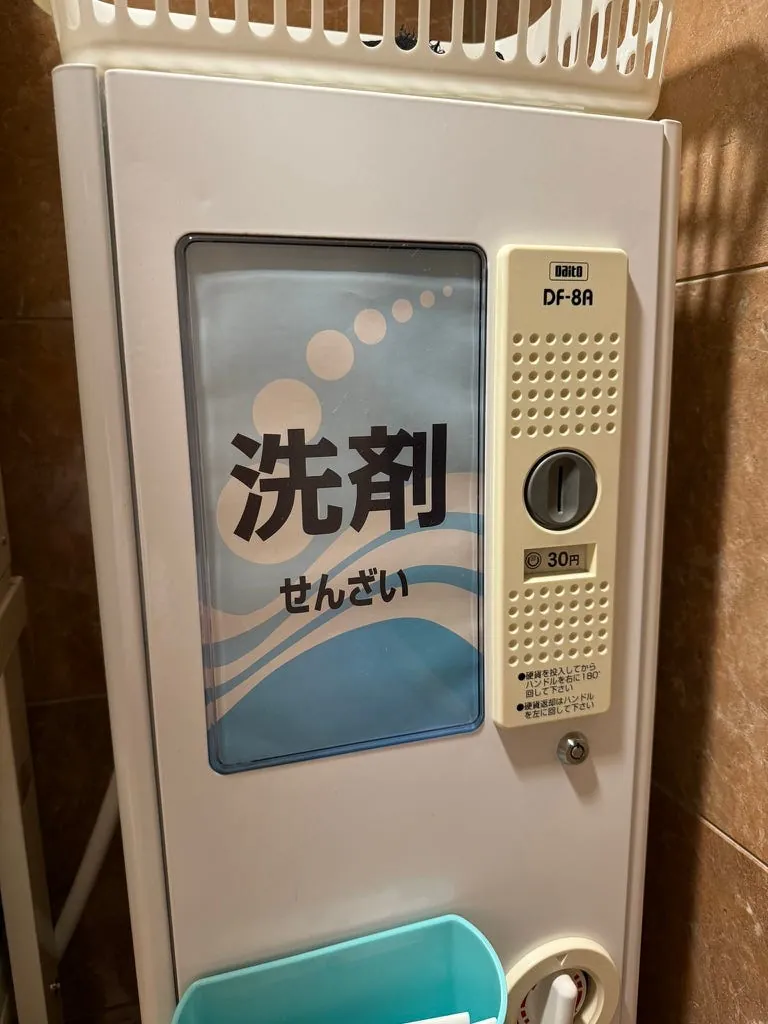
Note that the washing machines at Toyoko INN may not provide detergent. Please check if the machine automatically dispenses detergent before washing⚠️
If not, you need to insert more coins or buy detergent at the counter. (30 yen)
After putting the clothes into the washing machine, I went to the underground shopping area of Hakata Station’s department store to find something to eat.
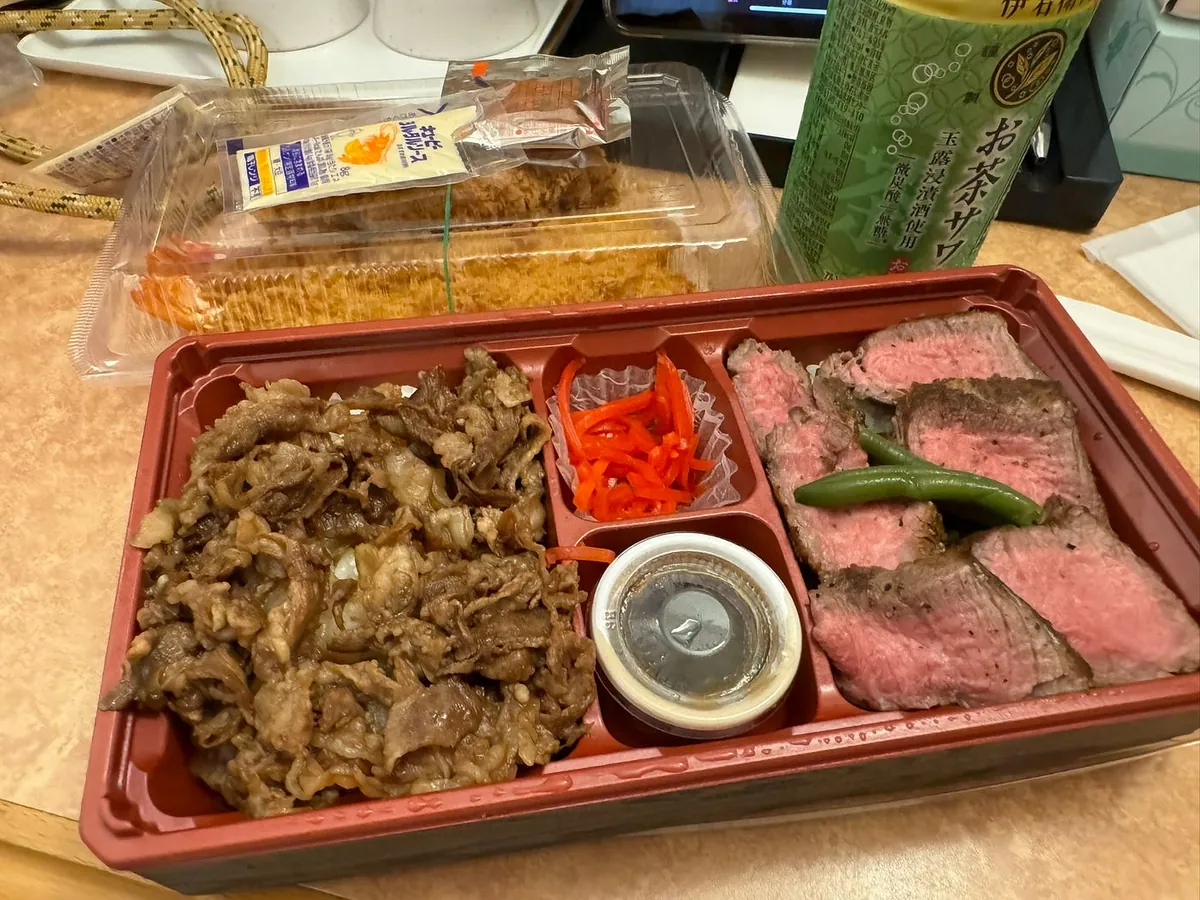
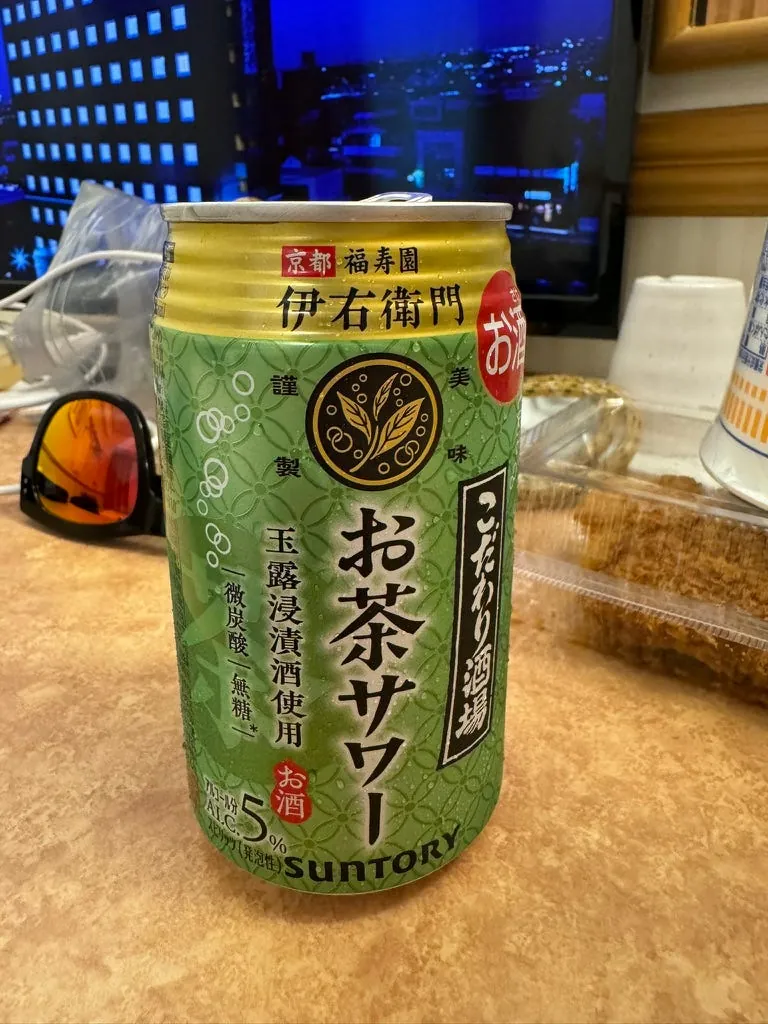
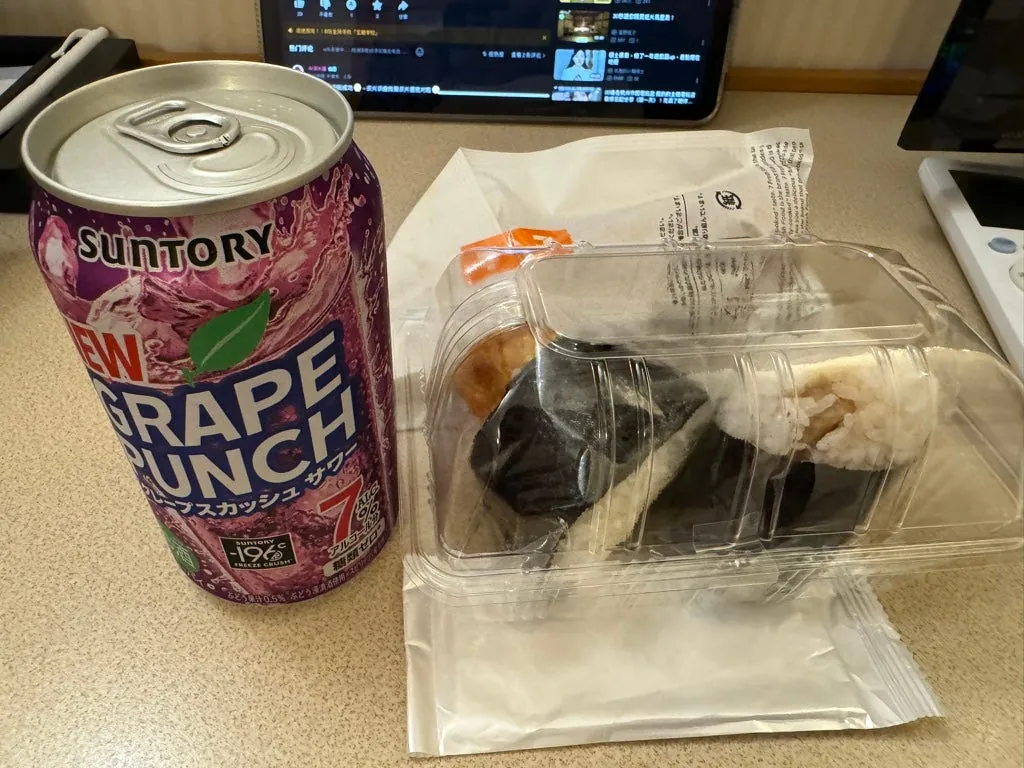
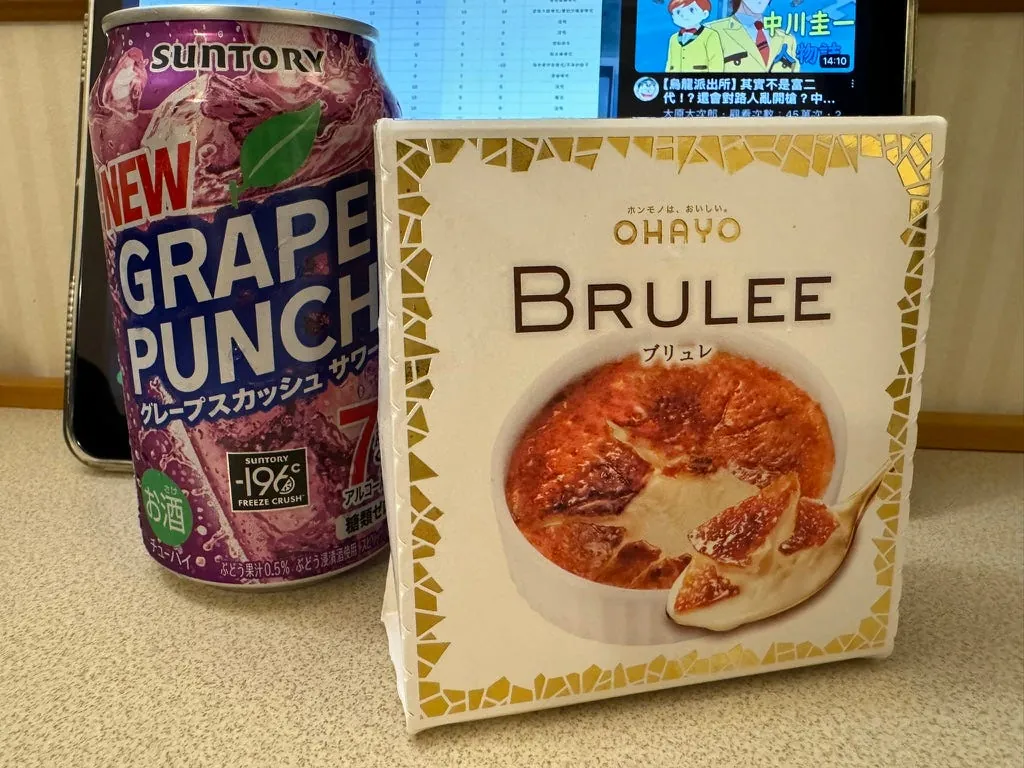
Bought a steak bento to eat, it was great; the tea and alcohol were okay, not much flavor.
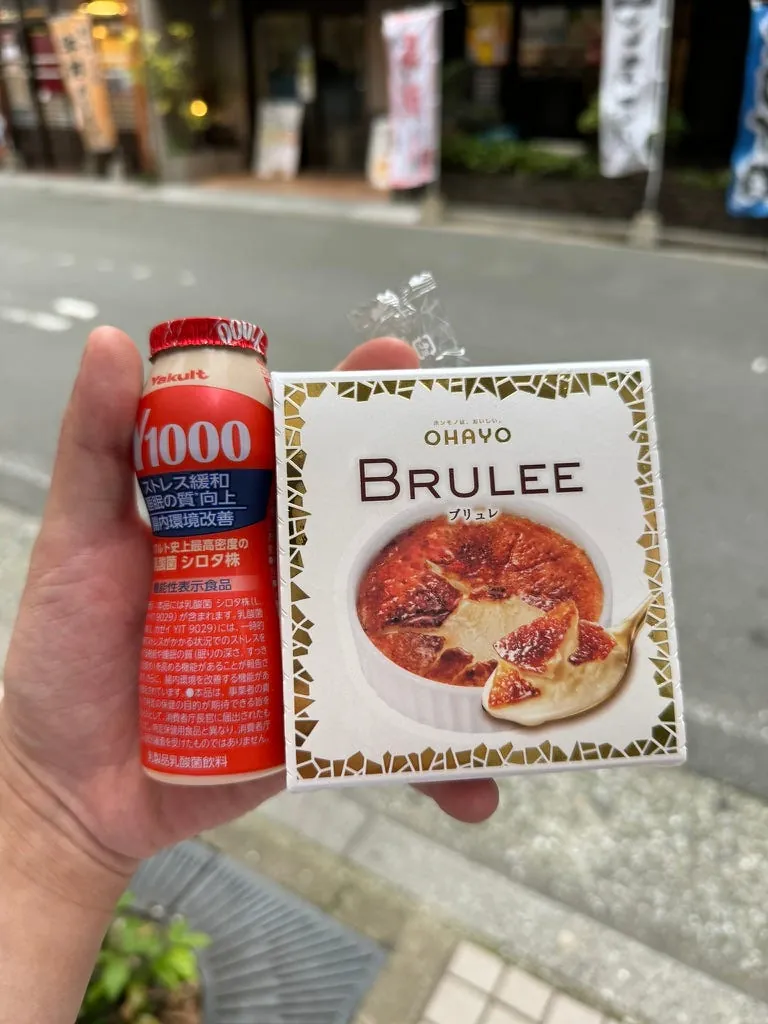
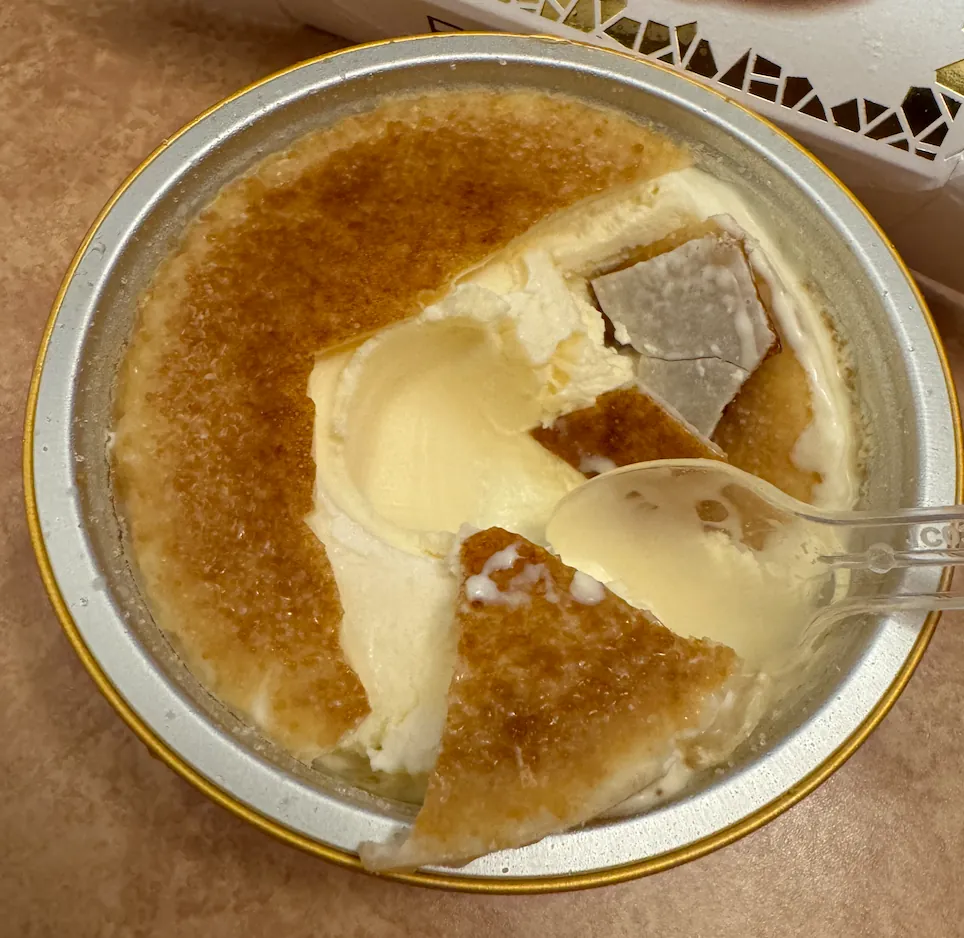
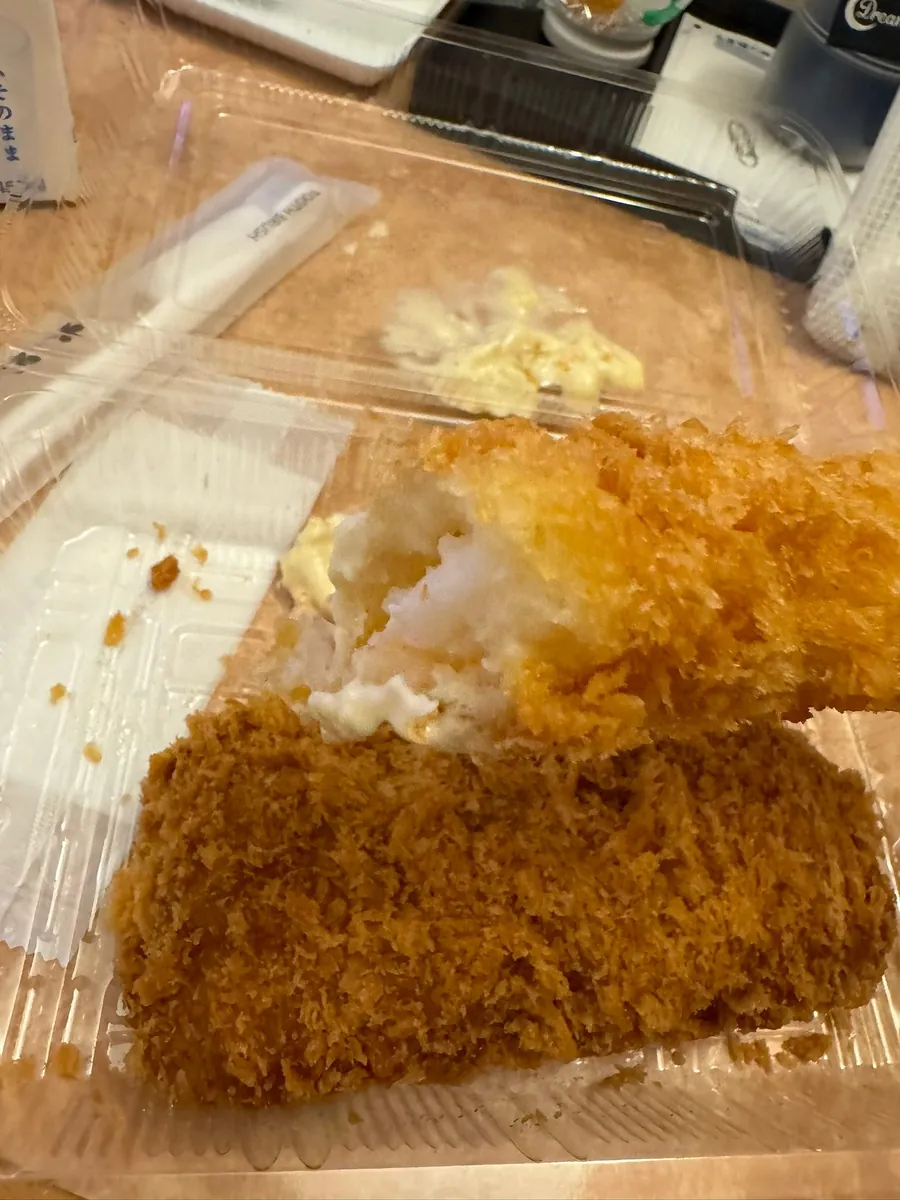
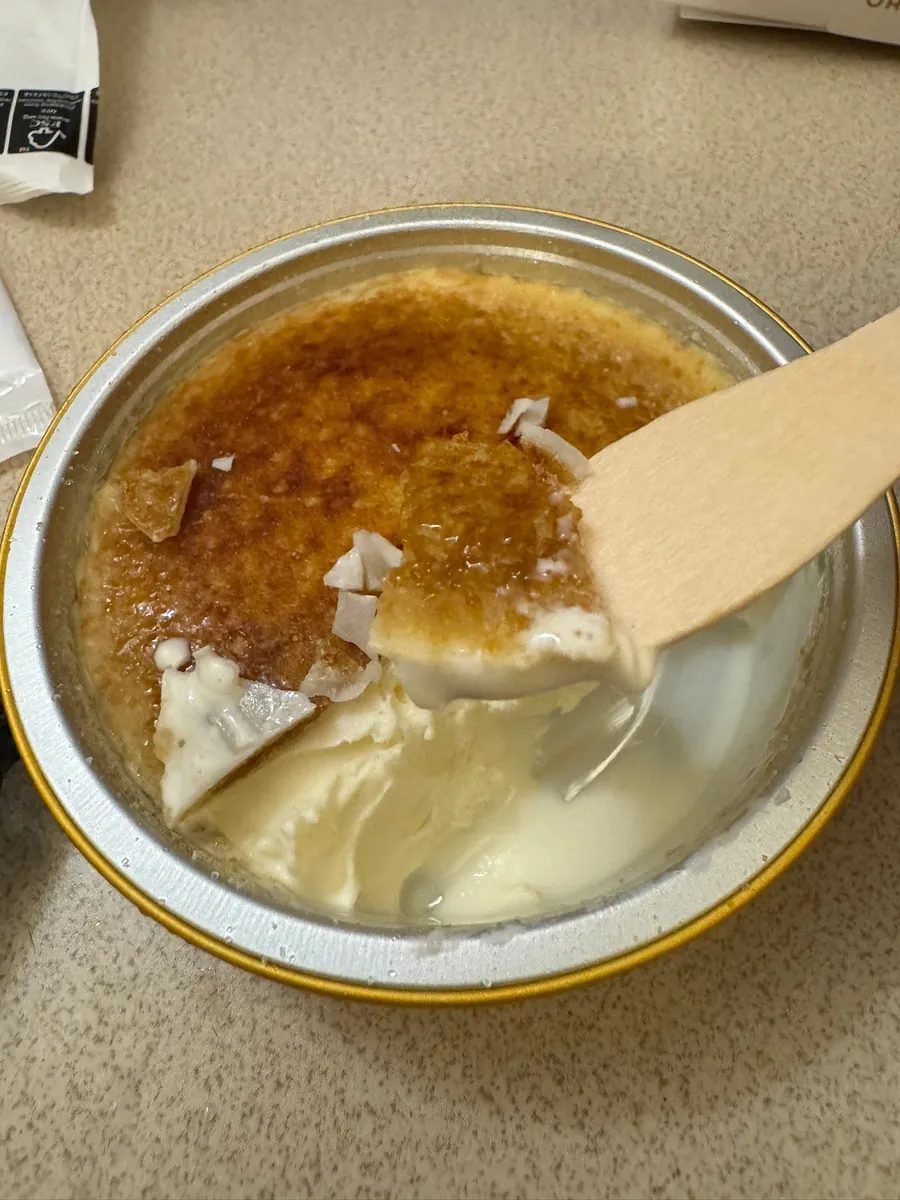
Also bought 1000 Yakult to drink at night, BRULEE caramel ice cream as dessert (very sweet!), and fried shrimp as a late-night snack (this time I really got whole fried shrimp, unlike the fake ones I bought in Kumamoto QQ).
Laundry (30 mins), drying (1 hr), rest.
Day 4 Yufuin, Oita
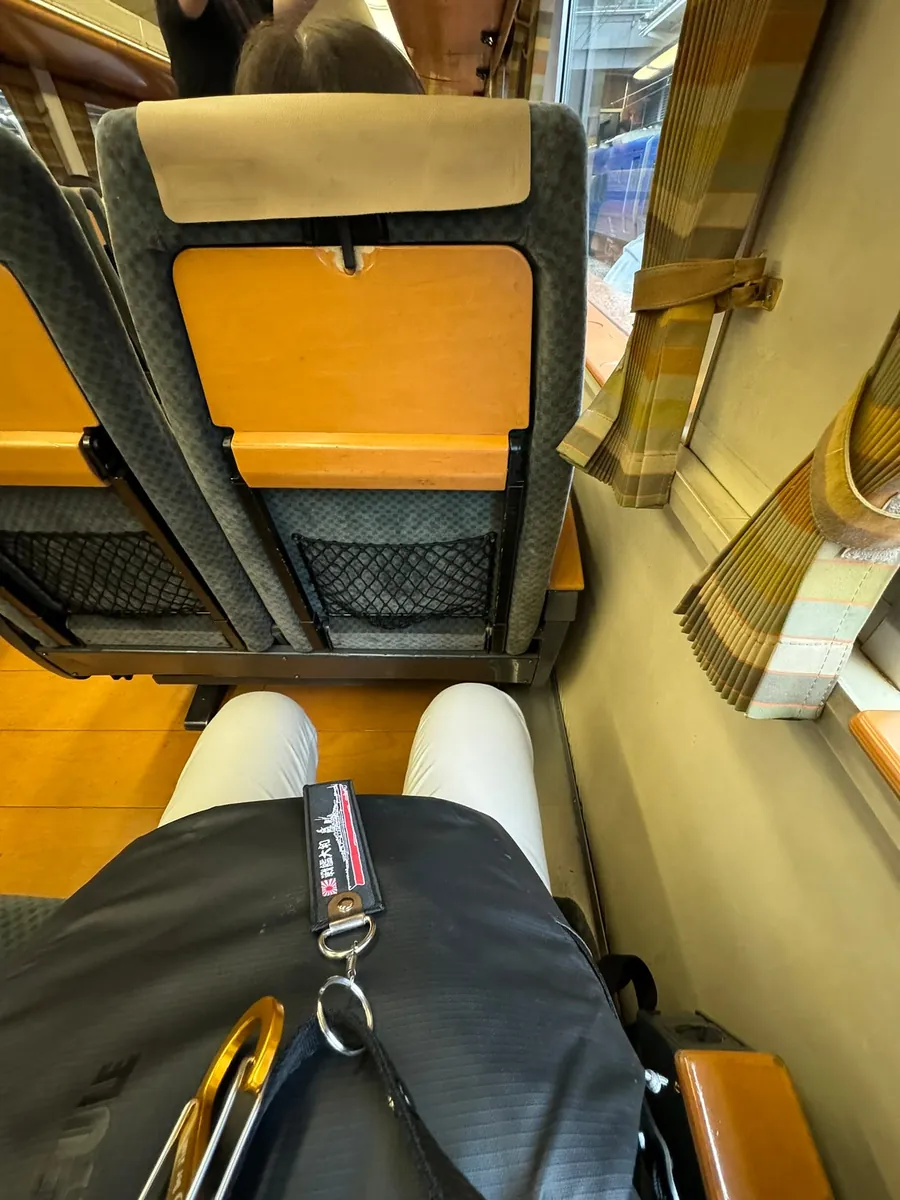
Early in the morning, checked out and dragged luggage to JR Hakata Station to take the Yufu 1 to Yufuin.
Suitcases can be placed in the luggage compartment. If you’re worried about sliding, you can place them horizontally.
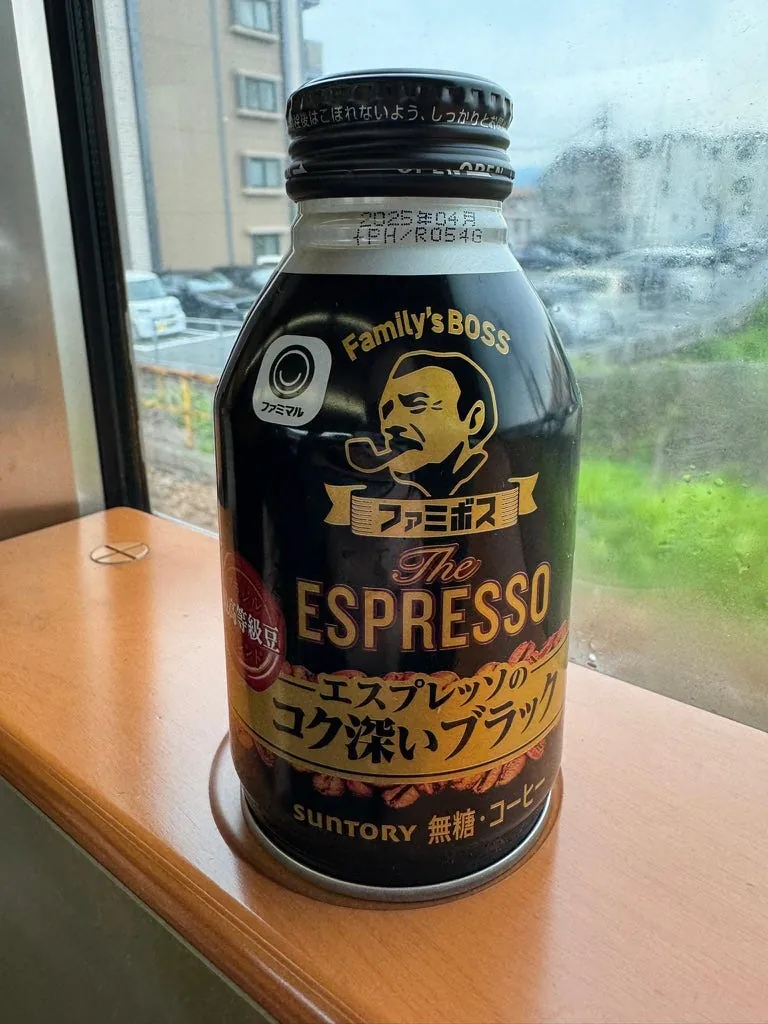
A cup of coffee to wake up the mind
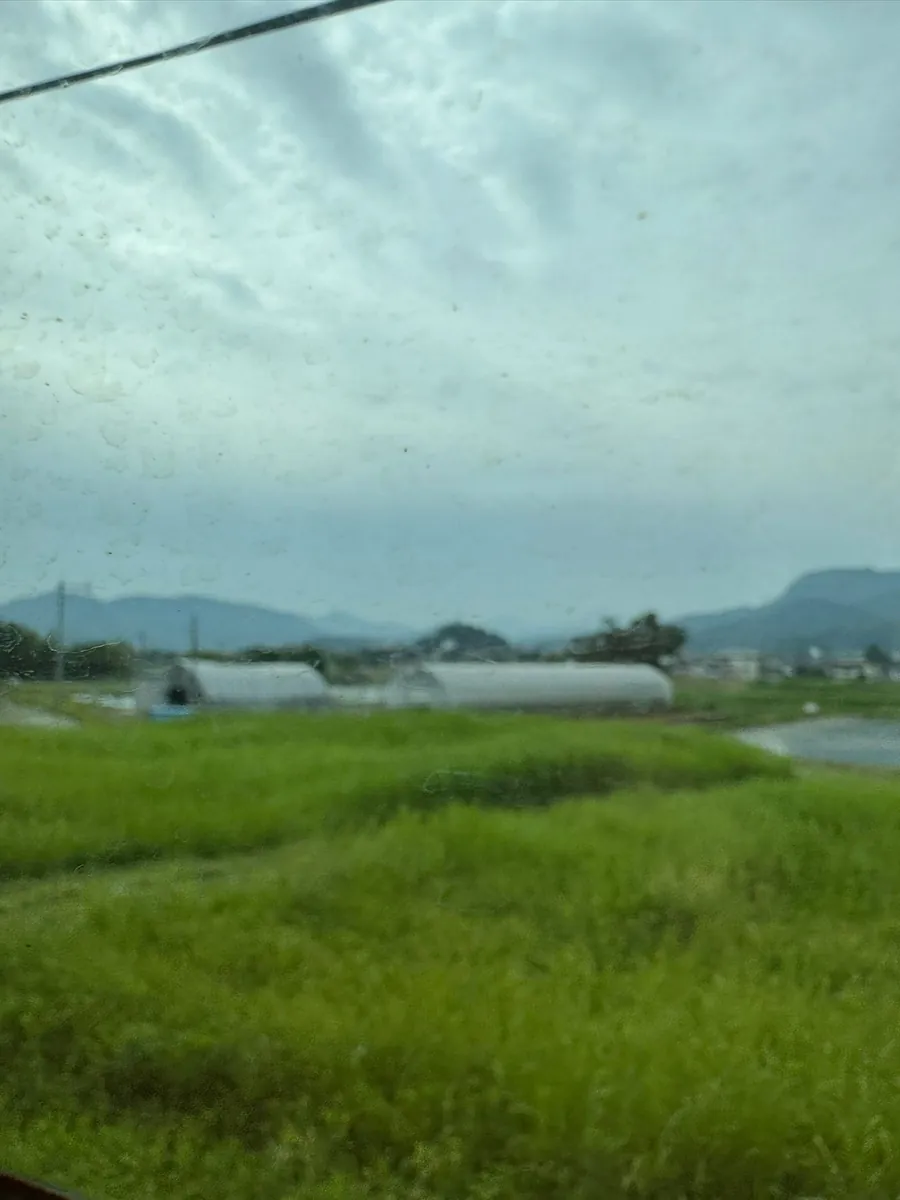
This season, the road is lush green but doesn’t have particularly beautiful scenery (or maybe only Yufuin no Mori has nice views?).
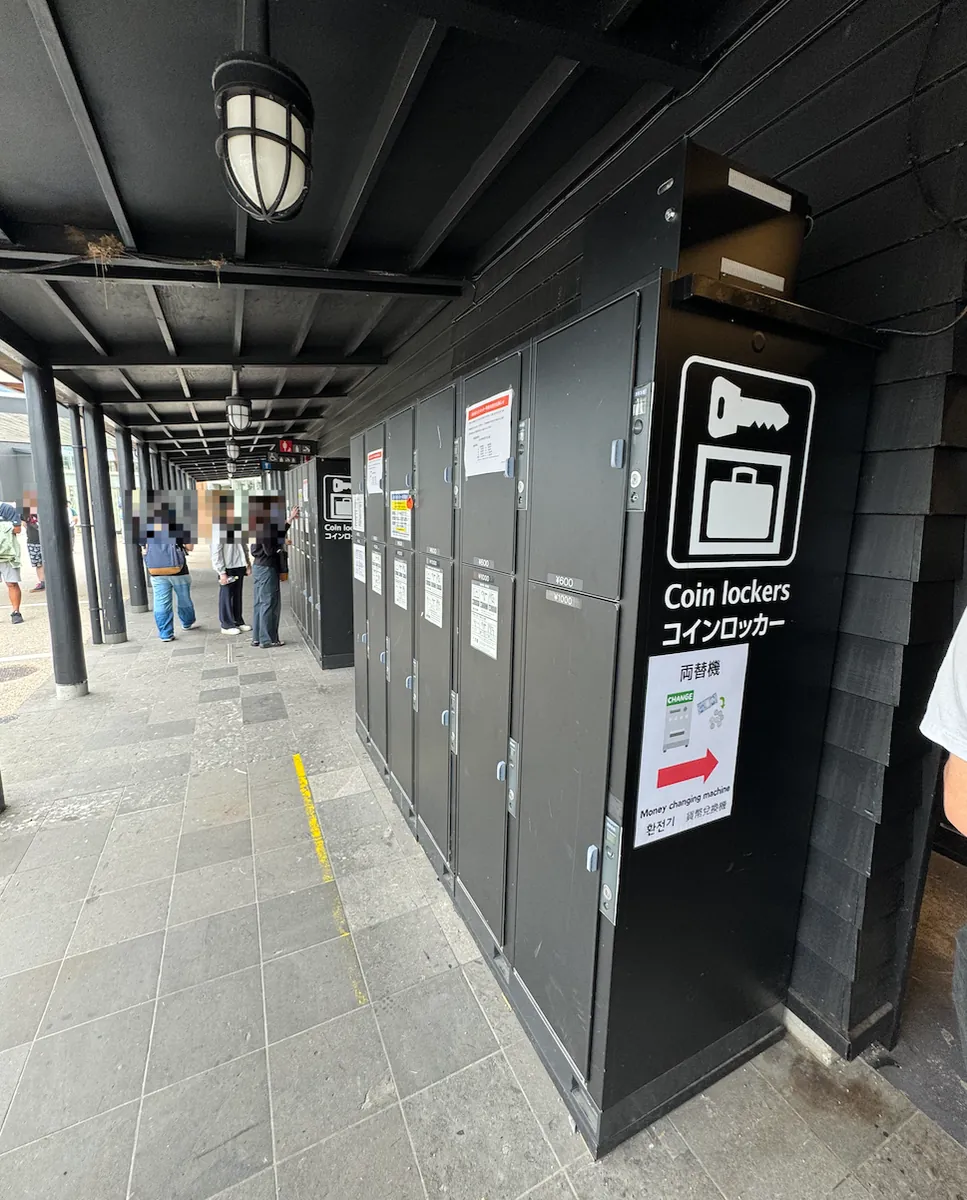

Upon exiting Yufuin Station, immediately turn right to the Coin Lockers to store your luggage. Since these are suitcases, there are fewer available spots. (1,000 yen)
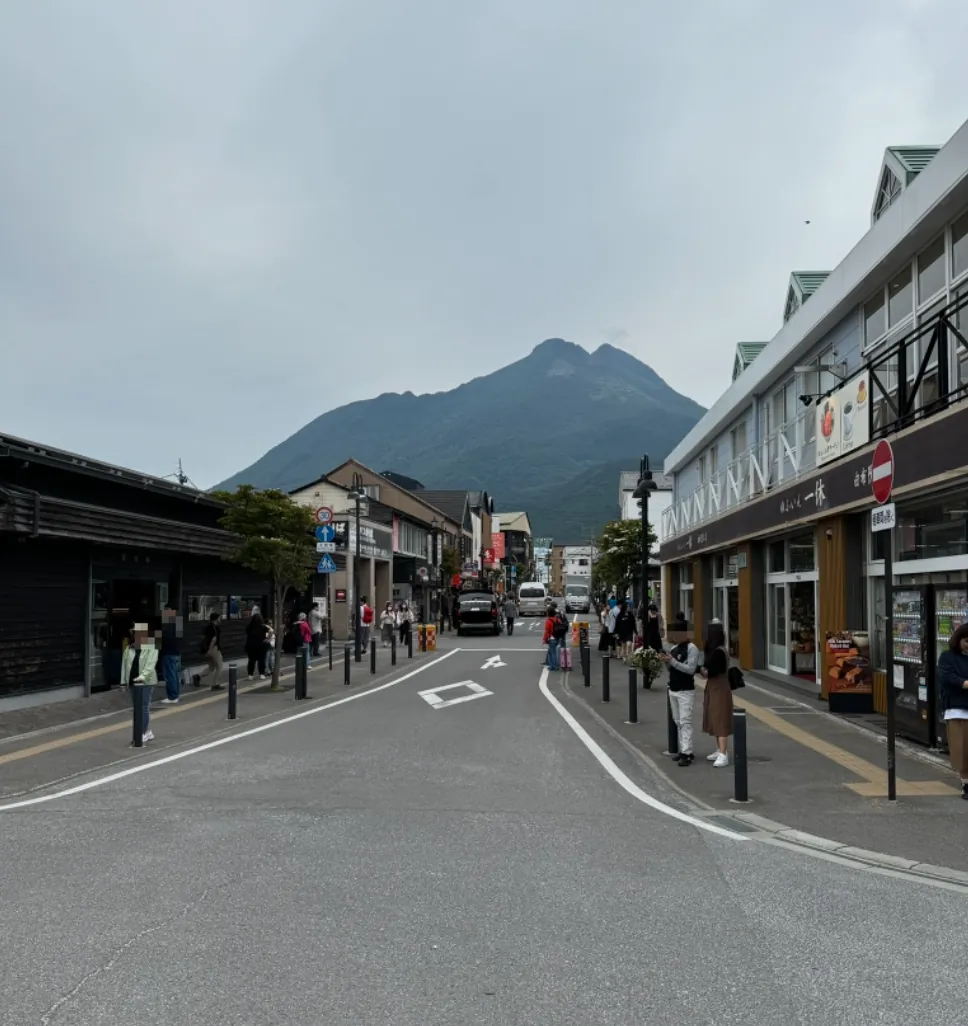
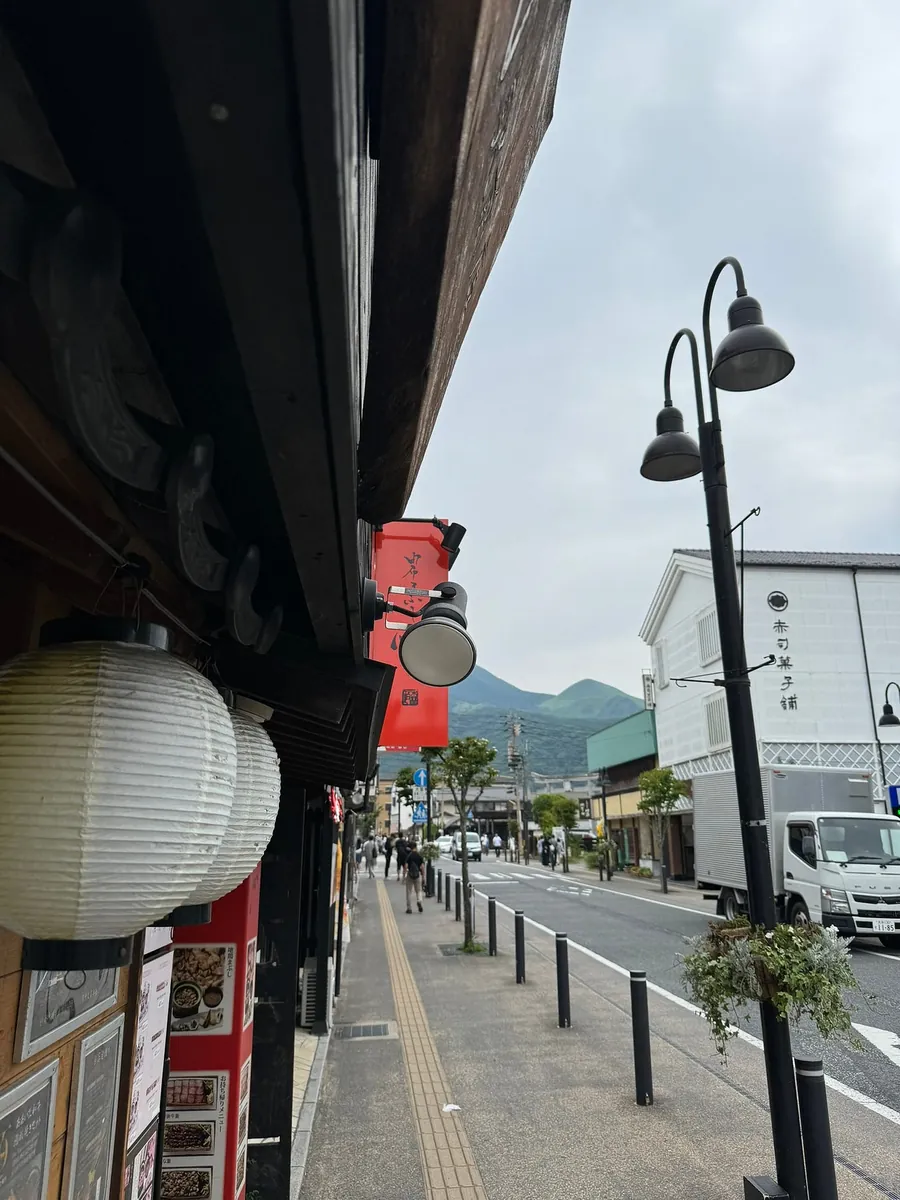
Due to the season and weather, the overall tone felt gray and greenish when I visited, without any special impression.
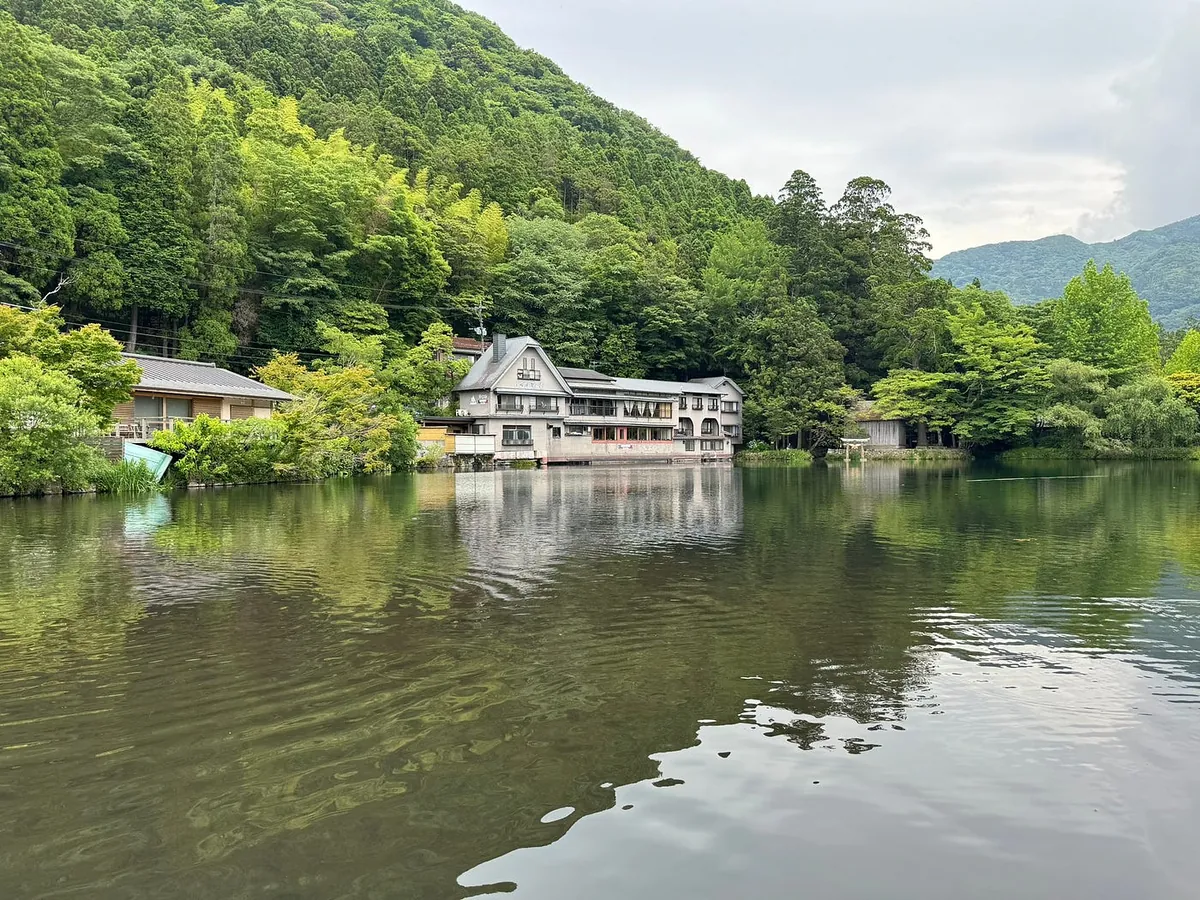
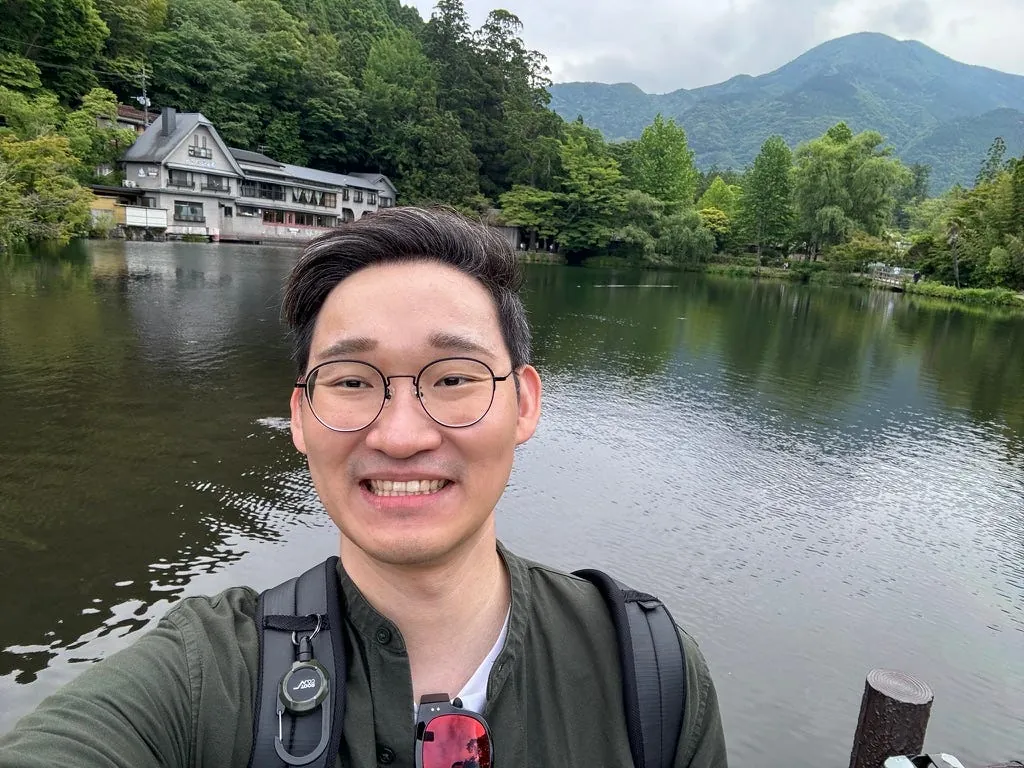
Walk straight down the street to reach Jinlin Lake, where the green lakeside reveals a touch of tranquility.
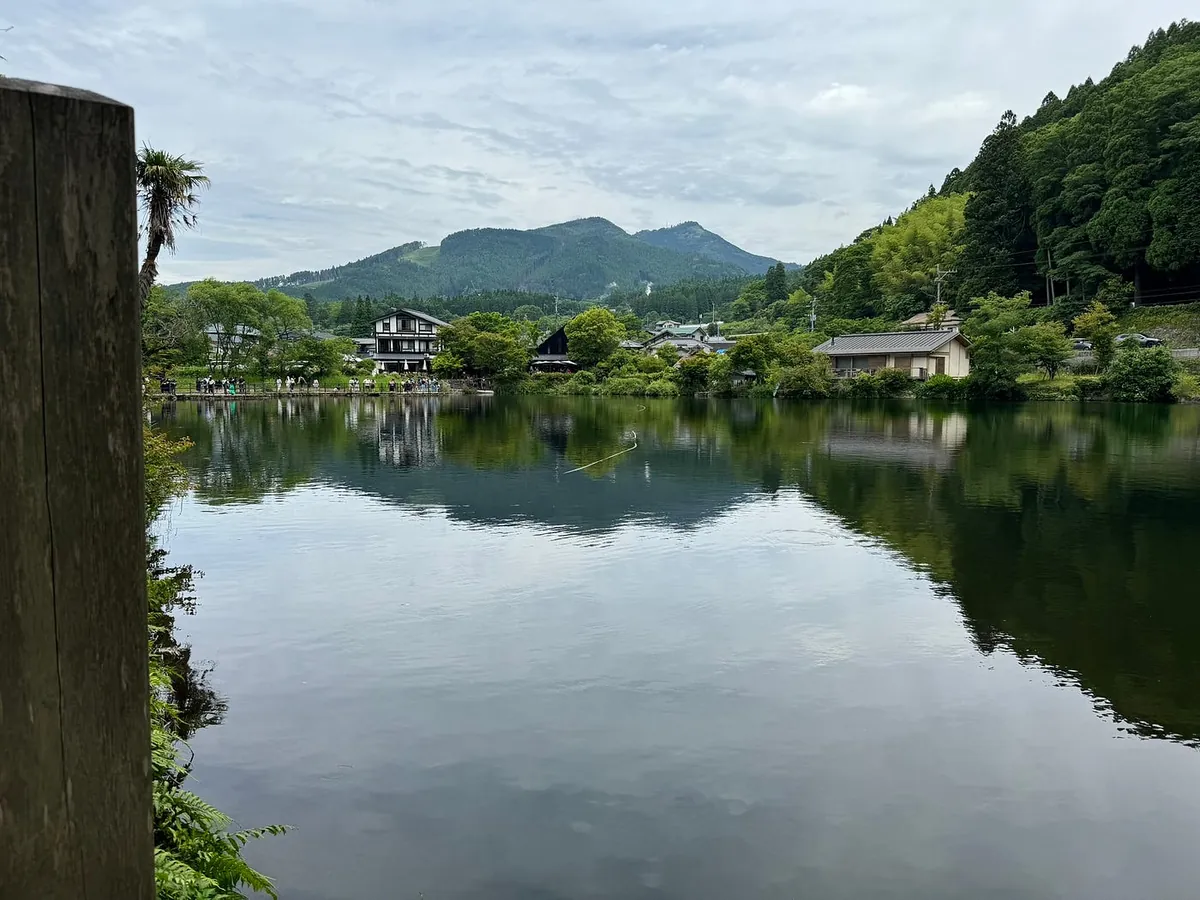
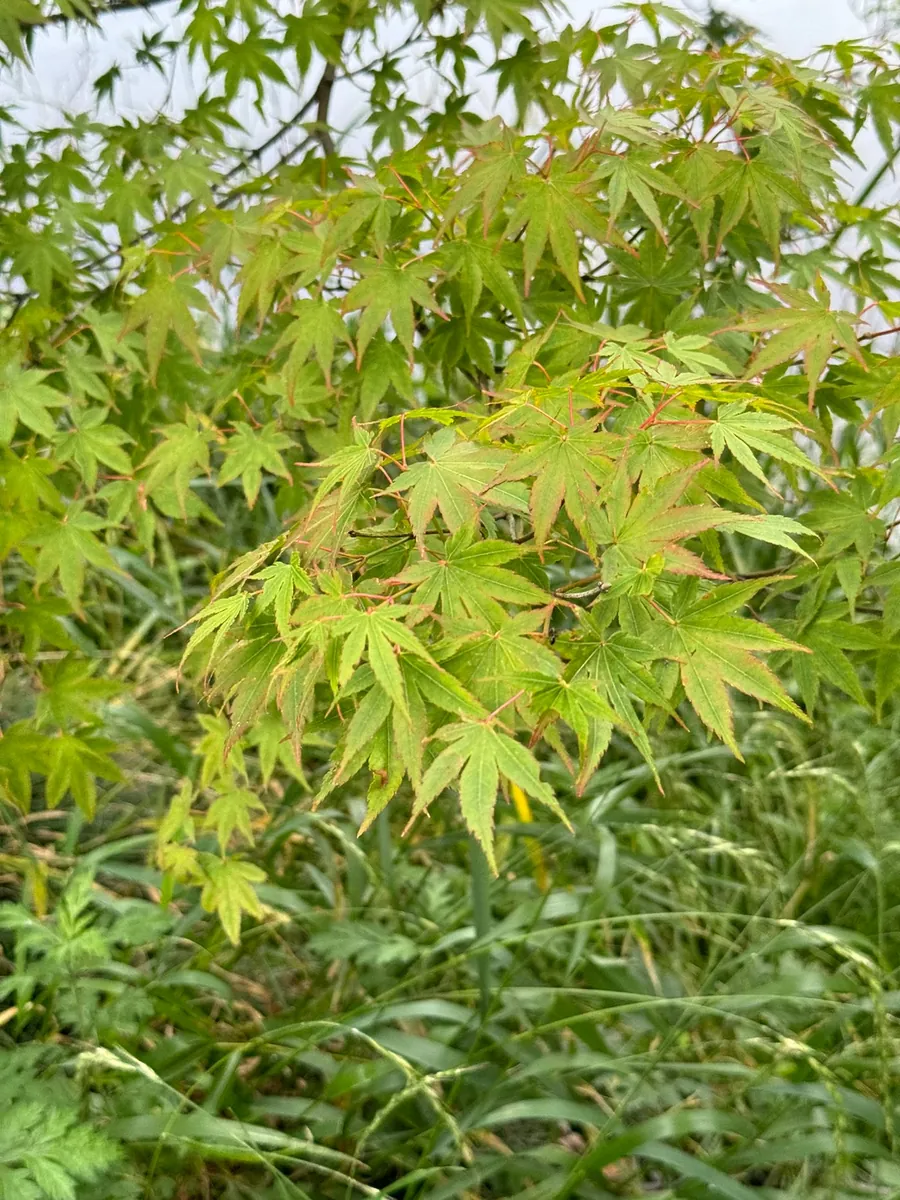
Kinrin Lake is very clean and clear, with many maple leaves by the shore (not yet changed color).
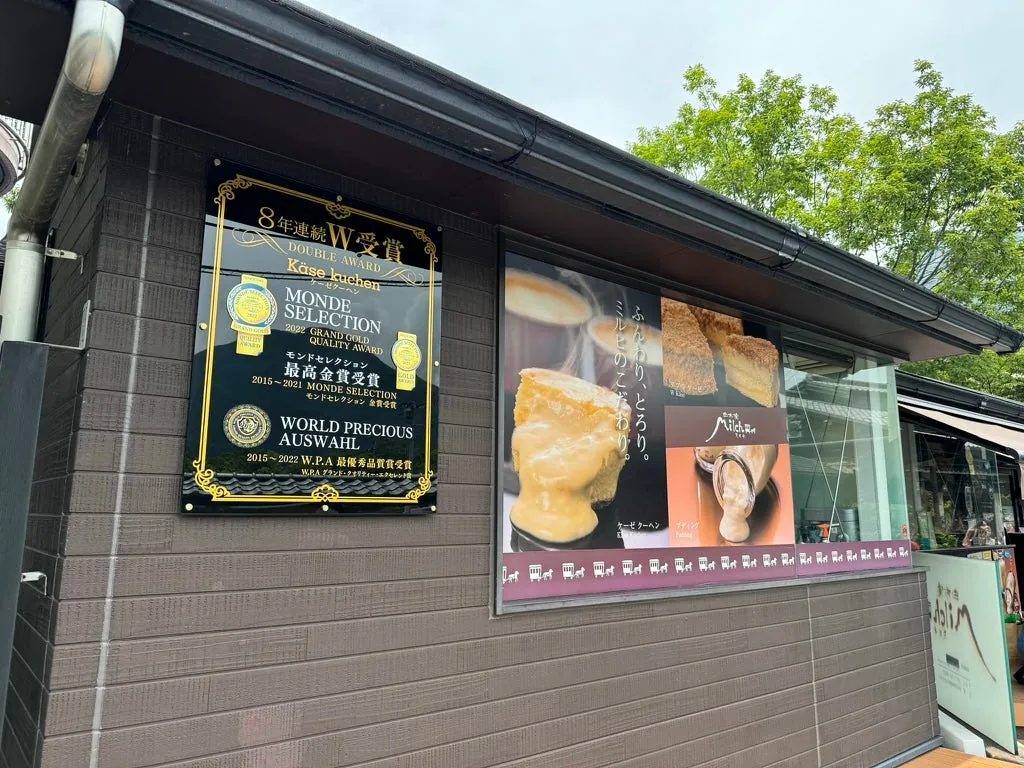
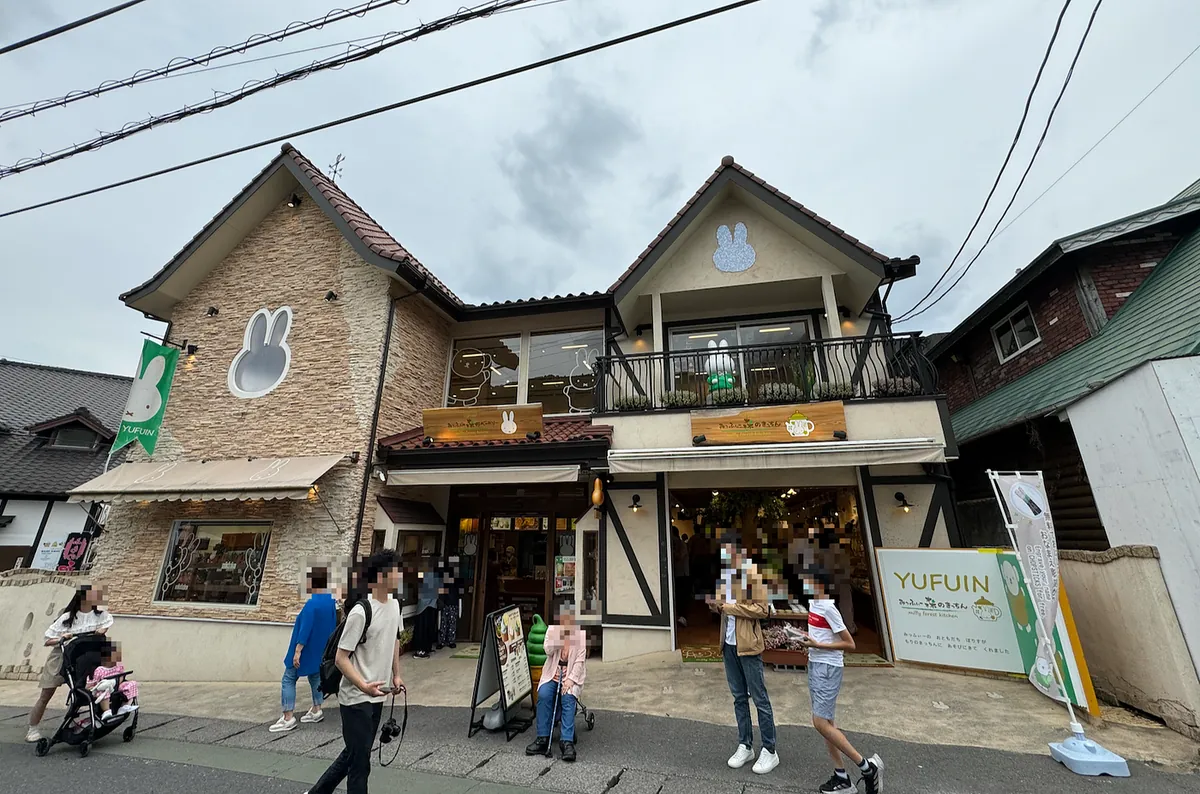
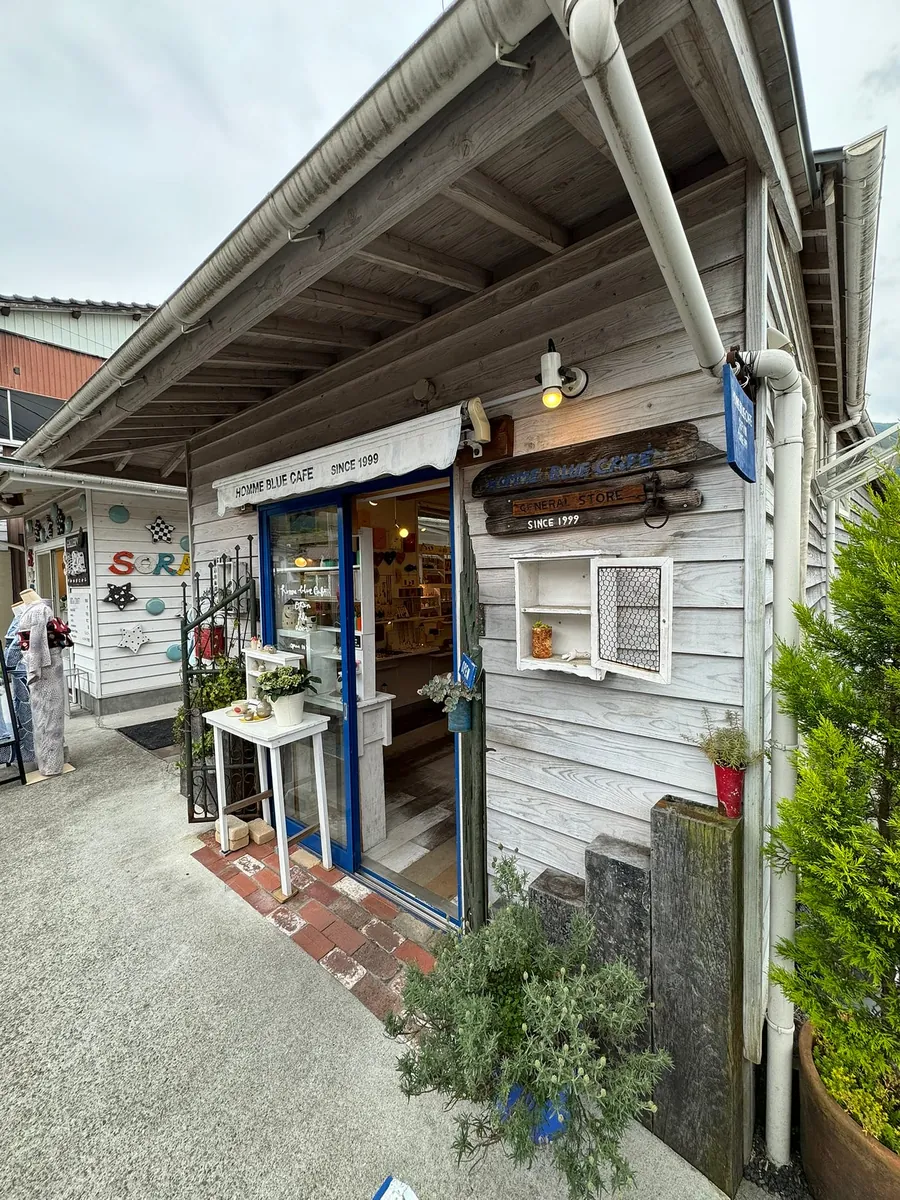
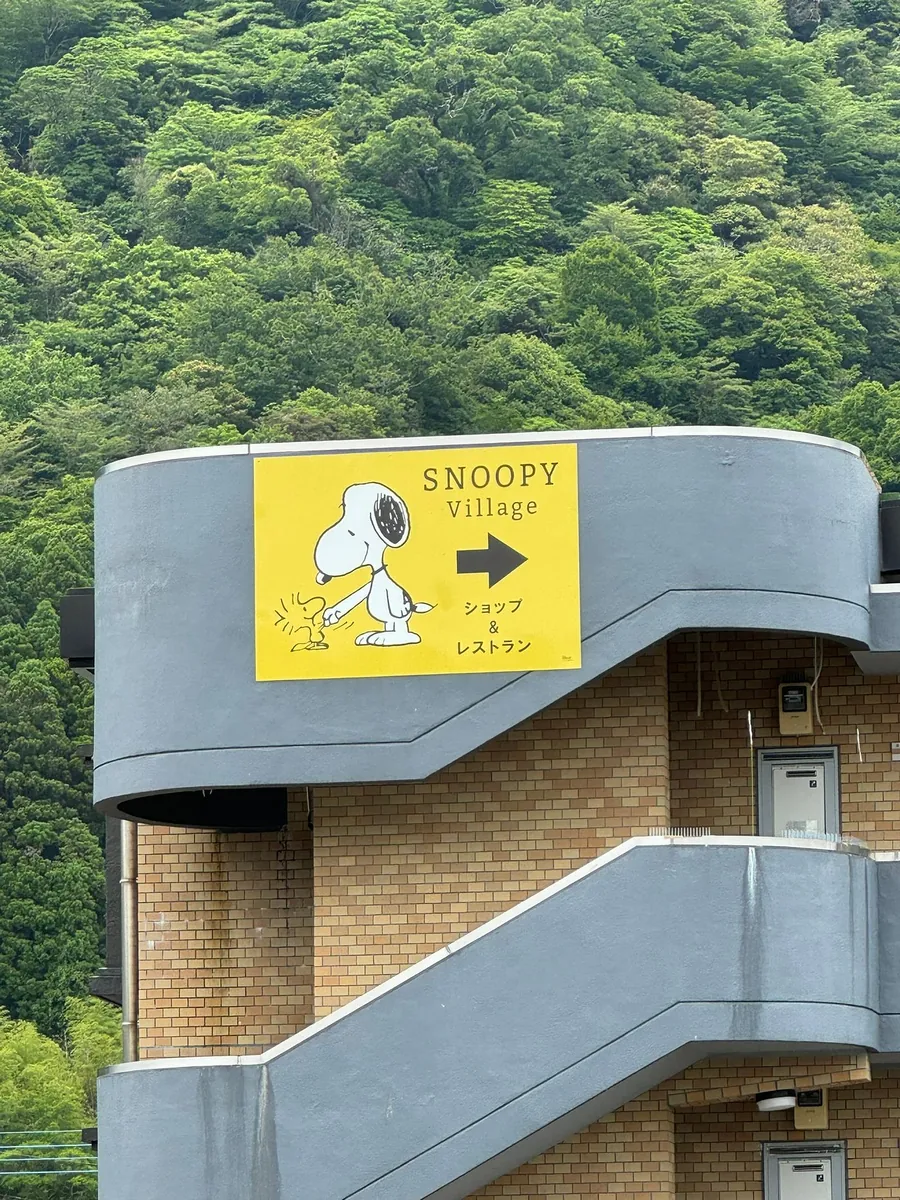
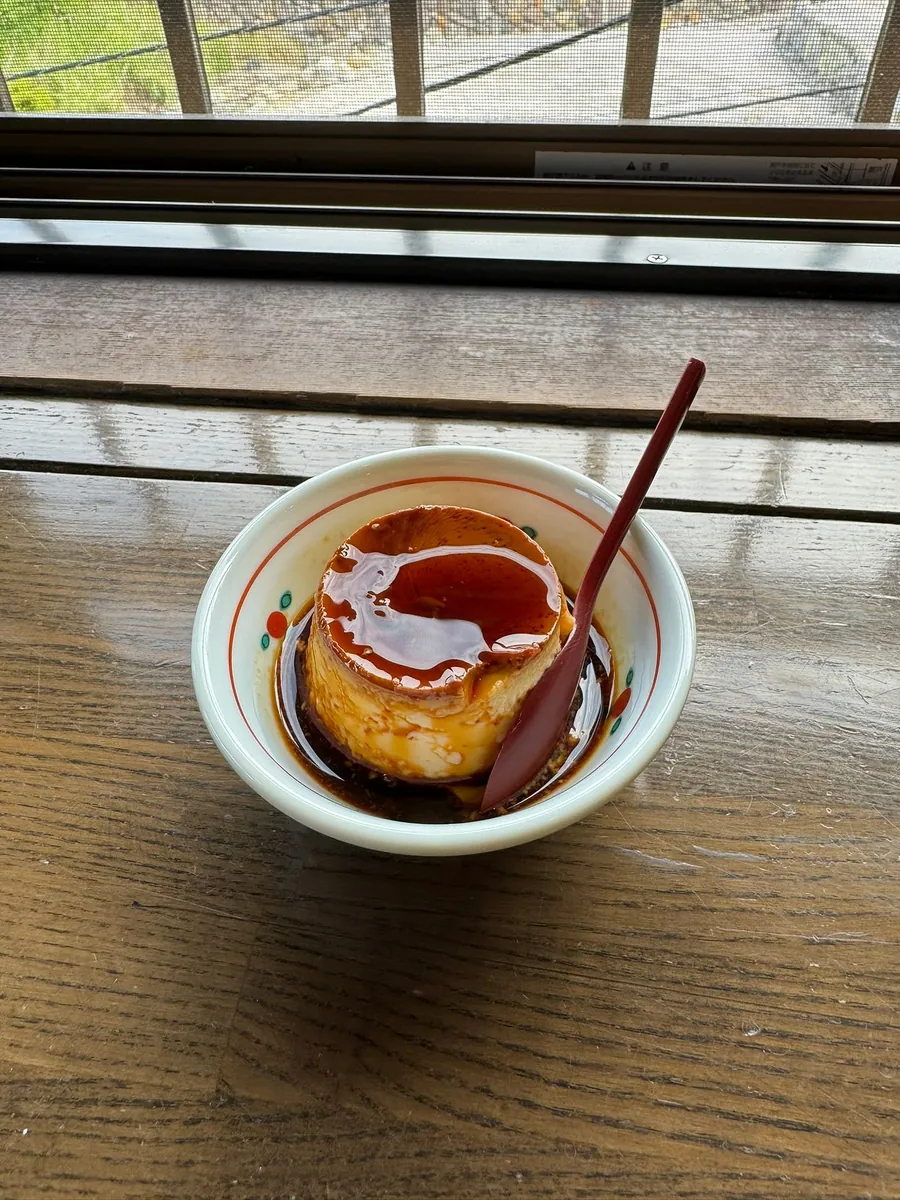
Along the street from Yufuin Station to Kinrinko Lake, there are many IP-themed and creative shops to explore. If you’re interested in food, you can also check out Yufuin’s award-winning desserts, including pudding, ice cream, and more.
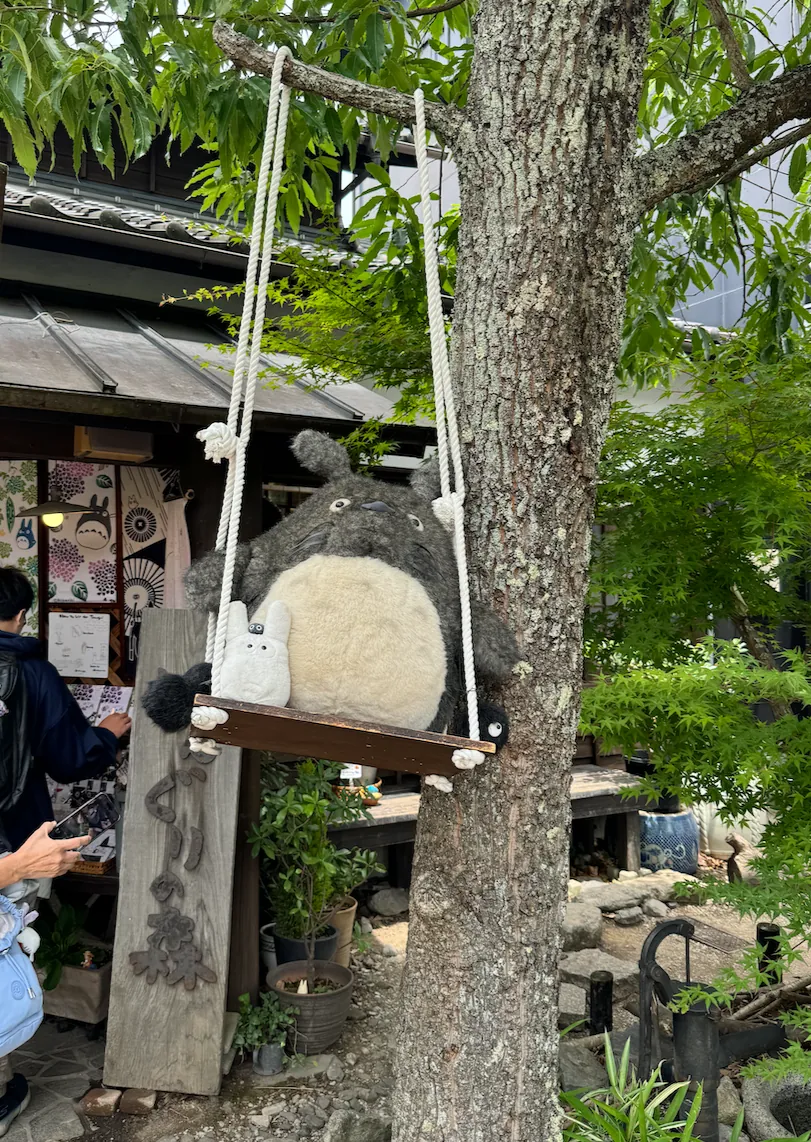
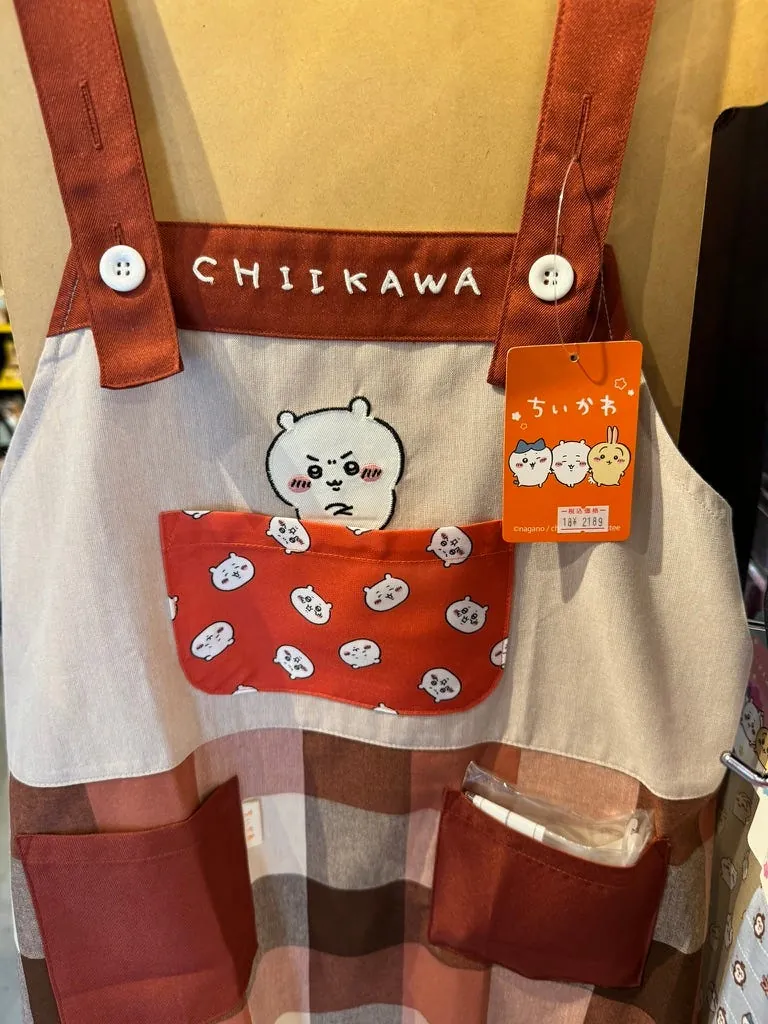
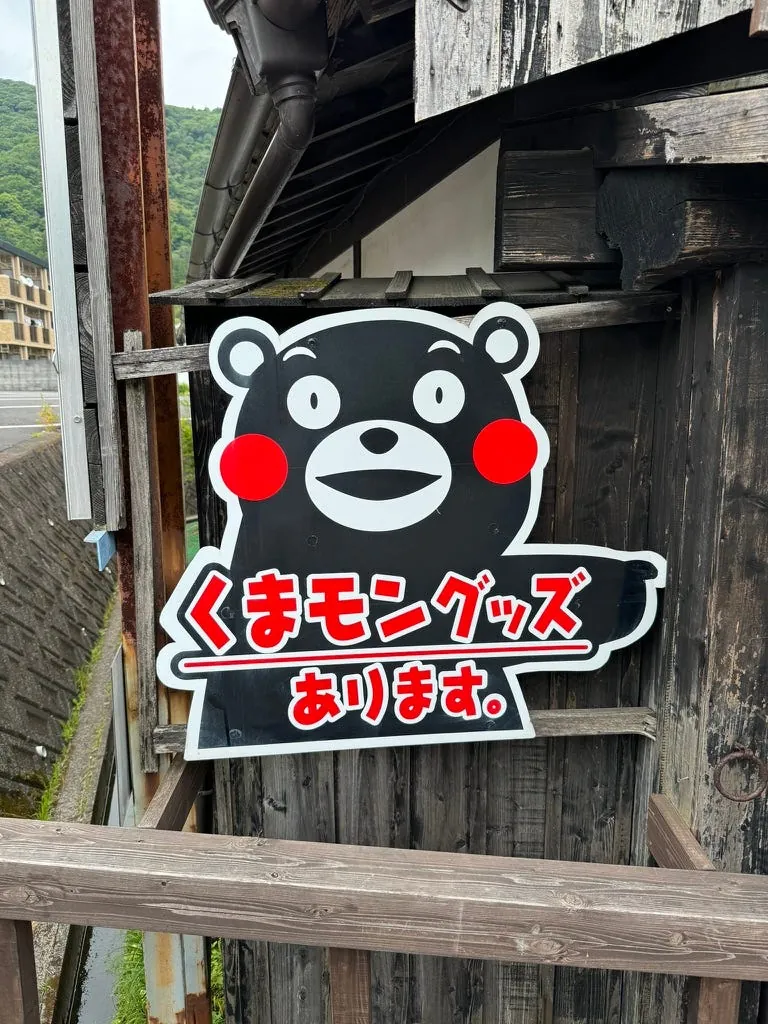
Of course, there are also the widely seen Totoro Forest, Jiikawa, and the “Kyushu specialty” Kumamon.
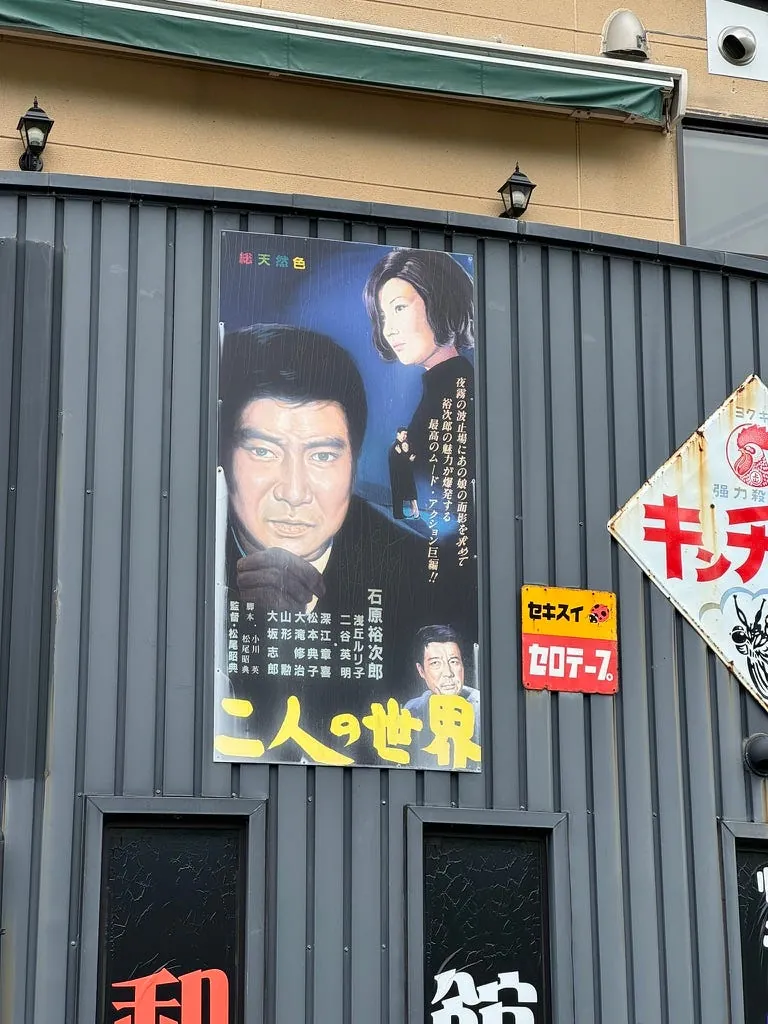
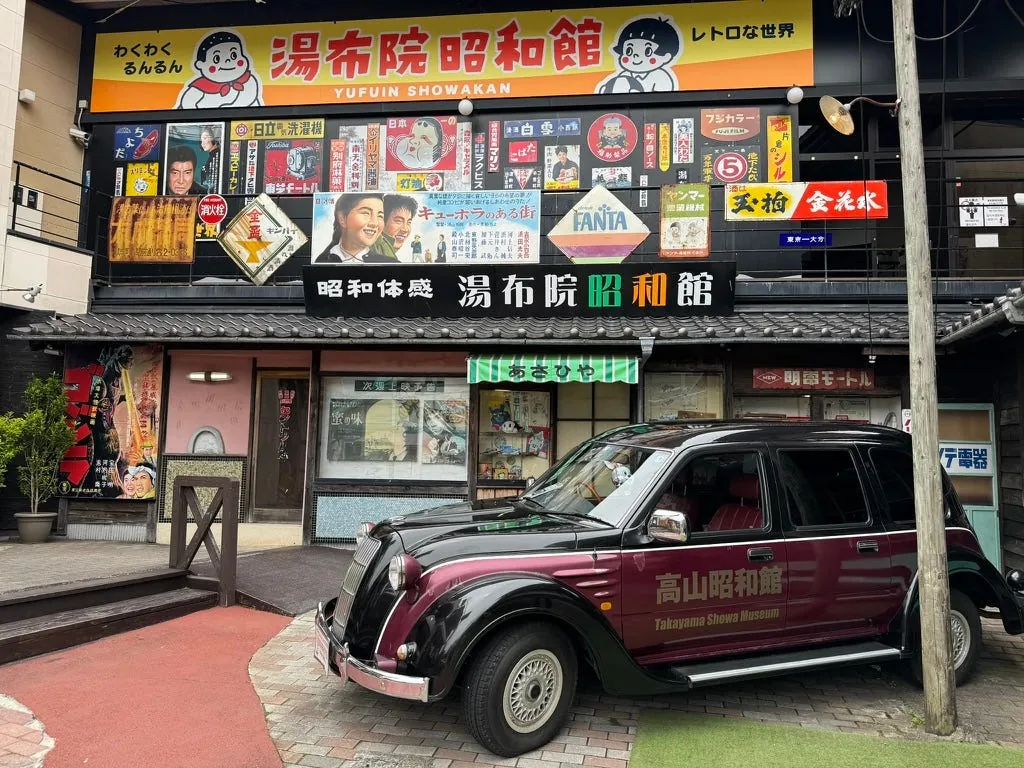
Yufuin Showakan has a strong traditional Japanese atmosphere.
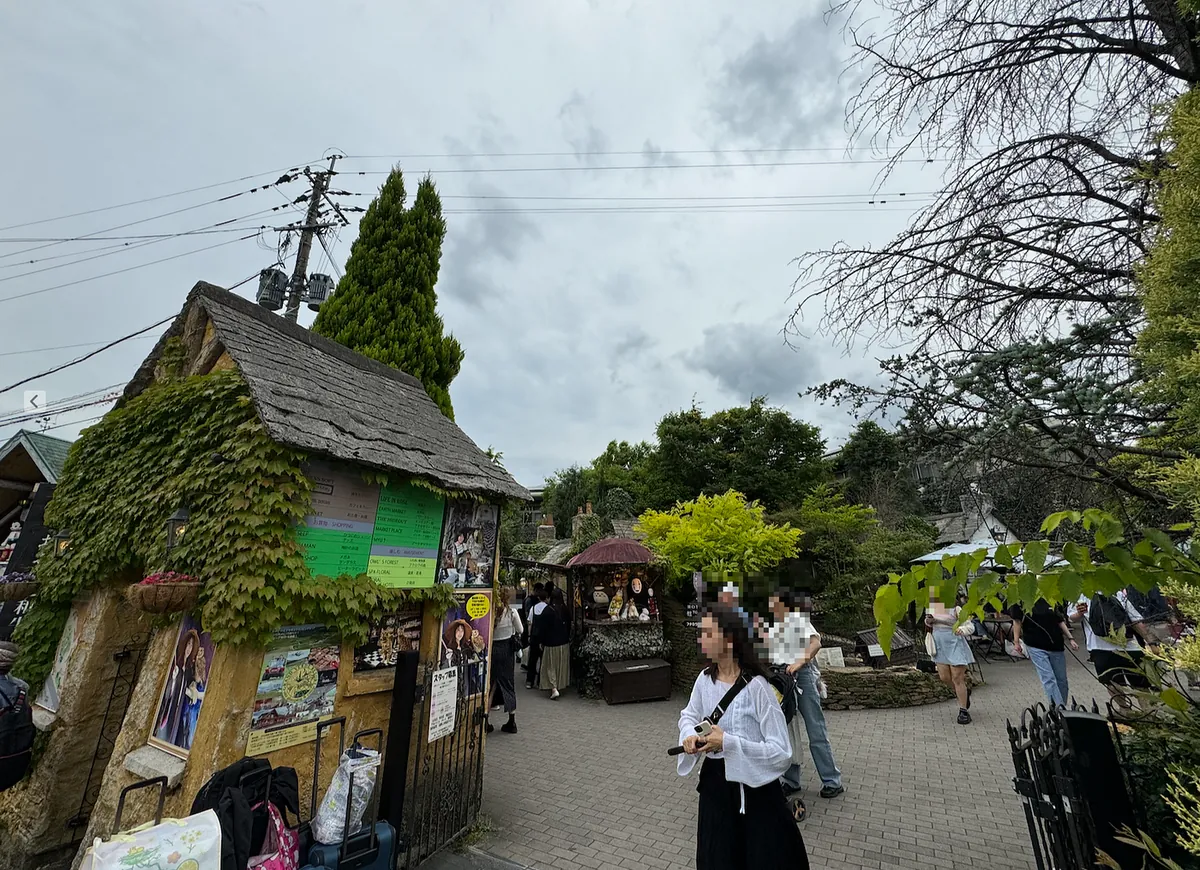
The Flower Village looked too touristy and crowded, so I didn’t go in to see it.
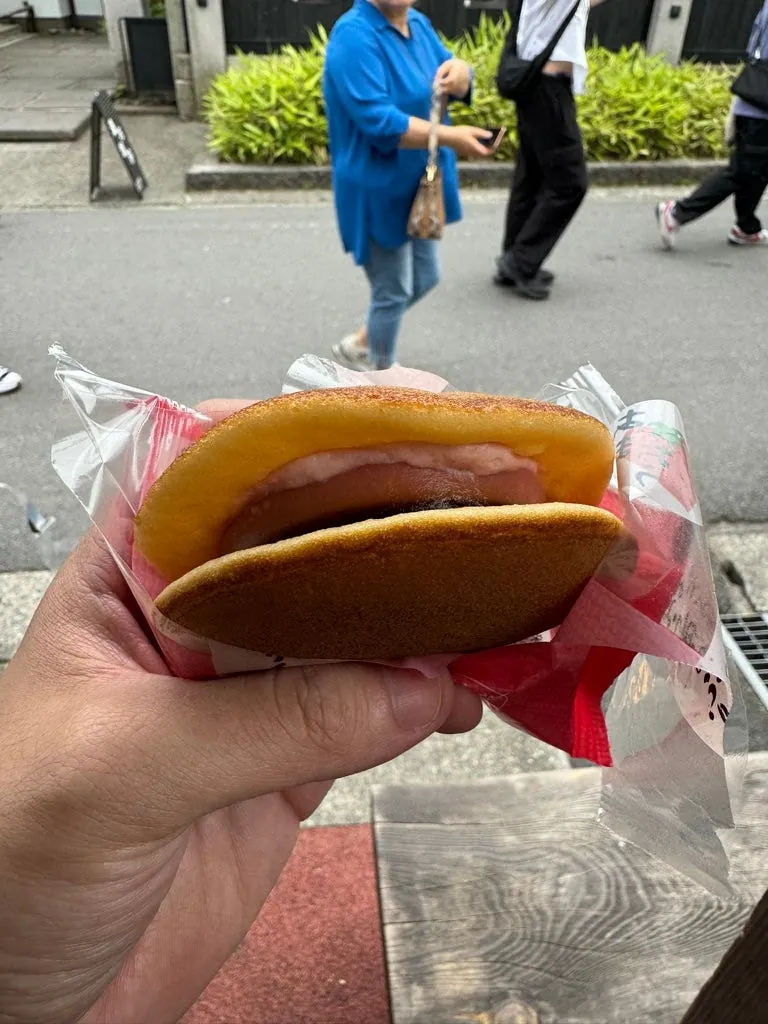
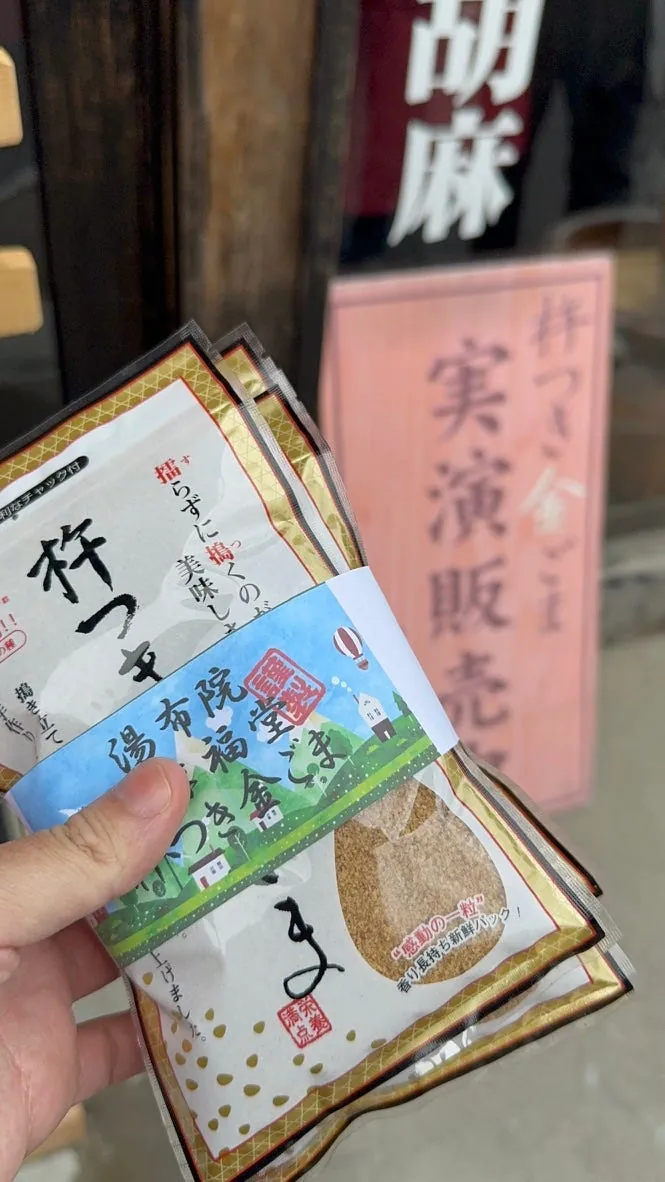
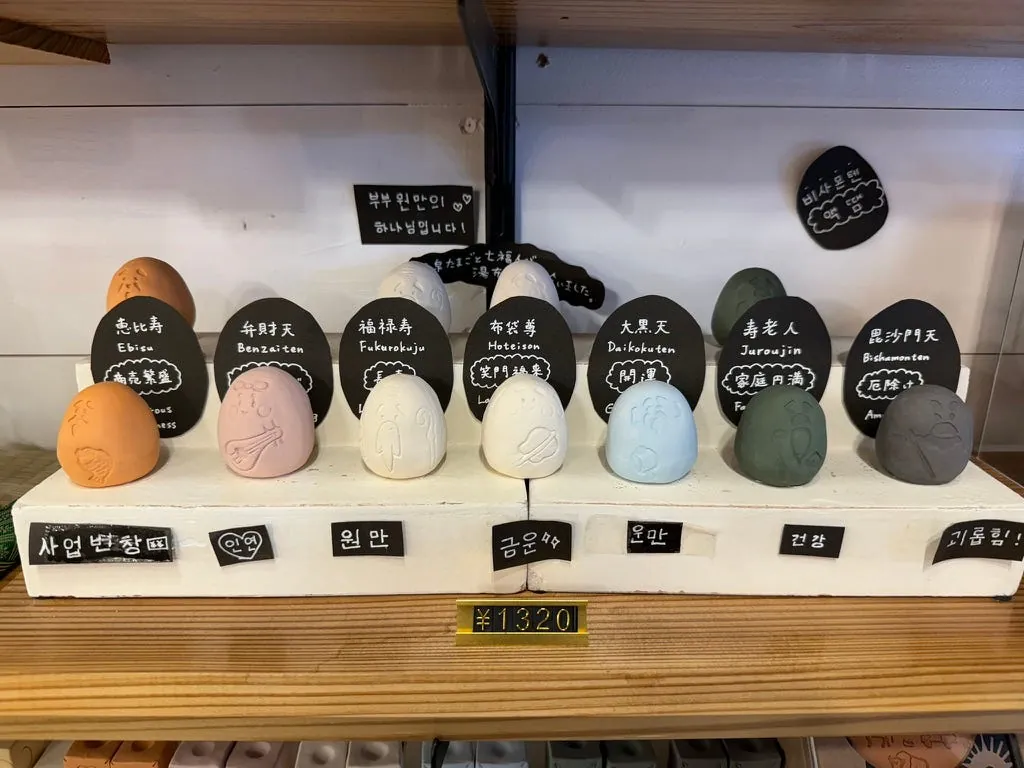
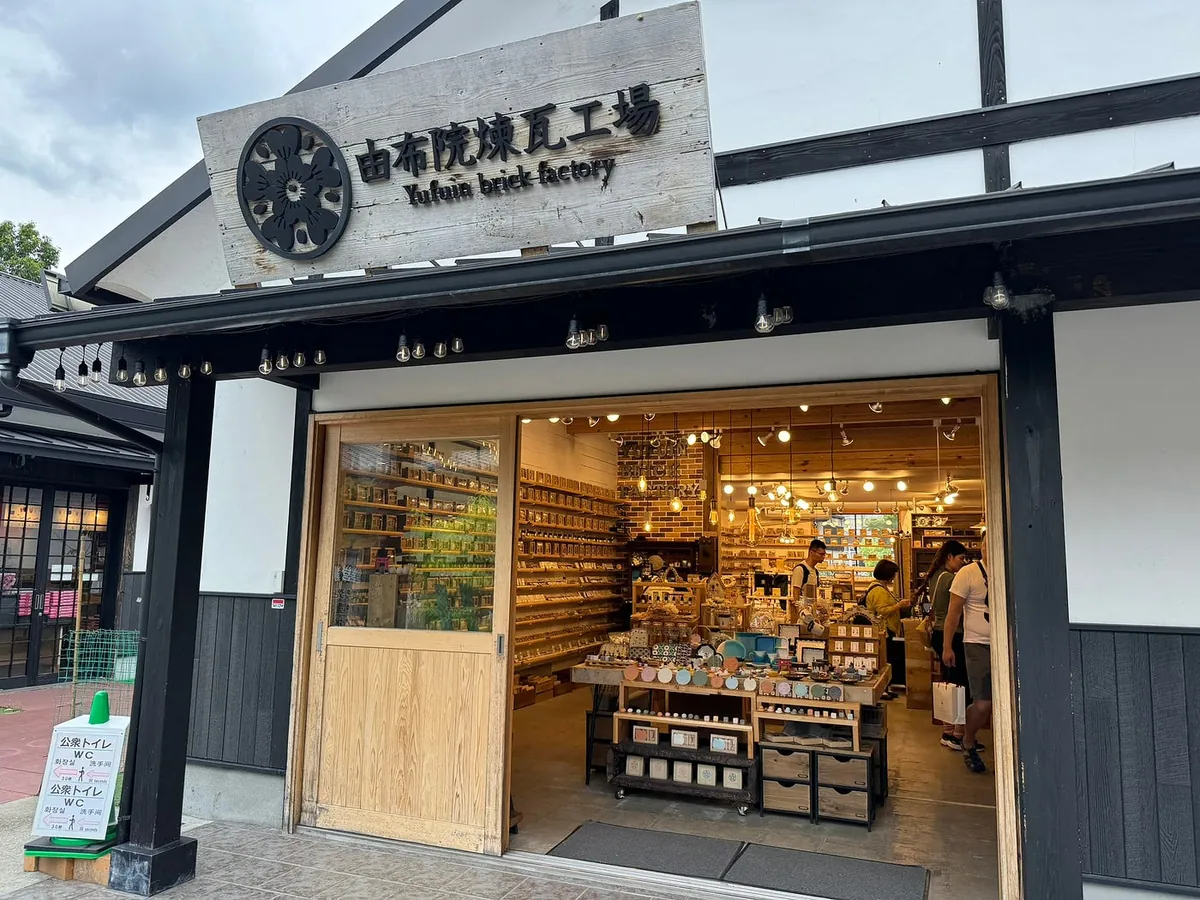
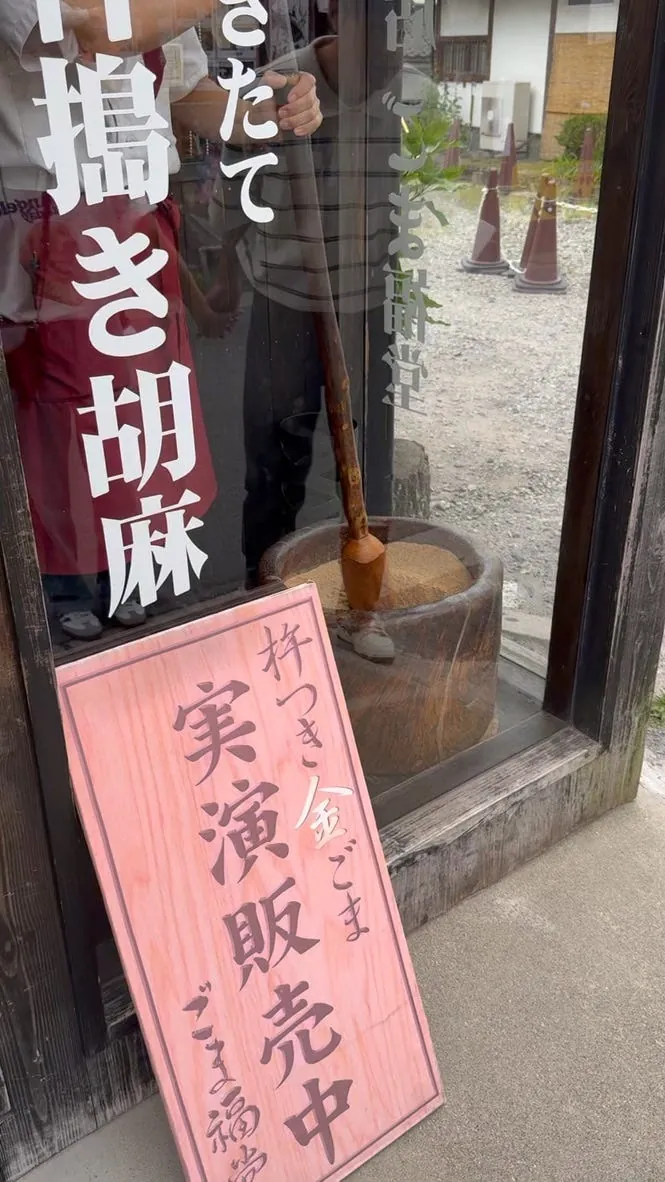
Bought the famous pudding dorayaki and some souvenirs on the way (sesame powder, Yufuin Renga Workshop — Seven Lucky Gods, cultural and creative items, Yufuin incense…)
Side note: Surprisingly, I ran into a colleague in this hidden paradise of Yufuin XD — Pinkoi Community Queen
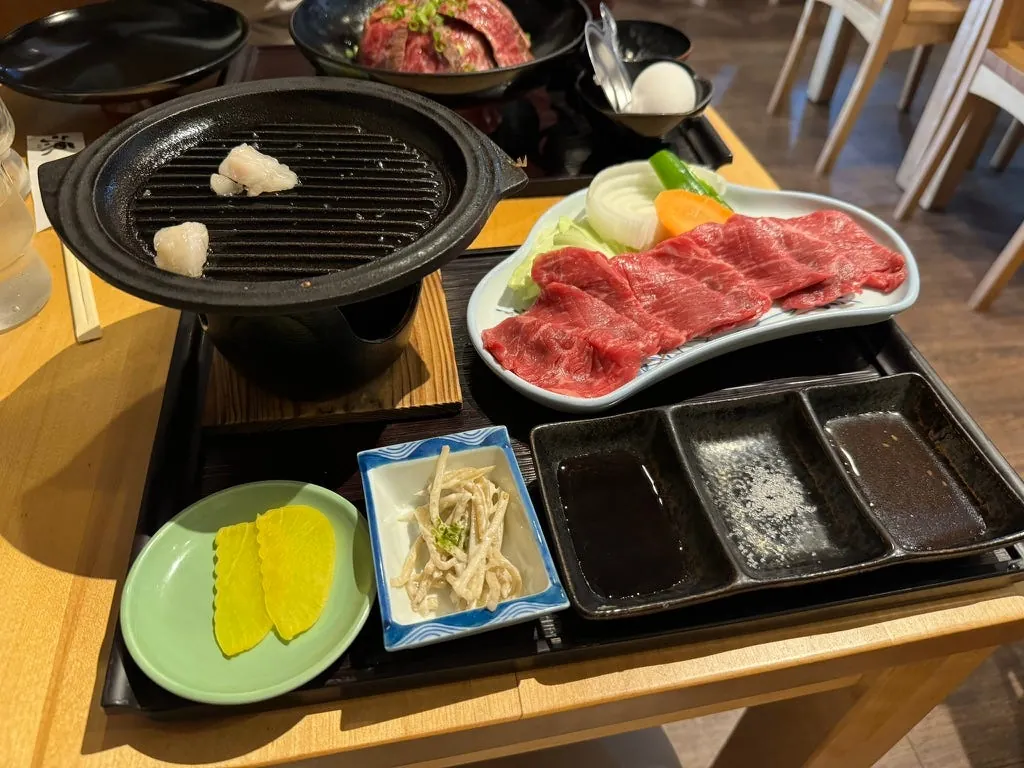
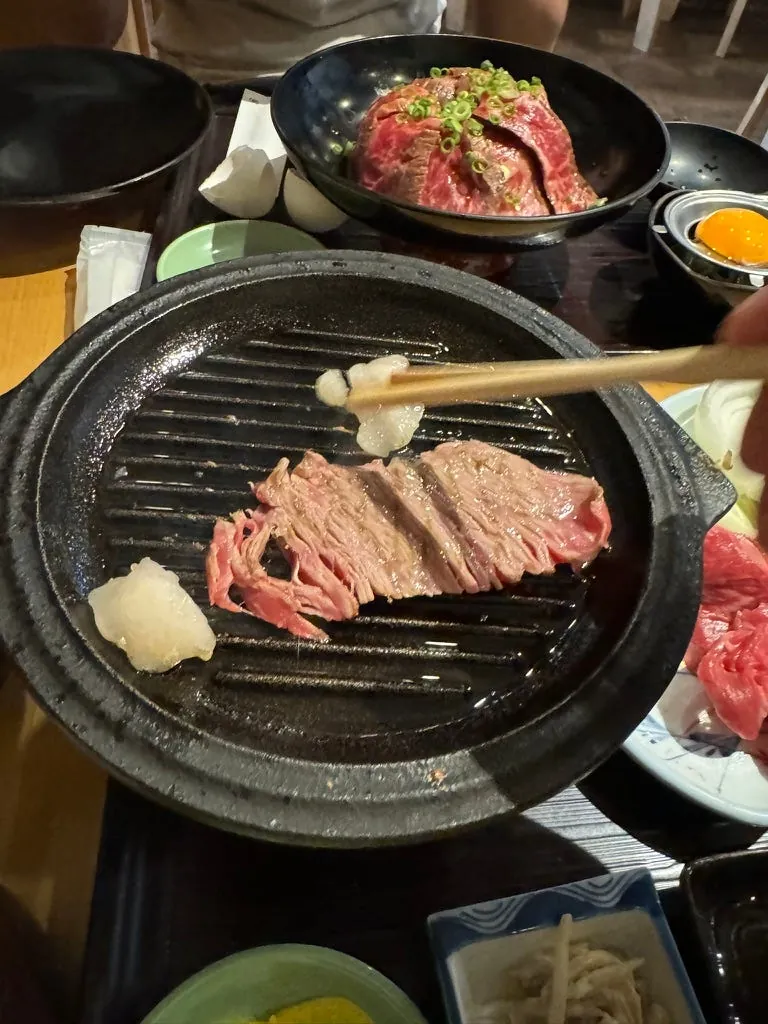
For lunch, we originally planned to eat at Yufu Mabushi Shin, famous for Yufuin kamameshi. There are two locations: one at the Kinrinko main store and another at the station exit. The station exit branch was closed that day, and we were too lazy to walk back to the main store, so we opted to eat at the first-floor Sushi Gen instead.
I had the Bungo beef steak, and my friend had the rice bowl; the beef was delicious, very flavorful and juicy, with little to no gamey taste, and the price was affordable.
After eating and strolling around, it was about 15:00, so we took the bus to continue heading to Oita.
There are many trains from Yufuin to Oita, and not many people (maybe more are returning to Hakata?). There are also local trains, so this time I took a local train directly and practiced the new Japanese I learned:
1
2
Does this train go to Oita?
Yes, it goes to Oita.
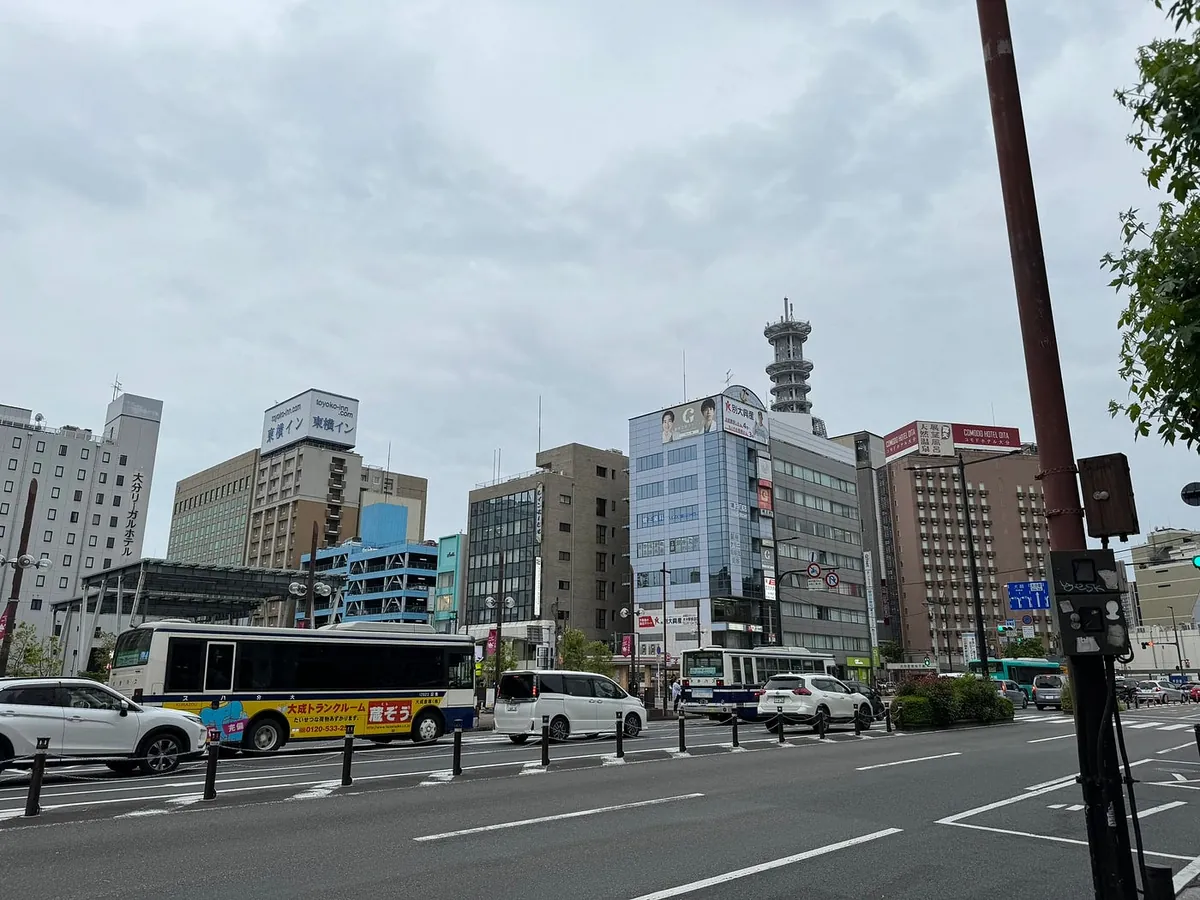
16:20 Oita
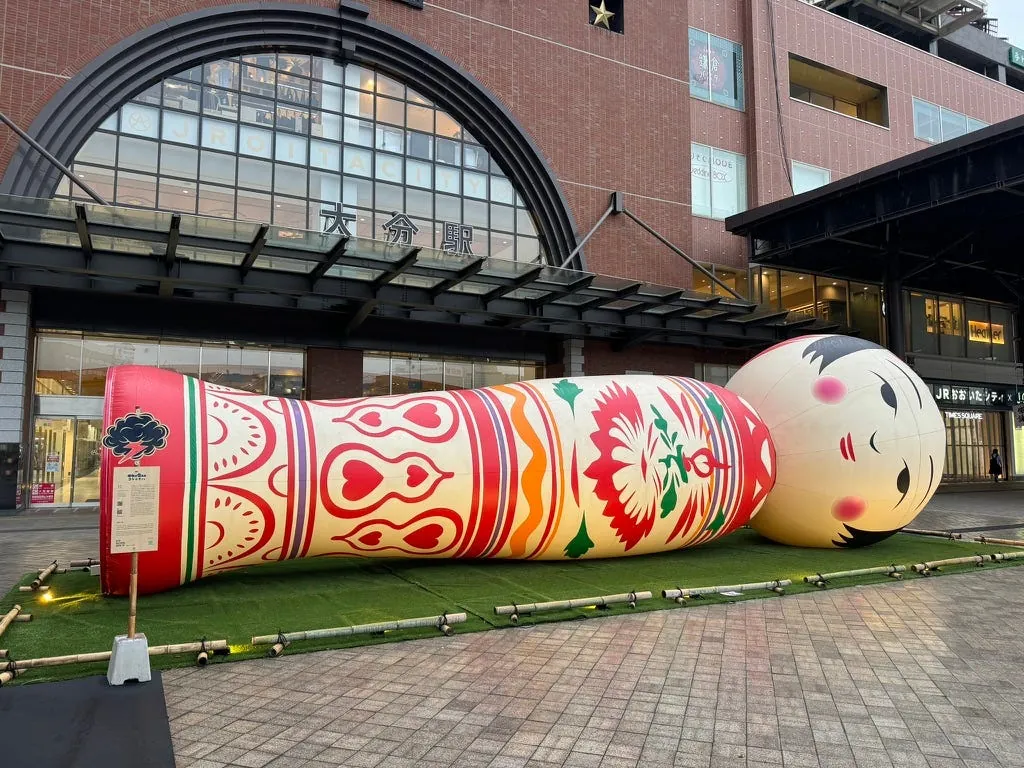
I happened to come across an art installation at Oita Station (it even makes sounds).
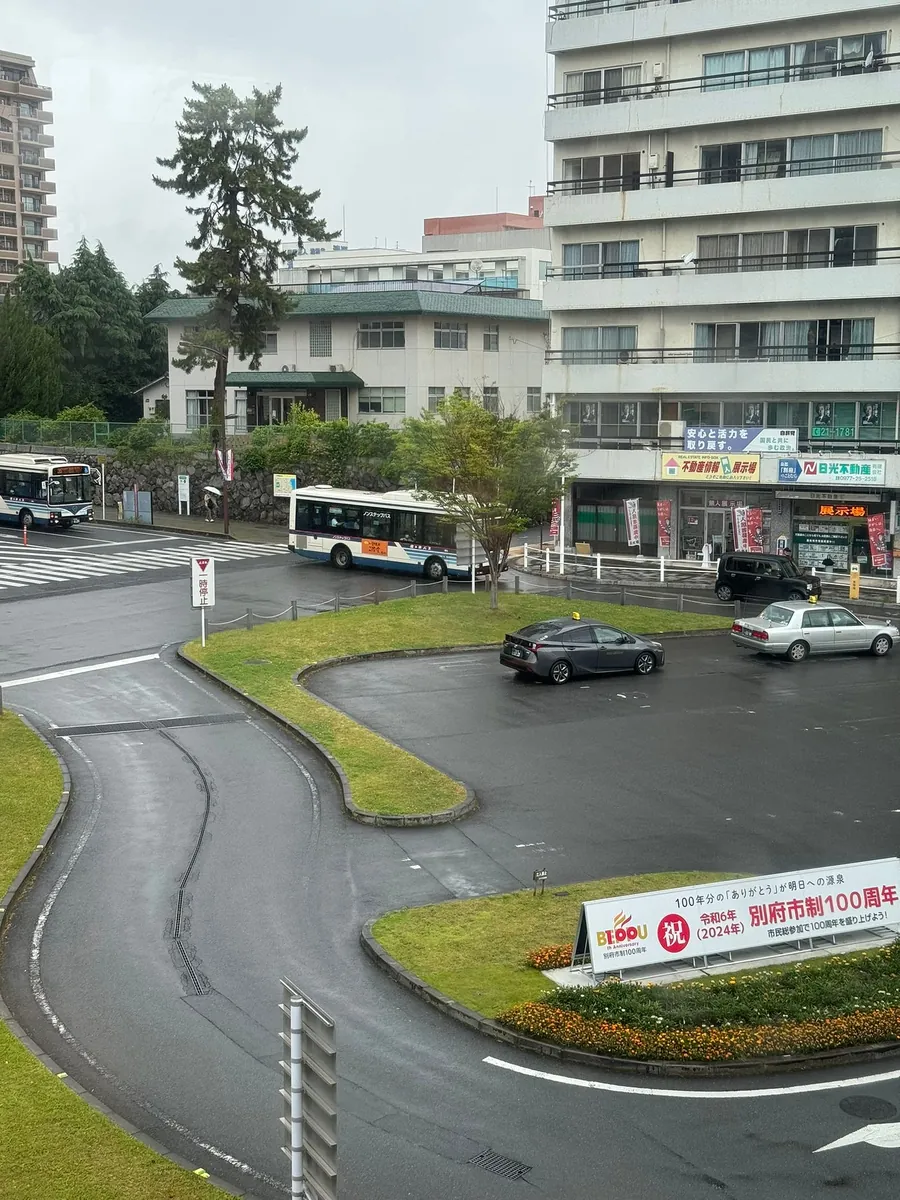
Oita gives off a vibe of being far from the hustle and bustle. When wandering around the city, it feels unusually quiet, with only faint car engine sounds and very few people or vehicles.
First, go to the hotel to drop off luggage. The layout of Toyoko INN hotels is quite similar. This time, I got a room with the exact same layout and angle as the one at Hakata Station Front yesterday. The difference is that this hotel’s bathroom is larger, and the hallway is narrower.
The time was still early, so I decided to stroll around and casually opened Google Maps to check nearby attractions.
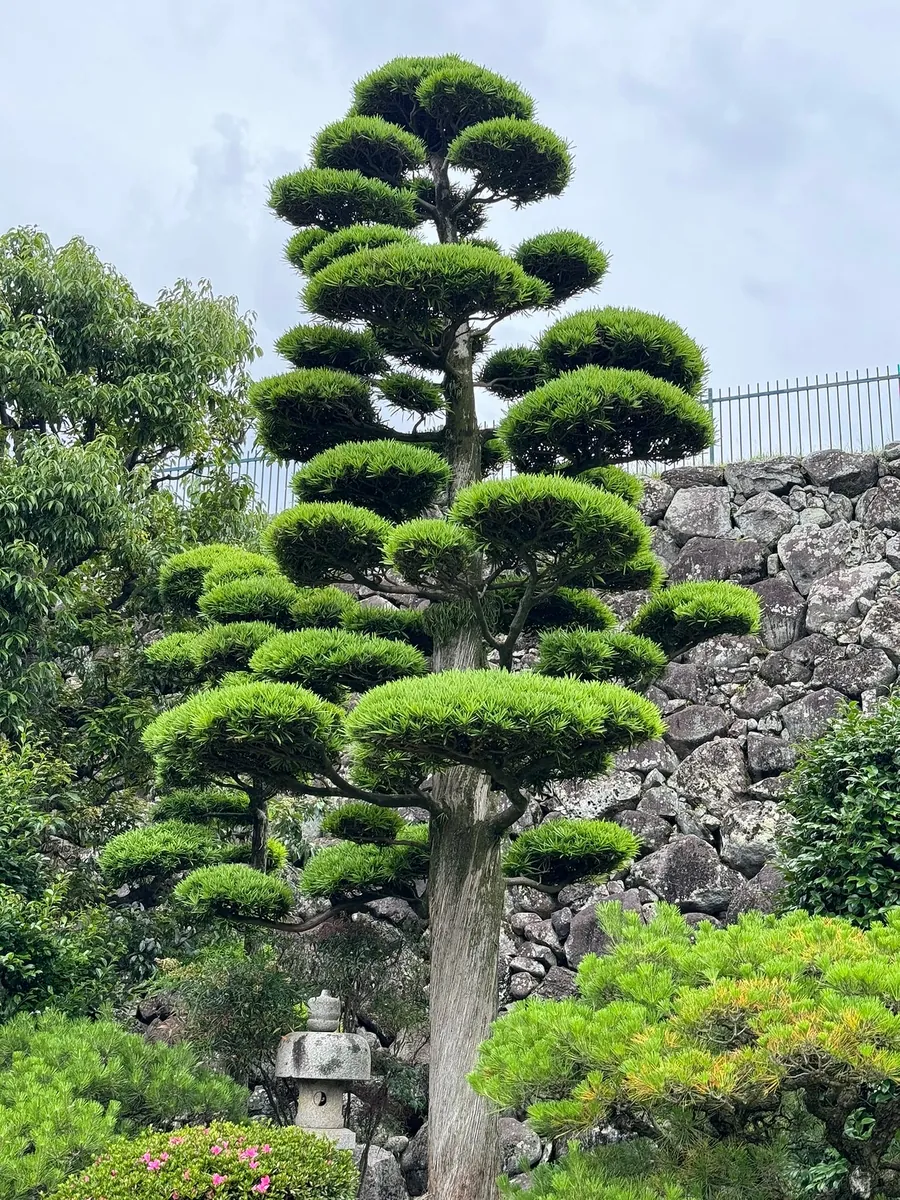
Giant Bougainvillea
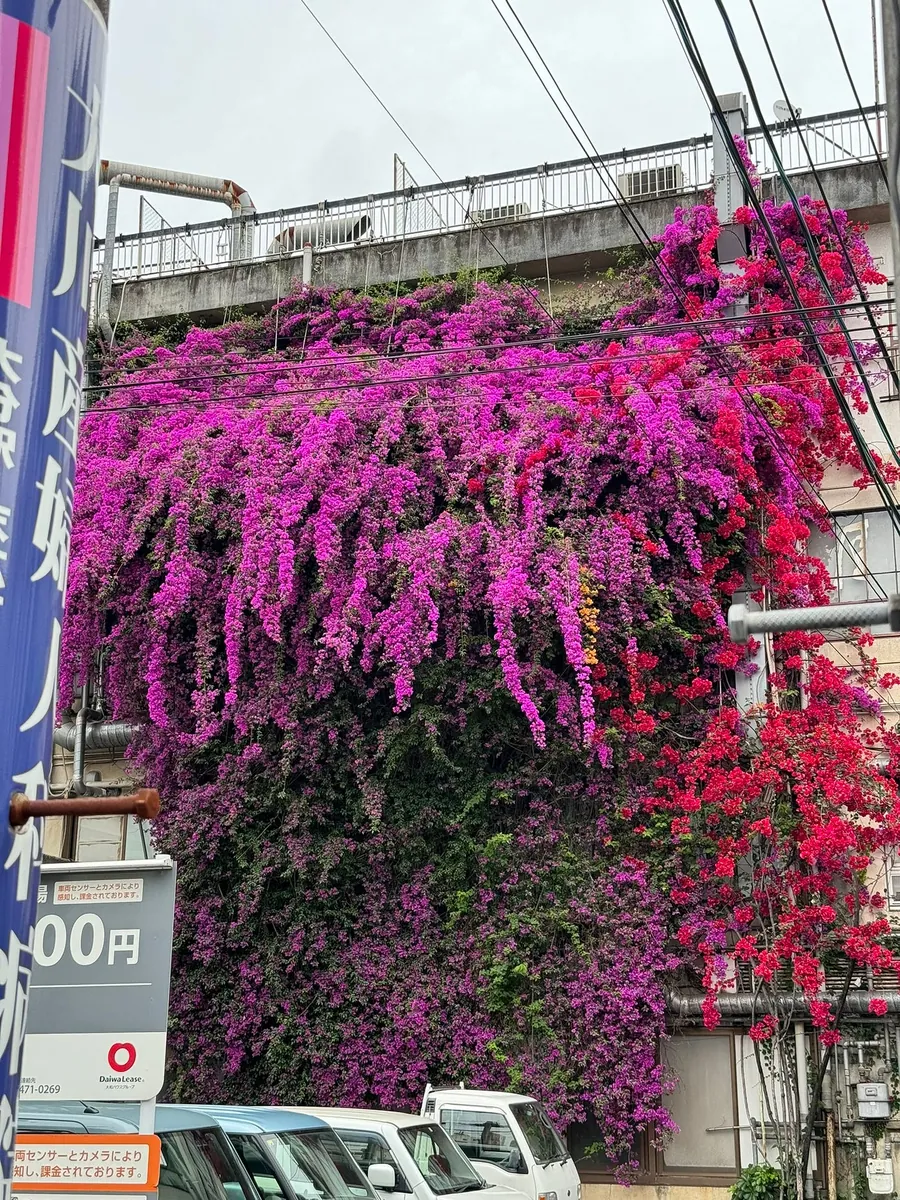
On the way to Oita Castle Ruins, there is a huge bougainvillea in the park parking lot (it looks like some kind of curse from Jujutsu Kaisen).
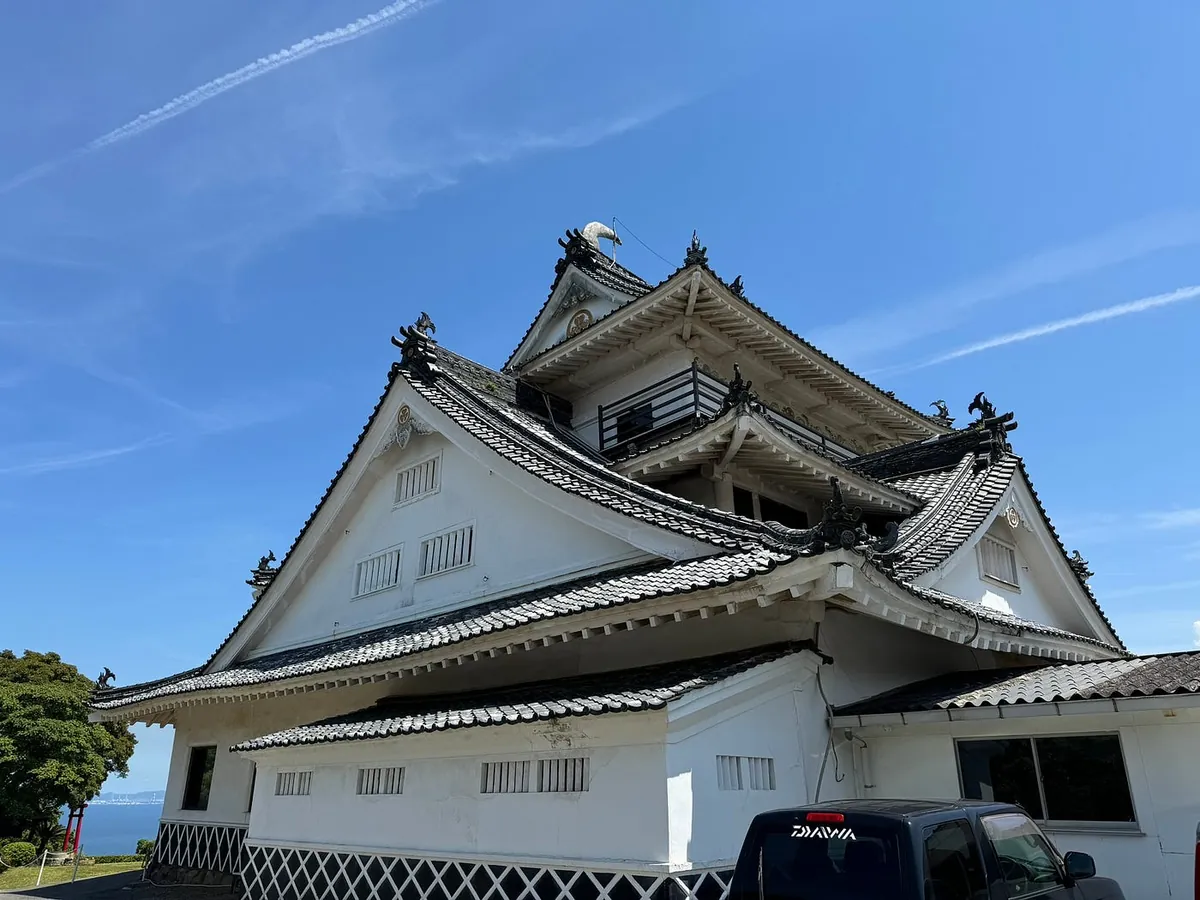
Oita Castle Ruins
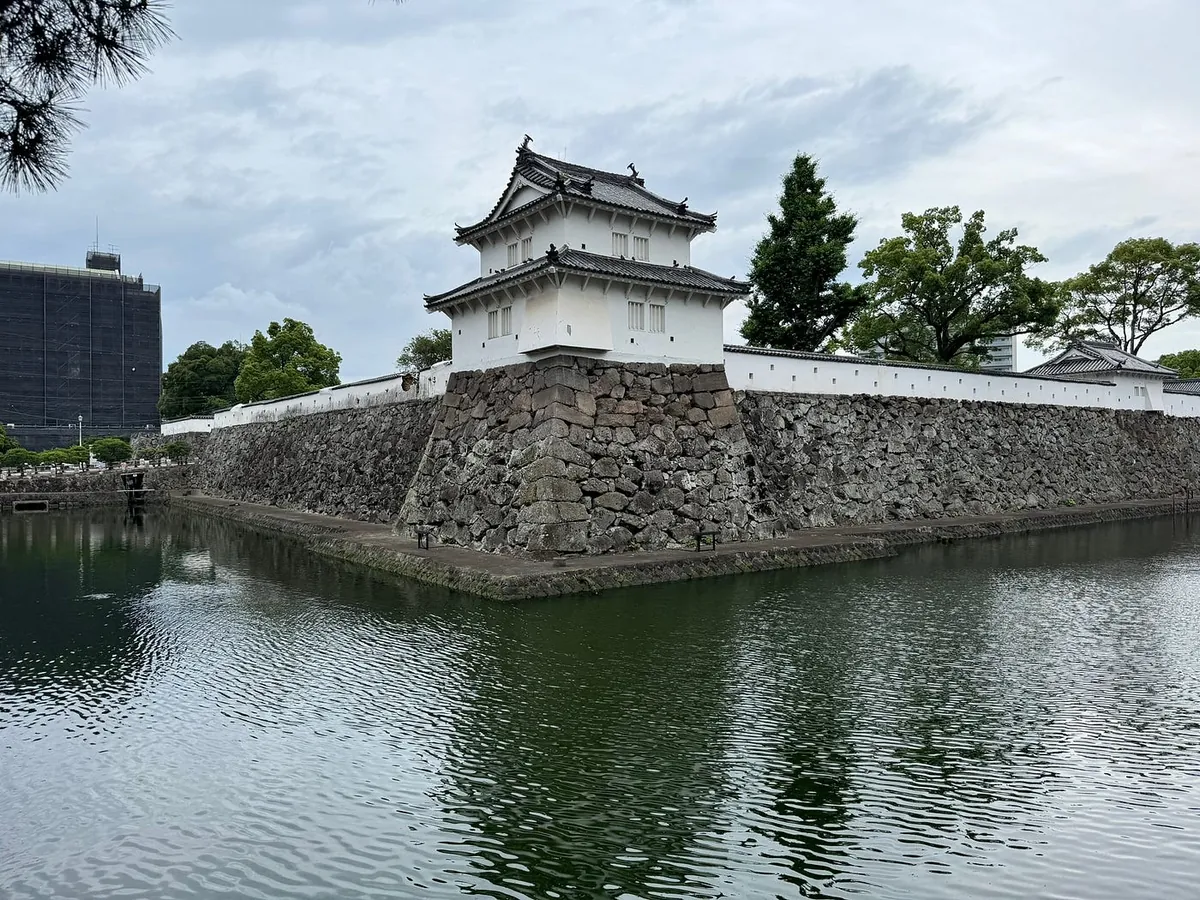

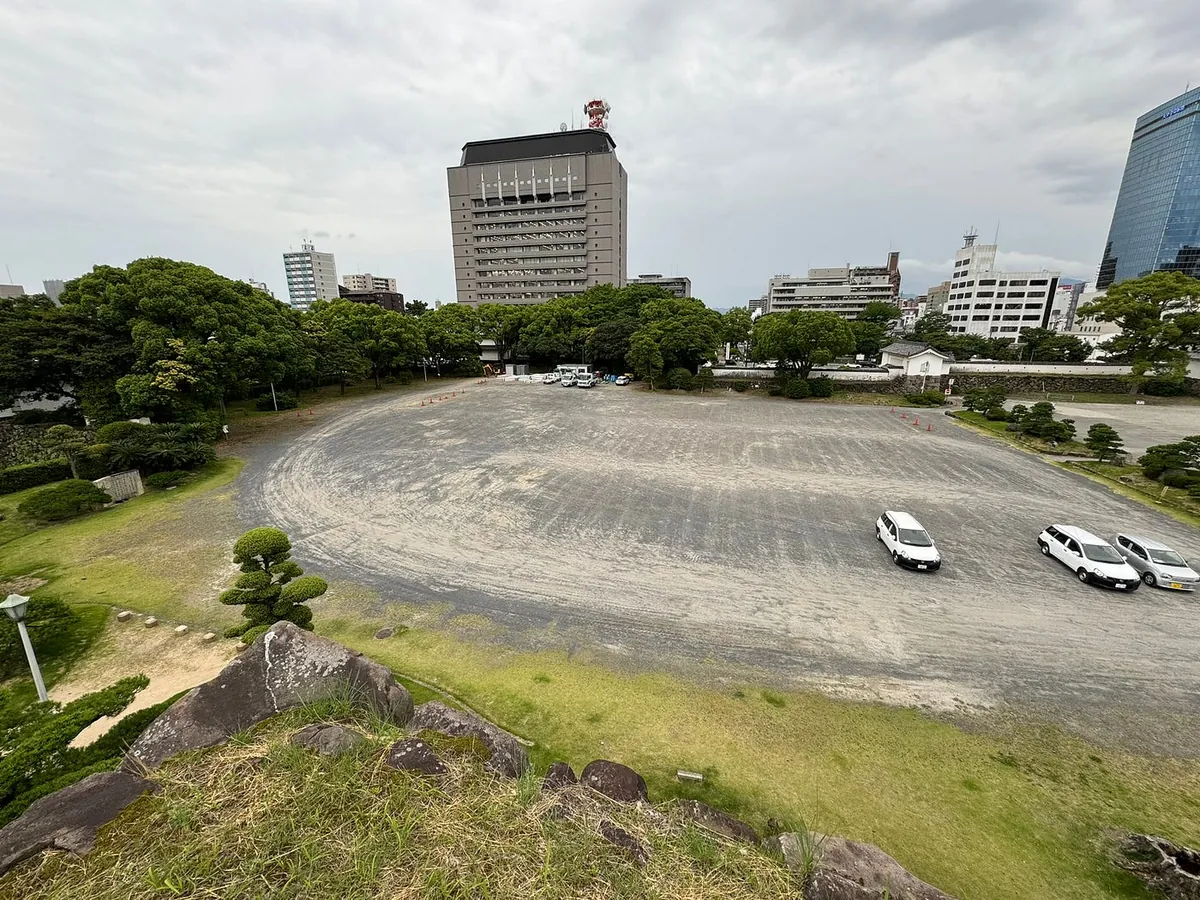
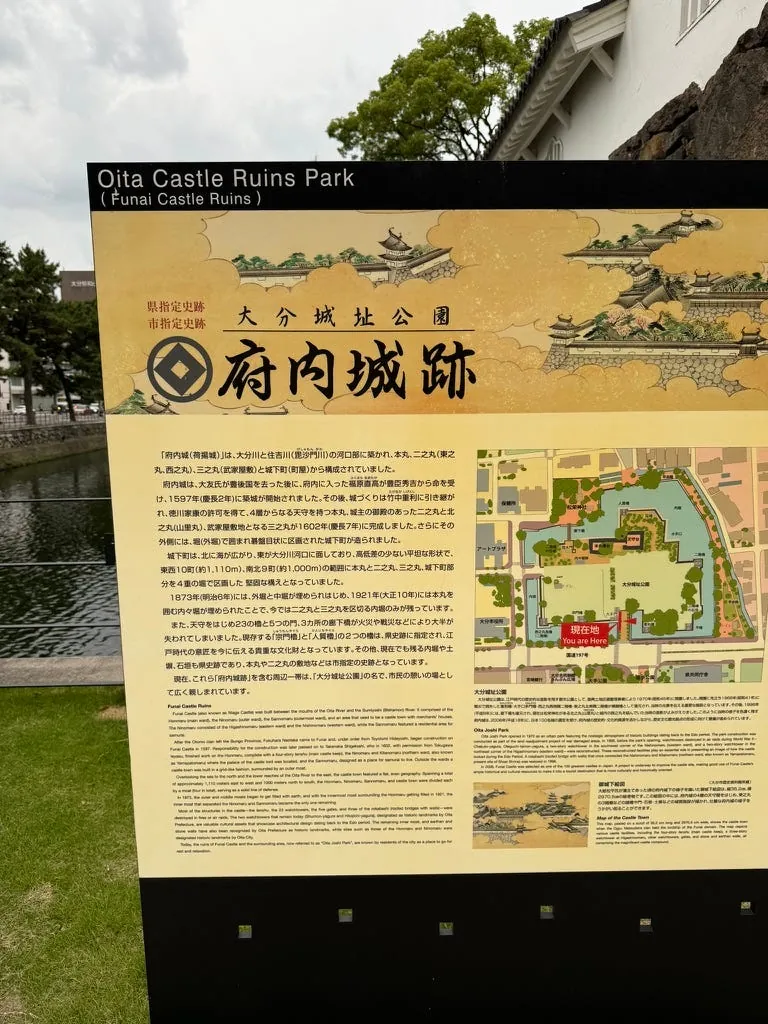
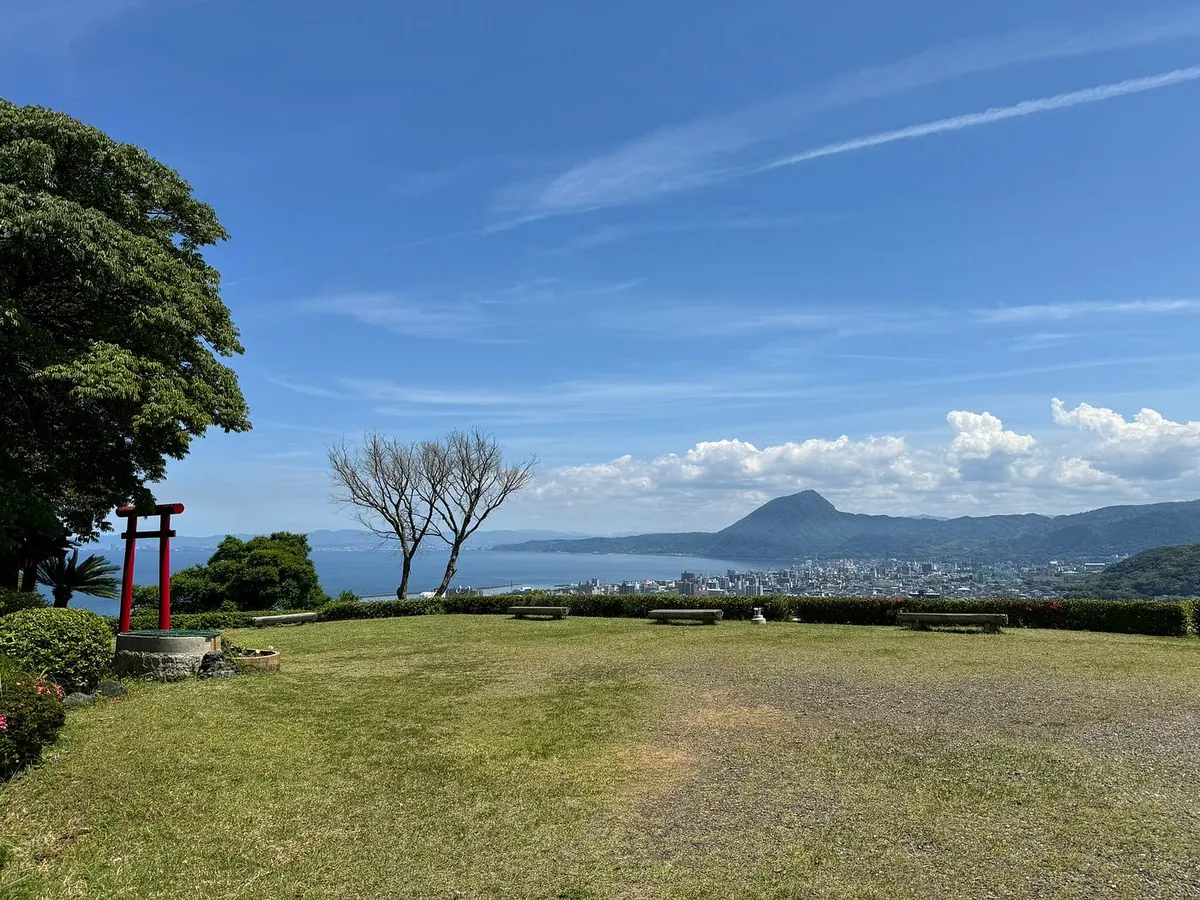
Oita Castle ruins only have the moat, walls, and courtyard remaining. Inside is an open parking lot and the castle tower platform, offering a view of Oita City.
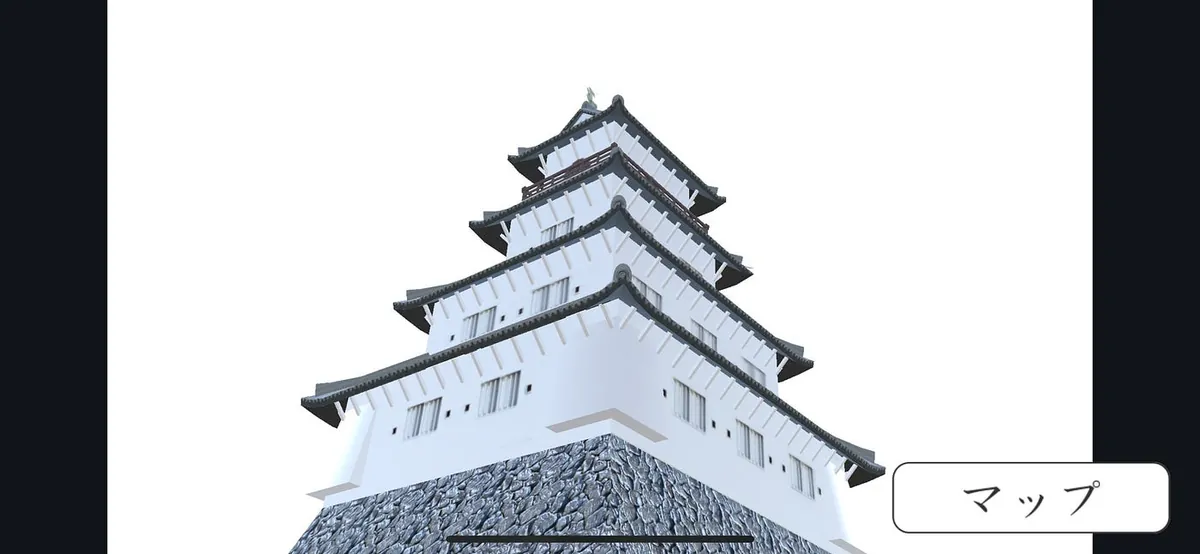
The official AR App lets you see what the old Funai Castle looked like.
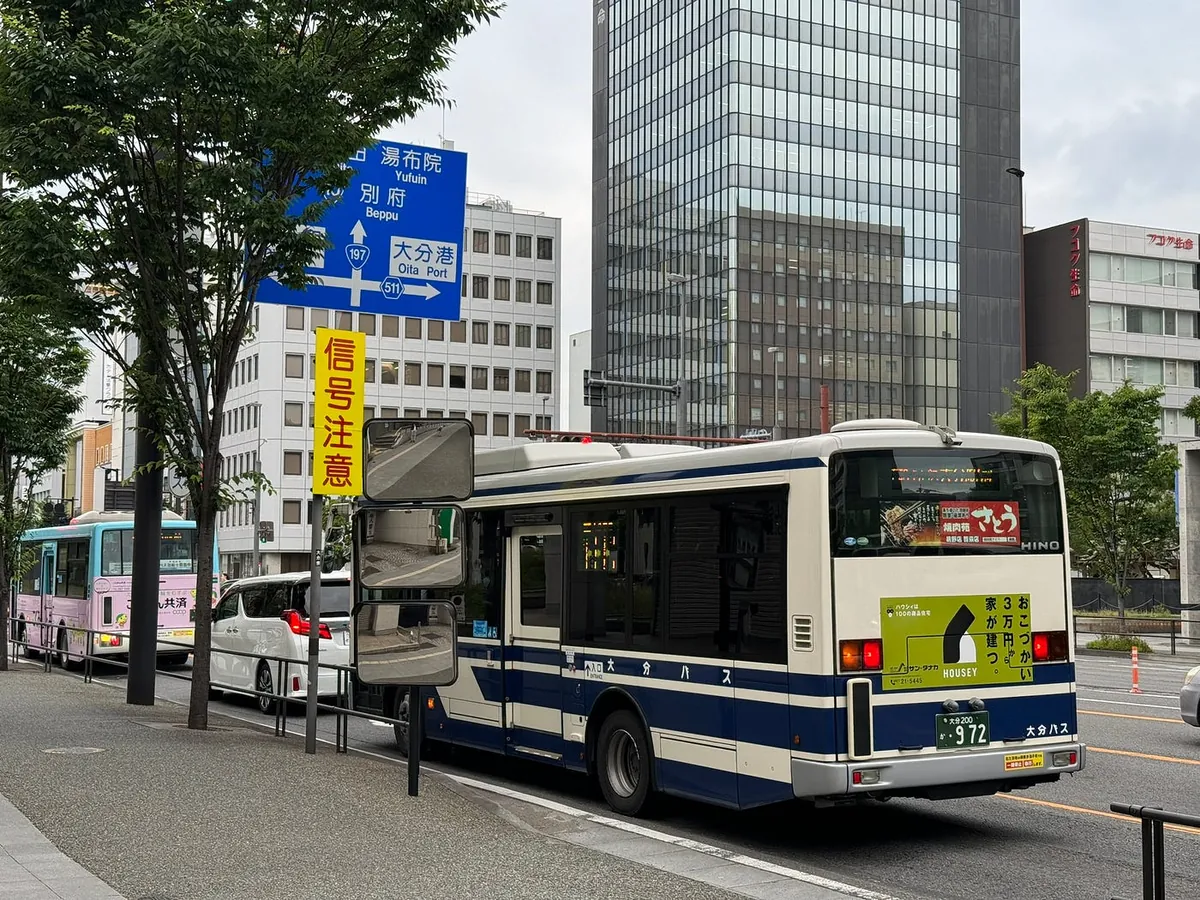
Wandering leisurely back to the station market to find food, the buses in Oita have a vintage feel but are well maintained.
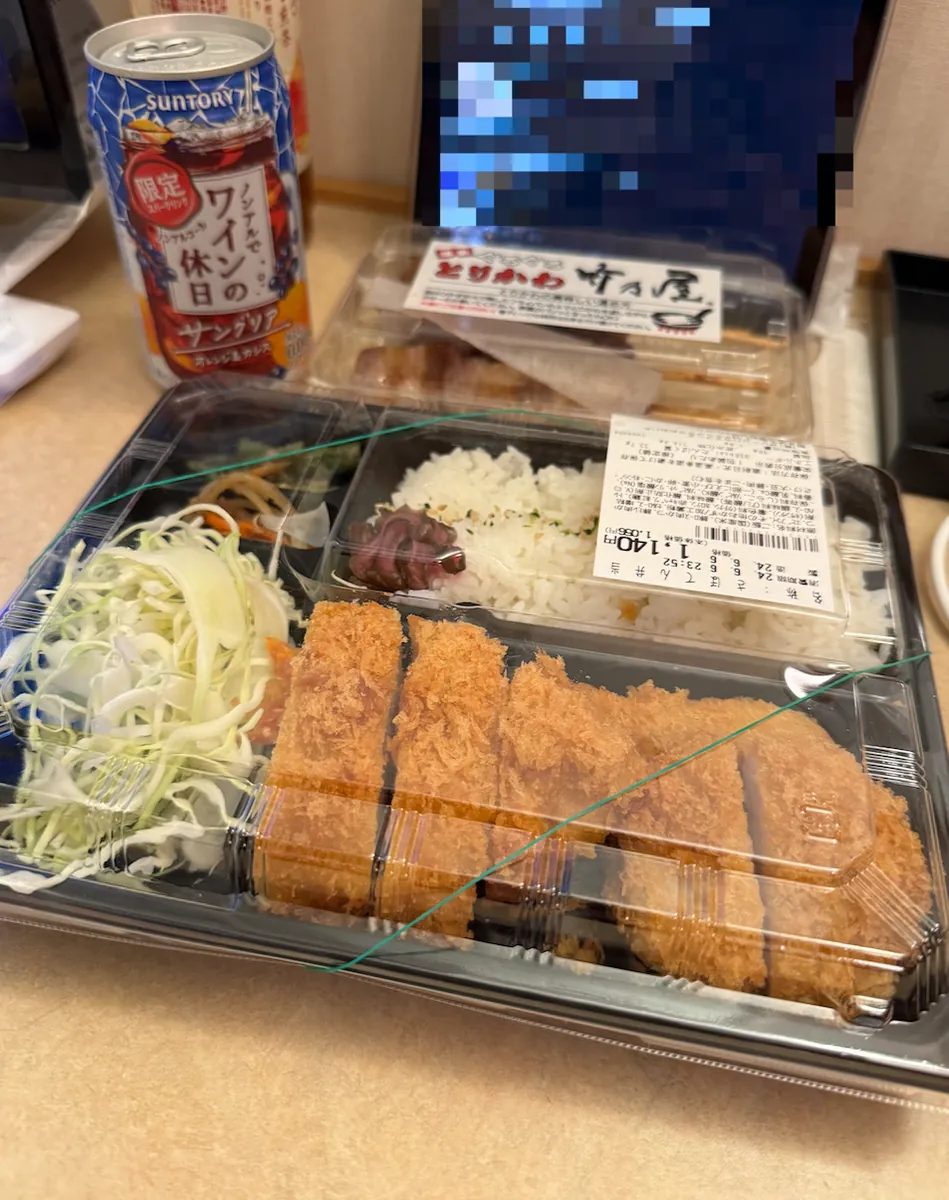
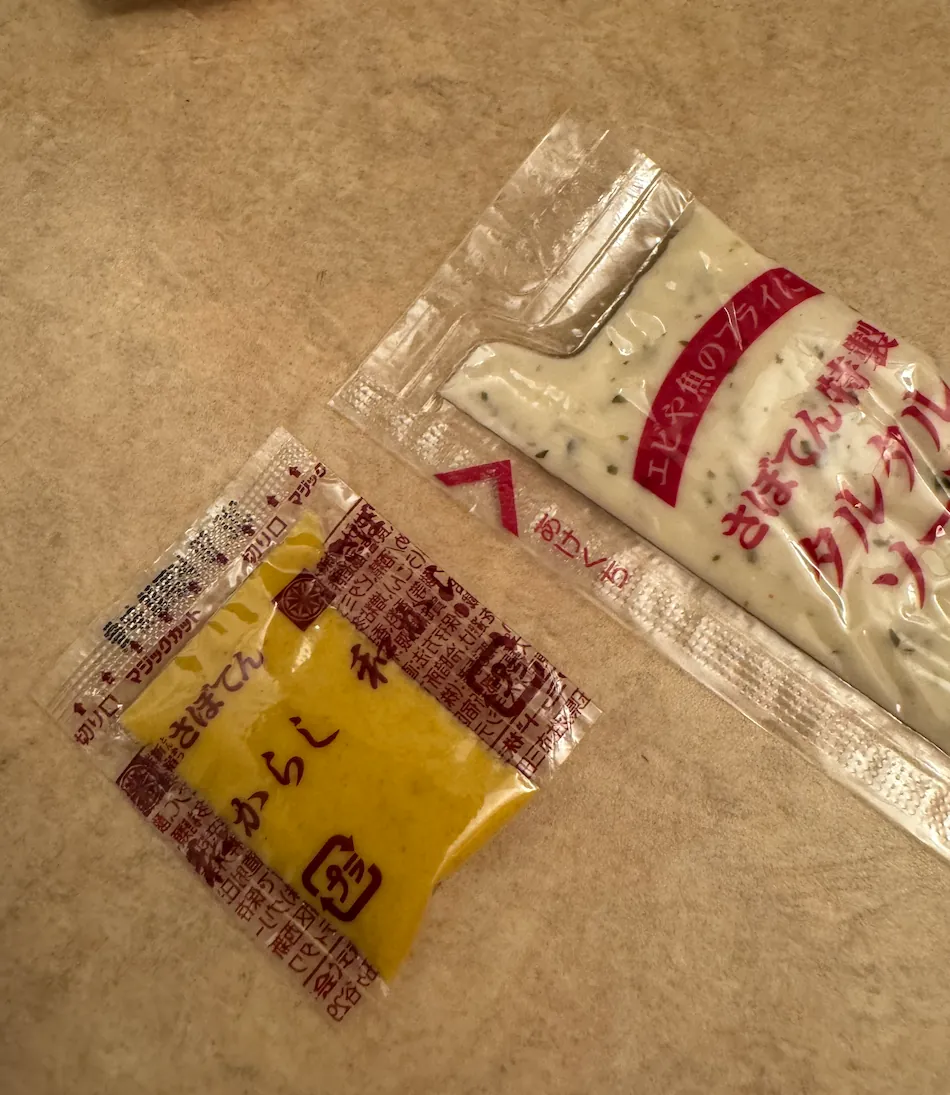

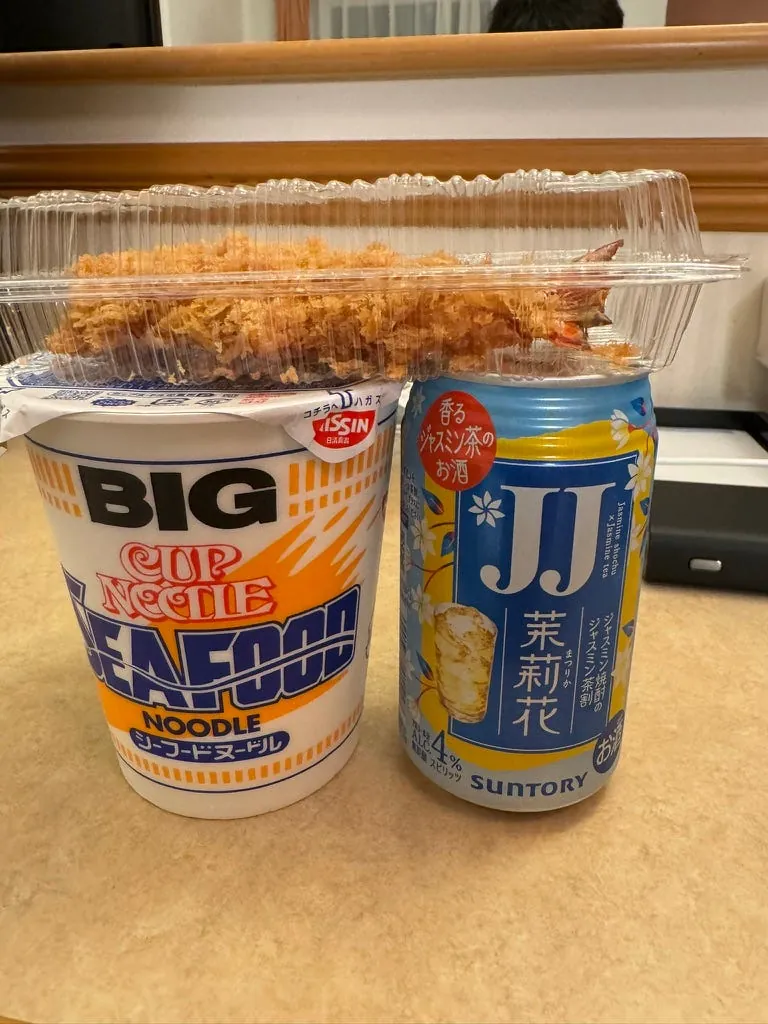
Not sure what to have for dinner, so I casually bought a pork cutlet rice and a Suntory non-alcoholic sparkling drink (delicious!). Japanese sauce packets are thoughtfully designed with a small corner for easy opening.
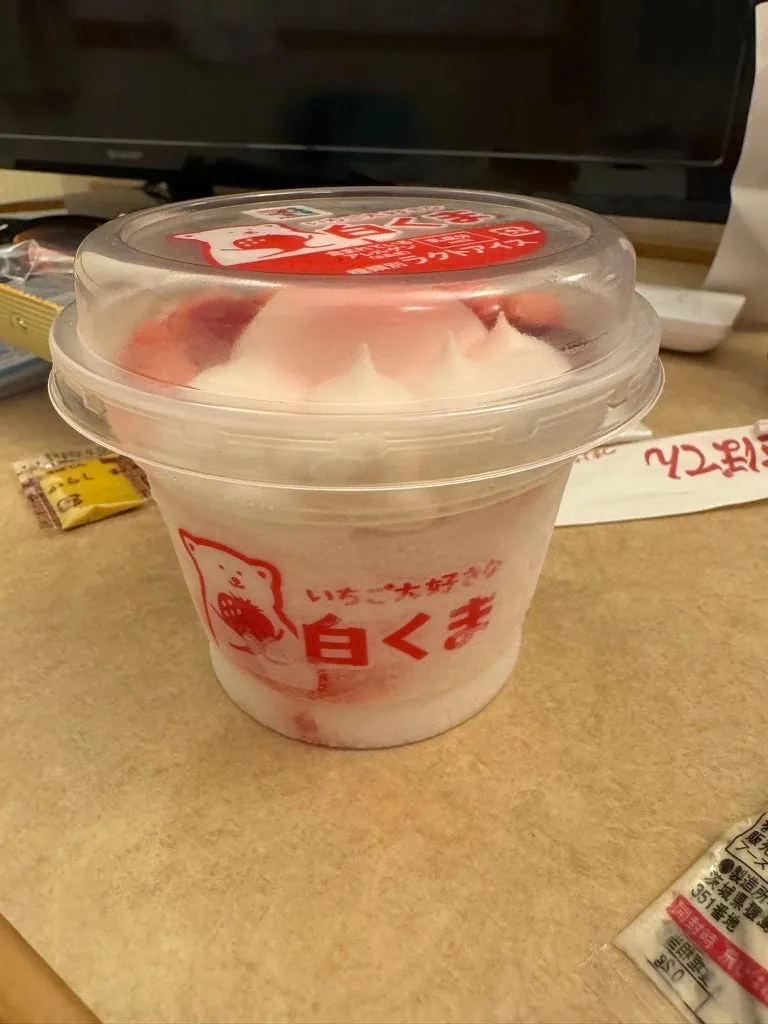
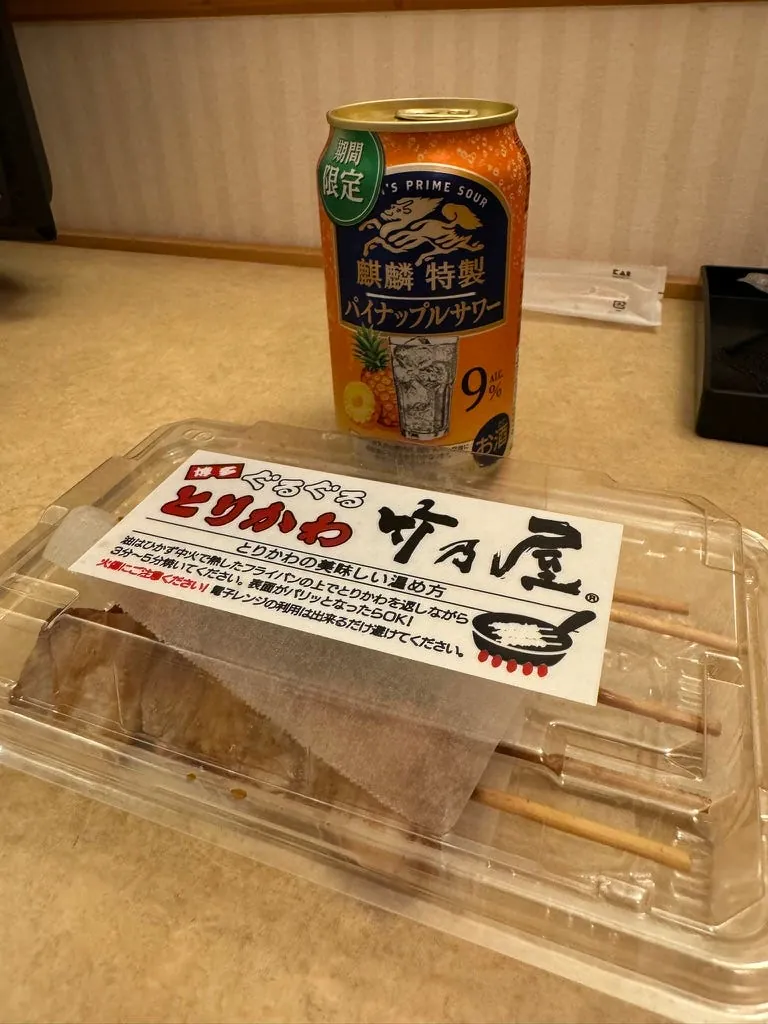
Late-night snacks are strawberry smoothie ice cream, barbecue, and Kirin’s limited-edition pineapple sake (strong pineapple flavor, slightly sweet).
Day 5 Beppu Hells, Beppu
Sample itinerary:
KKday 【Beppu Yufuin One-Day Tour】Nyoirinji Temple + Beppu Hells + Yufuin (Departing from Fukuoka)
Kyushu Beppu Hell Hot Springs Tour | Regular Admission / Pre-sale Ticket | Instant Use
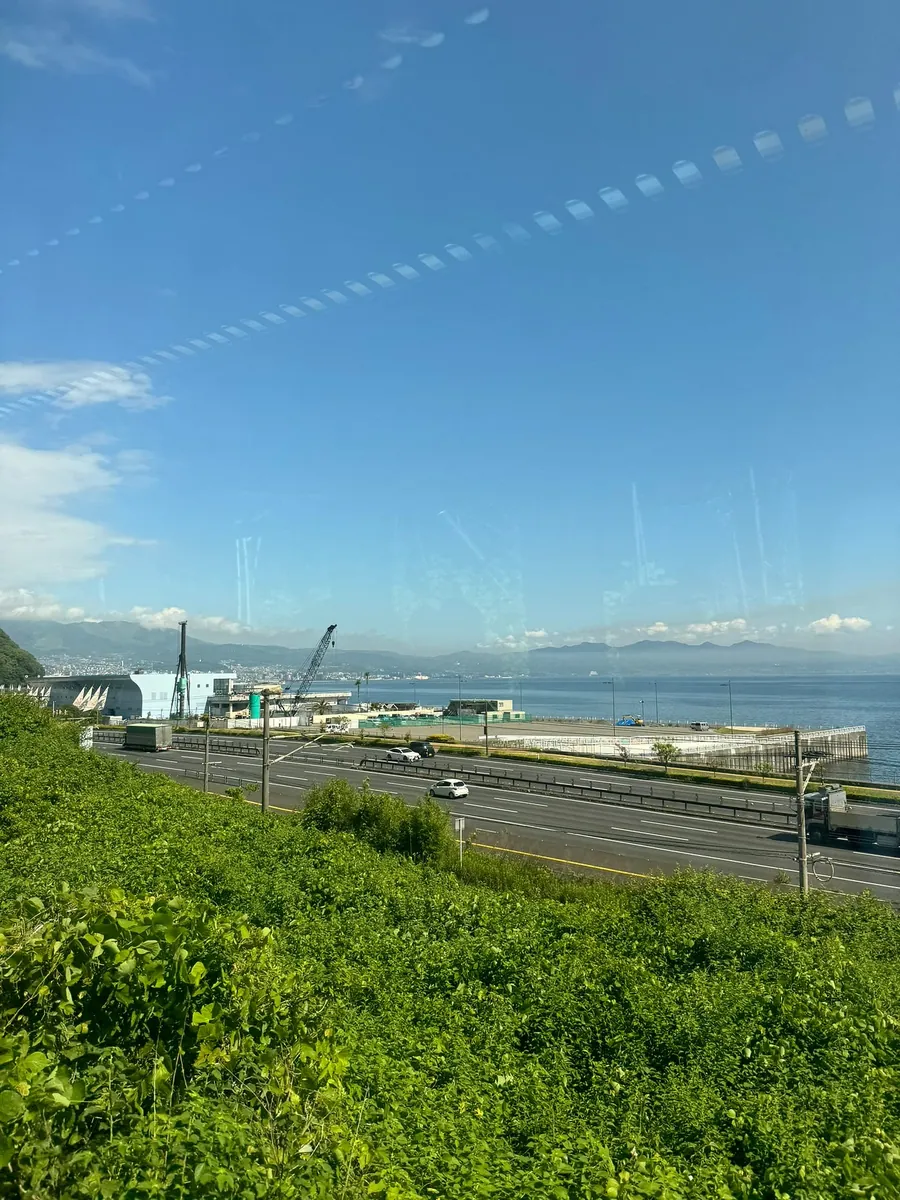
It takes about 15 minutes by JR Limited Express from Oita Station to Beppu Station. The scenery along the way is somewhat similar to the feeling of traveling from Hiroshima to Kure.
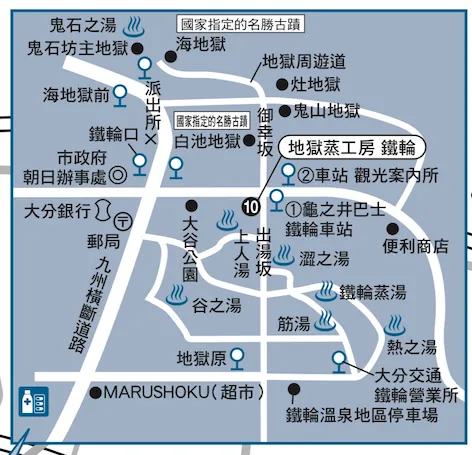
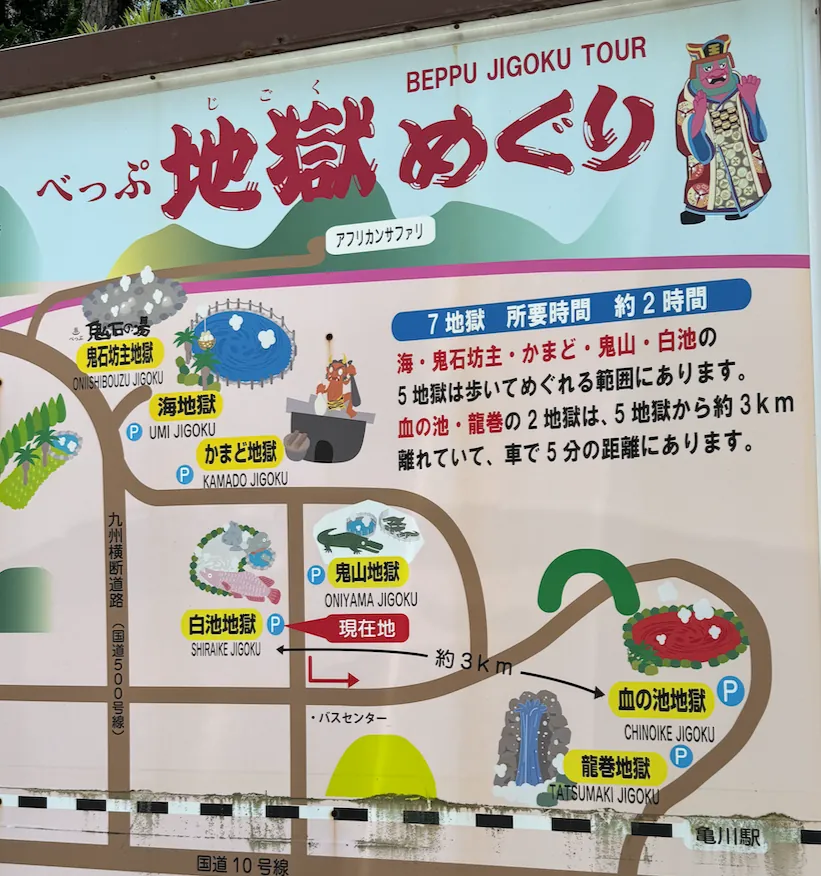
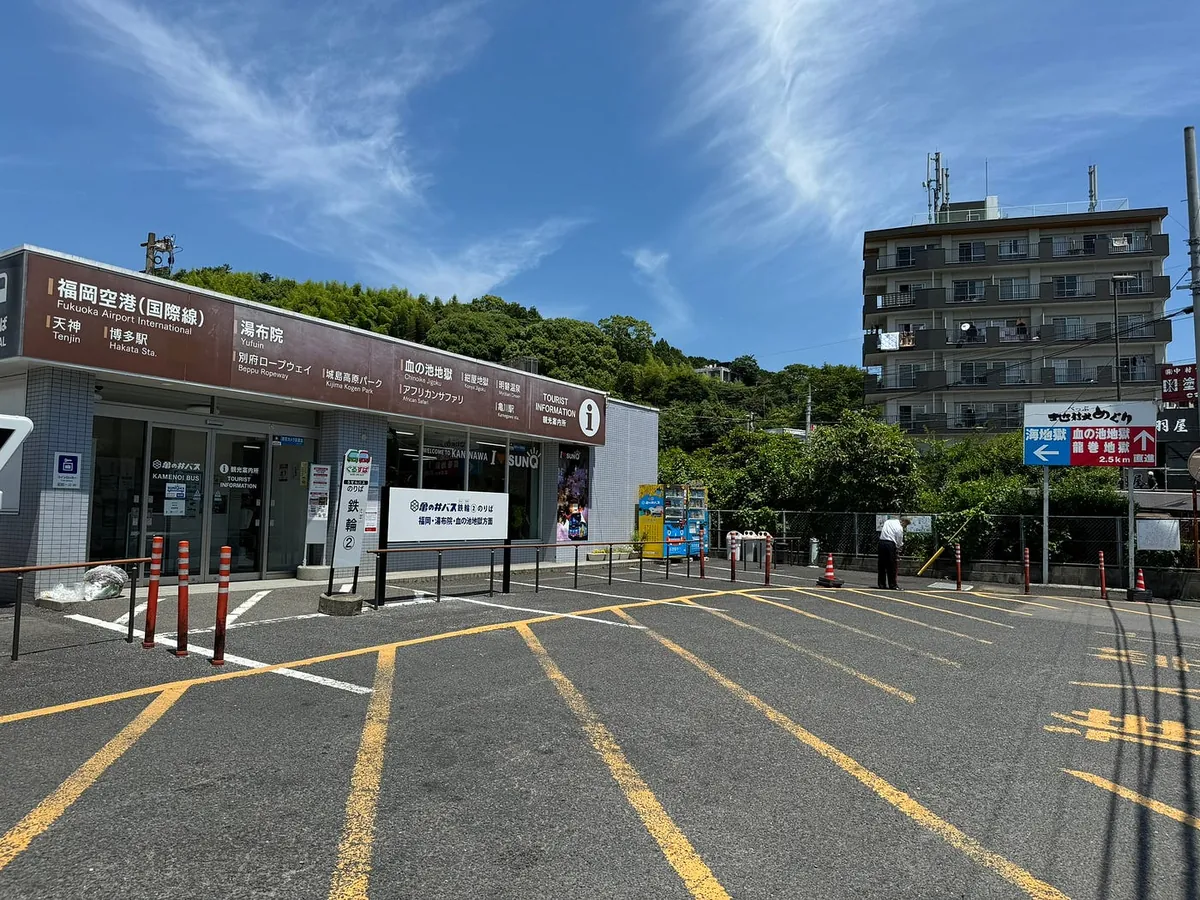
Take the JR train and transfer to a bus to Beppu Hell Tour — the first stop is Umi Jigoku (Sea Hell). You can follow the itinerary order shown in the above image.
Want to visit all 7 hells? It’s cheaper to buy a full set of 7 tickets at the Sea Hell entrance.
If time is limited, you can just visit the Sea Hell.
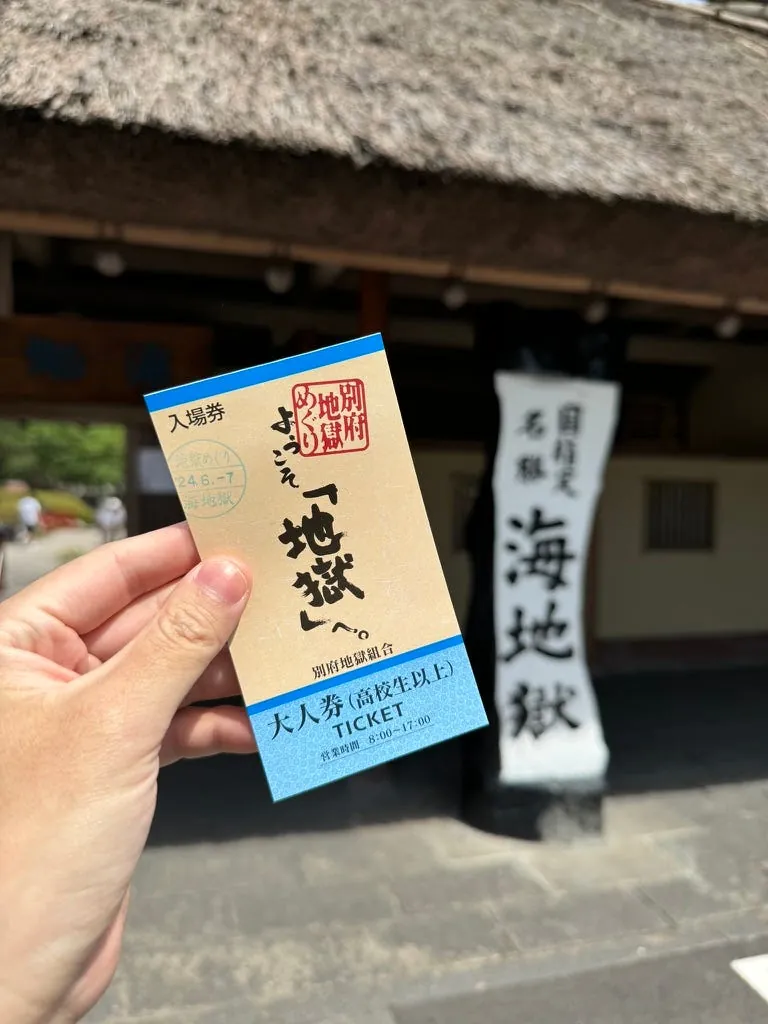
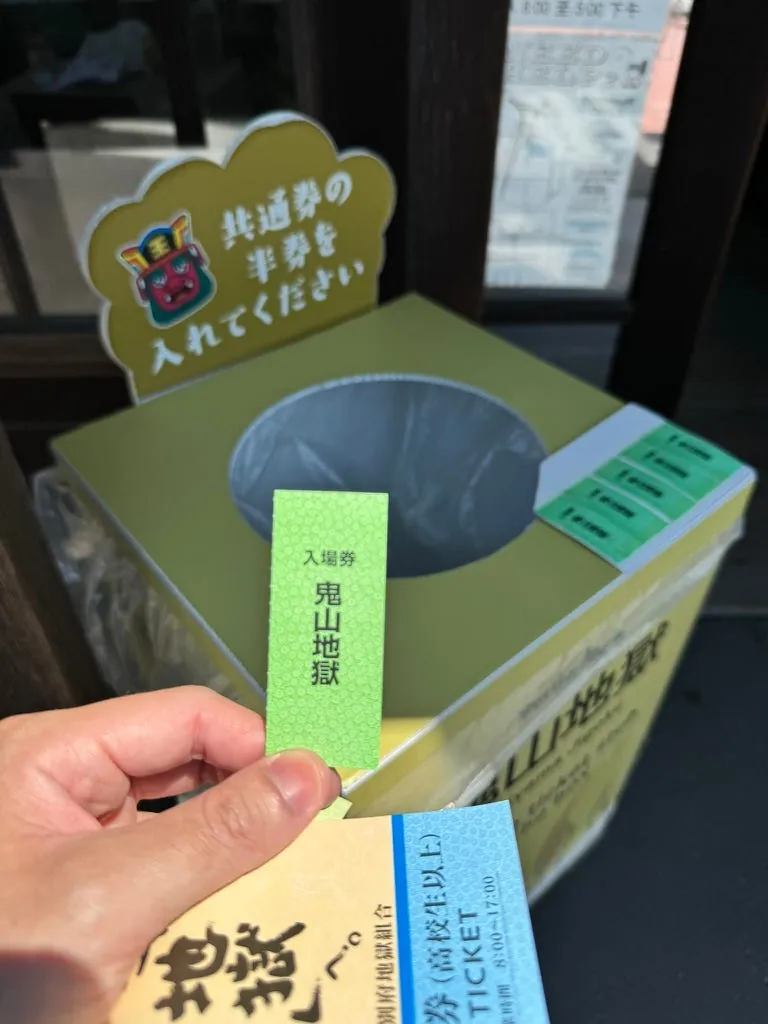
Entry only requires tearing off a corner of the ticket and dropping it into the box.
Each hell has a free rest area for soaking your feet.
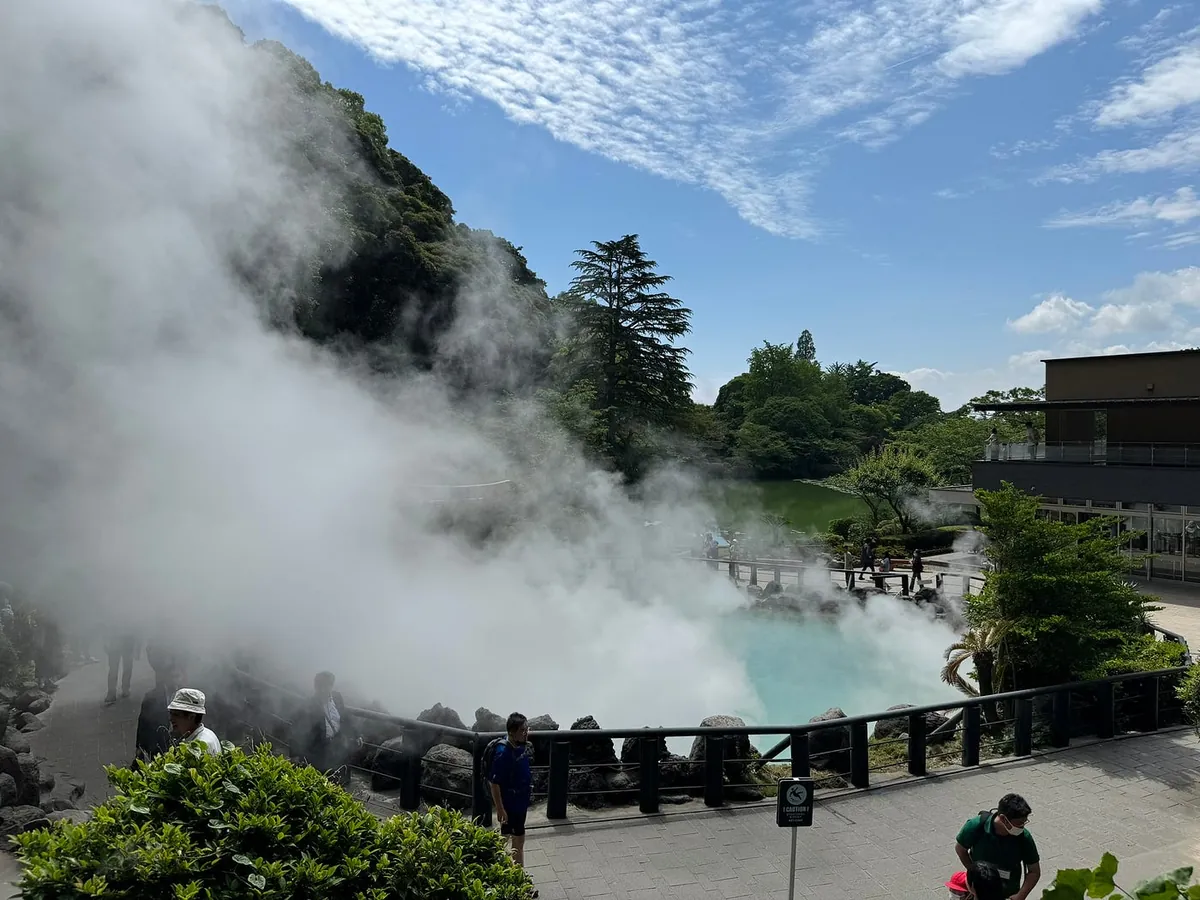
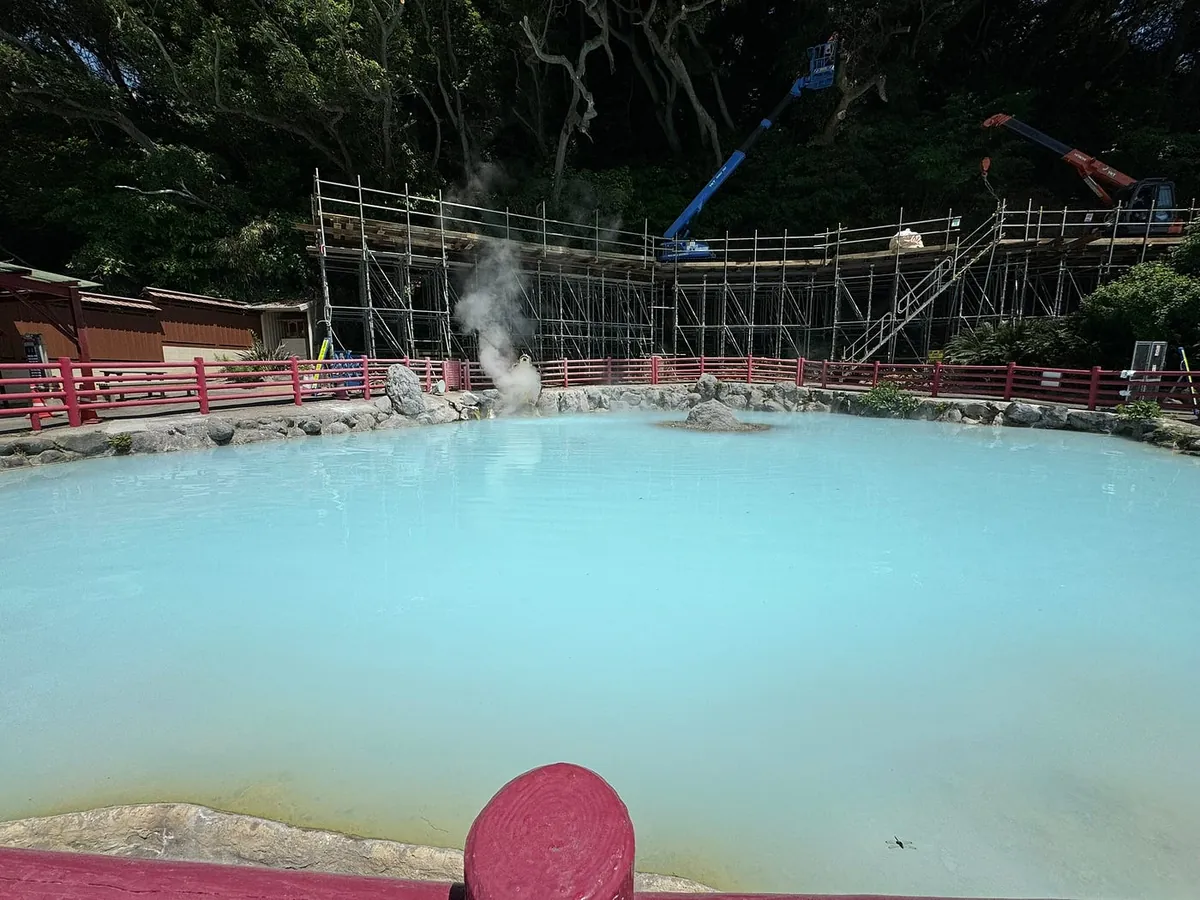
Hell Sea
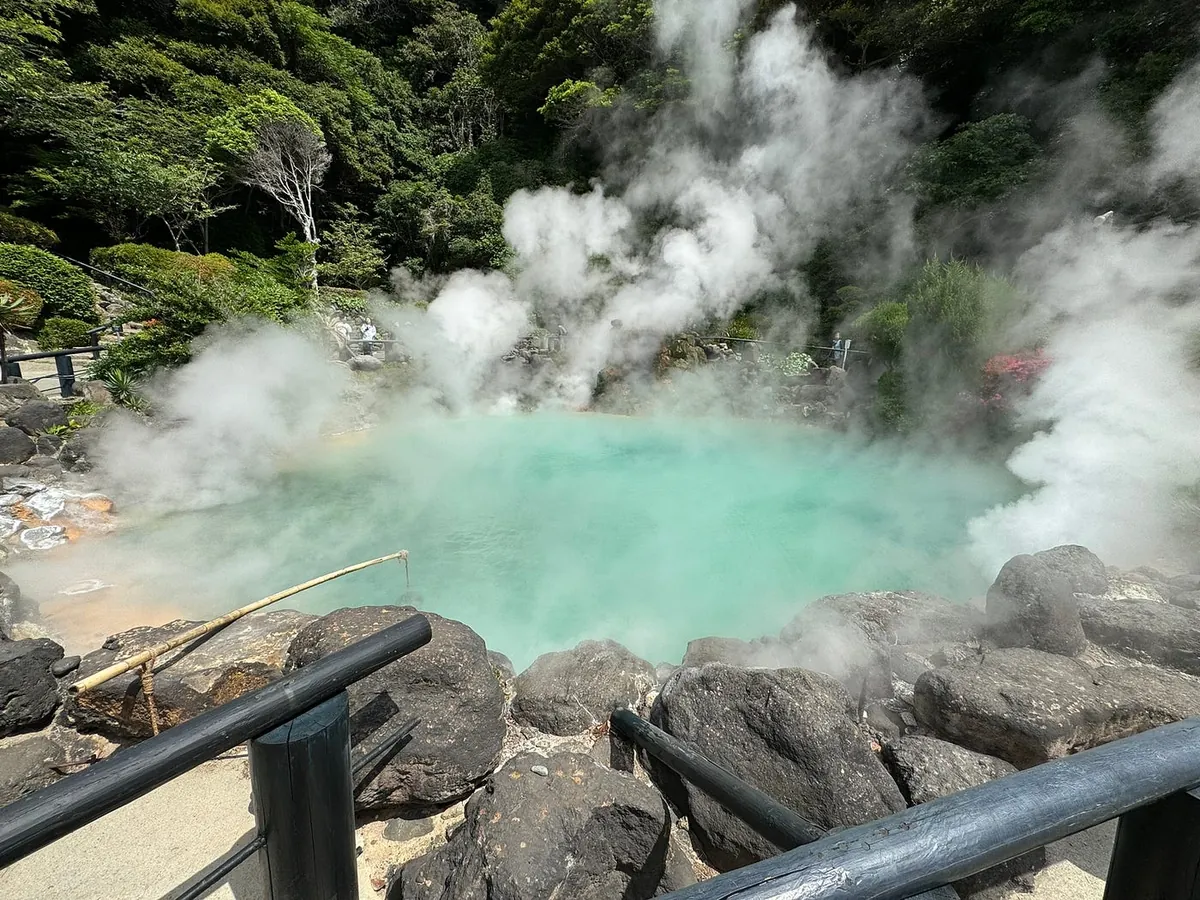
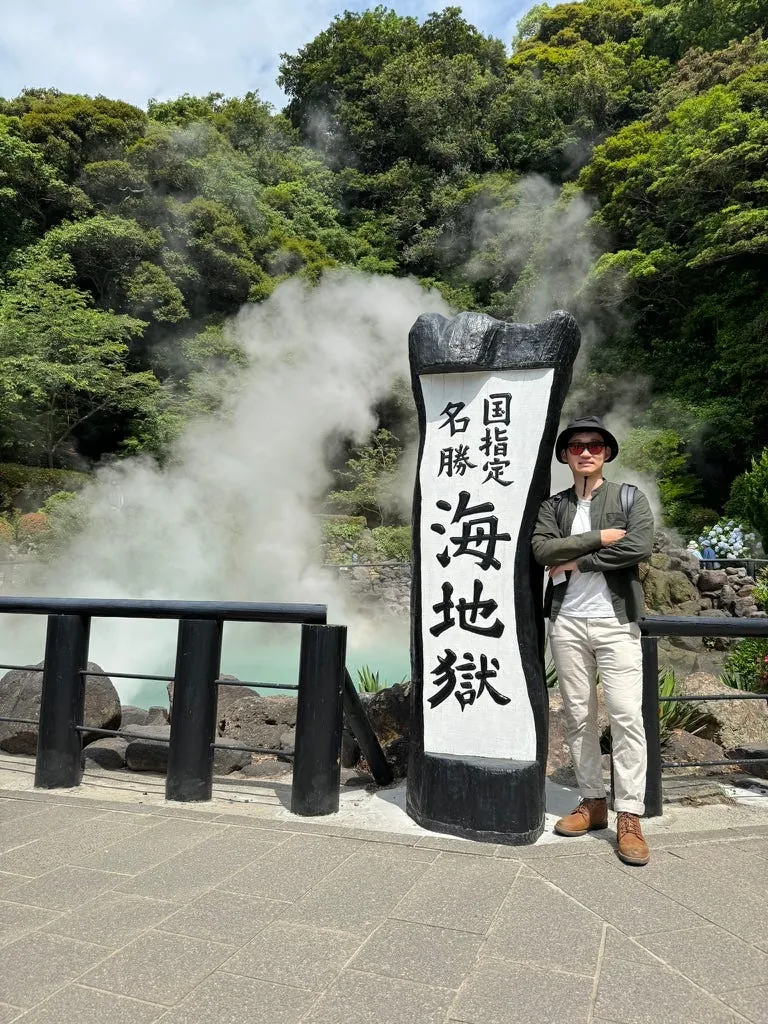
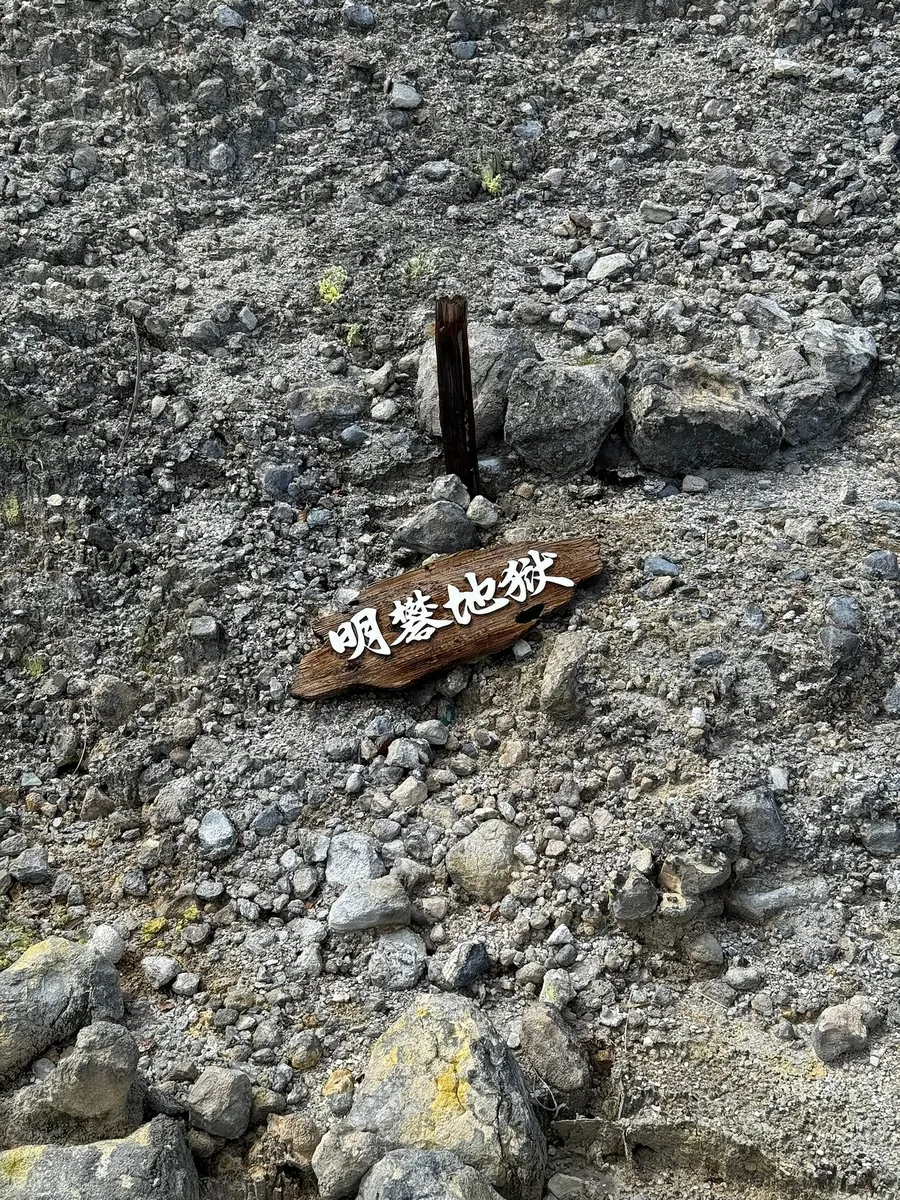
I think Hell Valley is the most spectacular, with its constantly boiling steam and deep blue spring water.
There is a terrace and a small shrine at the back.
The small blood pool on the other side is also quite unique.
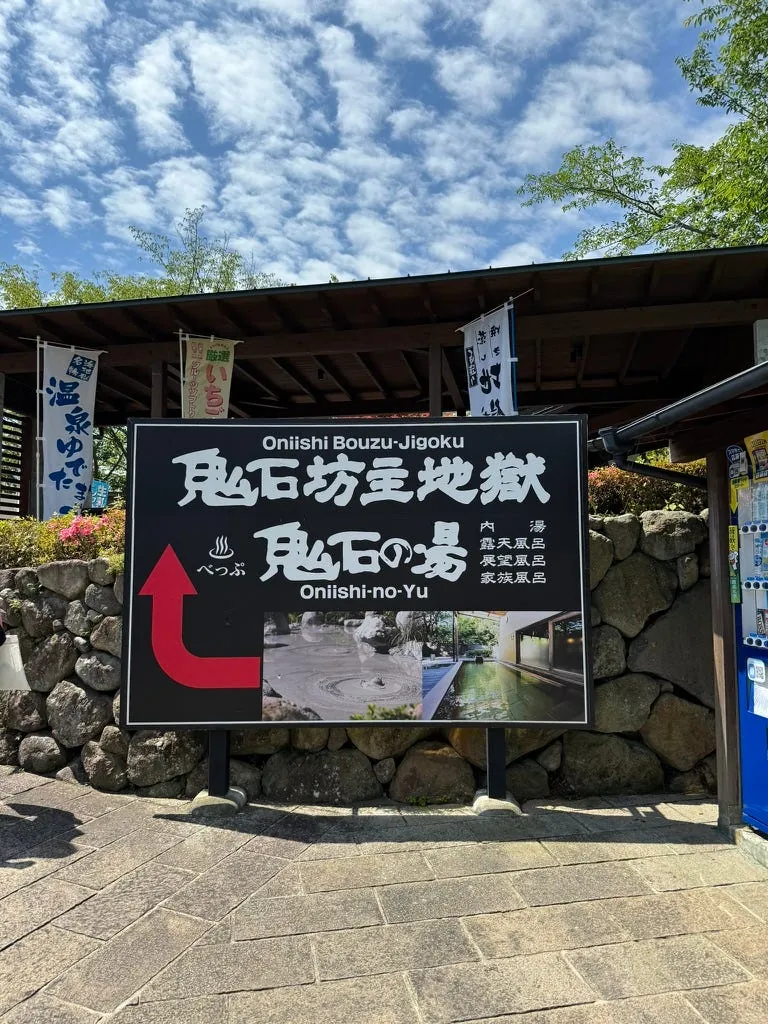
After leaving the Sea Hell, follow the instructions to reach the next Hell of the Stone Monk.
Ghost Stone Monk Hell
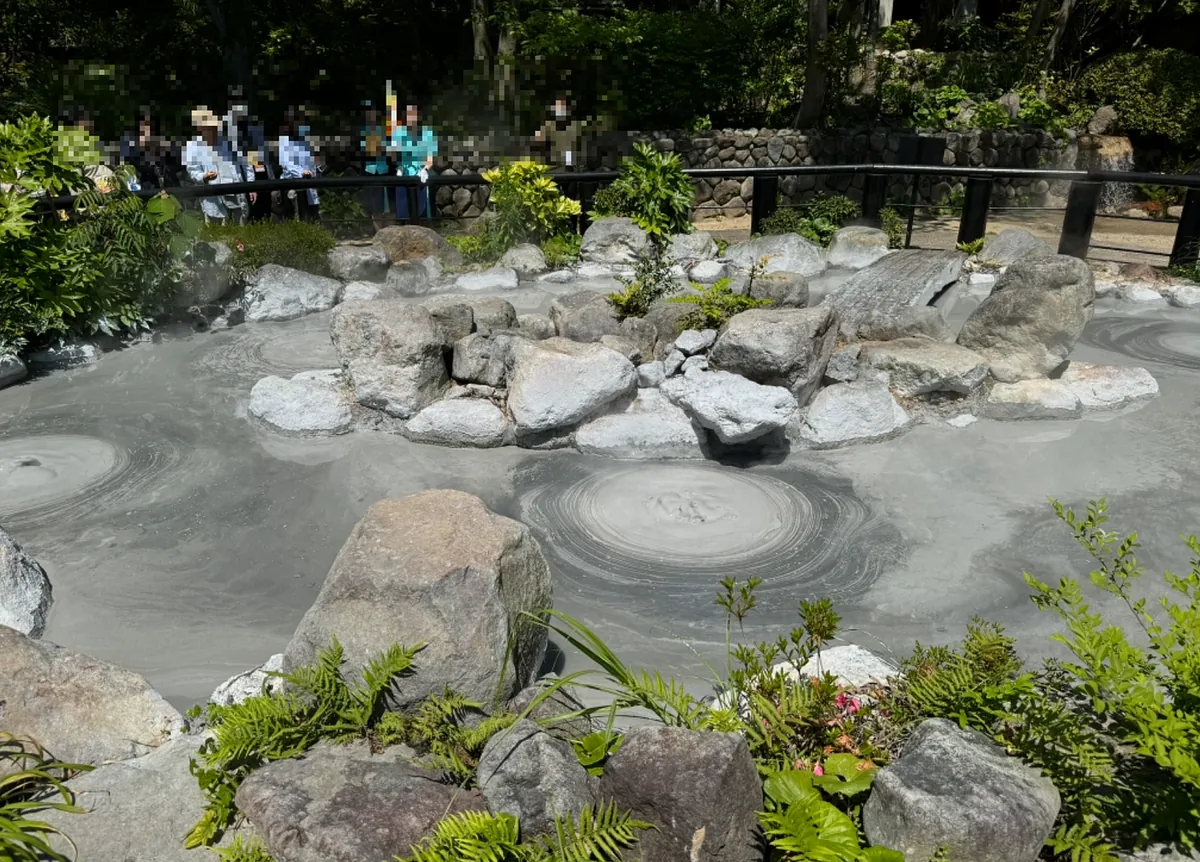
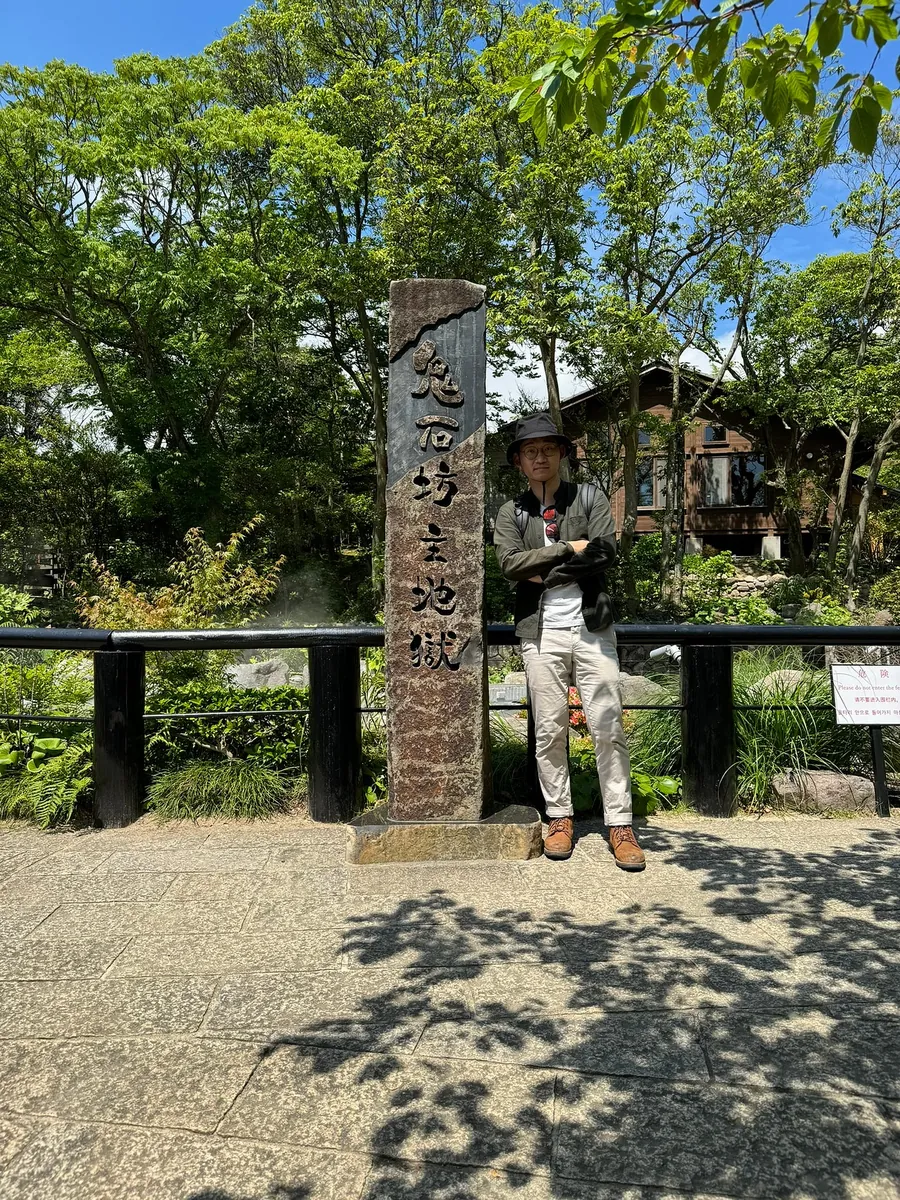
Mainly known for its mud volcanoes.
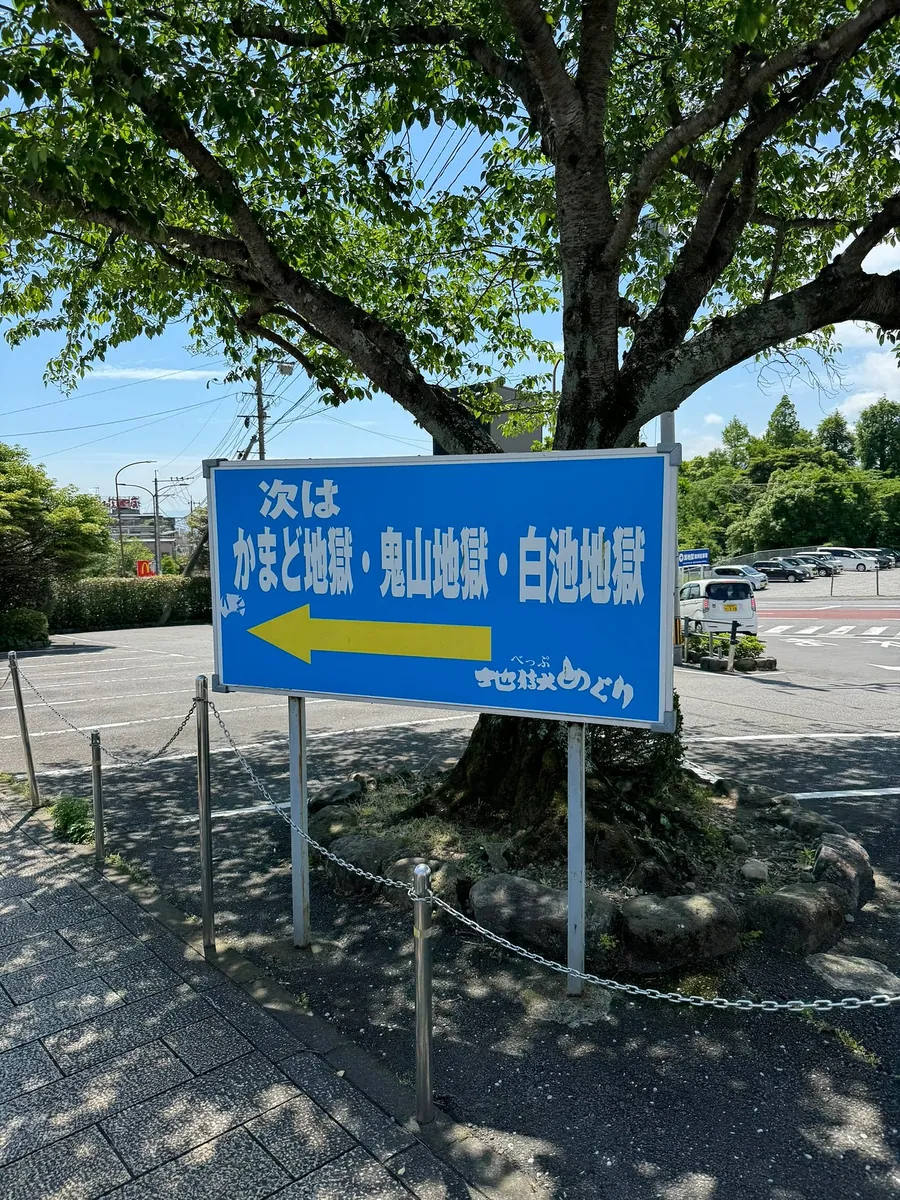
Exit and follow the signs to the next hell.
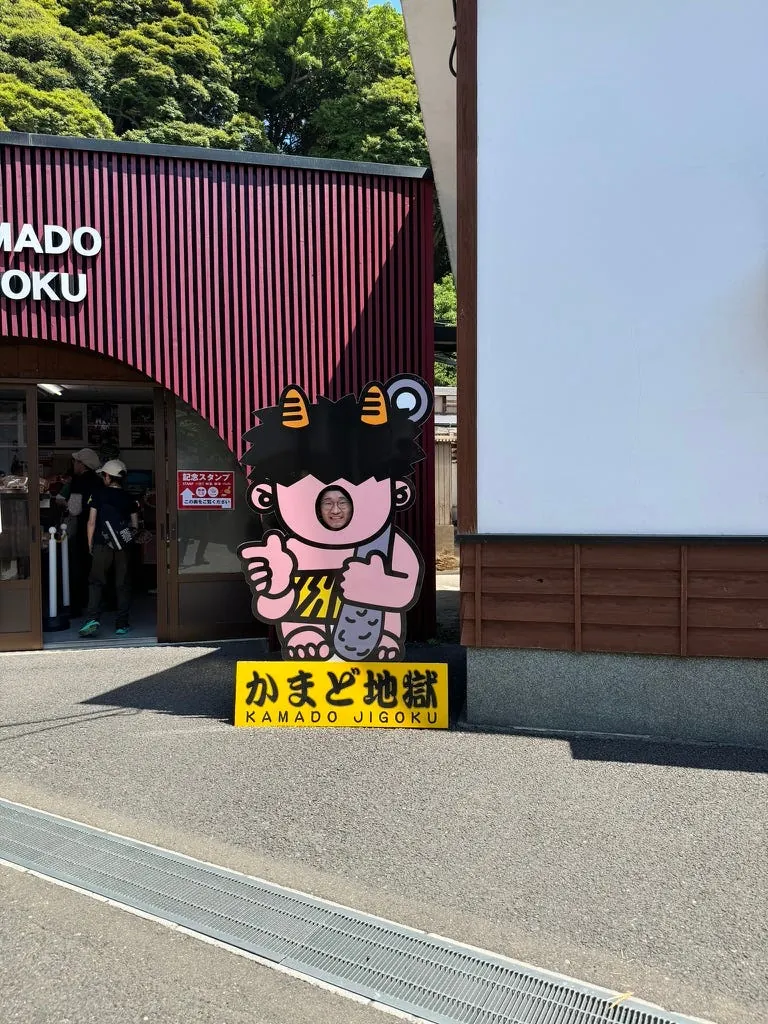
Kamado Jigoku (Cooking Pot Hell)
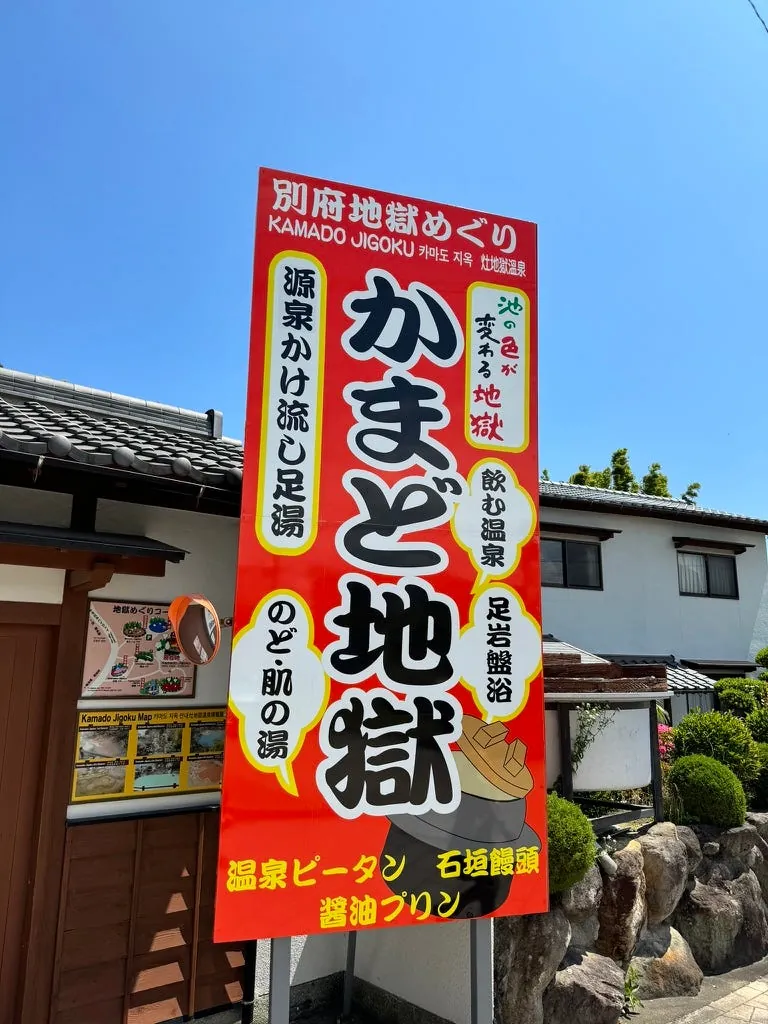
The Milk Pond at Chinoike Jigoku feels great for soaking.
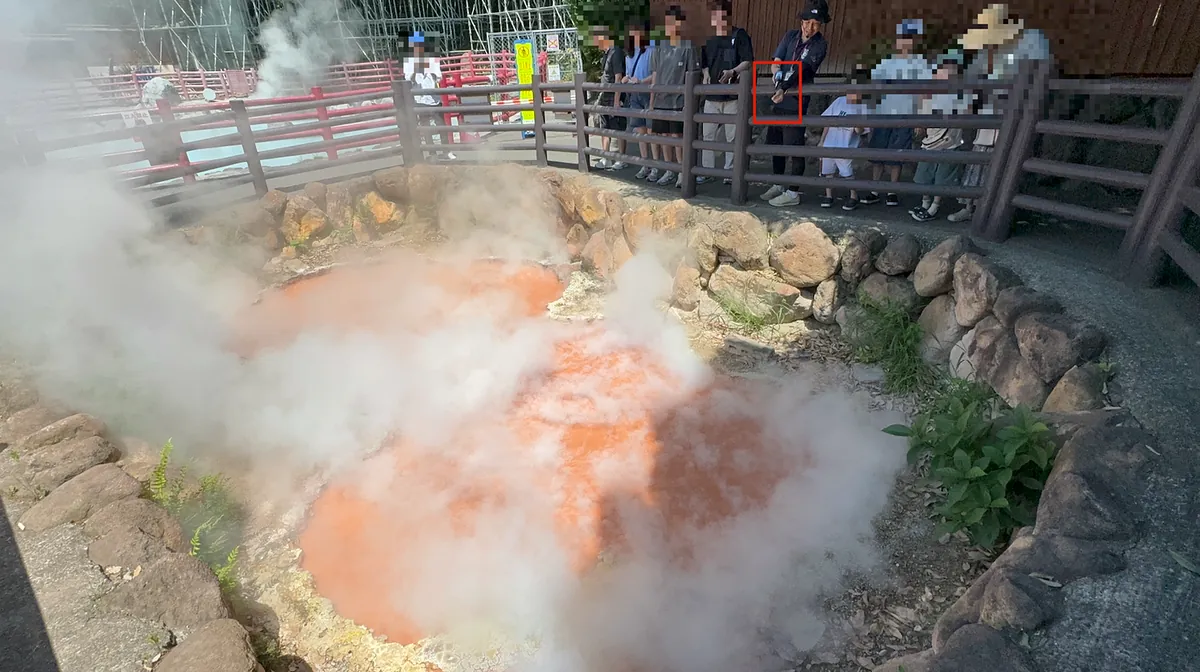
But the unique feature of the Boiling Hell is not the spring itself, but the smoke. Staff use incense sticks and blow air onto the hot spring steam, which creates a large amount of smoke. It’s quite interesting (according to explanations, the incense particles attract more water vapor molecules, causing the smoke to gather).

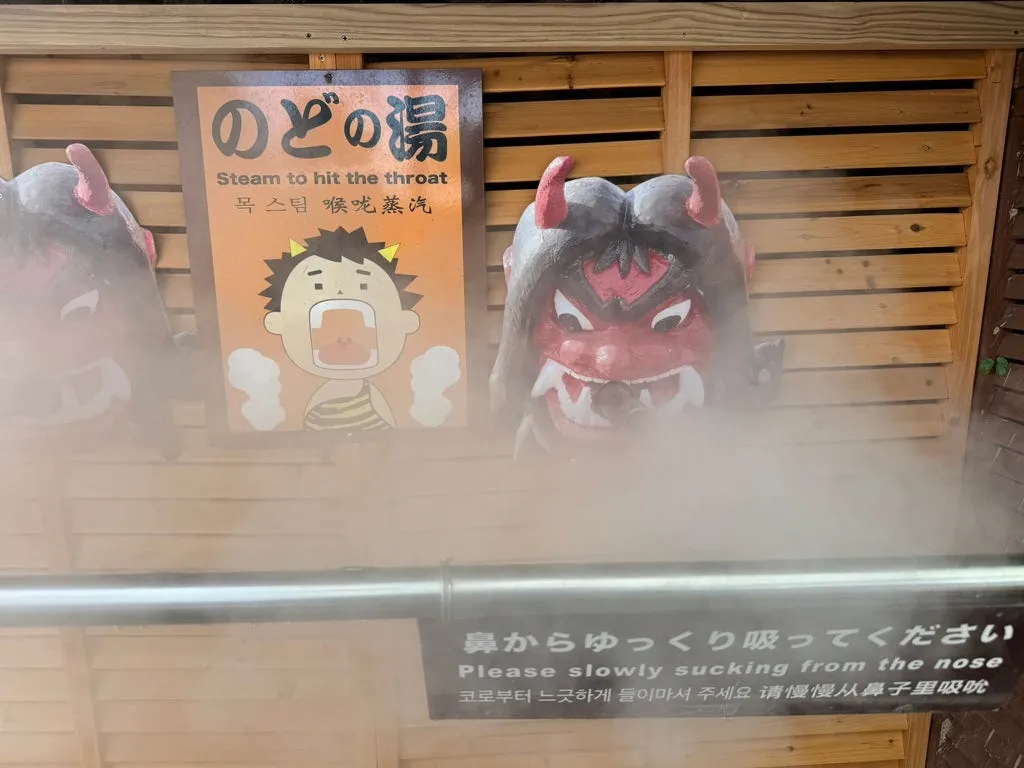
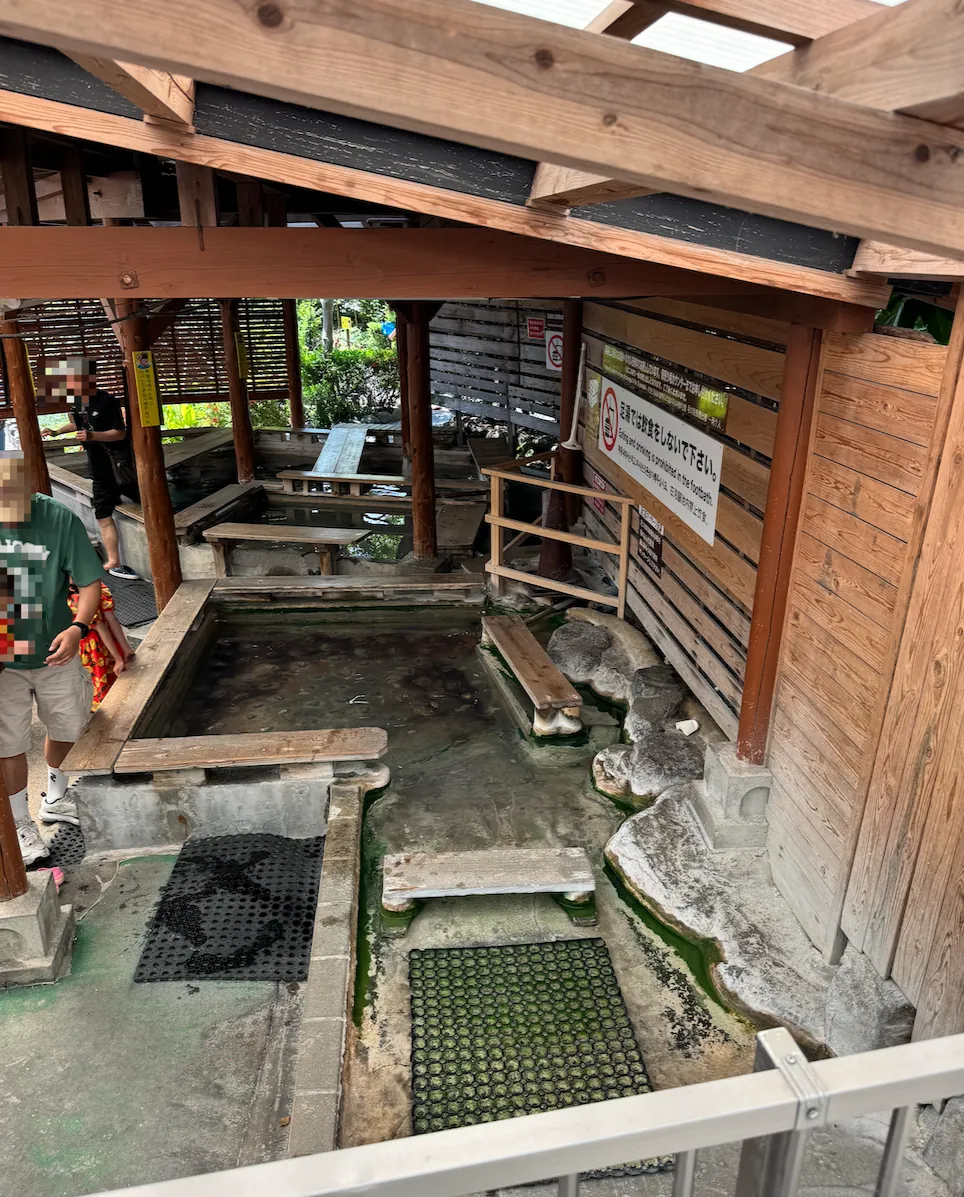
Another feature of Jigoku is the row of hot spring experiences, including rock plate foot baths, drinking hot spring water (which tastes slightly thick and salty), foot soaking, facial steaming, hand steaming, and throat steaming (similar to visiting a pediatrician in Taiwan XD).
This area is more spacious with more activities to experience. Shops also sell some food, making it a good place to rest.
You can see the sign to Ghost Mountain Hell right when you come out.
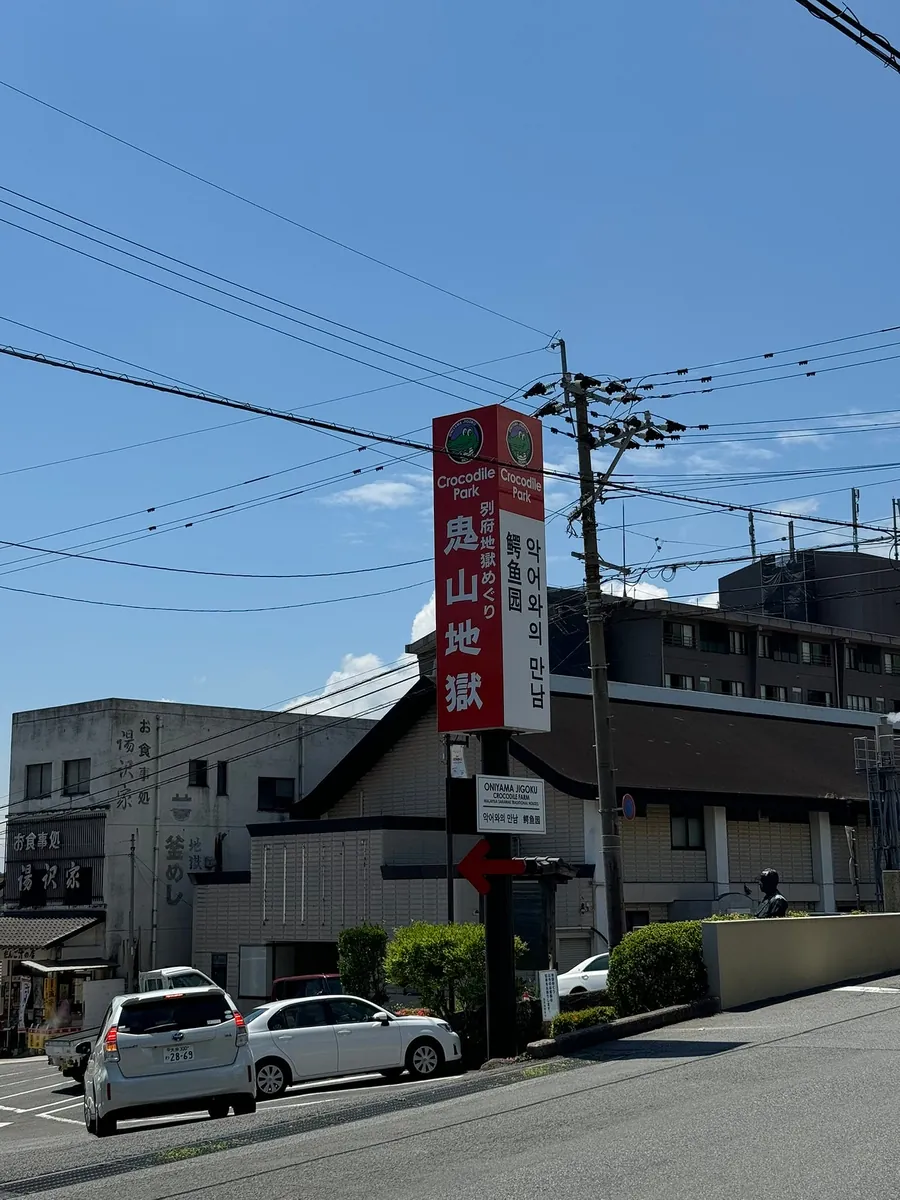
Oniyama Hell
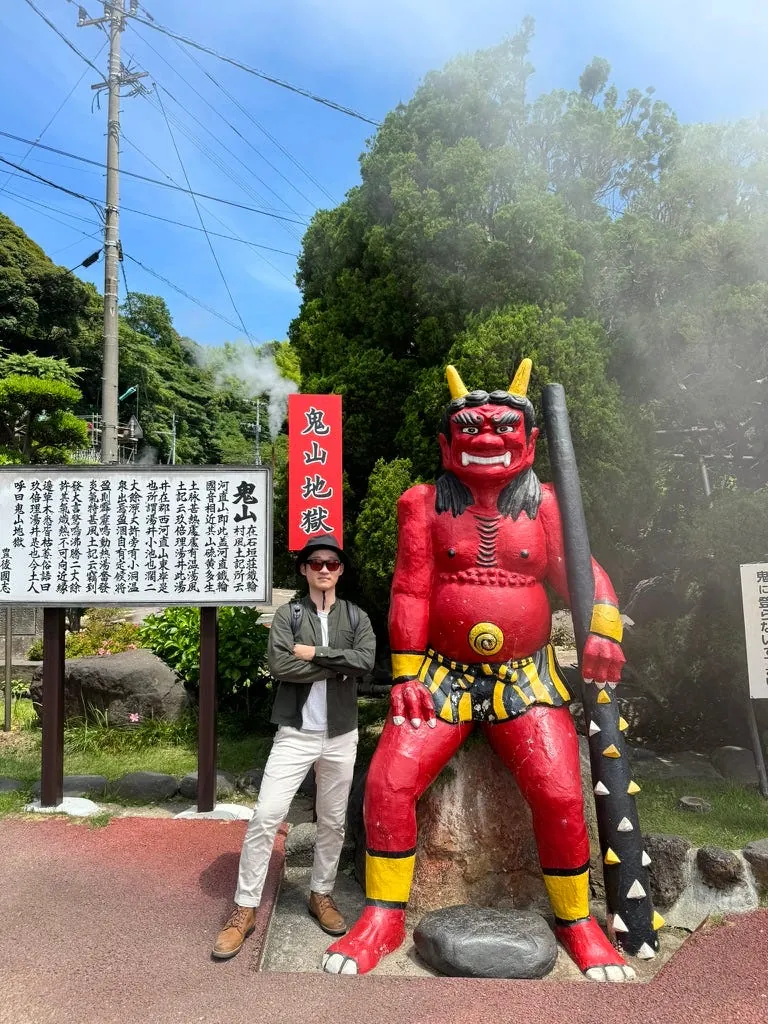
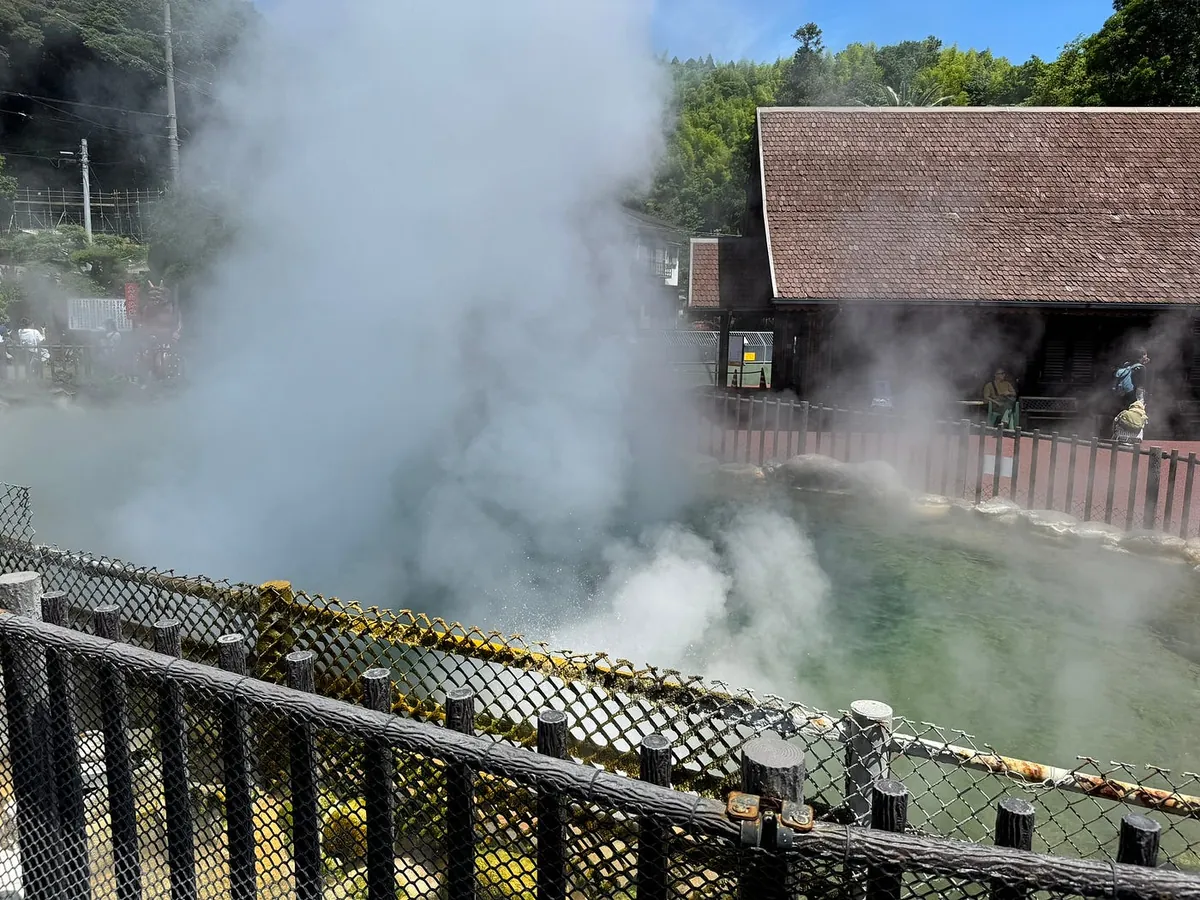
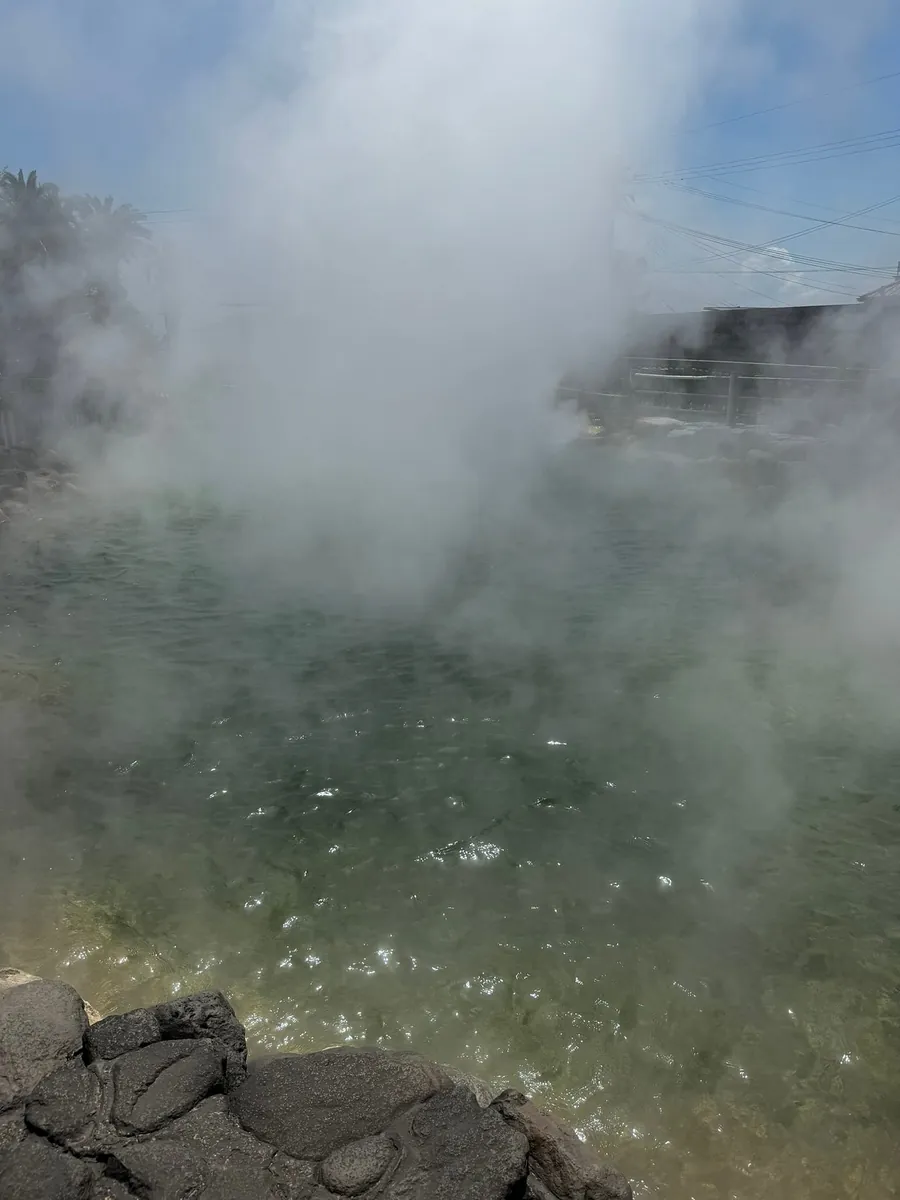
The water in Oniyama Hell boils more violently, continuously surging outward.
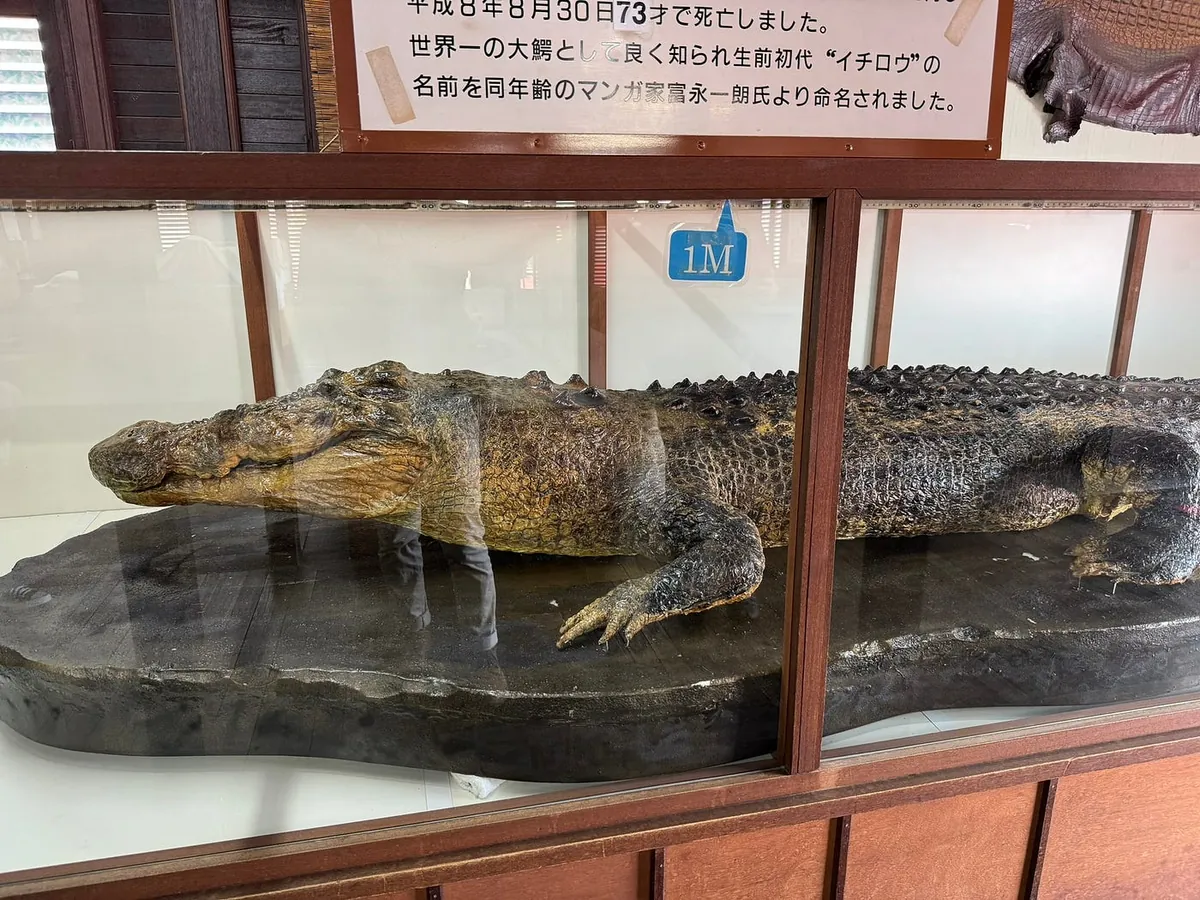
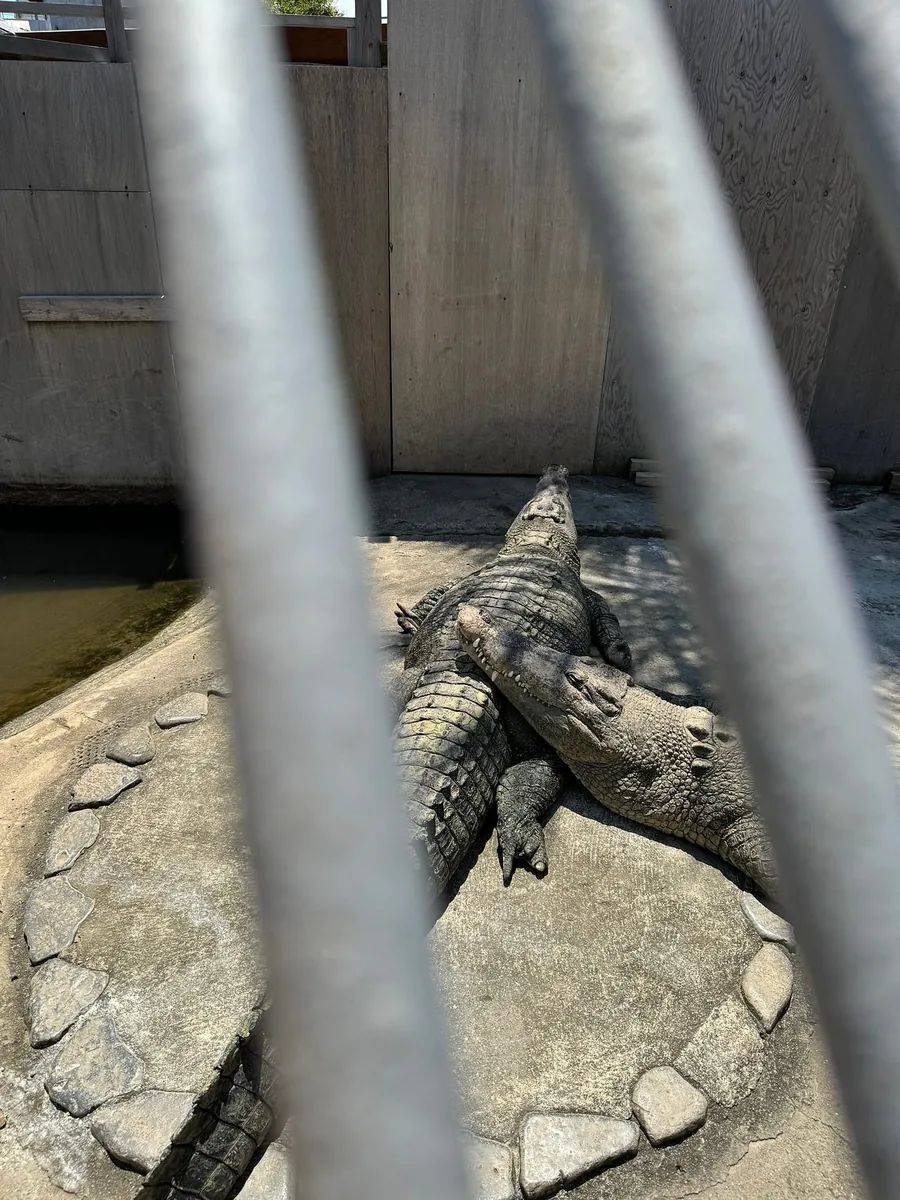
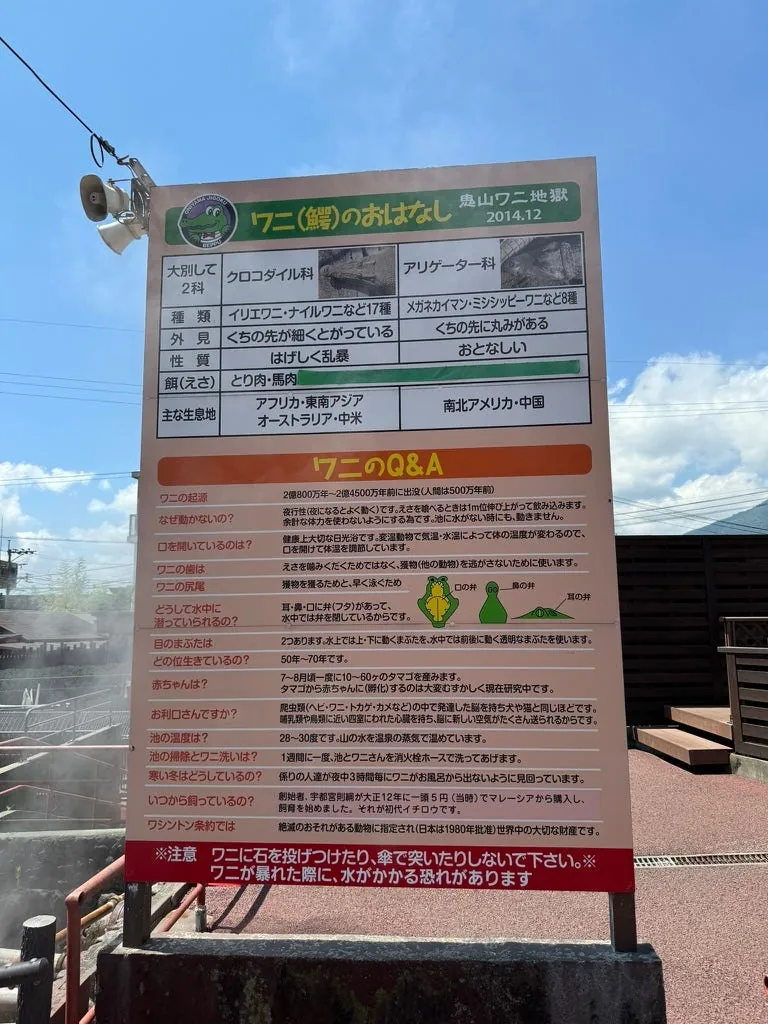
On the other side of the park is the crocodile enclosure.

Follow the instructions and go straight down to reach the White Pond Hell.
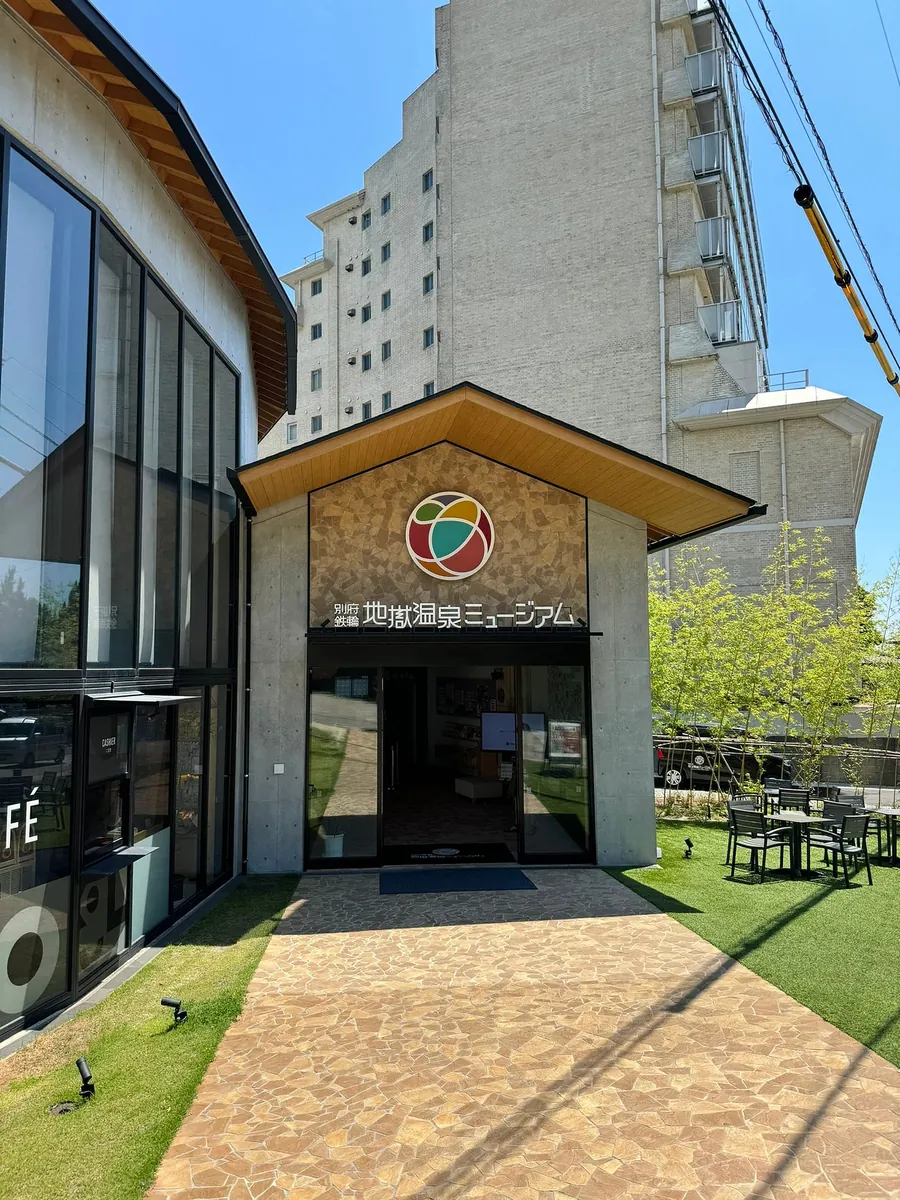
You will pass by the Hell Hot Spring Museum (café), where you can take a break.
Shiraike Jigoku
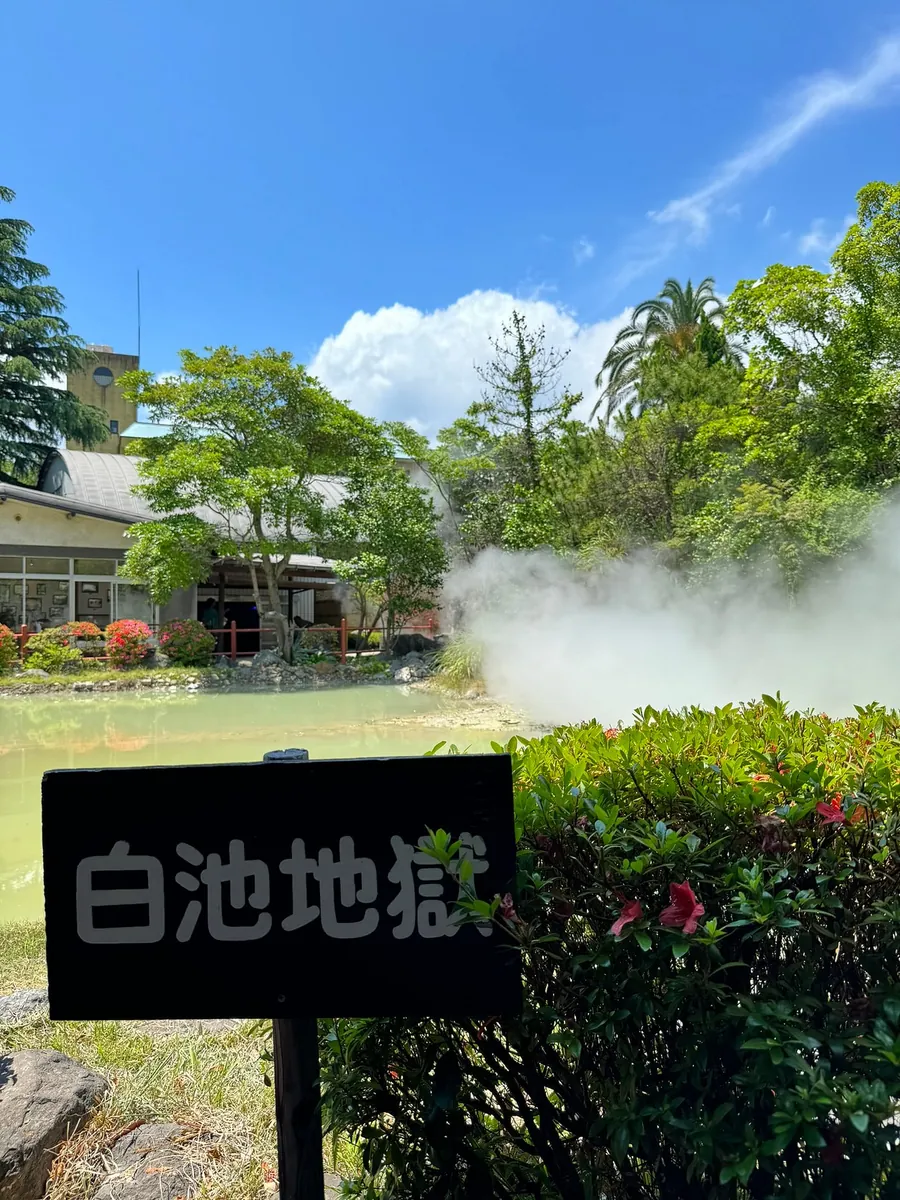
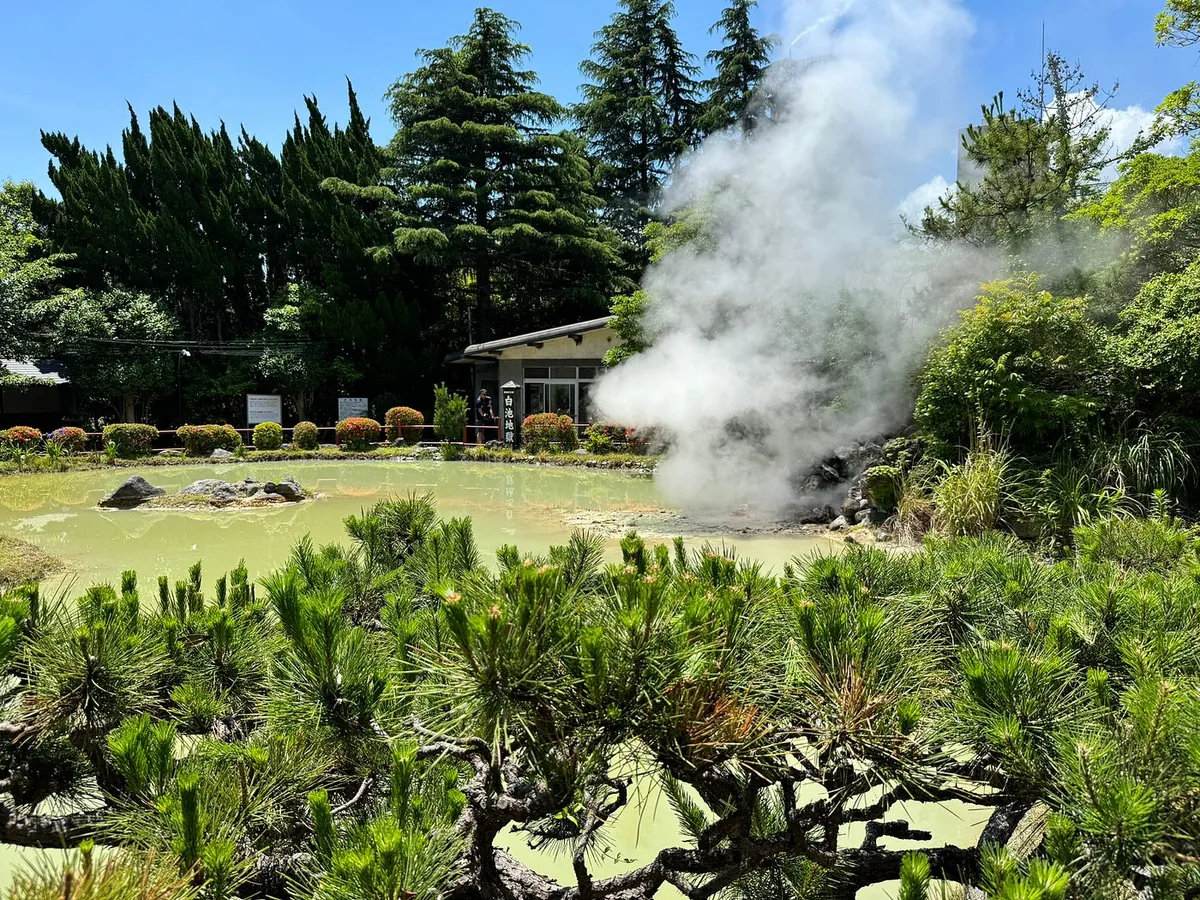
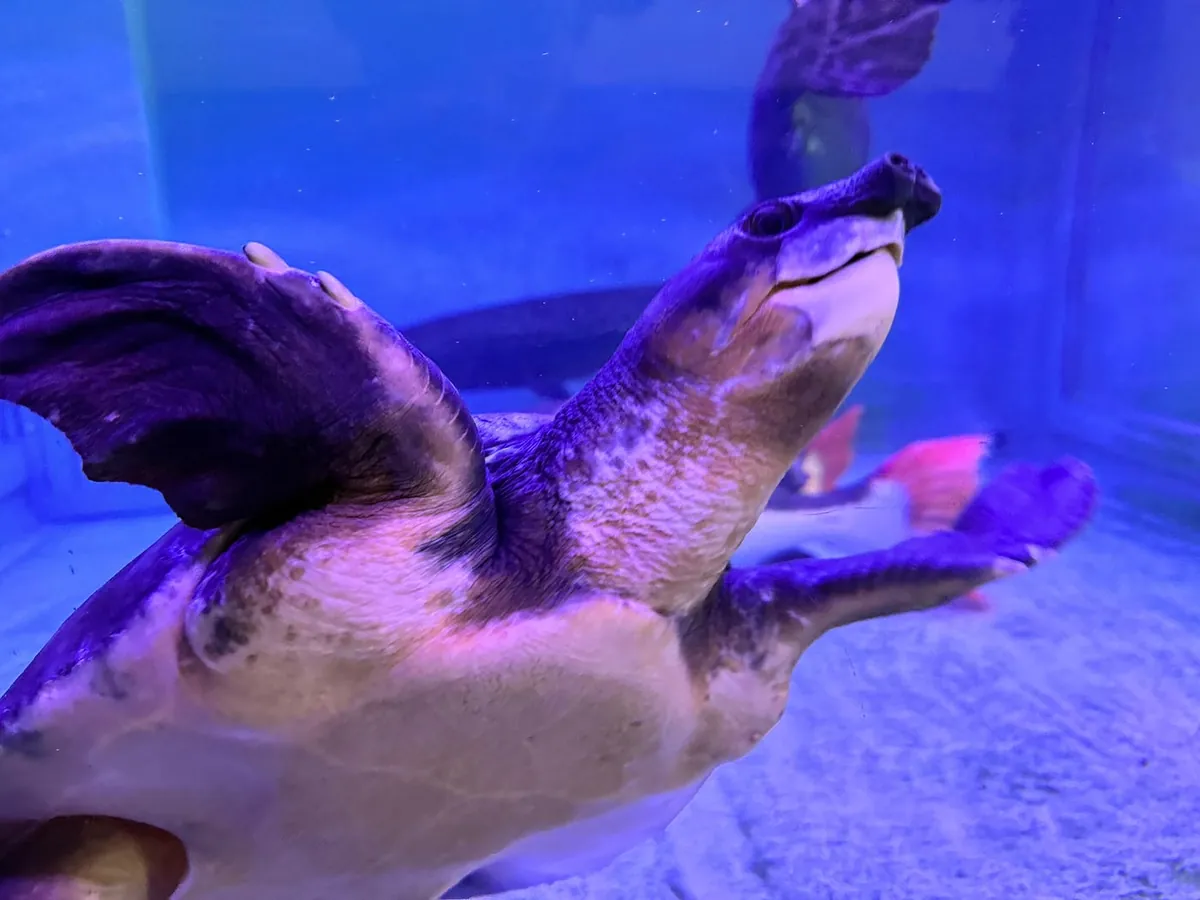
Shiraike Jigoku is less distinctive and has a small tropical fish aquarium.
The remaining Blood Pond Hell and Tornado Hell are not in this area and require taking a bus to reach.
After exiting Shiraike Jigoku, walk straight down to the intersection and turn left. Then go ahead to Tetsurin Station No. 2 to wait for the bus.
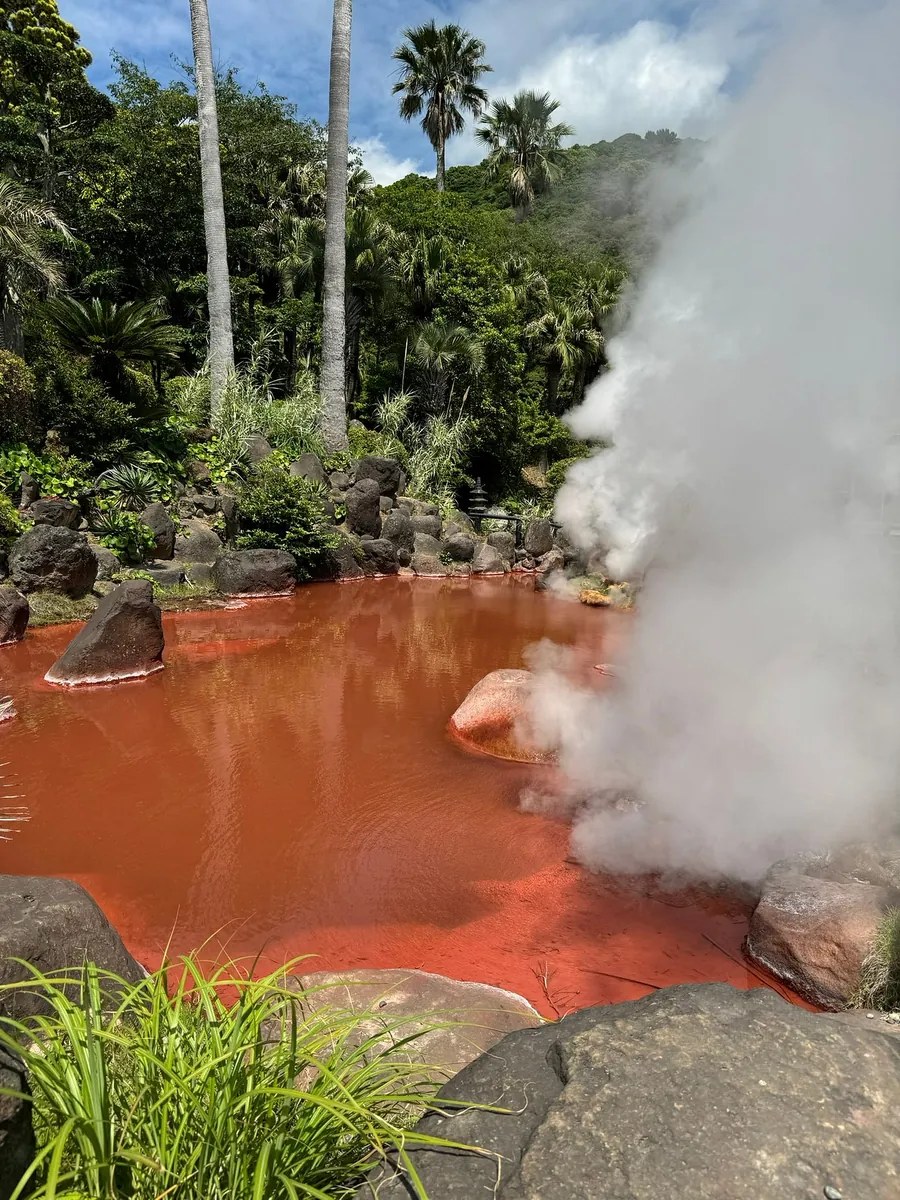
Blood Pond Hell
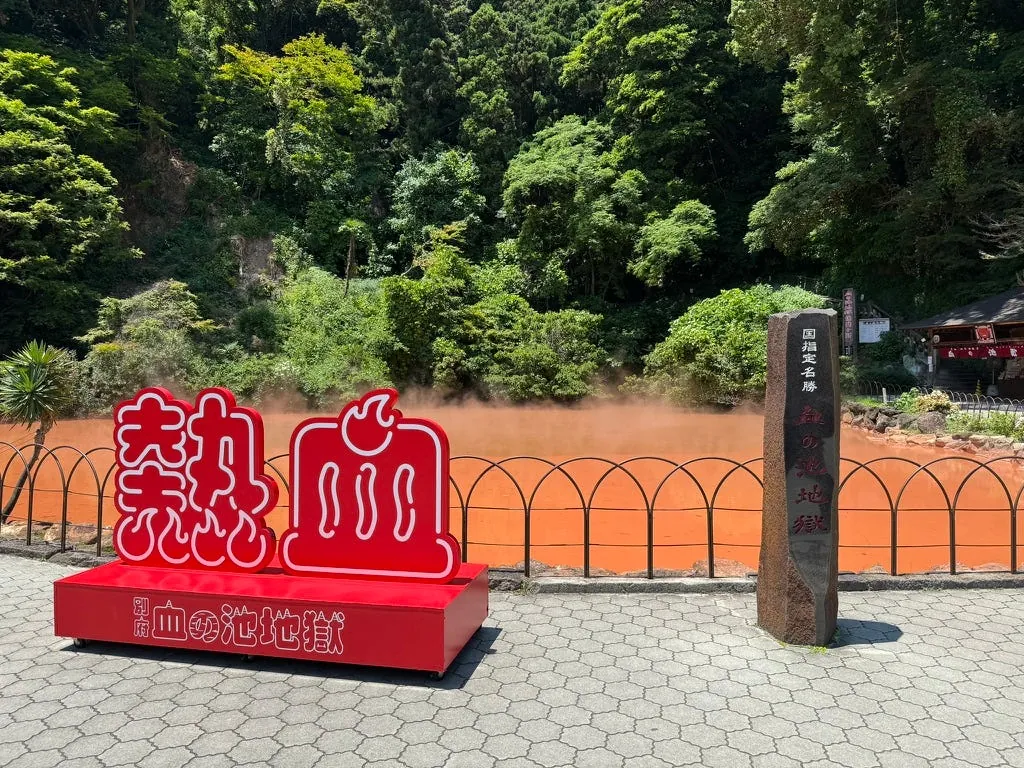
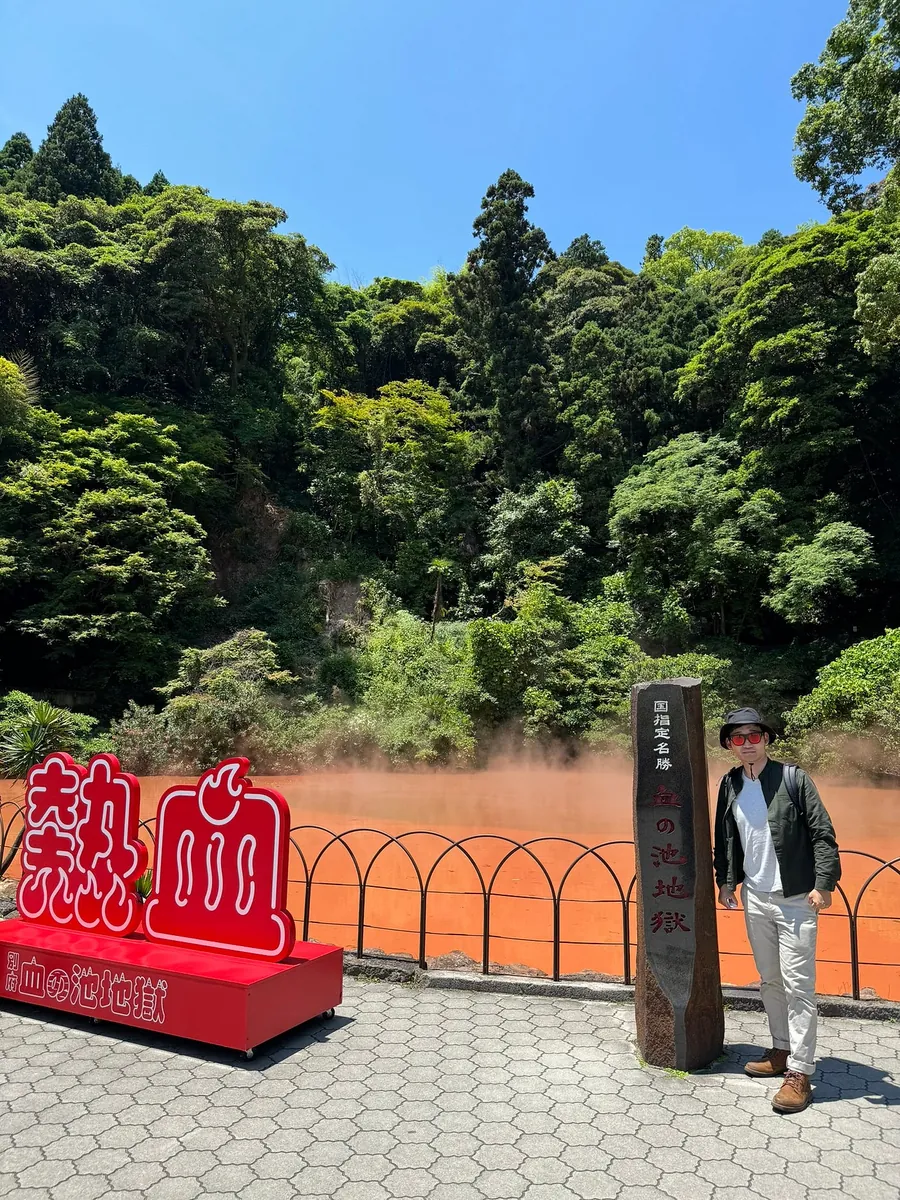
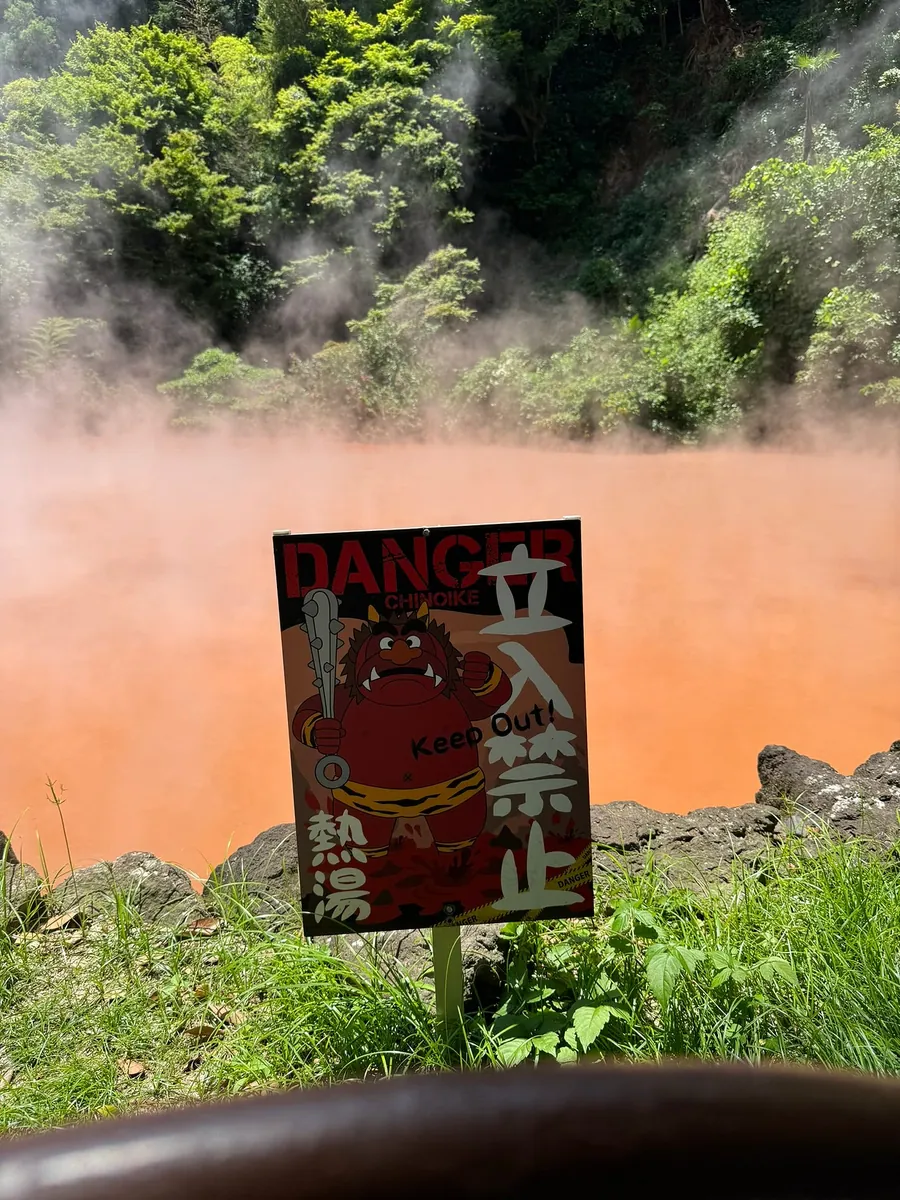
First, visit the Blood Pond Hell, which is similar to the small blood pond in the Sea Hell but on a larger scale.
Going down leads to Tornado Hell.
Tornado Hell
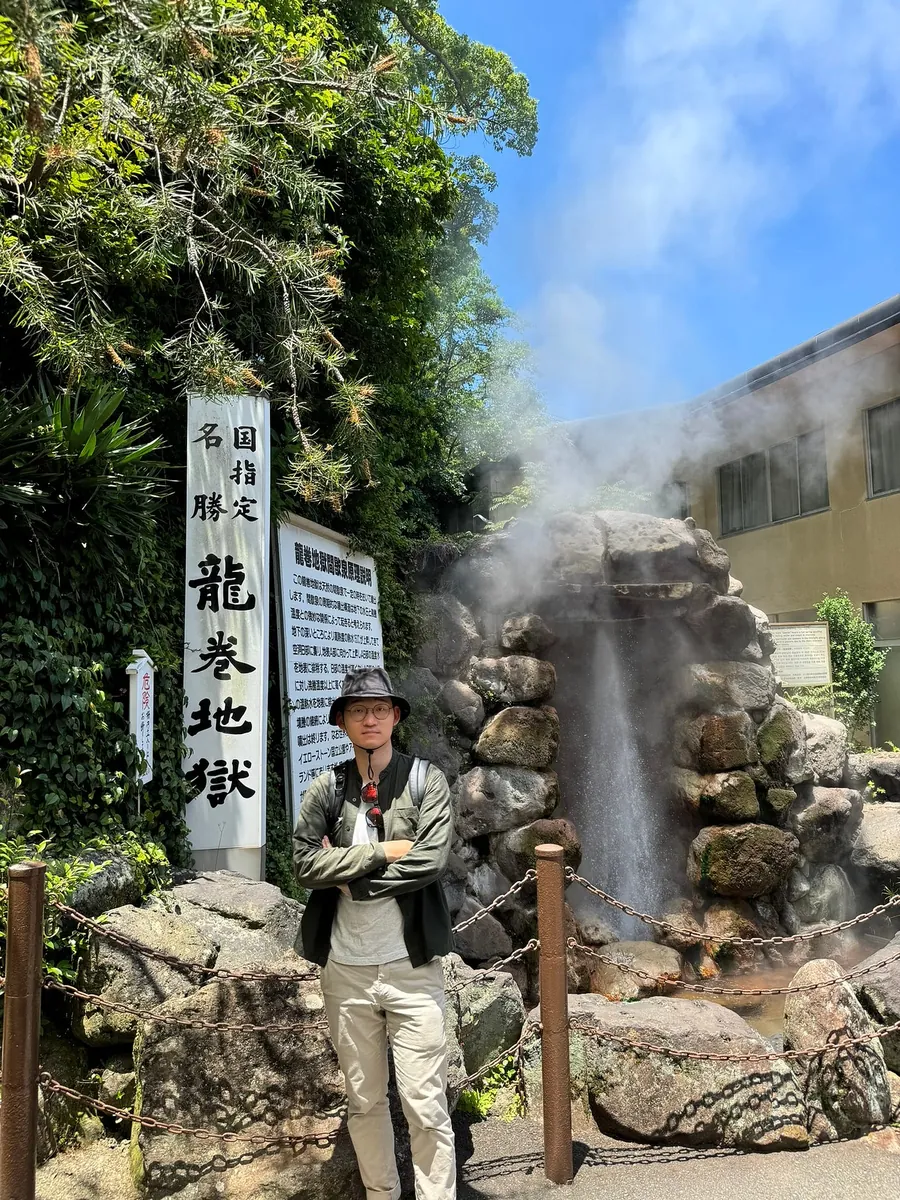
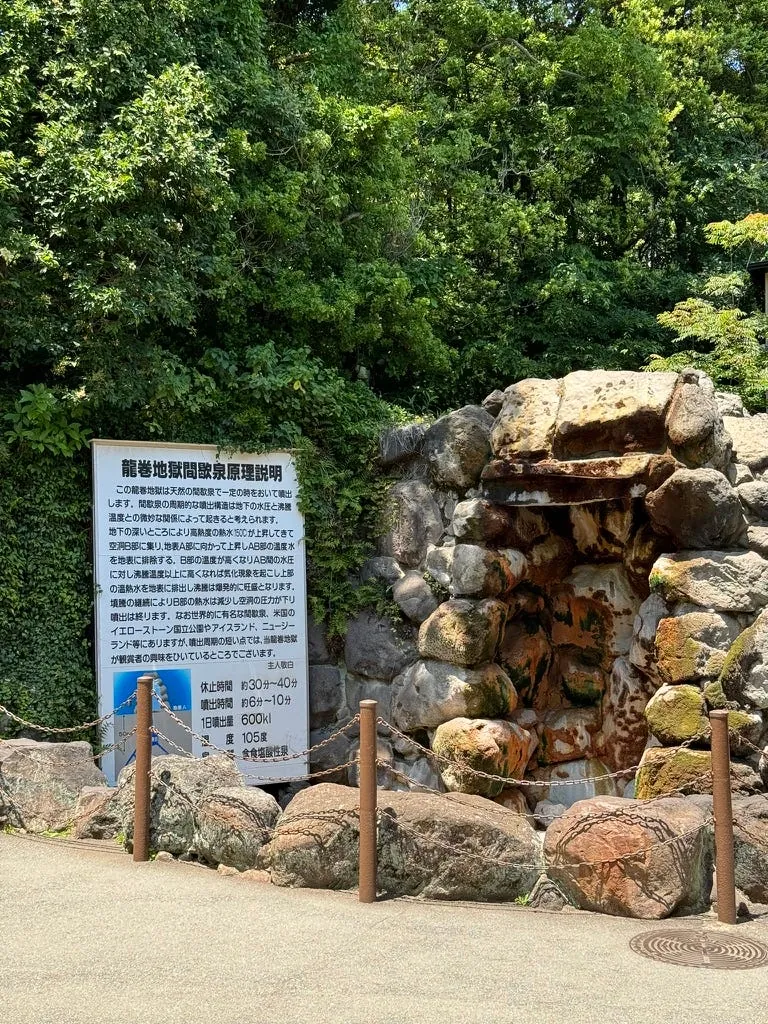
Tornado Hell is an intermittent geyser that erupts every 30–40 minutes, lasting about 6–10 minutes each time. You can ask the staff at Tornado Hell (in our case, the staff proactively informed and assisted us). If an eruption is about to happen, you can wait to watch it; if not, you can visit Blood Pond Hell first.
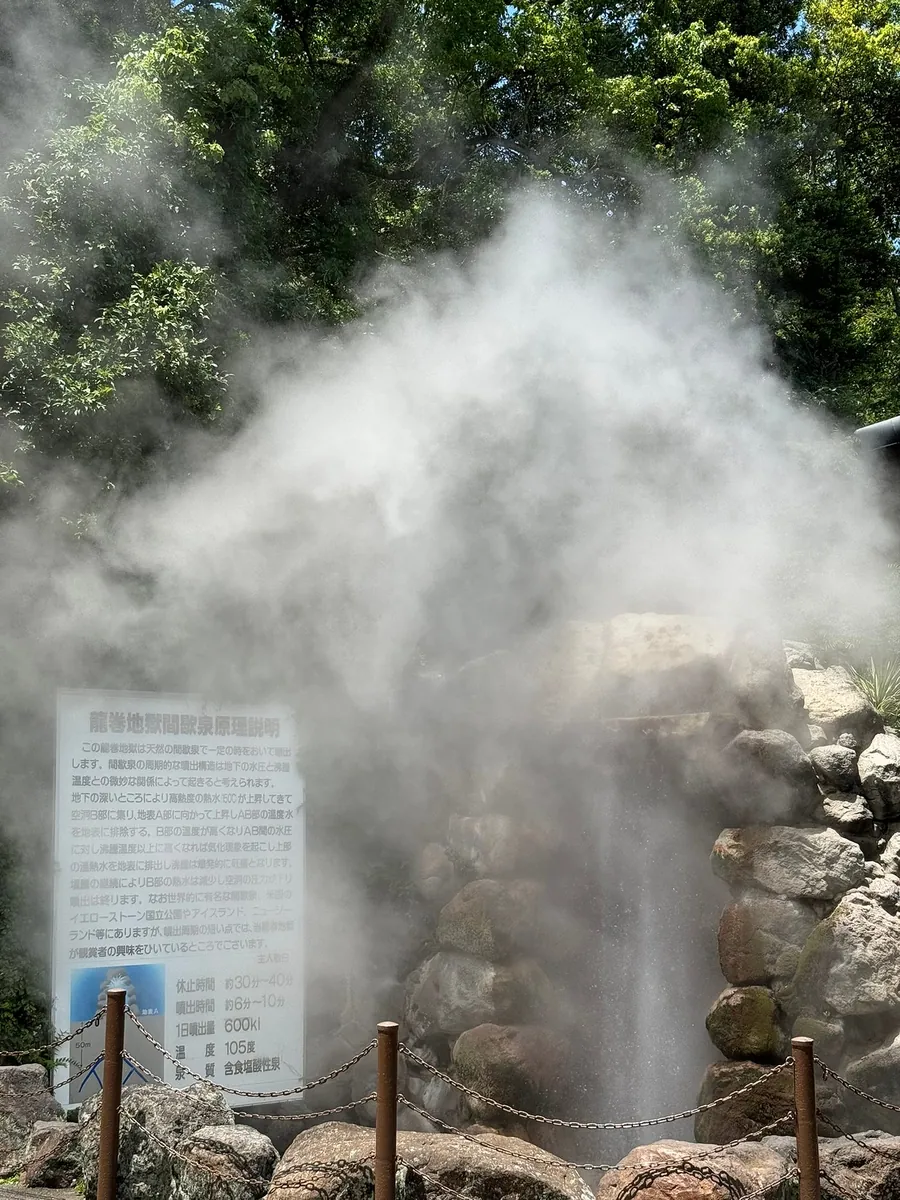
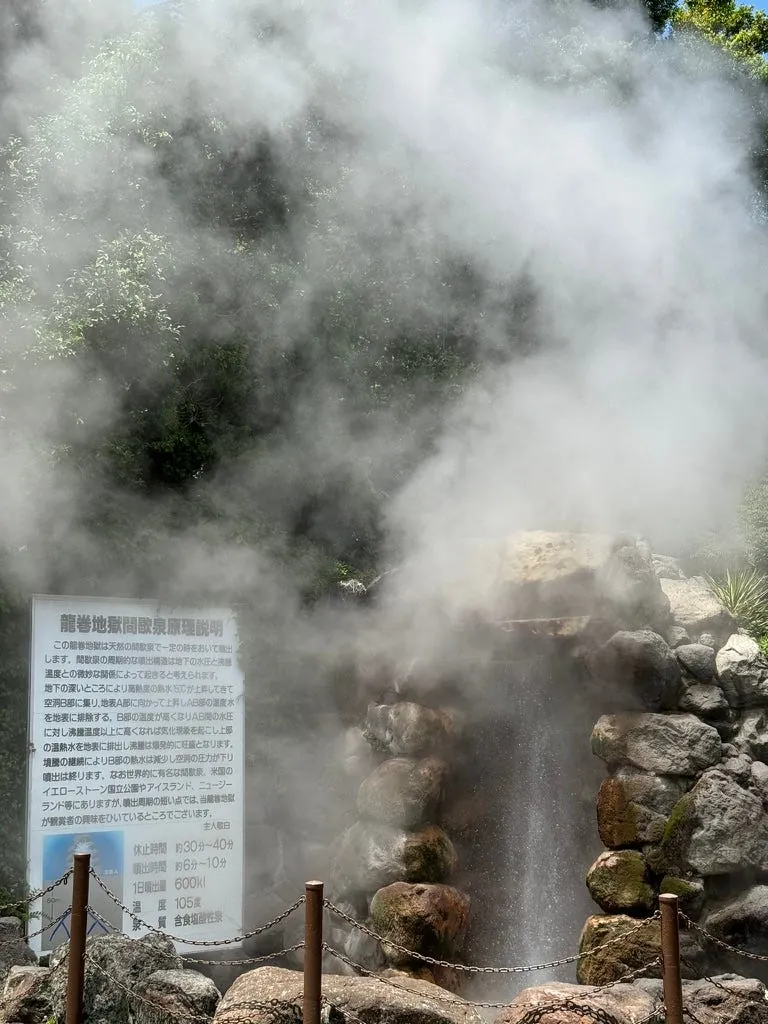
The smoke during the eruption forms a tornado, hence the name.
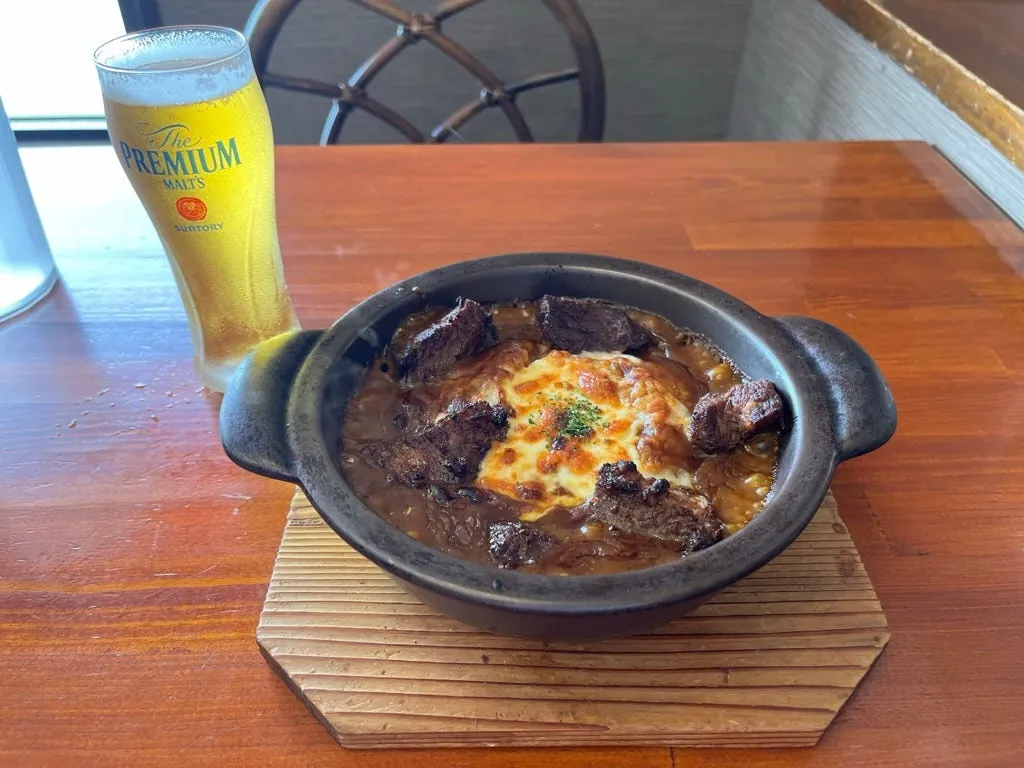
Gokurakutei
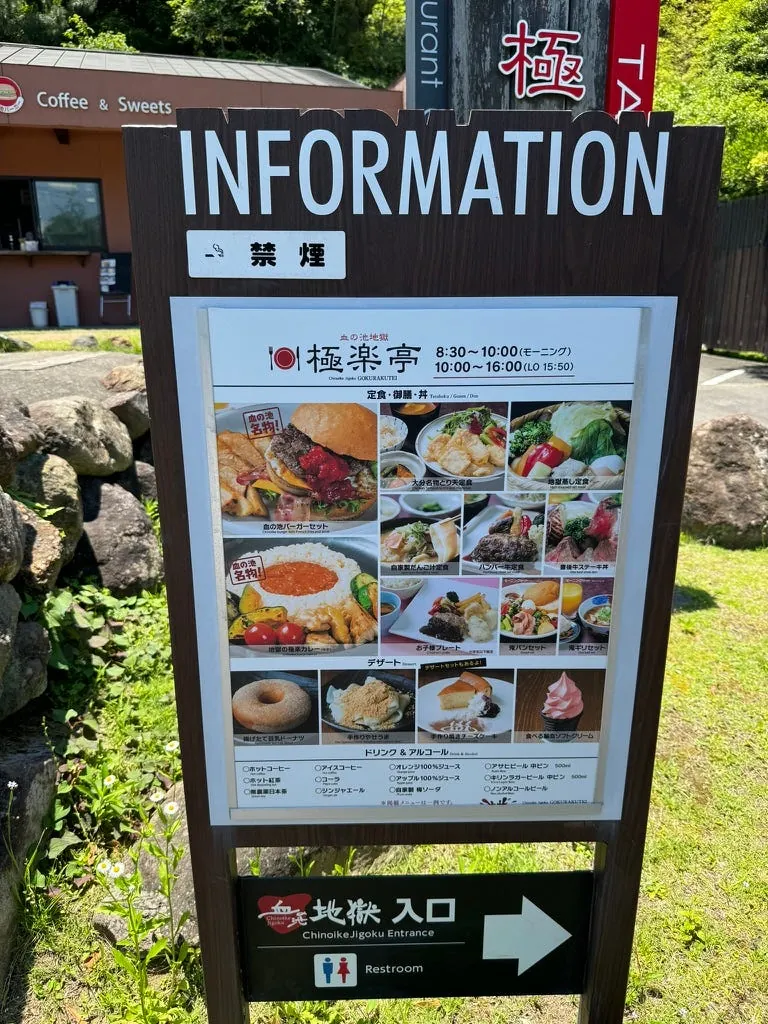
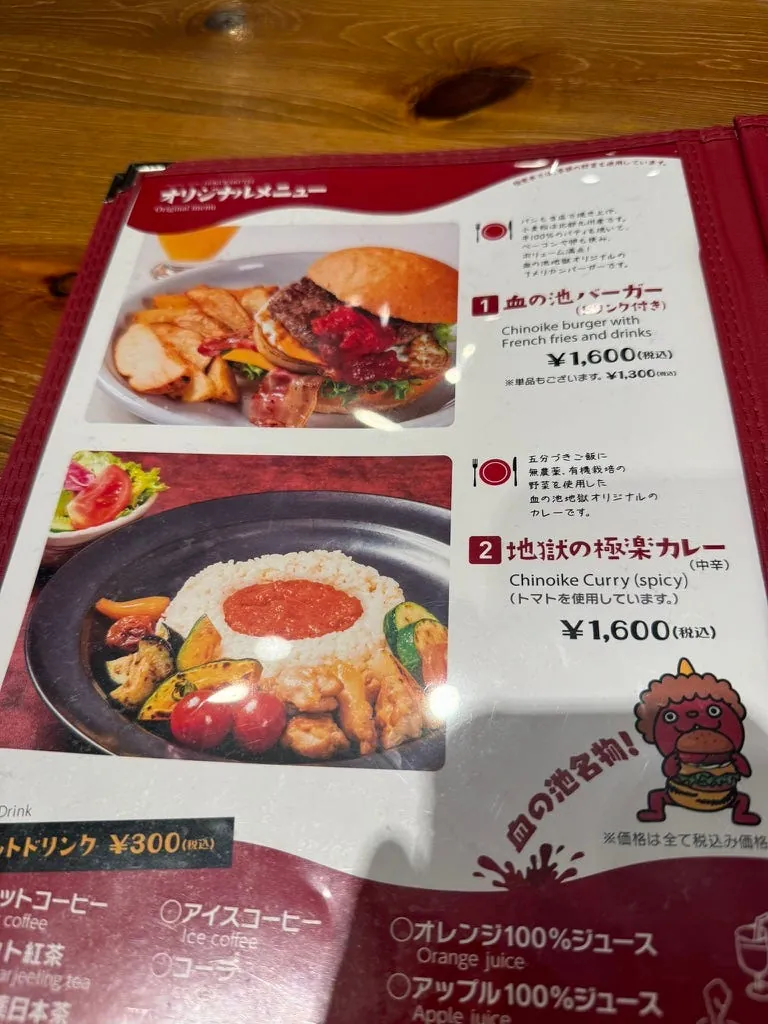
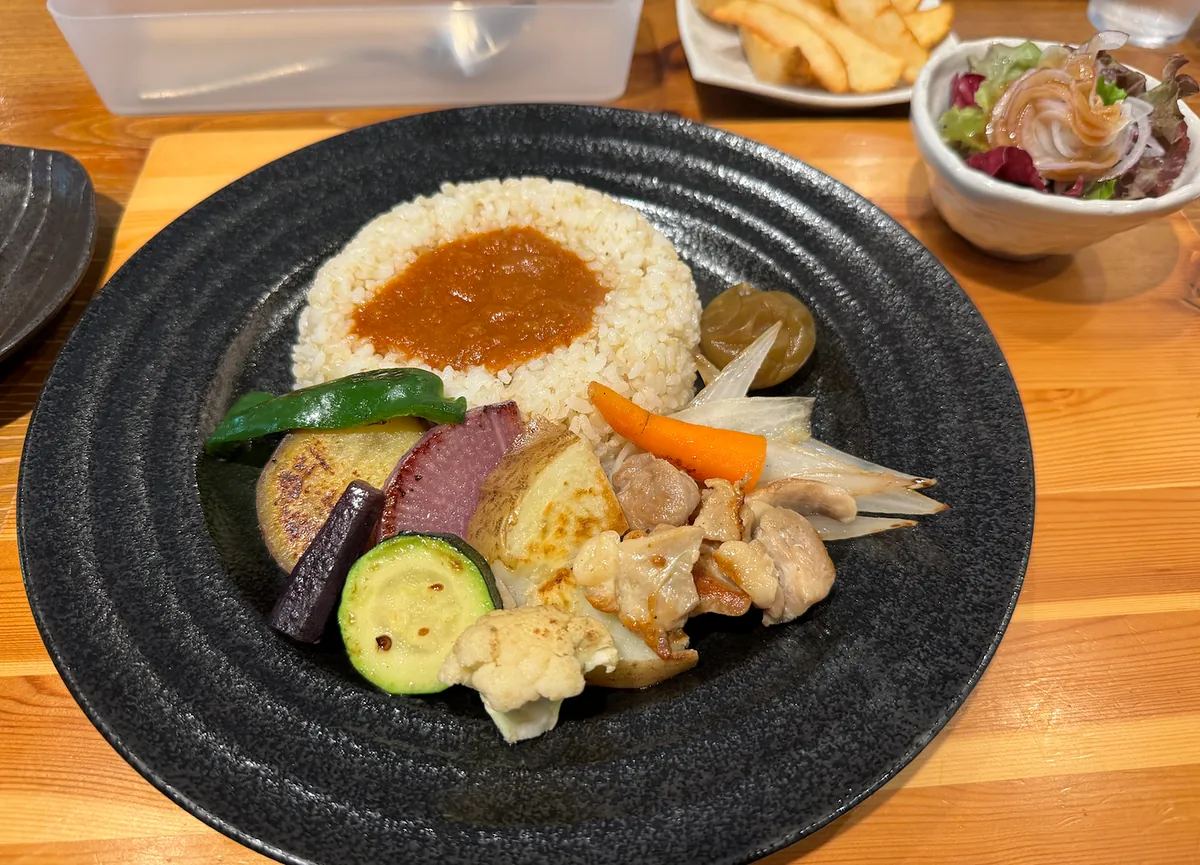
Lunch was directly taken care of at the Blood Pond Hell Gokurakutei.
I tried the famous Hell Paradise Curry, enjoying the Japanese-style distinct grains of rice paired with thick (mildly spicy) curry, served with grilled vegetables and chicken. It was flavorful without being greasy, smooth and refreshing.
After eating, I found nearby attractions such as Kibune Castle, Juji-yama Observatory, Myoban Hell, and Yunohana…
Kifune Castle
On the way back to Tielun 2 bus stop, I decided to visit Guifeng City. The city is small, and the view from the lookout is nice. However, walking from the bus stop and going uphill was tiring.
Jūjiyama Observatory, Myoban Jigoku, and Yunohana are actually located above Umi Jigoku; when re-planning your itinerary, you should first visit these spots, then go down to Umi Jigoku, and continue to Chinoike Jigoku and Tatsumaki Jigoku, or alternatively, start with Chinoike and Tatsumaki first.
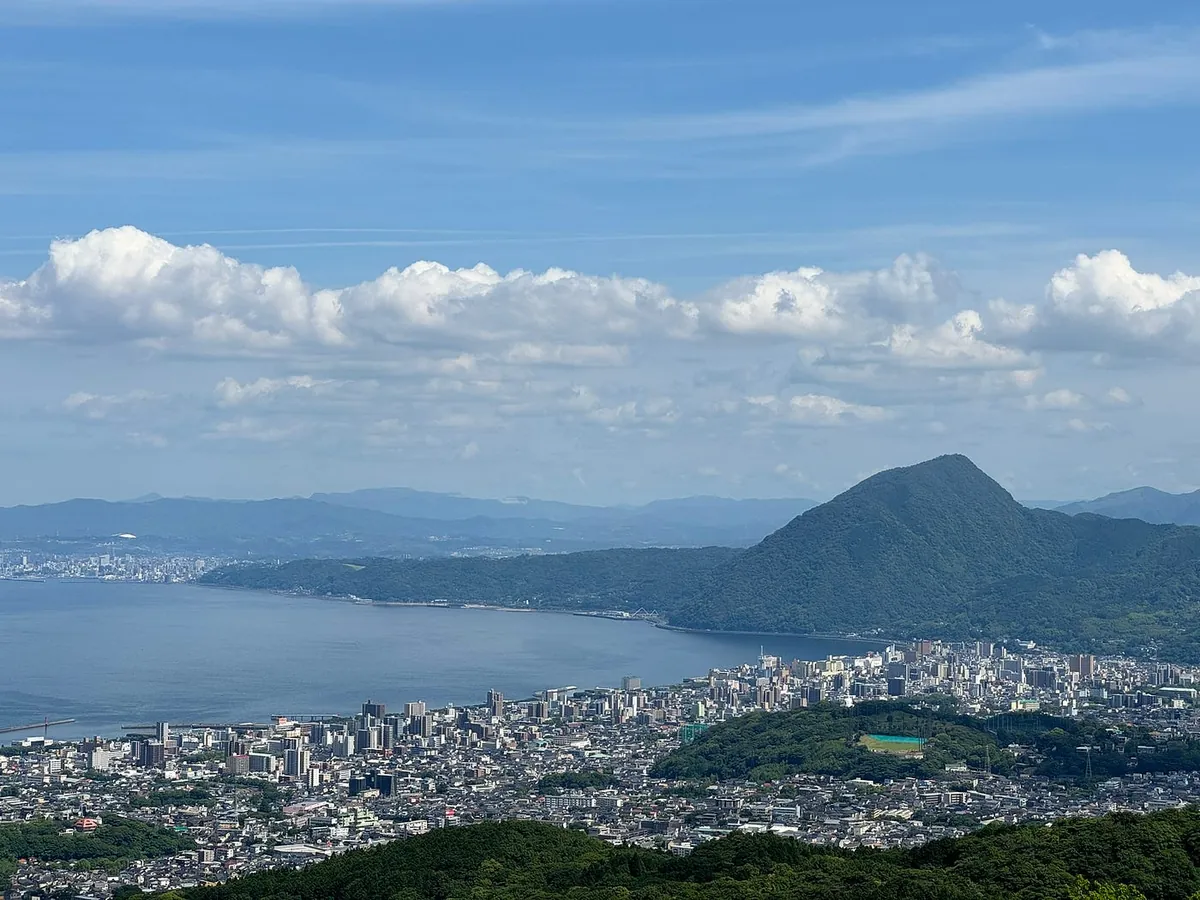
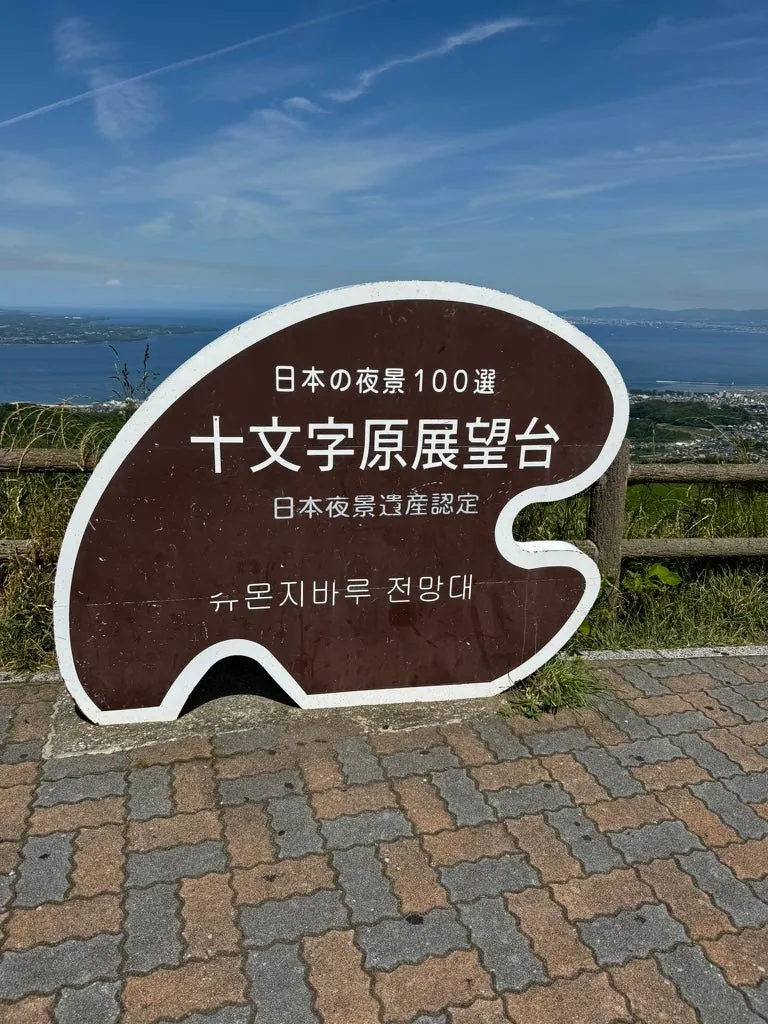
Cross Mountain Observation Deck
Return to Tetsurin 2 and take the bus via Umi Jigoku to the Jujiyama Observatory to view Beppu City; the sun is strong and hot, and the observatory only has restrooms, no shops or rest areas.
The mountain opposite the entrance is lush and beautiful.
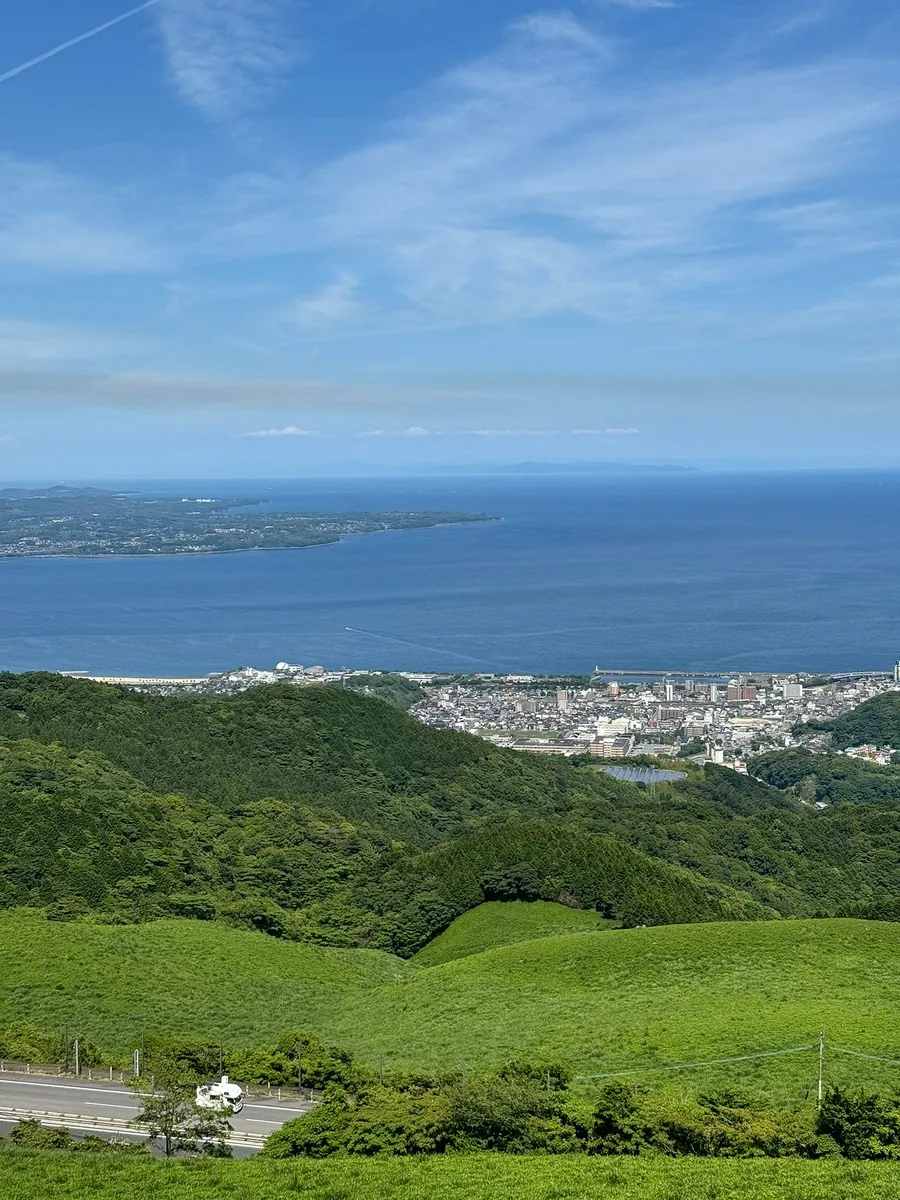
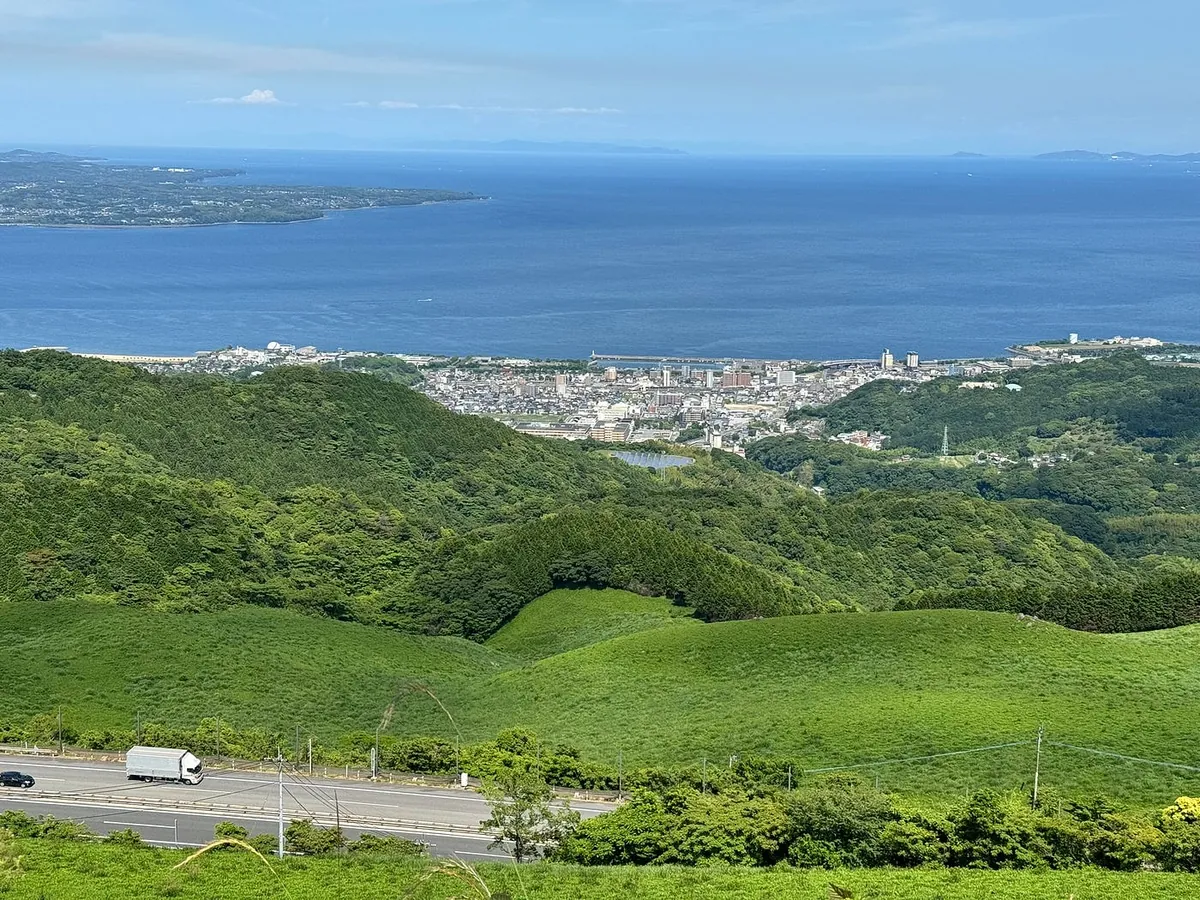
Since it’s a night view, there’s not much to see in the morning—just a lot of sun.
Myoban Hell
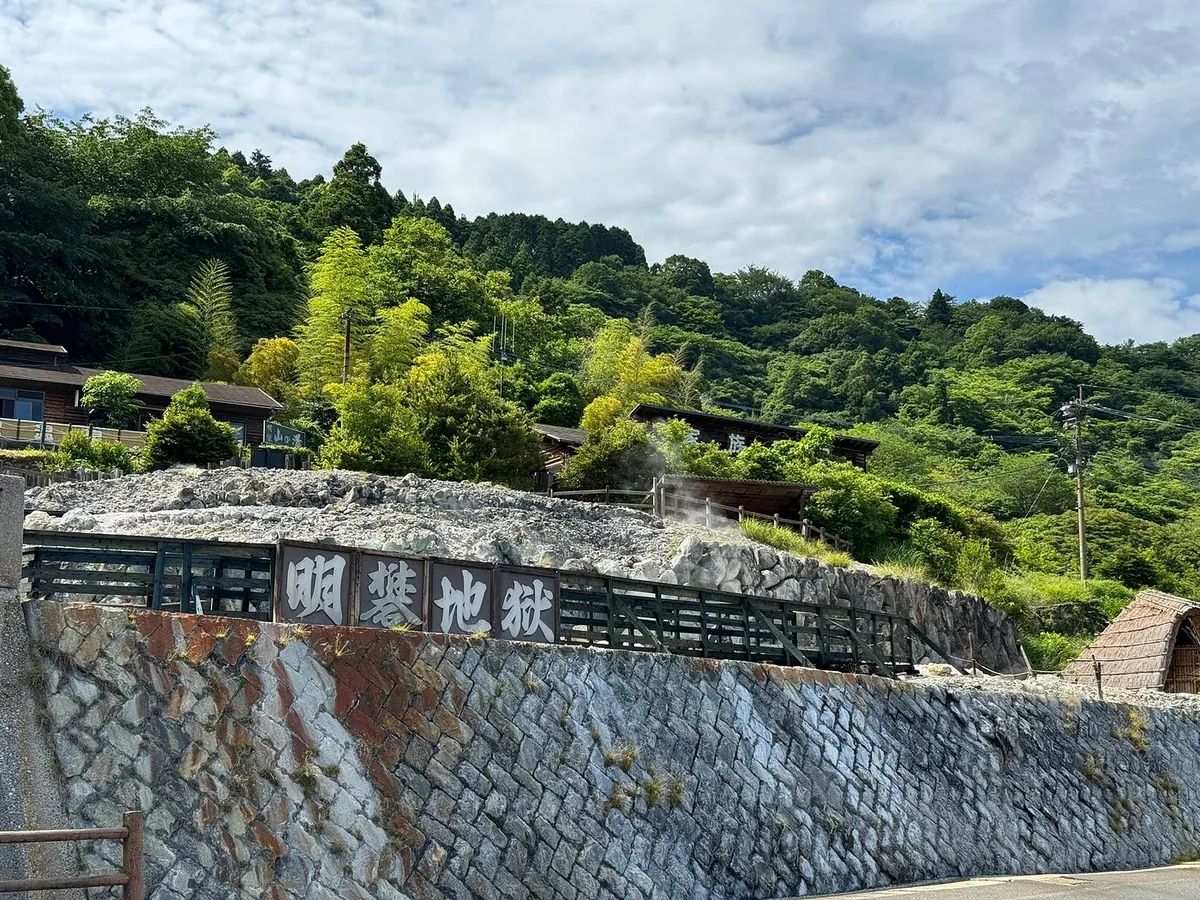
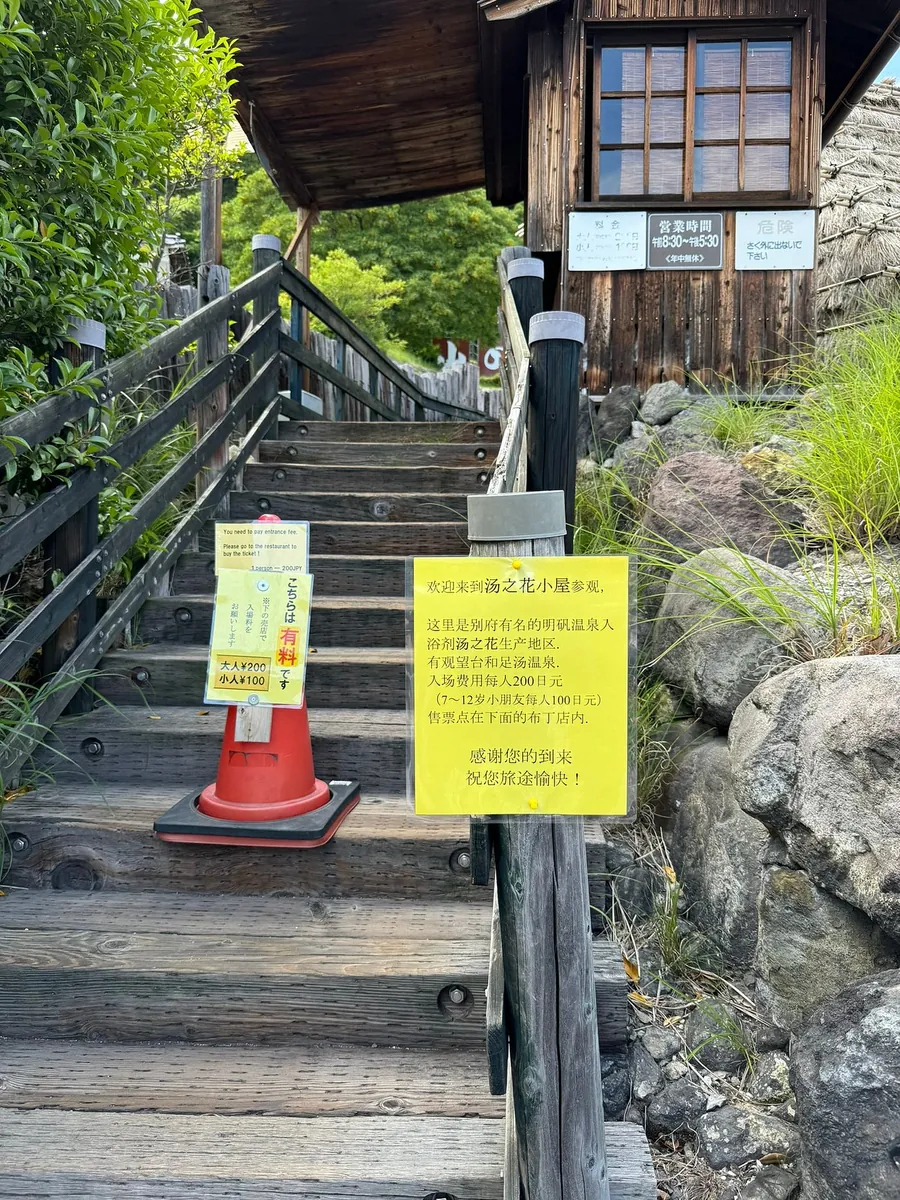
Go back down to Myoban Hell. The ticket office is across the street at Okamotoya Pudding Shop. Just tell the staff you want to go across.
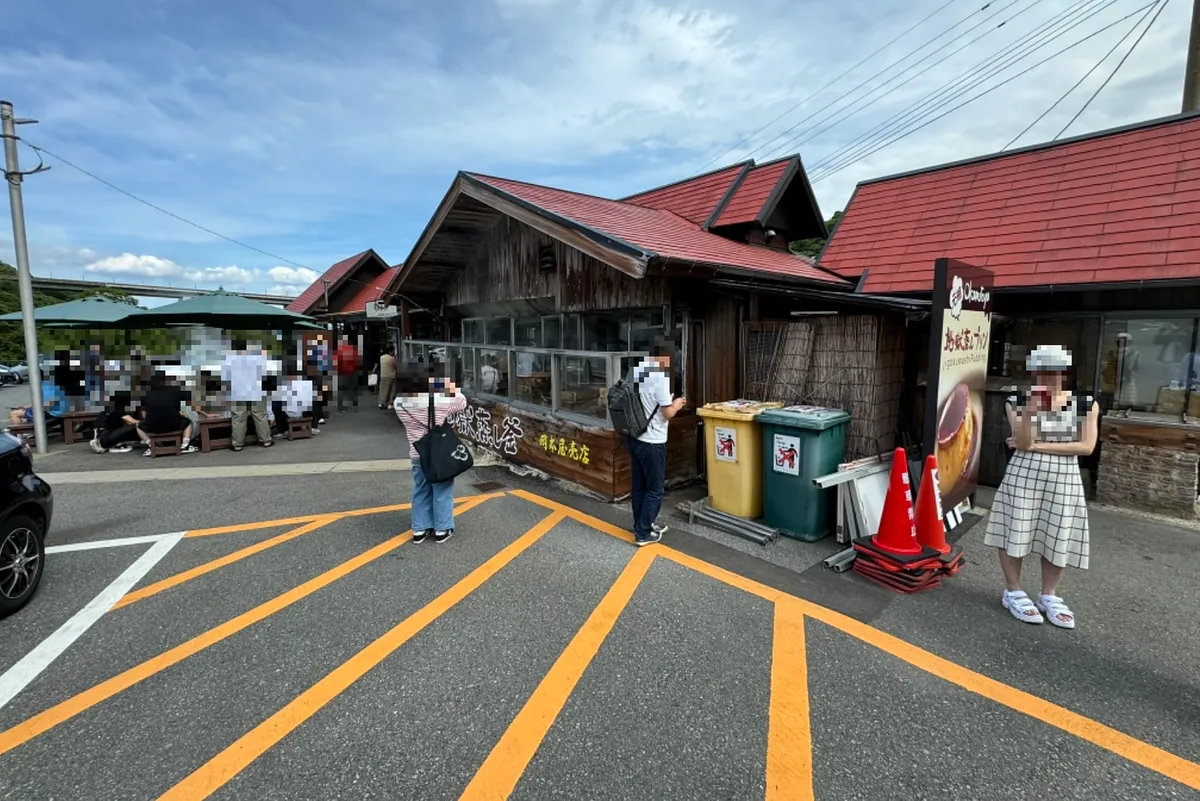
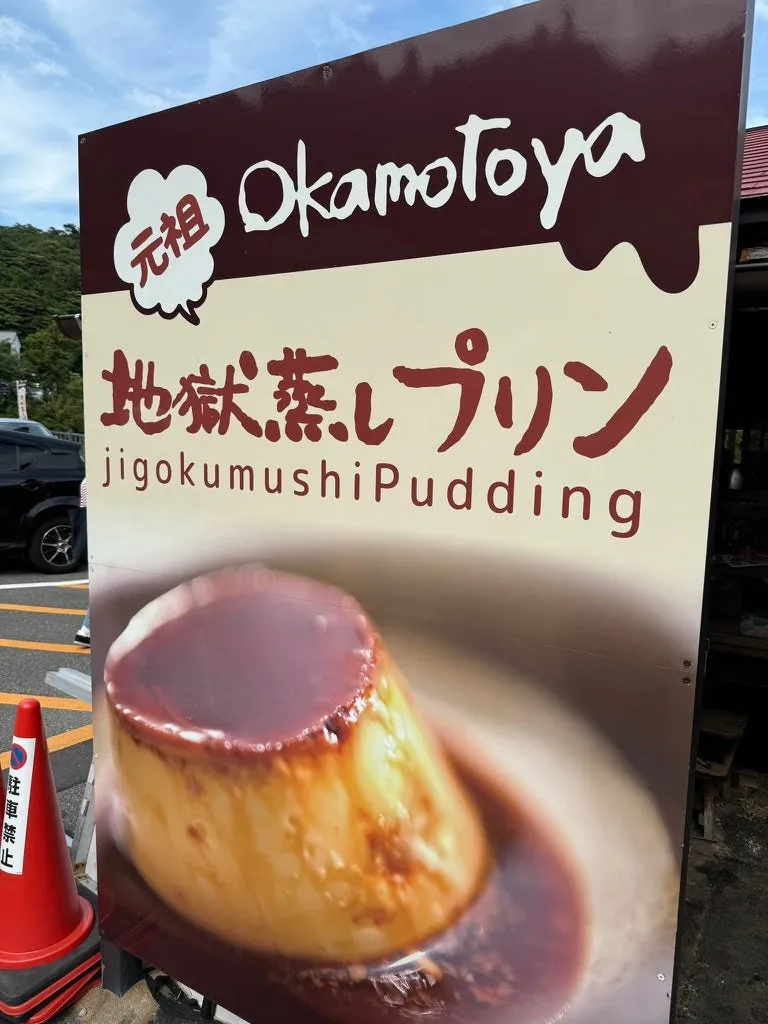
You can enjoy a Hell Steamed Pudding before you leave.
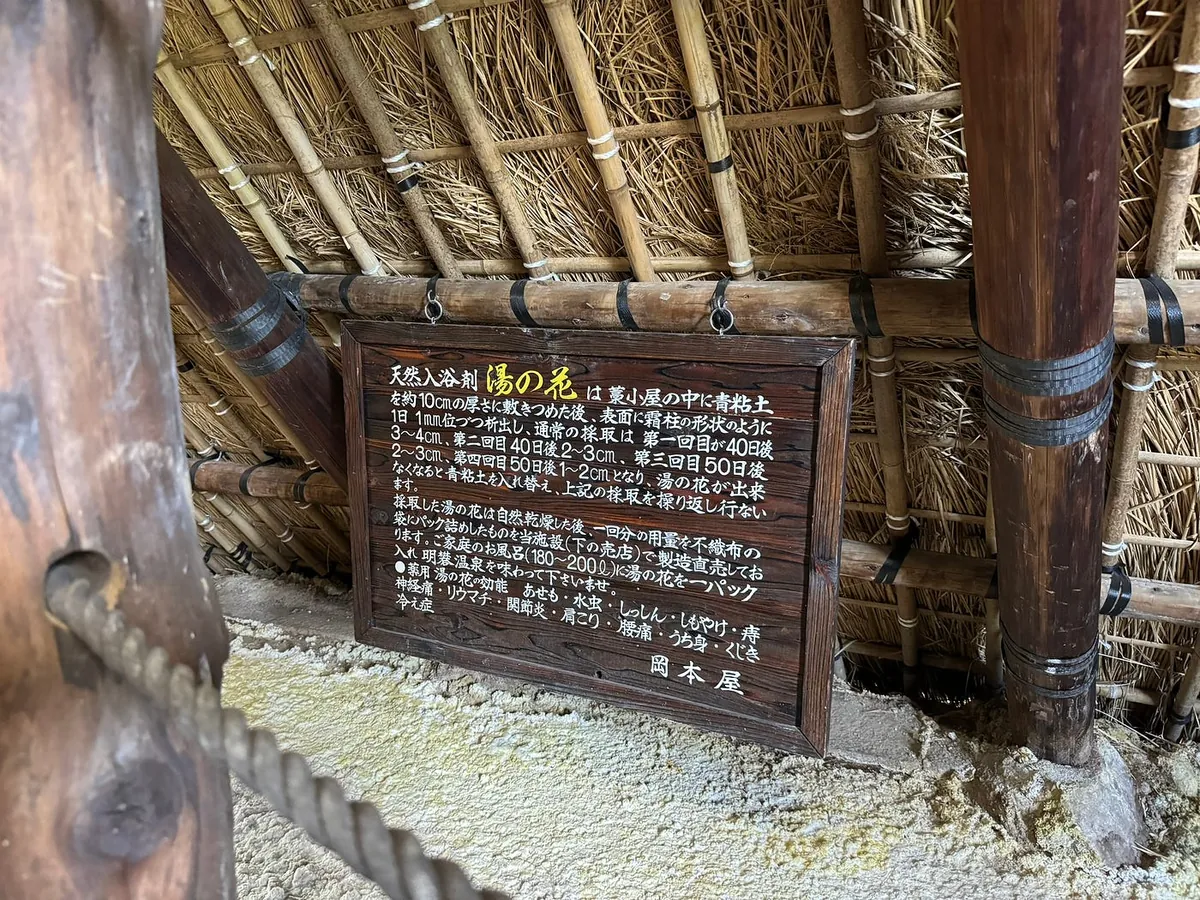
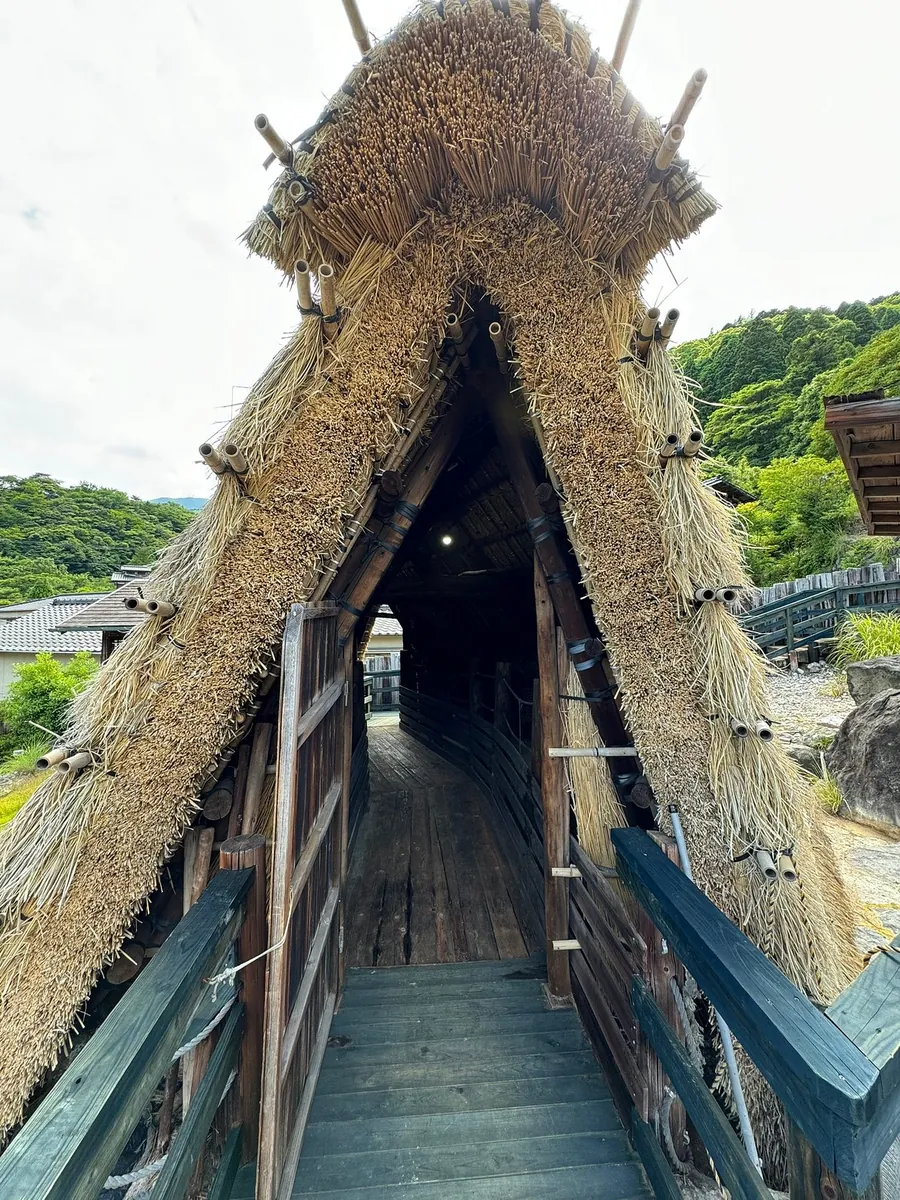
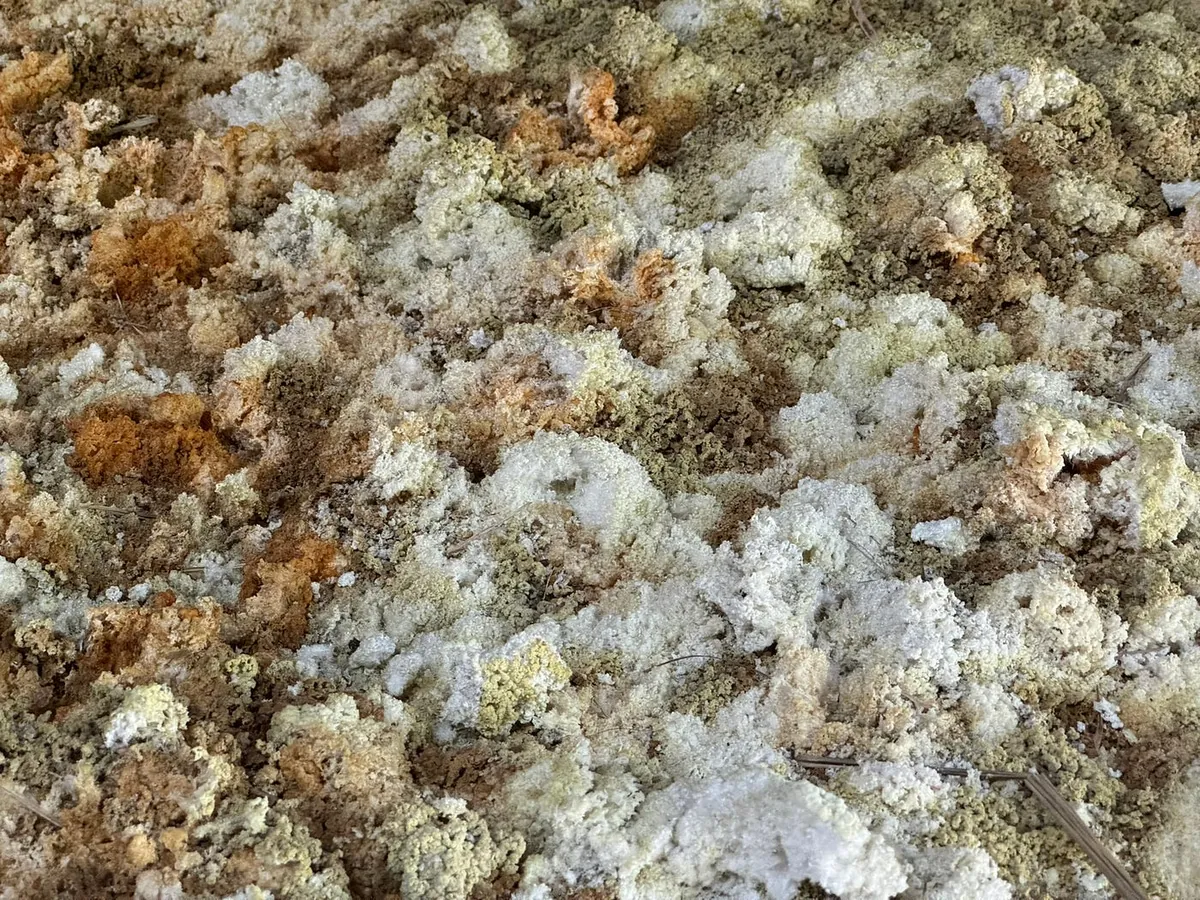
Yunohana Hut is used to dry hot spring water to obtain crystals. If you walk up to the Yunohana Shop, they sell this hot spring bath additive.
Yuno Hana Cottage

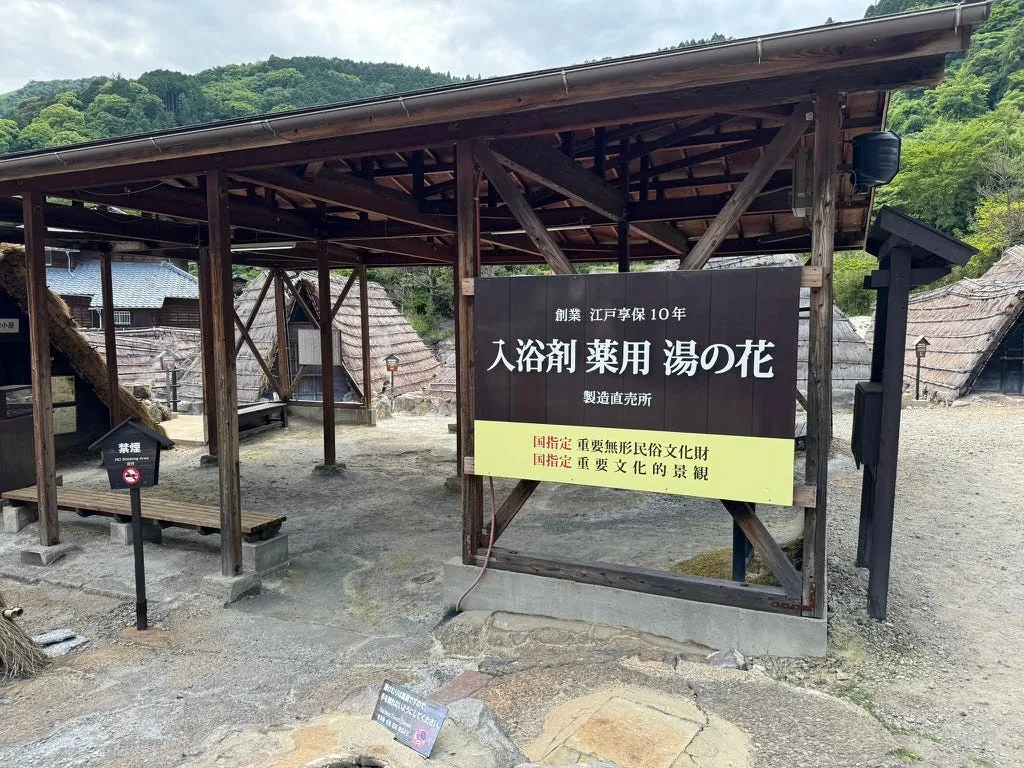

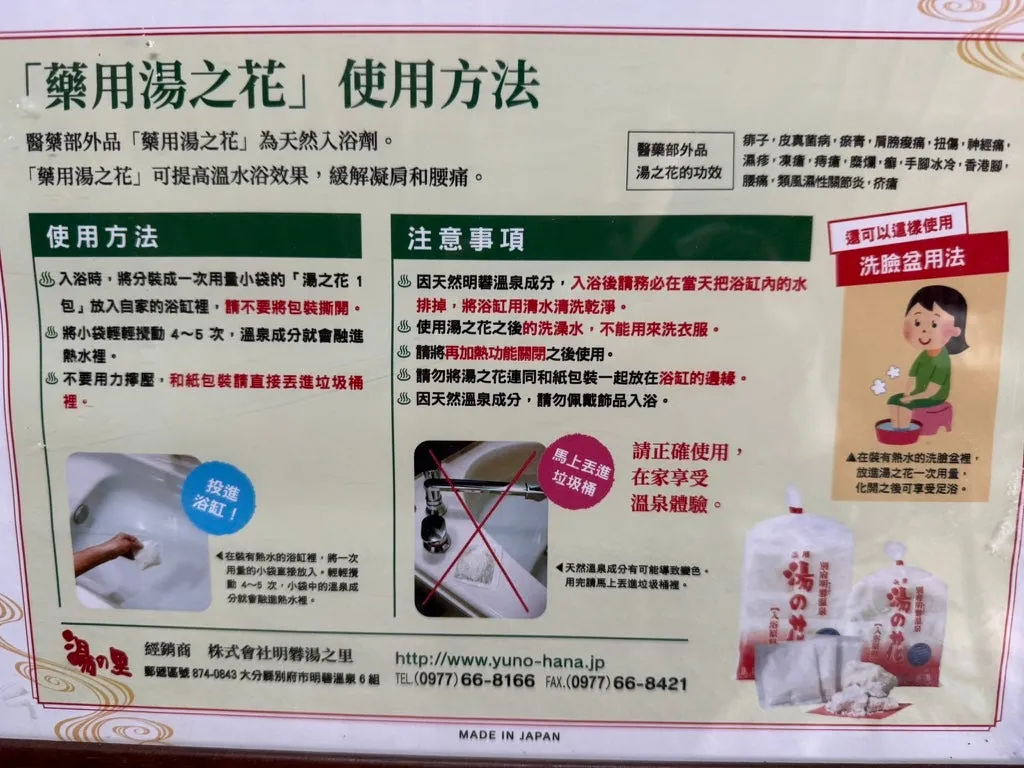
Bought some bath additives, face masks, and creams as souvenirs from the little shop Tang no Hana.
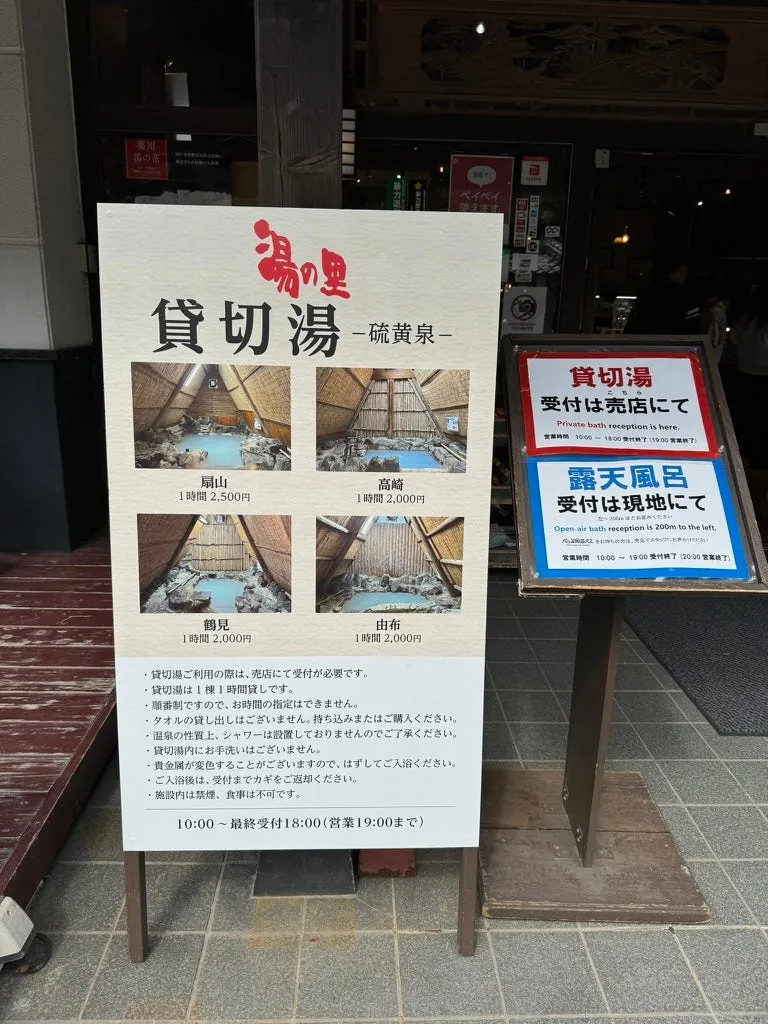
Additionally, there is a Private Bath available for hot spring soaking. If you feel shy about using the public baths, you might consider trying this option.
Around 4:00 PM, it’s time to take the bus back to the city.
Beppu
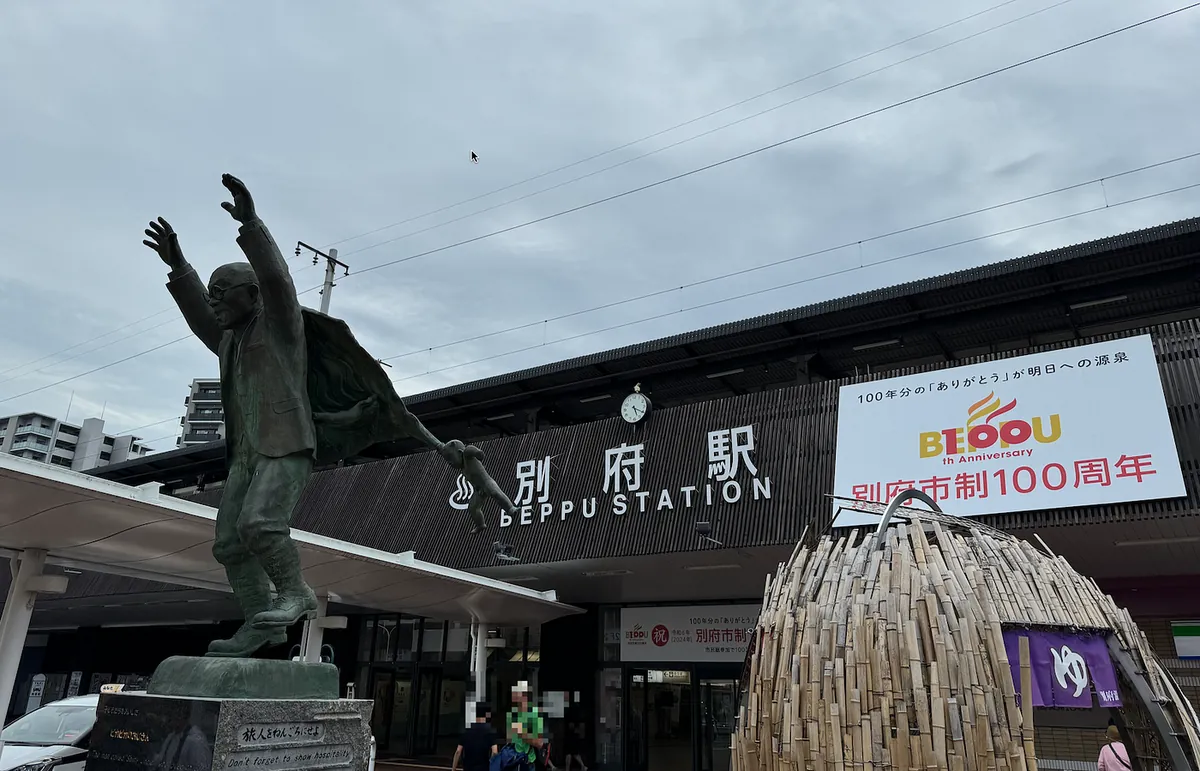
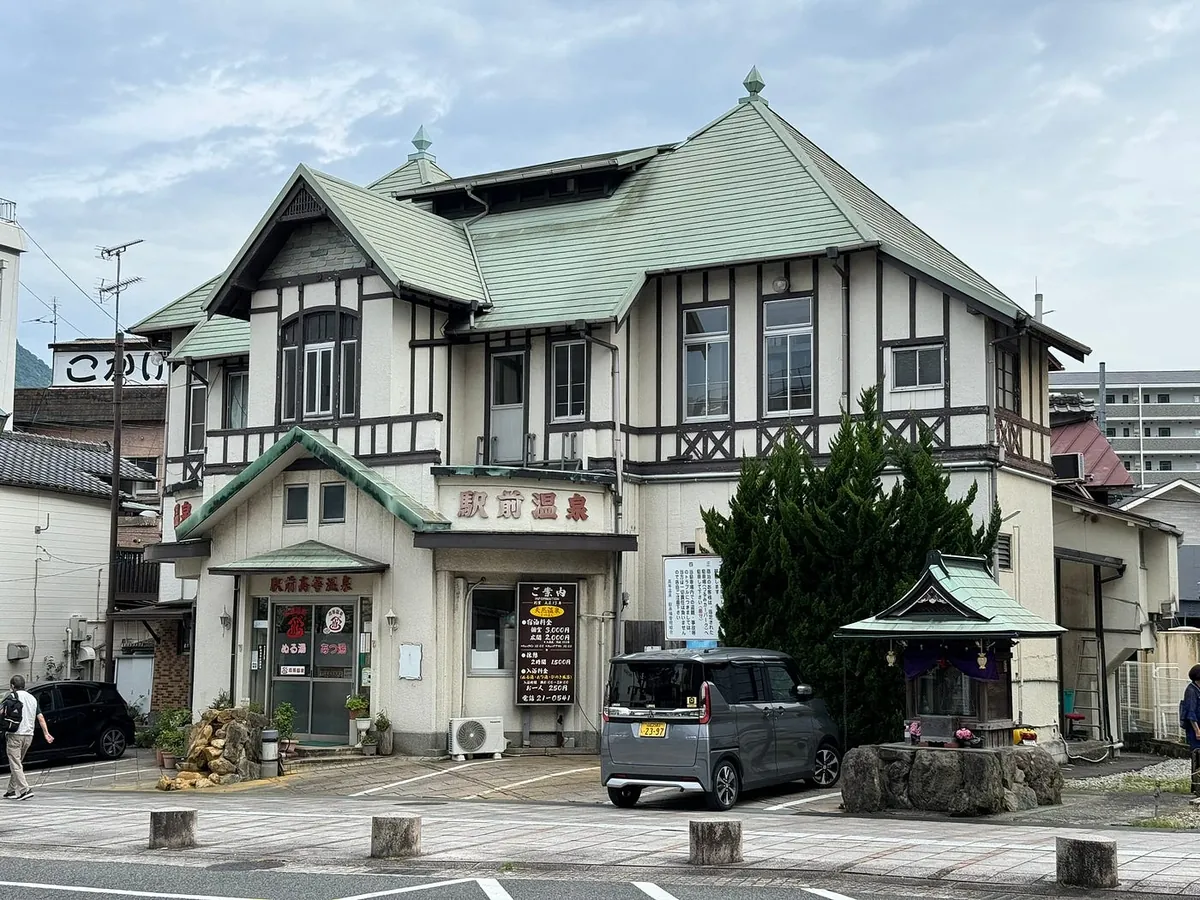
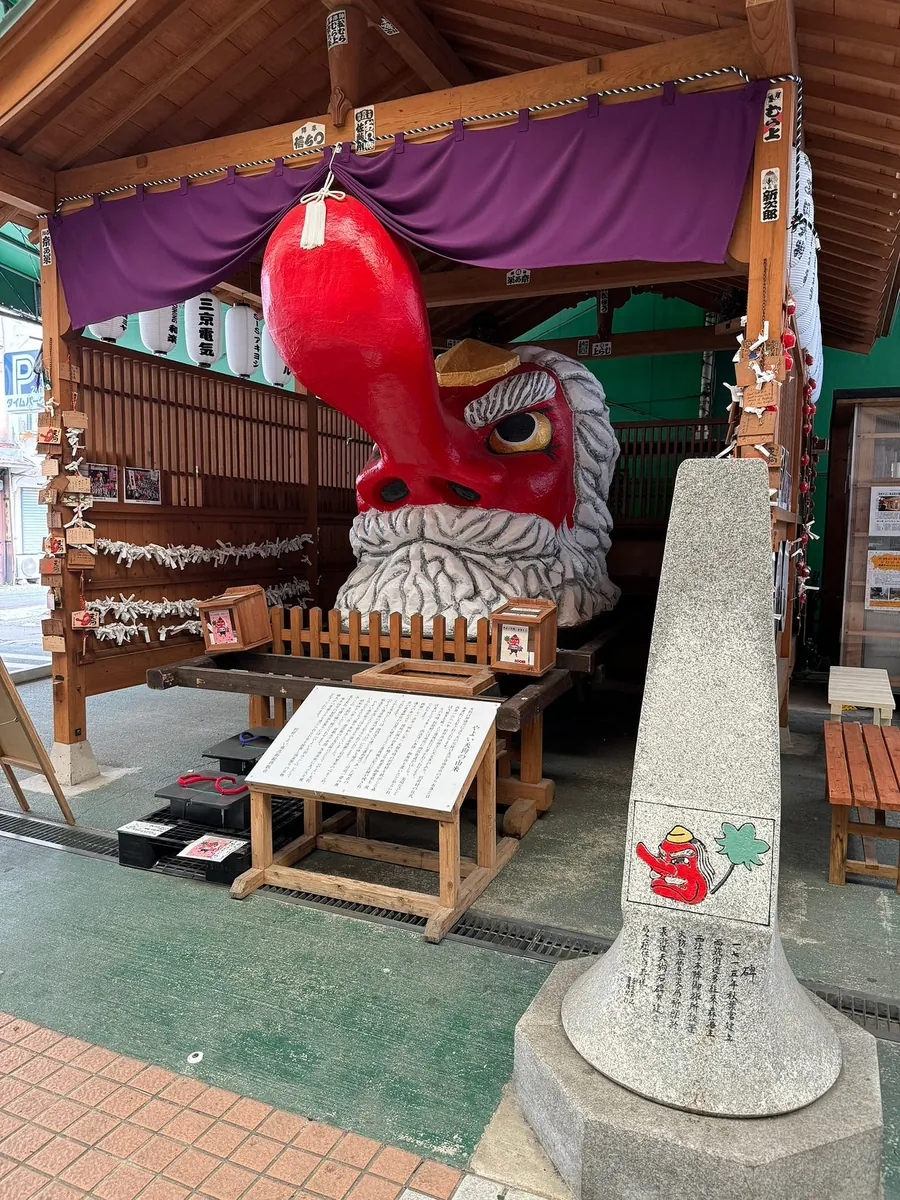
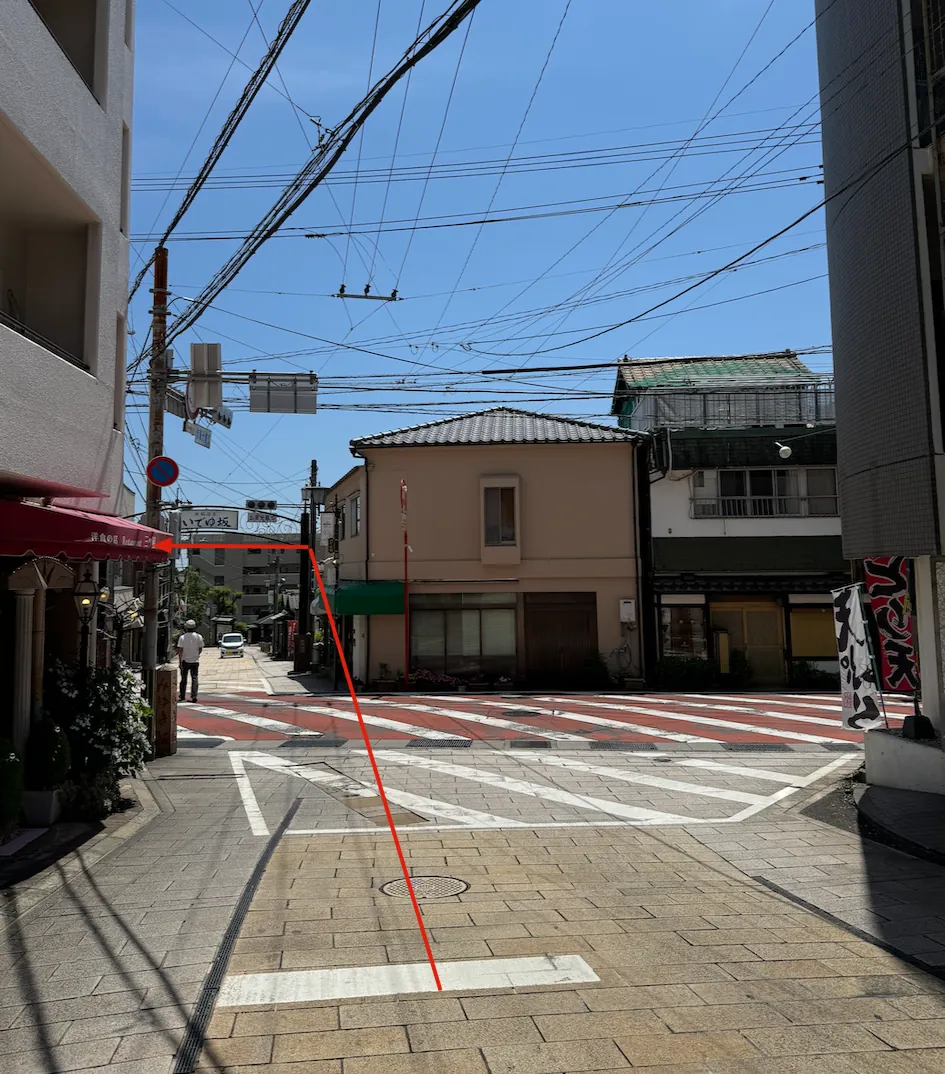
After arriving at Beppu Station, walk to Beppu Tower and casually explore along the way. (Statue in front of the station, old hot spring hall, Great Tengu)
Beppu Tower
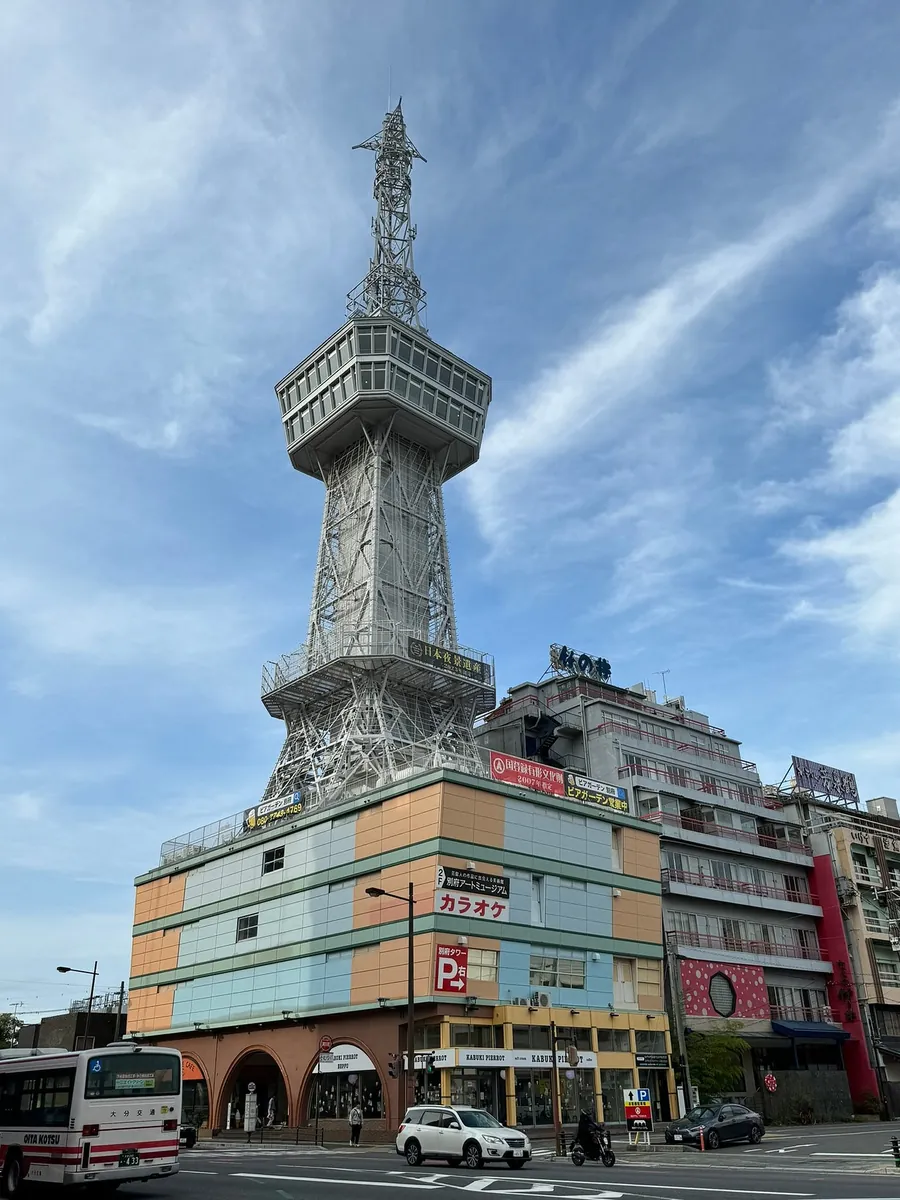

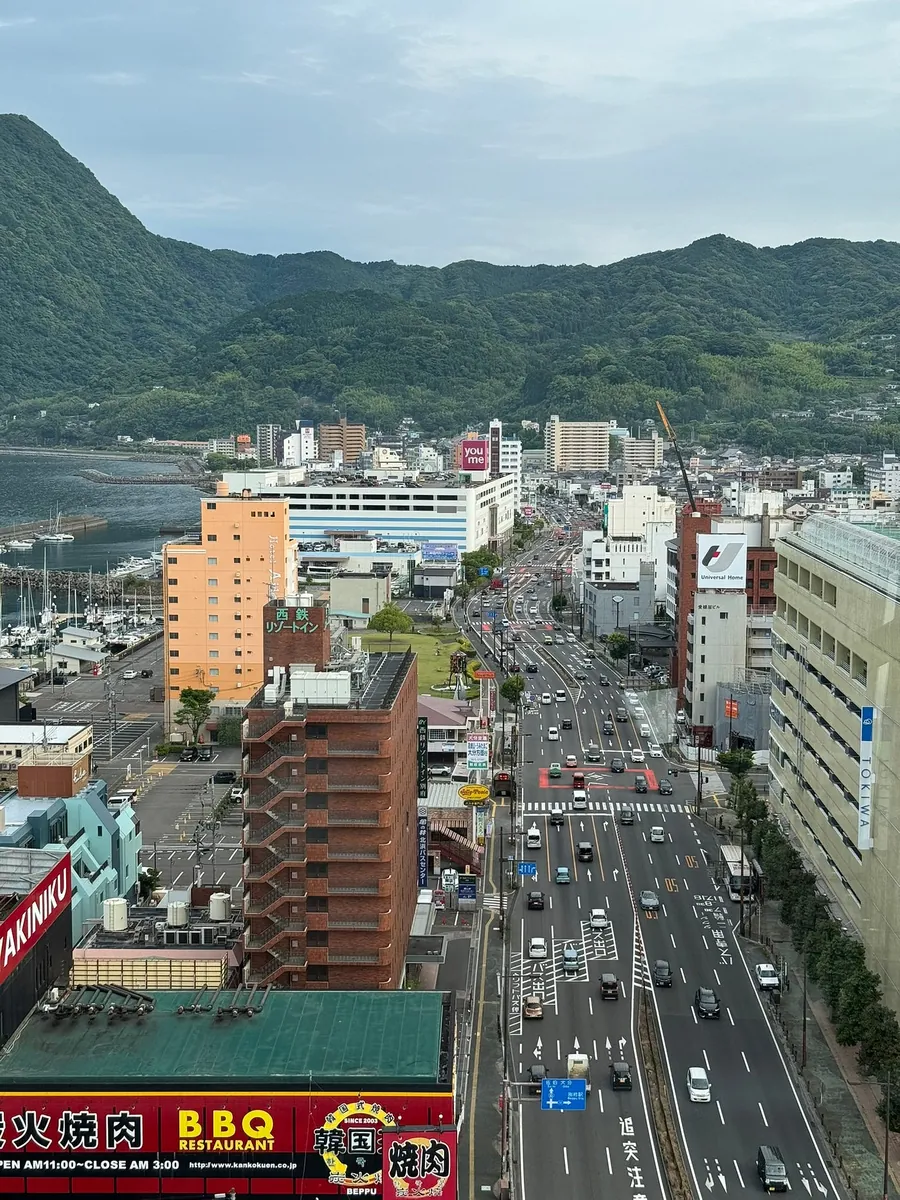
Buy tickets from the vending machine on the first floor of Beppu Tower, take the elevator up, and enjoy a bird’s-eye view of Beppu’s coastal city area.
Looking at the streets and cars from above is very soothing.
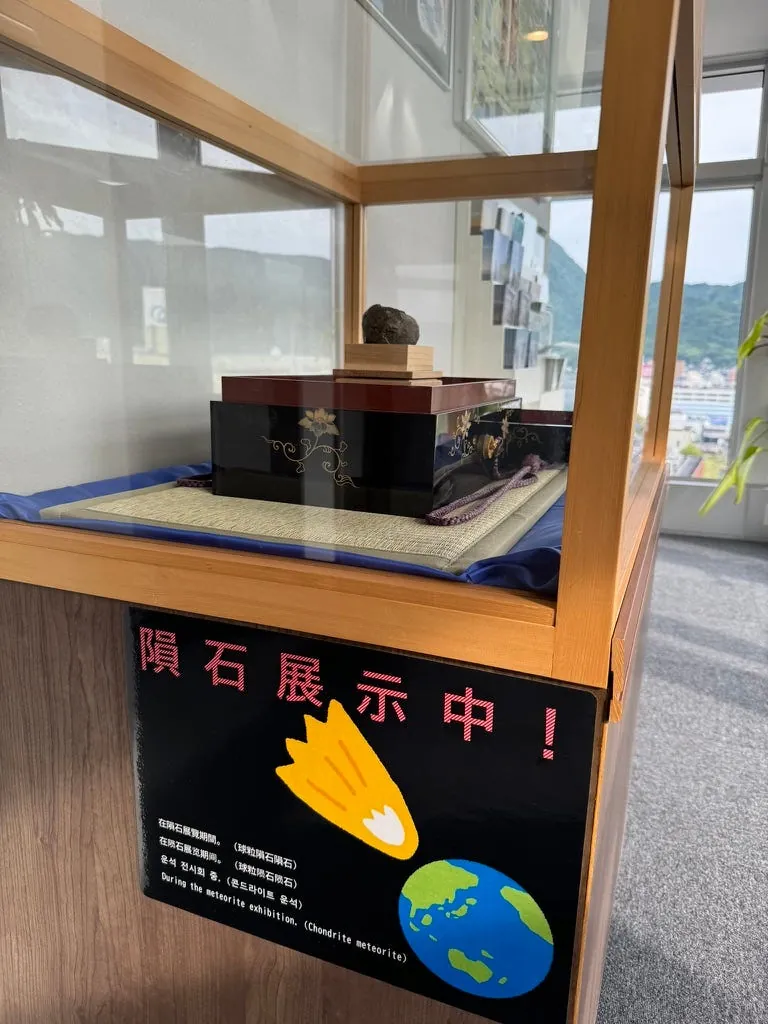
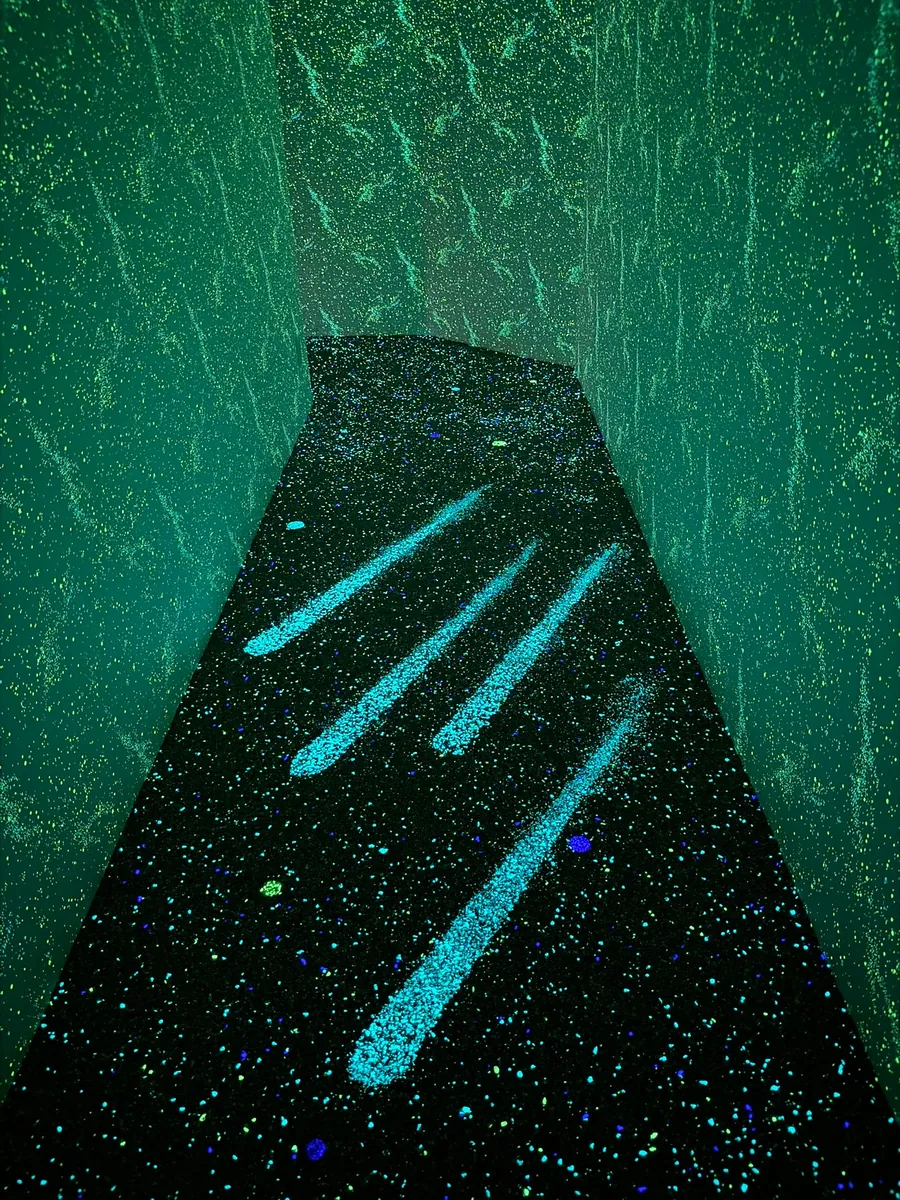
There is a meteorite exhibition inside the tower.
Besides Beppu Tower, you can also visit the cable car or the new Beppu - World Tower.
The Beppu Tourism Bureau website also offers other itinerary suggestions :
{:target="_blank"}](/assets/cb65fd5ab770/1*XRqTUa_4tLj4gKCueS5EdA.webp)
Head back to the hotel to rest.

Return to the hotel to rest, then go to Oita Station Market to buy dinner, a pork cutlet bento, and Oita-exclusive fruit wine (tasty, refreshing, and not too sweet).
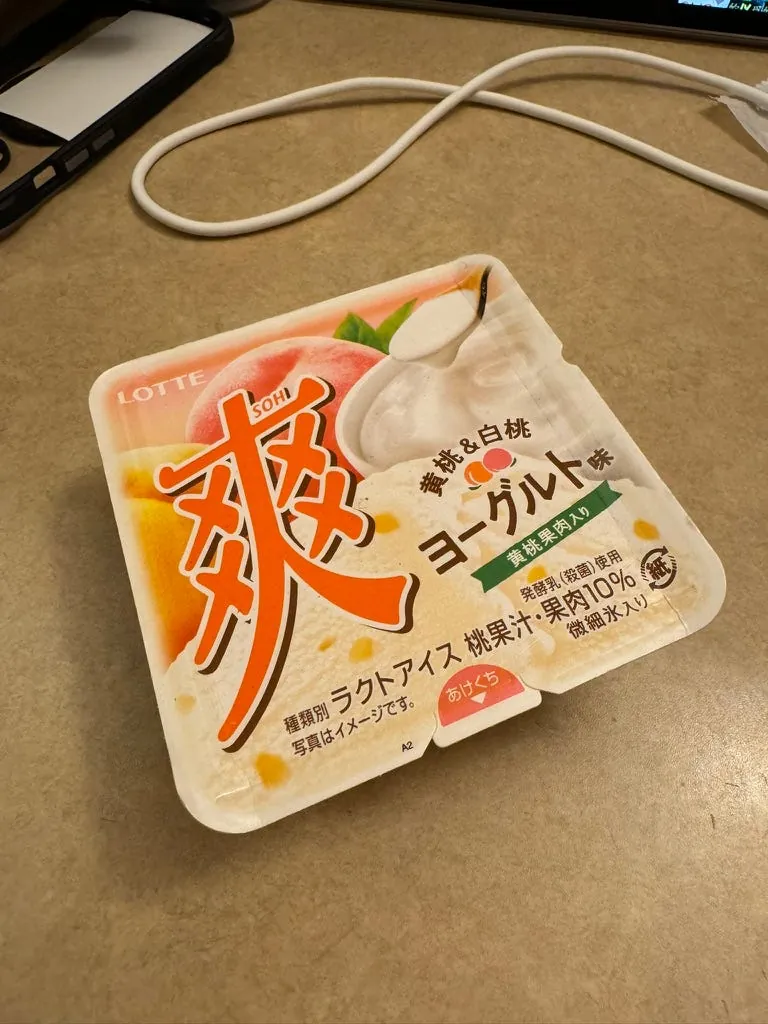
Dessert/late-night snack includes fried shrimp, instant noodles, white peach ice cream, and jasmine flower brûlée (I don’t like brûlée).
Day 6 Shimonoseki, Karatsu
Starting from Oita to Kokura, then to Mojiko and Shimonoseki, Shimonoseki and Karatsu are about 140 km apart, and normally people wouldn’t travel this way; because on the first day in Japan, I took the wrong train and missed Karatsu, I really wanted to visit this spot, so I forced myself to do a one-day Shimonoseki-Karatsu trip like a march.
Woke up late, around 8:40, took the JR Limited Express from Oita to Kokura. Planned to leave luggage in Kokura, then take a branch line to Mojiko.
It started drizzling in the sky over Oita. Thinking back, every city I’ve visited has experienced rain. (Definitely the rain god’s blessing)
Arrived at Kokura Station around 10 AM. After searching for a long time, all self-service luggage lockers were full (a friend said there were spots at 9 AM). The manned luggage counter opens at 11 AM, so I had to carry my luggage and head straight to Mojiko to look for storage options.

After exiting Mojiko Station, go directly to the left (no need to leave the building) to find the self-service Coin Lockers. This time, there were quite a few people at Mojiko, and all lockers were full; however, fortunately, the manned luggage storage counter had already opened, allowing me to successfully store my luggage (but the manned counter only operates until 8 PM! ⚠️).
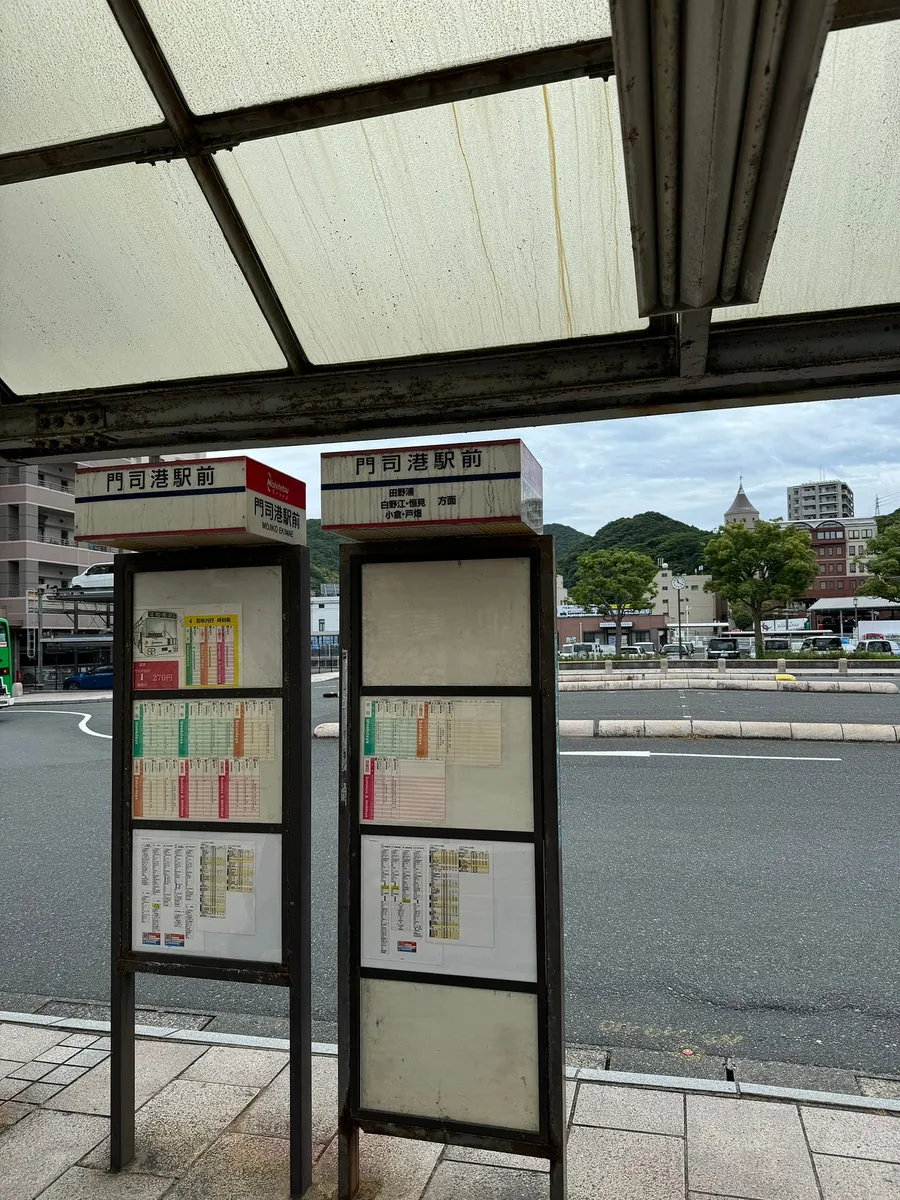
I originally planned to eat at Moji Curry Yaki, which had no line last year and was easy to enjoy. But when I got out of the station and saw a long queue, I gave up and turned right to wait at the Mojiko bus stop for a bus to Shimonoseki.
Shimonoseki
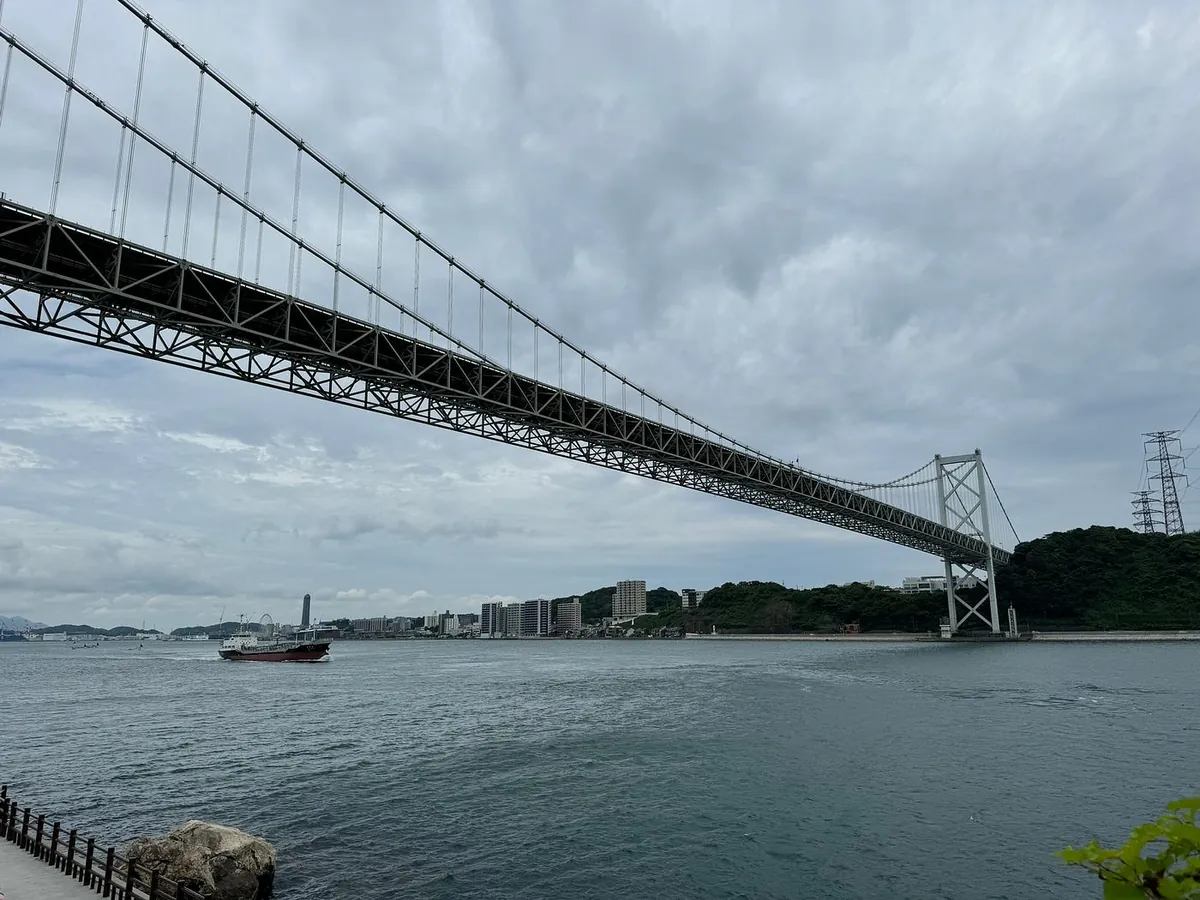
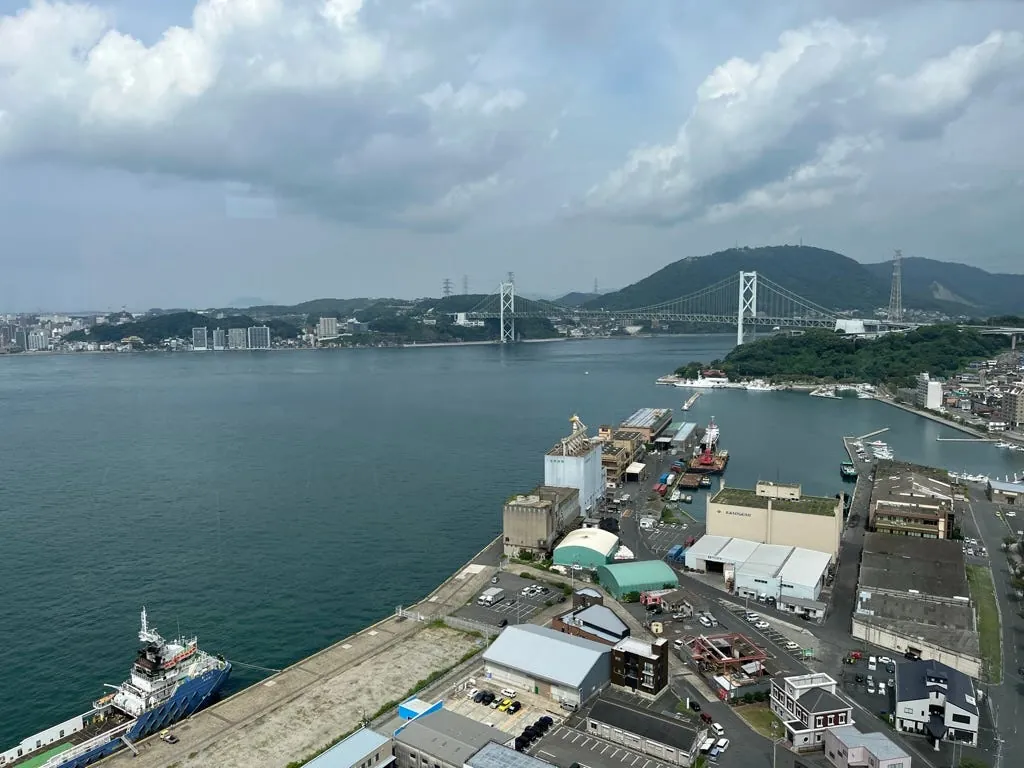
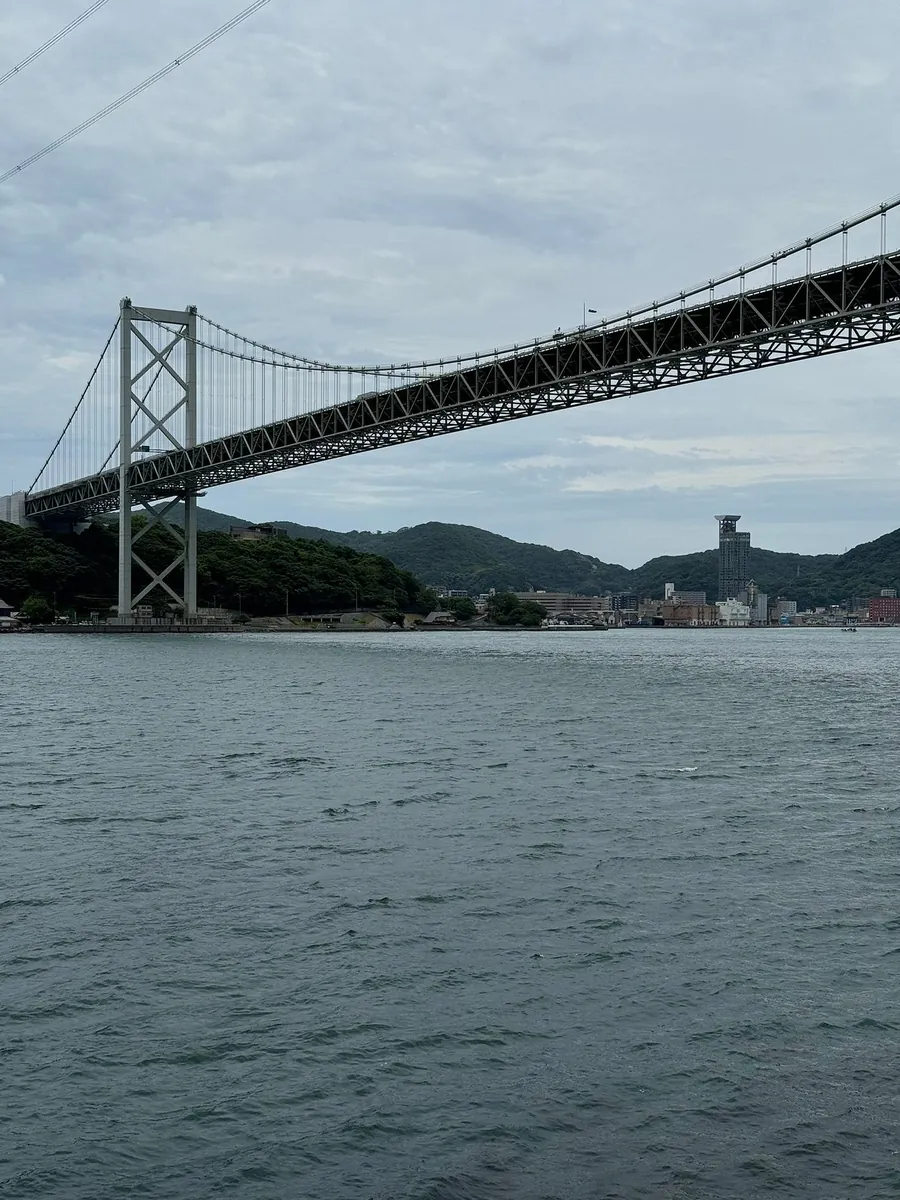
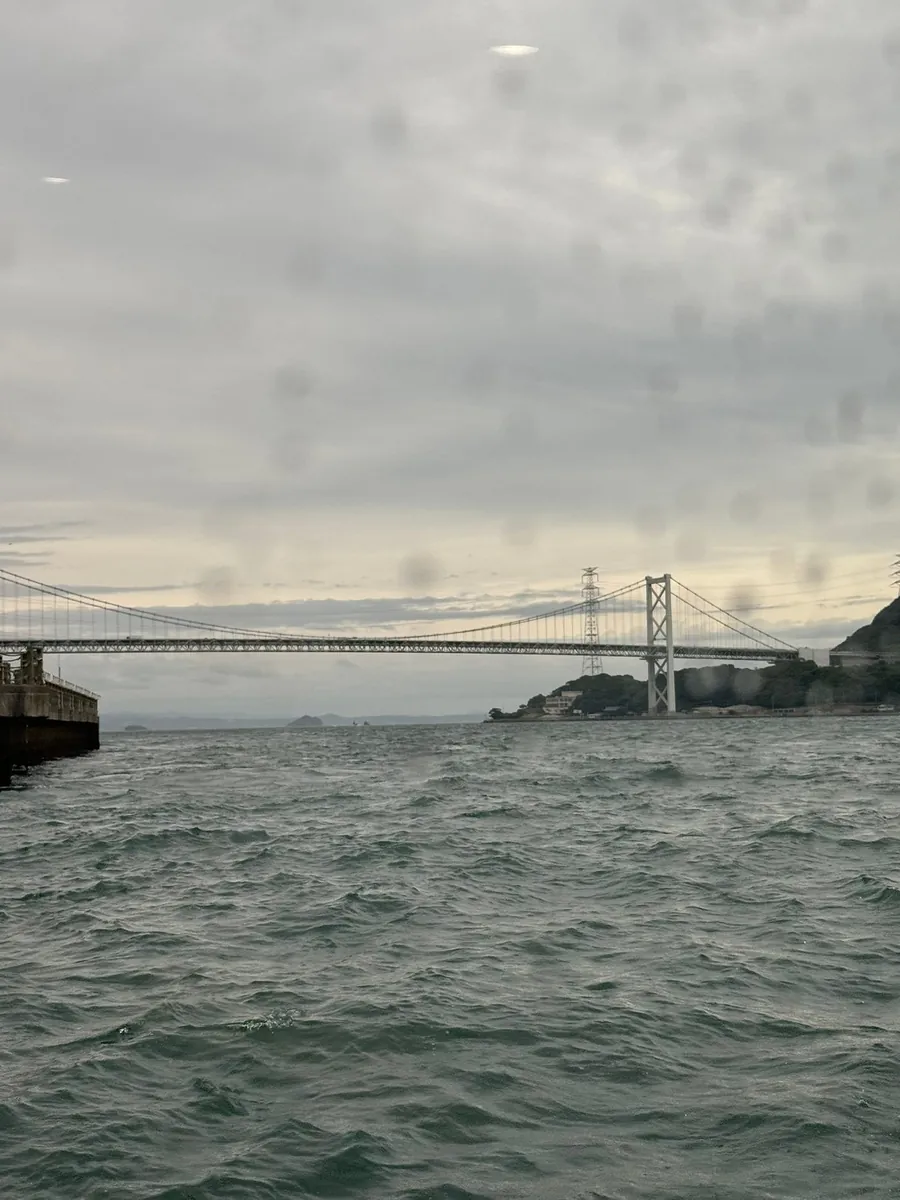
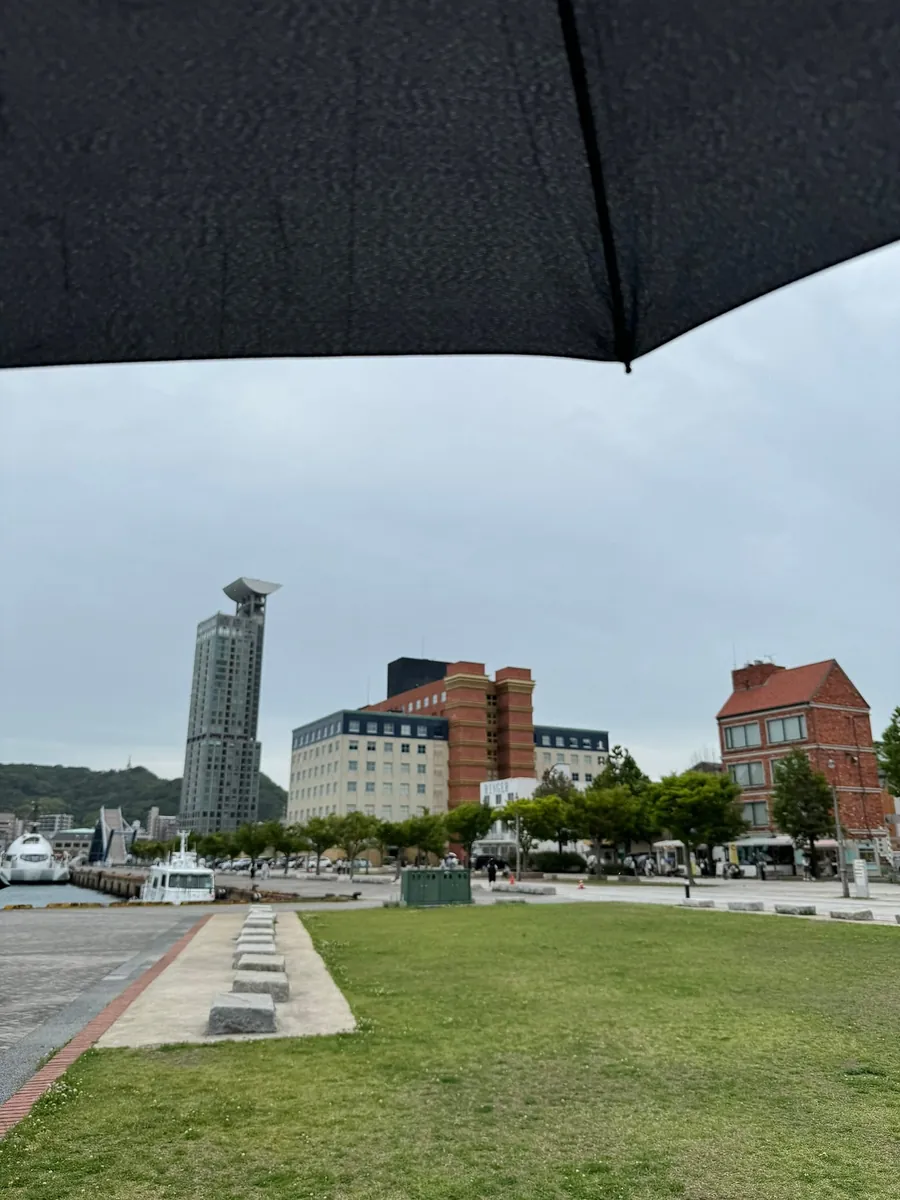
Get off at the underground pedestrian walkway at Shimonoseki Station. This time, view the Kanmon Bridge from a different angle. The right side of the photo shows the view from last year at the Moji Port Retro Observation Room (../d78e0b15a08a/).
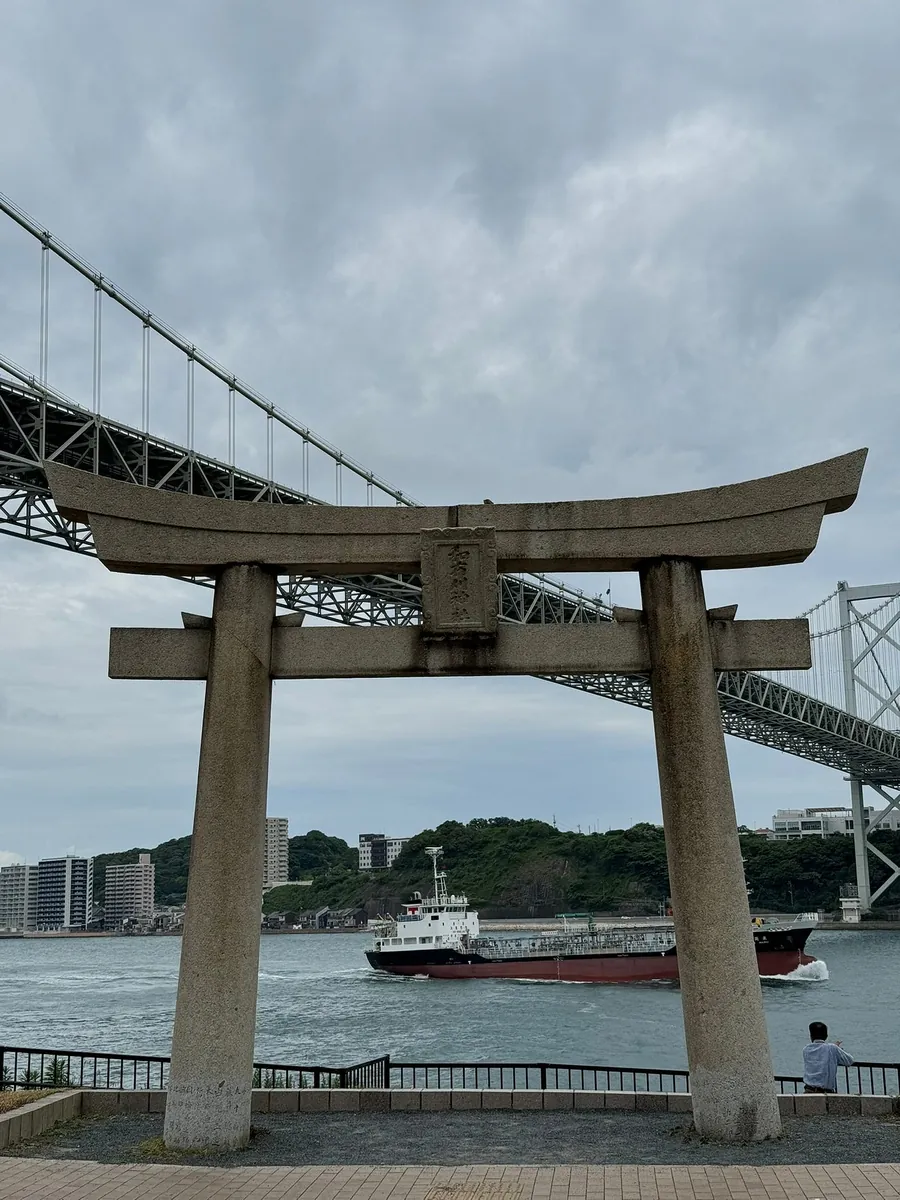
Here is the Wakamiraki Shrine torii gate, with Wakamiraki Shrine and the Wakamiraki Shrine observatory on the mountain behind.
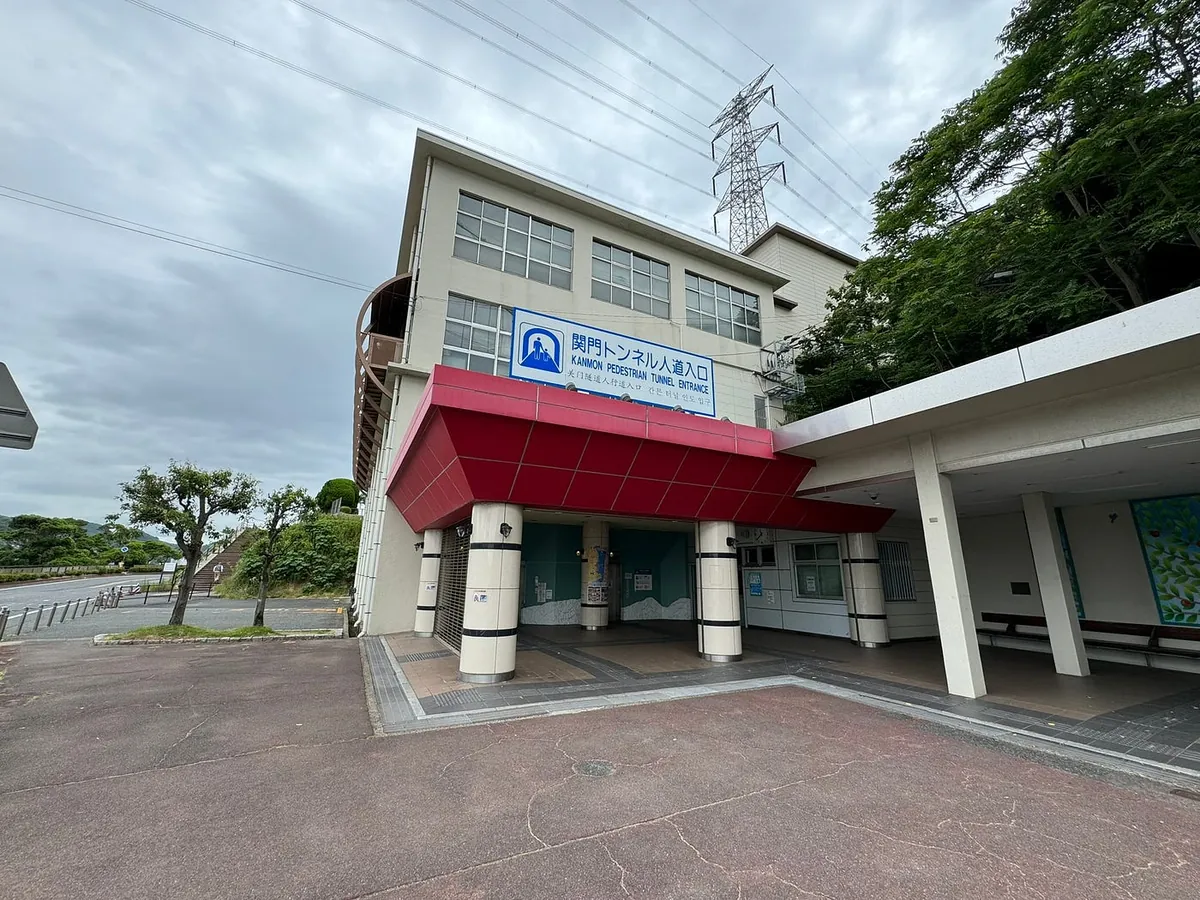
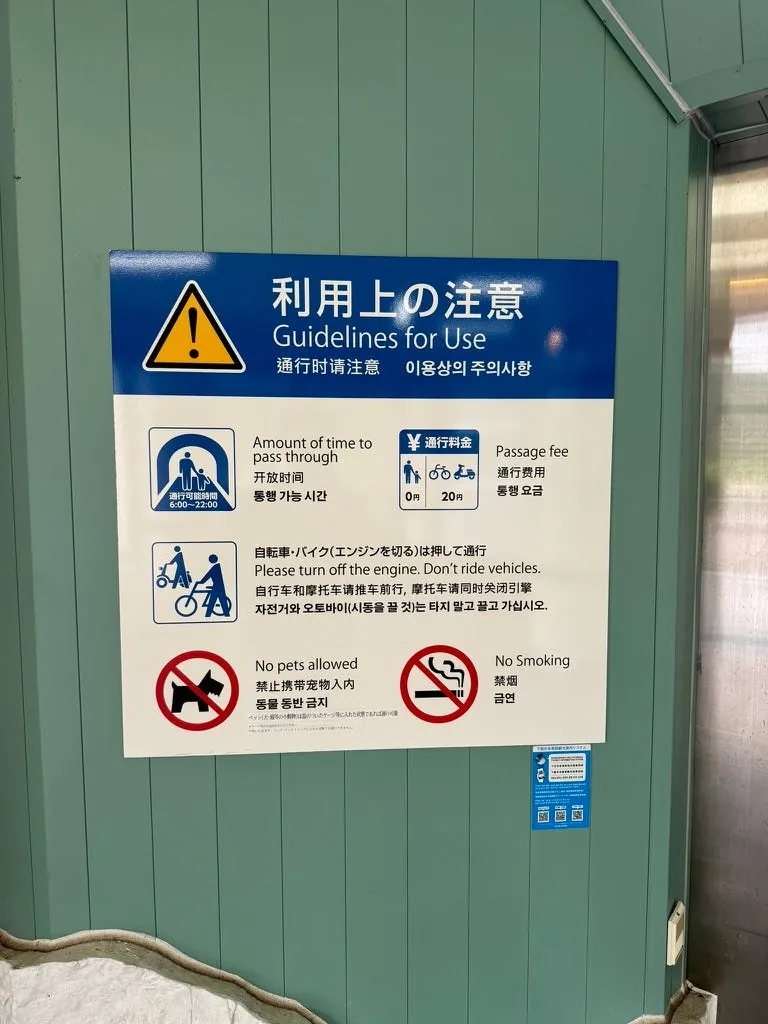
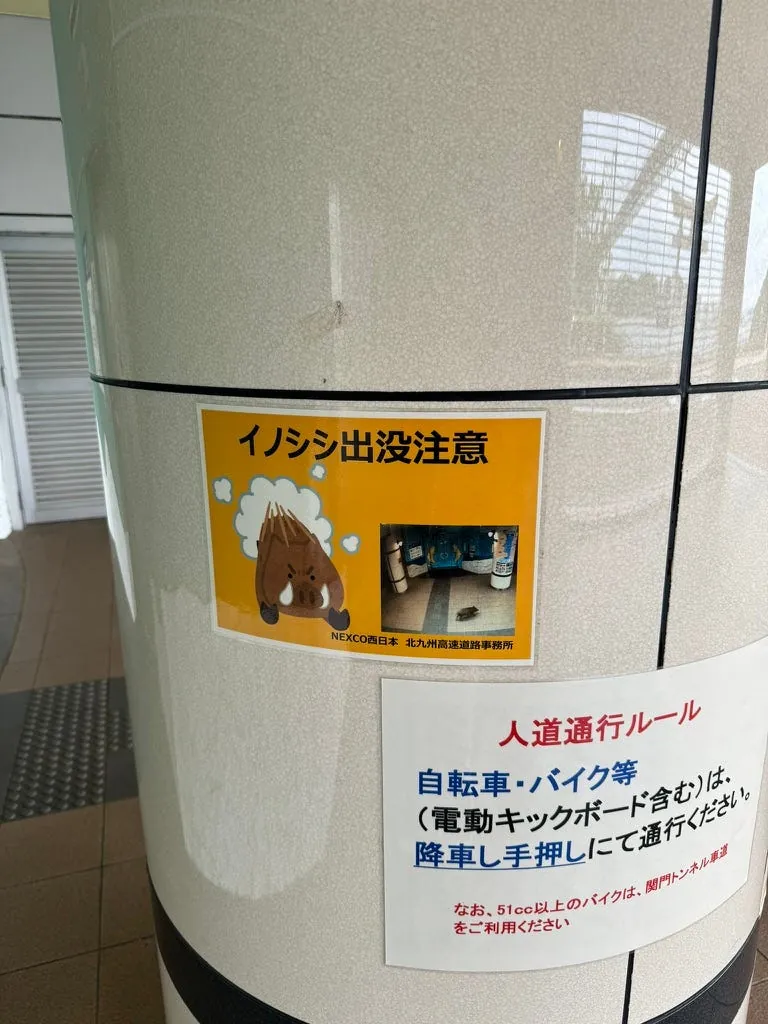
Take the elevator from the sidewalk entrance down to B1, which is the pedestrian area. Entry is free for people, but bicycles are charged a 20 yen toll. Also, watch out for wild boars in this area XD
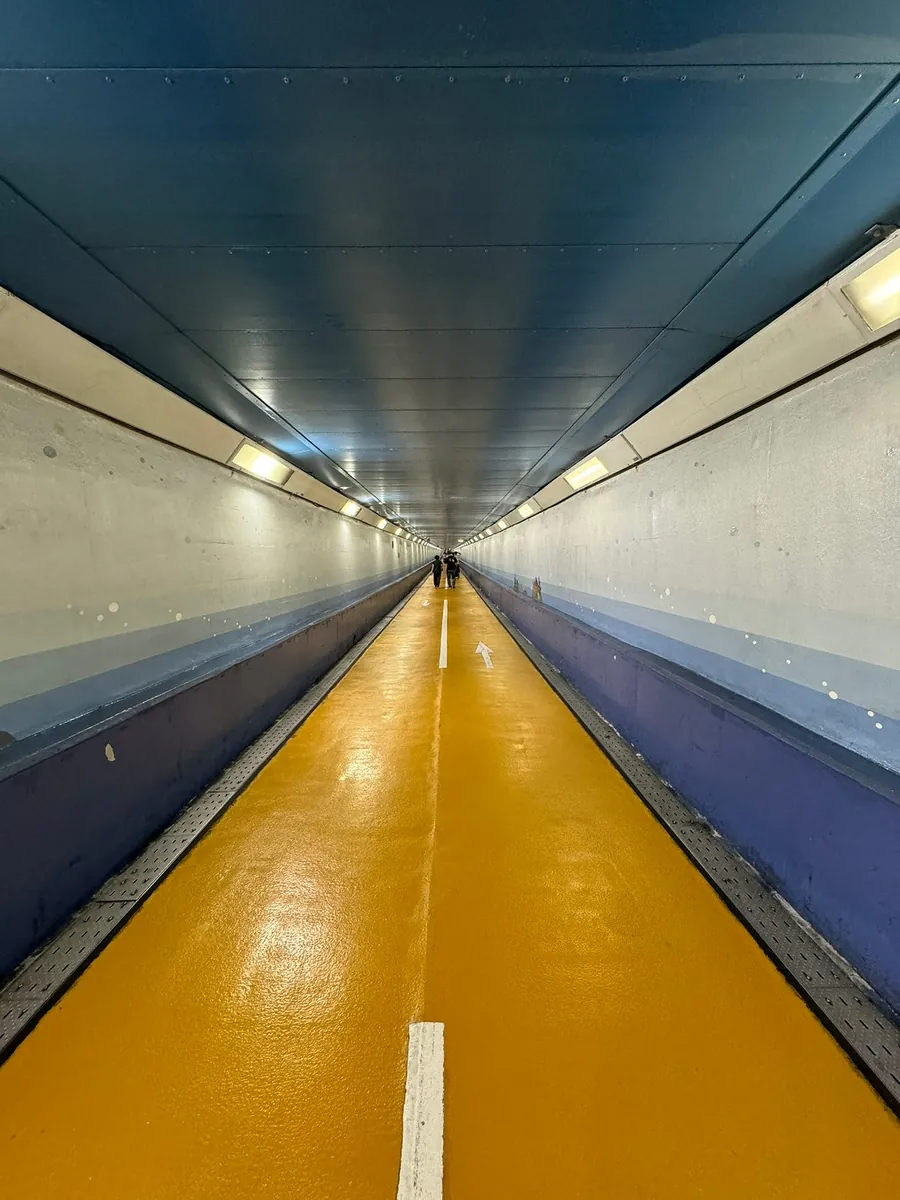
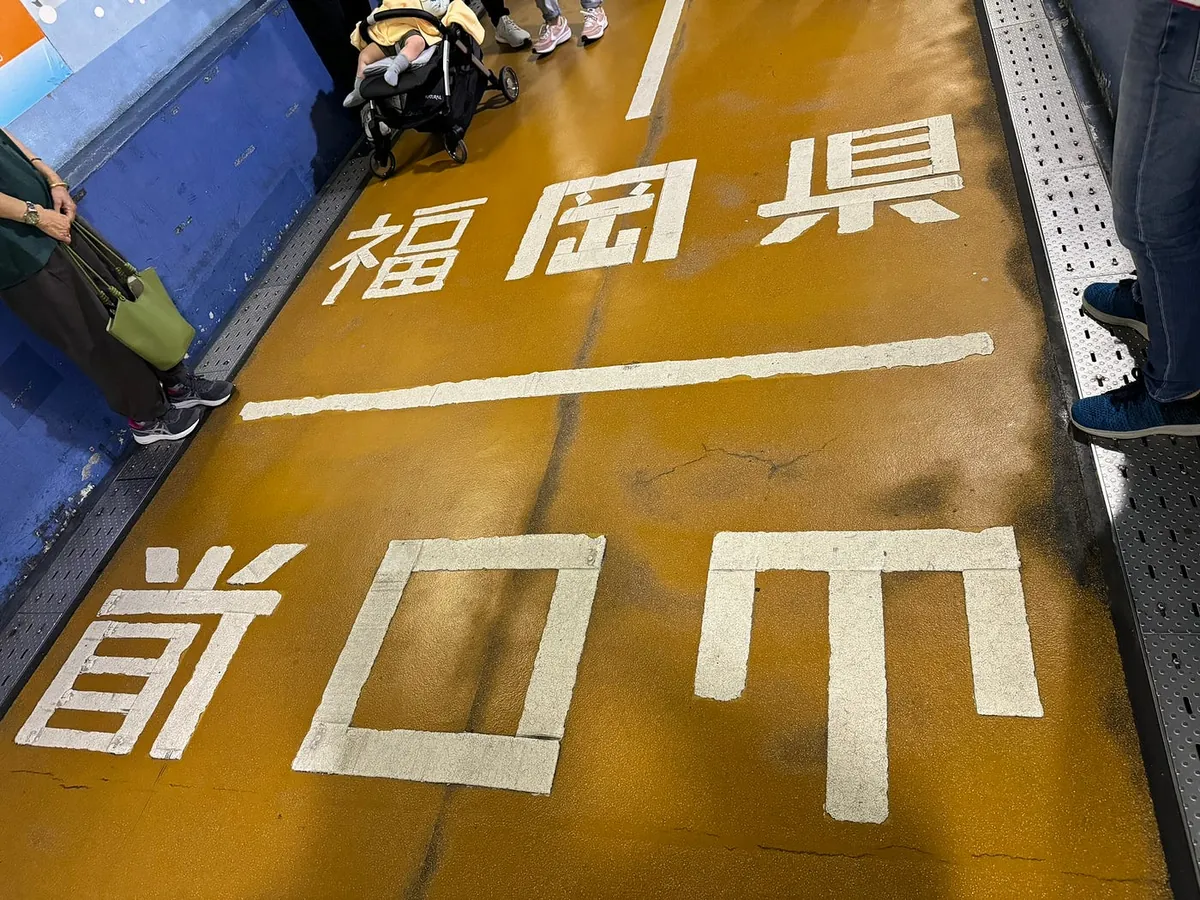
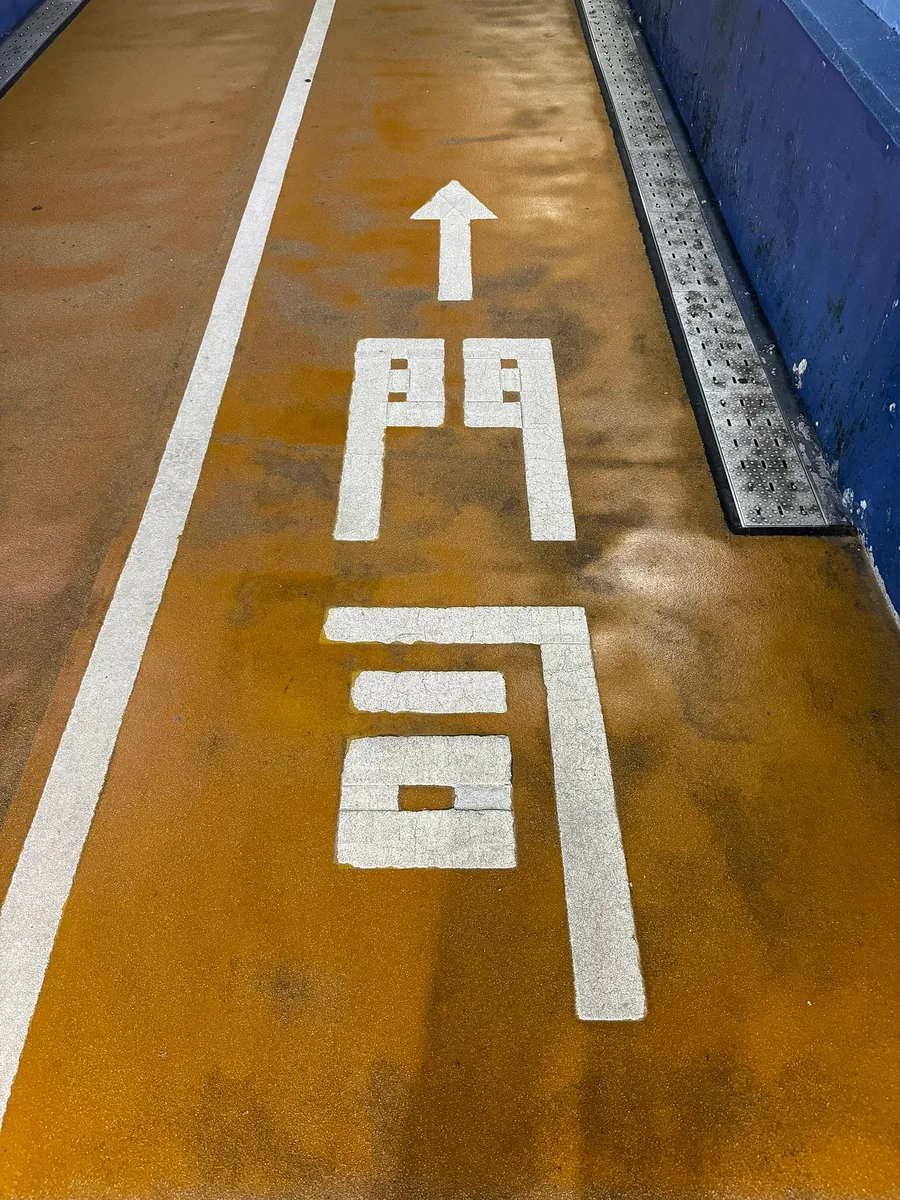
The full length is 780 meters, straight all the way through, with a dividing line in the middle.
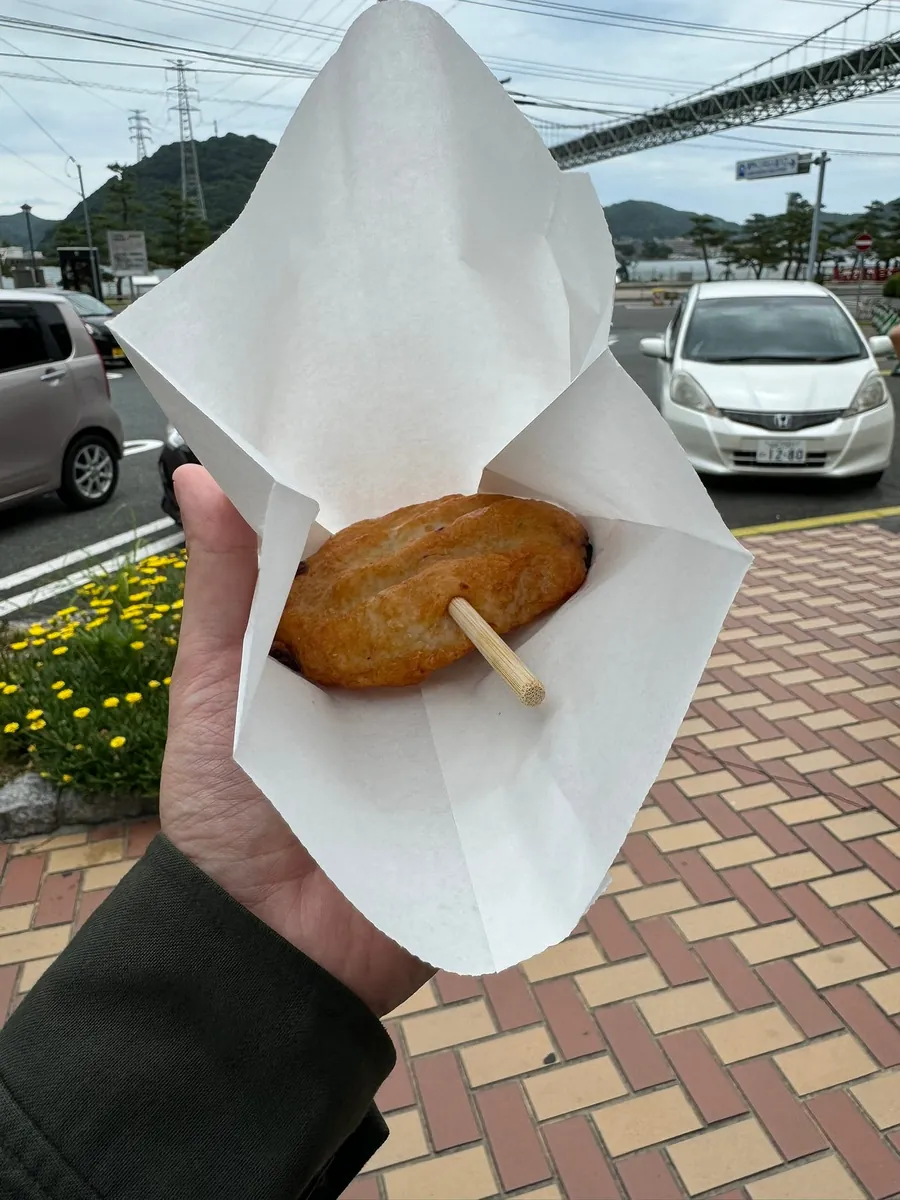
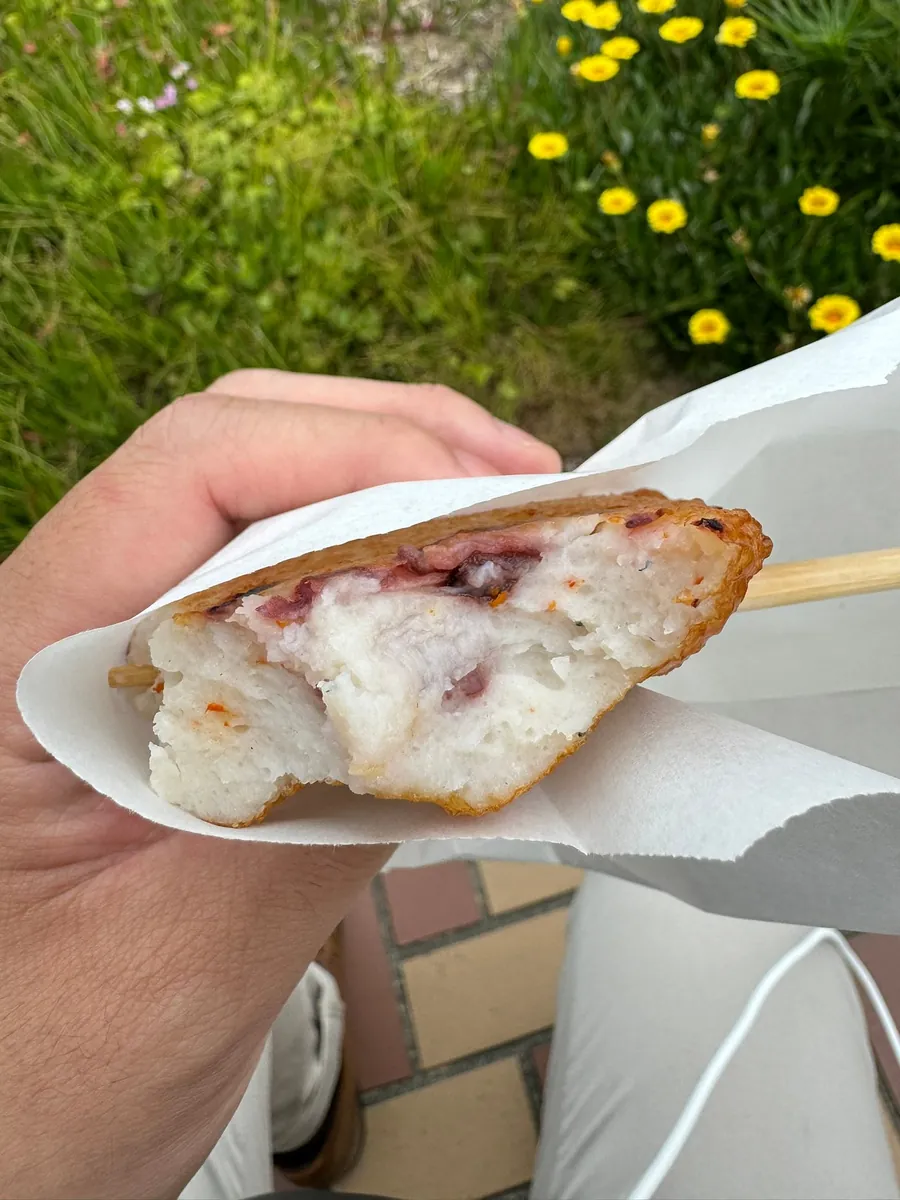
After exiting the Shimonoseki checkpoint, there are shops selling simple snacks. I bought a takoyaki to fill my stomach. (The inside is chewy, the skin is crispy, and it really has octopus—delicious!)
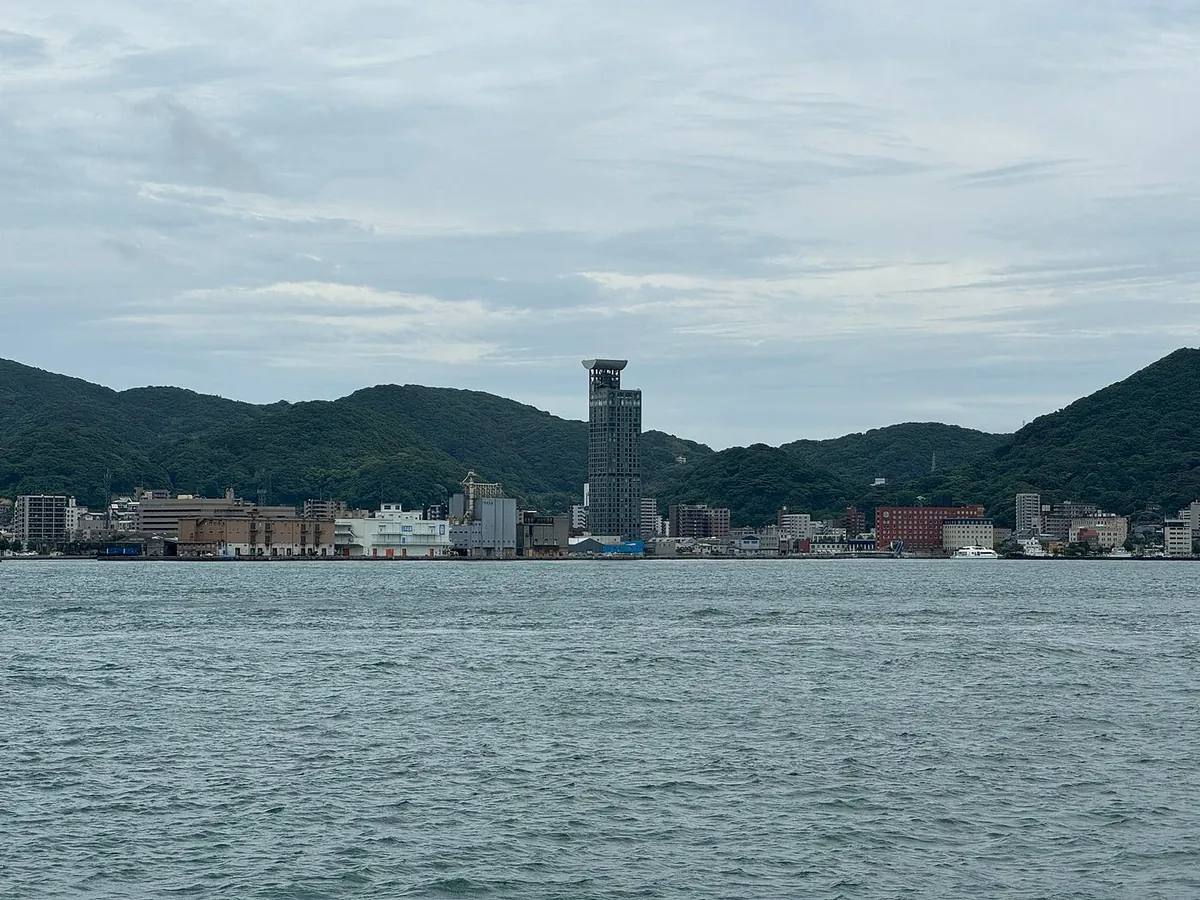
From the opposite side, looking at the Kanmon Bridge and Mojiko Retro Observation Room, it feels like the view from Bali, Taiwan, looking toward Tamsui.
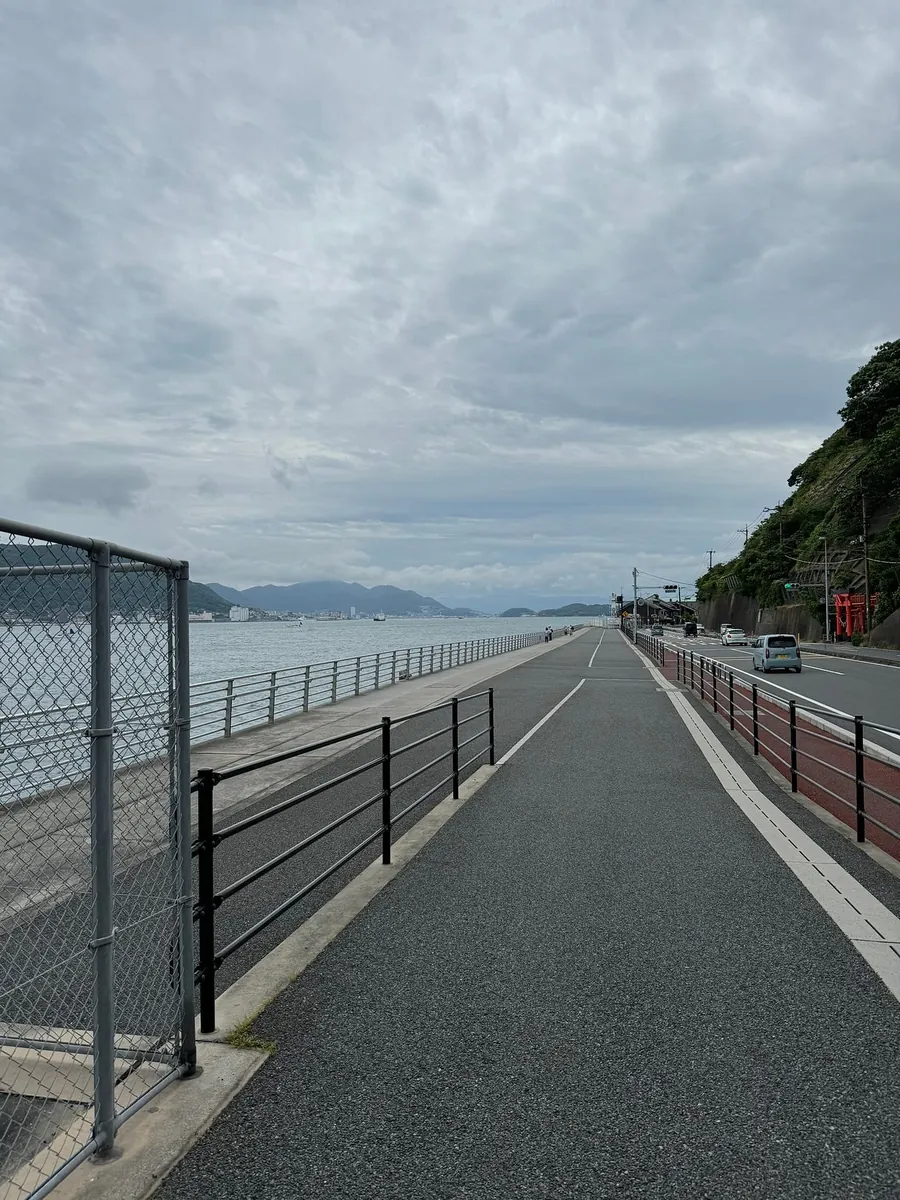
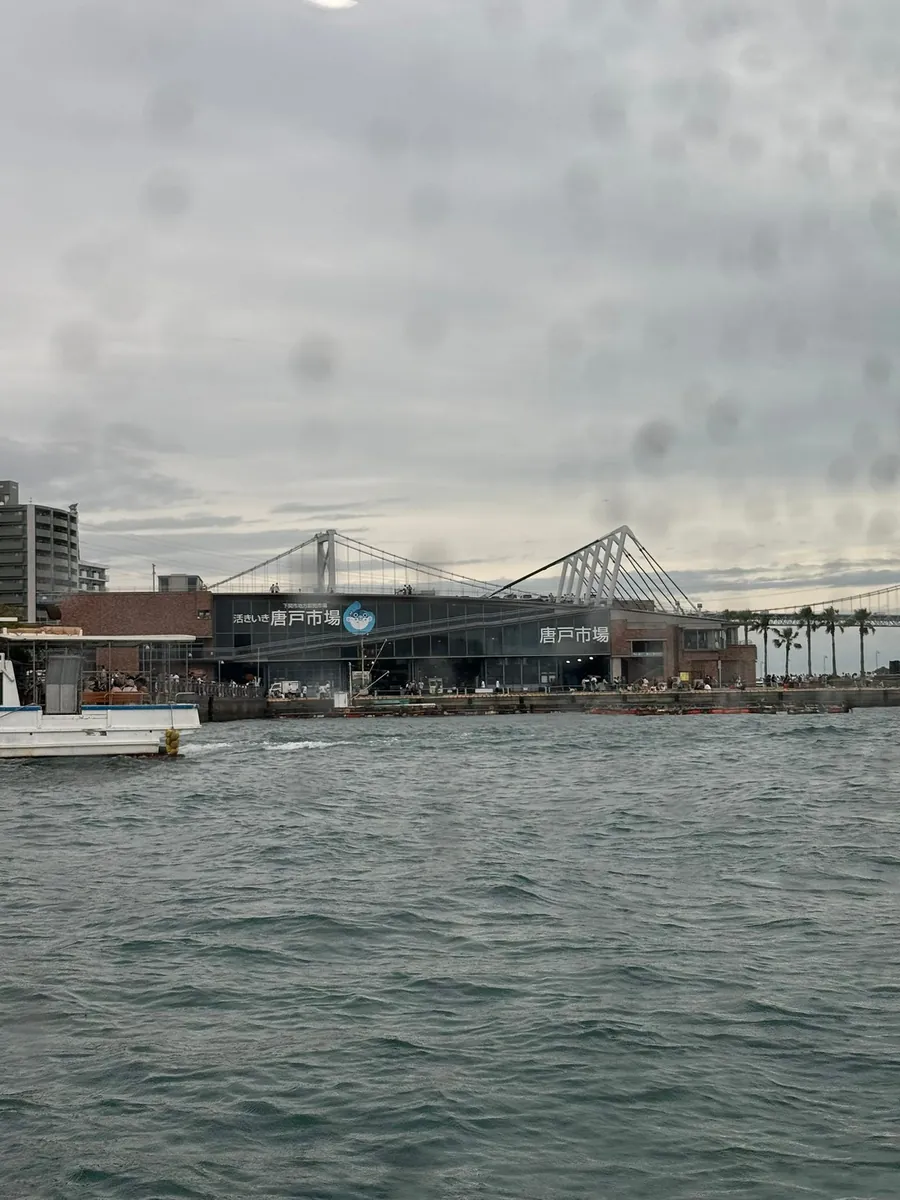
Hiking along the coast all the way to Karato Market.
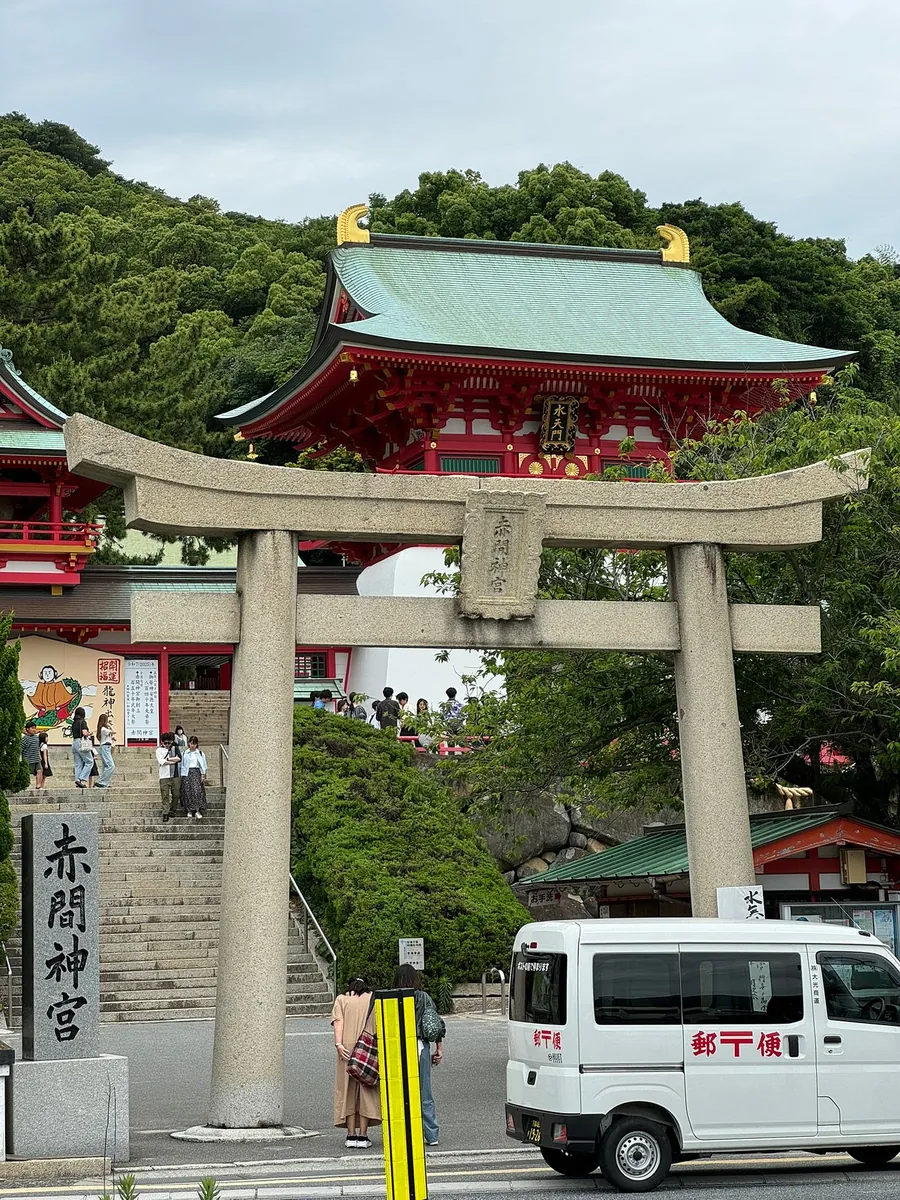

On the way to Karato Market, you will pass by Akama Shrine, so it’s convenient to stop by for a visit.
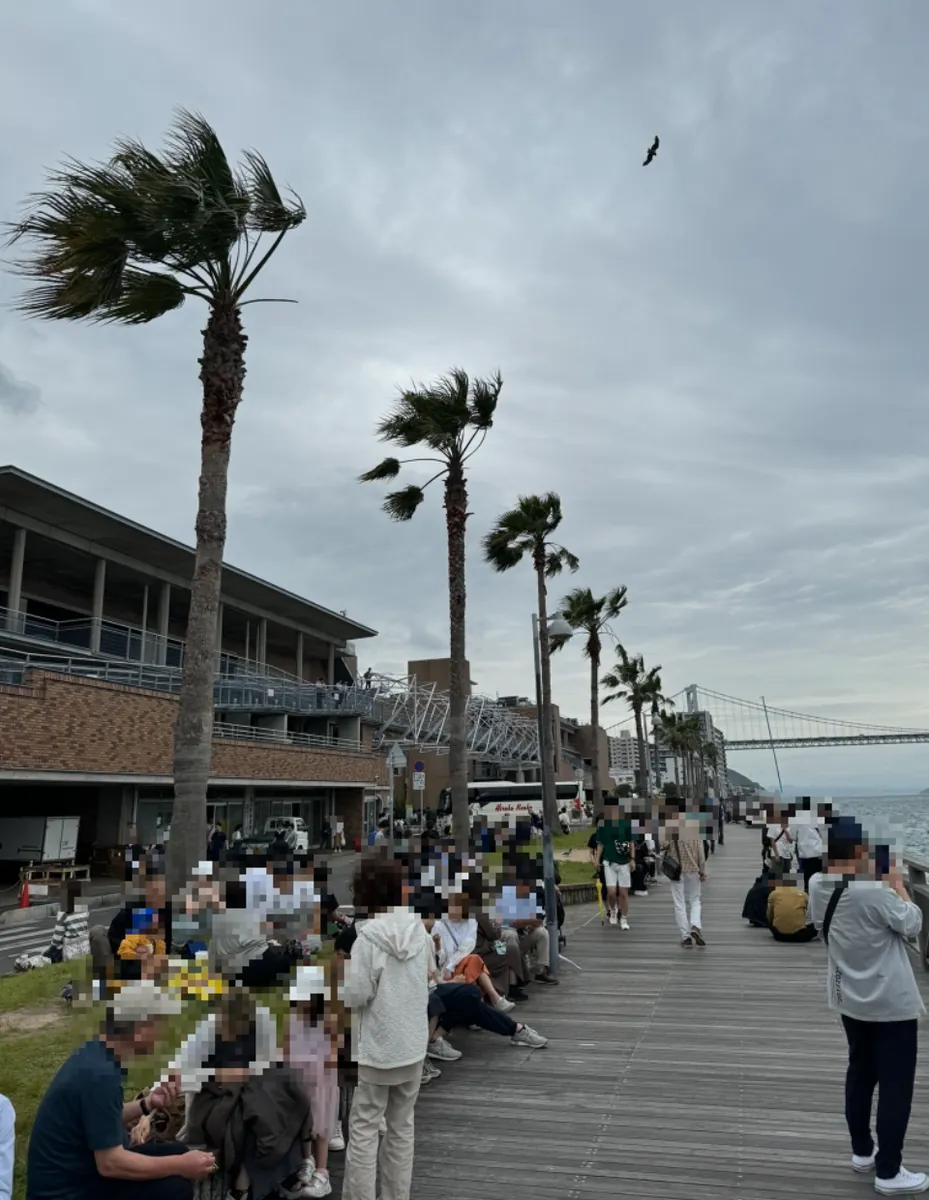
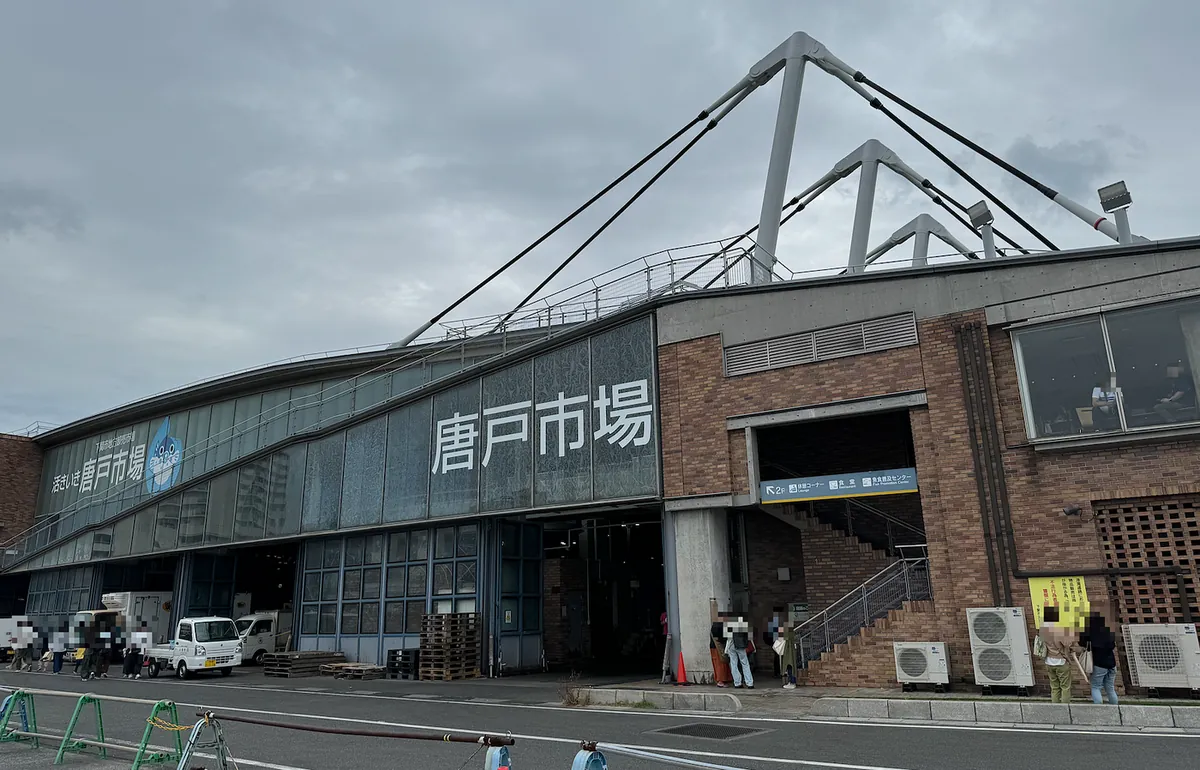
Many people buy food and picnic by the coast outside Karato Market. Although there are many people, it remains very clean. Since I was mainly scouting the area and don’t eat much raw food, I didn’t go inside. Around noon, it looked quite crowded inside.
![]()
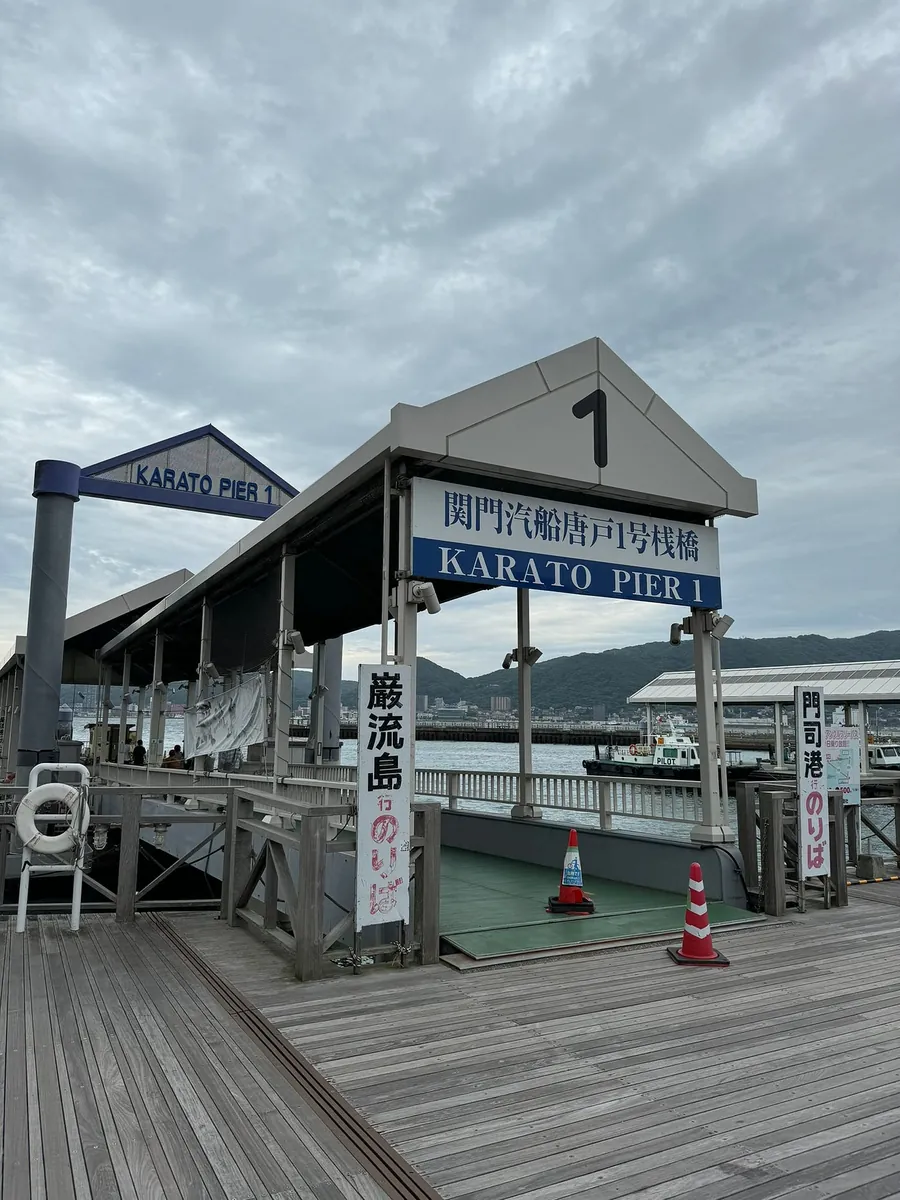
Crossing the Karato Market leads to the pier where you can take a ferry directly back to Mojiko. Just buy a ticket from the automatic ticket machine at the shops across the pier. If you have time, you can also visit Ganryu Island (the famous duel site!) for a stroll.
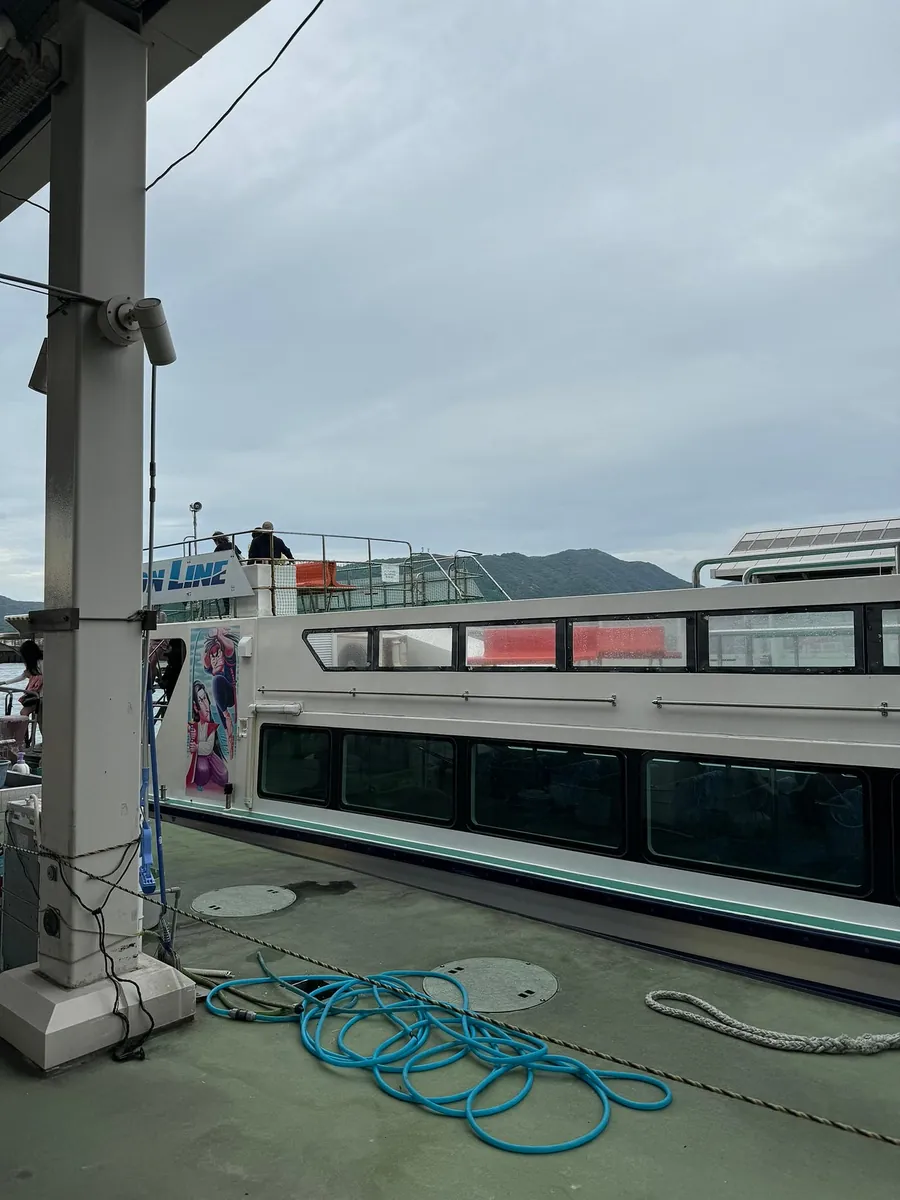
It takes about 10 minutes to reach Mojiko. (It really feels like the Tamsui Bali ferry!)
Back in Mojiko, it started to drizzle. I already visited Mojiko last year, so I didn’t stay long and prepared to go to the station to get my luggage and head to Kokura and Hakata.
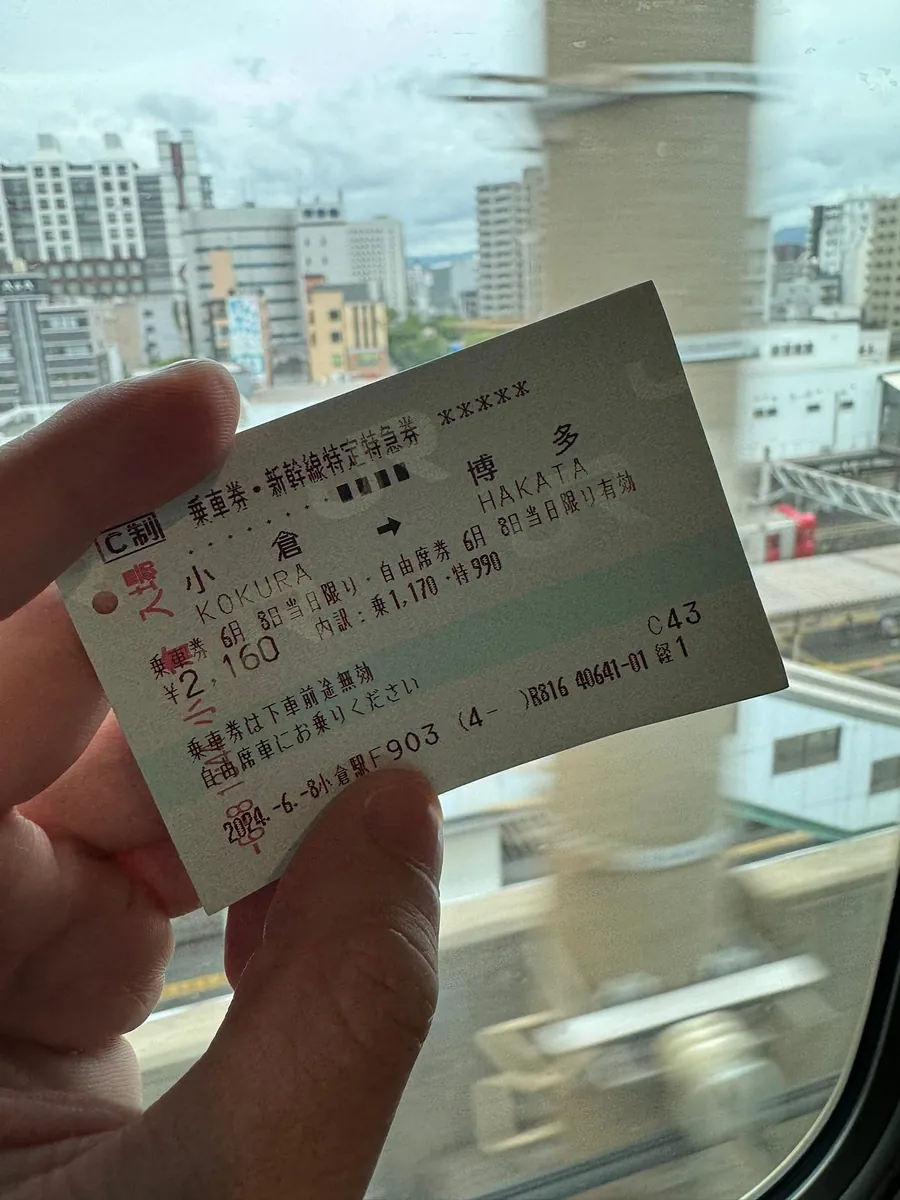
The time was around 14:00, and I planned to reach Karatsu Castle by about 4:30. Every second counted, so I used my New Taiwan Dollars (Japanese Yen) in Kokura to buy a ticket for the Sanyo Shinkansen from Kokura to Hakata, the world’s fastest train running at 300 km/h. It only takes 15 minutes to arrive (JR Limited Express takes 45 minutes, local trains take 65 minutes).
The JR Pass for Kyushu does not cover the Sanyo Shinkansen (Kokura to Hakata section). For Nozomi and Mizuho trains, you must buy tickets separately at the Shinkansen platform. Using the JR Pass will be denied. Even if you enter and exit, you must pay the fare difference ( based on my previous experience ). ⚠️
It takes about 20 minutes to walk from JR Karatsu to Karatsu Castle. The express bus stops at Karatsu Castle-maebashi, so I decided to take the express bus. (Also my first time riding it!)
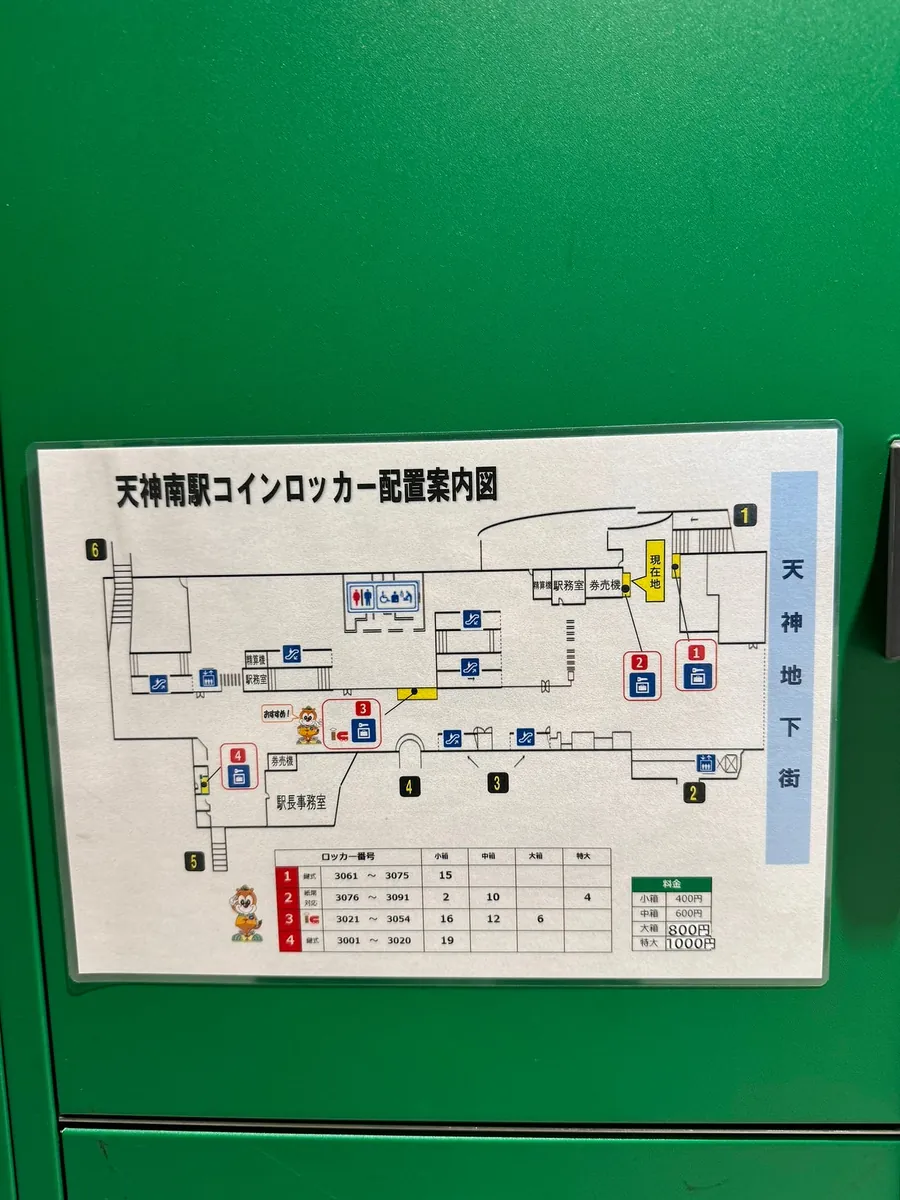
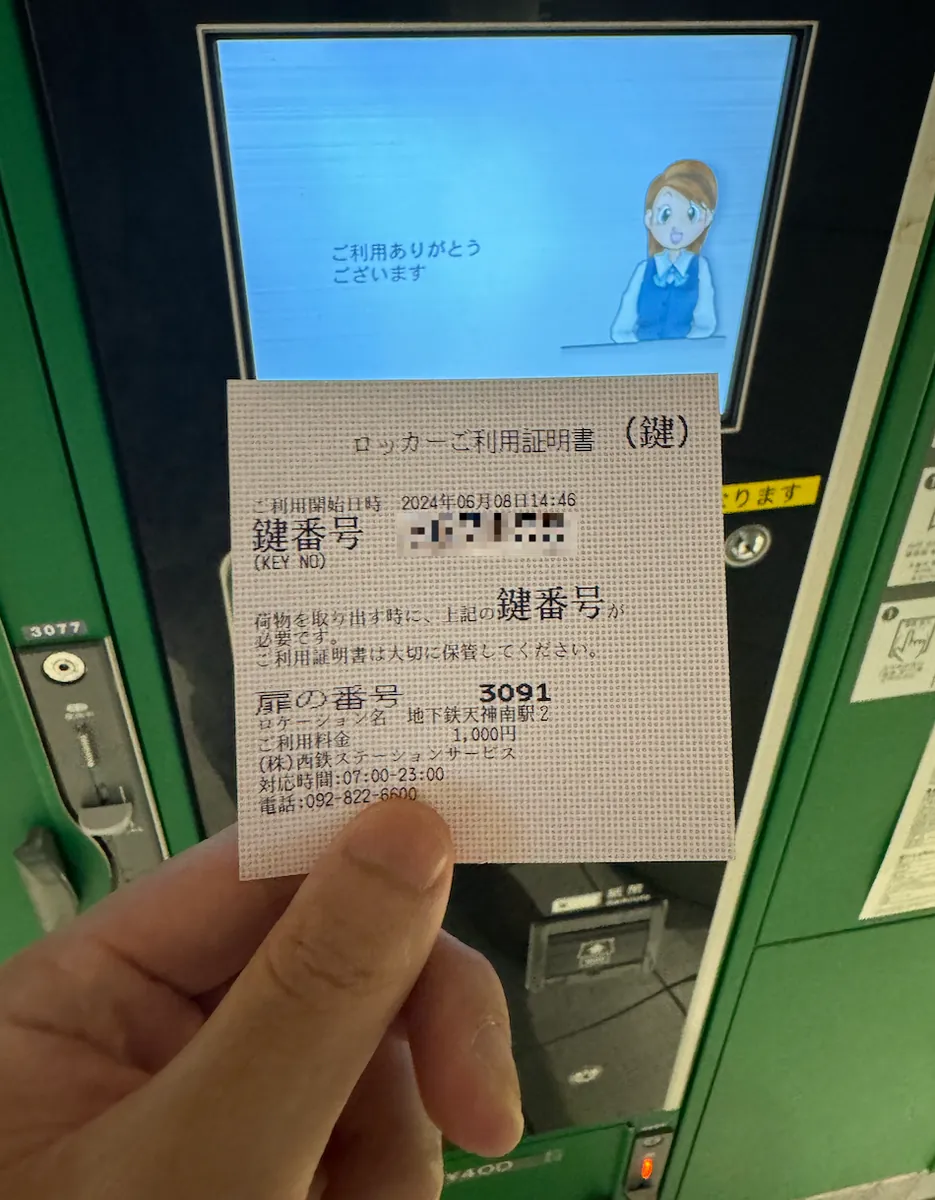
After arriving at Hakata, take the subway directly to Tenjin-Minami and store your luggage in the underground shopping area. (Luckily, I found the last luggage spot at number 2)
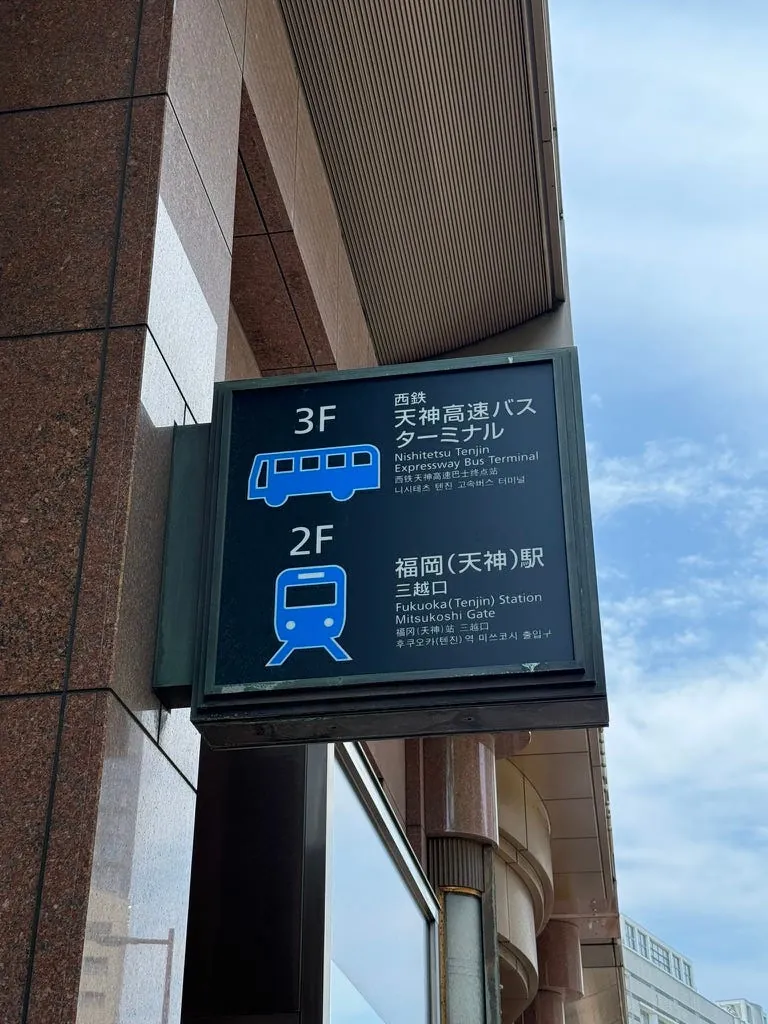
From Exit West 8 of Tenjin Chikagai, follow the signs at Fukuoka Mitsukoshi Department Store to the 3rd floor of Tenjin Expressway Bus Terminal to reach the bus station.
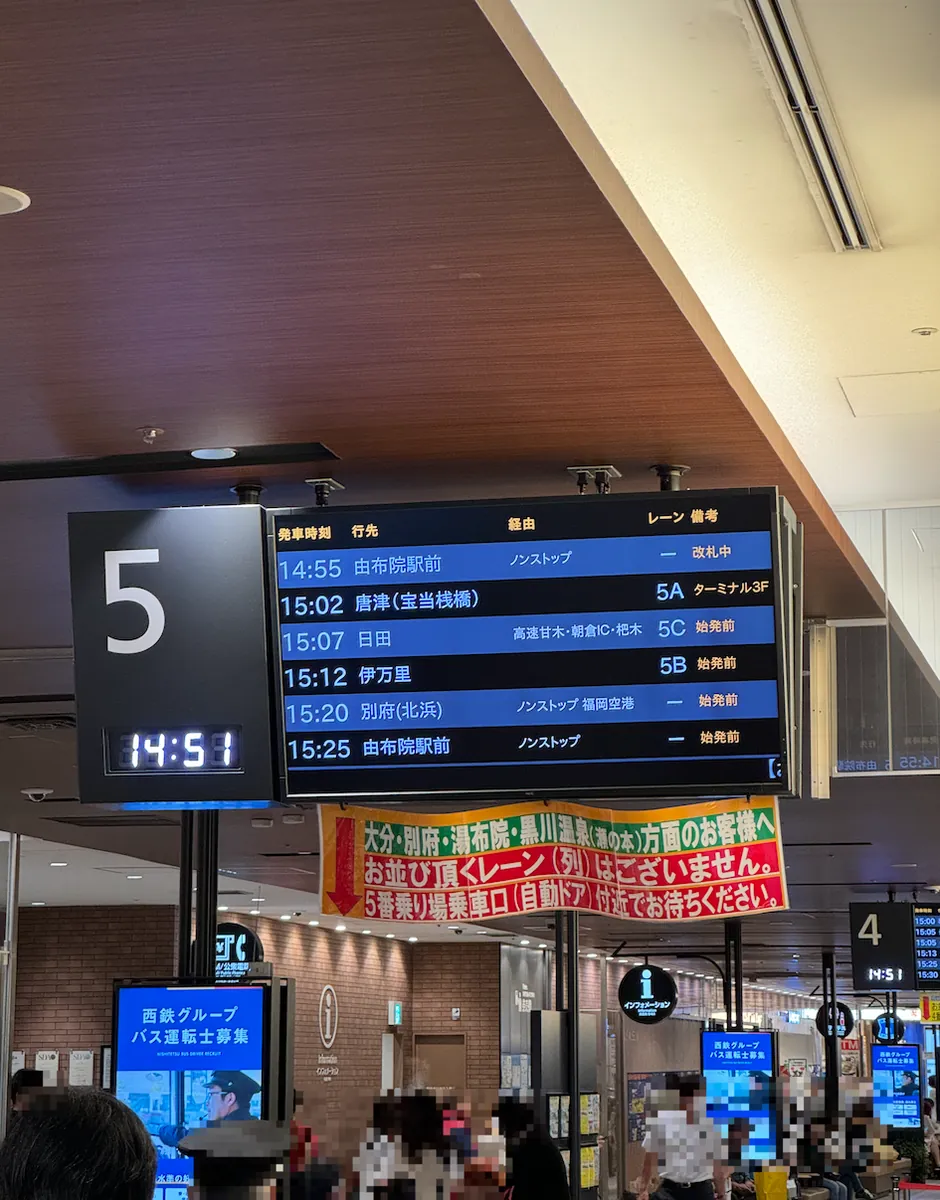
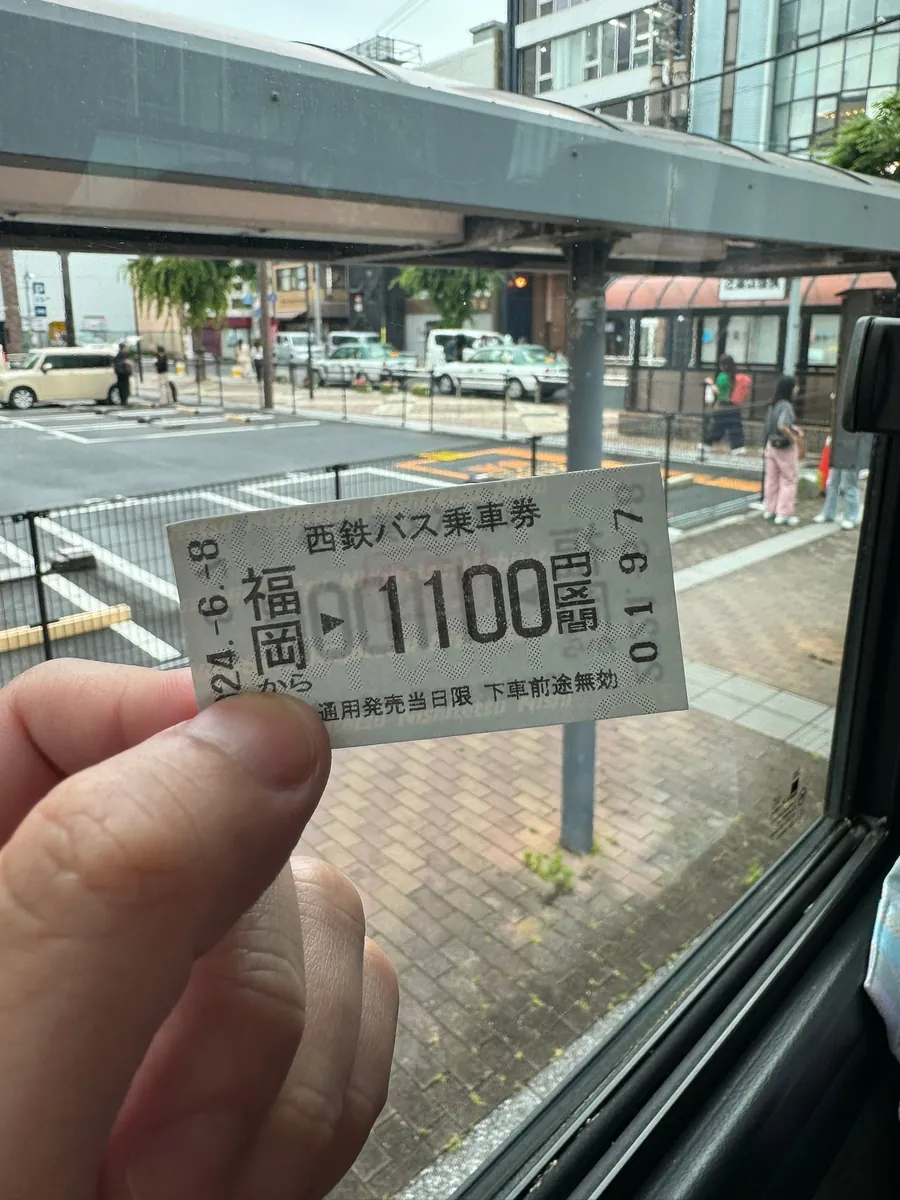
Since I was unsure about reserving a seat or buying a ticket, I went directly to the counter to purchase the ticket; after buying the ticket, I was very hungry, so I grabbed a bread at Starbucks and went to the designated platform to queue for the train. (I later found out that no seat reservation is needed for the train to Tangjin, and you can use a transportation card, just like taking a bus; the fare is fixed at 1,100 yen regardless of the stop.)
15:02 Boarded the express bus to Tangjin (Baodang Pier), with about 80% occupancy.

The image on the right shows last year’s view of this road from Fukuoka Tower. This year, the view is from this road looking at Fukuoka Tower. (A kind of time-space overlap feeling)
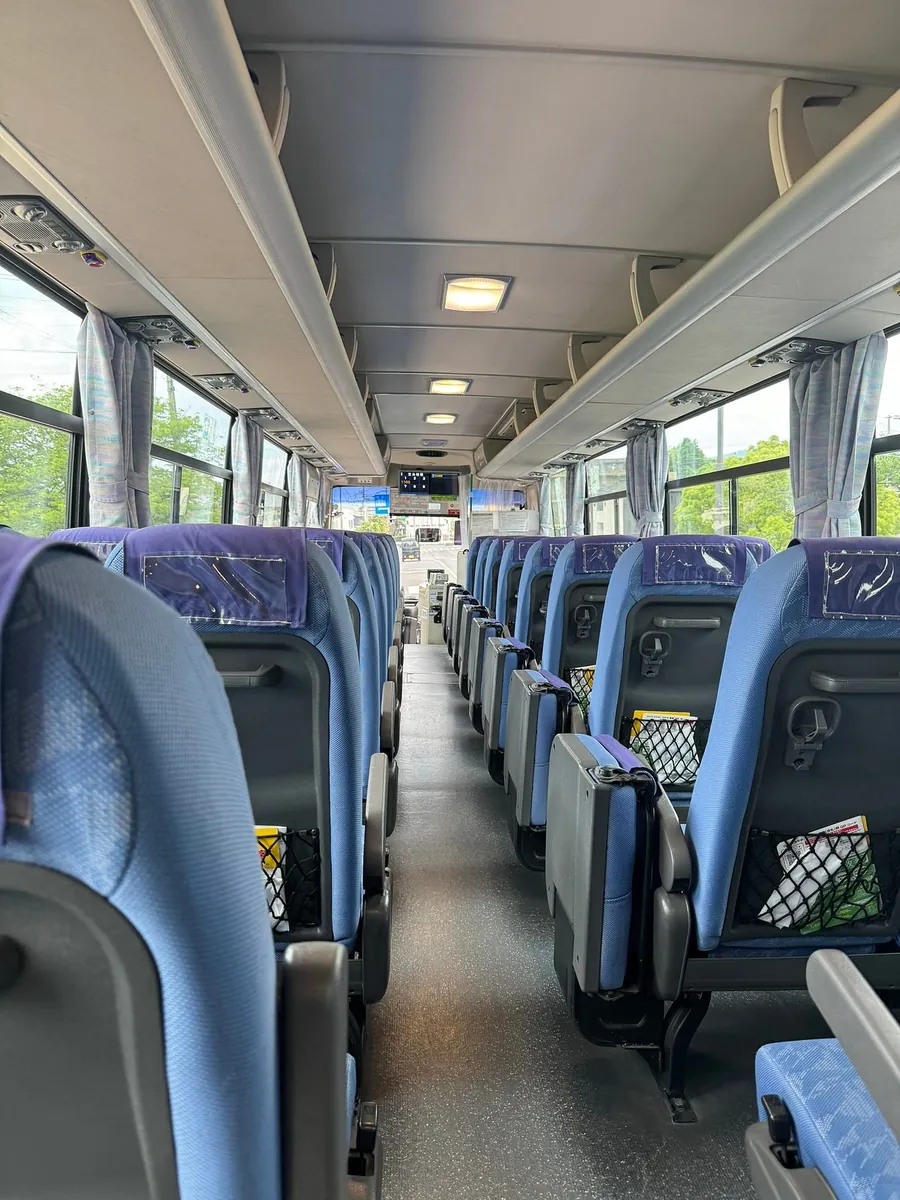
Mainly Japanese commuters, after passing through Karatsu city, I was the only one left on the train. I was going all the way to the last stop — Bodou Pier.
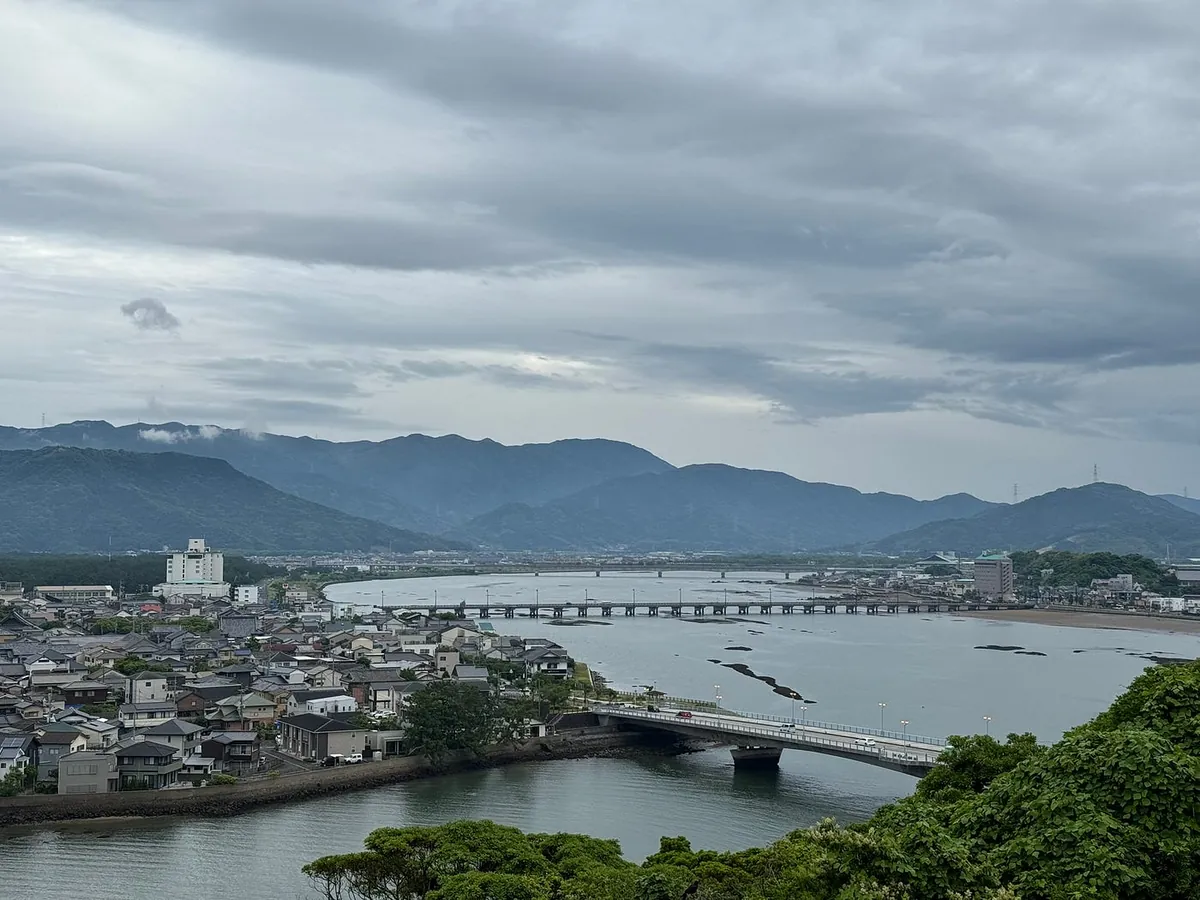
Karatsu
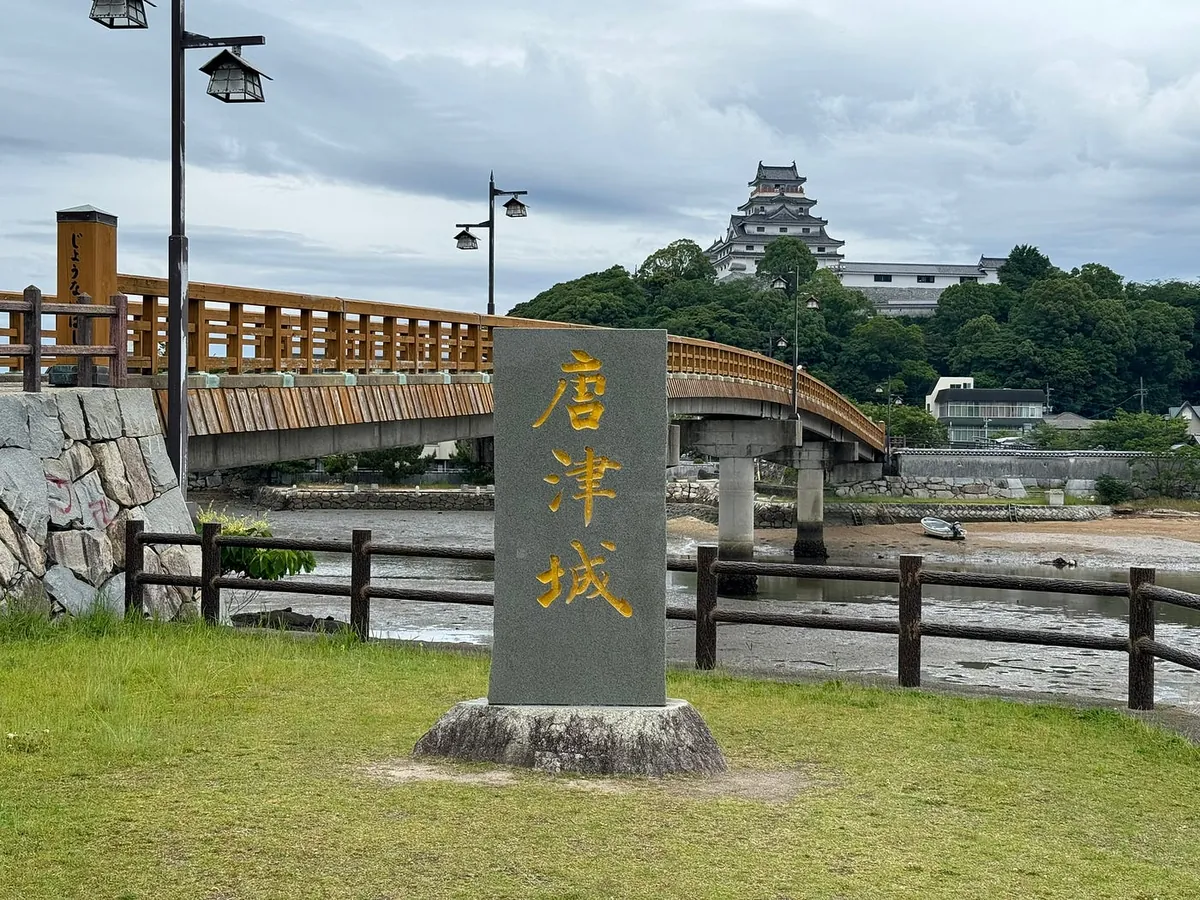
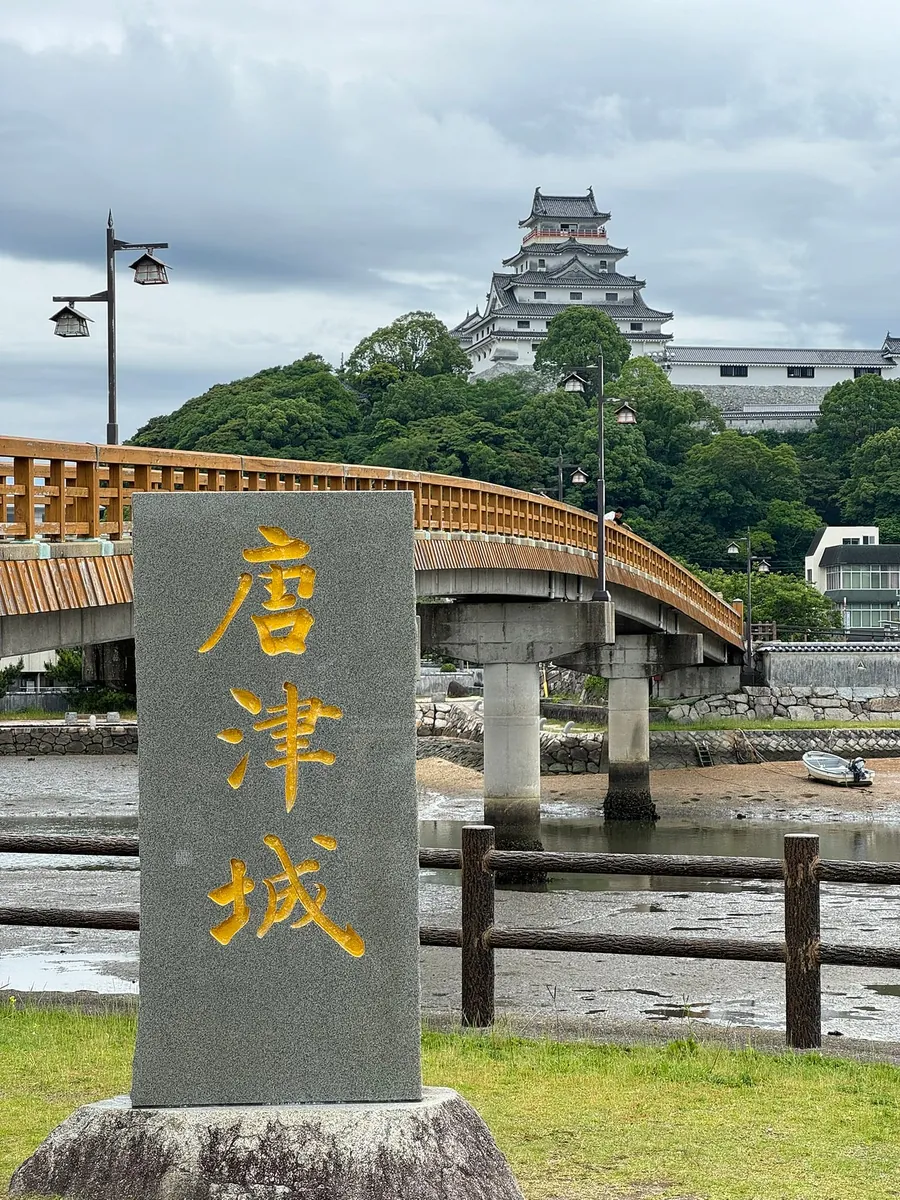
After getting off, walk a little forward to reach Bodang Pier. Continue walking back along the path to Tangjin Castle. Seeing this front bridge and rear castle view makes all the travel worthwhile.
Arrived here around 16:35, with only 25 minutes left before Karatsu Castle closes. Since I was already here, I decided to take a walk.
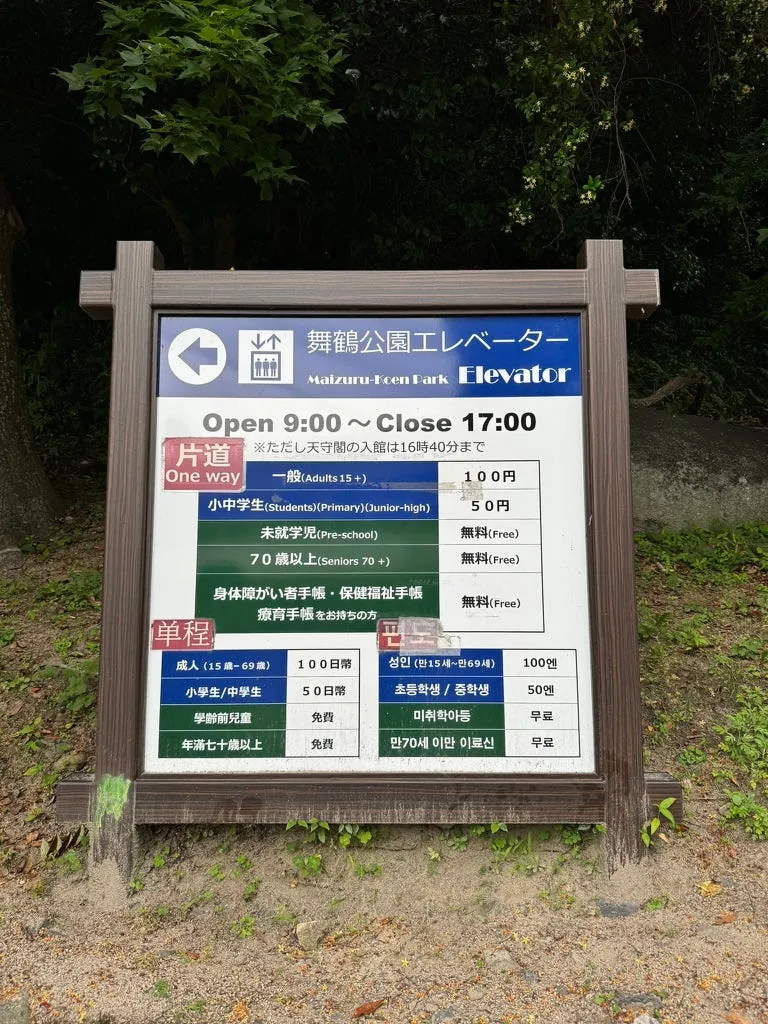
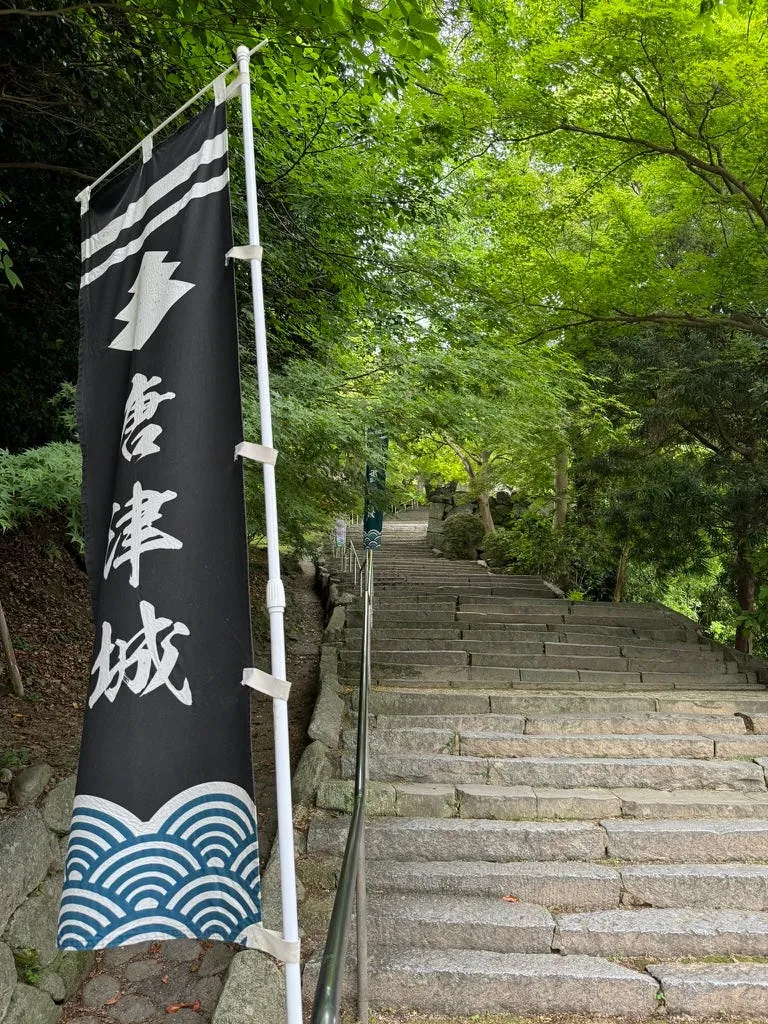
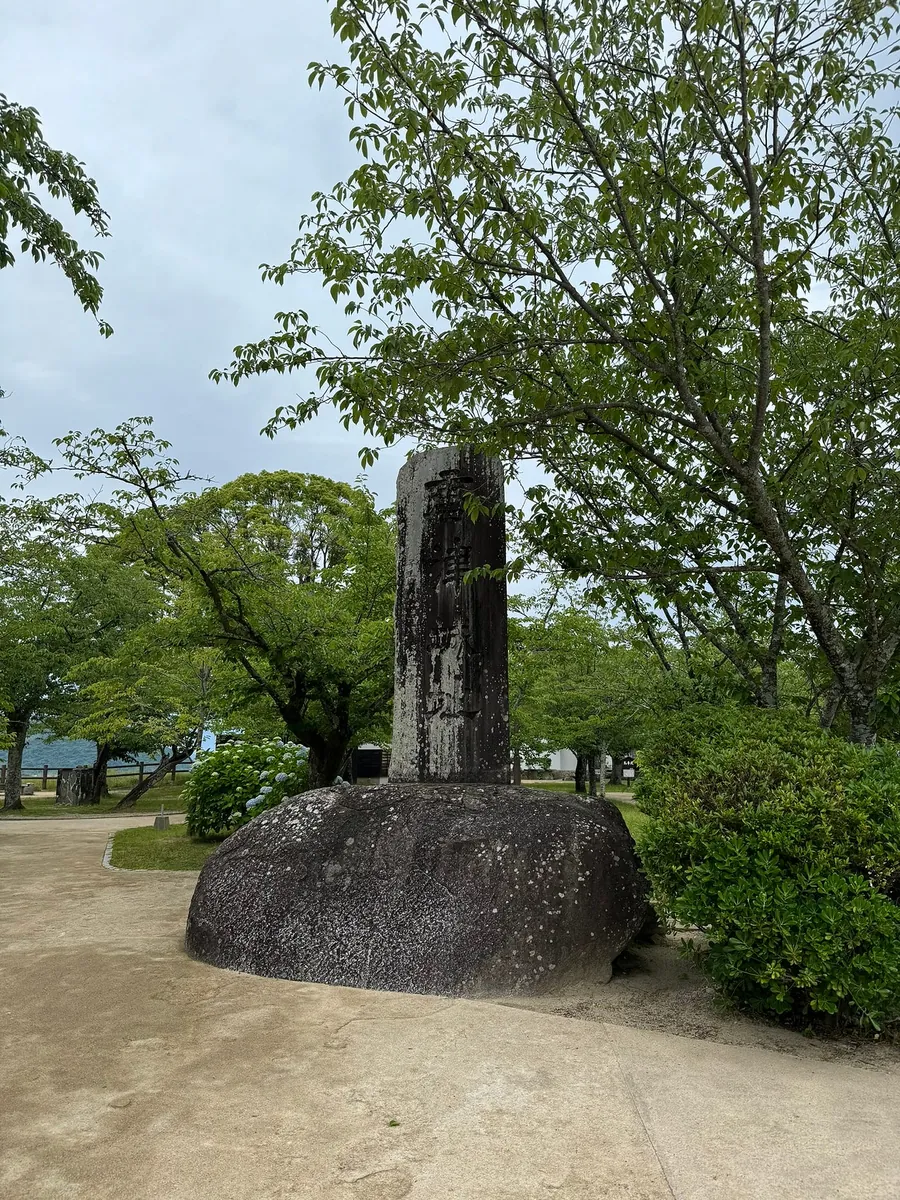
To reach Karatsu Castle, you need to walk up a slope below. Due to limited time, turn left directly to Maizuru Park next door and take the elevator up.
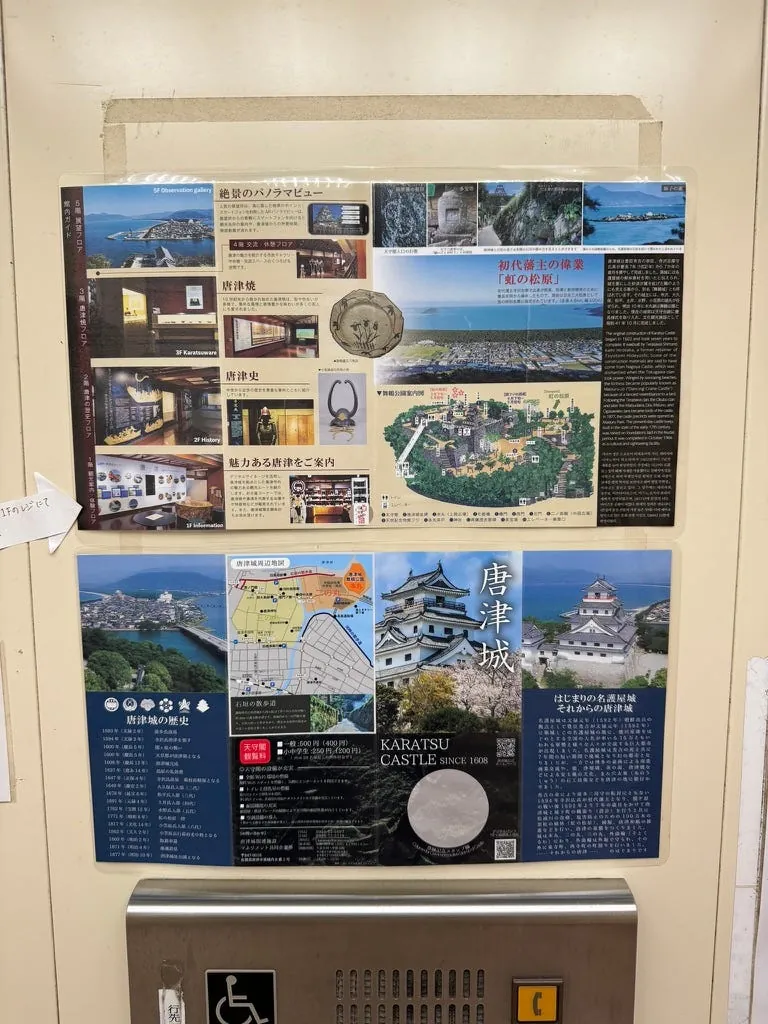
Taking the elevator costs 100 yen per ride. Buy a ticket from the vending machine at the entrance and give it to the staff.
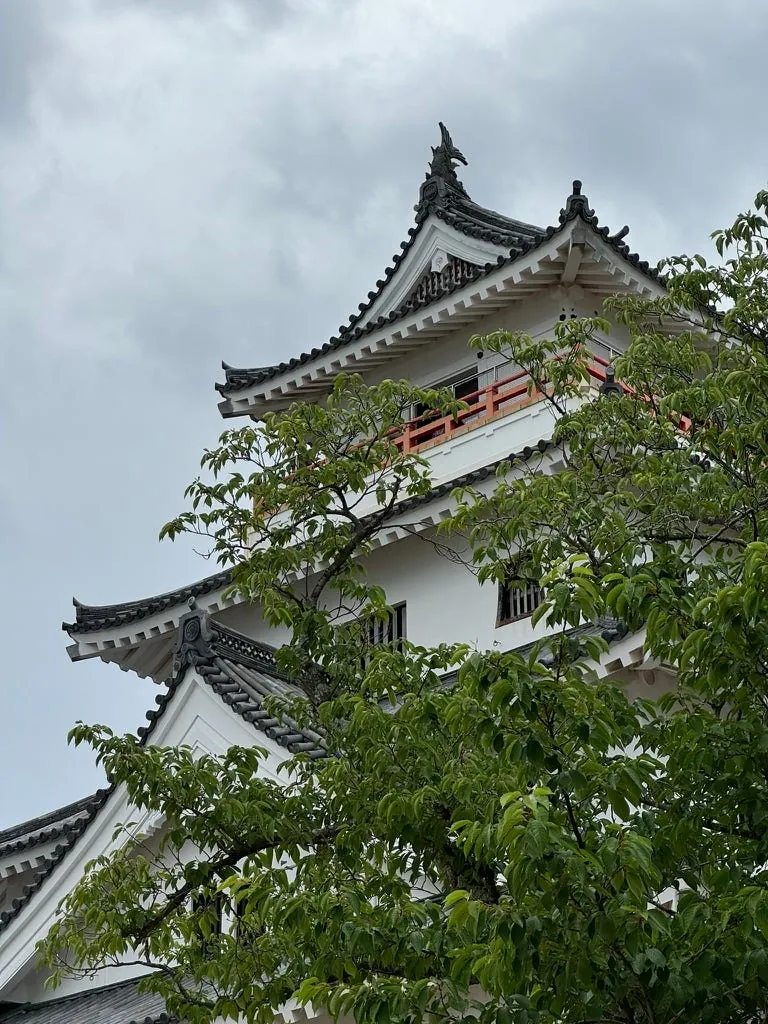
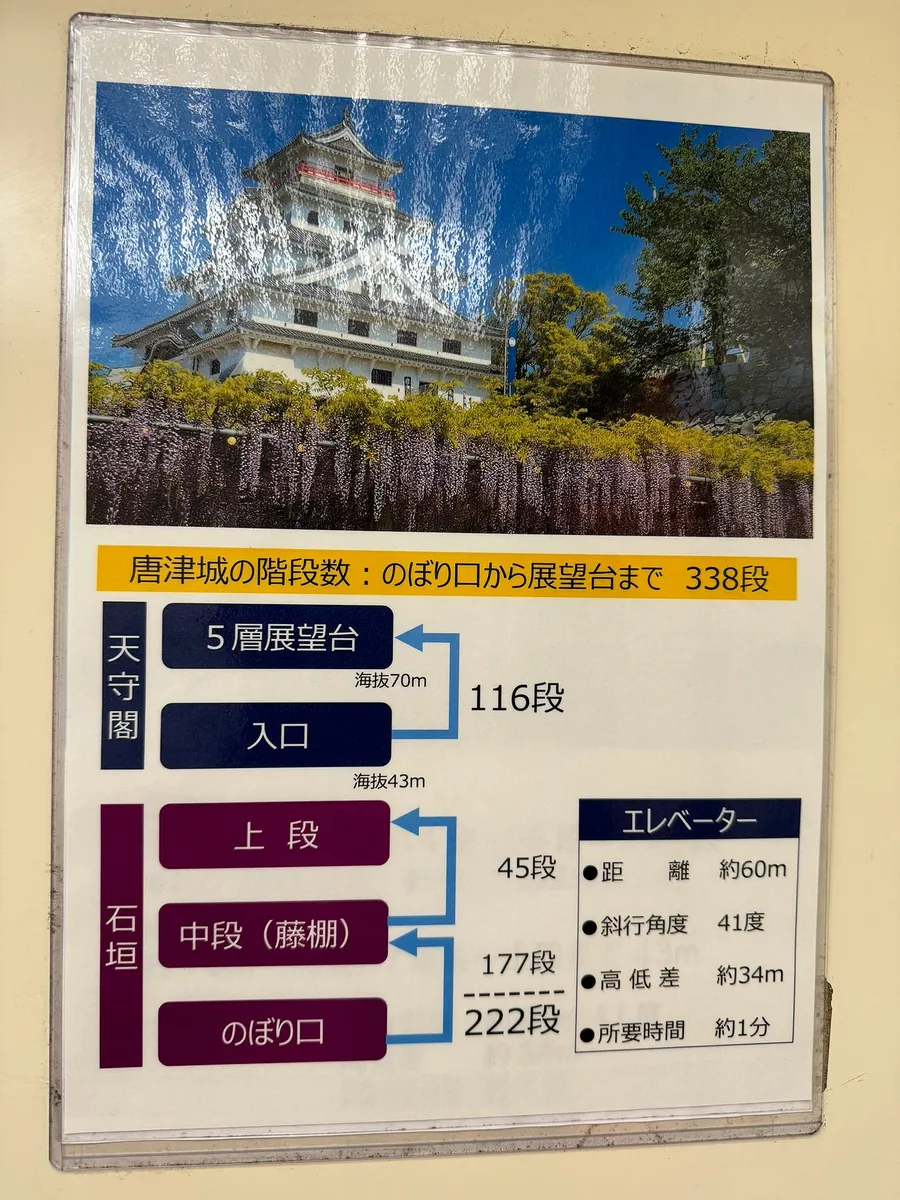
The main keep is closed to visitors; just came up to enjoy the view and see Karatsu Castle.
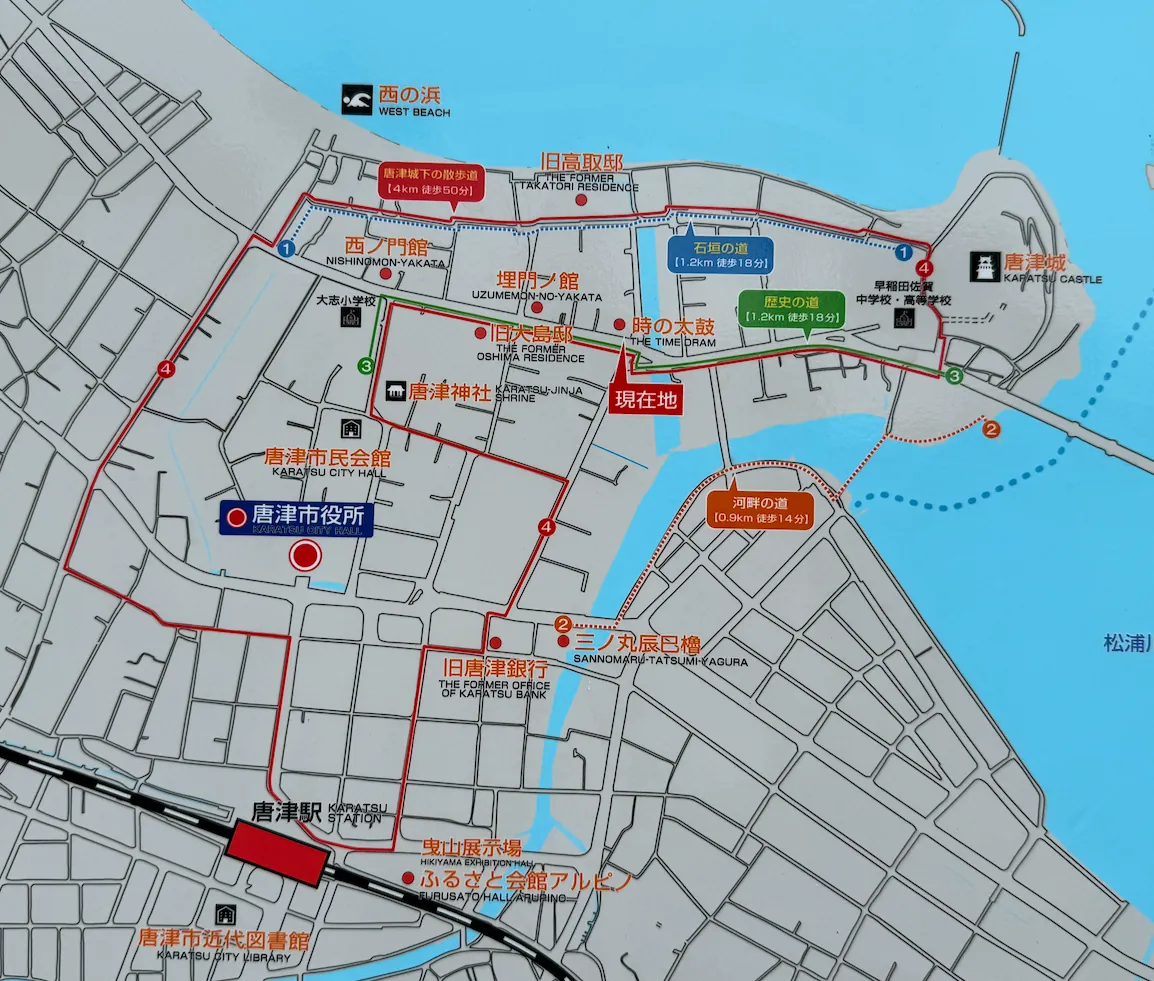
Return to the entrance before the elevator doors close, and follow the sightseeing map to walk back to JR Karatsu Station.
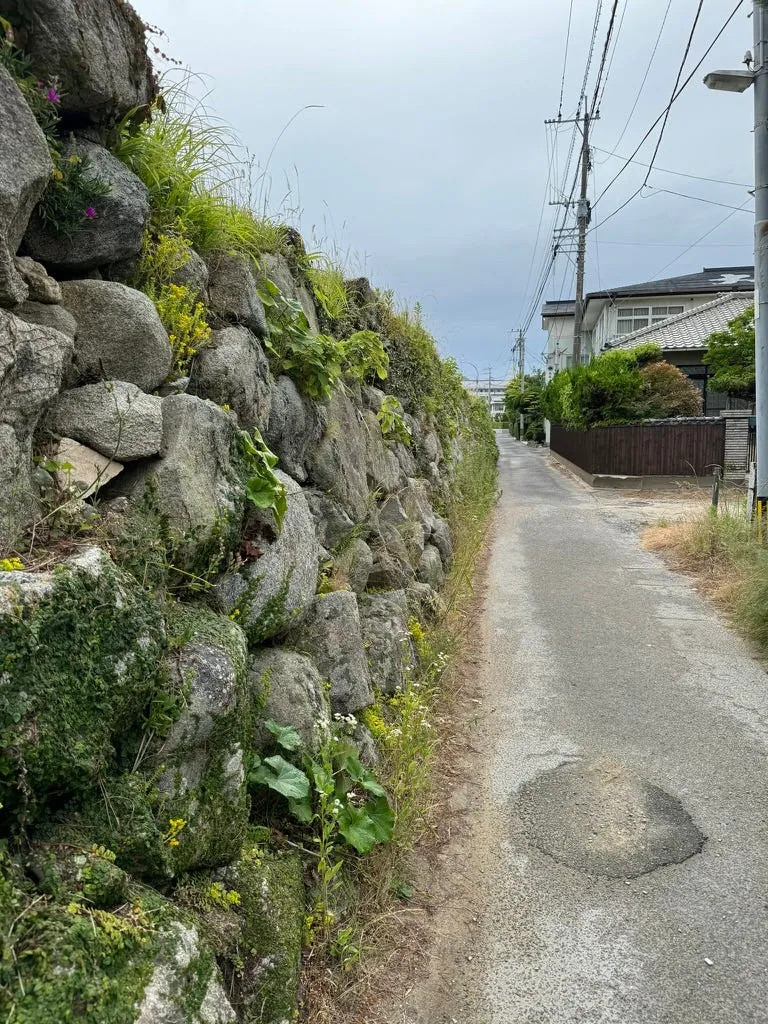
Take the Ishigaki Road to Karatsu Shrine first. (The road is sparsely populated and desolate)
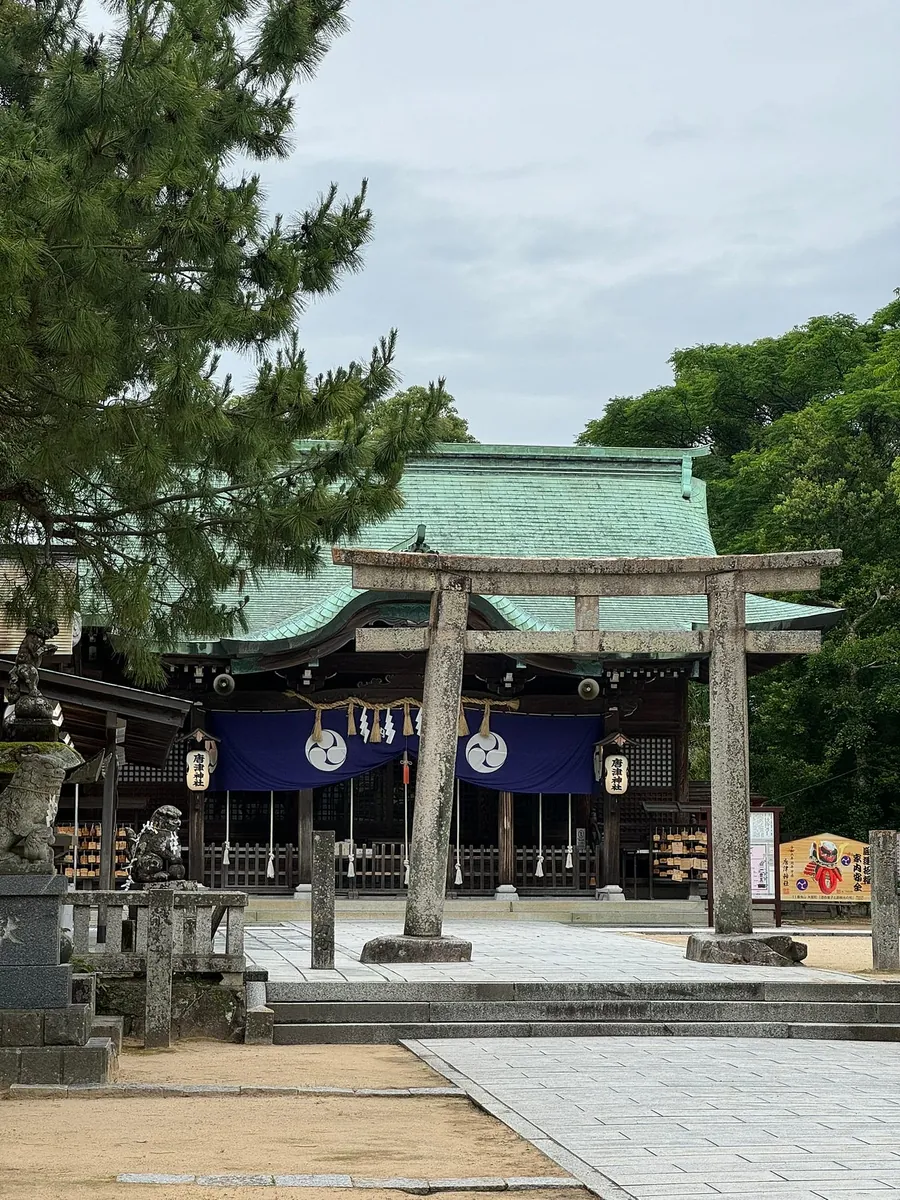
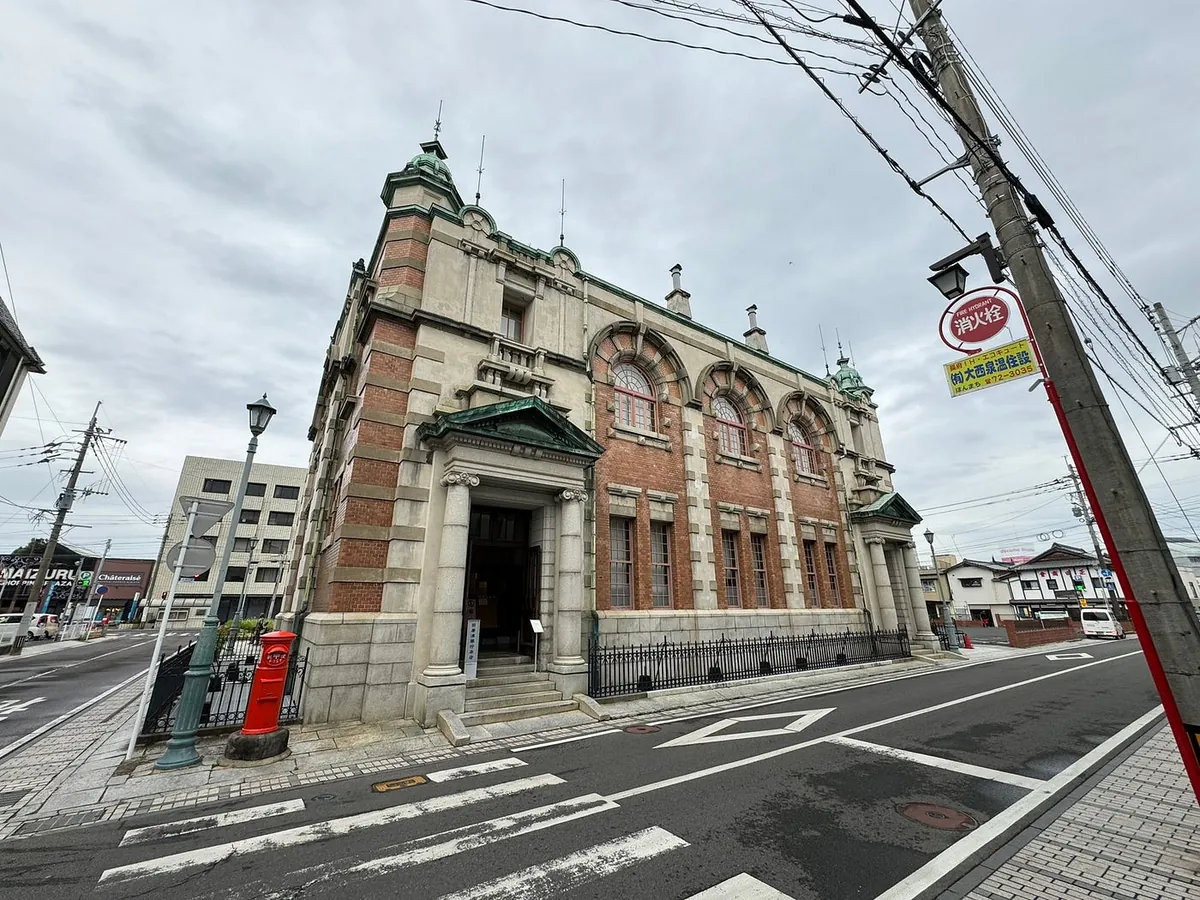
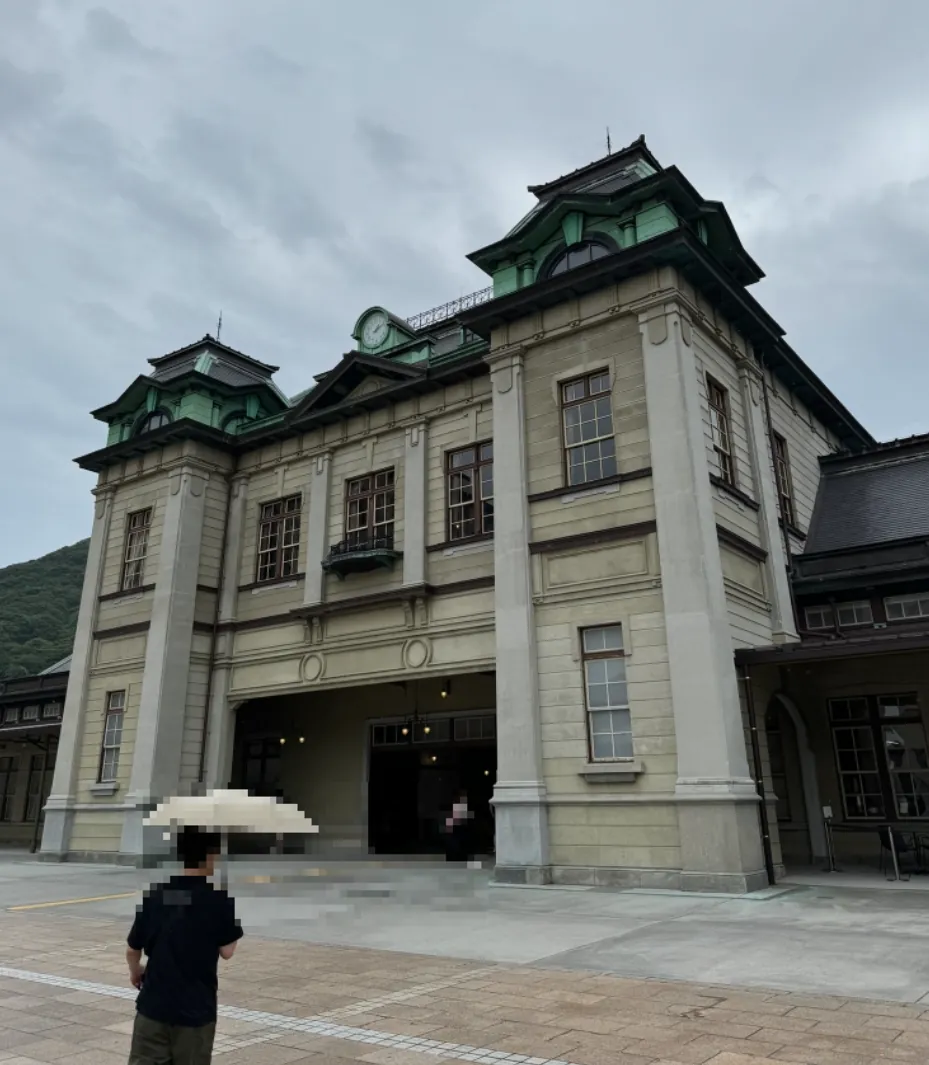
Karatsu Shrine (closed after 17:00), Old Karatsu Bank (designed by the same architect as Tokyo Station — Kingo Tatsuno).
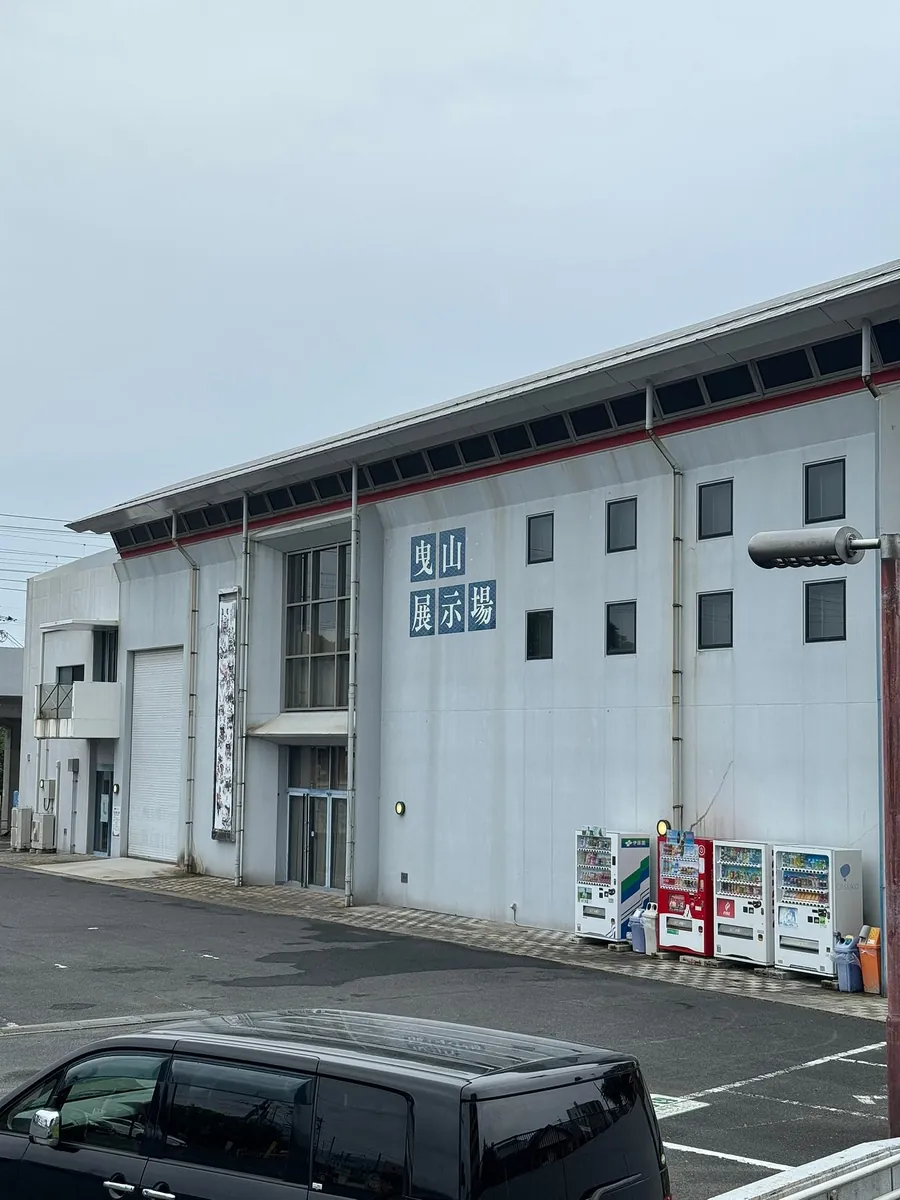
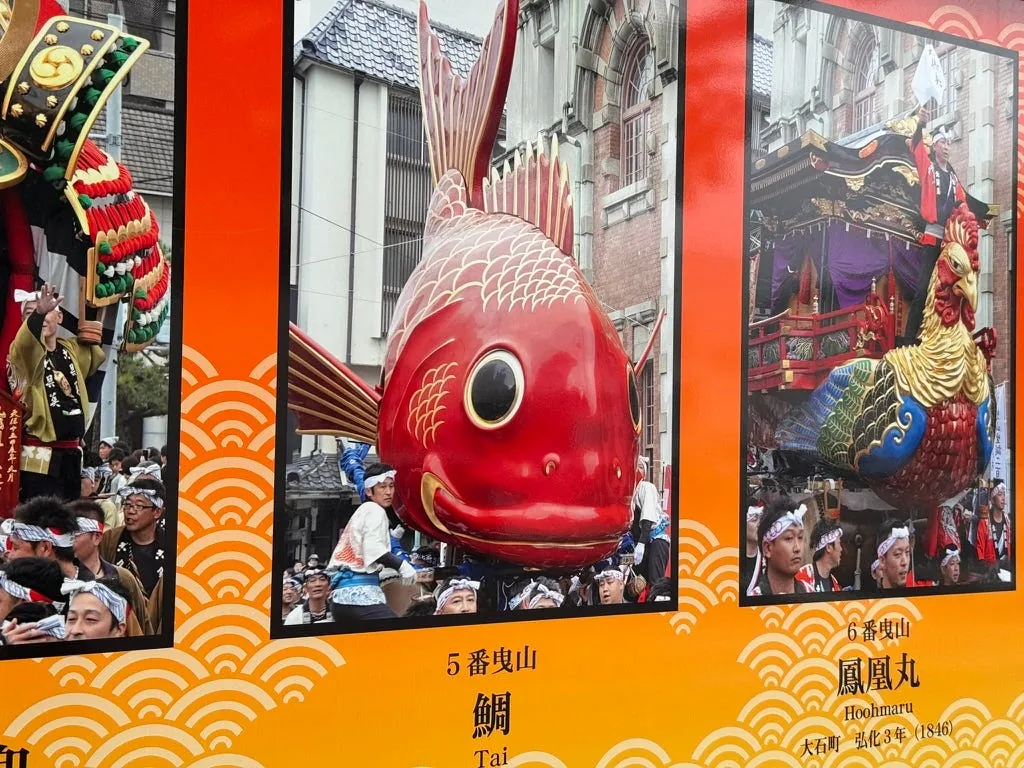
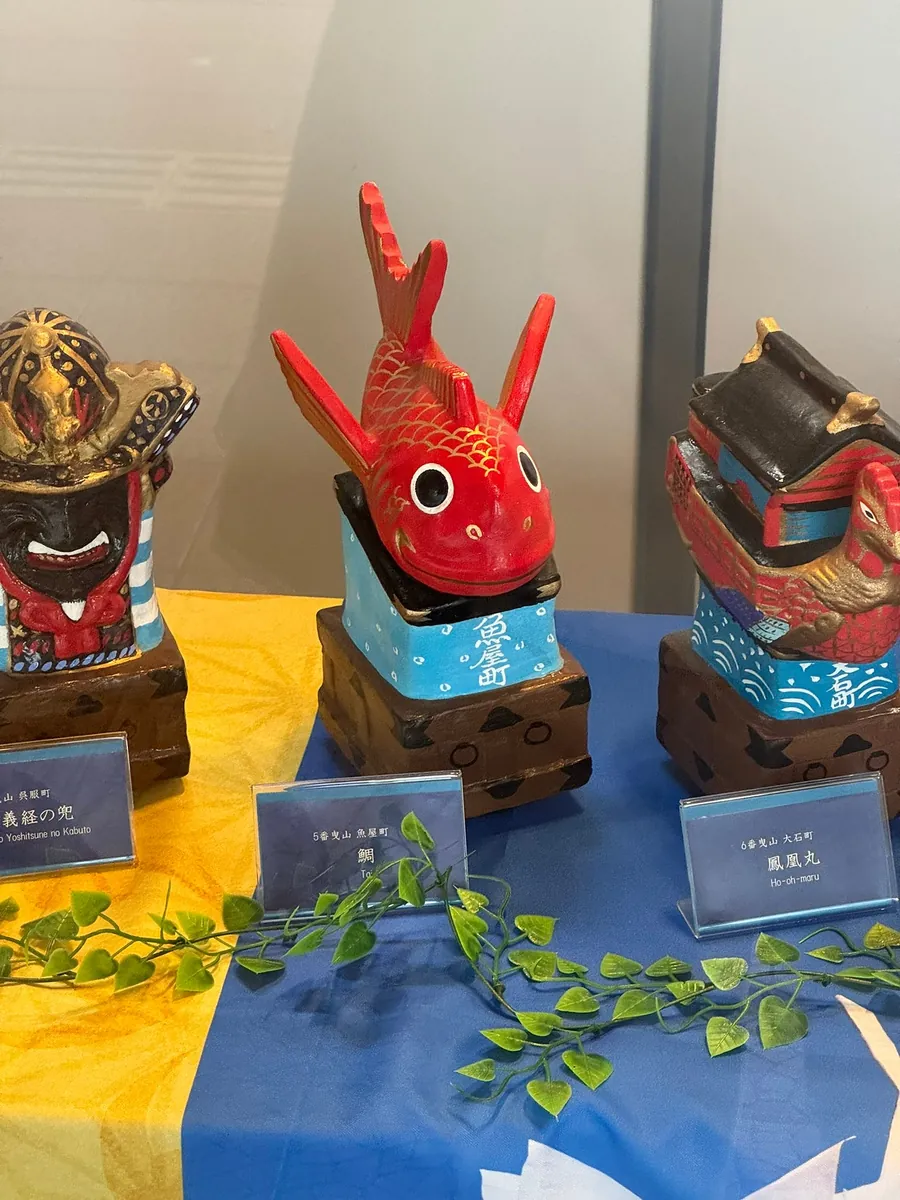
Near the station is the Yatai Exhibition Hall (closed after 17:00), so you can only see small models at the station.
At Karatsu Station, take the JR back to Hakata (Tenjin-Minami); encountered a problem when exiting because the entry was at JR Karatsu Station and exit at Tenjin-Minami subway station. The staff did not accept the JR Pass and demanded a full fare ticket from JR Karatsu to Tenjin-Minami QQ.
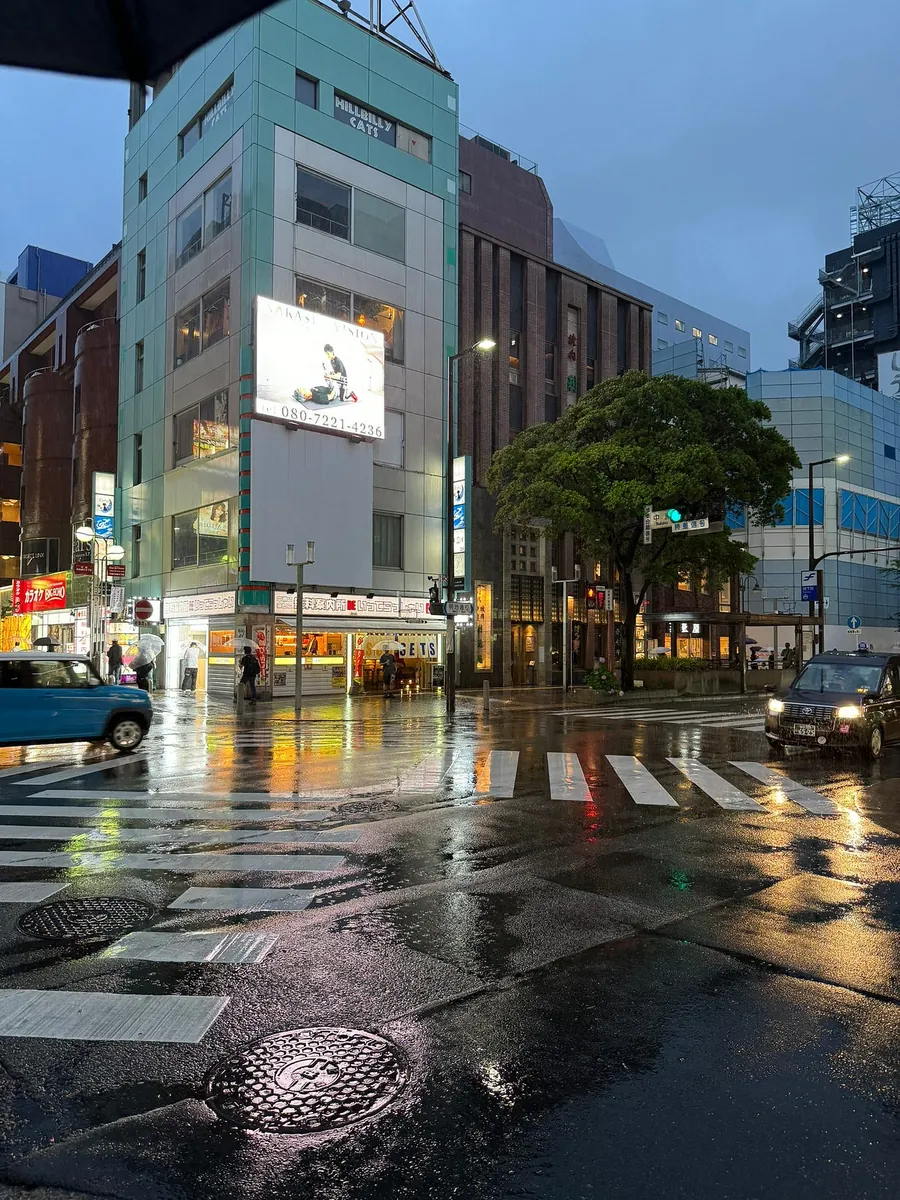
It was pouring rain in Hakata (the rain god was powerful). I randomly bought a rice ball at Tenjin Underground Shopping Mall for dinner and then dragged my luggage to the hotel.
This APA location offers more space, but the facilities are generally outdated. It’s also my first time staying at an APA without a unit bath, and it lacks a hot spring bath and smart features (like checking the washing machine, Airplay, etc.).
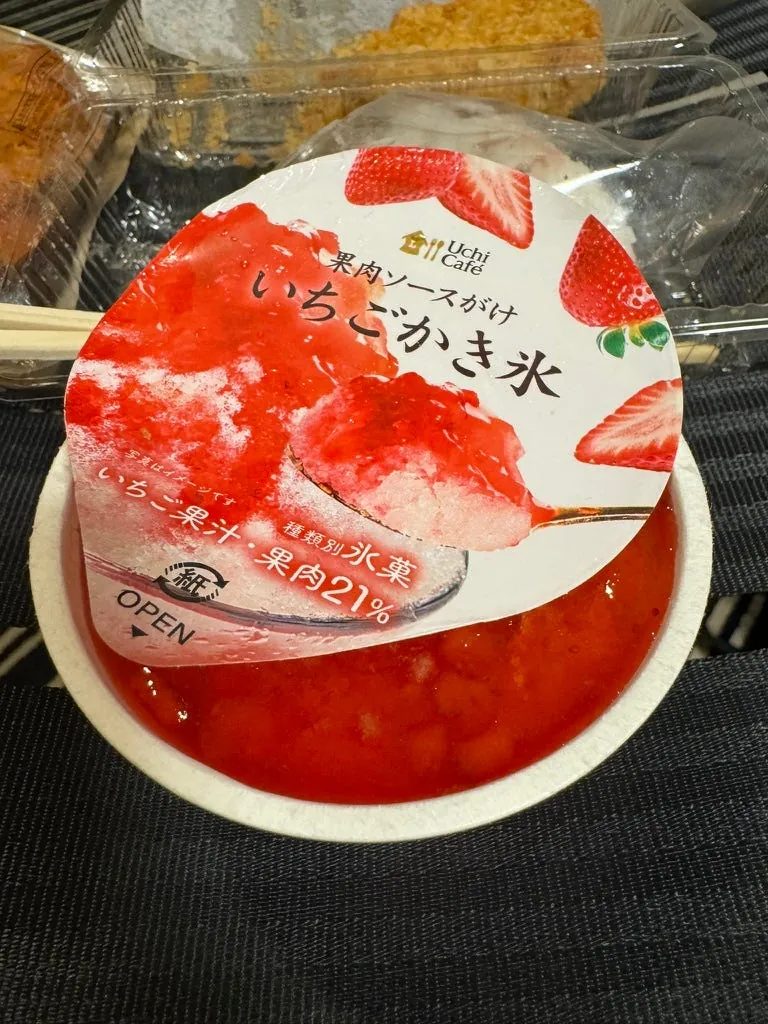
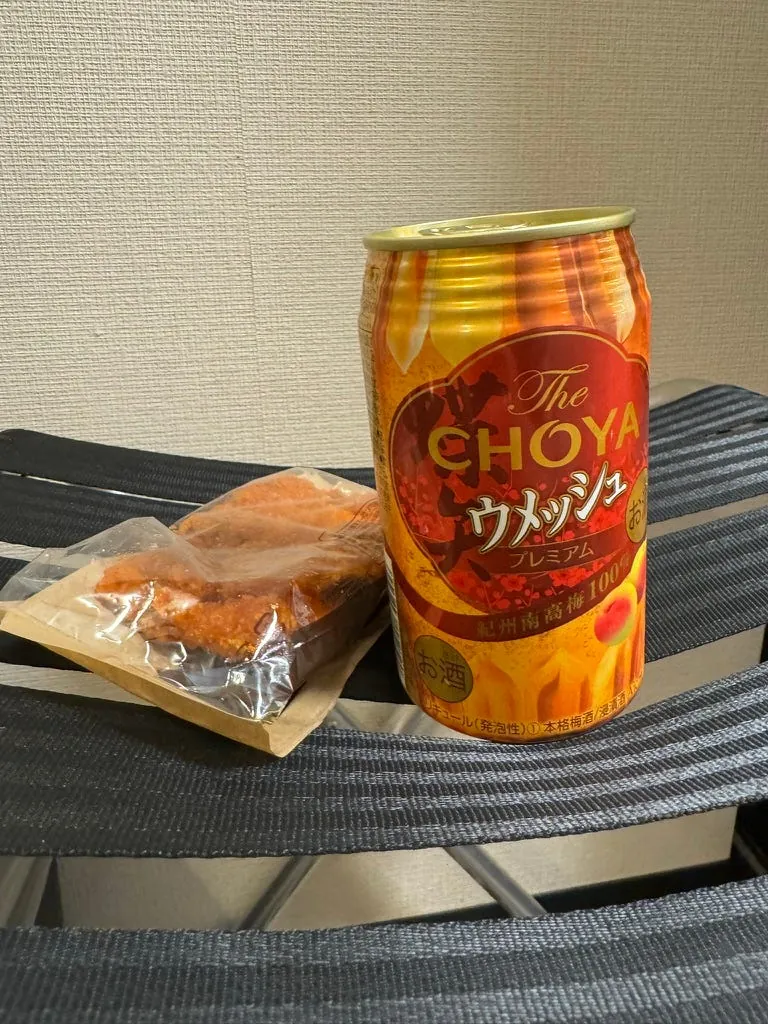
Snack is strawberry smoothie, late-night snack is convenience store fried chicken, Qiuyah (so sweet).
End of a long day.
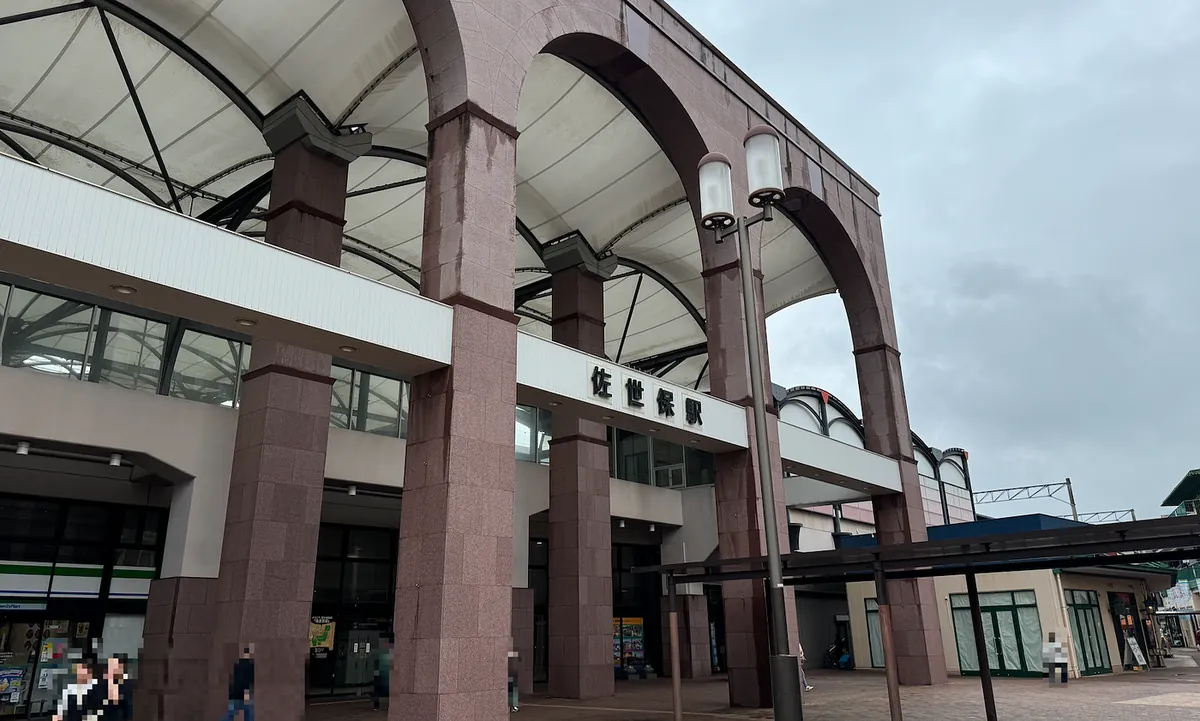
Day 7 Sasebo (Kujukushima), Takeo Onsen
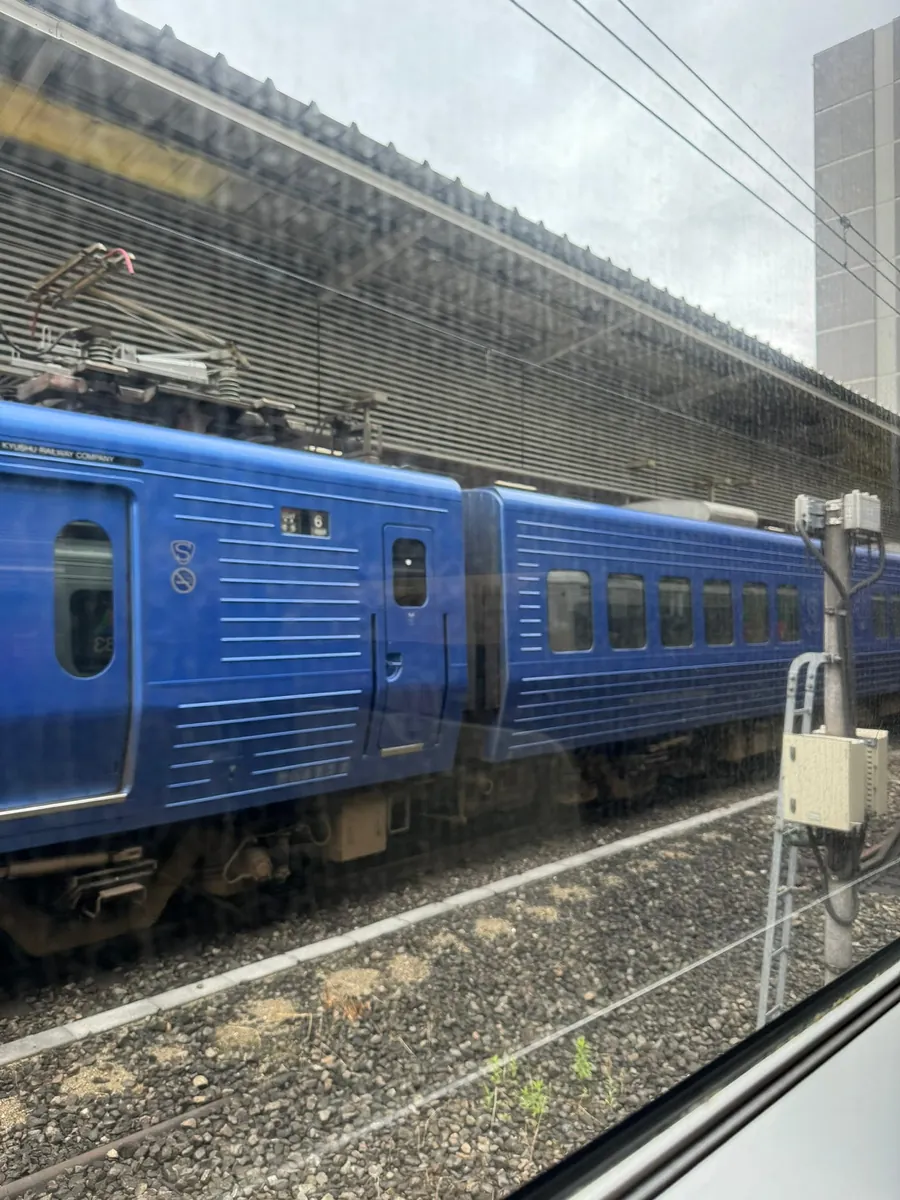
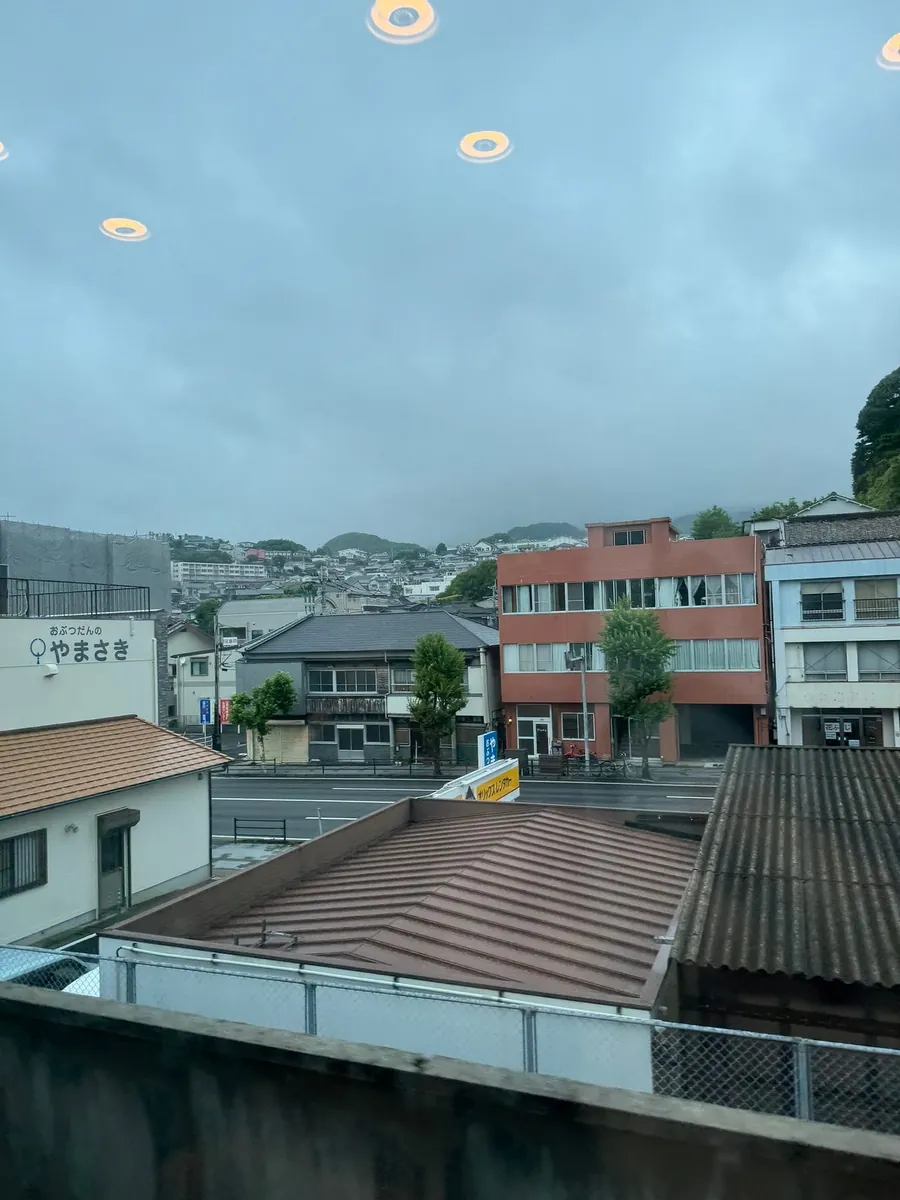
It was cloudy in the morning, and it was already the last day of the JR Pass. Unable to change the itinerary, I had to continue taking the train to Sasebo.
The JR train ride takes about an hour and a half. I recorded a segment of the JR Kyushu onboard announcement as a memory.
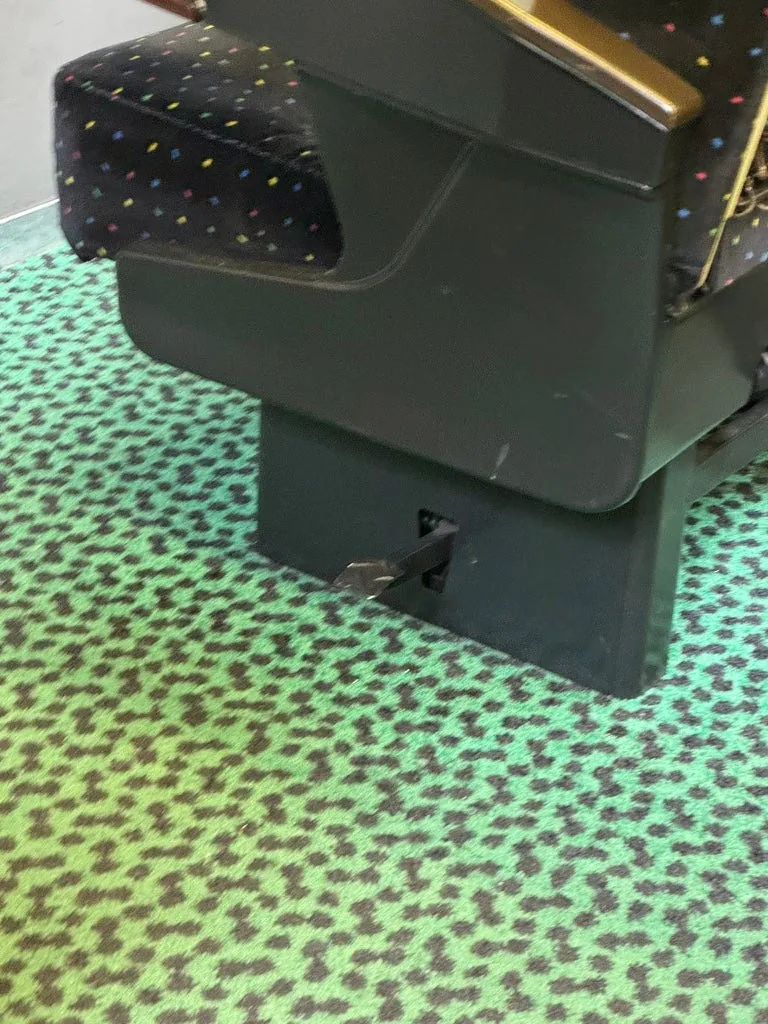
The last section from Haiki to Sasebo will be driven in reverse (about 10 minutes). If you are prone to motion sickness, you can use your foot to switch the seat direction.
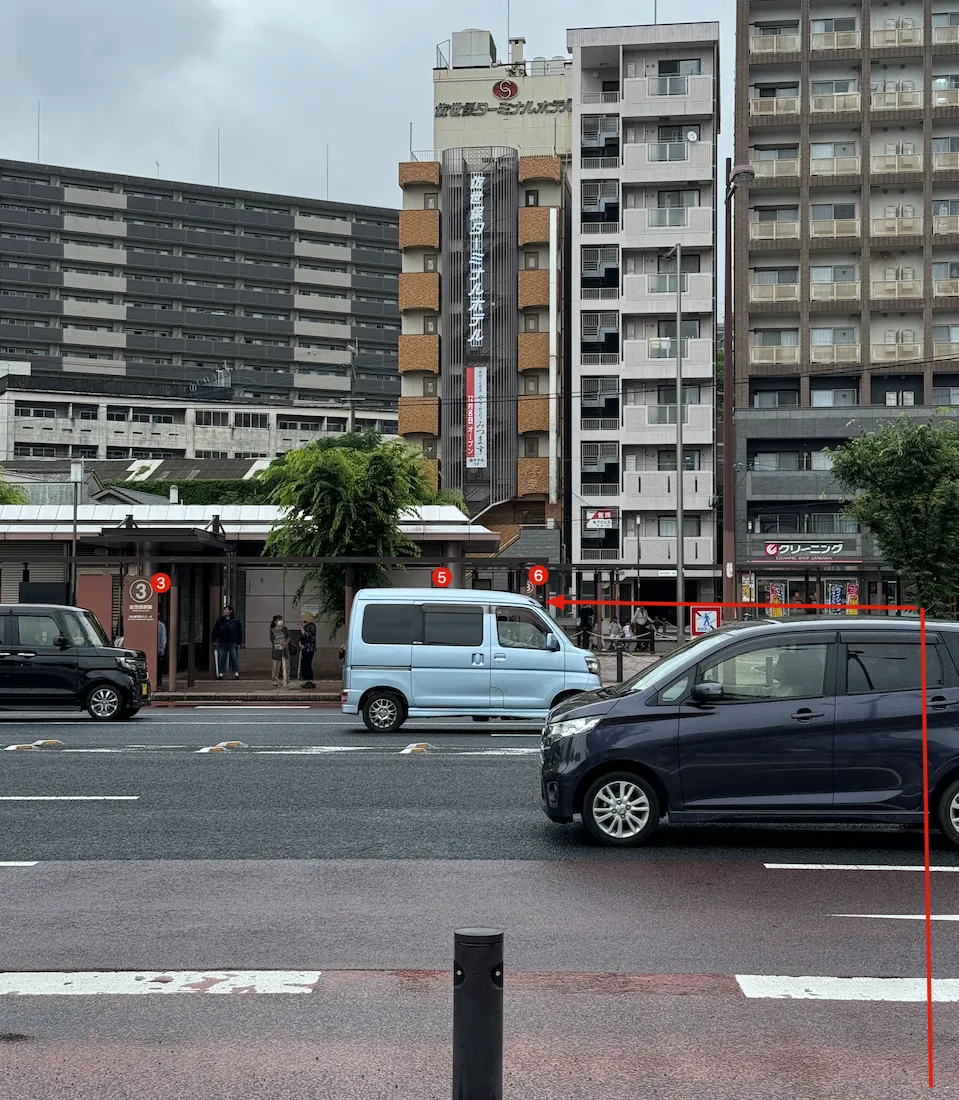
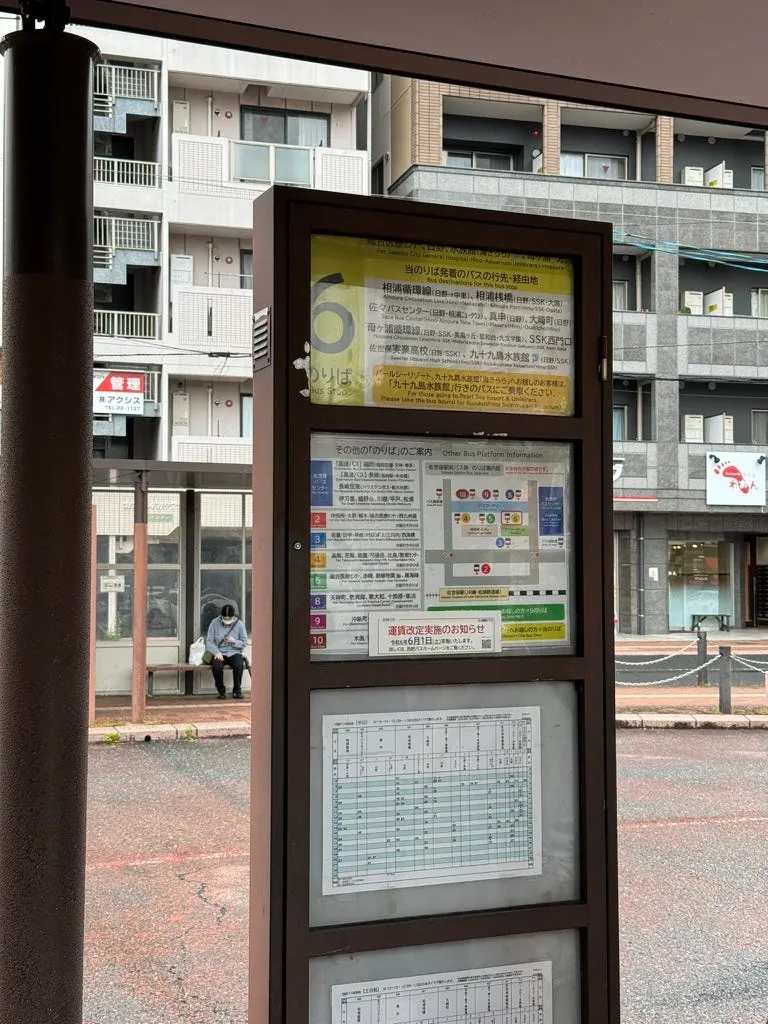
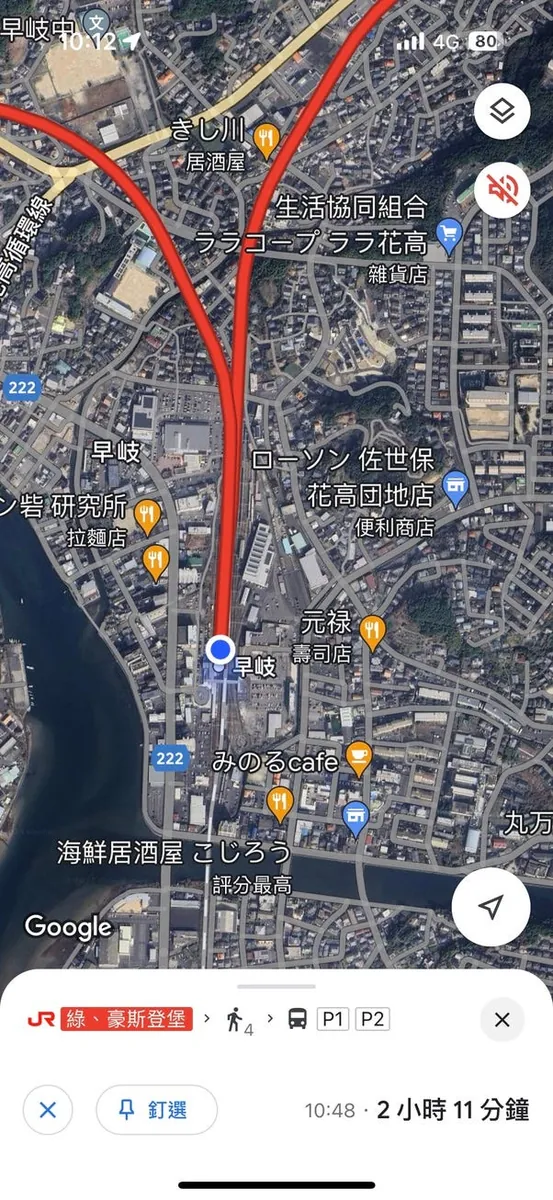
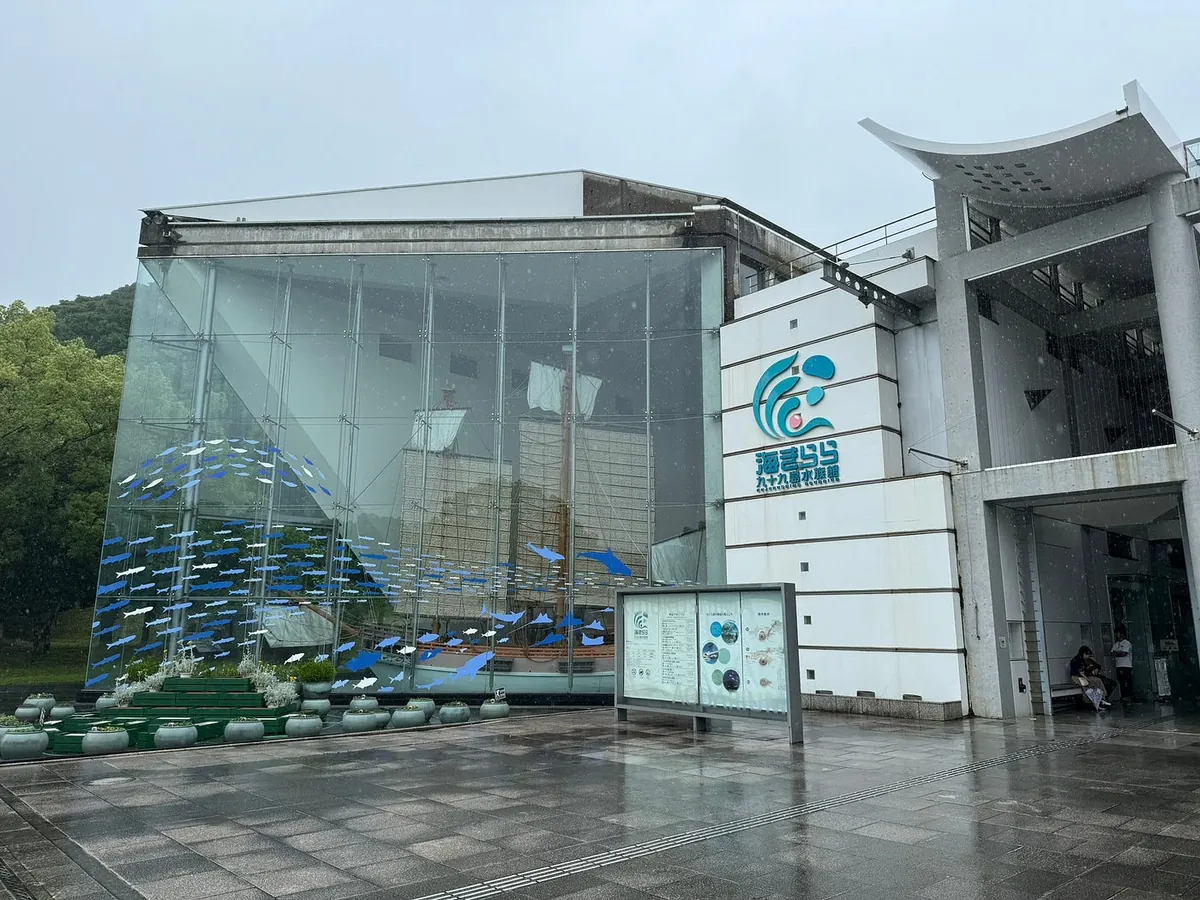
After leaving Sasebo Station, cross the street to the opposite side, then walk back to find bus stop No. 6, heading to “Kujukushima Aquarium.”
After transferring to the bus and getting off at Kujukushima Aquarium Station, it’s about a 5-minute walk to the Kujukushima Cruise Visitor Center, where you can buy tickets for the boat tour. (Showing a JR Pass gives you a discount)
KKday Online Ticket: Nagasaki, Kyushu Japan | Kujukushima Sightseeing Cruise Ticket
Kujukushima Sightseeing Boat
{:target="_blank"}](/assets/cb65fd5ab770/1*IzDOwDQrvA4uA_afZP_nQQ.webp)
Official Kujukushima Website Information
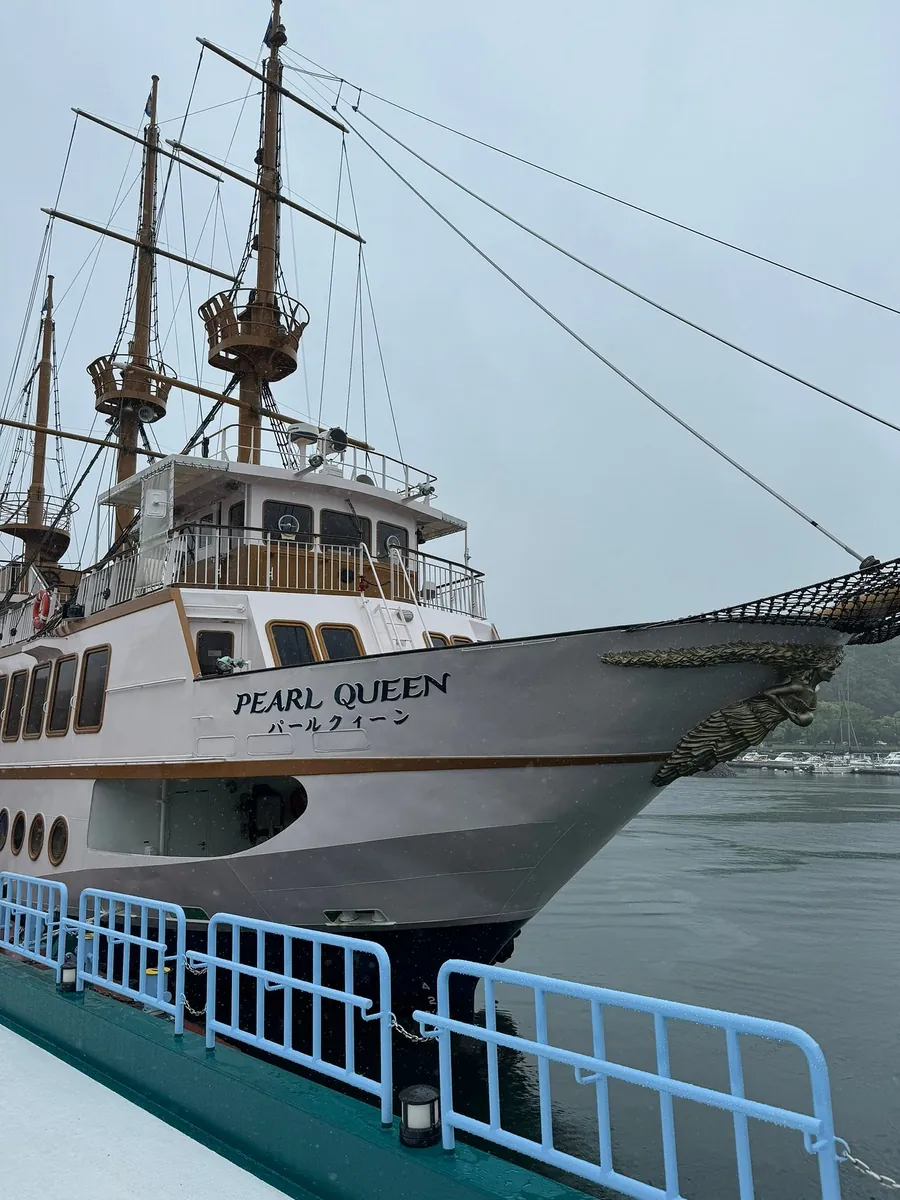
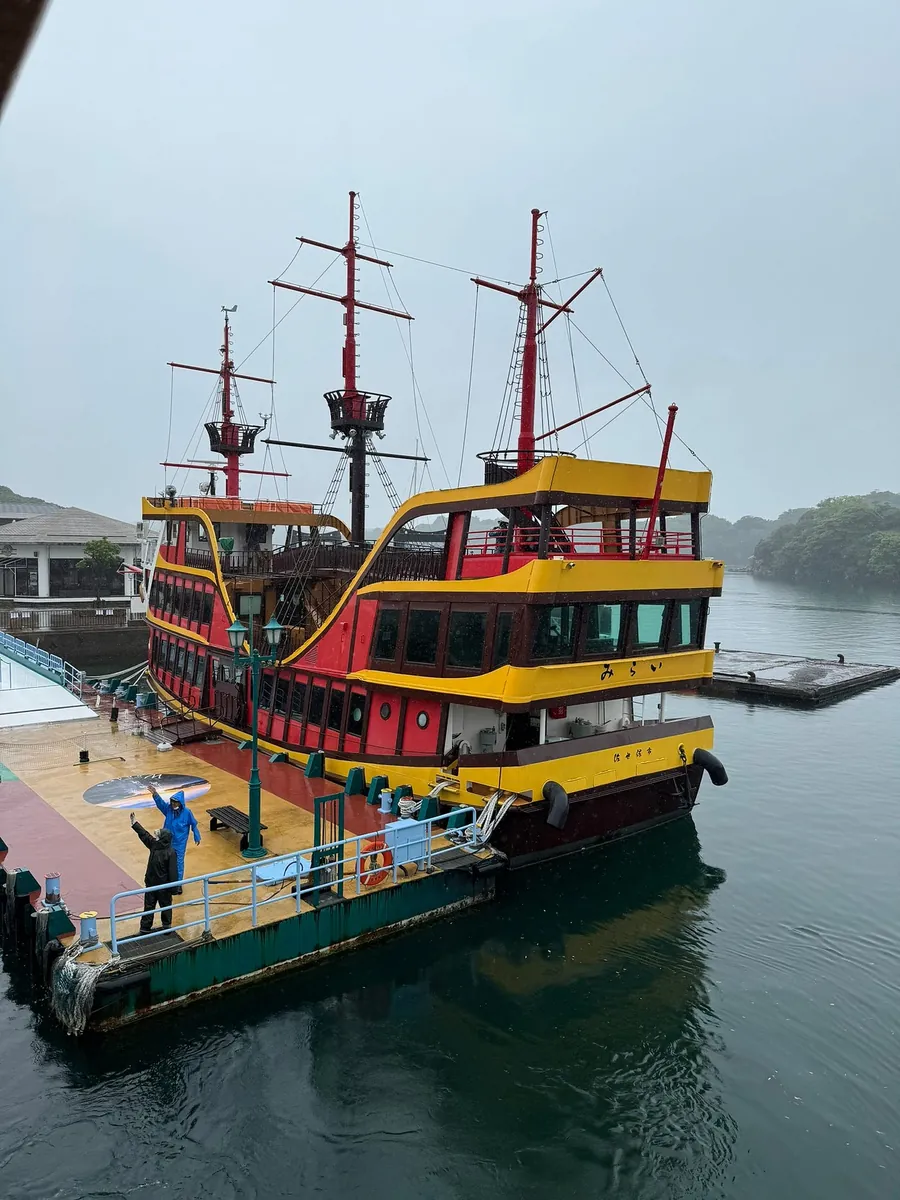
This time, I took the white Pearl Queen ship on the left at 11:00.
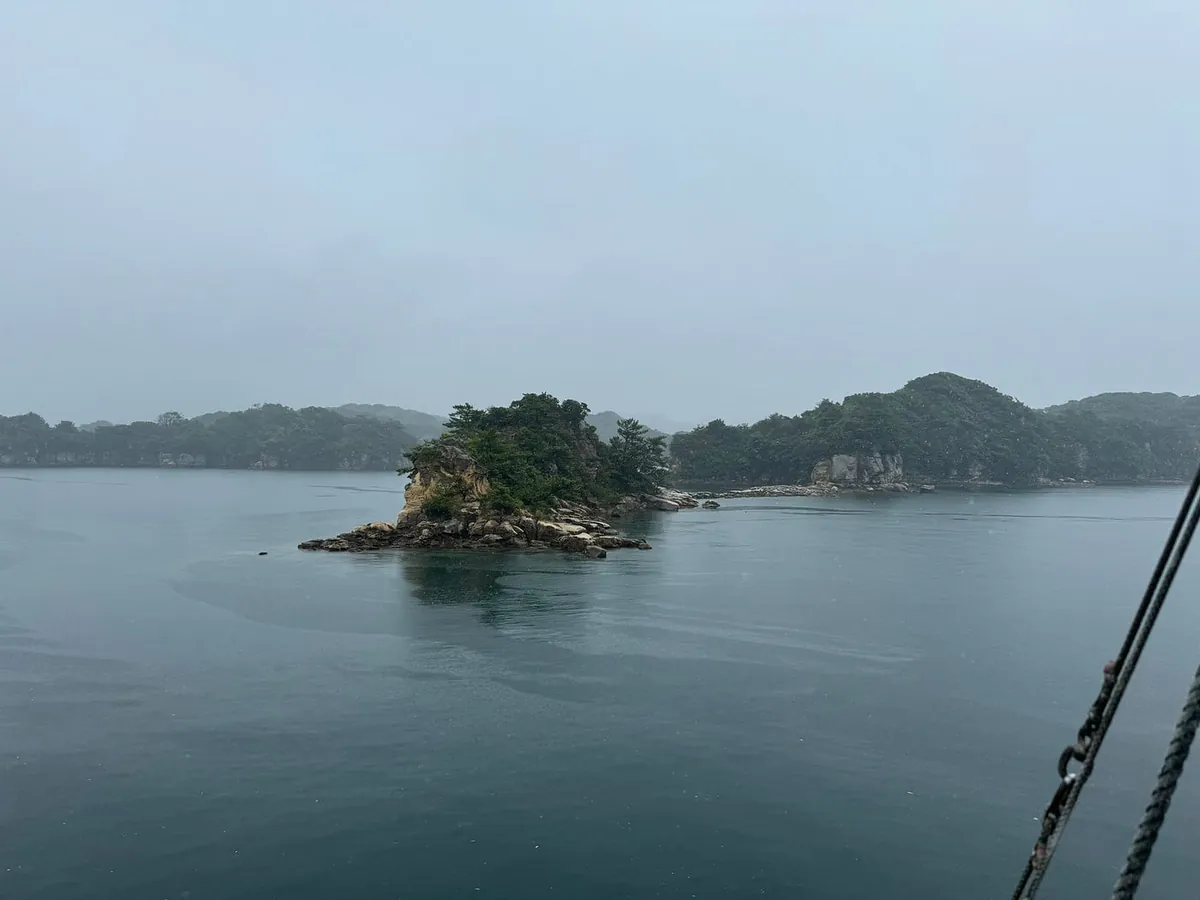
Heavy rain and bad weather prevent me from becoming a pirate king. I can only hold an umbrella, feel the wind, and get soaked in the rain.
The ship provides announcements in Chinese, English, Japanese, and Korean. The trip takes about 50 minutes. Restrooms and a snack bar are available on board.
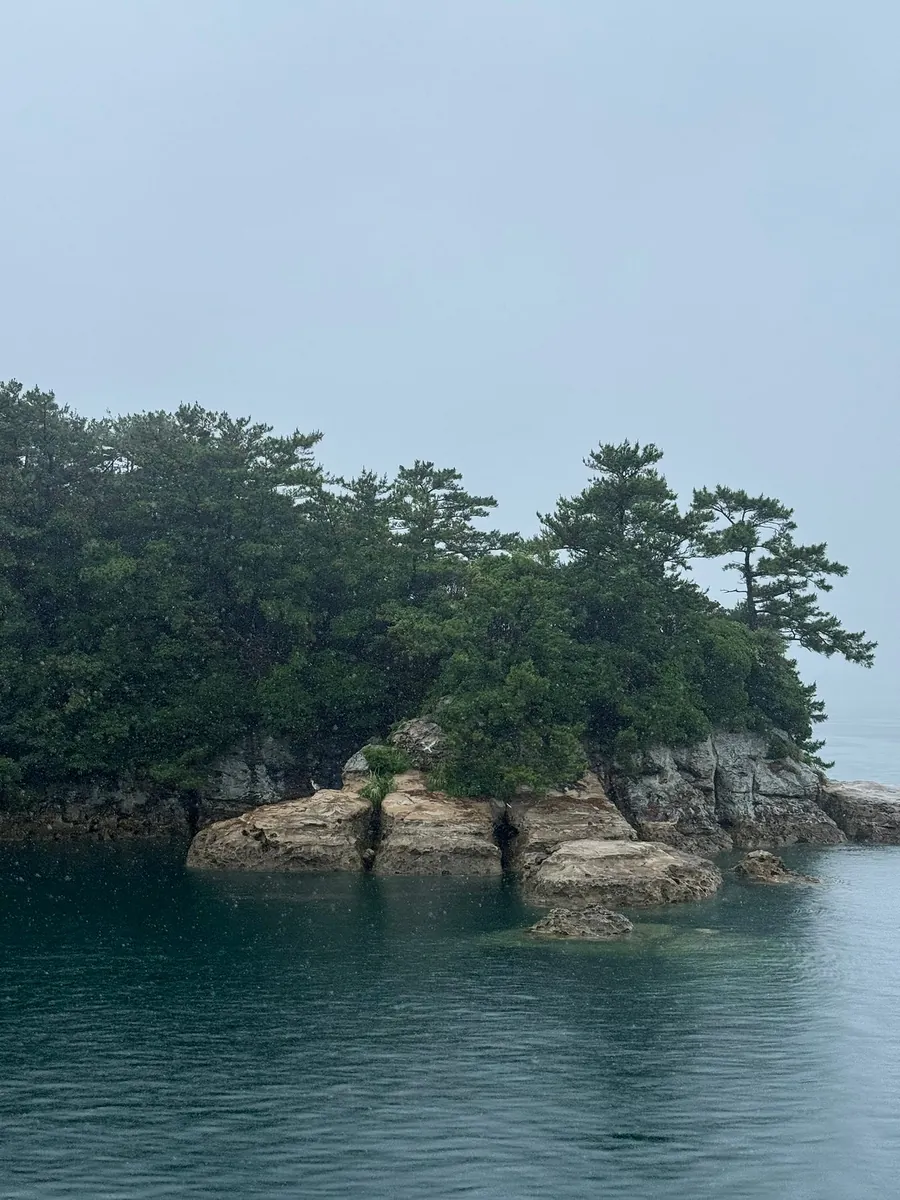
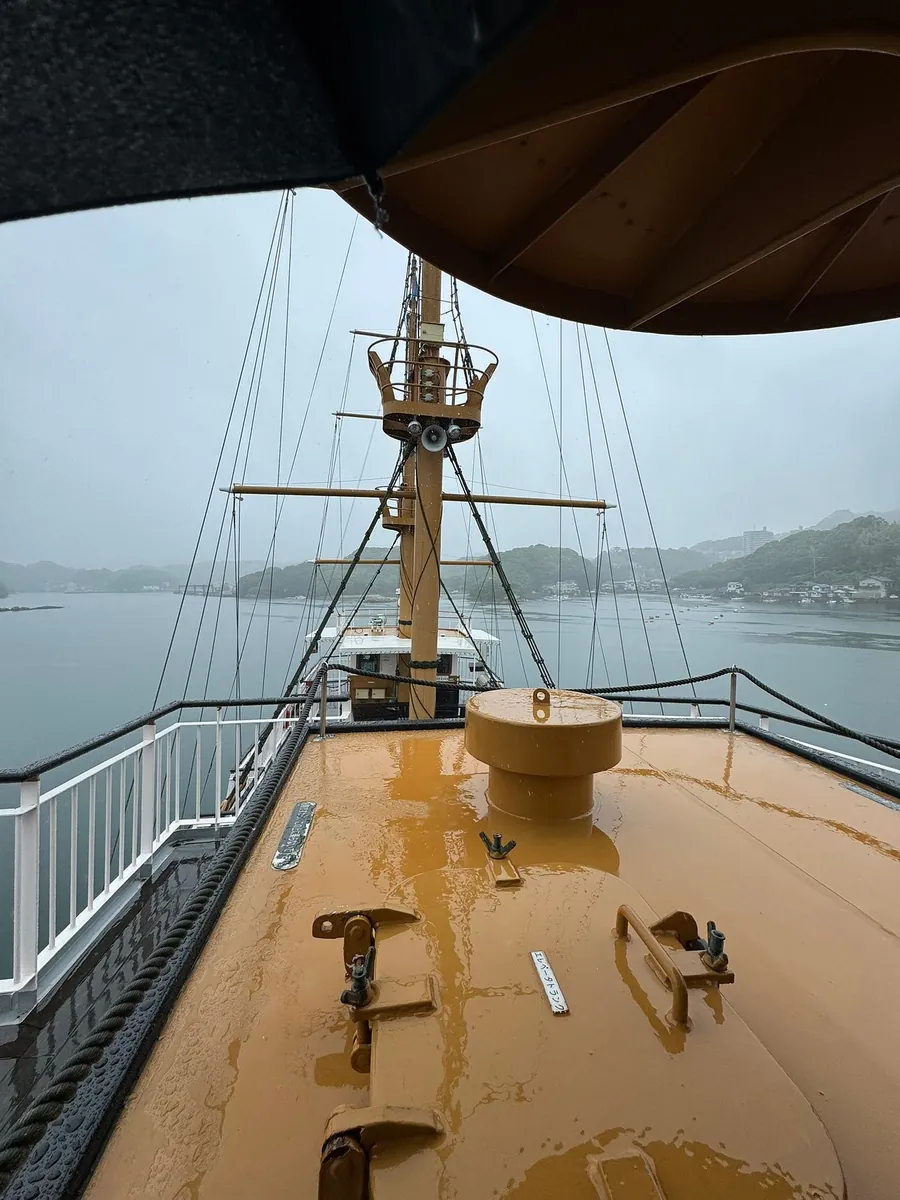
You can go from the cabin to the deck and the birdwatching platform, but we didn’t go up that day due to heavy rain and strong winds.
The wind is especially strong when the boat passes between the two islands, so be careful.
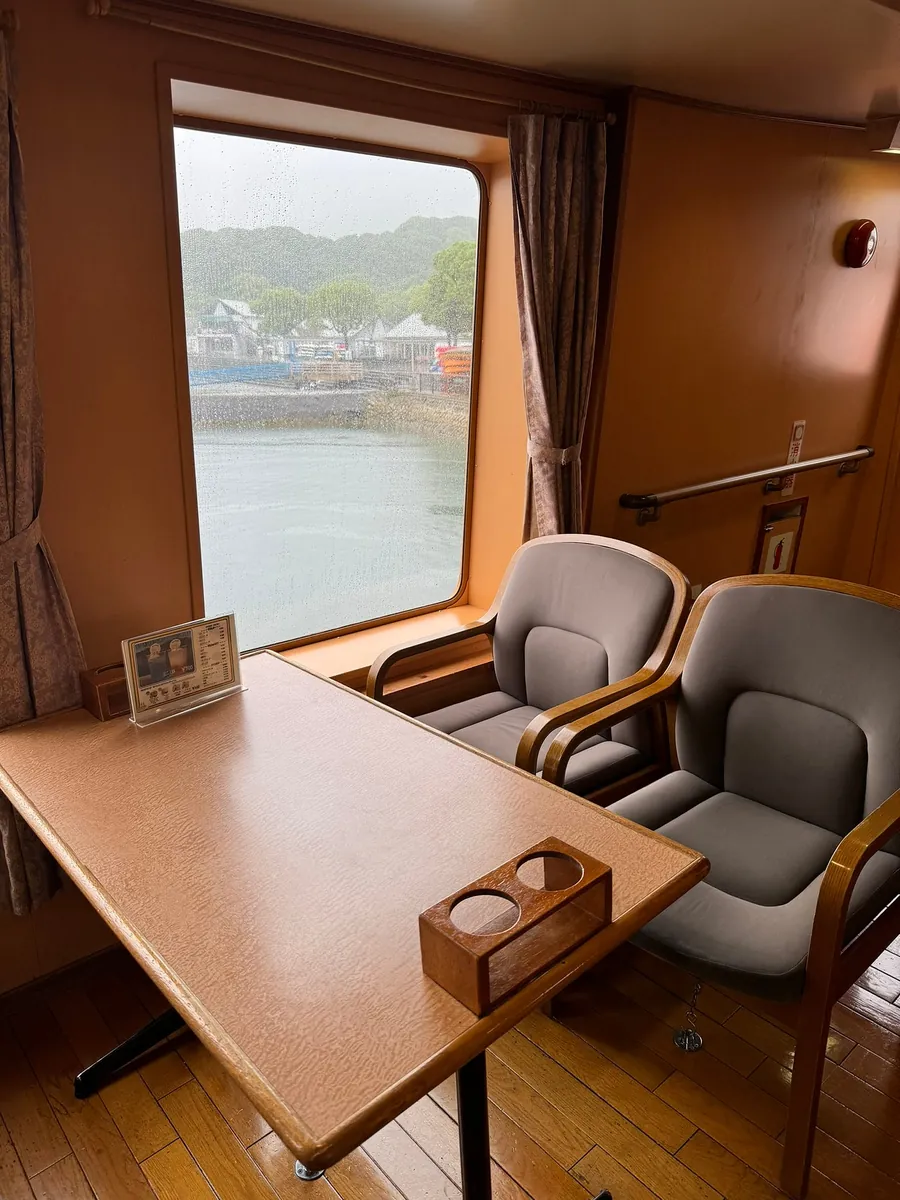
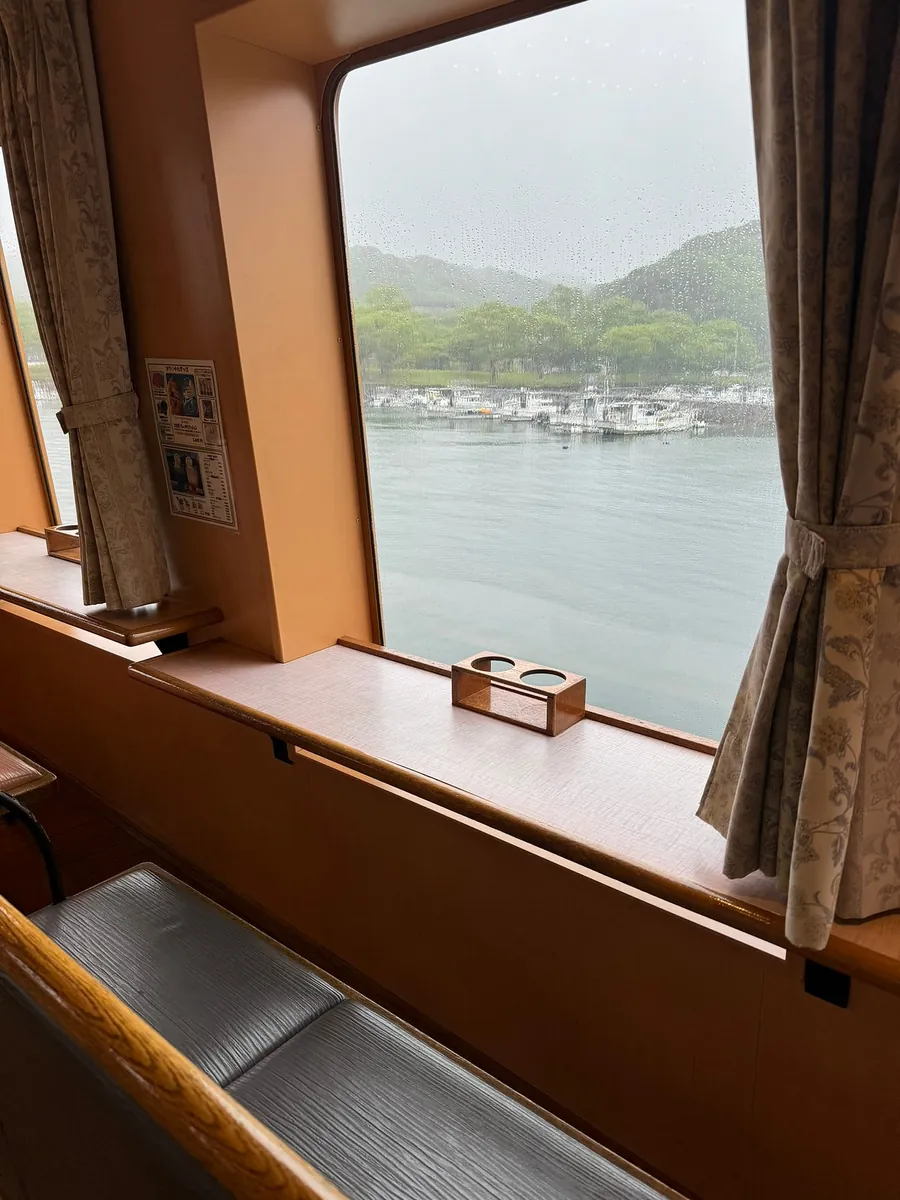
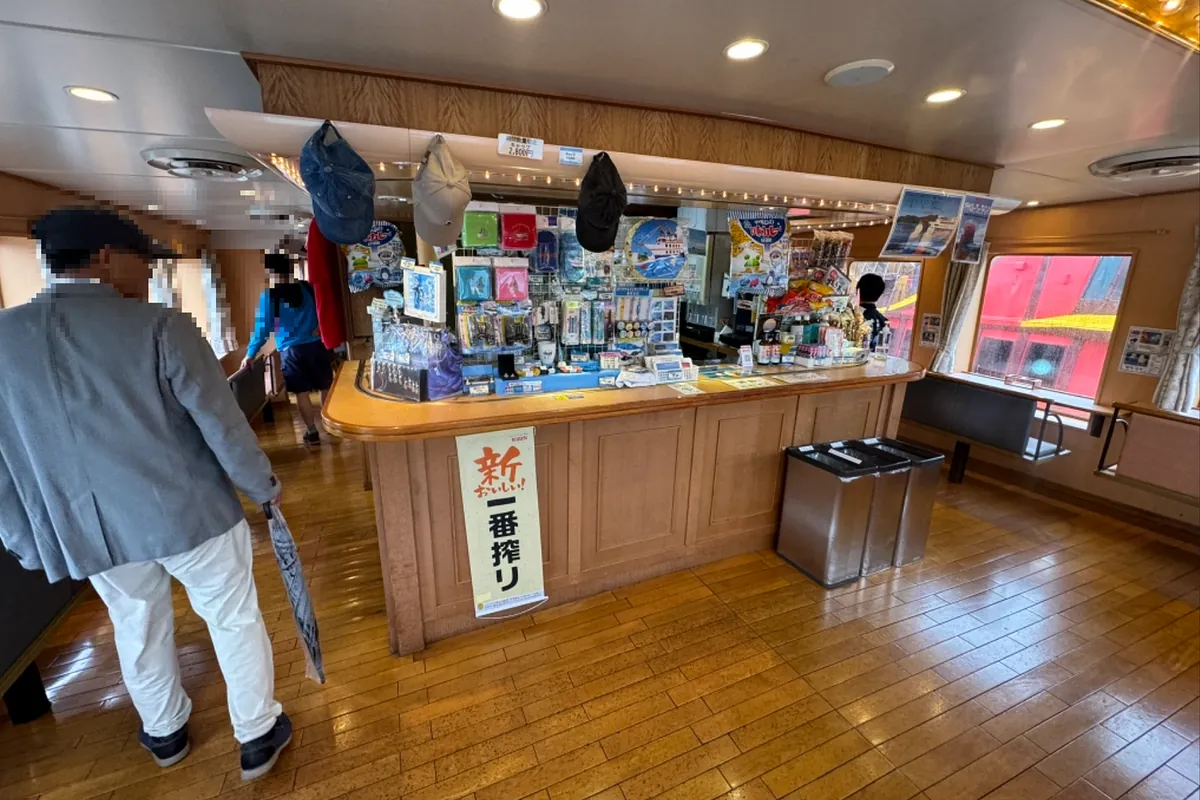
There are seats inside the cabin.
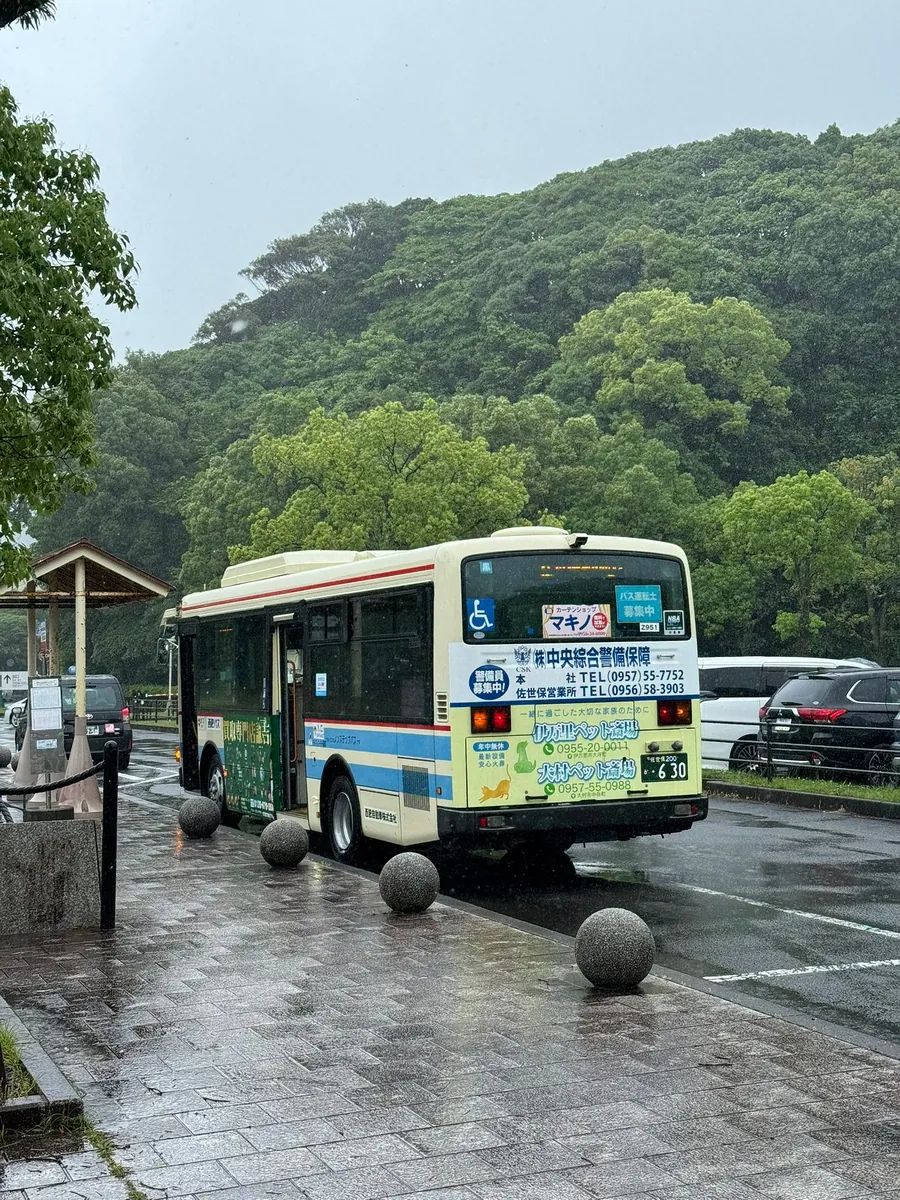
After finishing the tour in the heavy rain without seeing much, we headed straight back to Sasebo.
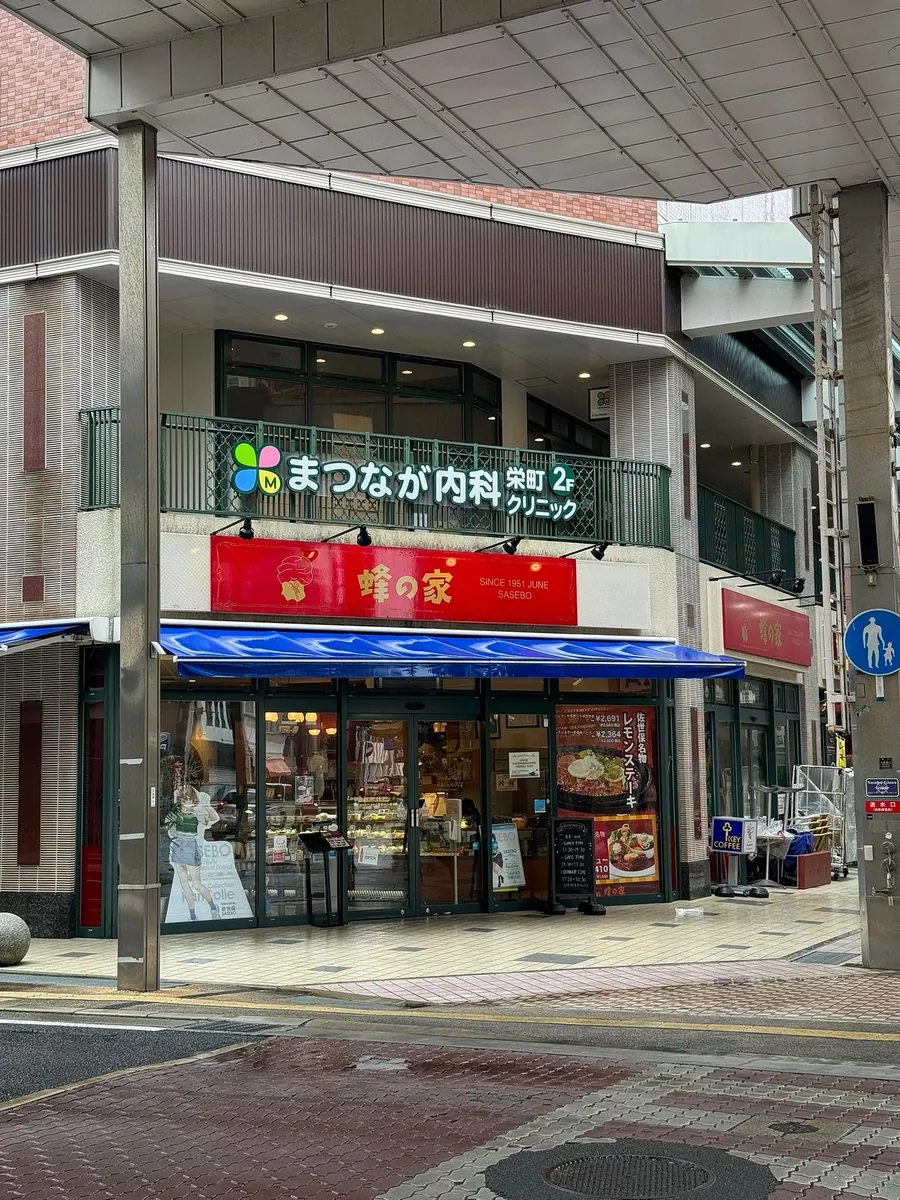
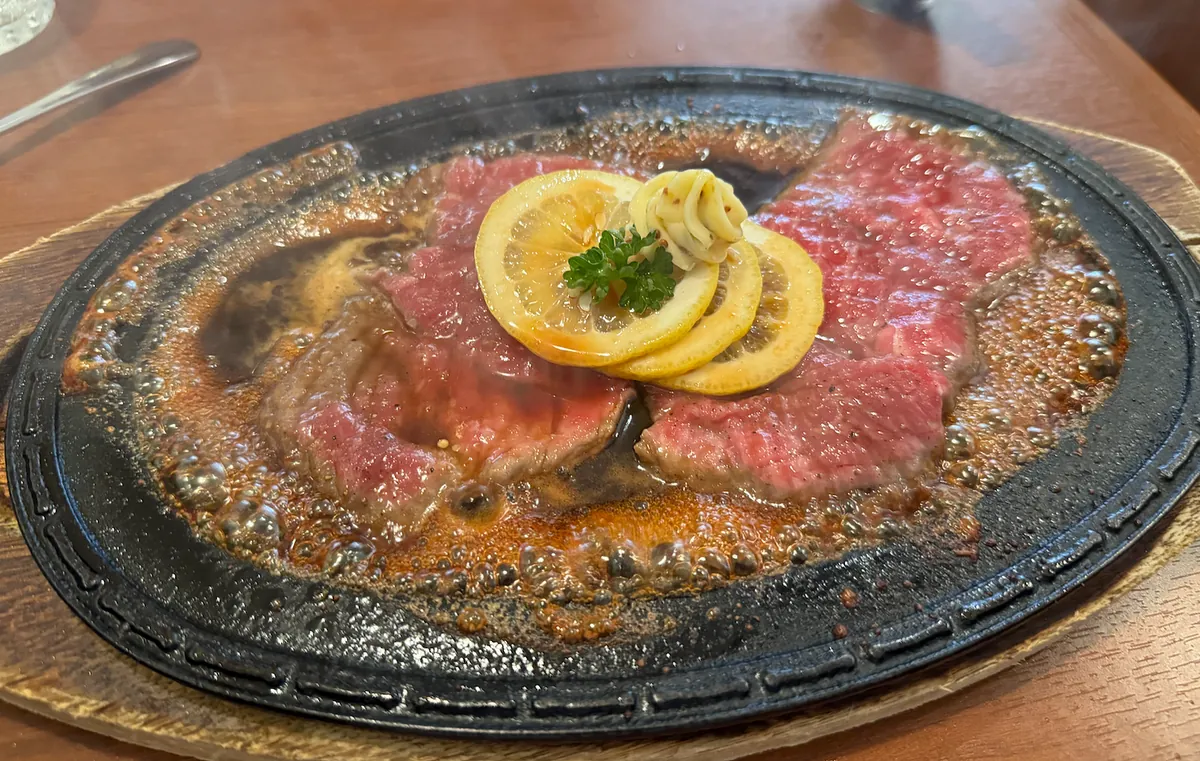
On the way back, stop by Bee House to taste the famous Sasebo lemon steak.
Lemon steak consists of four thin slices of steak, sauce, lemon slices, and lemon juice. It has a refreshing taste but the meat portion is slightly small.
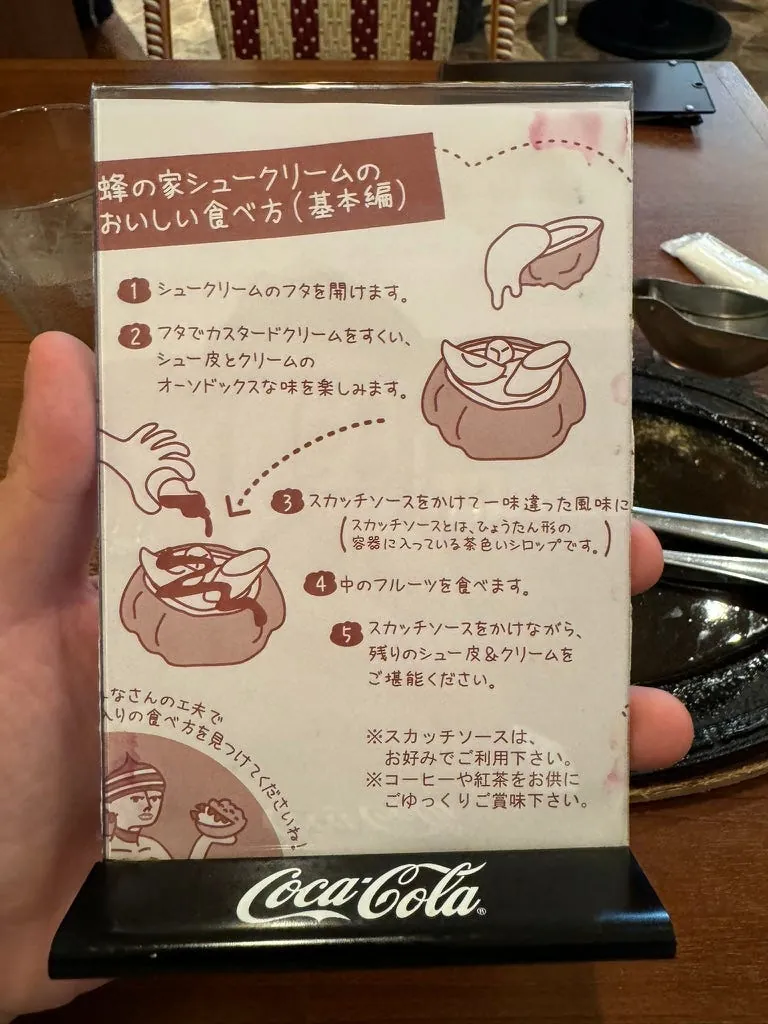
After finishing, we ordered another specialty, the fruit cream puff. It was filled generously, with real fruit pieces inside.
After eating, I took a stroll through the shopping street and then took the bus back to the station.
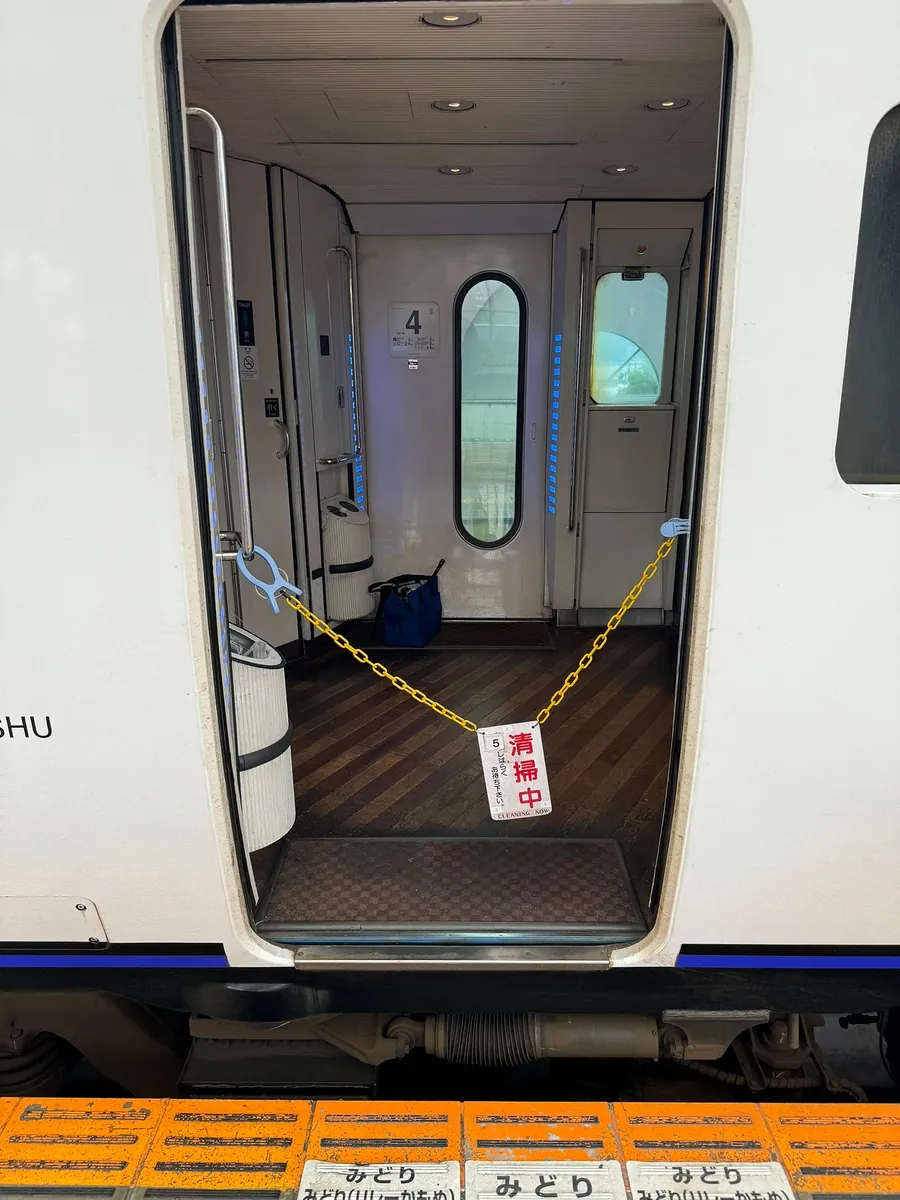
Taking the train back (towards Hakata, Takeo Onsen), this is the last station, so you have to wait for the cleaning staff to finish before boarding; just like on the way here, the train will run in reverse from Haiki to Sasebo.
The current time is about 13:30.
You can also visit Huis Ten Bosch in Sasebo, but I didn’t specifically plan to go.
KKday Sasebo Reference Itinerary:
Japan Nagasaki | Kyushu Huis Ten Bosch Ticket Huis Ten Bosch
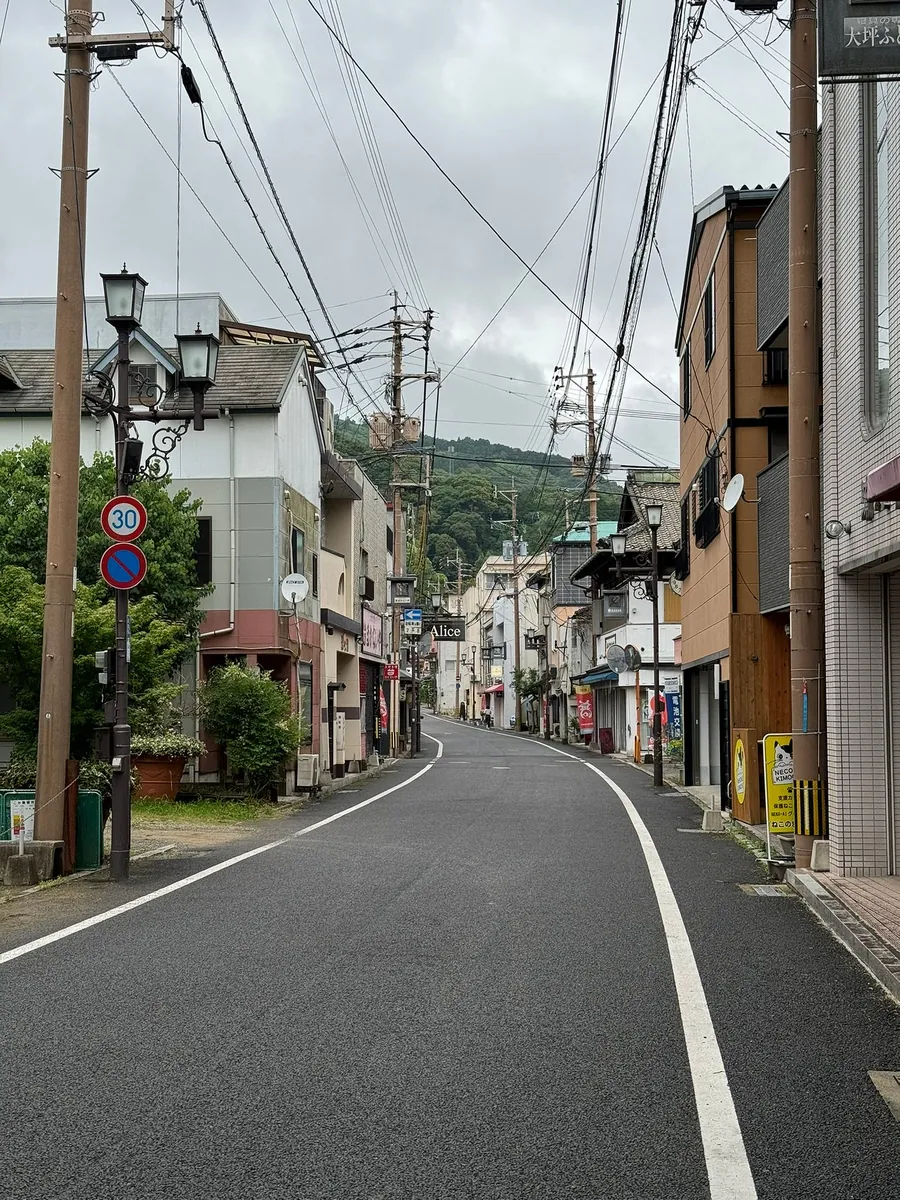
Takeo Onsen
Last time I traveled to Nagasaki and changed trains at Takeo Onsen, I didn’t have much impression of the station. Later, I followed Takeo City’s Tourism IG (the official account regularly holds events, such as free firefly shuttle services. If you’re planning to stay at Takeo Onsen, you can follow it). This time, I thought since I was passing by and had time, I would check it out.
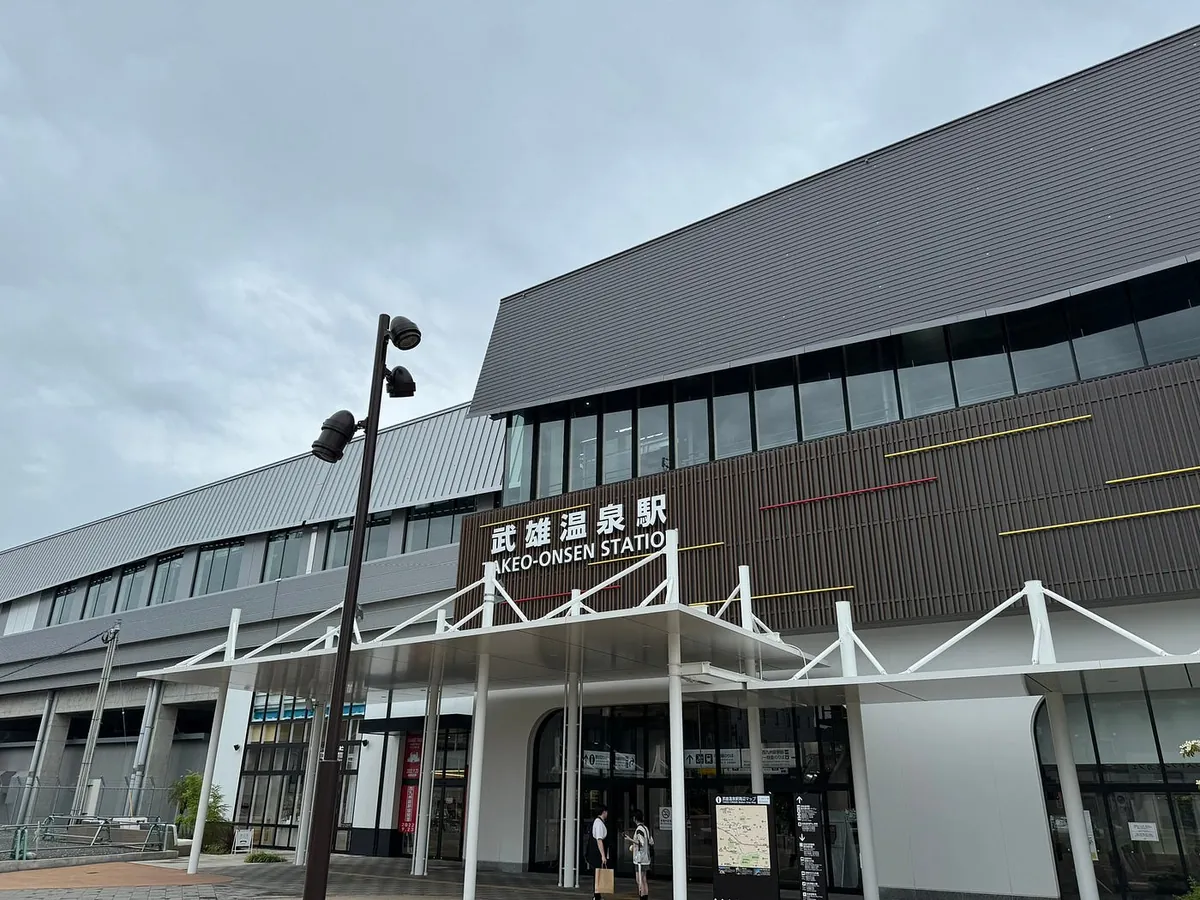
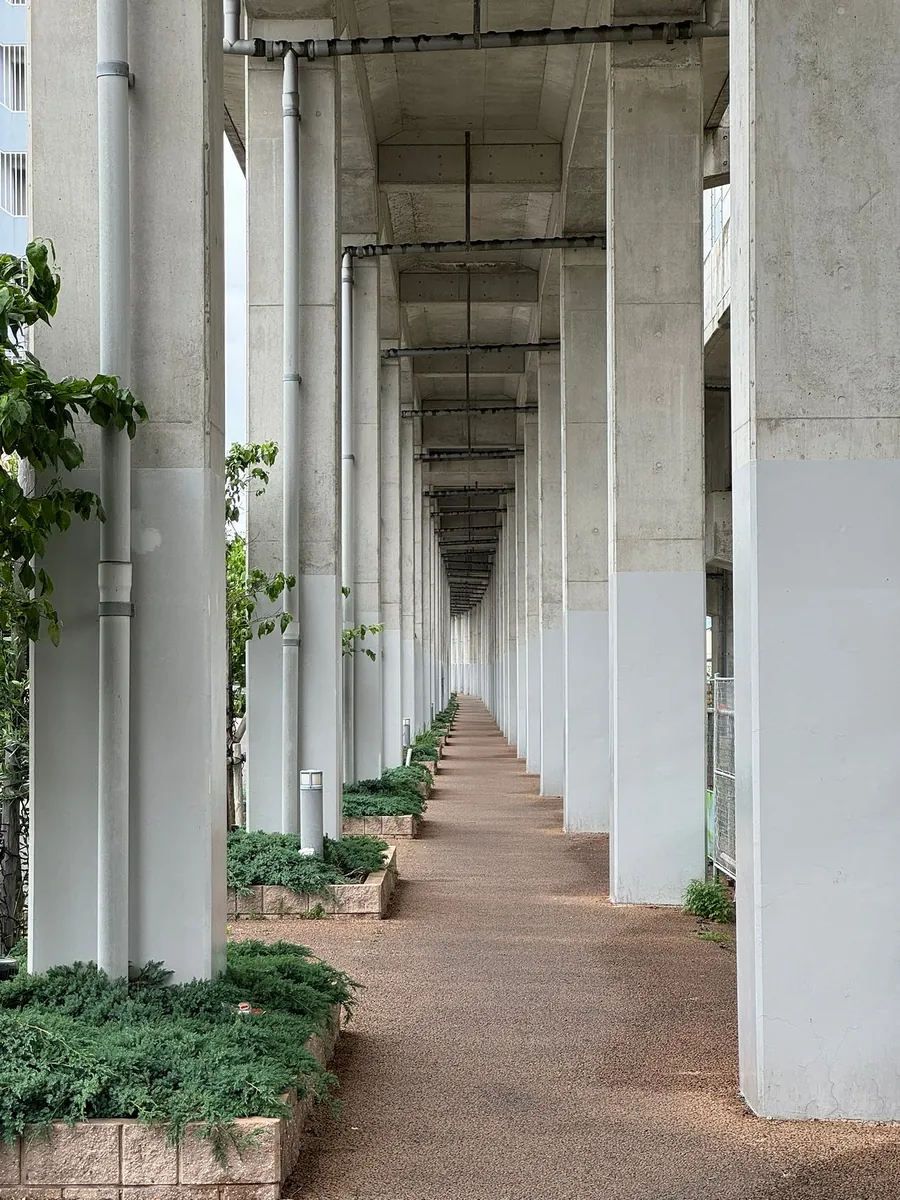
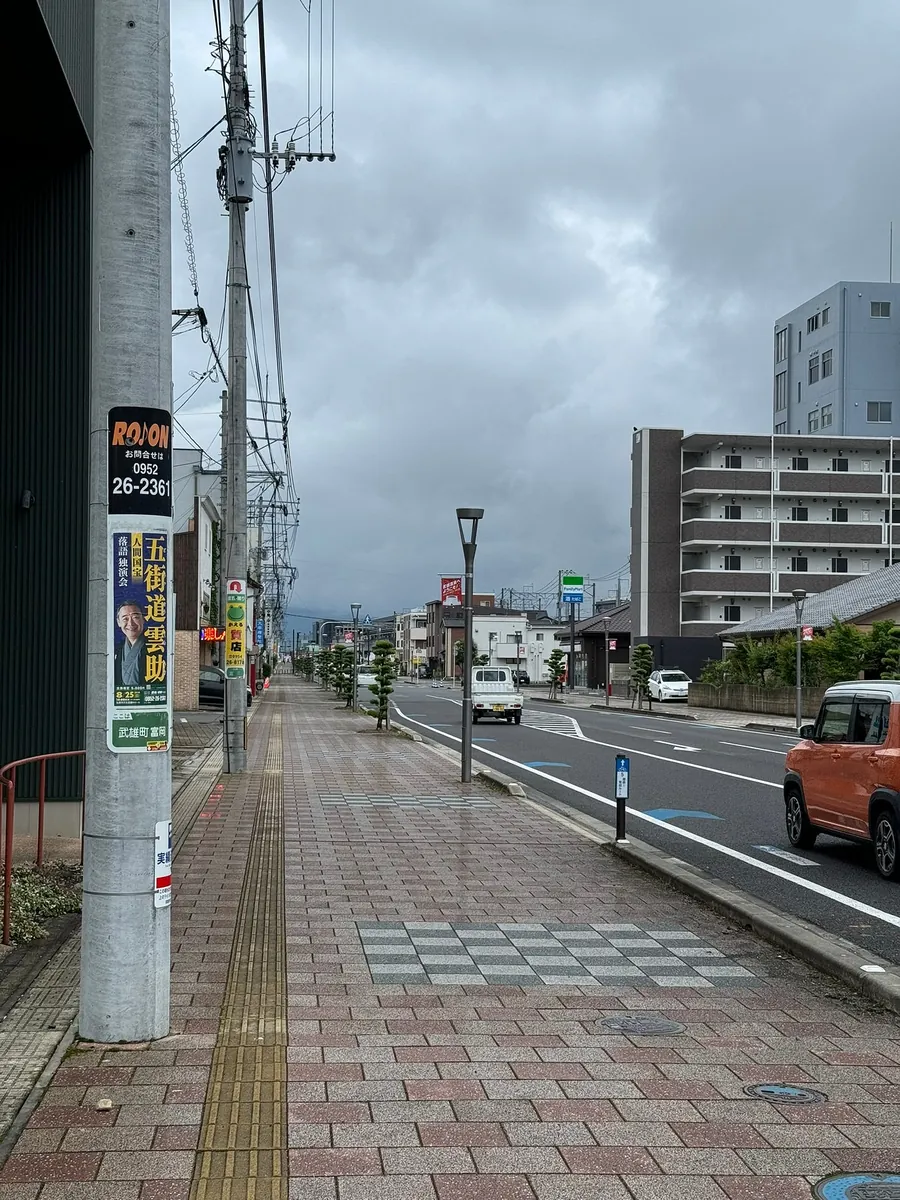
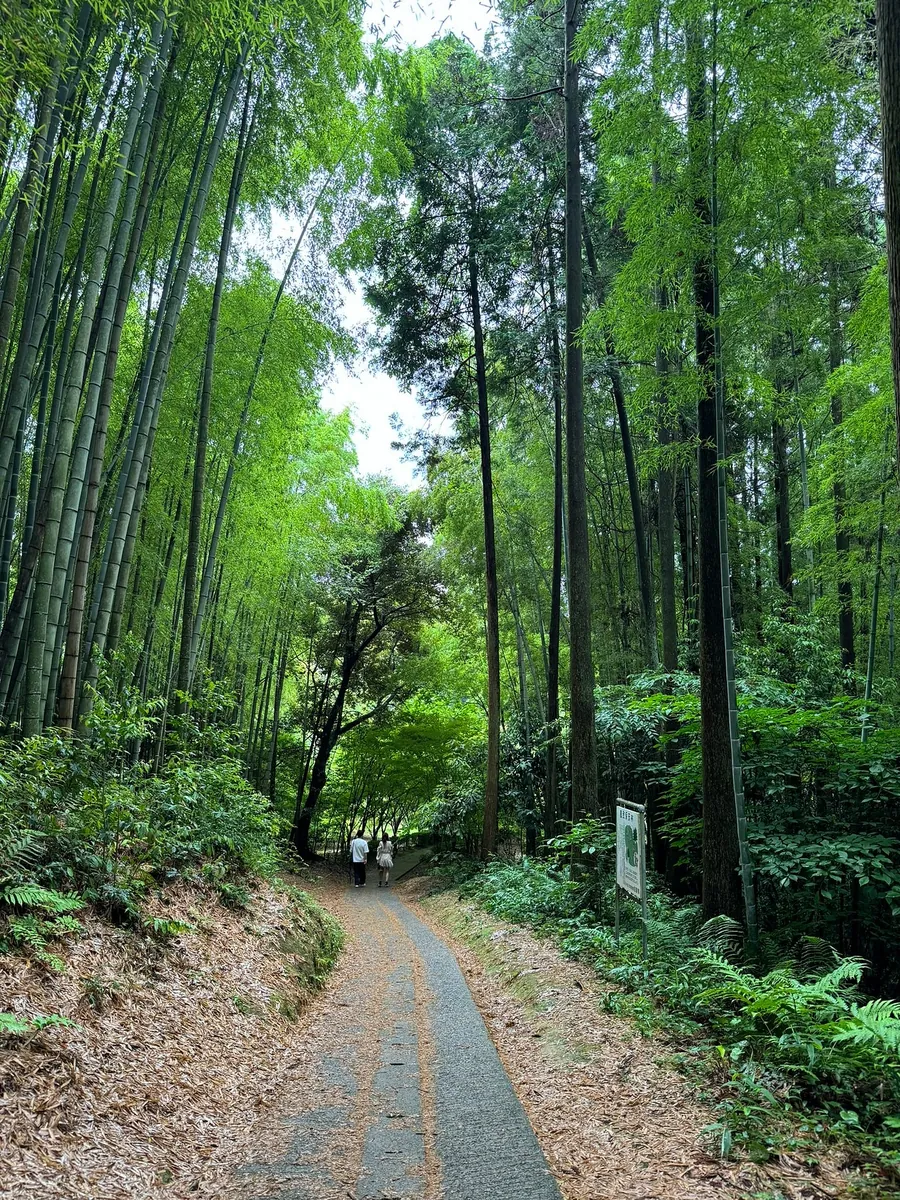
From Takeo Station (an unmanned station, no need to use JR Pass, just exit directly), the street outside is also sparsely populated and very quiet.
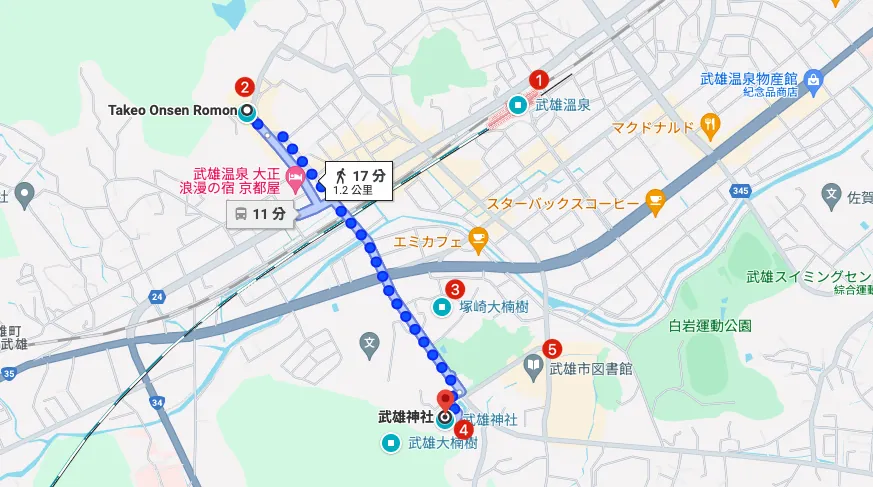
Just passing by and taking a quick look, only visited the main attractions I found. They happened to be diagonal from each other. Since the bus frequency was low and I didn’t want to wait, I walked directly.
First, go to Takeo Shrine. On the way, you will pass Tsukazaki Giant Camphor Tree, a small scenic spot.
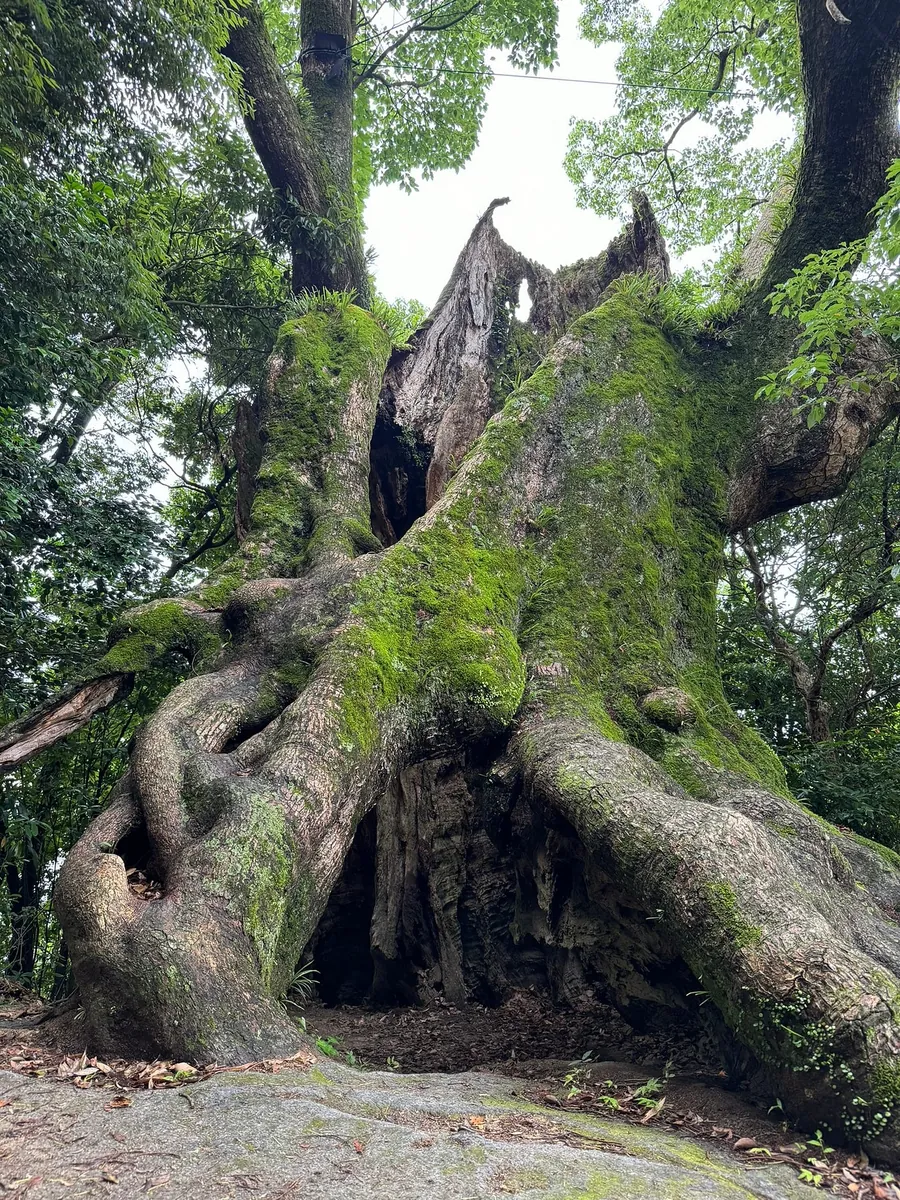
Tsukazaki Great Camphor Tree, estimated to be 2,000 years old.
Takeo Shrine
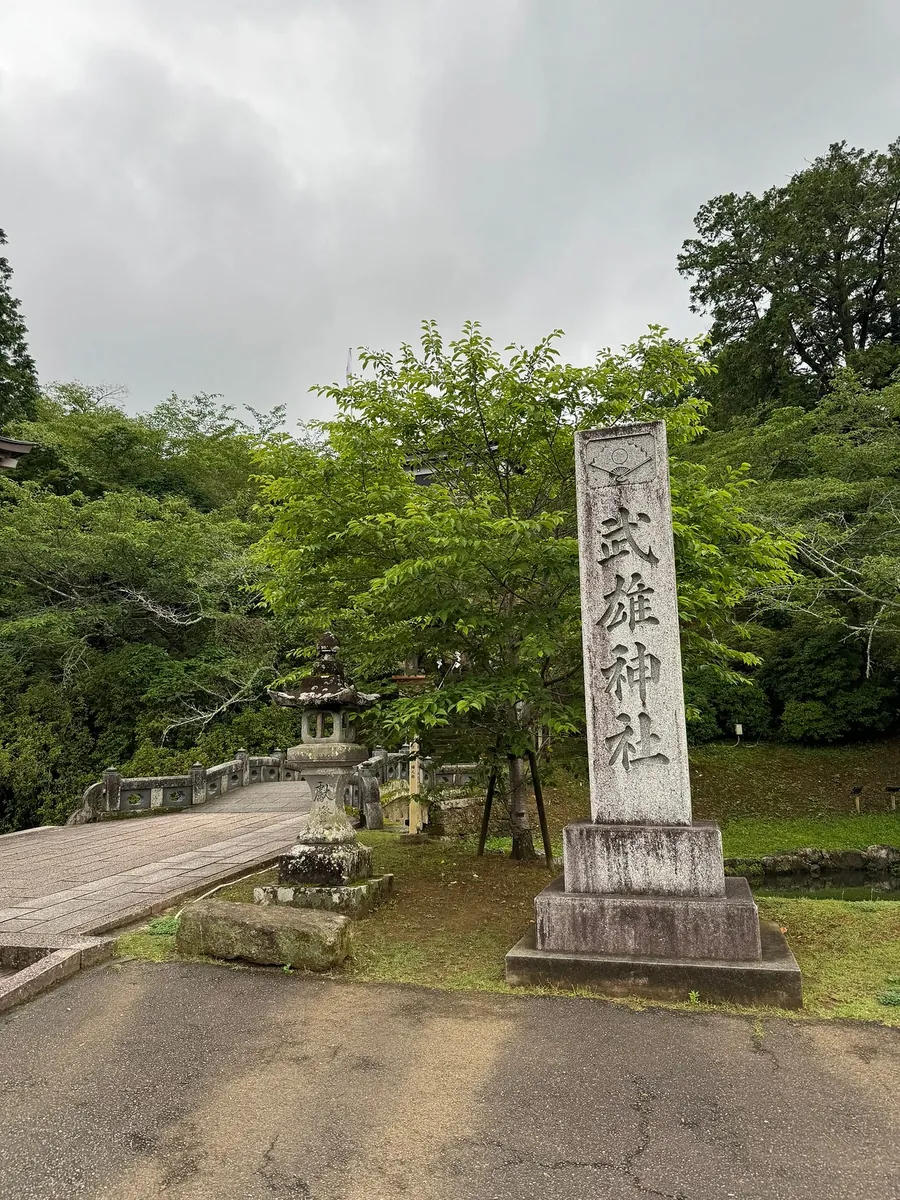
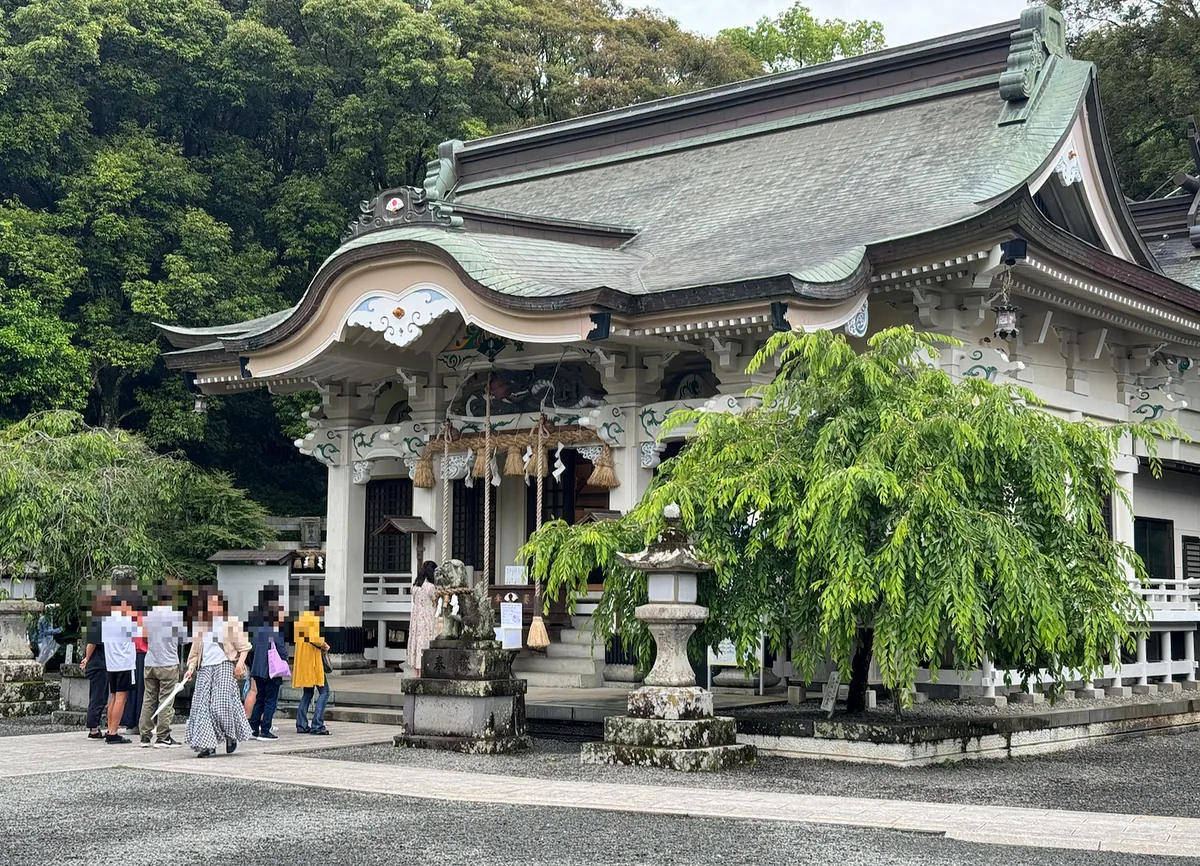
From below, walk up a short flight of stairs to reach Takeo Shrine.
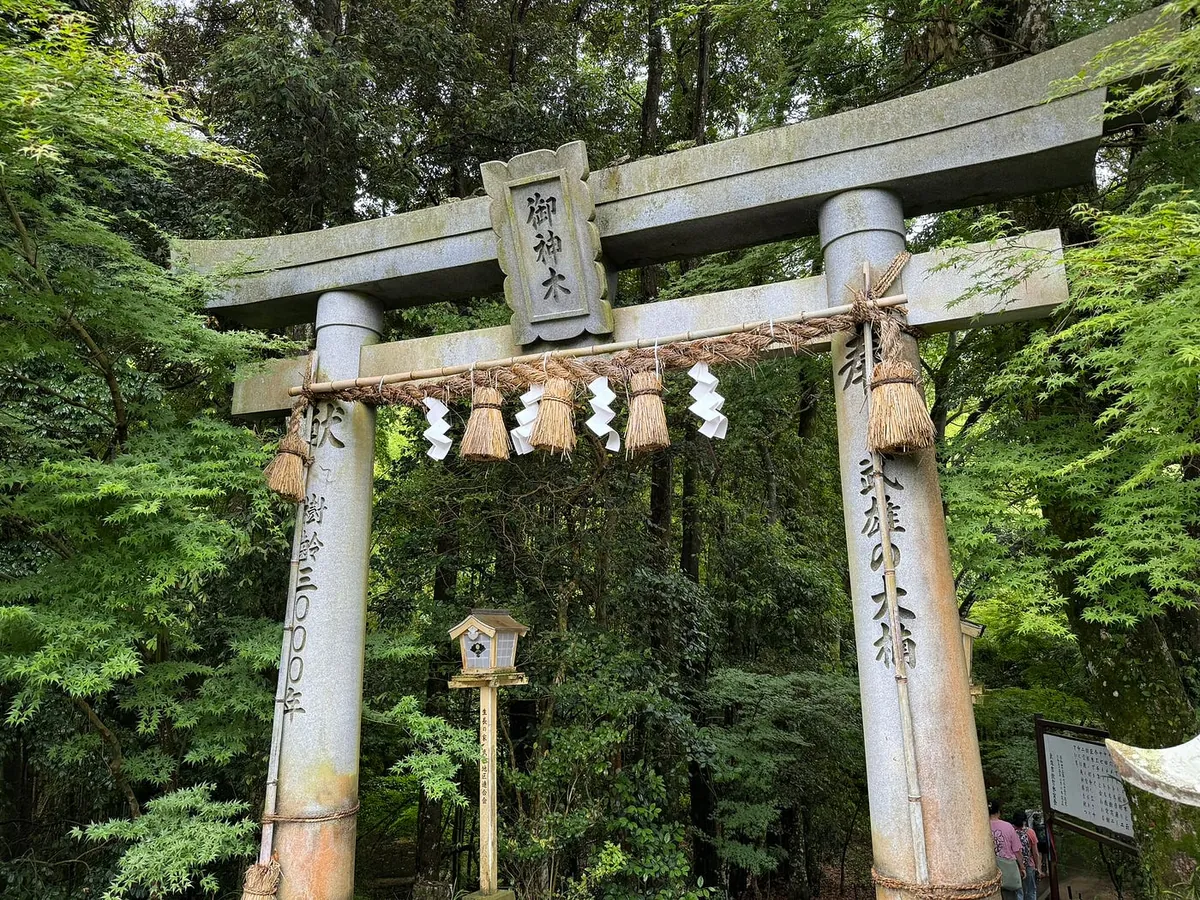
Next to Takeo Shrine, pass through the sacred tree torii and walk about 5 minutes further to see the legendary Takeo Great Camphor Tree. (Estimated age: 3,000 years)
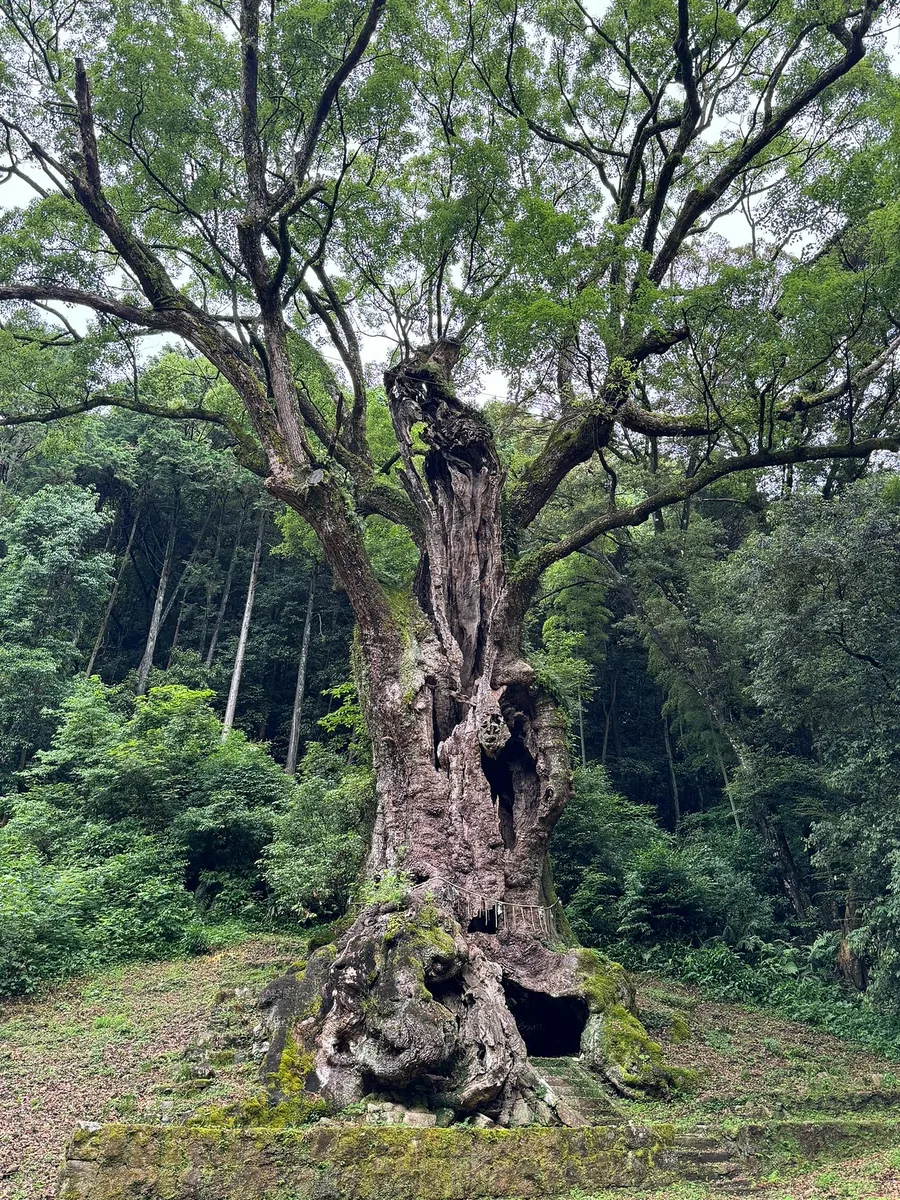
Takeo Great Camphor Tree is fenced off and can only be viewed from a distance.
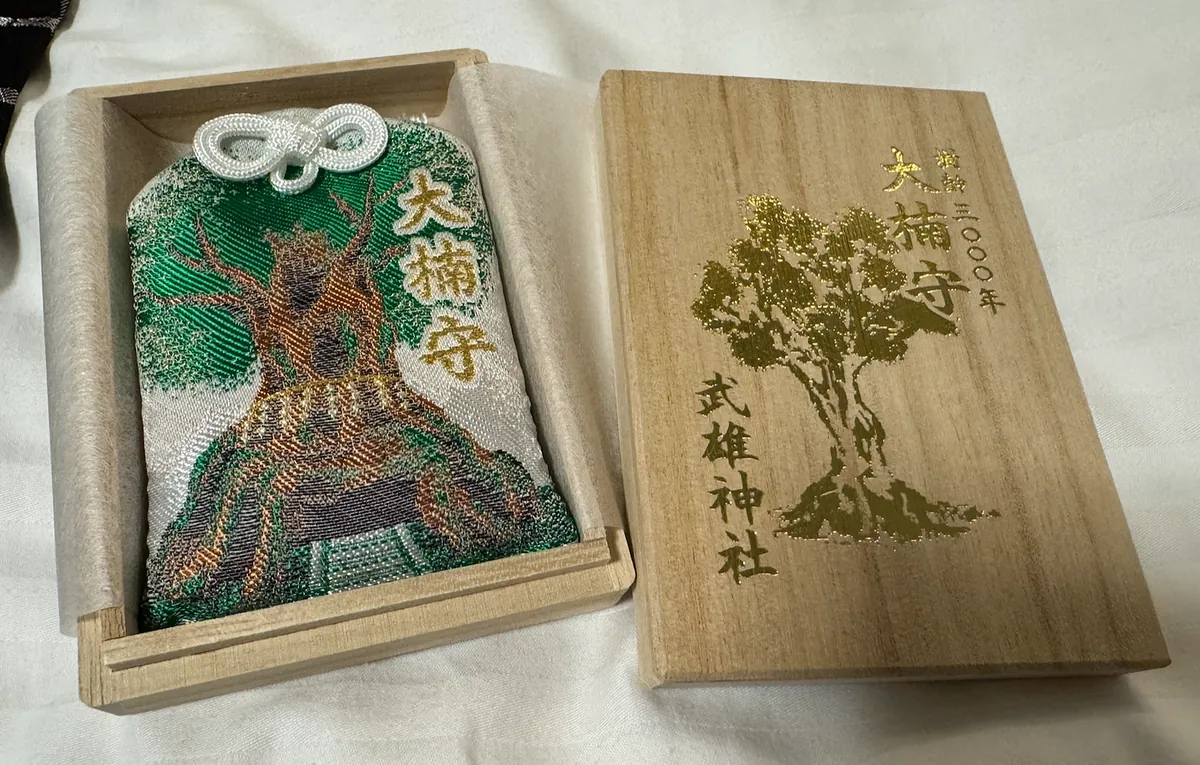
Bought a Takeo Shrine Great Camphor Amulet (1,500 yen), larger size with a wooden box.
After visiting Takeo Shrine, I headed back to see the entrance gate of Horai-yu on the other side.
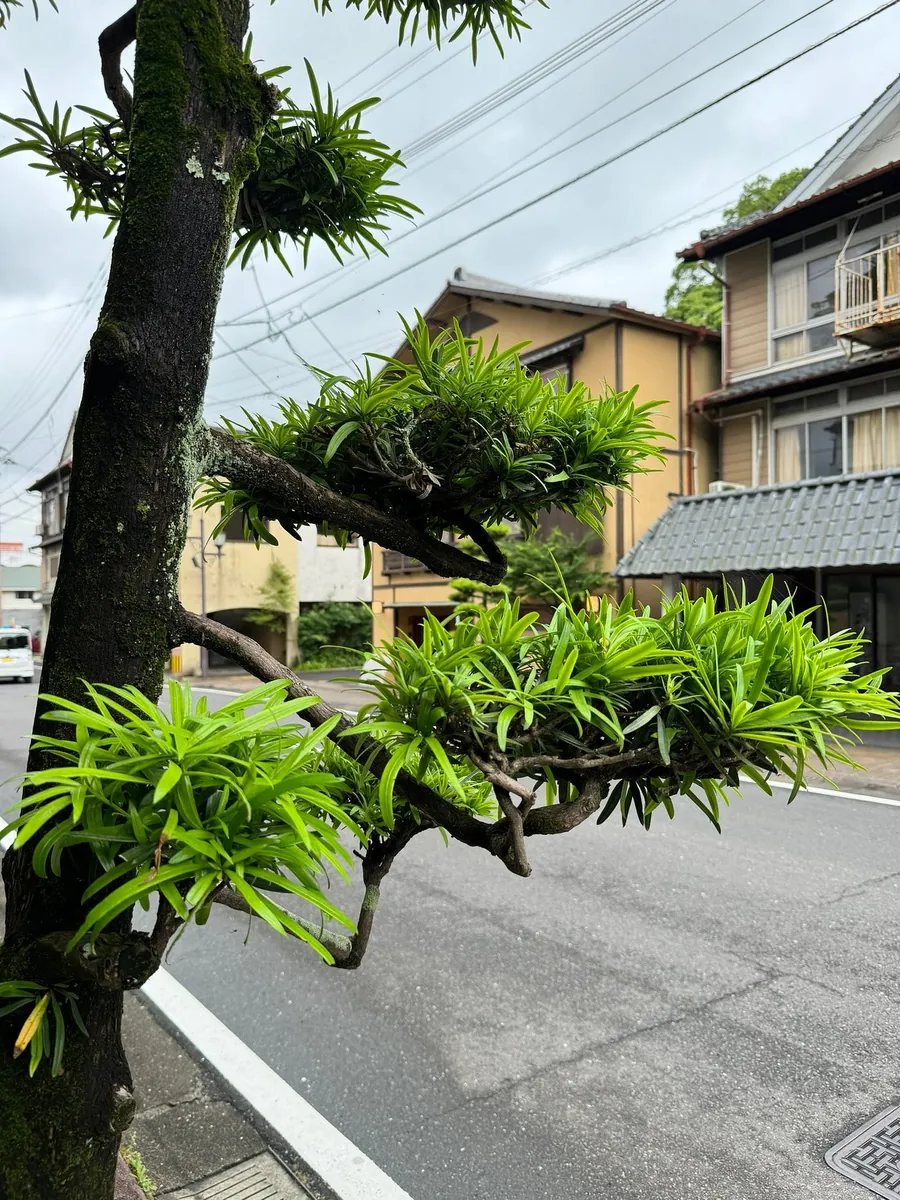
The entire hot spring street was empty, with several hot springs and hotels to choose from (not necessarily Horai-yu). If you want a quiet, less crowded place with convenient transportation for hot springs in Kyushu, Takeo Onsen is a great choice!
Penglai Hot Spring Entrance Gate
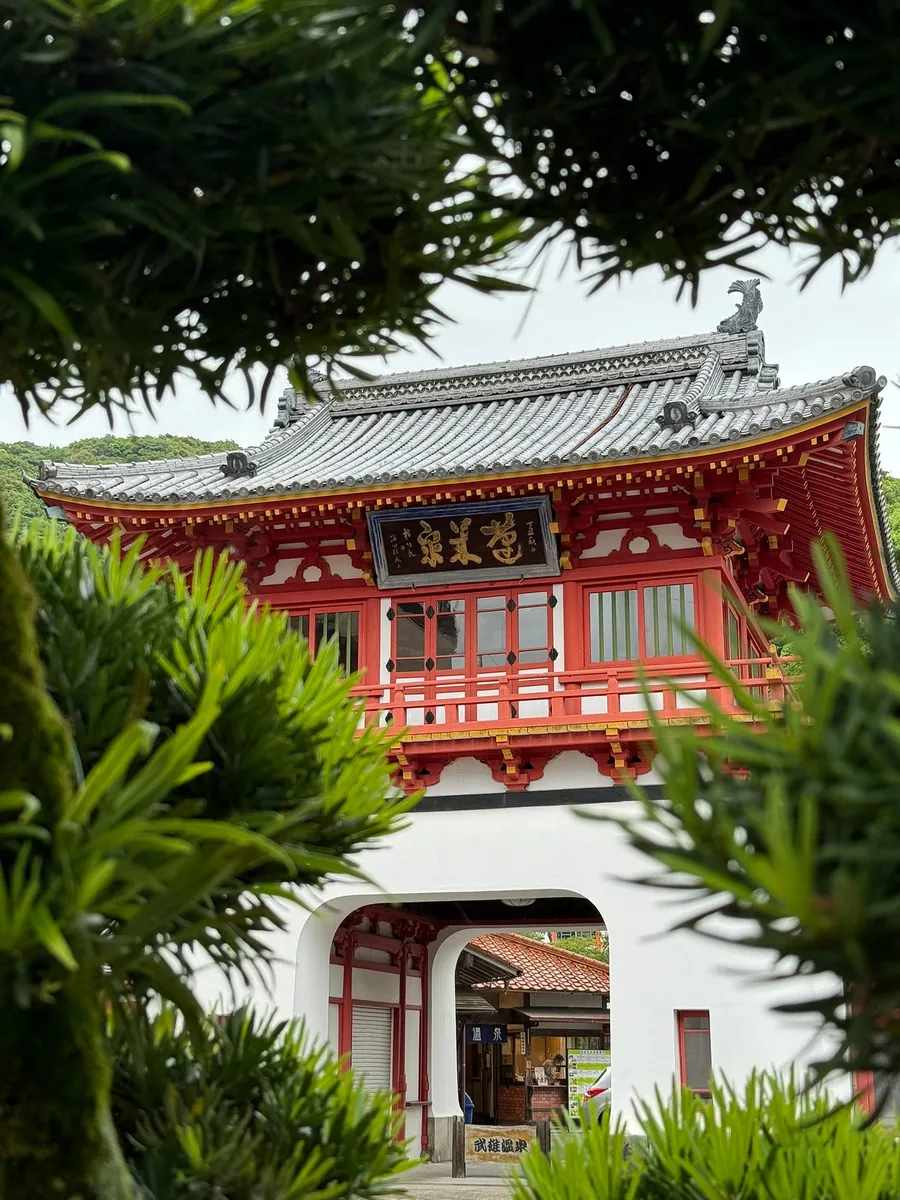
Just visited.
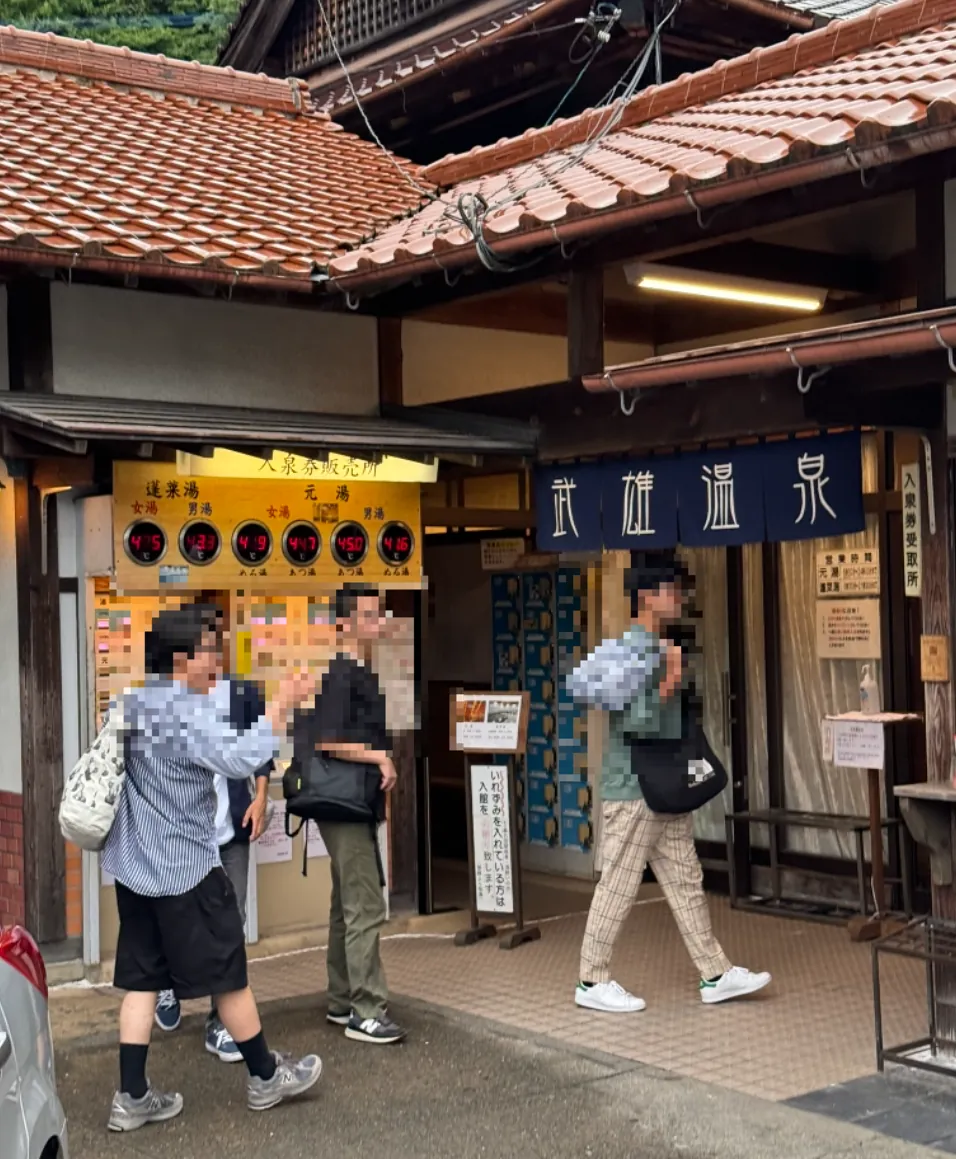
After entering the building, you’ll find the Penglai hot spring bath. On the other side, there is the hot spring accommodation, Sagi no Yu.
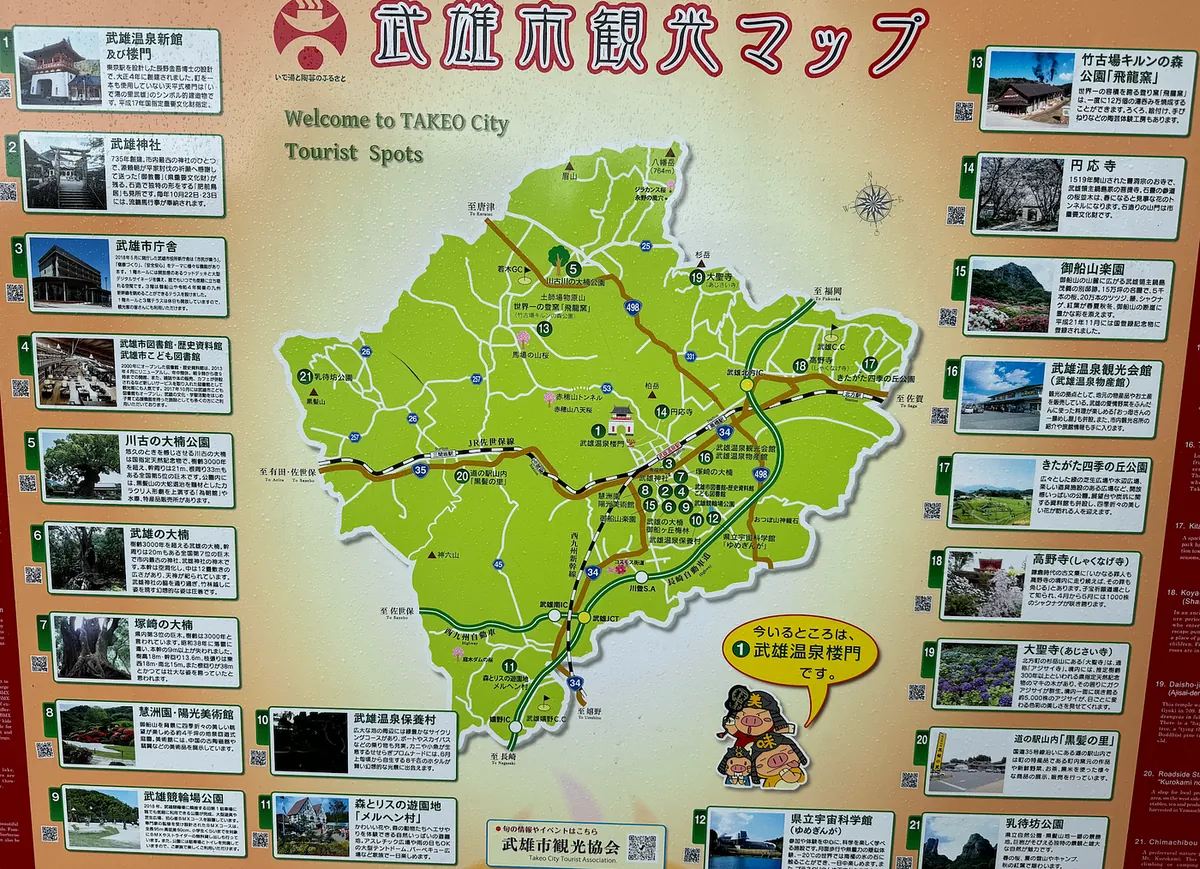
Takeo City Tourist Map: I found information about Mifuneyama Rakuen, which looks nice, but it was already around 15:30, so there wasn’t enough time to visit.
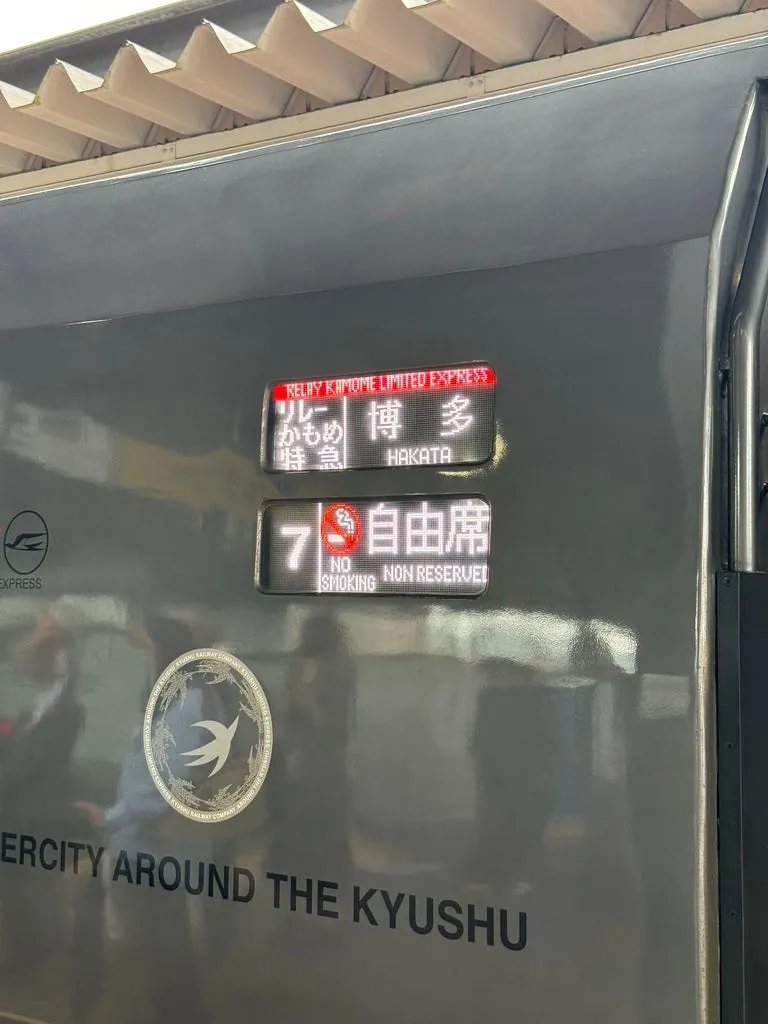
Take the limited express bound for Hakata and arrive at Hakata around 18:00.
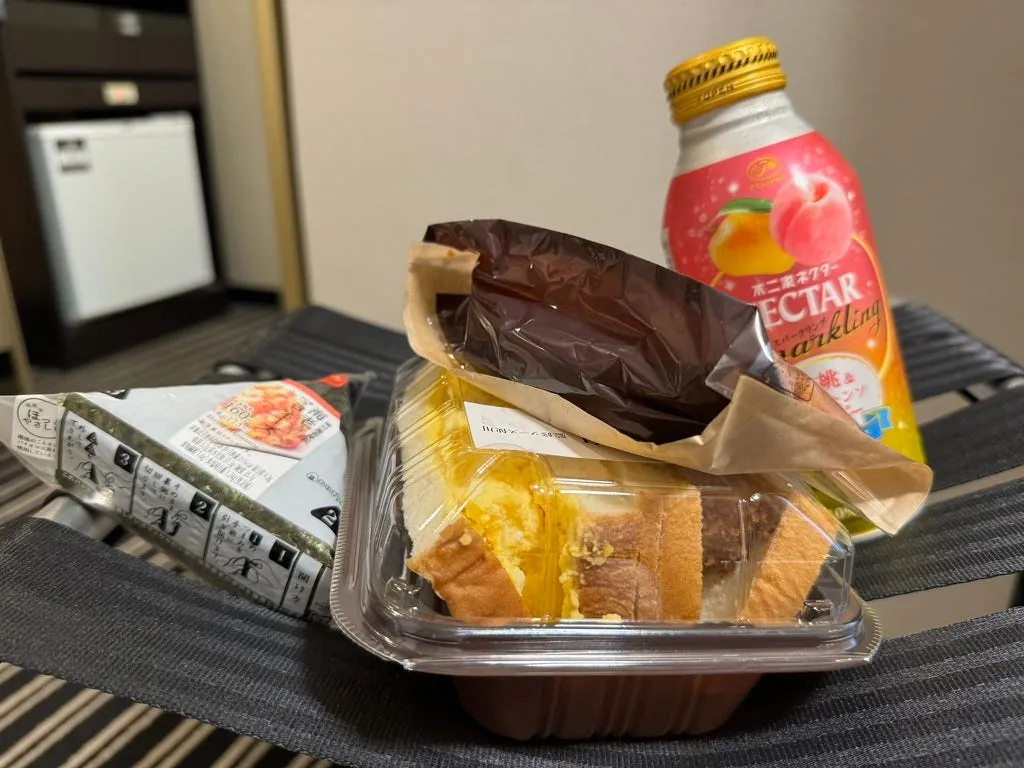
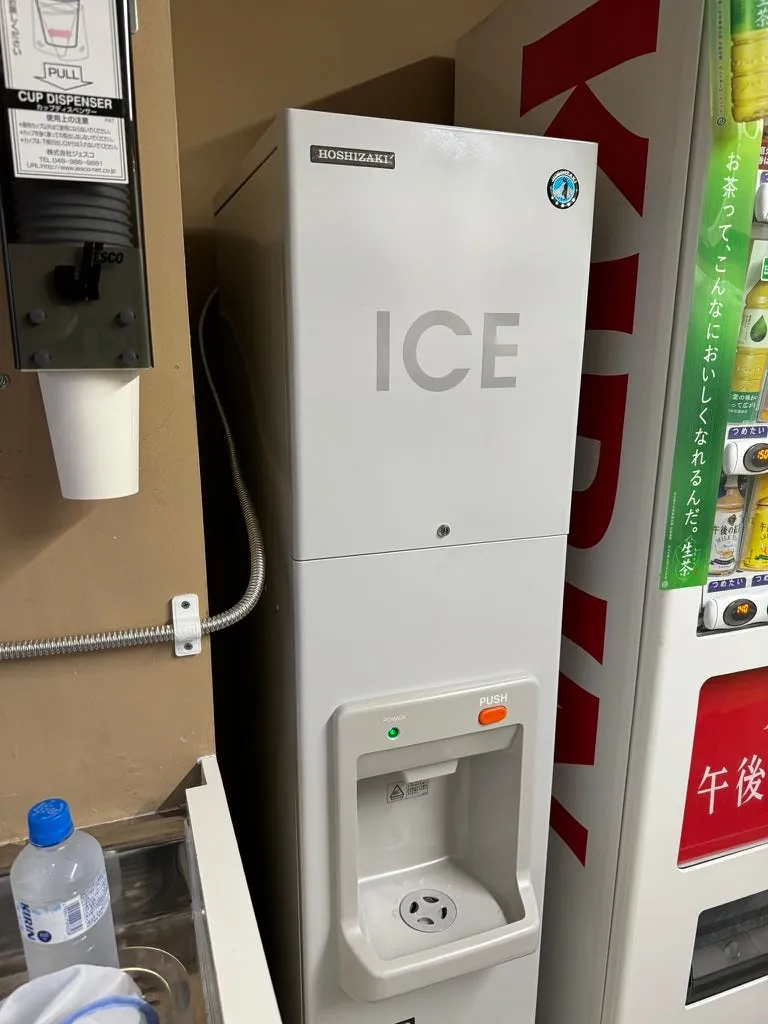
Strolling back to the hotel, dinner was casually picked up at a convenience store: rice balls, pork cutlet sandwich, Fujiya peach soda (delicious!!); after staying many times at APA and Toyoko Inn, I finally noticed they all have ice machines—so awesome!
Except for the old equipment, the room size and view at this APA are really good.
Day 8 Sakurai Futamigaura Meoto Iwa, Nanzoin Temple, Hakata Pilgrimage
JR Pass is no longer available.
Sakurai Futamigaura Meoto Iwa (Married Couple Rocks)
After checking out of the hotel early in the morning, I took the JR train to Kyudai-Gakken-Toshi Station.
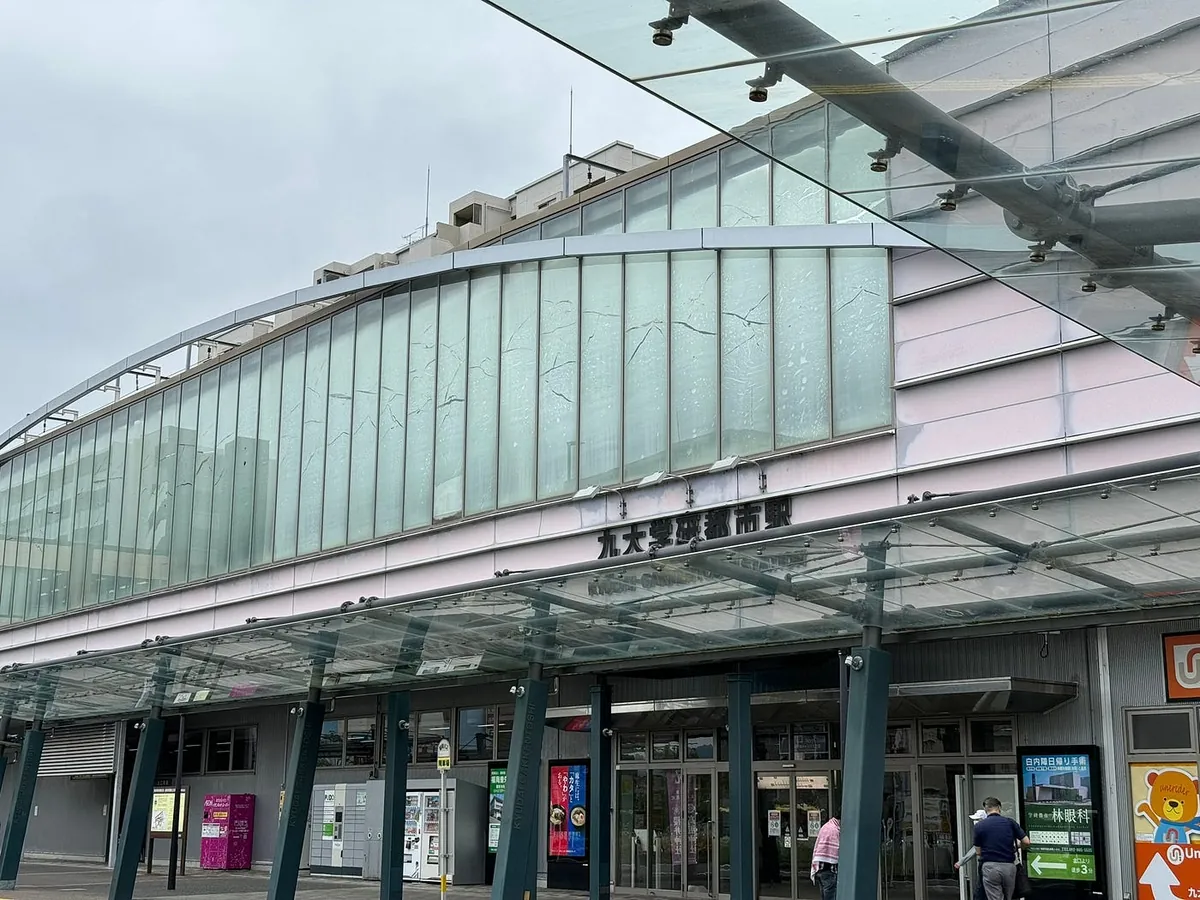
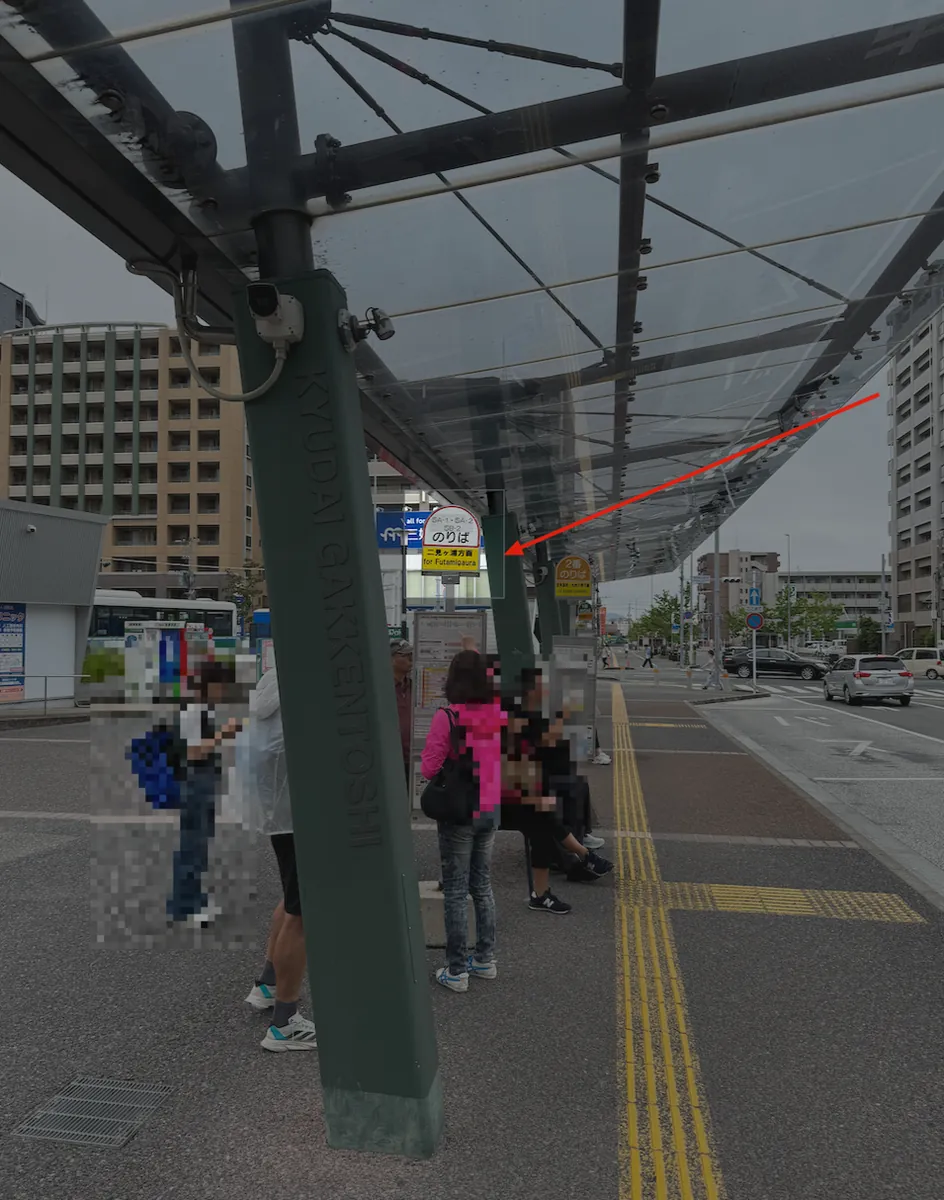
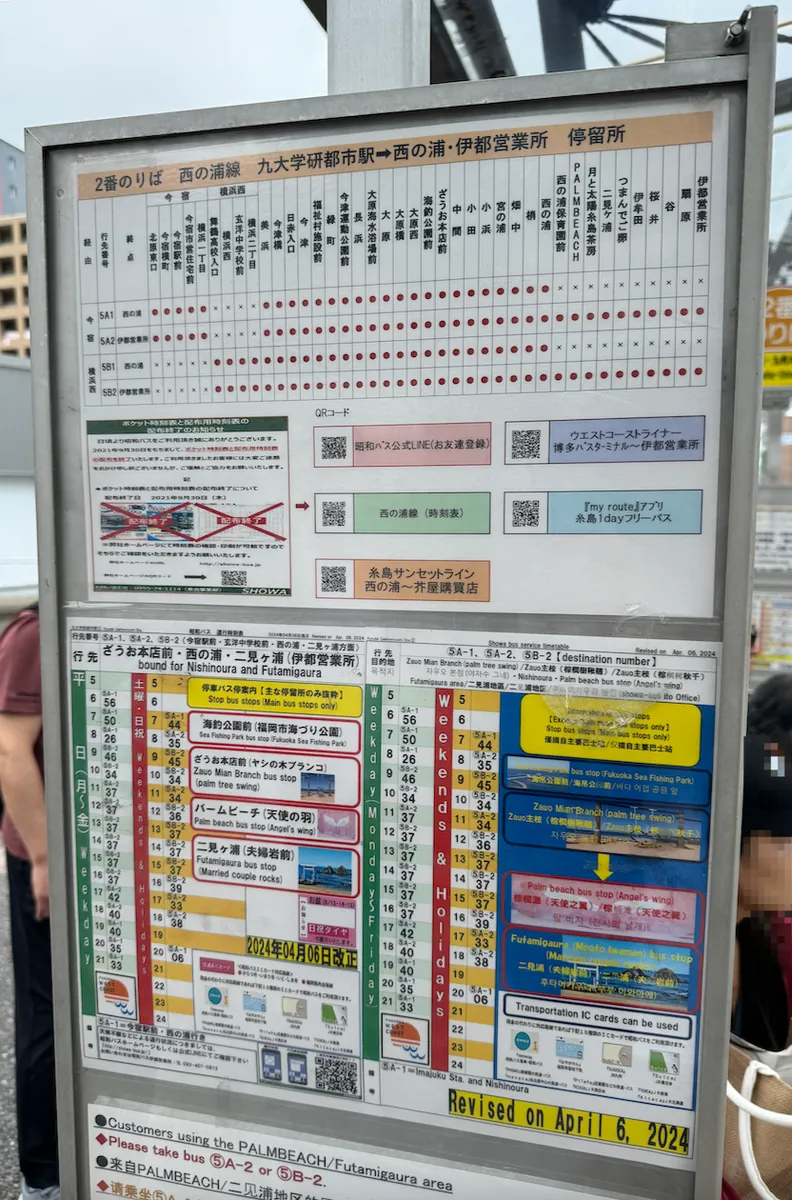
On the left side after exiting is the platform for the “Nishi-no-Ura Line,” where staff are available to assist. The ride takes about 30 minutes.

The fare is the highest bus fare I have ever paid, 730 yen.
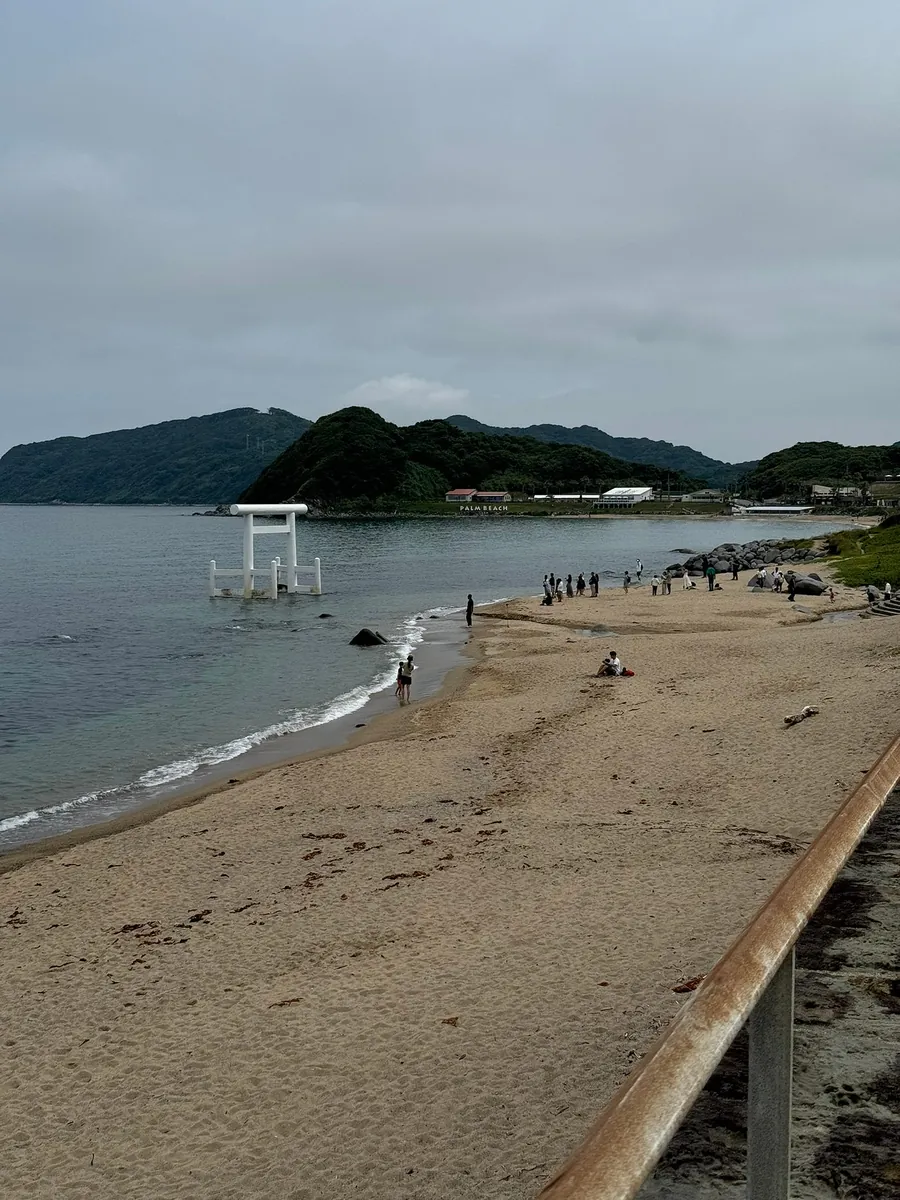
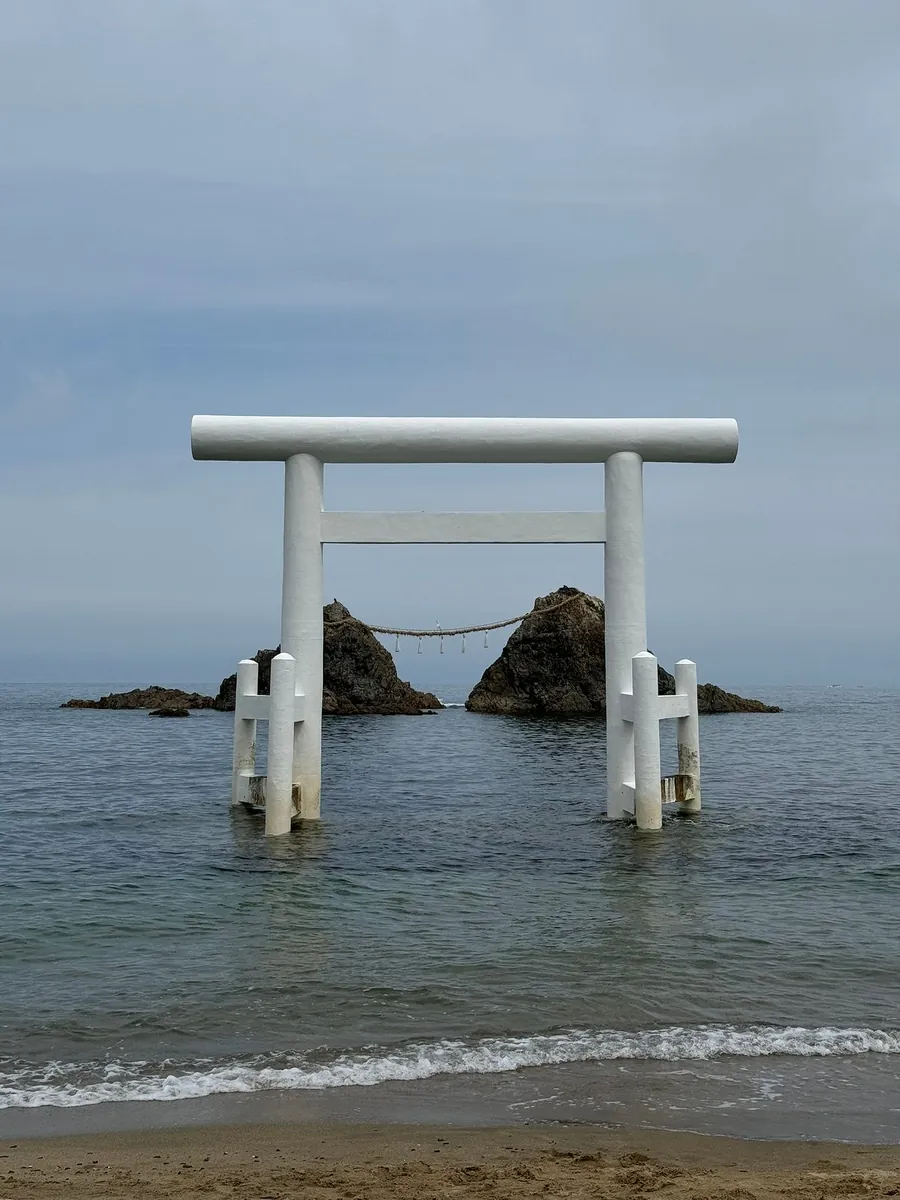
After getting off the car, you will arrive at Sakurai Futamigaura, the Meoto Iwa (Married Couple Rocks).
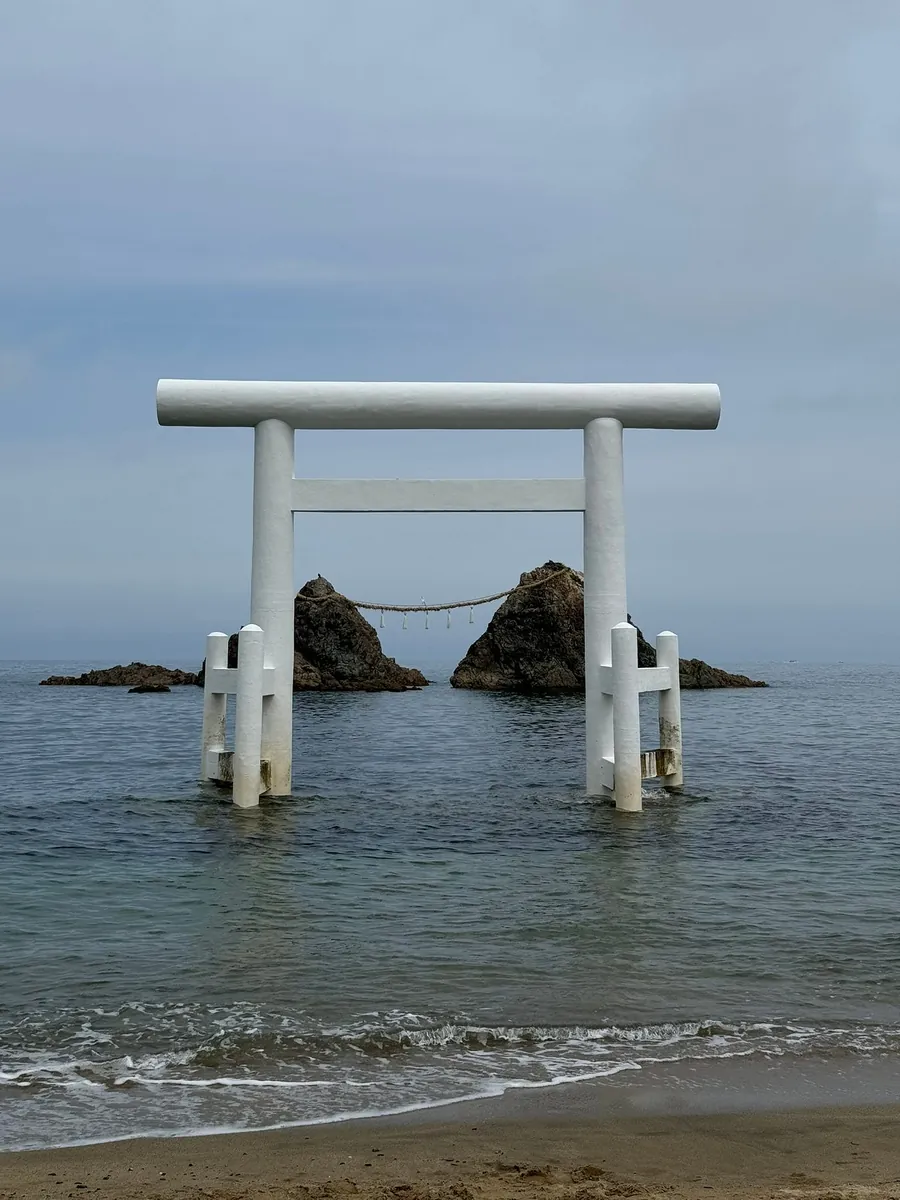
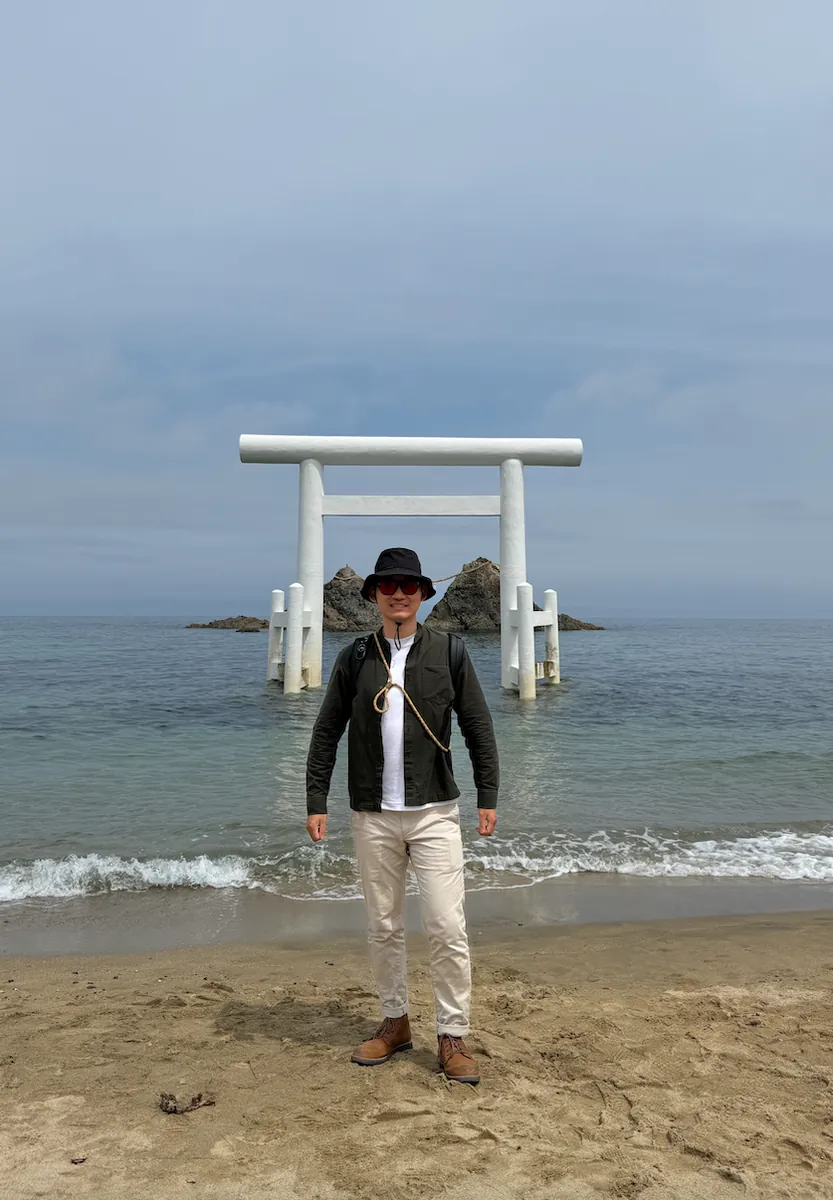
Up close, it is beautiful and peaceful.
After finishing here, you can continue to Sakurai Shrine (said to attract many fans because it shares the name with a member of the Japanese group Arashi) or go further to the Keya Gate Sightseeing Boat (looks very cool!).
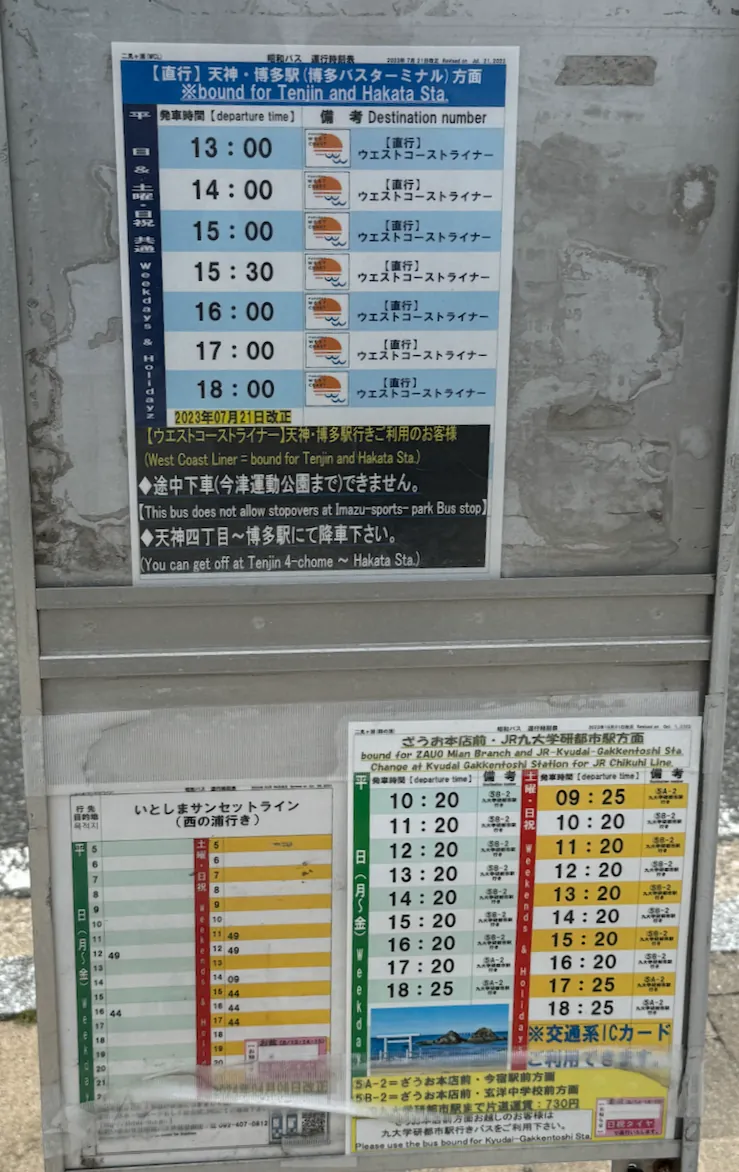
Return timetable: Direct trains to Hakata run every hour in the afternoon, and trains to Kyudai-Gakken-Toshi Station run every hour.
Back in Hakata around 12:30 PM, first head out to find some food.
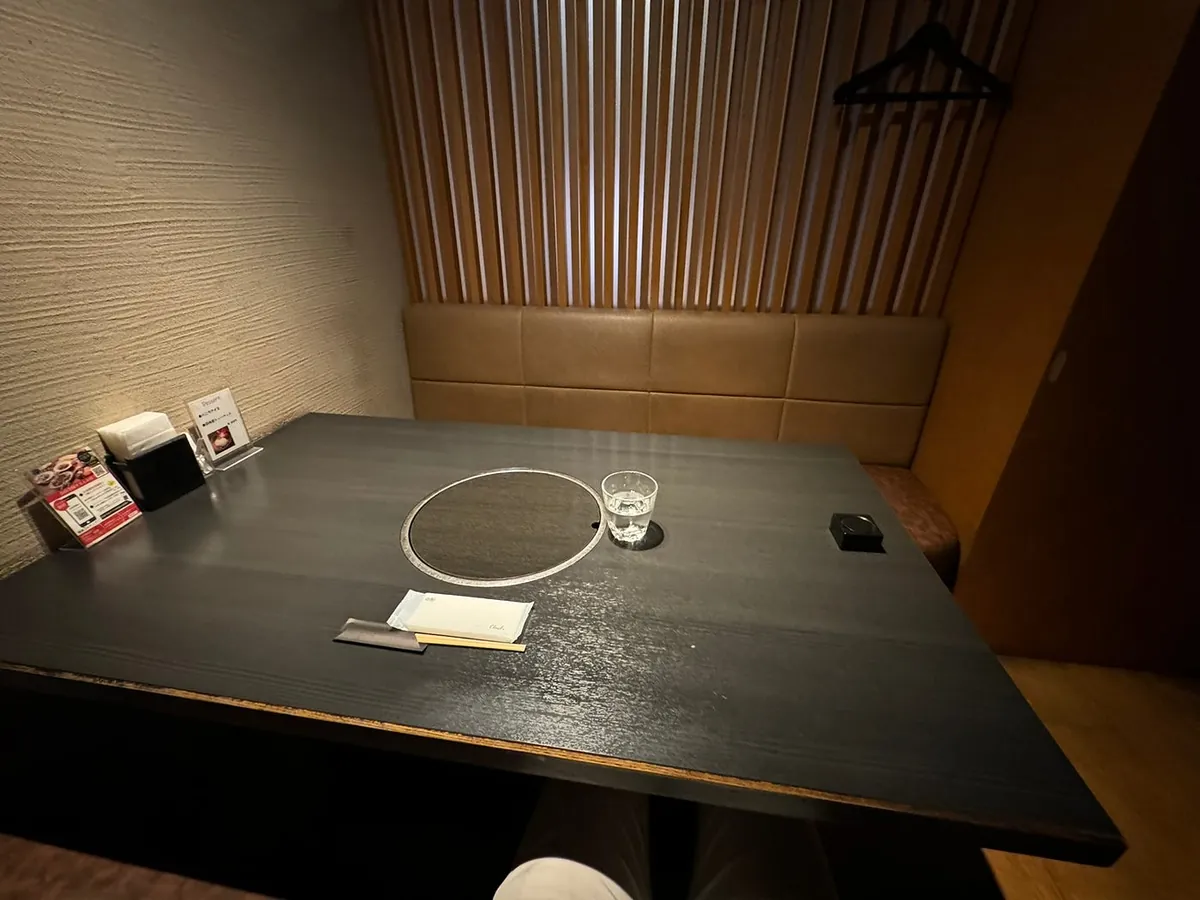
Revisit Hakatamiyachiku (Japan’s No.1 Miyazaki Beef Specialty Store Hakata Miyachiku) Tasting Miyazaki beef business lunch.
Business lunch offers great value (dinner features premium yakiniku set meals) + private rooms perfect for those with social anxiety.
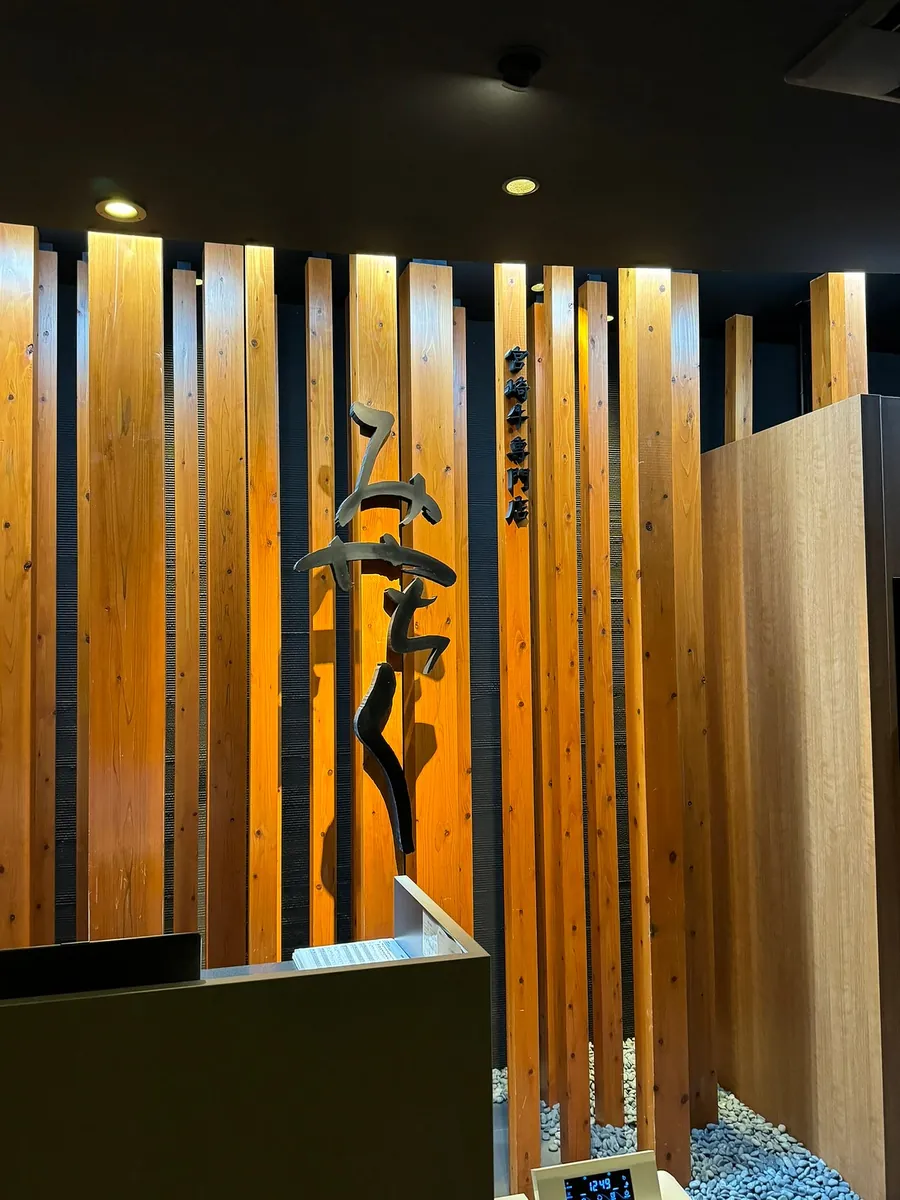
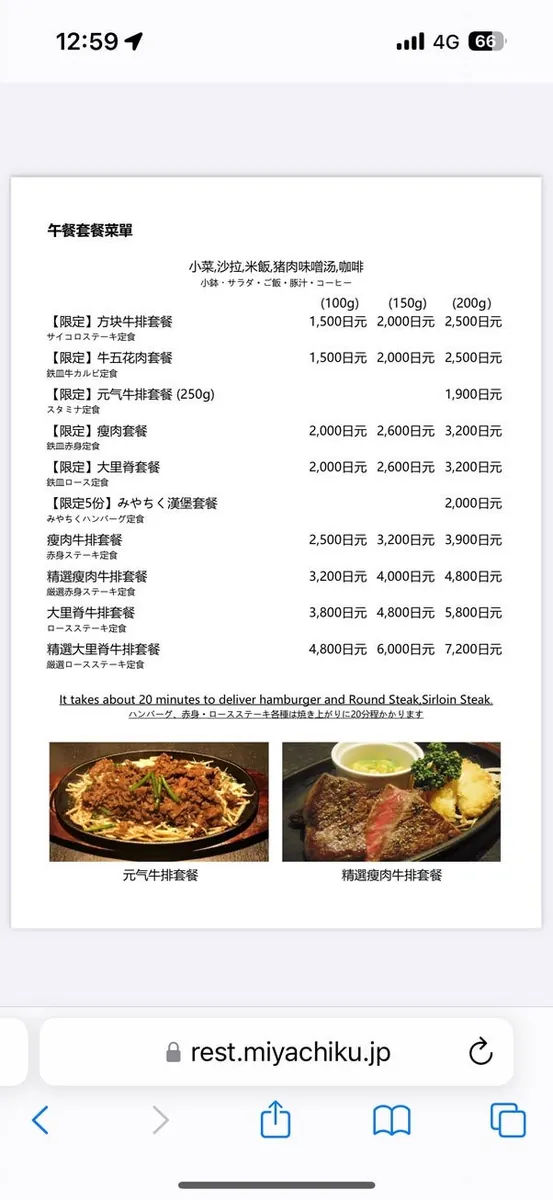
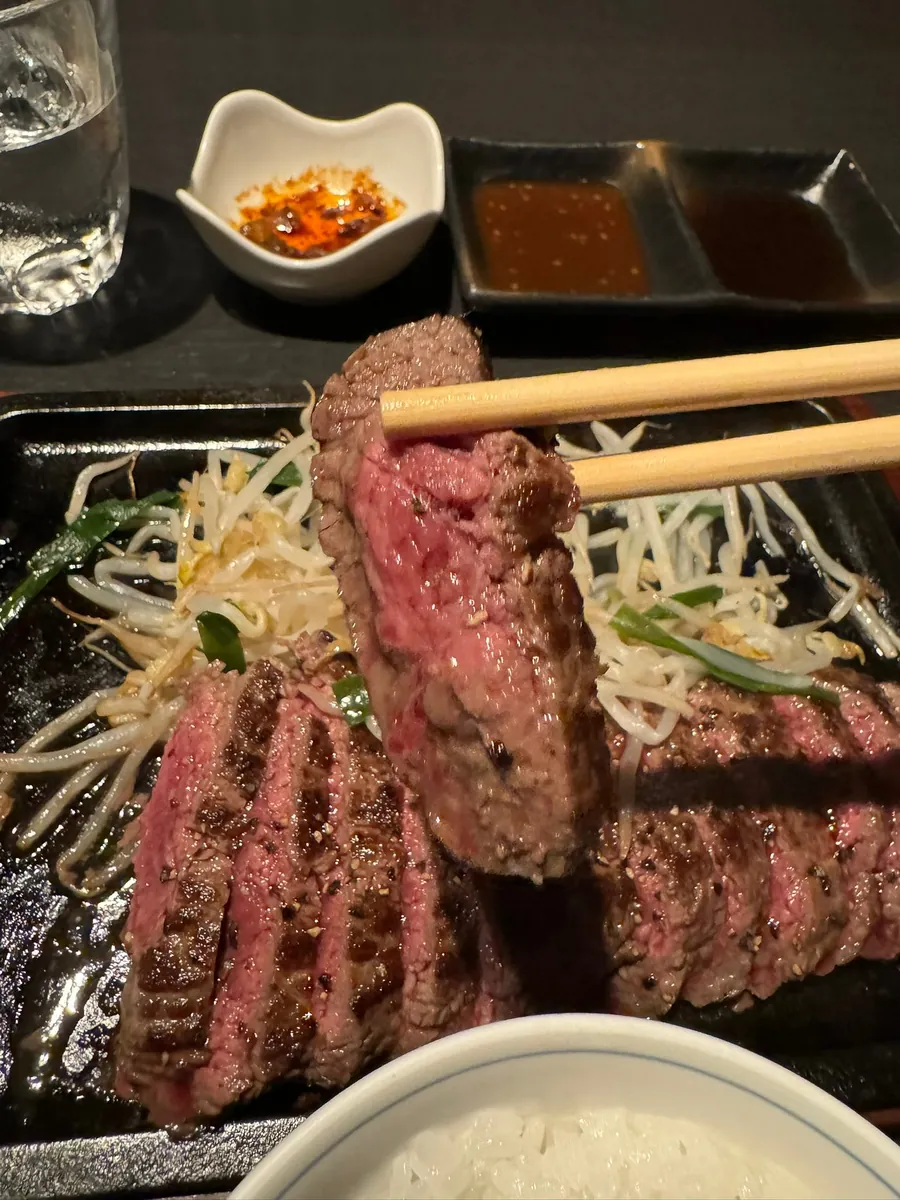
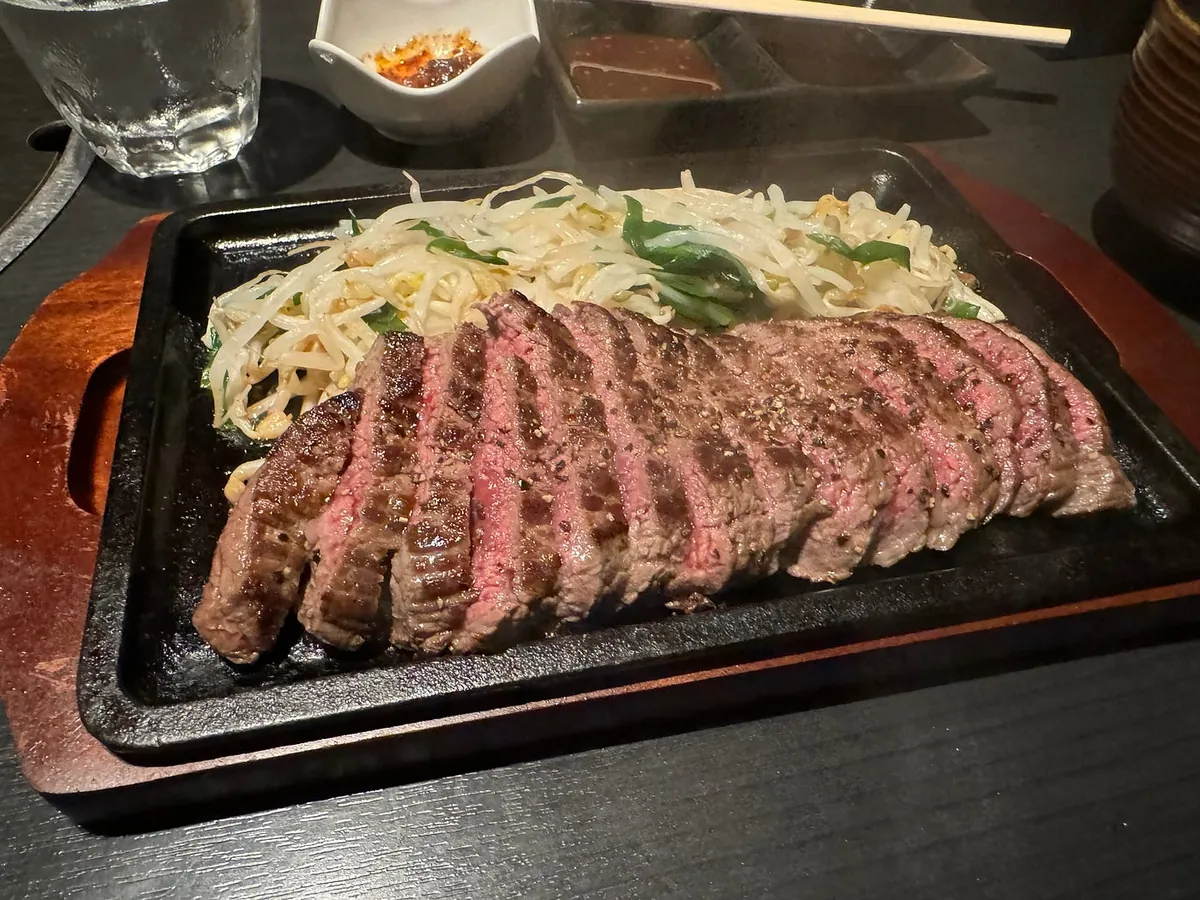
This time I ordered the lean meat set, 200g for 3,200 yen, and devoured two bowls of white rice (rice soup refills are free).
Nan Zang Temple
After returning to Hakata, take the train to Minami Zoin-mae Station.
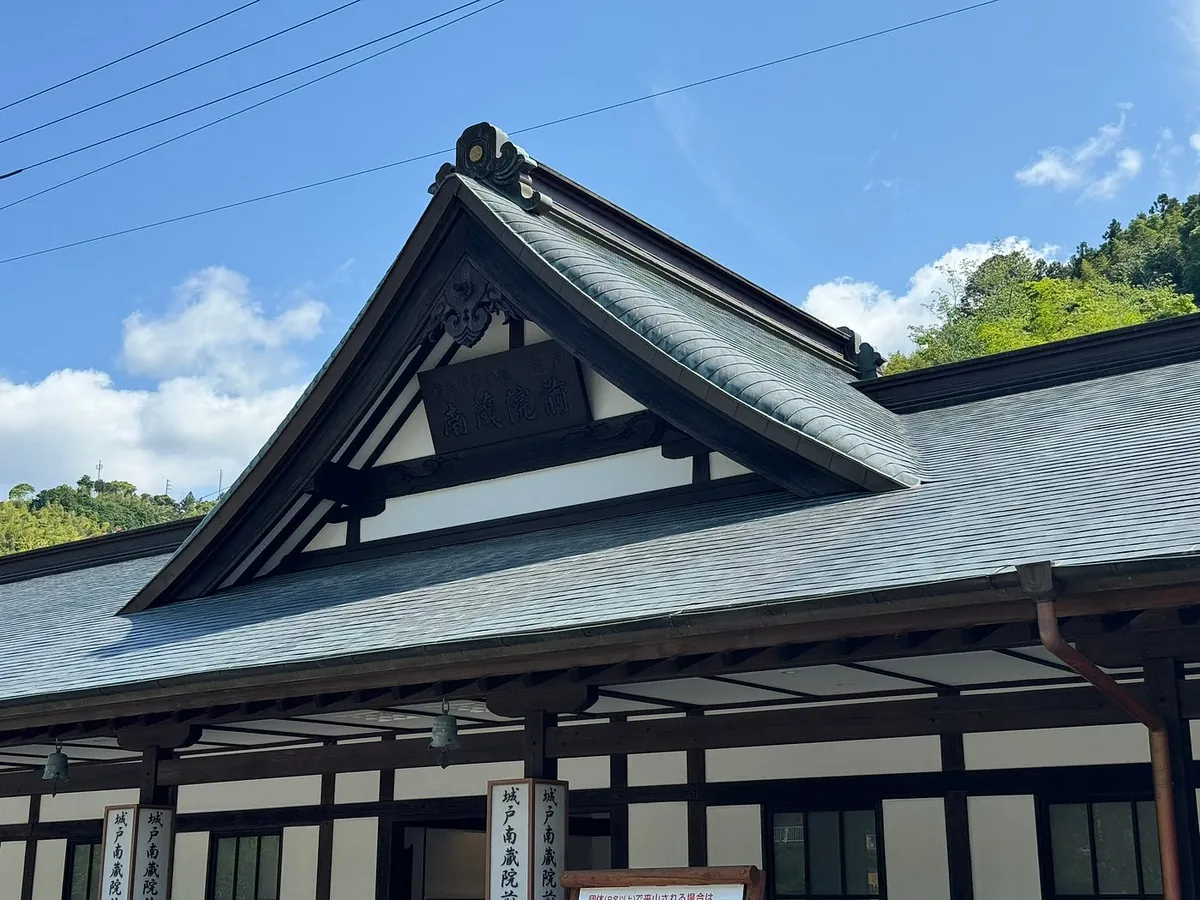
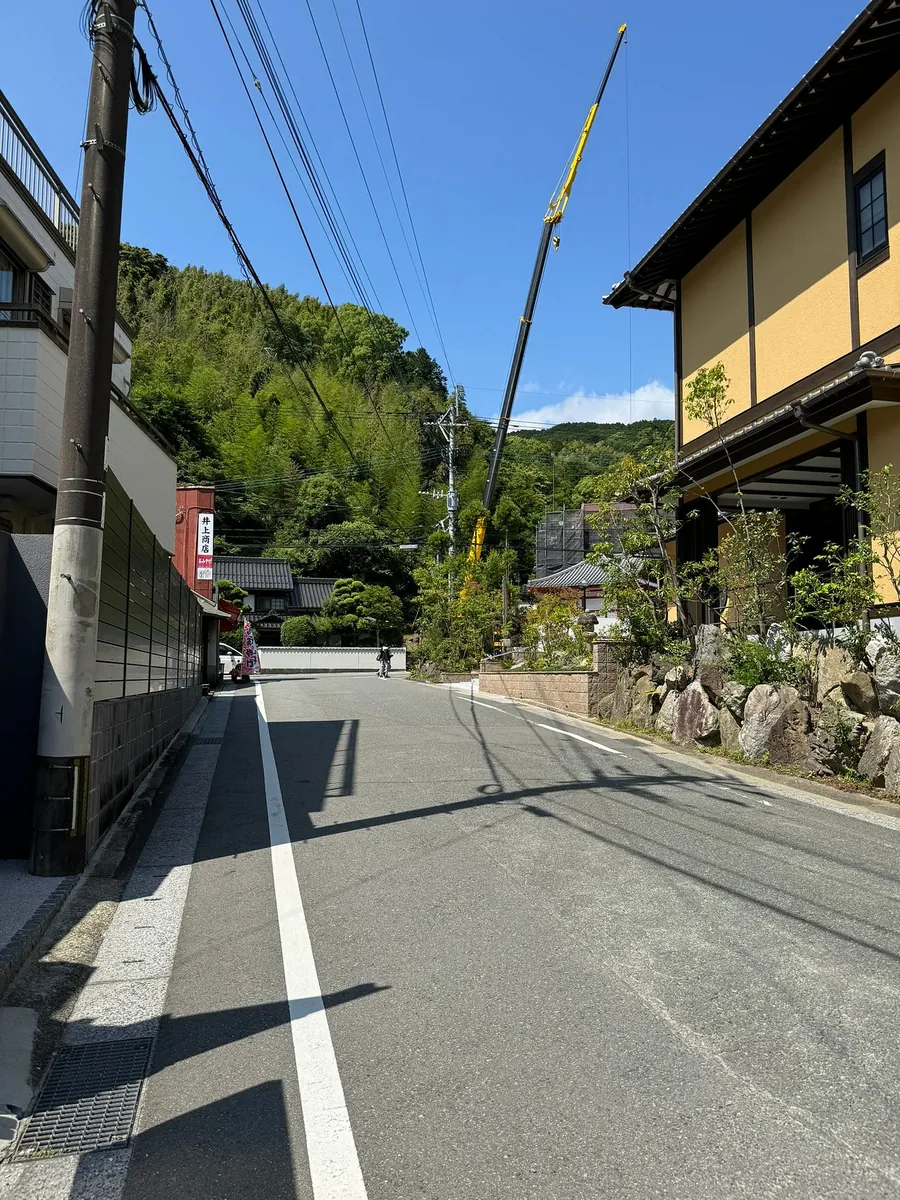
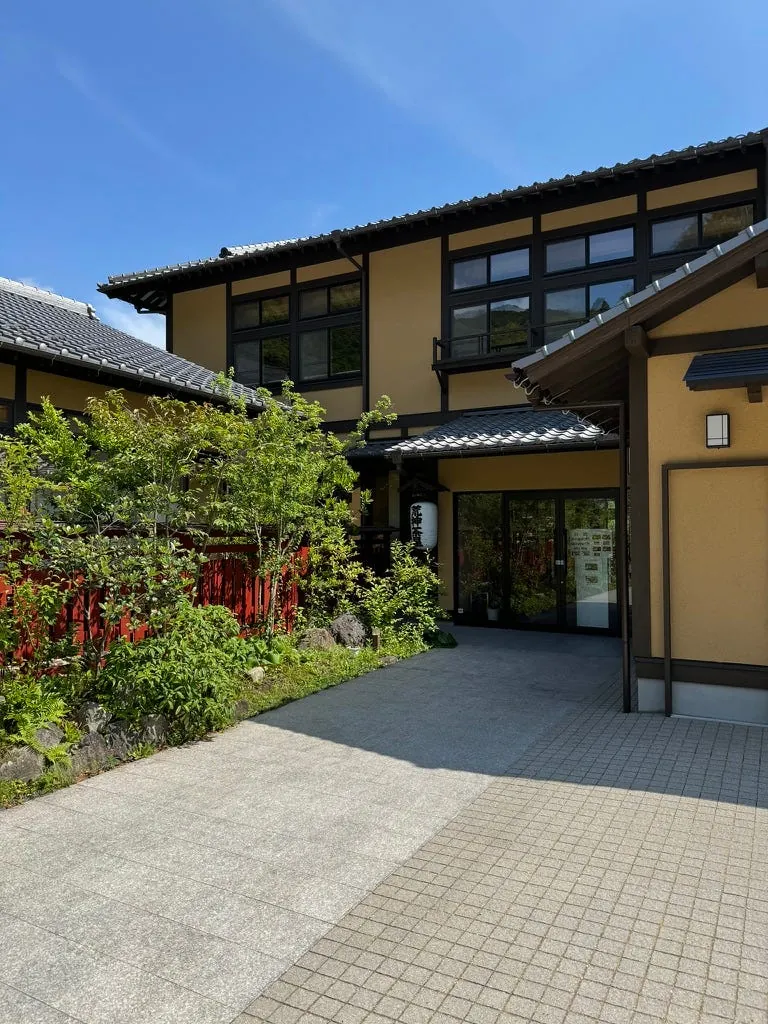
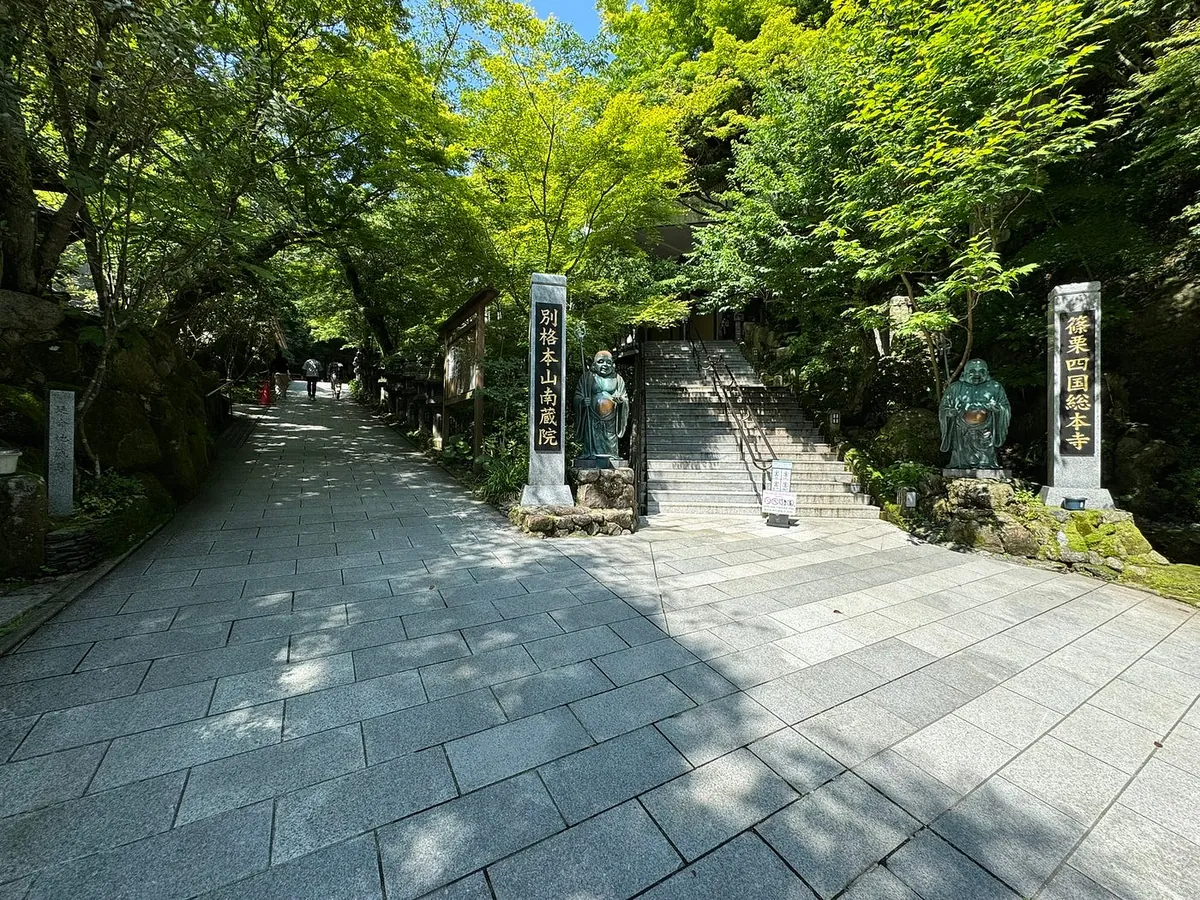
Exit the station and walk straight. Pass by Arashin Teahouse (a place to rest and have lunch), then cross the road to reach the entrance of Nanzoin Temple.
Walk on the right to see the Reclining Buddha; on the left, there are statues for seeking love, safety, and Fudo Myo-o.
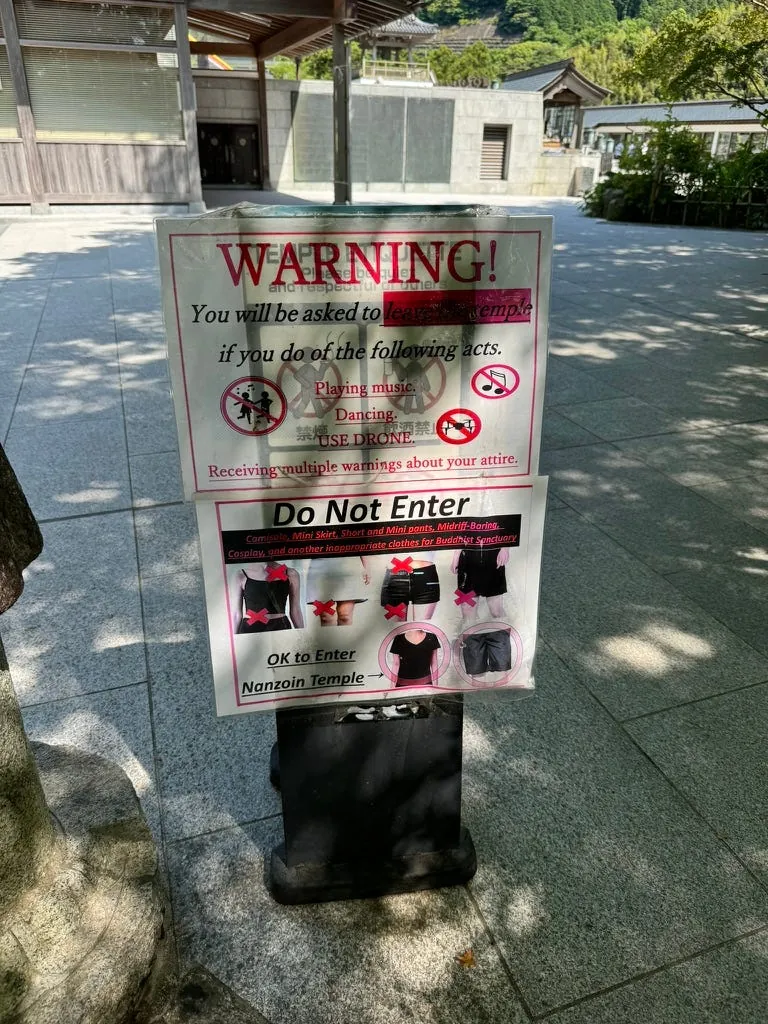
Nanzang Temple is a private institution and also has enshrined memorial tablets, so there are many rules and restricted areas where photography is prohibited. Please comply with these regulations.
No short sleeves, shorts, exposed midriffs or shoulders; no playing music, dancing, or photography (e.g., the row of memorial tablets at the entrance cave, the Fudo Myo-o statue).
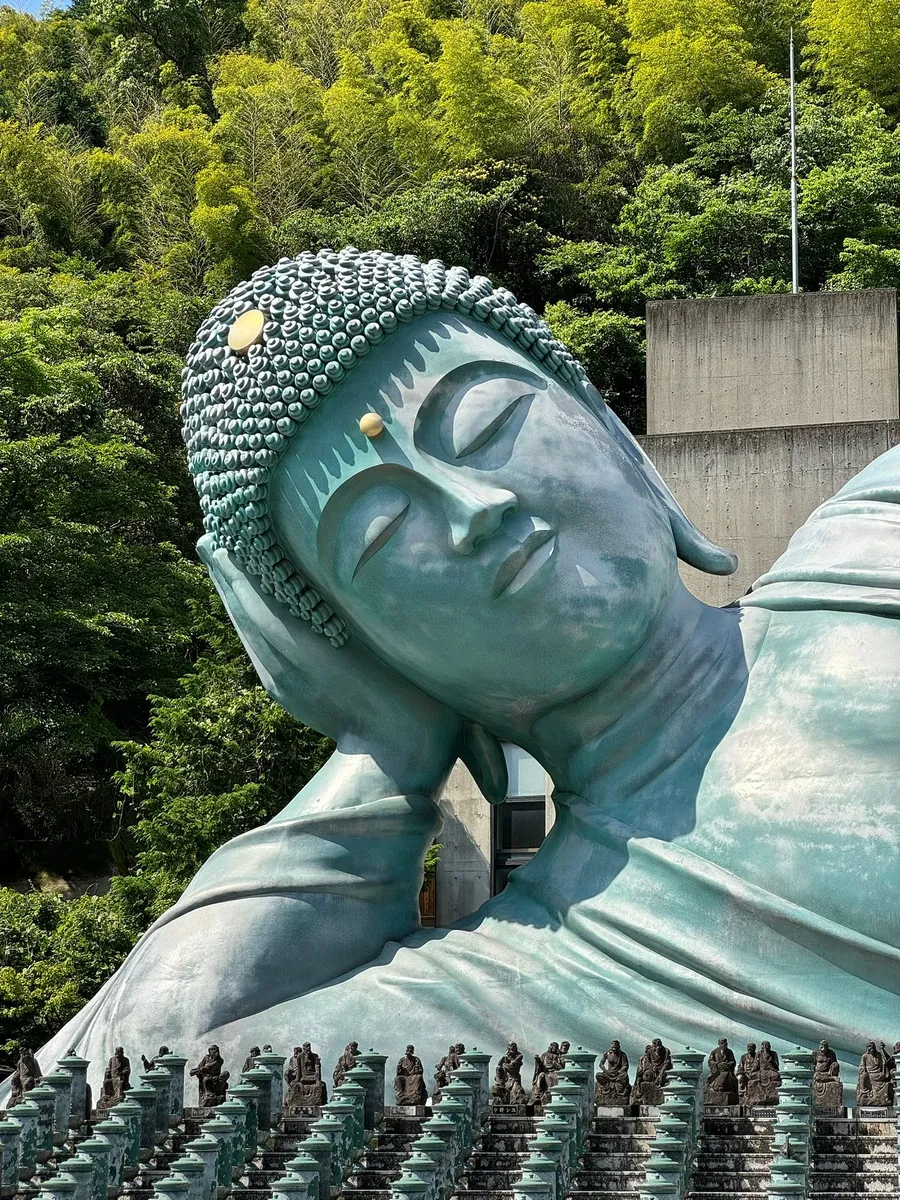
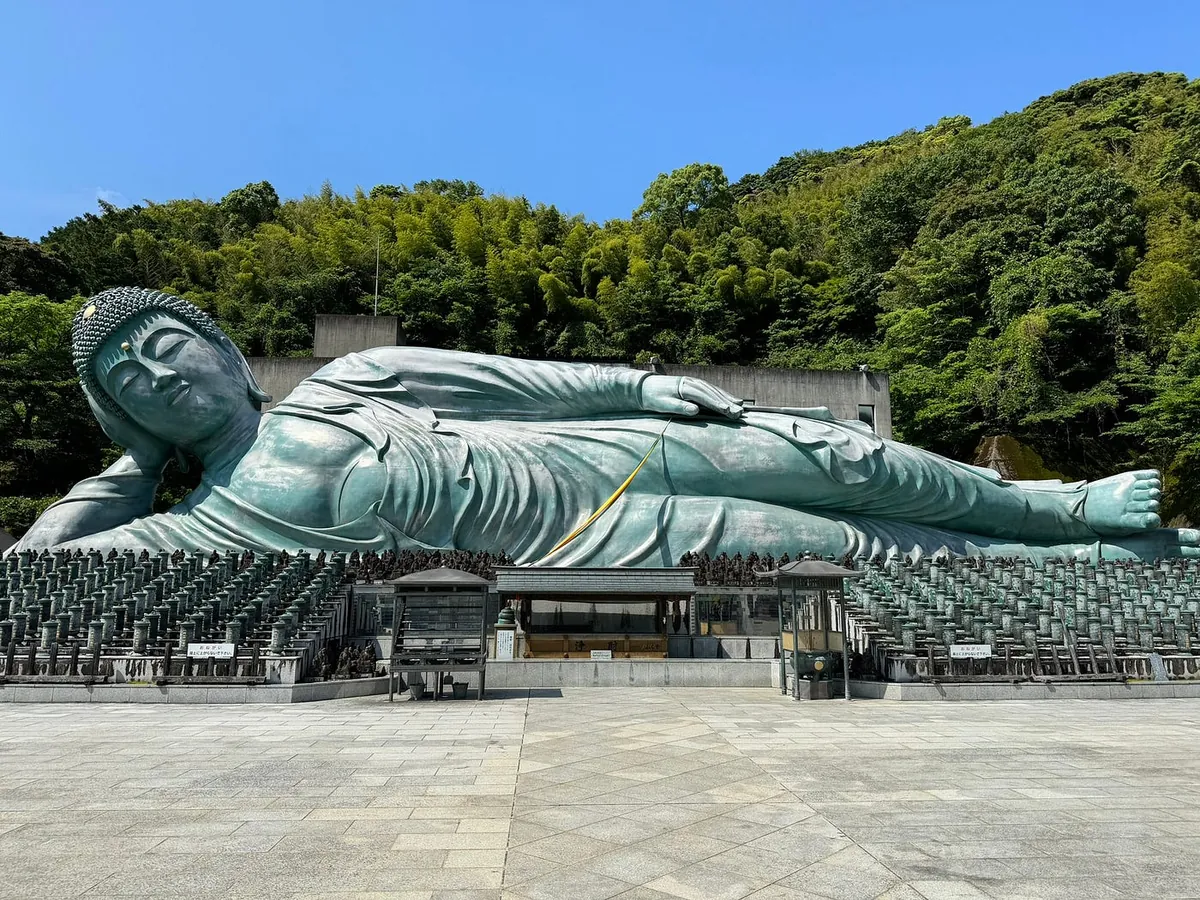
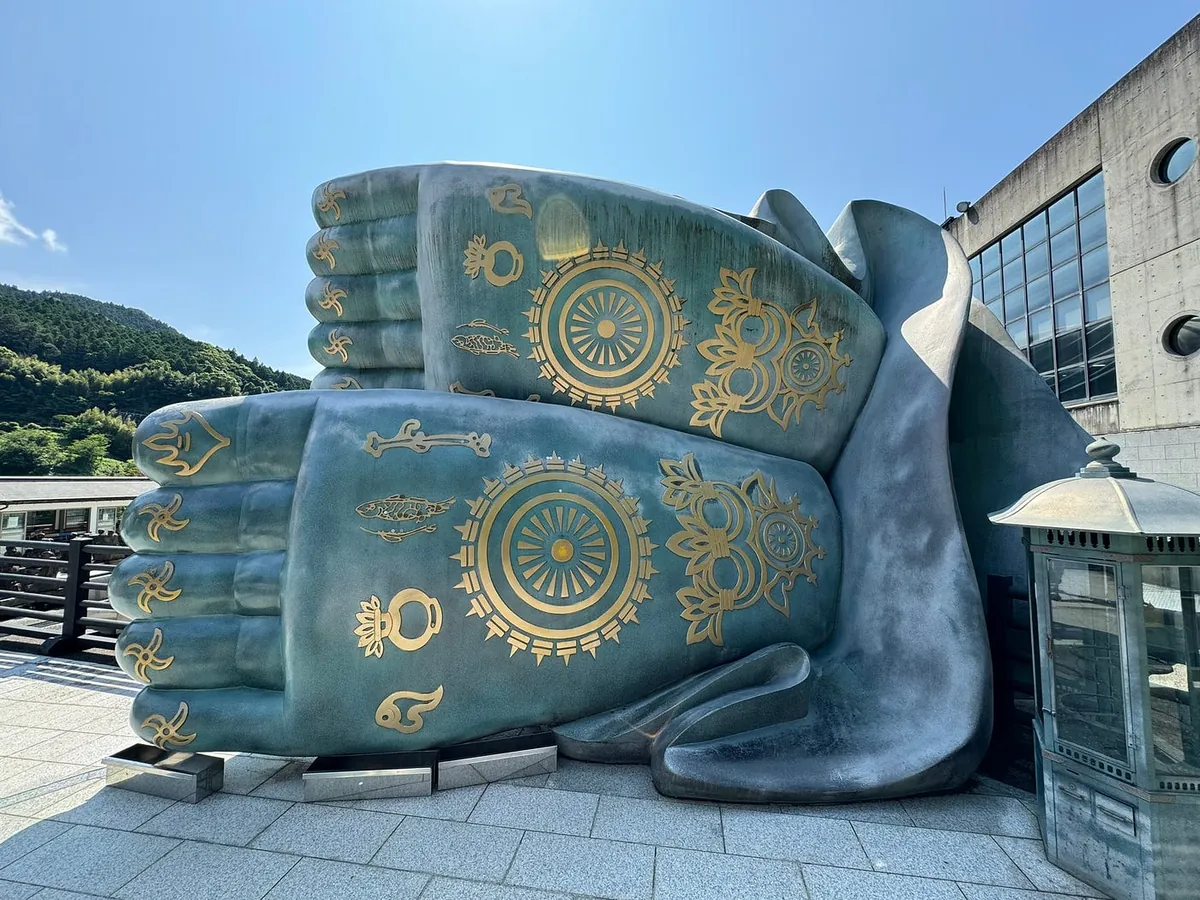
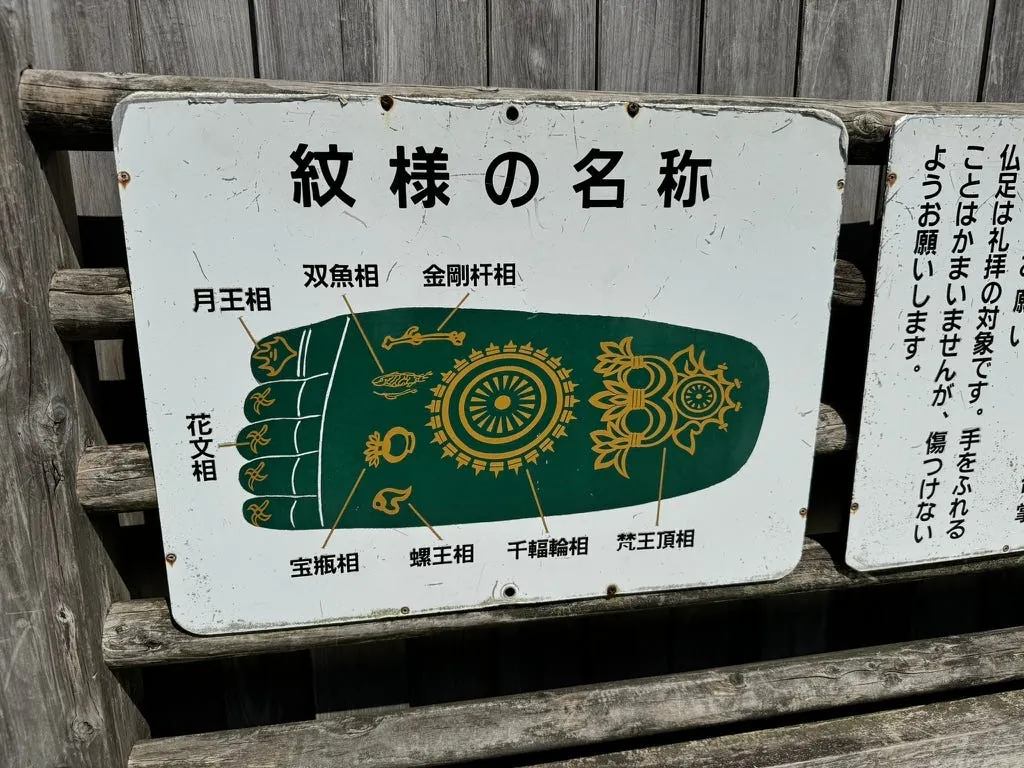
After entering the platform, you can see the Reclining Buddha statue. There are scriptures on the soles of the feet, making the whole scene grand and solemn.
After the visit, I took the train back to Hakata Station, arriving around 15:40.
Hakata Pilgrimage
Add some places not visited last time in Kyushu.
Gion — Tochoji Temple
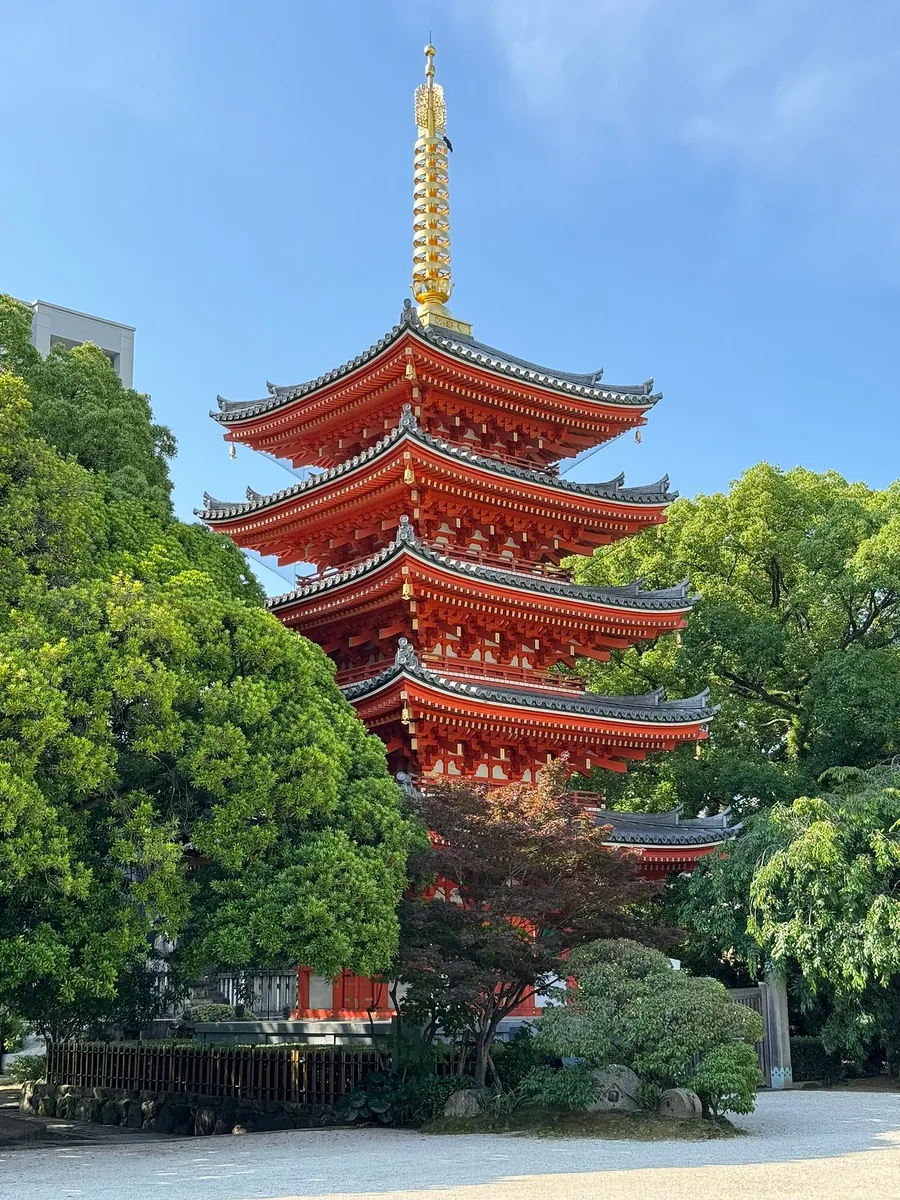
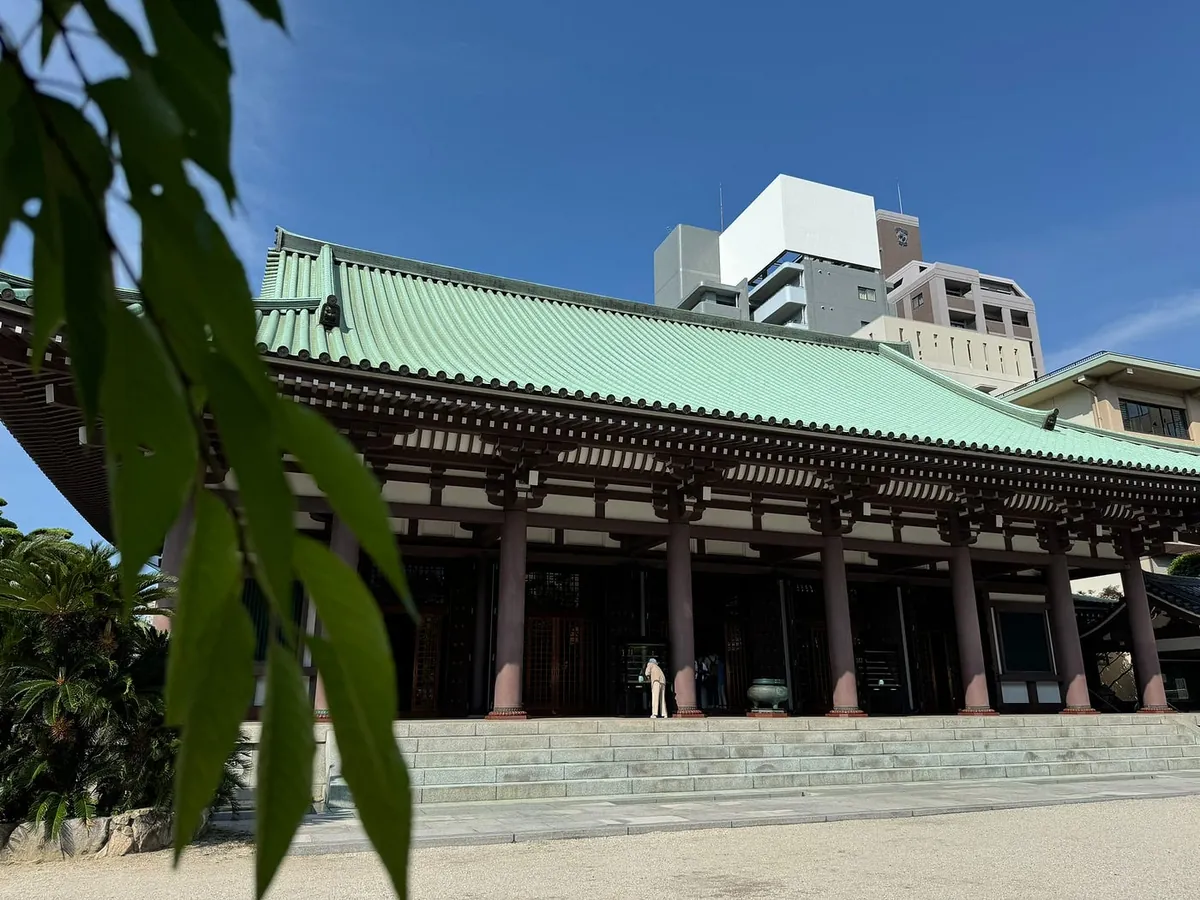
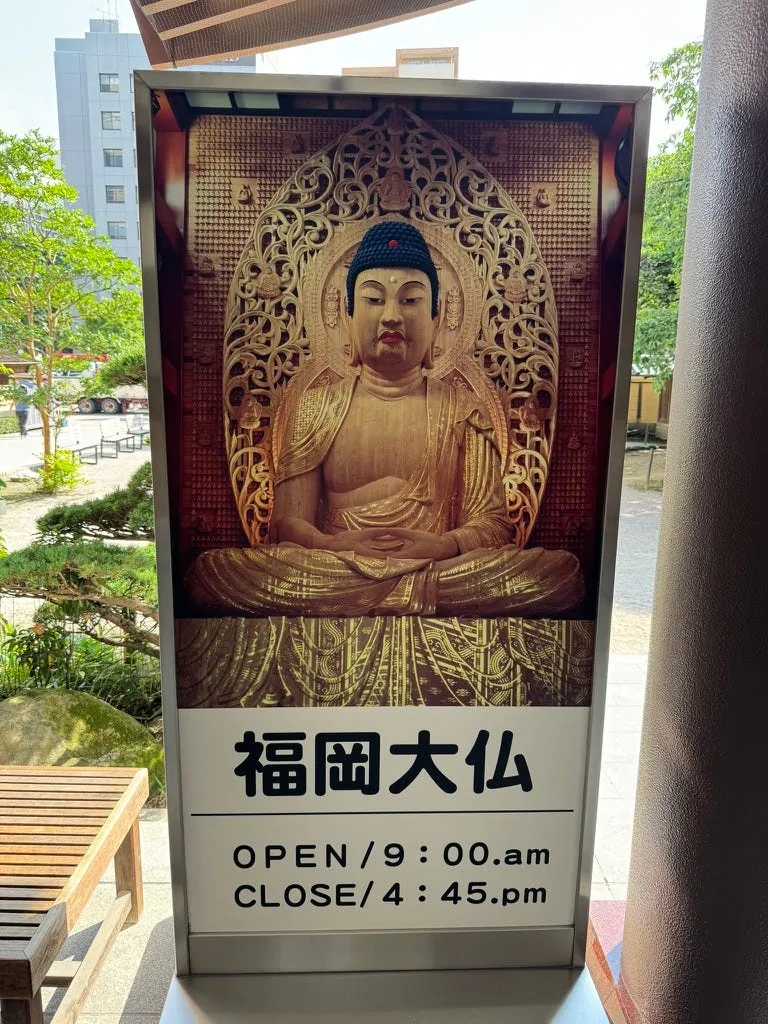
On the second floor of Tochoji Temple, you can visit and pray to the Fukuoka Great Buddha (50 yen).
After the visit, it’s 5:00 PM, and the iron skillet fried dumplings at 鉄なべ are still open for another hour. Then, go for a walk at Ohori Park.
Ohori Park
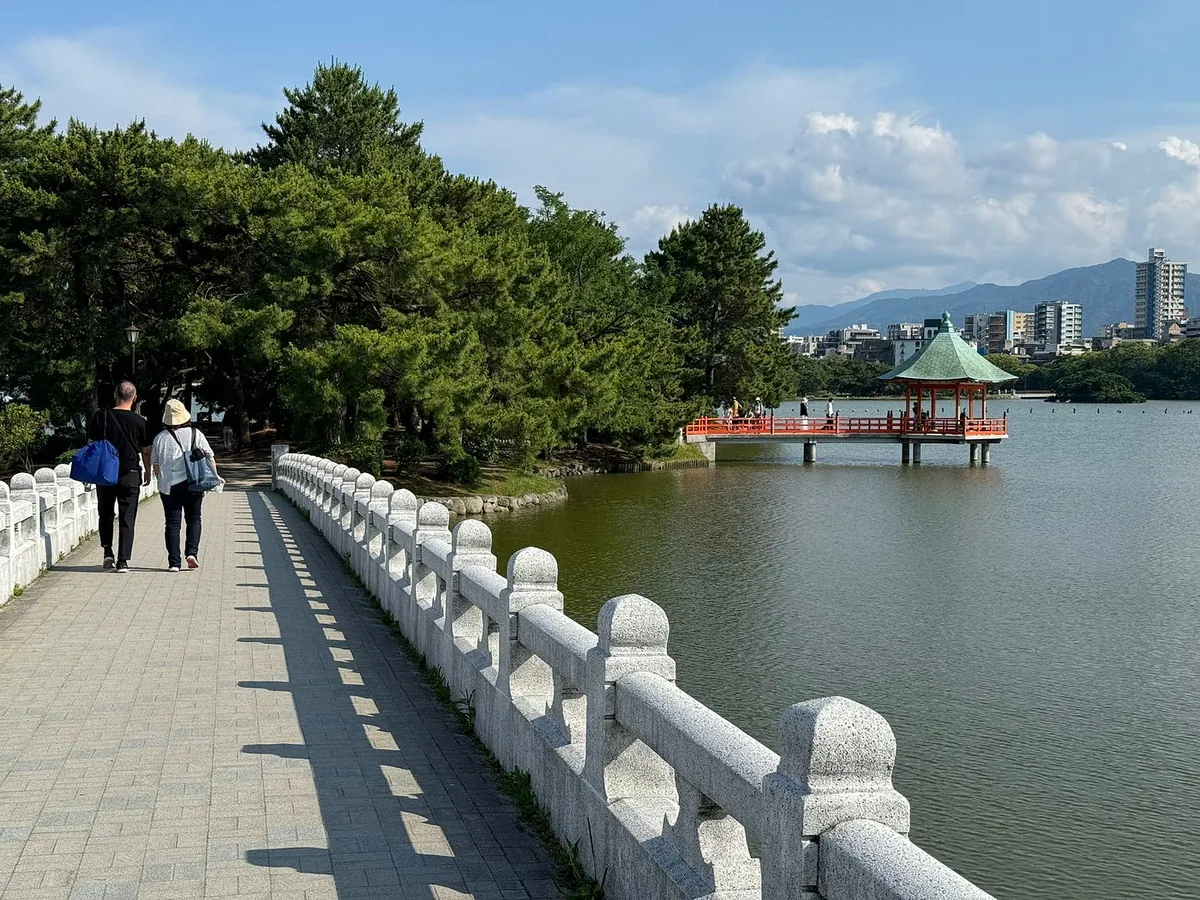
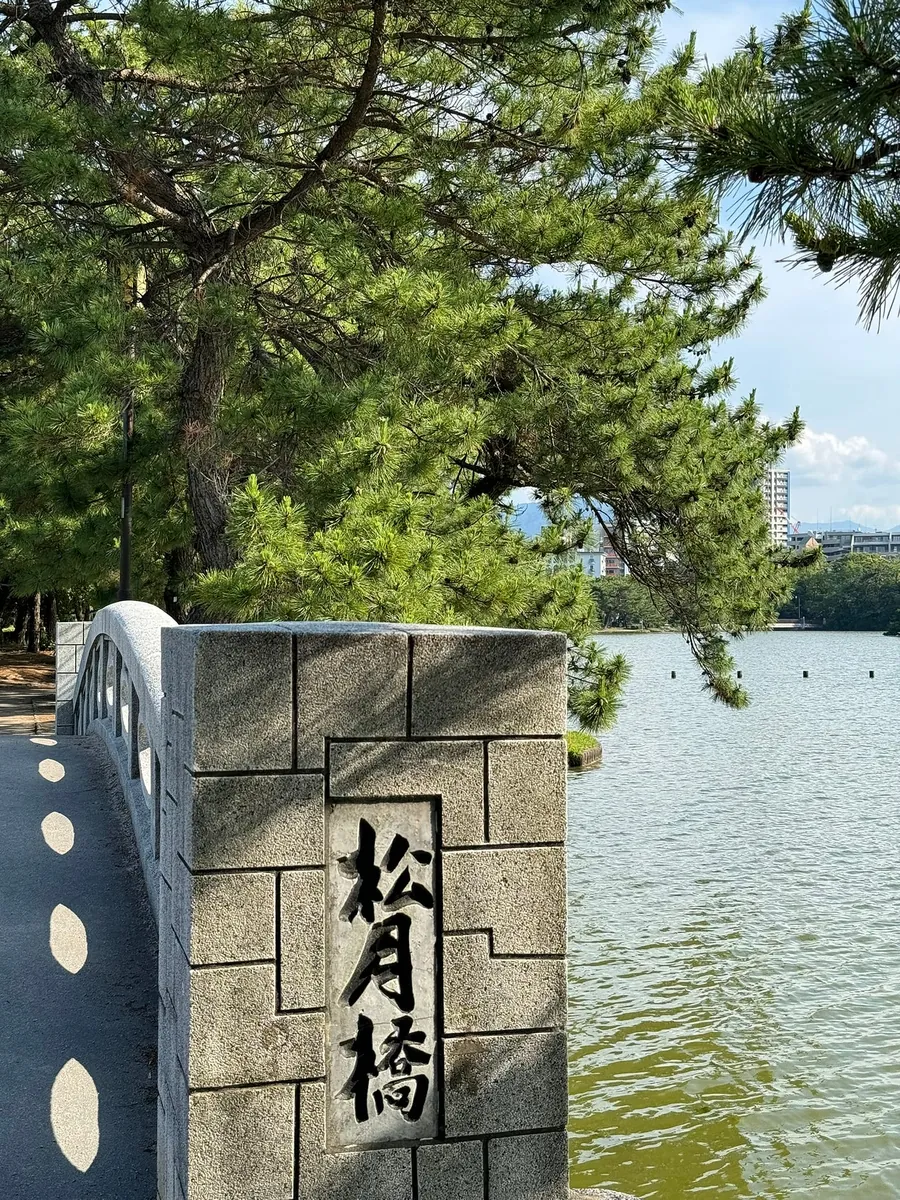

Ohori Park is very large, and walking around it takes about 45 minutes; you can also ride swan boats.
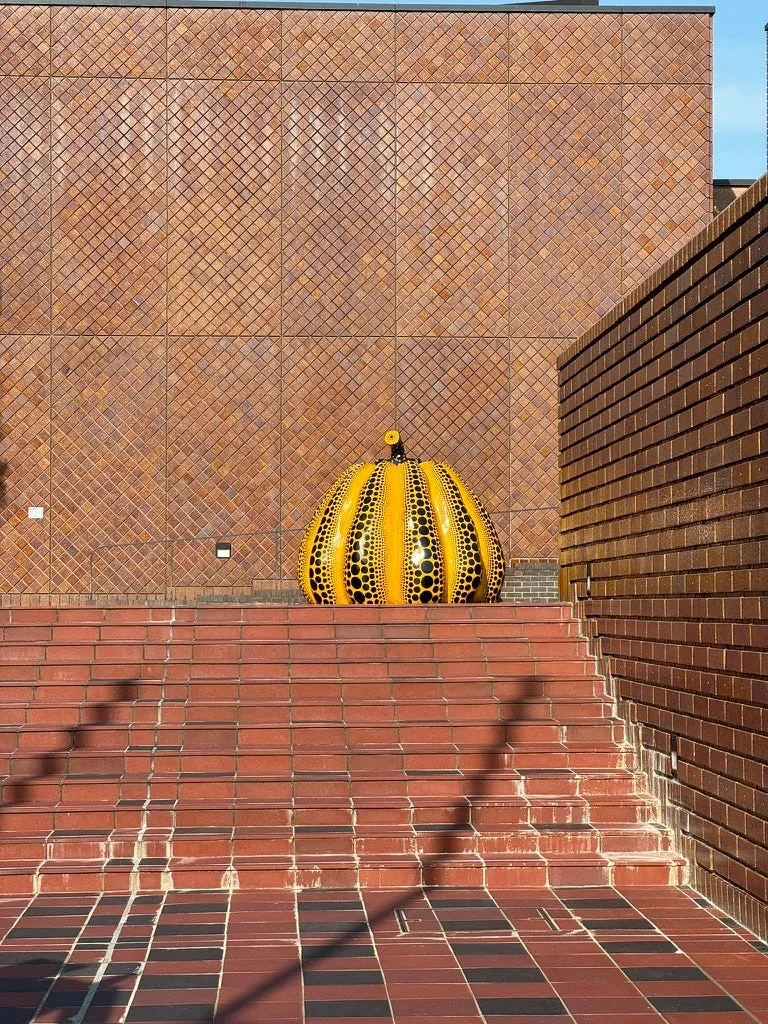
Fukuoka City Museum of Art is closed on Mondays, so you can only admire Yayoi Kusama’s pumpkin from afar.
After finishing the tour, it’s about 17:00, time to go for dinner!
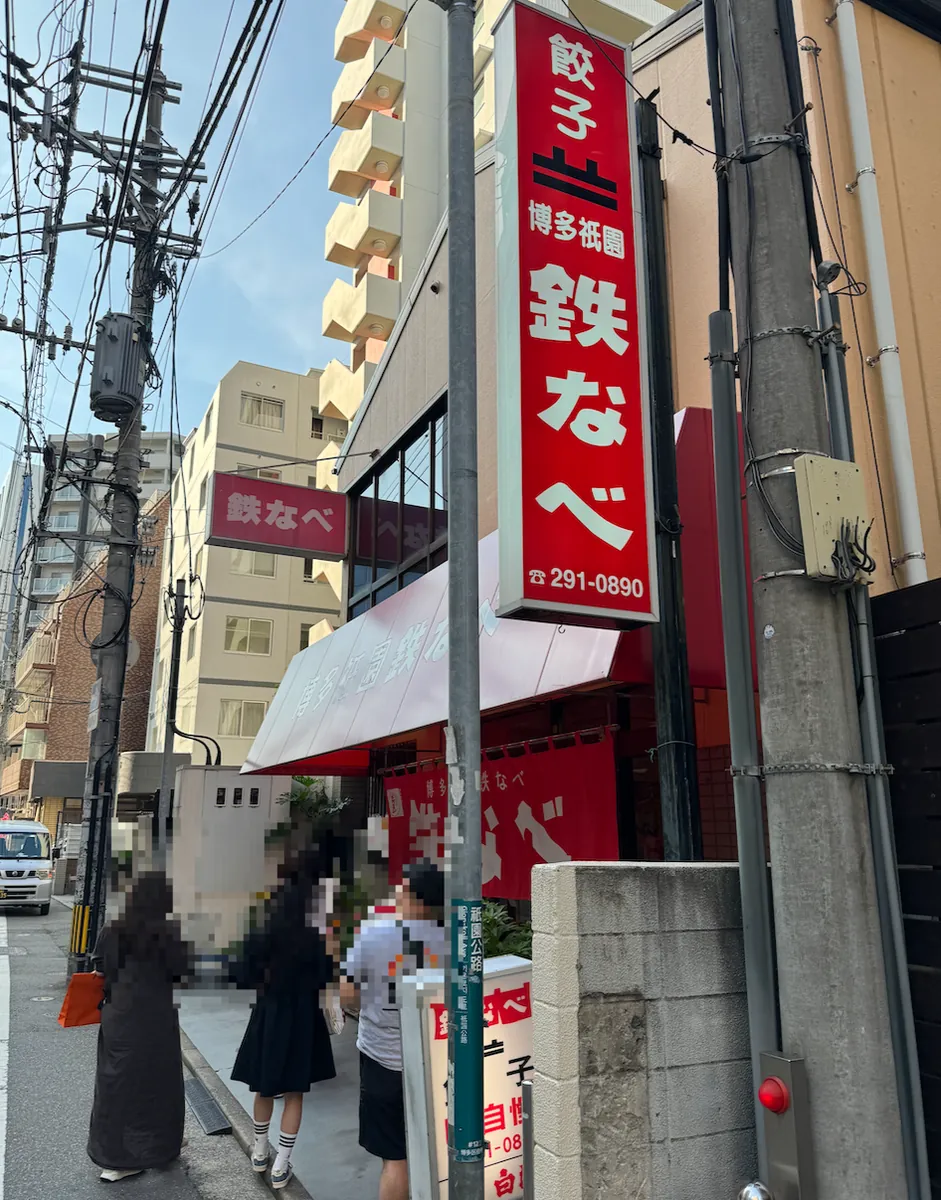
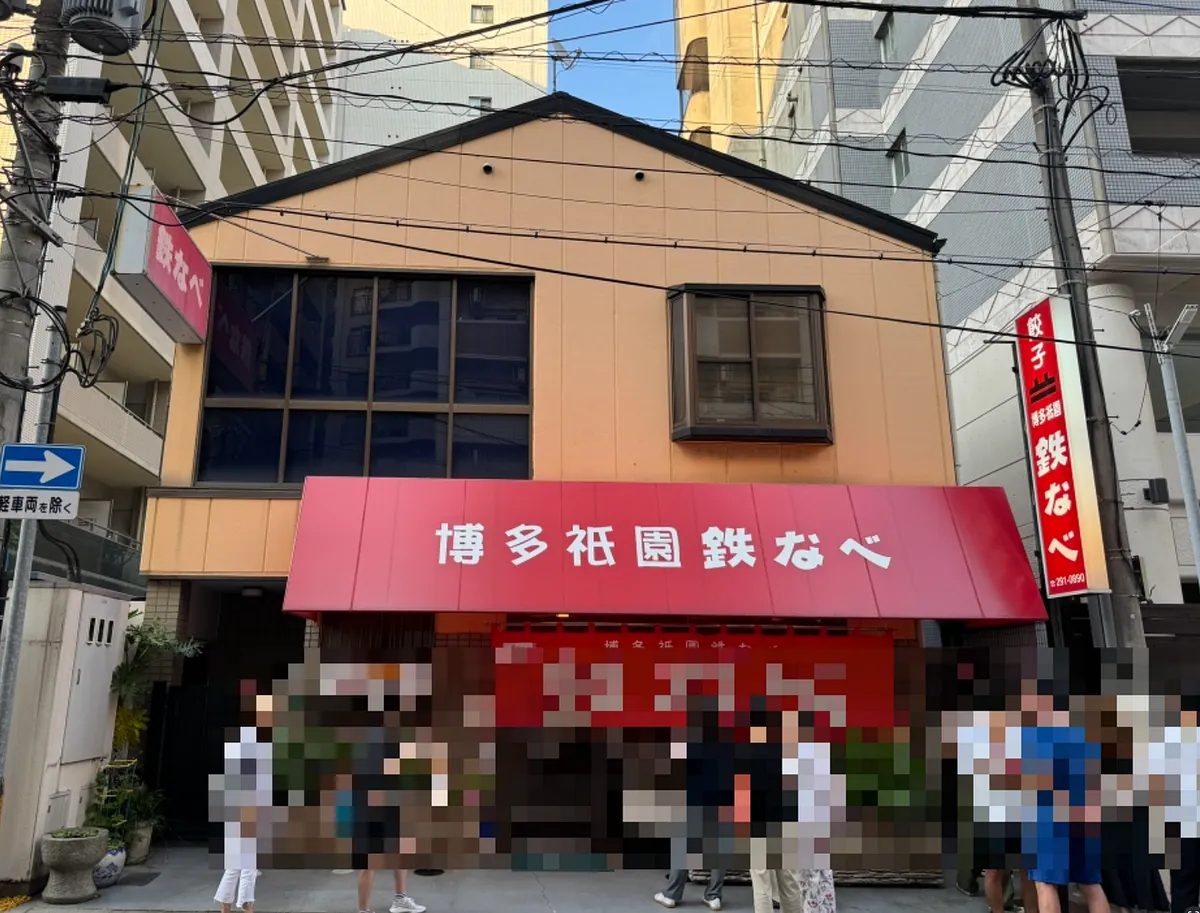
Iron Pan Fried Dumplings Tetsunabe 鉄なべ
I tried the iron skillet fried dumplings 鉄なべ once before and still miss the crispy taste of those dumplings.
He has another branch — 鉄鍋煎餃 鉄なべ 博多 祇園店, which I passed by a few days ago. The door was locked, and a notice said it was under renovation and to visit the main store. (However, Google Maps still shows it as open)
Sauces and water are self-service.
The store does not support electronic payments and only accepts cash. ⚠️
Around 17:20, seeing everyone waiting outside, the shop assistant grandma came out shortly to invite us in.
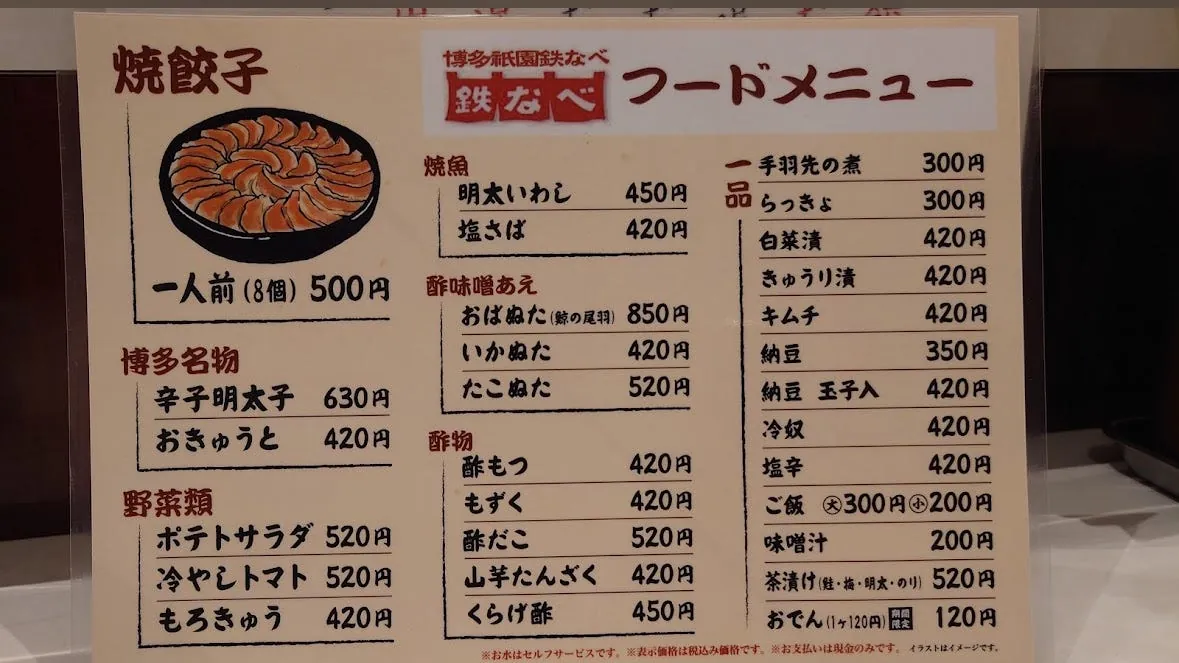
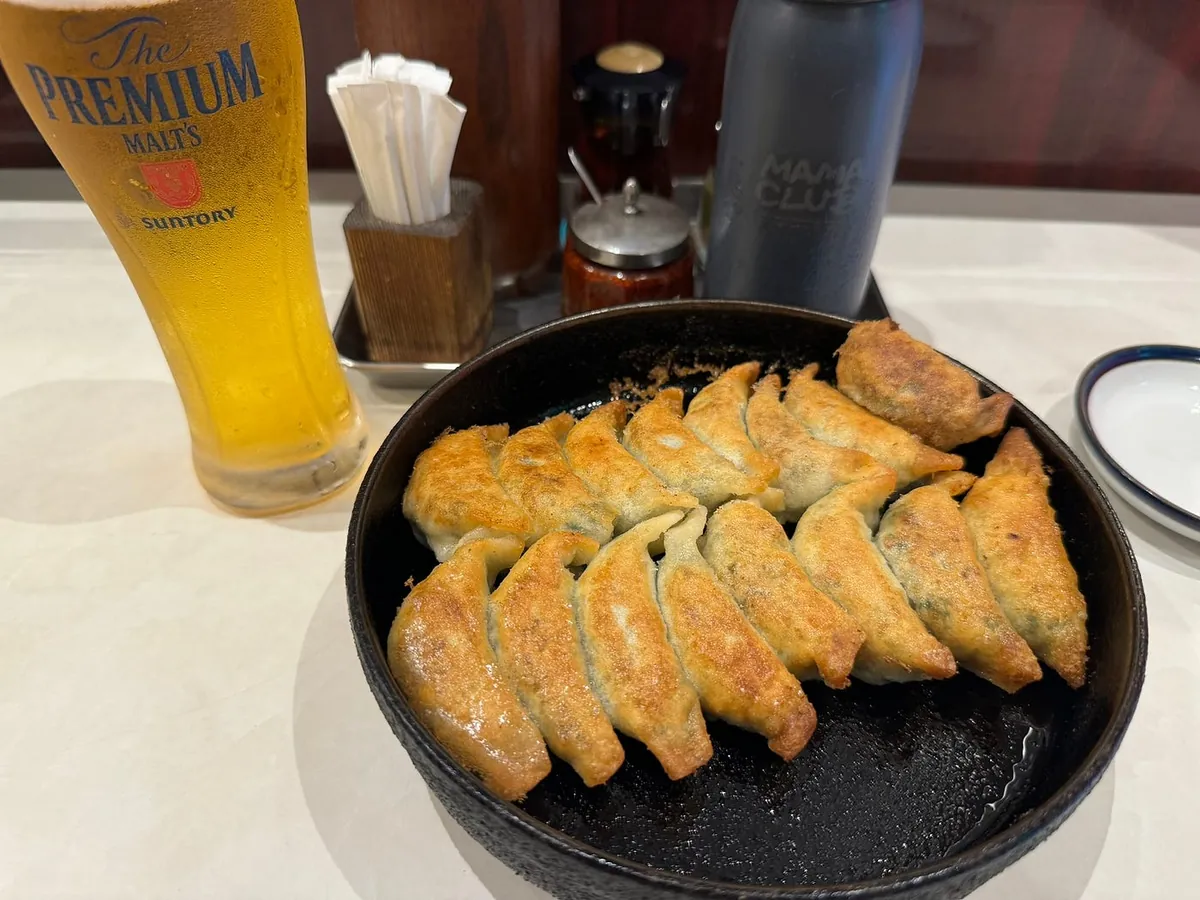
This time we knew to order two plates of fried dumplings. Last time, grandma gestured that one plate wasn’t enough (I didn’t understand then). One plate has 8 pieces (500 yen), so two plates have 16 pieces. We also ordered a draft beer to finish this round!
Pan-fried dumplings are made to order and sizzle when served. The skin is thin and crispy, and the filling is likely chive and pork, simple and not salty, highlighting the natural flavors of the ingredients.
After finishing at 18:00, some people had already started lining up outside.
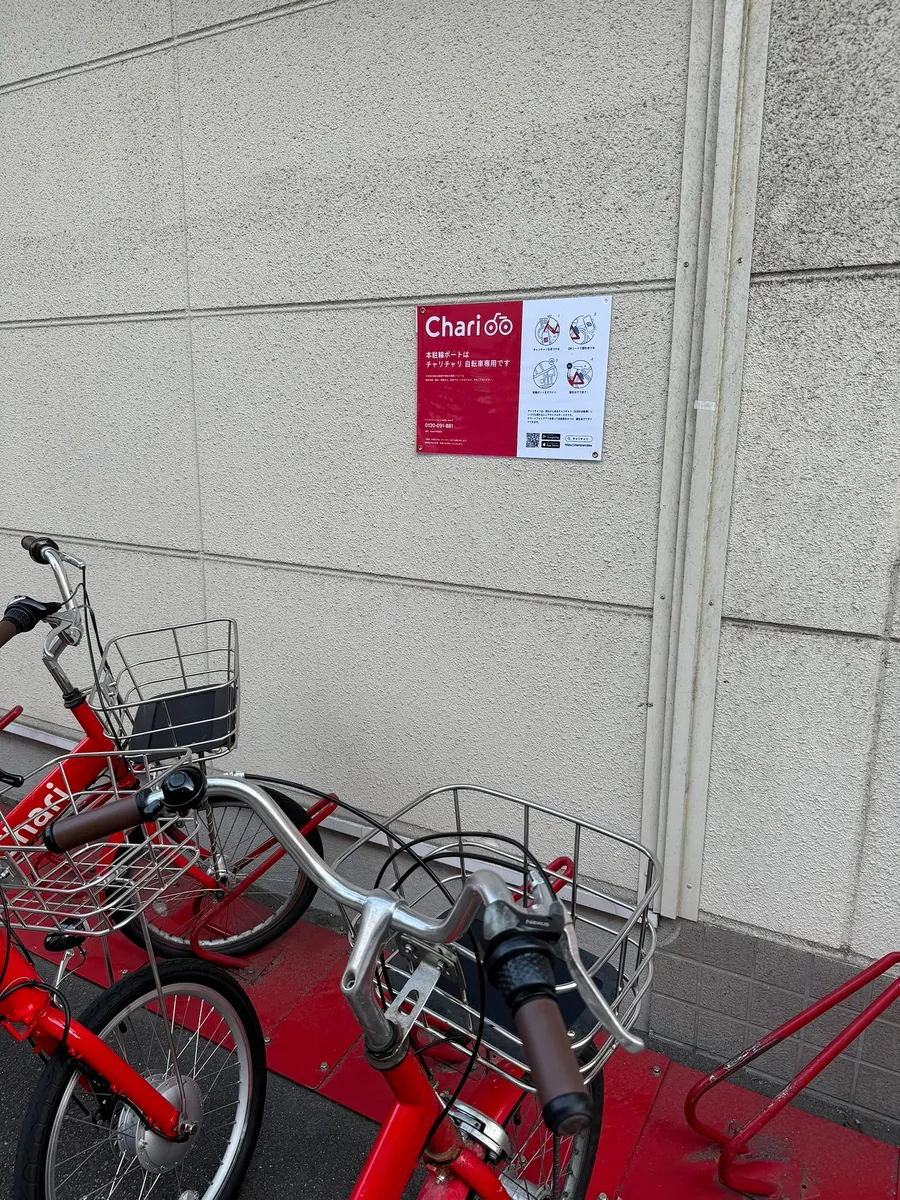
After eating, I walked back to the hotel and passed by the Nakasu food stalls being set up. This time, I noticed many more shared bikes.
Changing hotels all the time this trip is exhausting; this is the hotel for the last three days.
Snack ice cream, and the late-night meal is convenience store hot dogs.
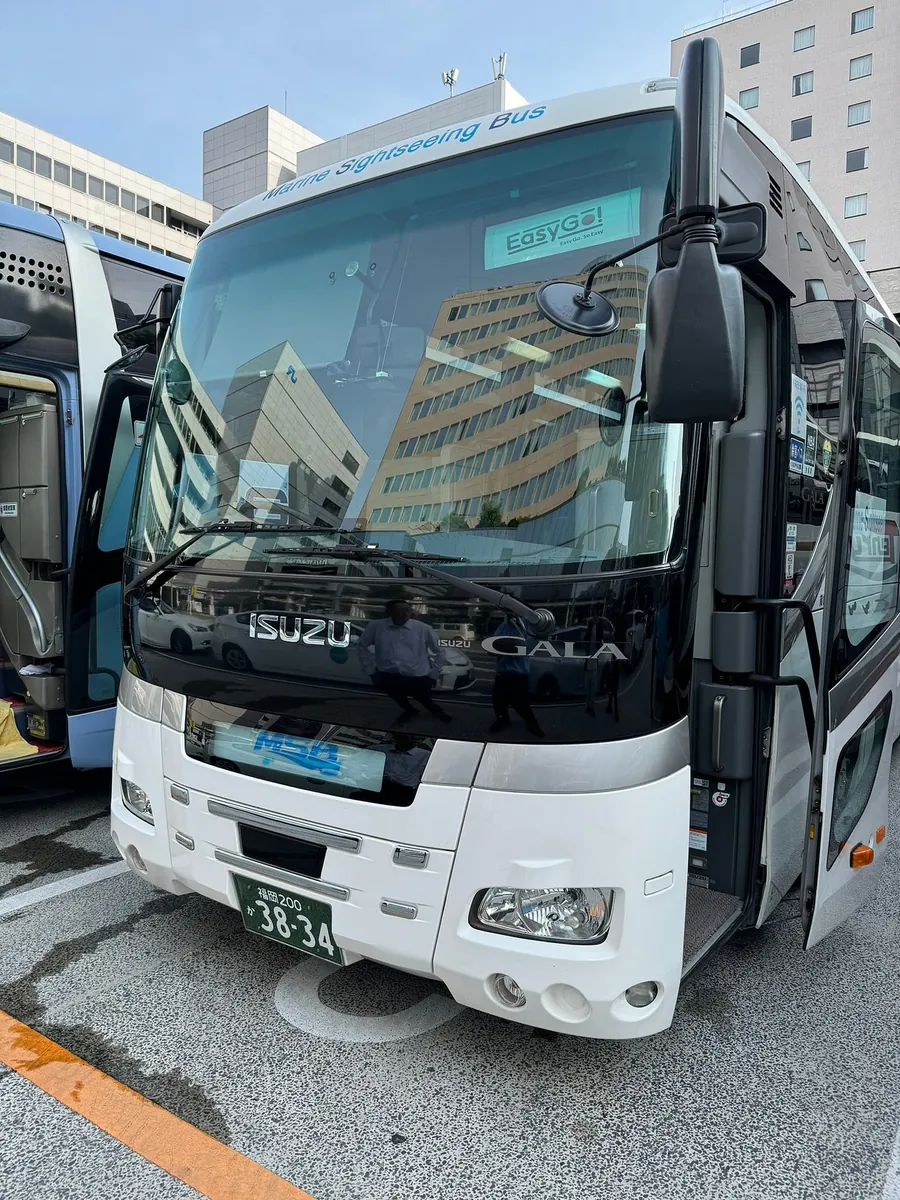
Day 9 KKDAY Takachiho One-Day Tour: Takachiho Shrine, Takachiho Gorge, Amano Iwato Shrine, Amano Yasugawara
07:45 AM Head to Hakata Station Chikushi Exit (Hakata Back Exit)
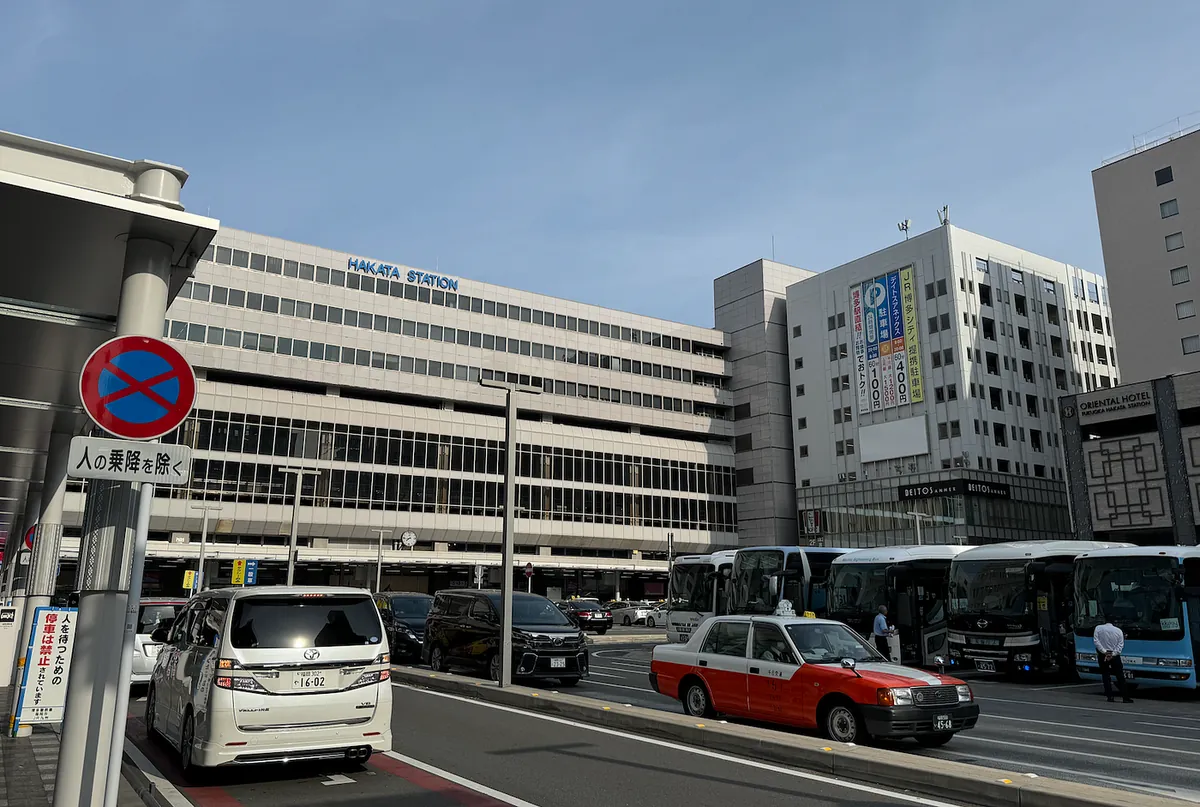
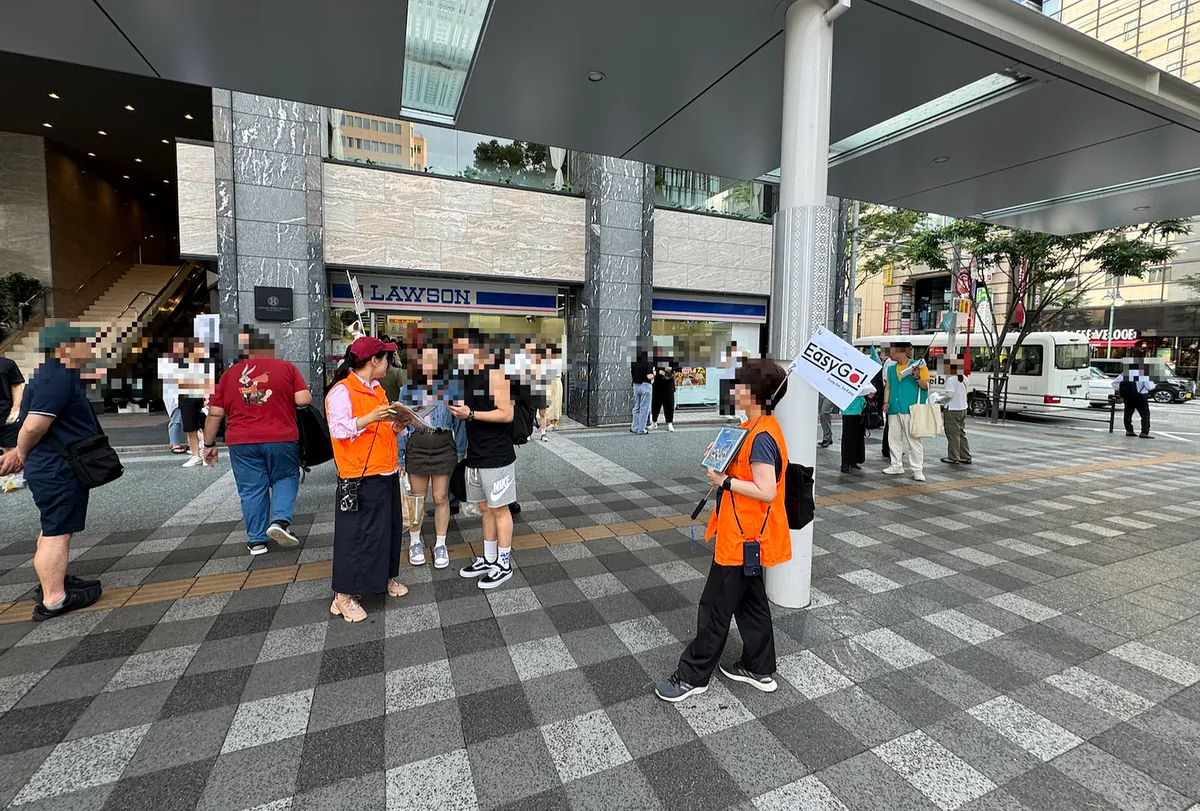
In the plaza in front of LAWSON Hakata Station Chikushi Exit Store, find the day tour guide for your destination. (At the same time, there will be several groups, including those led by KKDAY, EasyGo, tours to Takachiho, Yufuin, and others.)
The tour guide (Chinese-speaking) has the list. After you check in, they will tell you the bus number. Remember the bus number to board the correct bus directly.
Seats are allocated on a first-come, first-served basis. If you have special needs (e.g., motion sickness), please notify the tour guide.
08:00 Departure when everyone has arrived
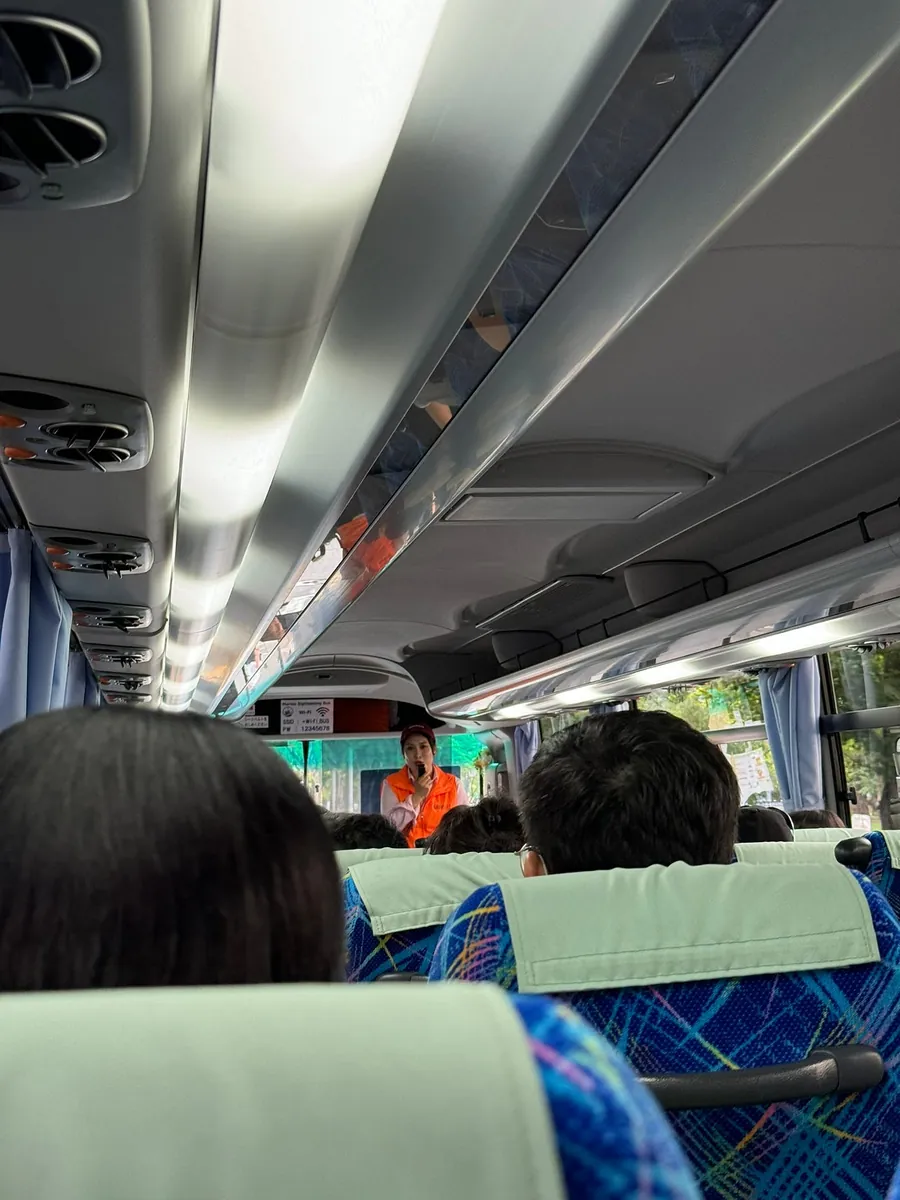
Tour Guide Self-Introduction (Shinan) - Chinese
大家好,我是你們的導遊石楠。很高興能帶領大家一起探索這美麗的地方。希望大家在旅程中玩得開心,有任何問題隨時問我。
Itinerary introduction: The guide said the Takachiho one-day tour is the farthest and most tiring among all the one-day tour options XD
There is WiFi on the bus (but it is not very stable)
Always wear your seatbelt ⚠️
Most are Taiwanese
Introduction to Takachiho Shrine and Inquiry About Boat Reservations
It takes about 3 hours to reach the first Takachiho Shrine.
About Takachiho Boating
Takachiho boating requires booking three days in advance, with limited slots per time period *⚠️_
Boat rides in Takachiho must be booked three days in advance, with limited slots per time period ⚠️
Boat rides in Takachiho require booking three days in advance, with limited slots per time period ⚠️
The rowing trip is short, taking about 30–45 minutes round trip. Lunch should be finished around 12:00, and the Takachiho itinerary ends around 13:20, after which everyone will regroup to return.
Our group has 3 parties with reservations.
Therefore, if you want to book a boat tour for a day trip, 12:00 / 12:30 would be a more suitable time. ⚠️
After lunch, you will need to walk to Takachiho Gorge. If you have reserved a boat ride or feel you might not have enough energy, the guide has arranged a shuttle bus to take you directly there, saving time.
It is still best to follow the arrangements made by KKDAY. It is recommended to check with the official source before booking to ensure there are no issues. ⚠️
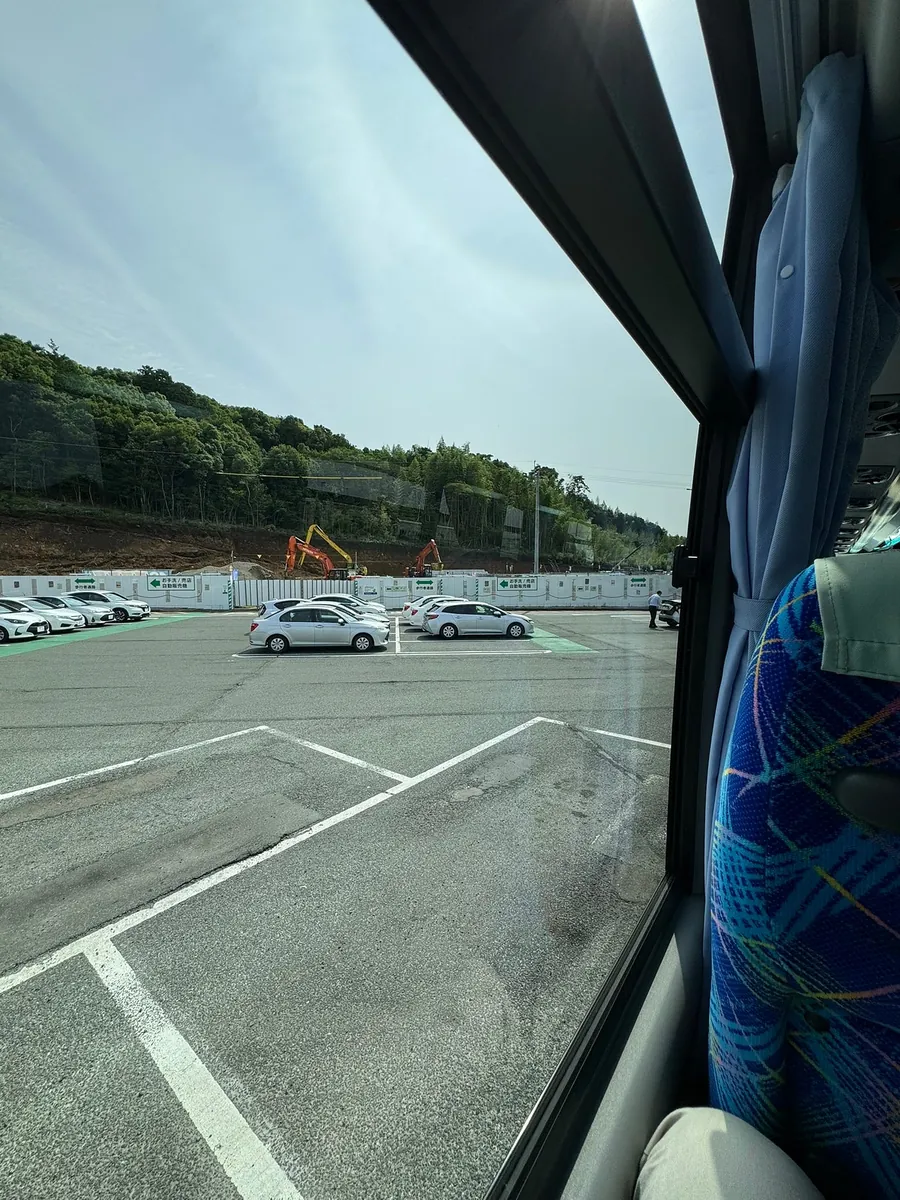
9:20 Rest Stop Break
Due to the long drive, we will stop at a rest area for 10 minutes to allow everyone to use the restroom and stretch their legs.
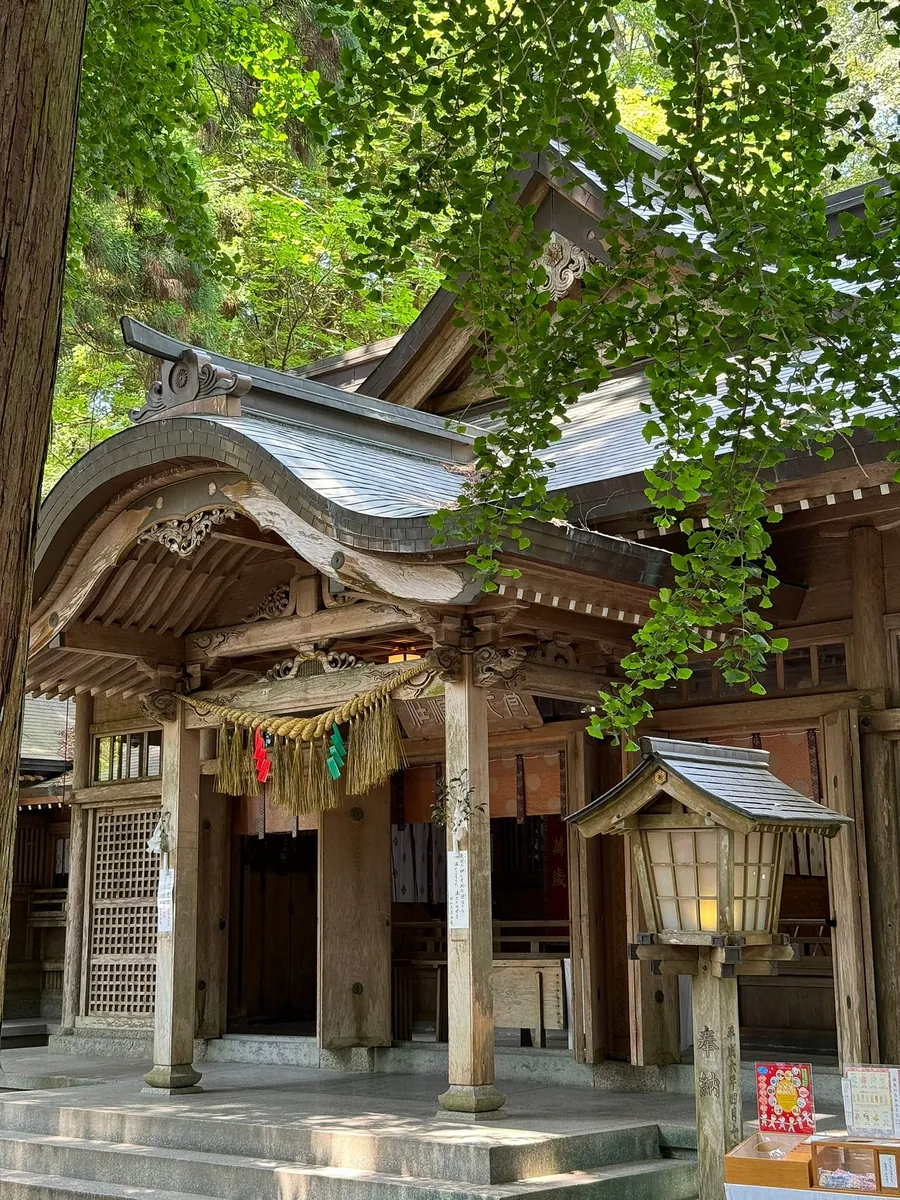
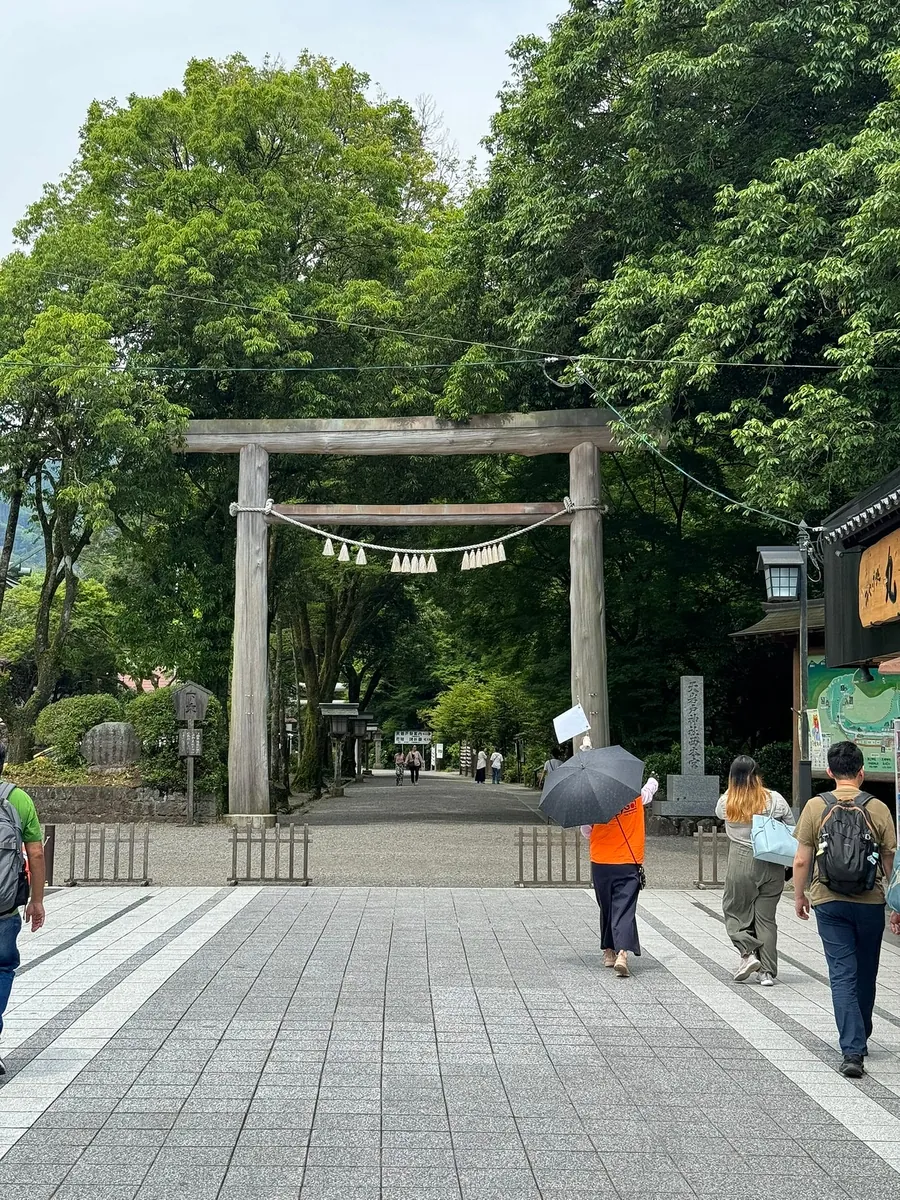
10:50 Arrive at Takachiho Shrine
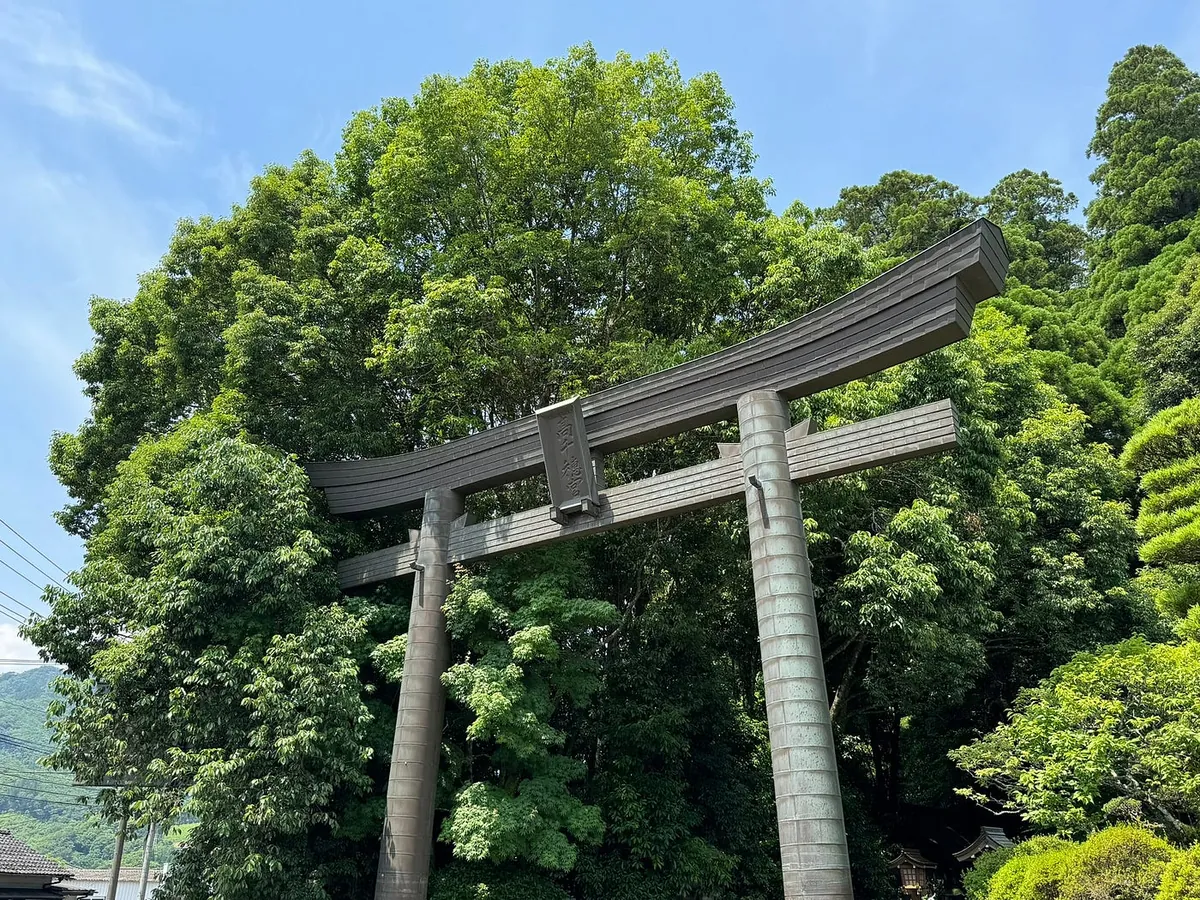
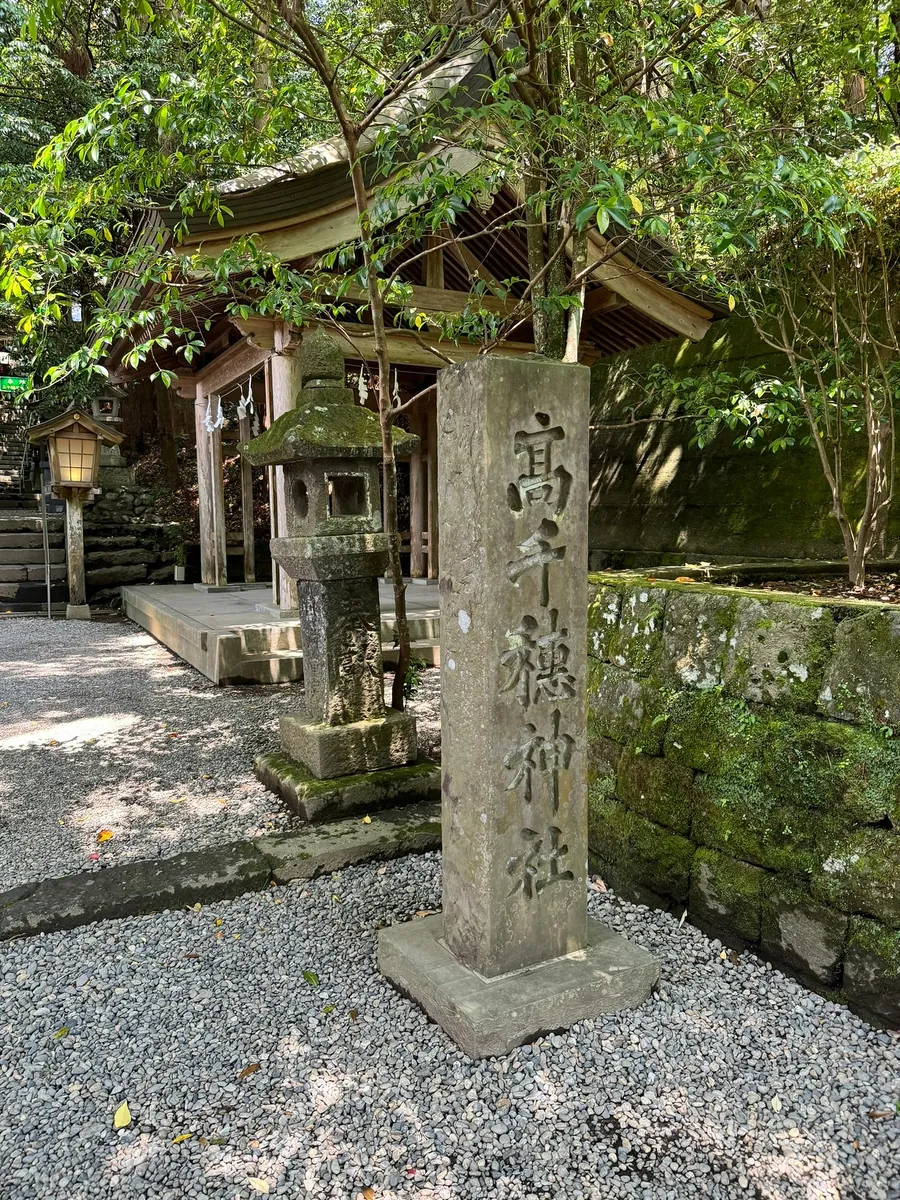
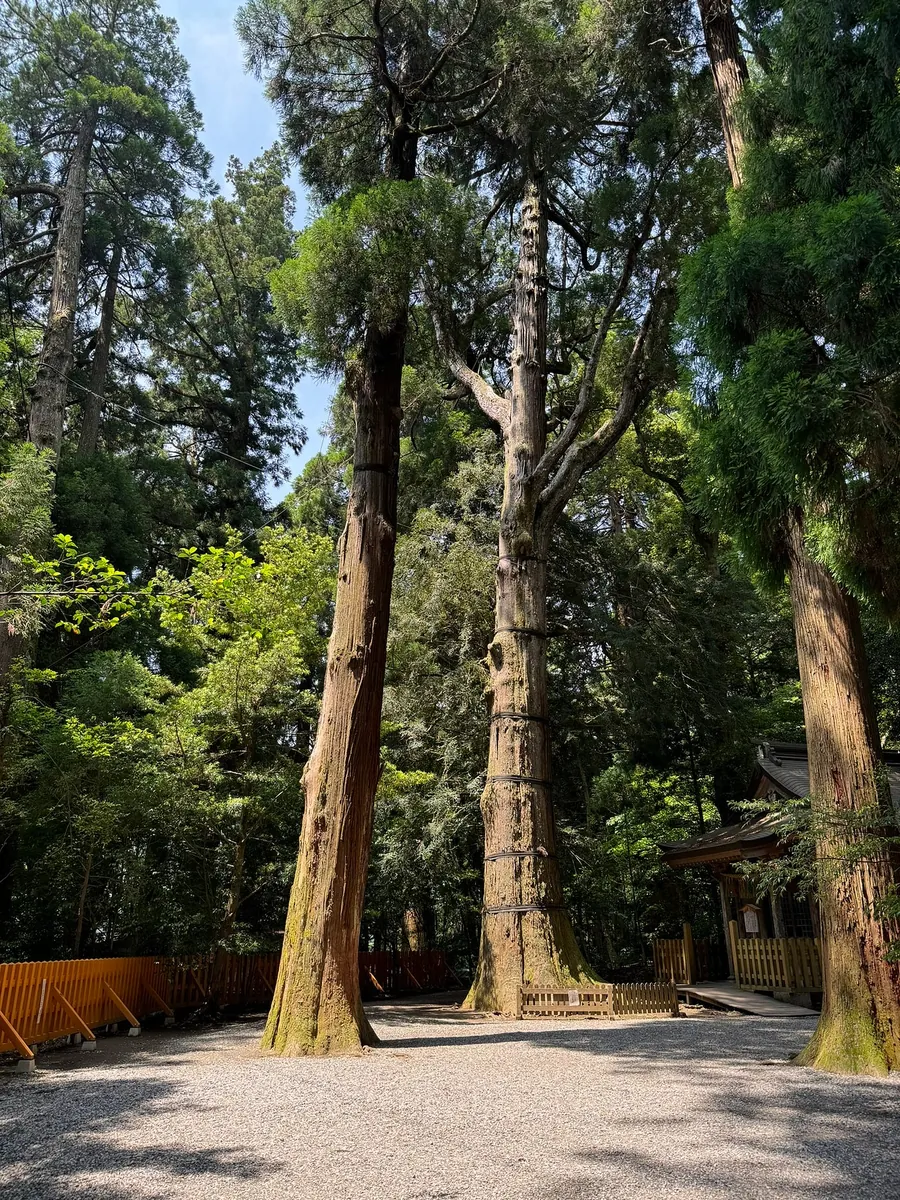
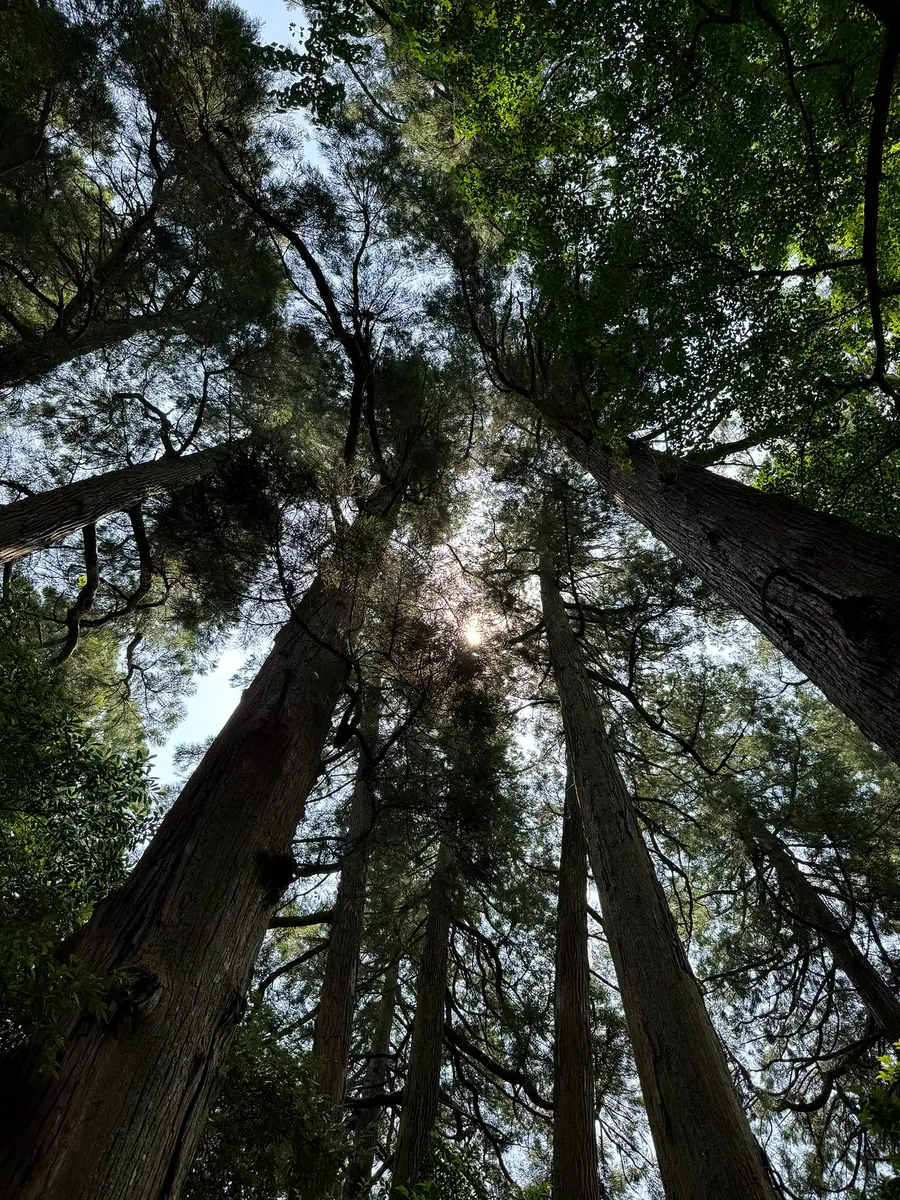
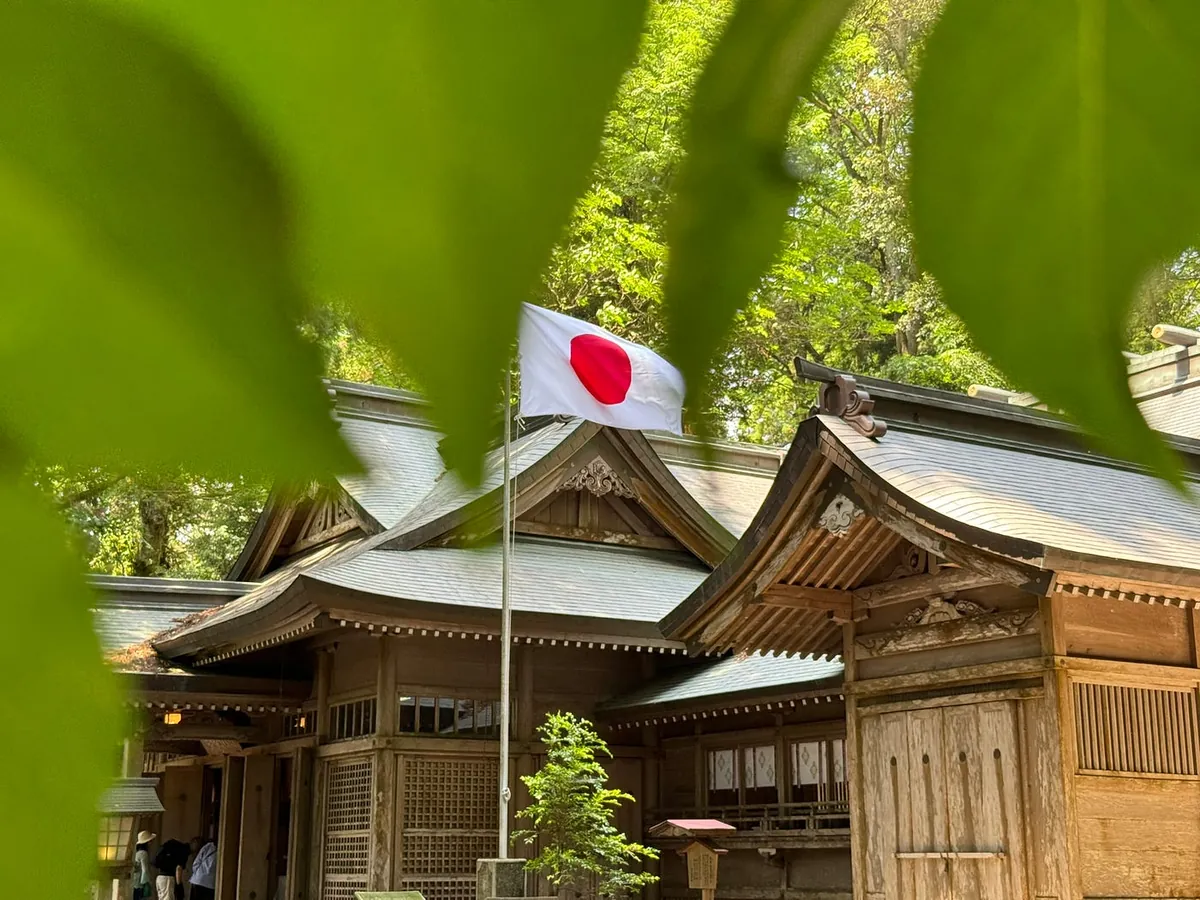
Takachiho Shrine is completely surrounded by sacred trees, exuding a sense of tranquility and freshness.
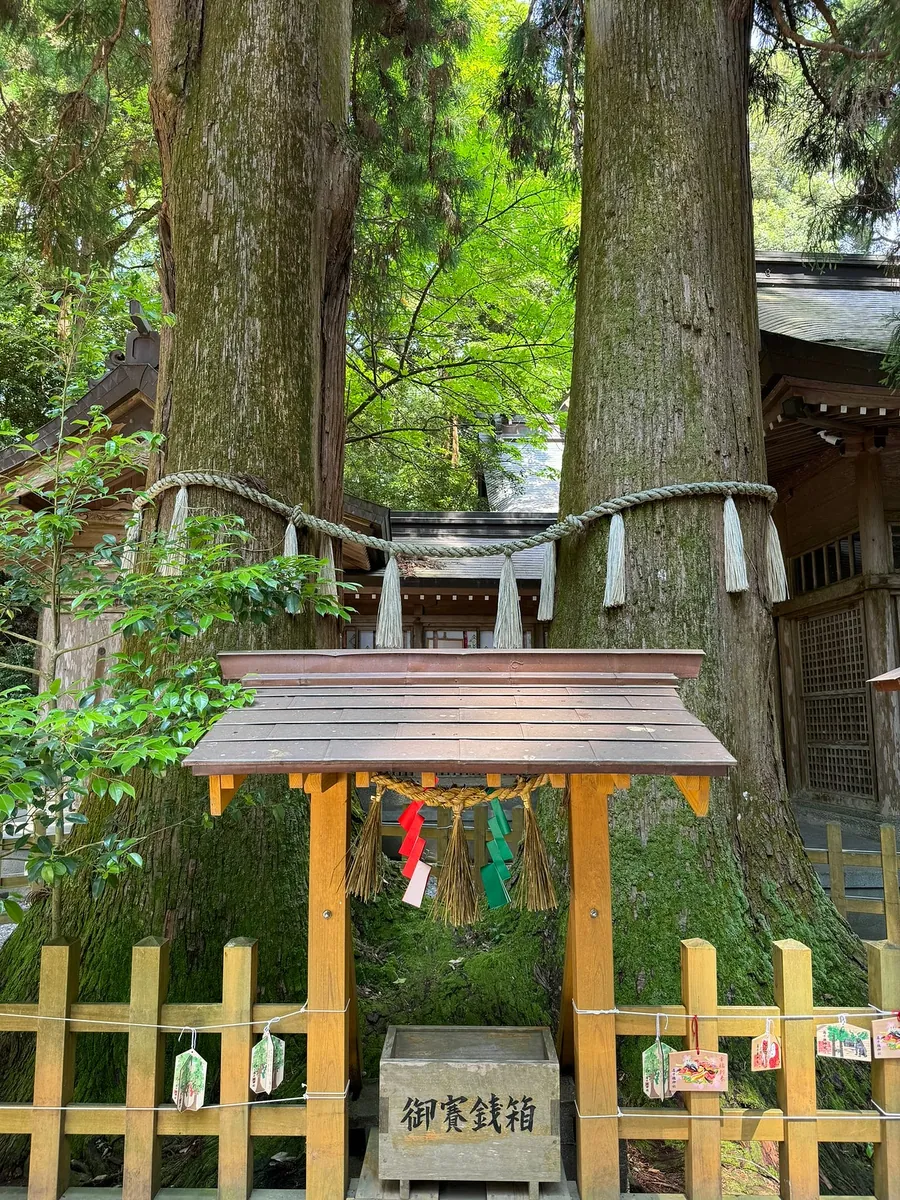
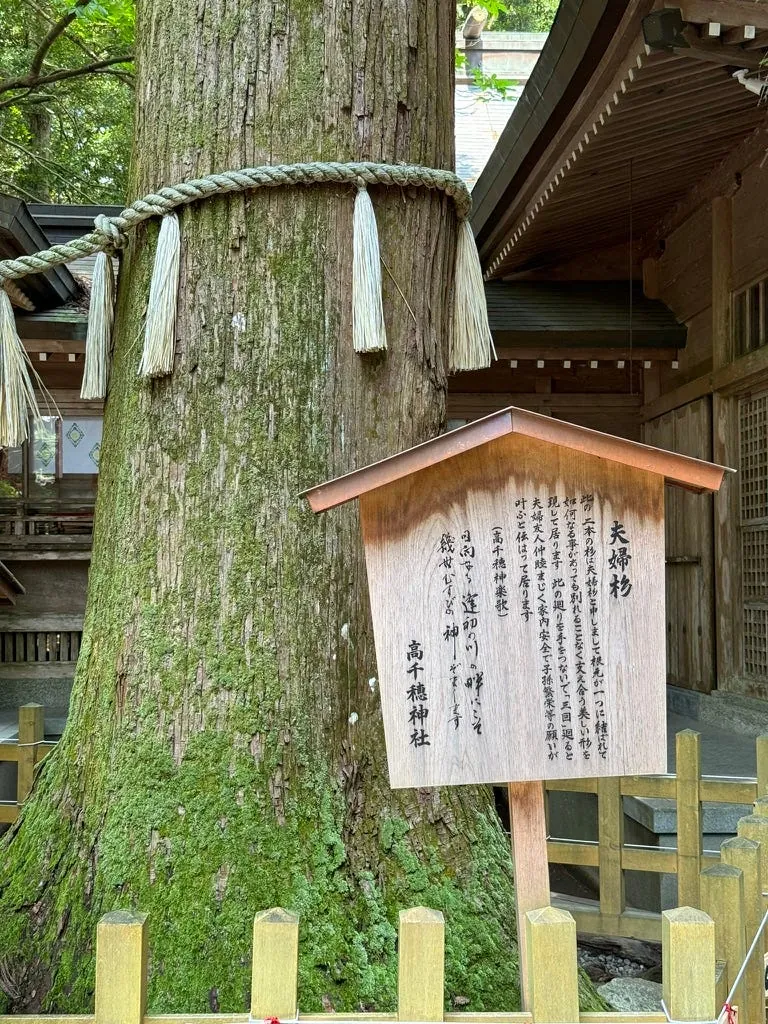
Meoto Sugi , the guide mentioned on the bus that if you come with family, couples, lovers, or friends, you can hold hands and walk around the tree three times to pray for blessings.
Around 11:20, return to the meeting point and get on the bus.
11:30 Lunch Takachiho Cuisine Kagura Inn
After visiting Takachiho Shrine, go nearby for lunch.
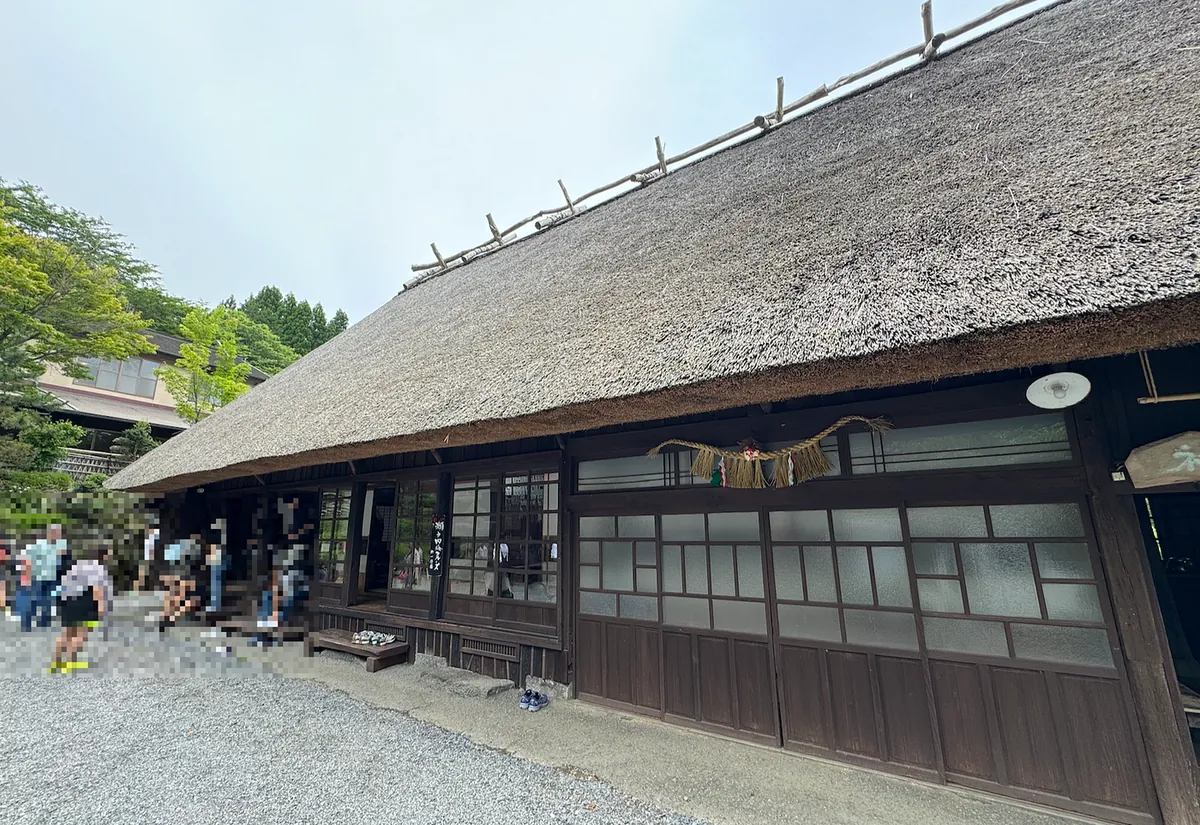
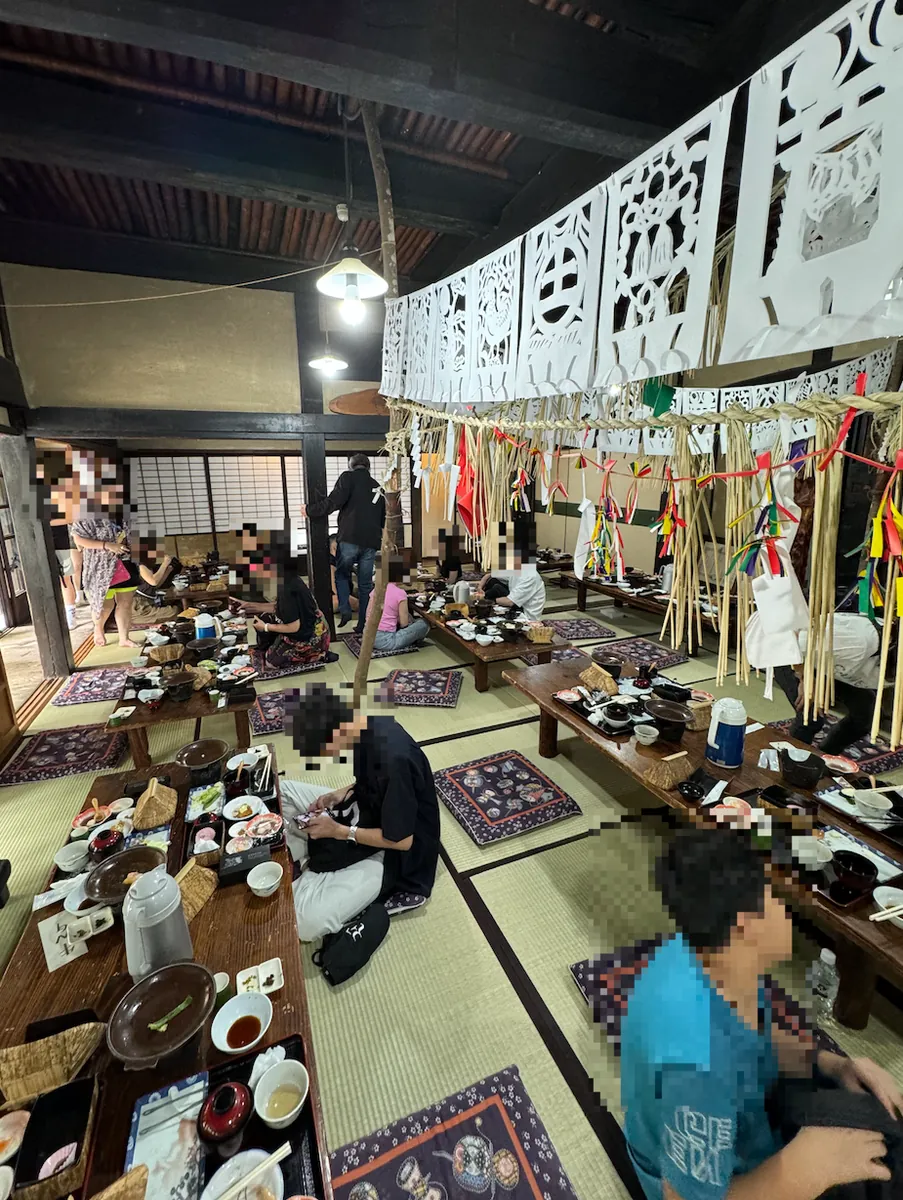
Slippers are required. Overall, it feels like a Japanese restaurant mainly catering to tour groups, but this was my first time experiencing a Japanese restaurant.
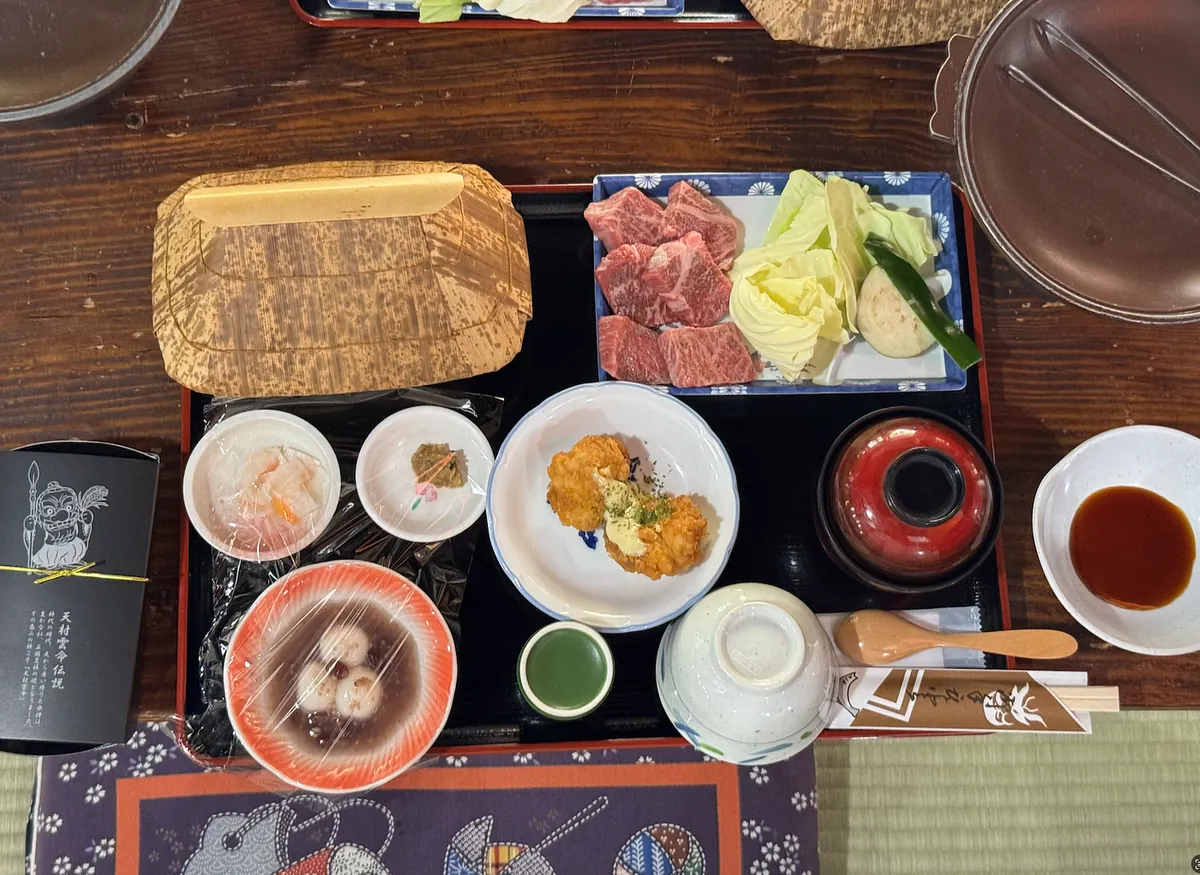
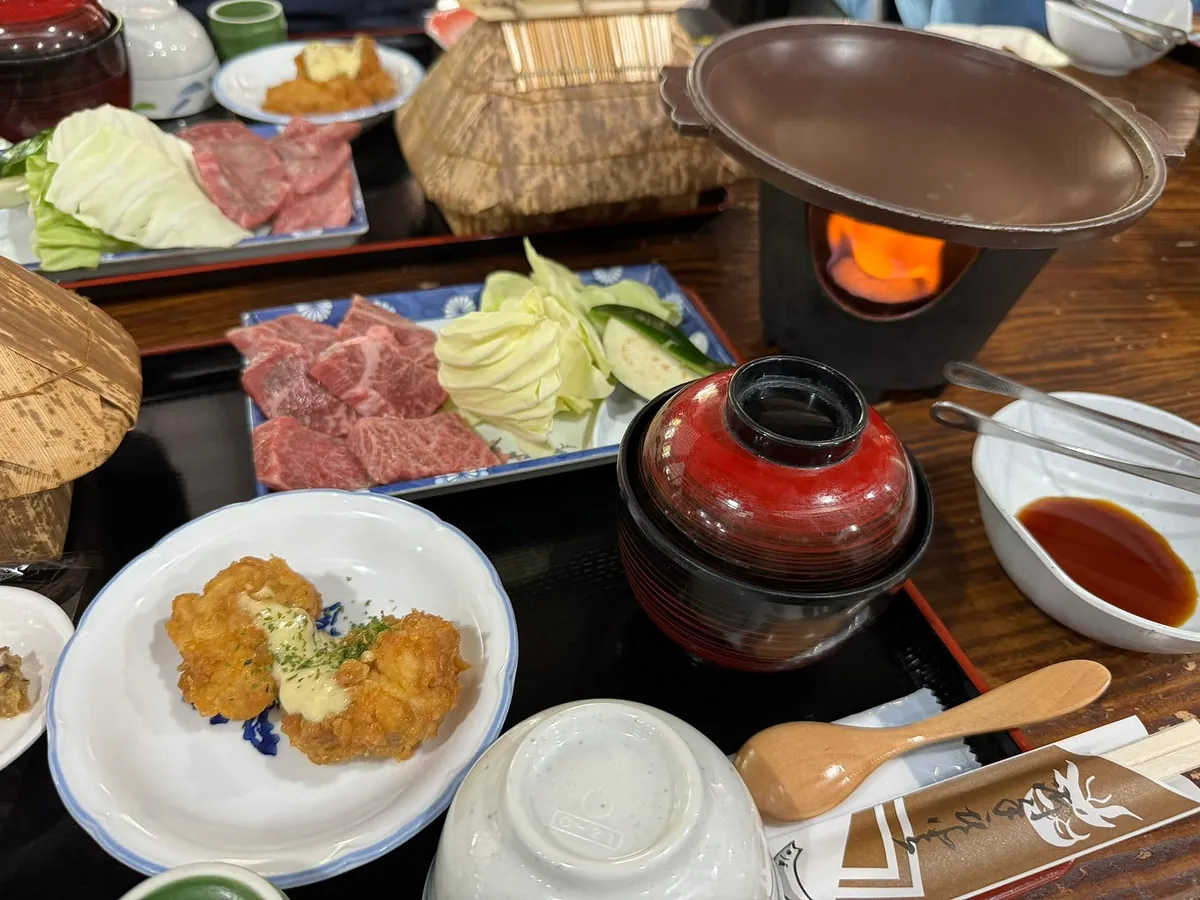
The overall meal was below average, possibly due to the large group. Most of the food was cold, and the meat quality was mediocre.
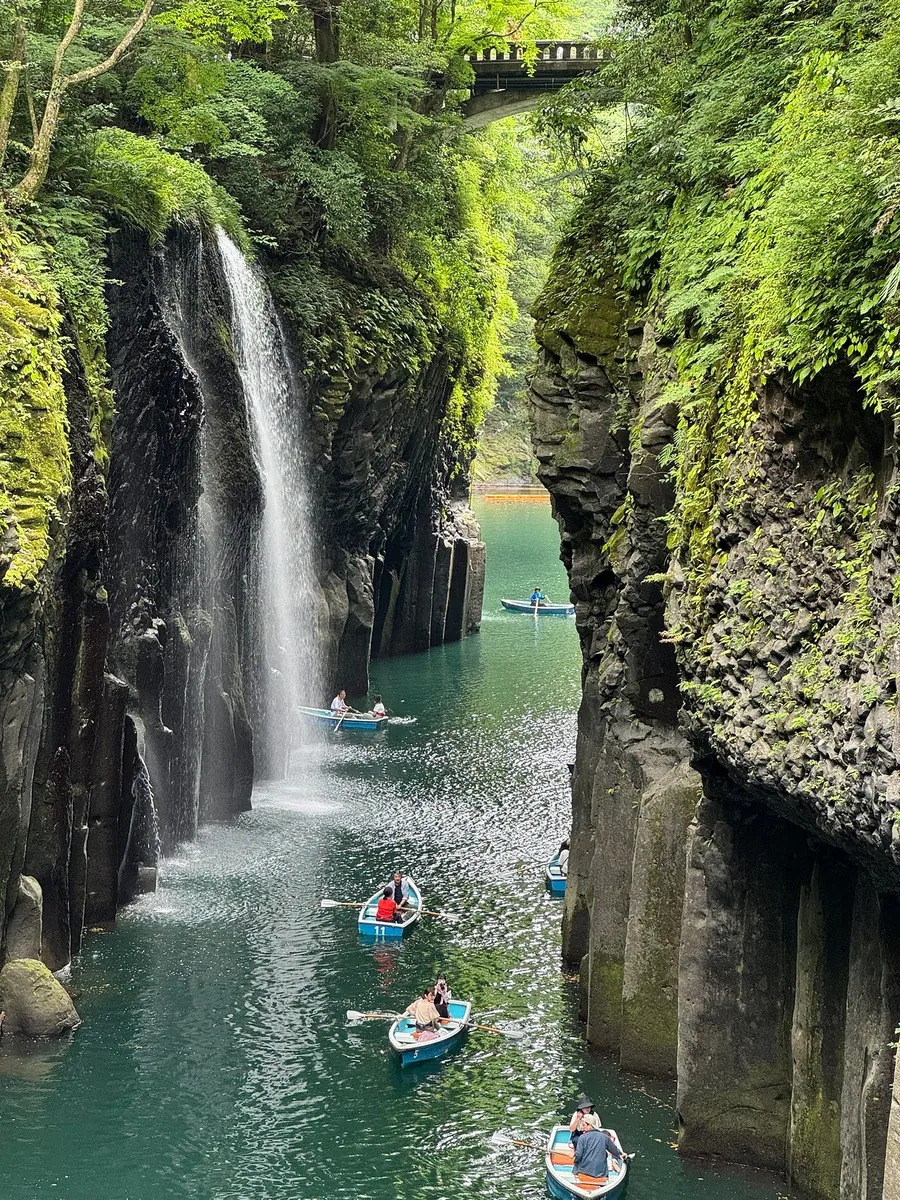
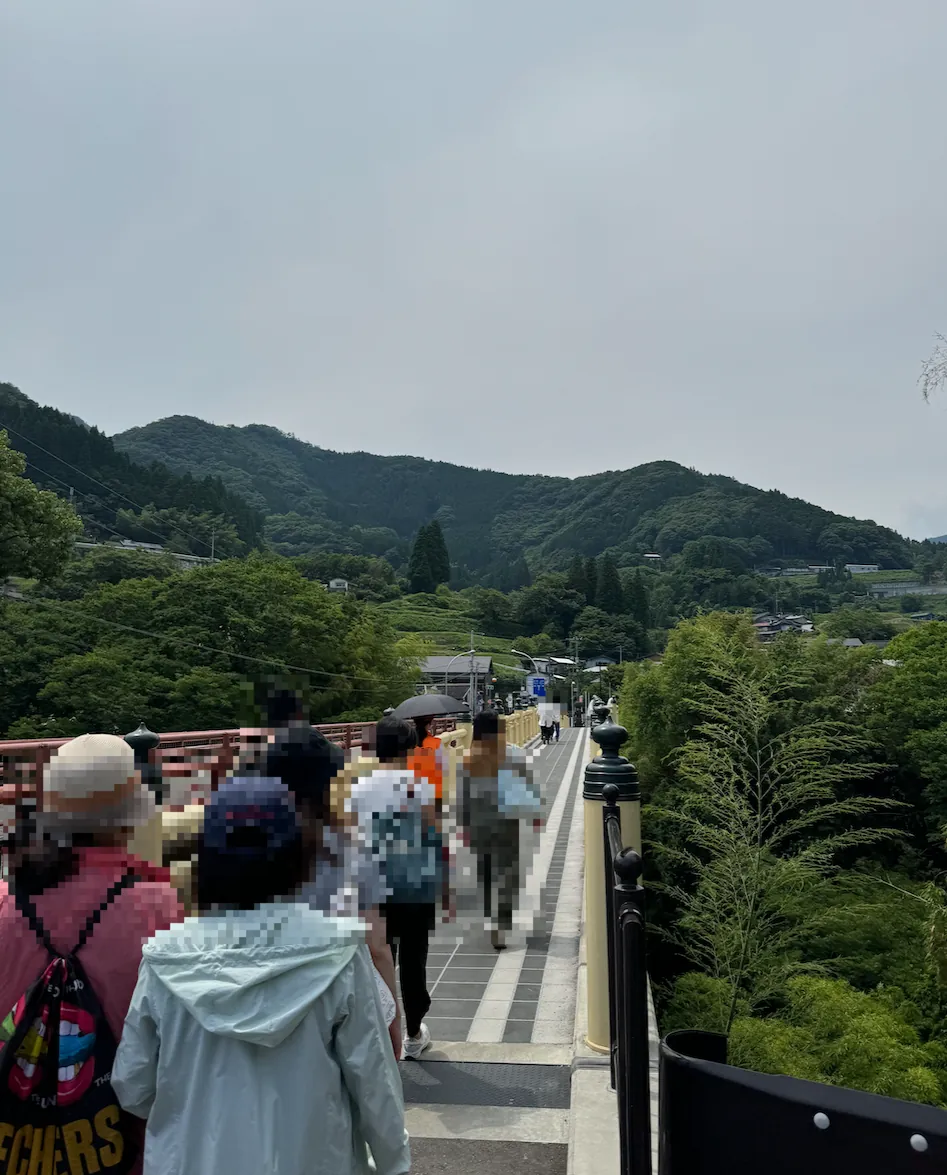
12:15 Start hiking to Takachiho Gorge (all downhill)
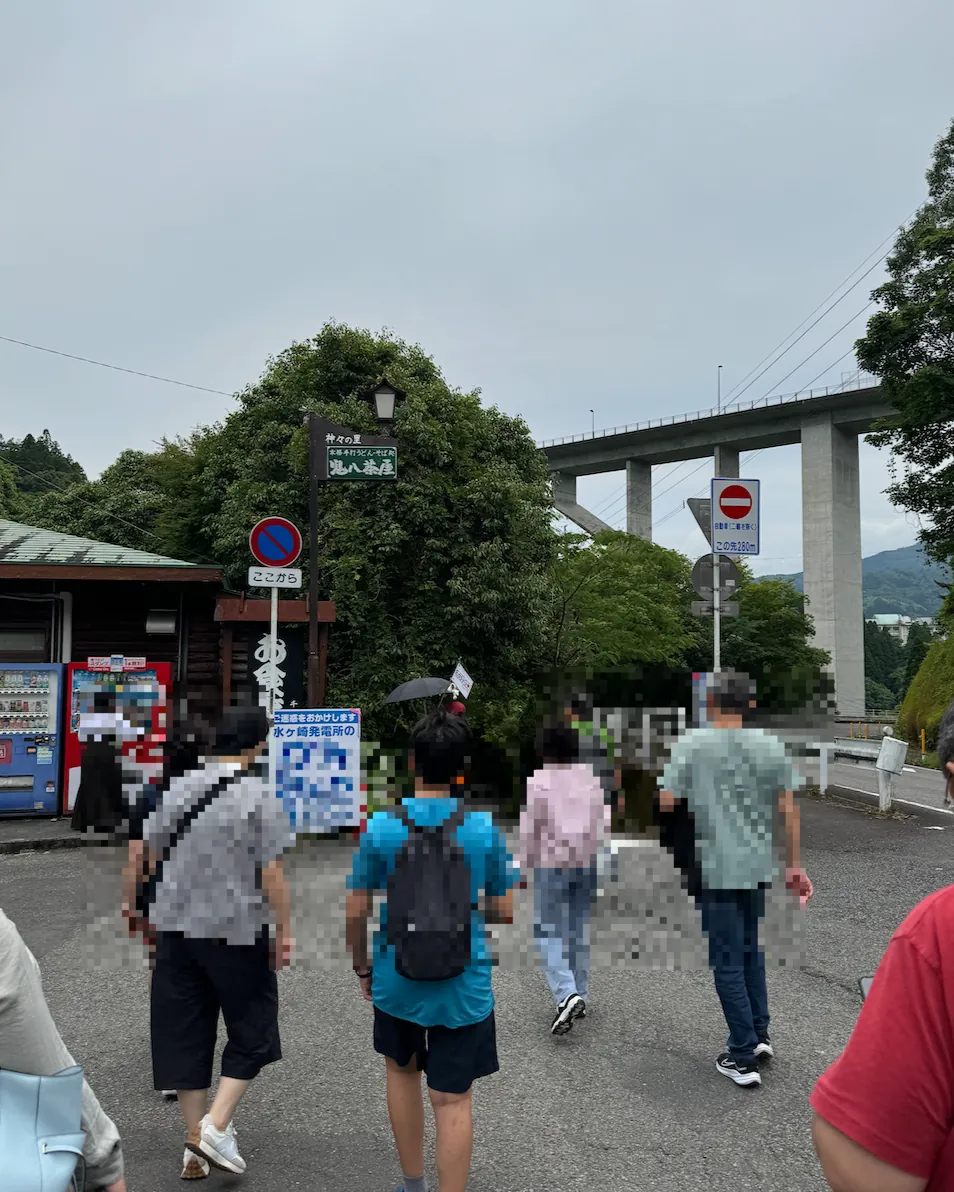
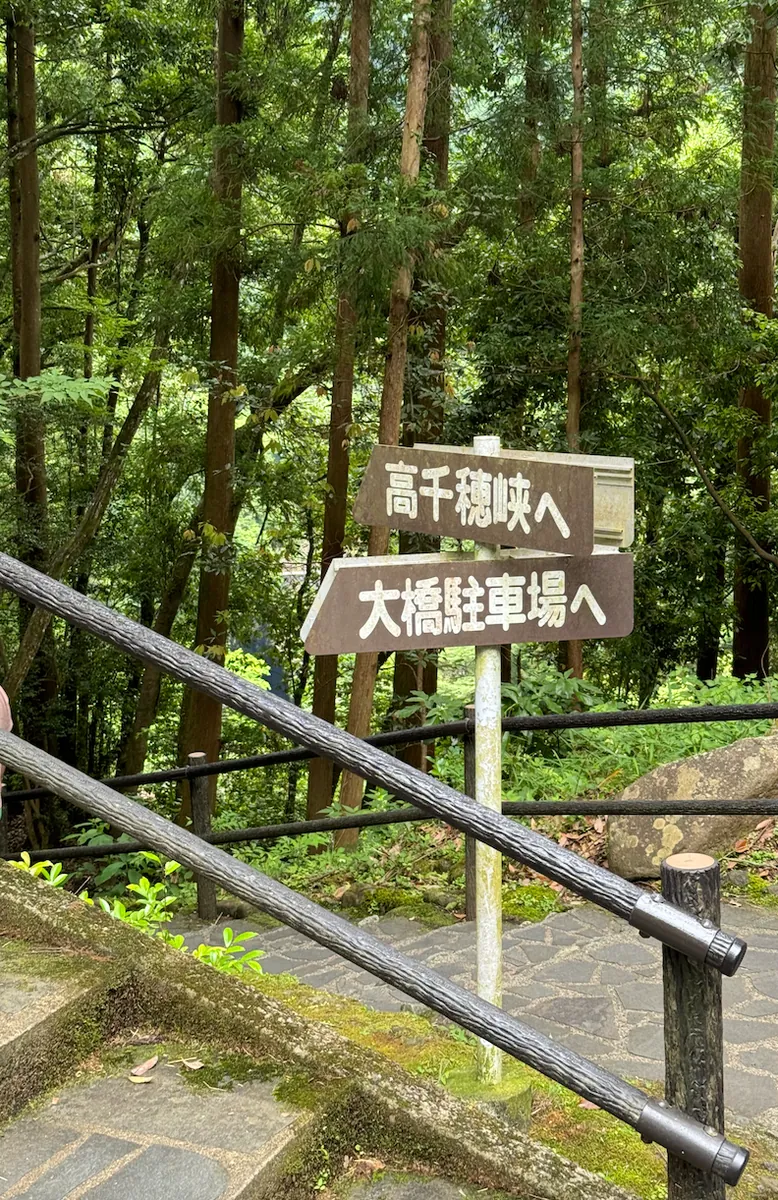
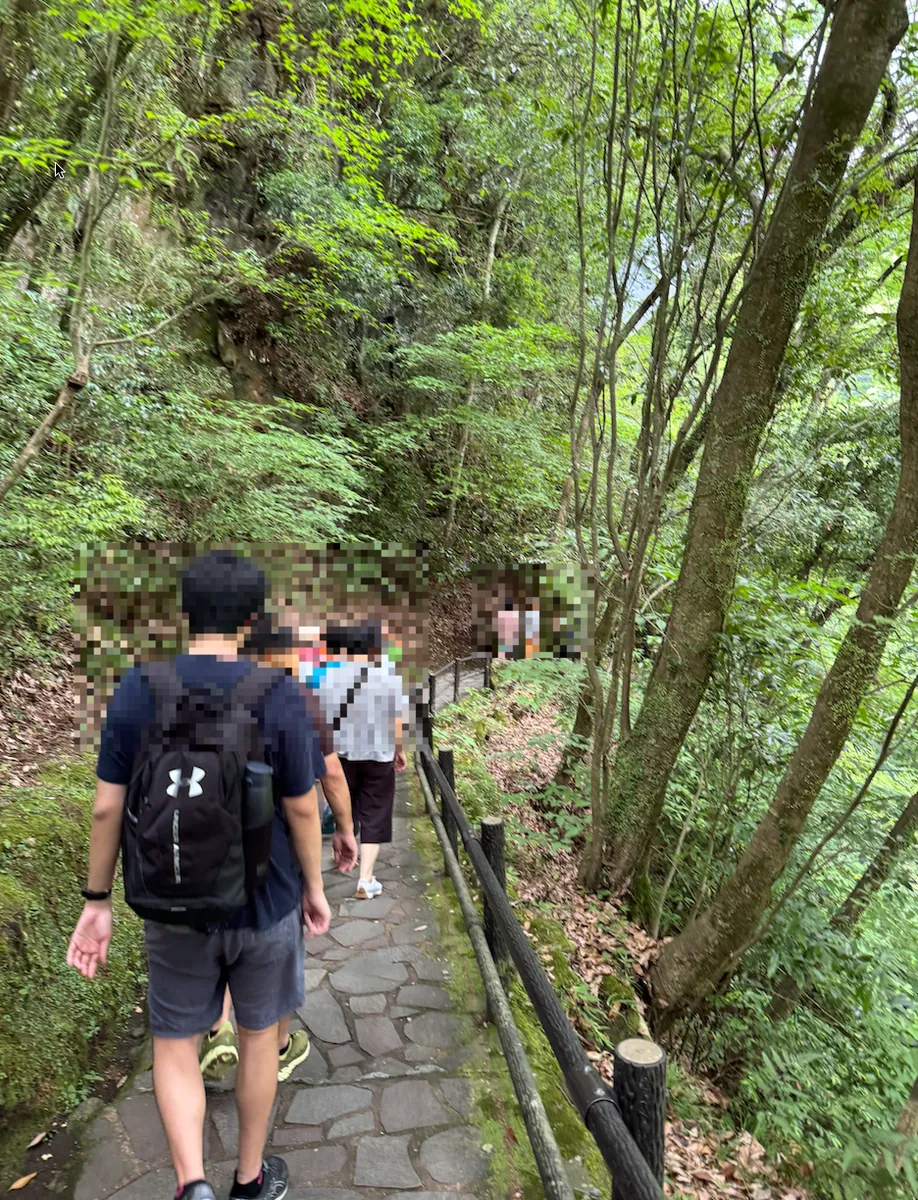
After eating, we followed the guide on a hike down to Takachiho Gorge.
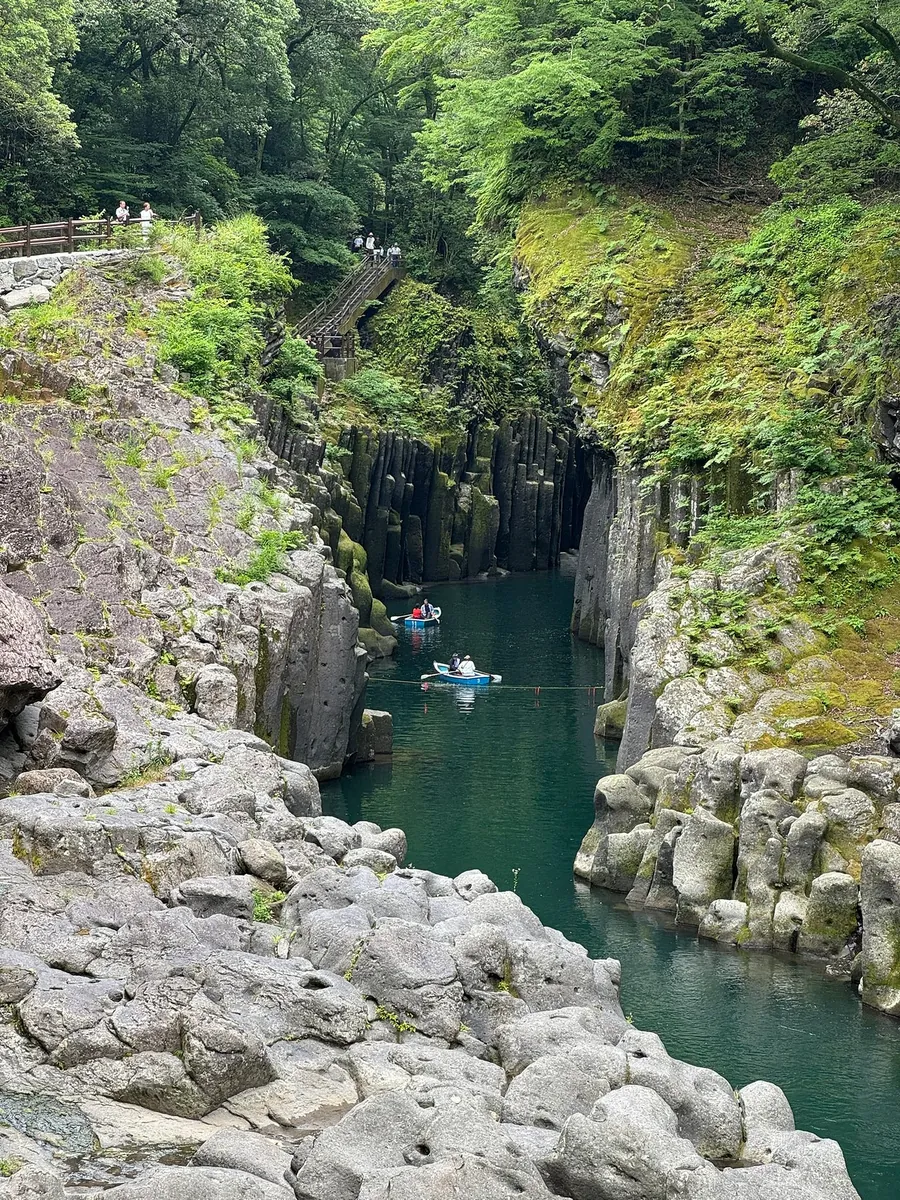
About a 20-minute walk on the trail will lead you to Takachiho Gorge. From this viewpoint, you can see the end of the gorge (the rowing stop line).
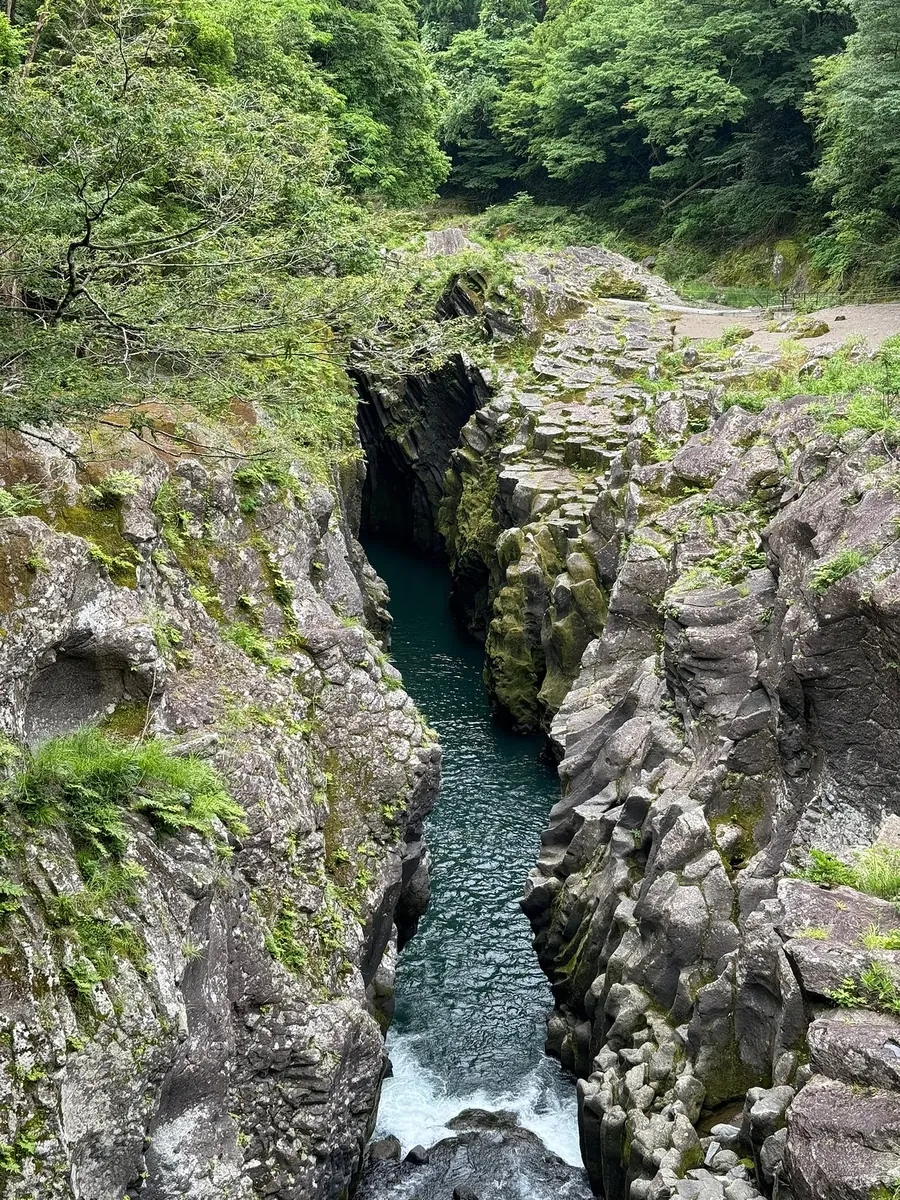
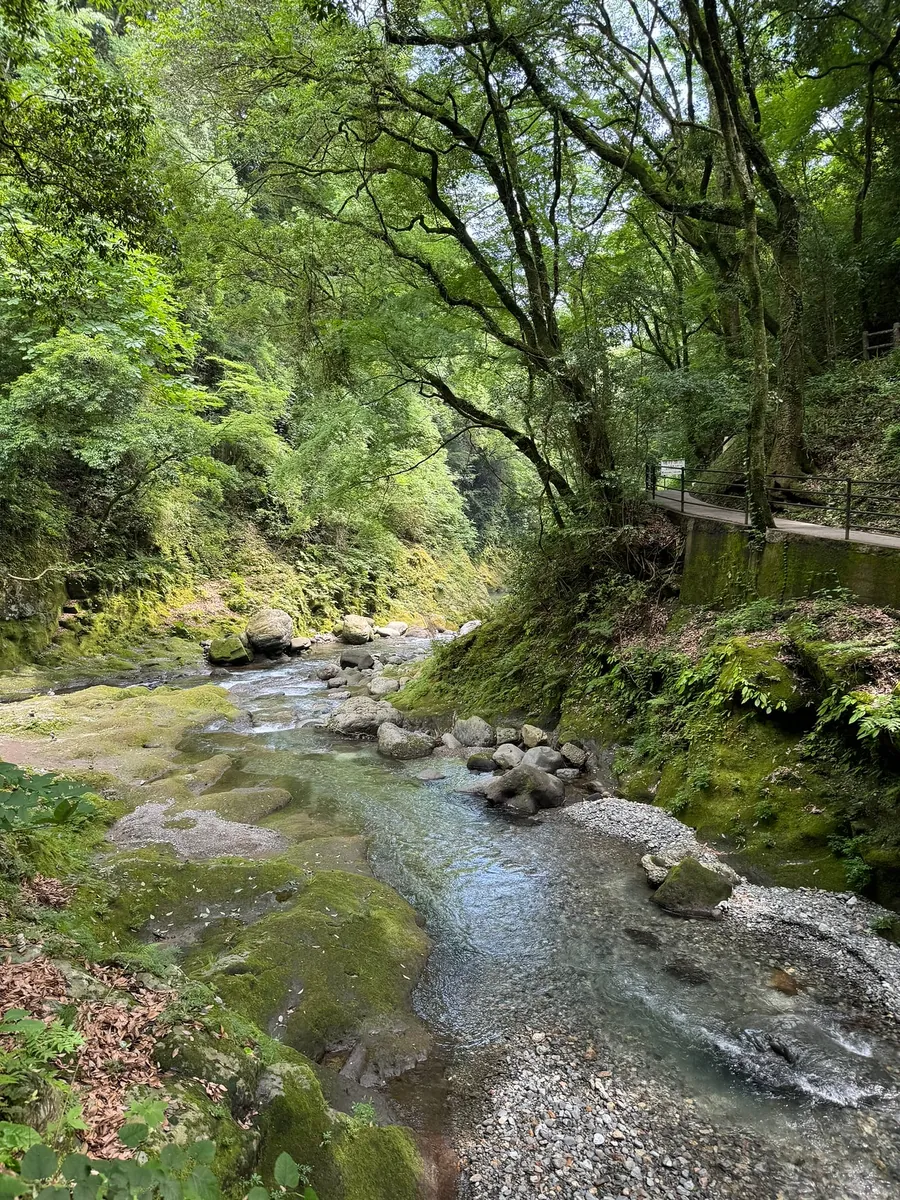
12:45 Arrive at Takachiho Gorge
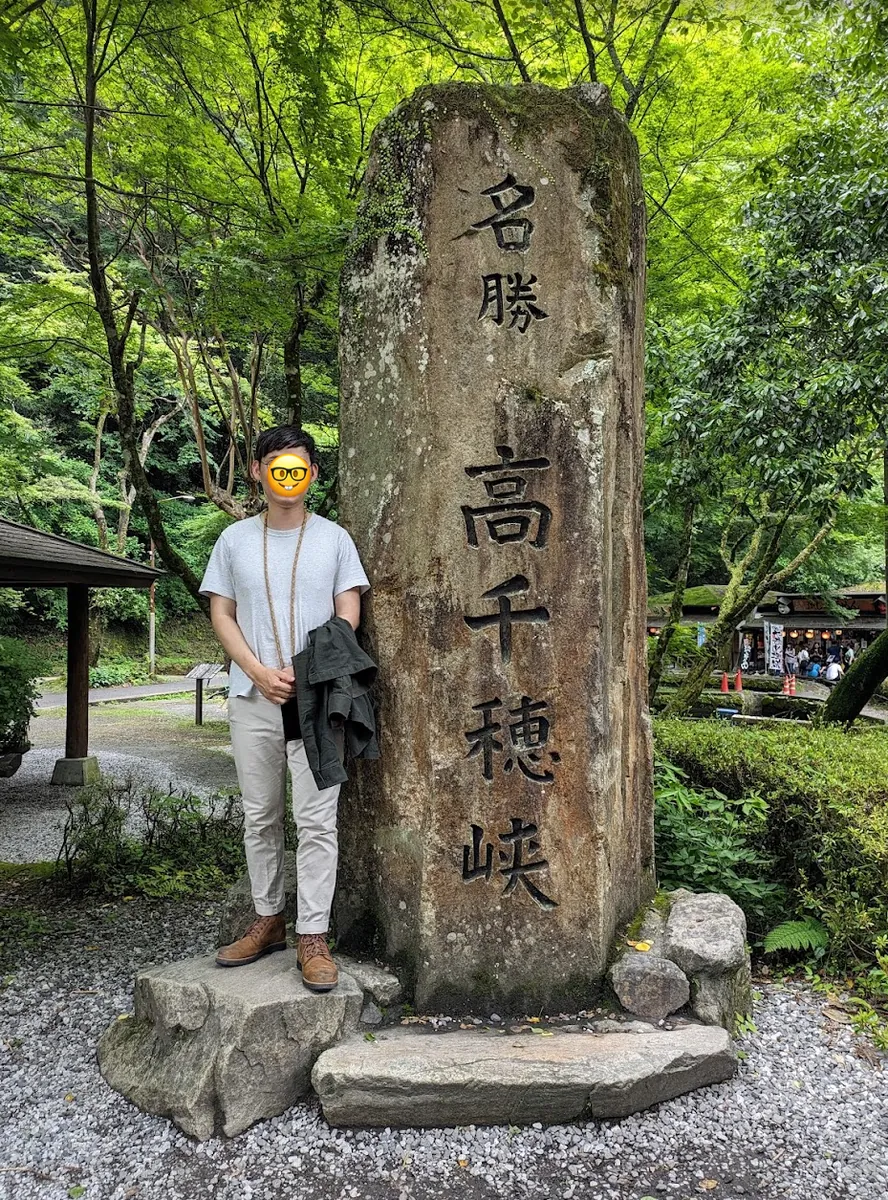
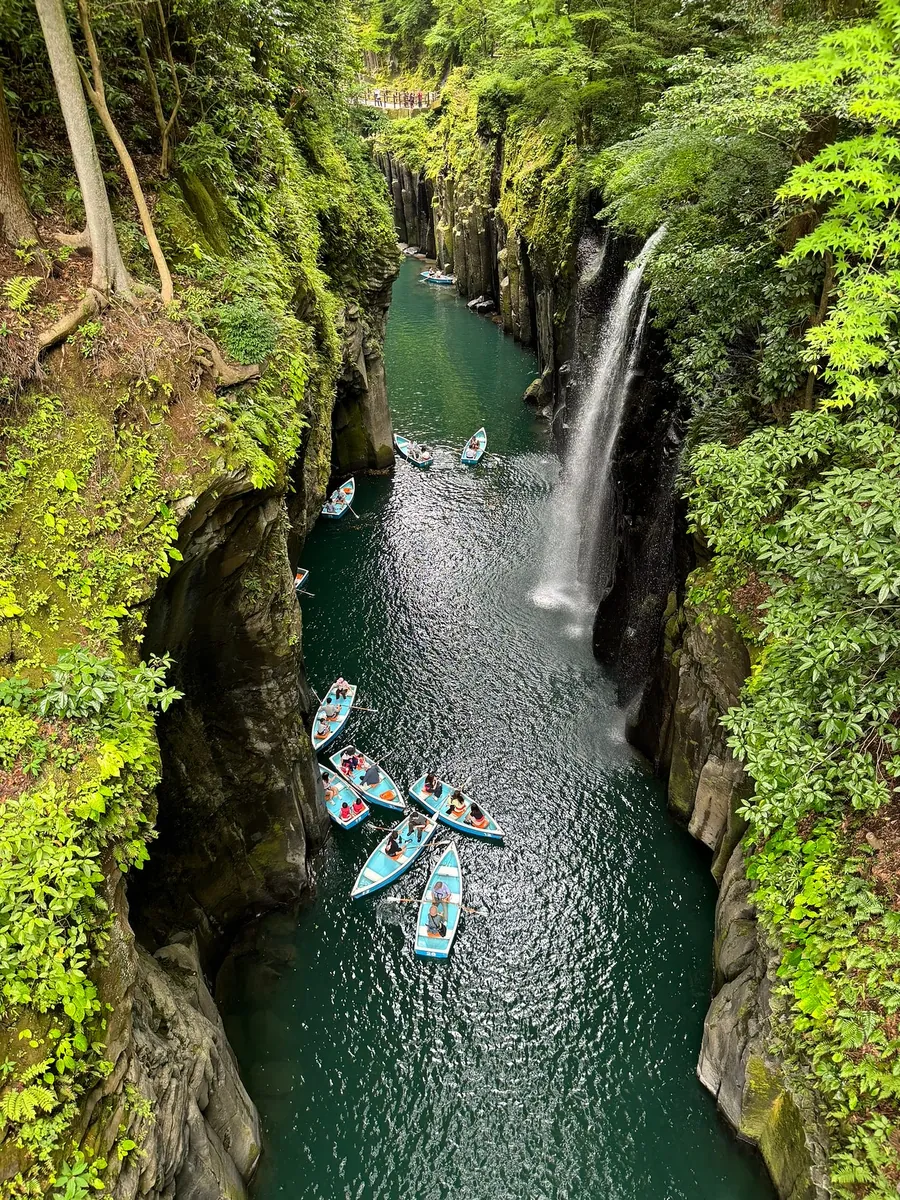
Looking back from the bridge at Takachiho Gorge, you can see the ancient path we just walked and the boat below.
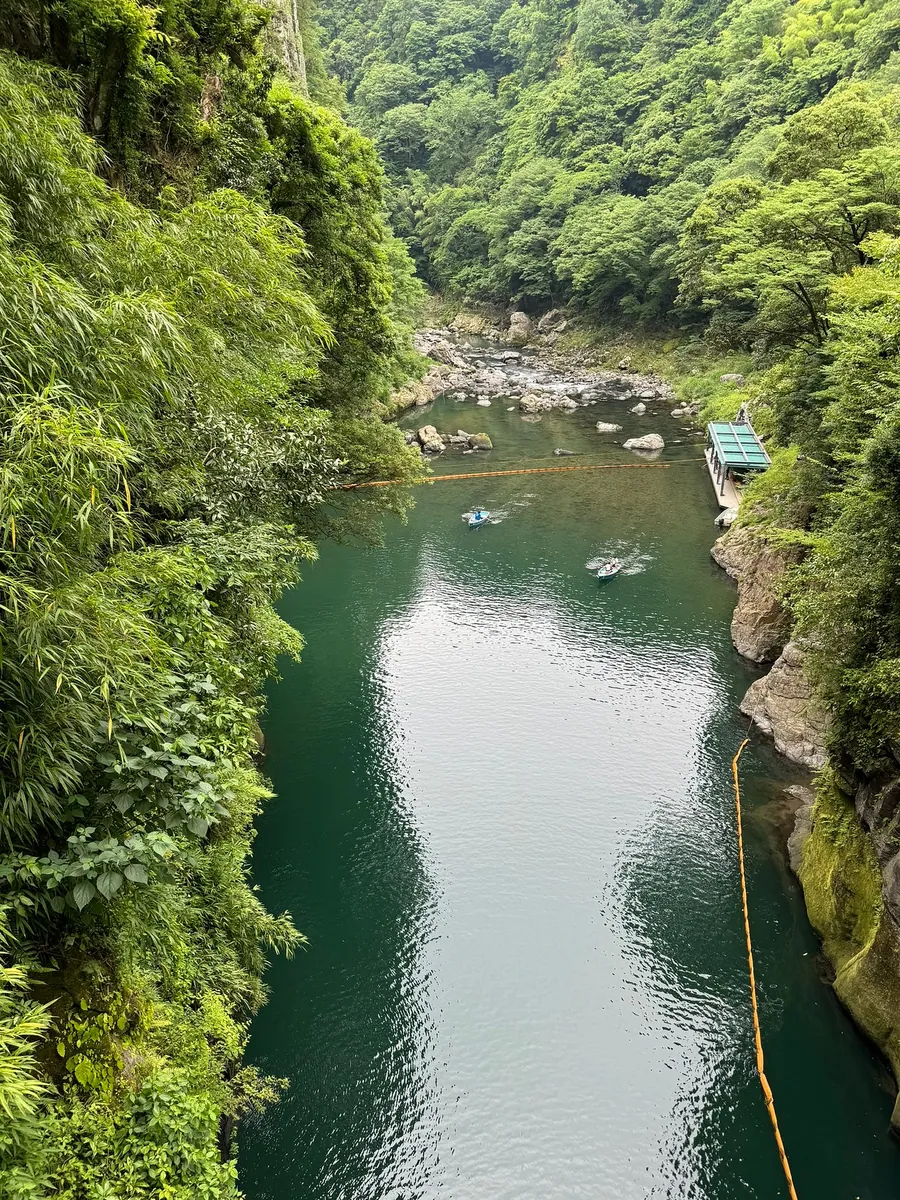
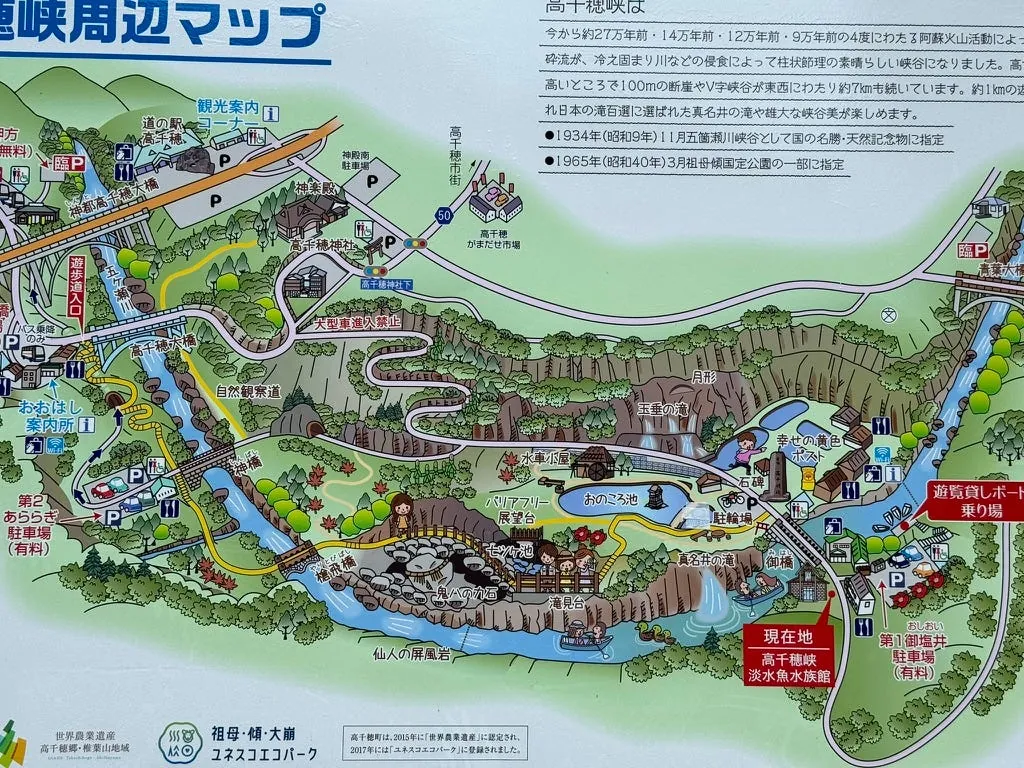
The rowing venue is just across the bridge. The total length (up to the stop line we just saw) is about 250 meters.
There is a small park and shopping street where you can enjoy ice cream or snacks to recharge.
13:20 Regroup at the tour bus
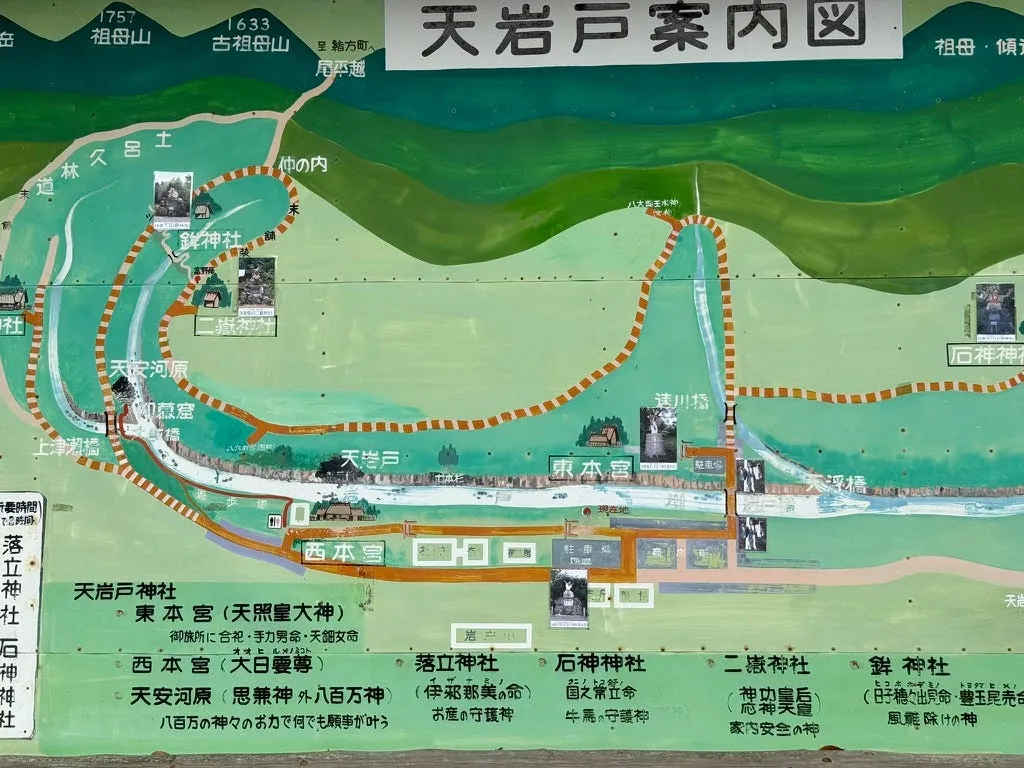
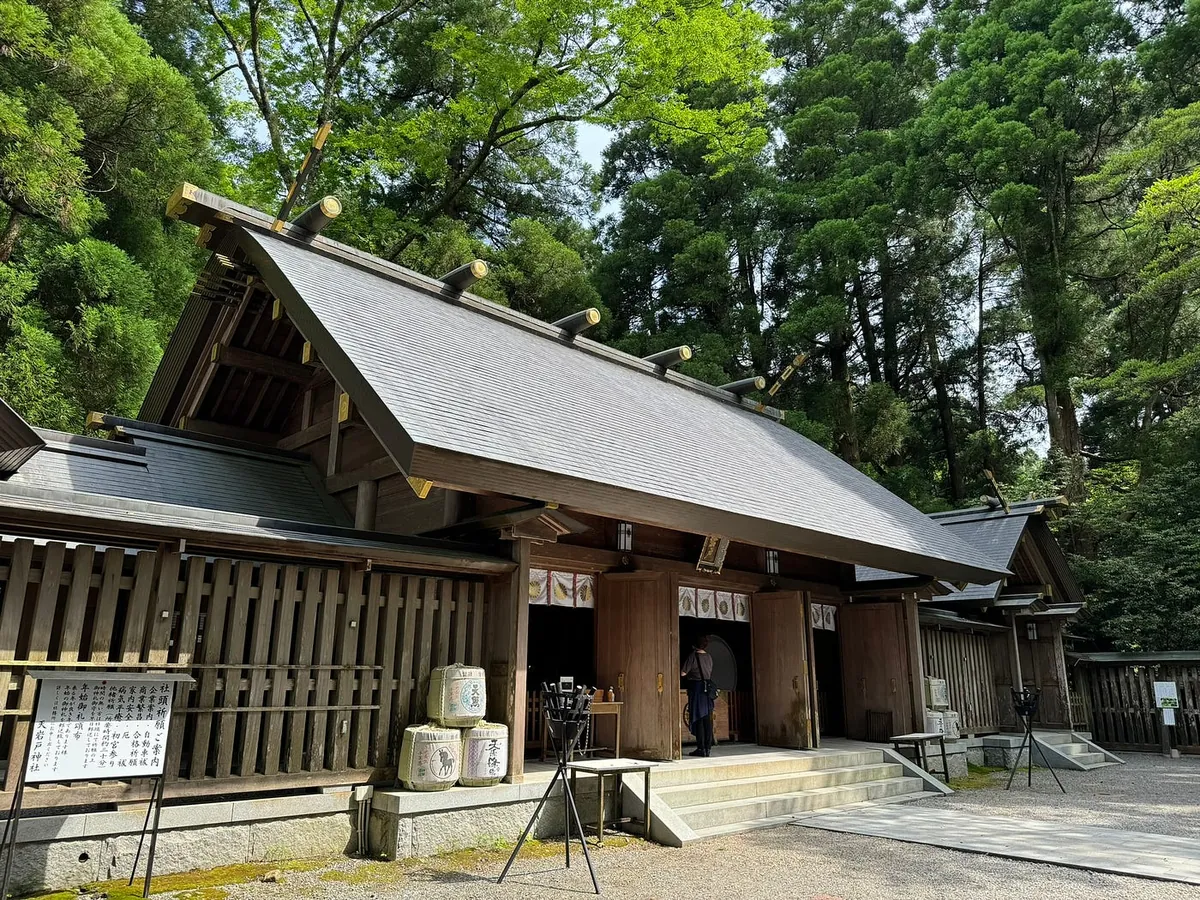
Around 13:45 Arrive at Amano-Iwato Shrine West Main Shrine (Check information for other events during the cherry blossom season)
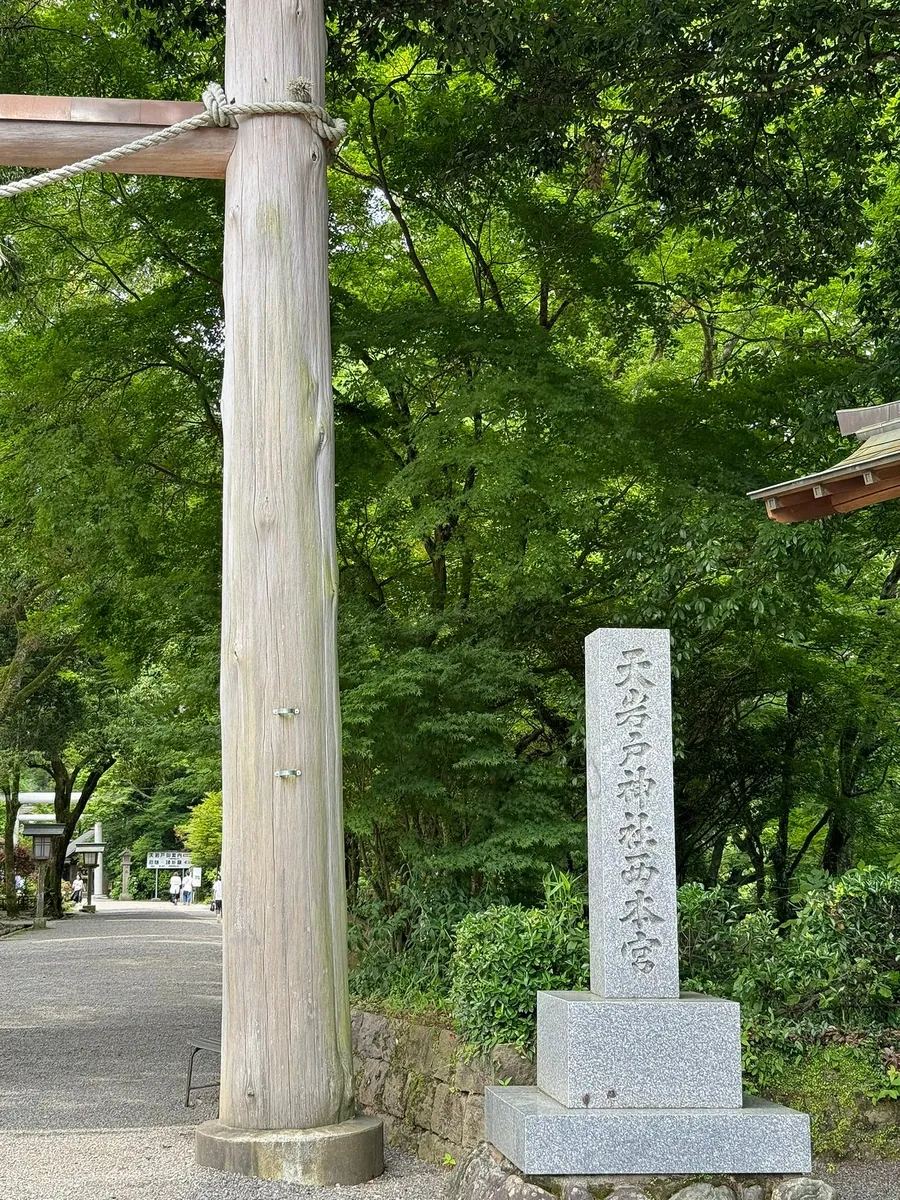
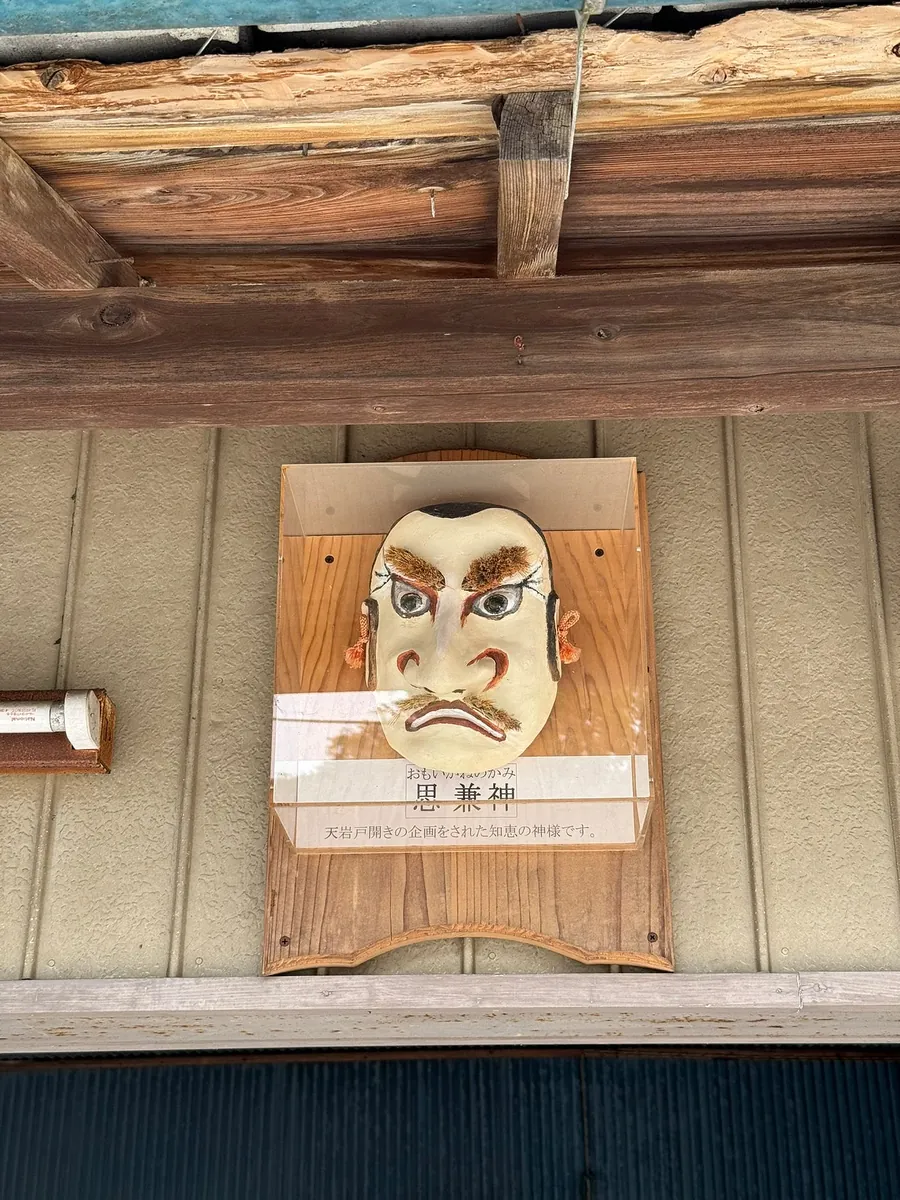
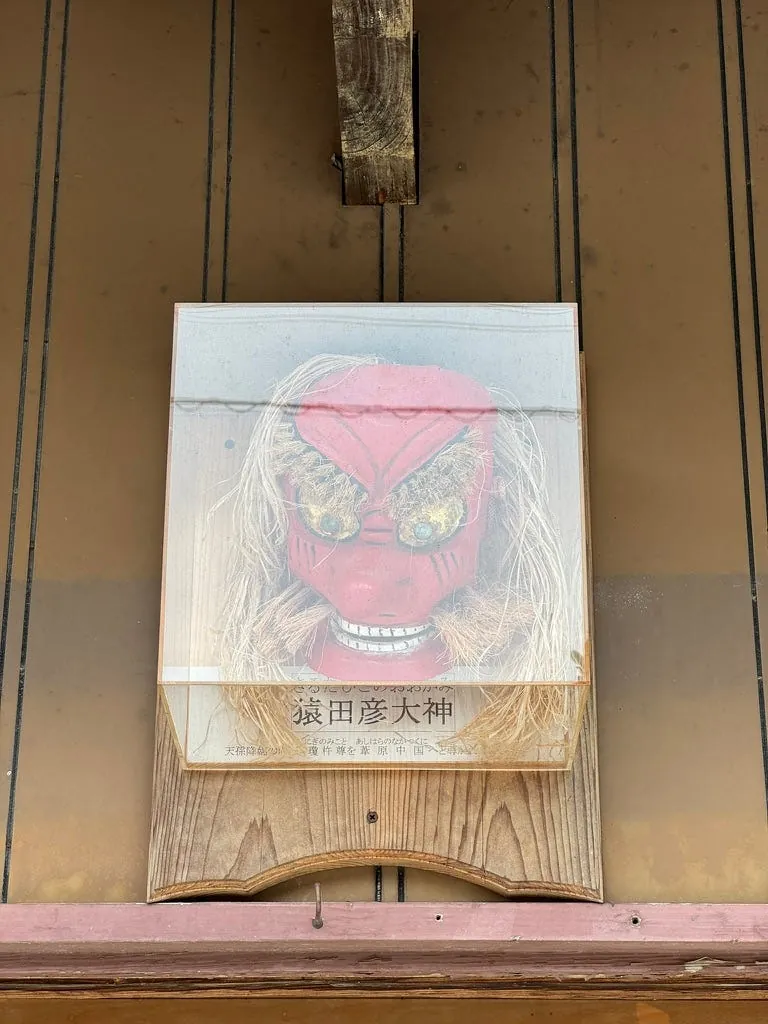
After getting off the tour bus, walk about 5 minutes to Amano-Iwato Shrine West Main Hall. Shops along the shopping street hang different divine masks at their entrances.
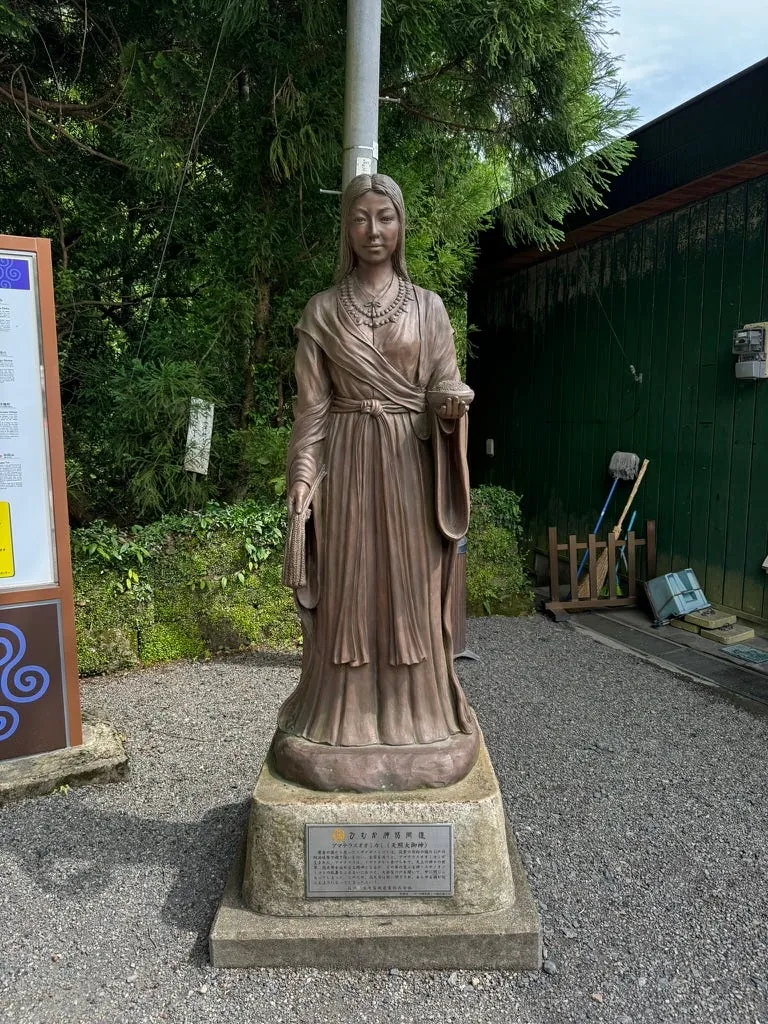
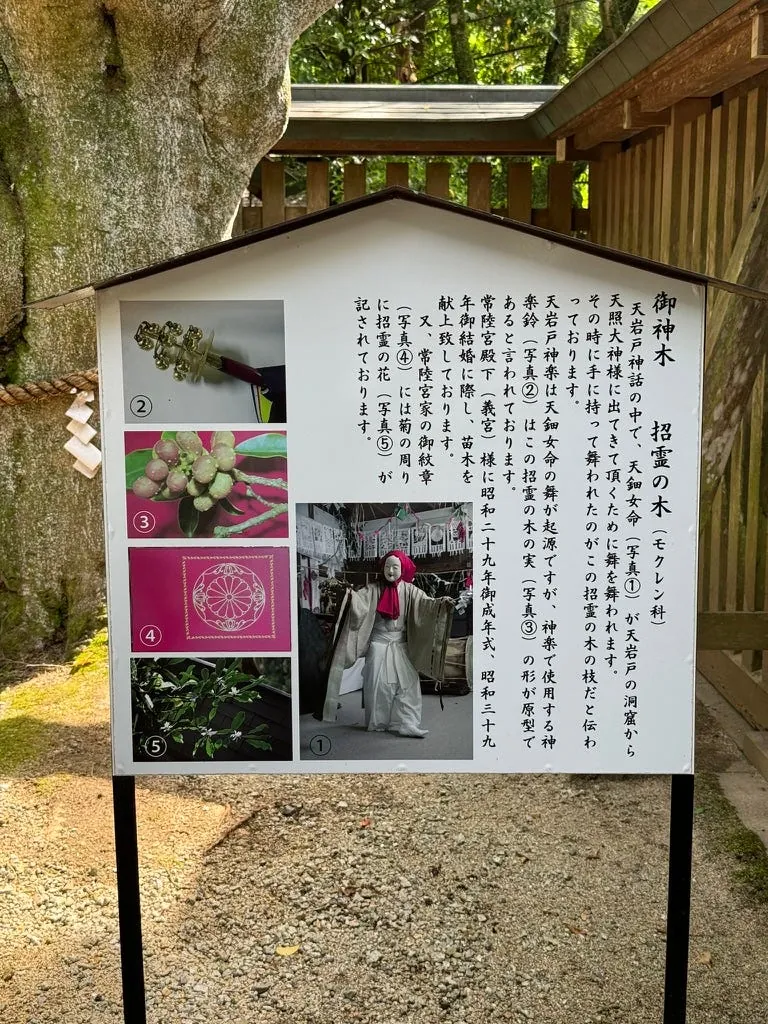
The tour guide will add the story of Amaterasu that was introduced on the tour bus.
To reach Amano Iwato River, you need to walk a short distance. The guide agreed with everyone to walk together to Amano Iwato River first, then everyone can return on their own to explore freely (or follow the guide back directly).
Around 14:00 Walk to Amano Iwato River
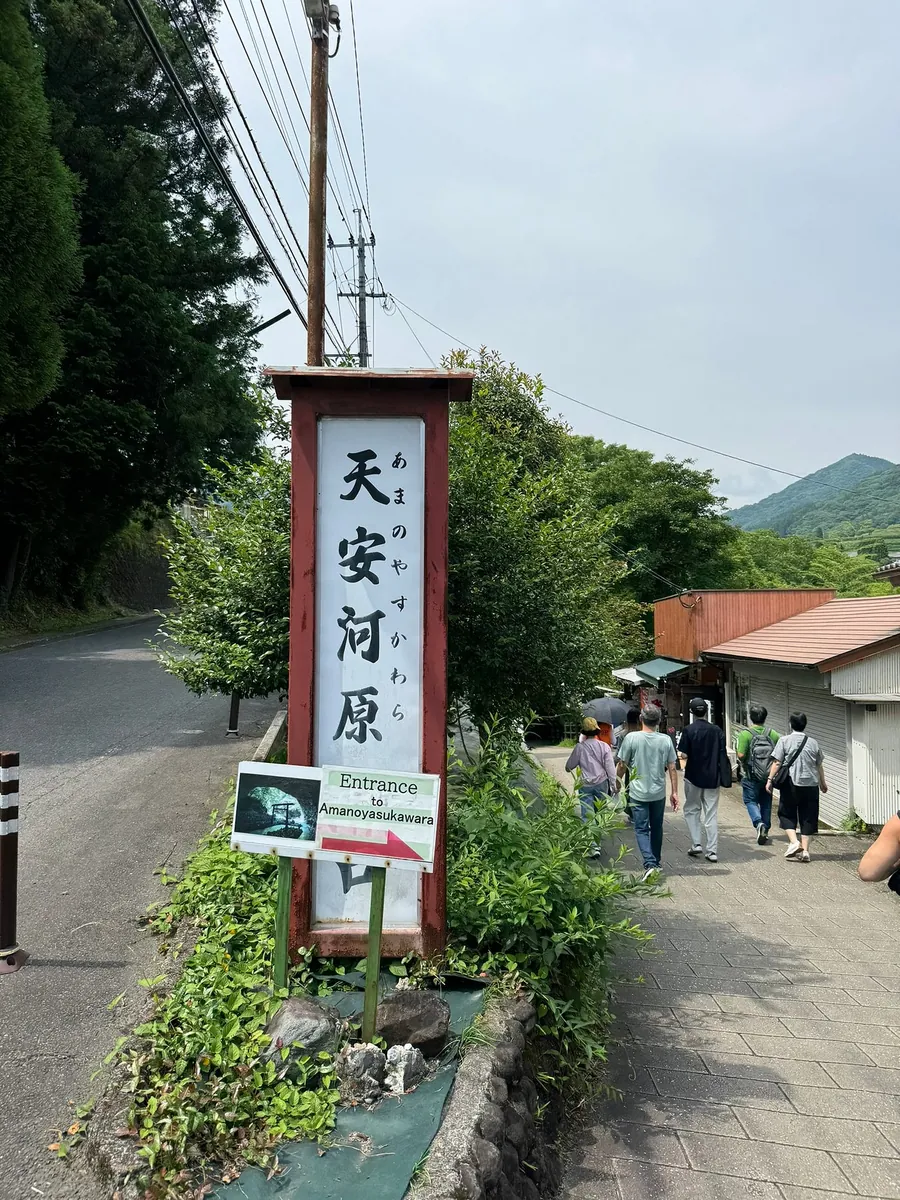
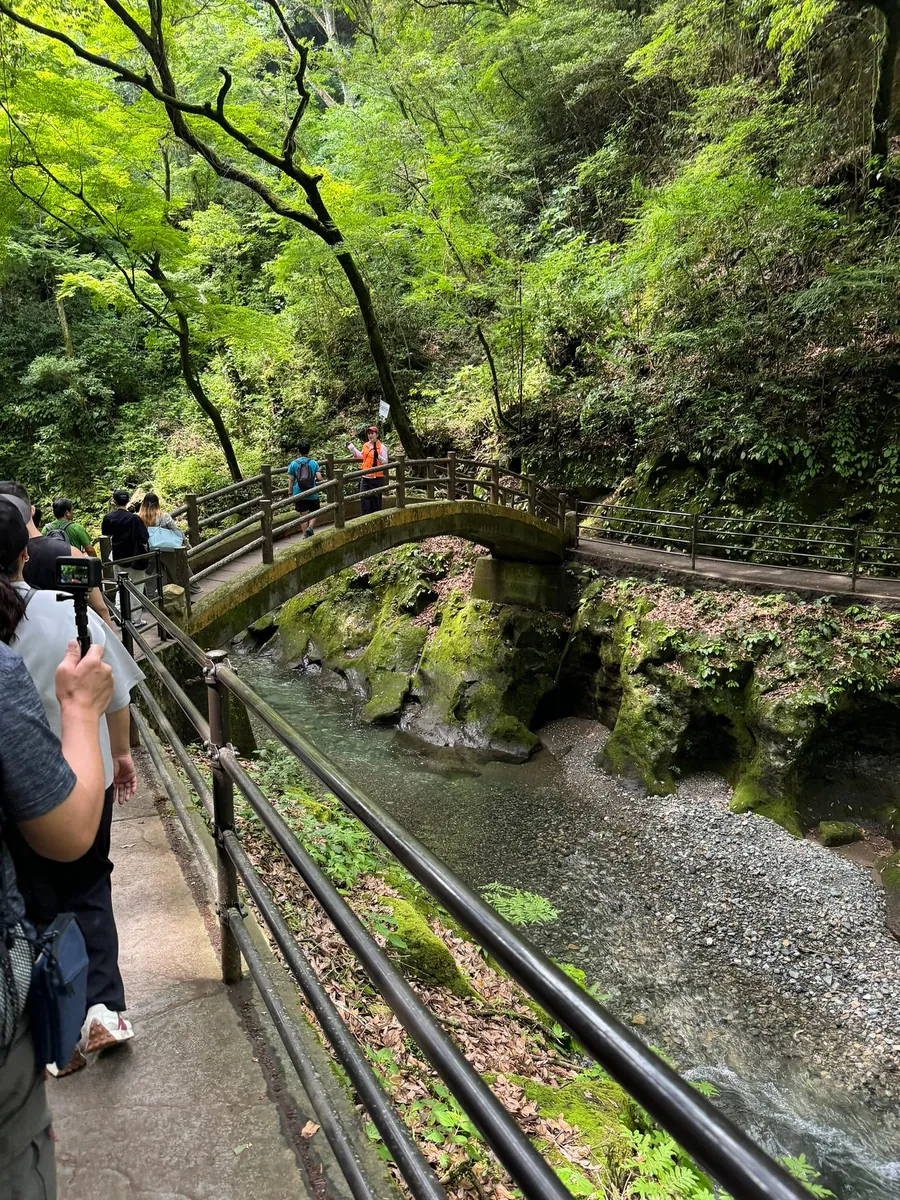
Around 14:15 Arrive at Amano Iwato
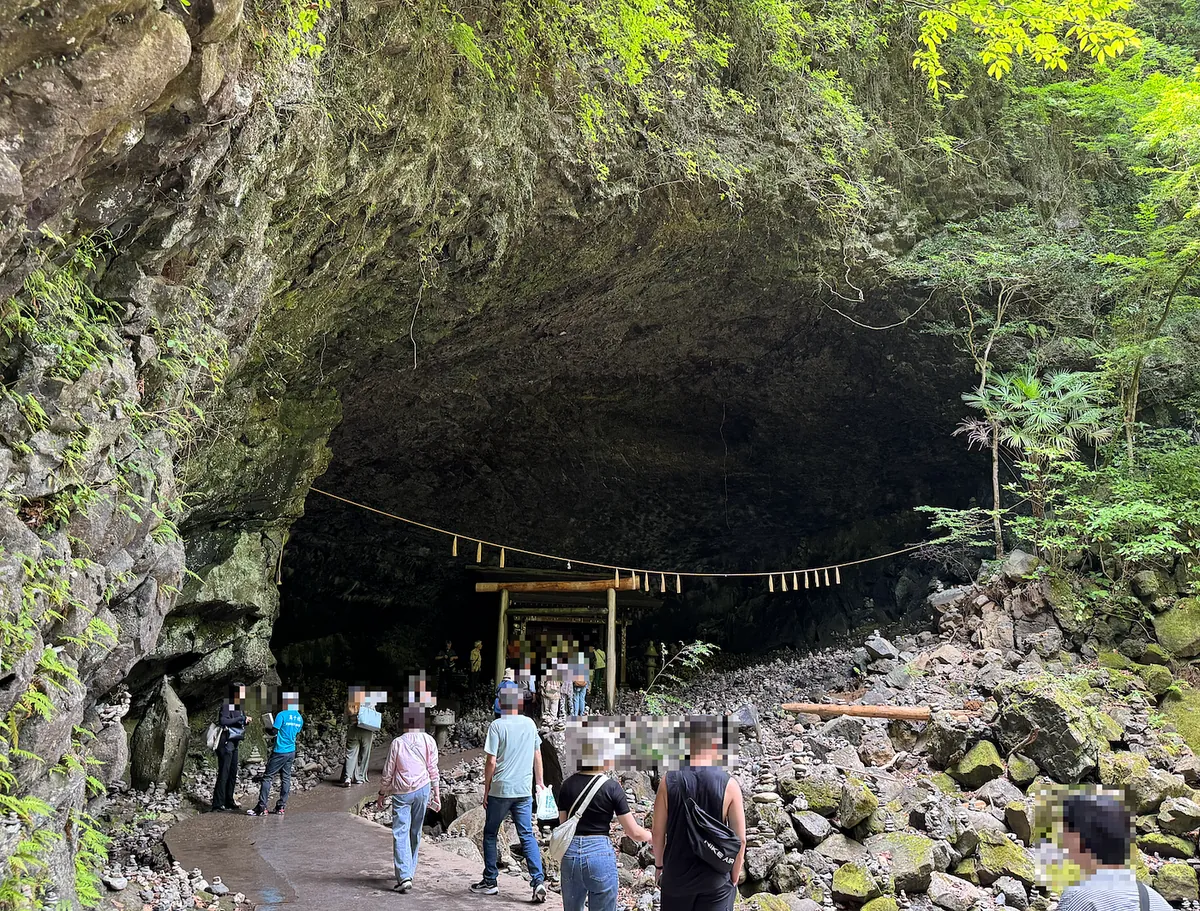
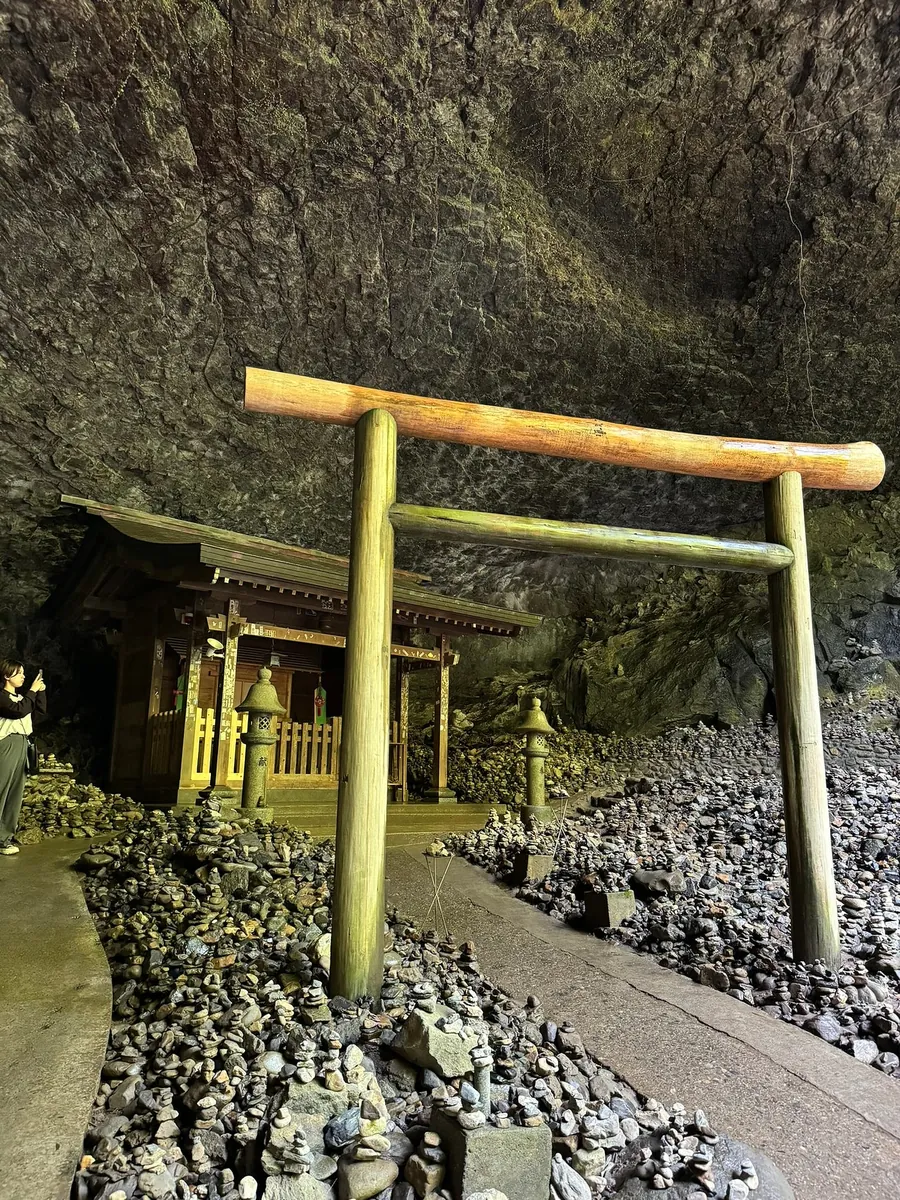
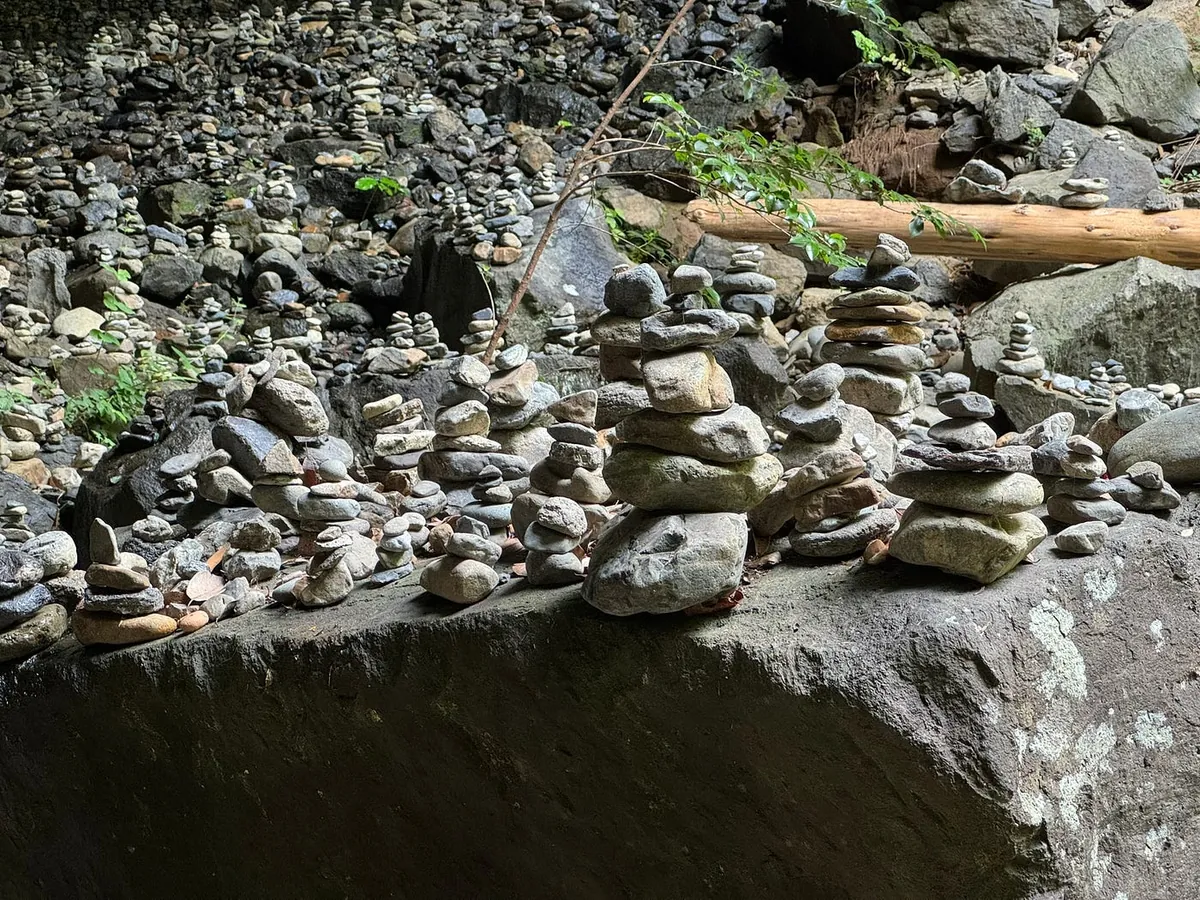
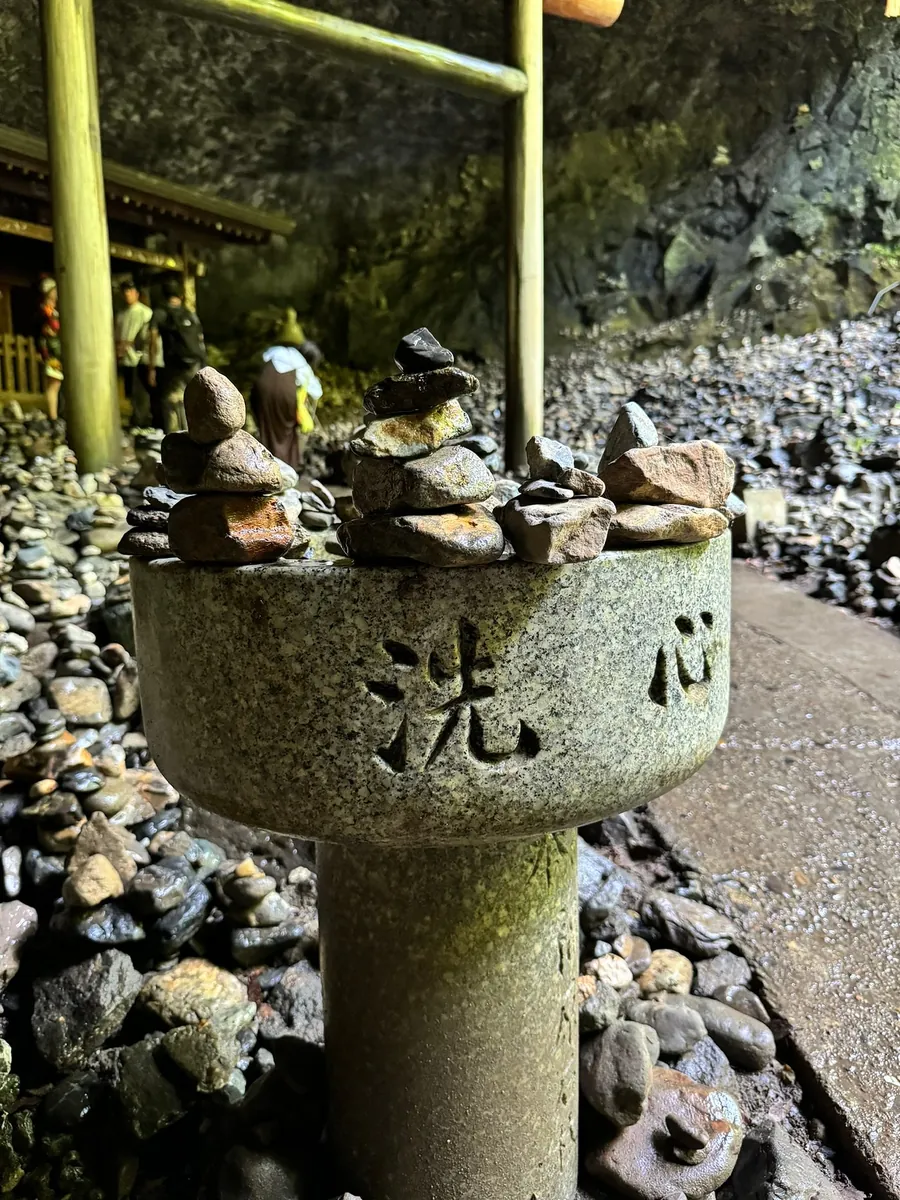
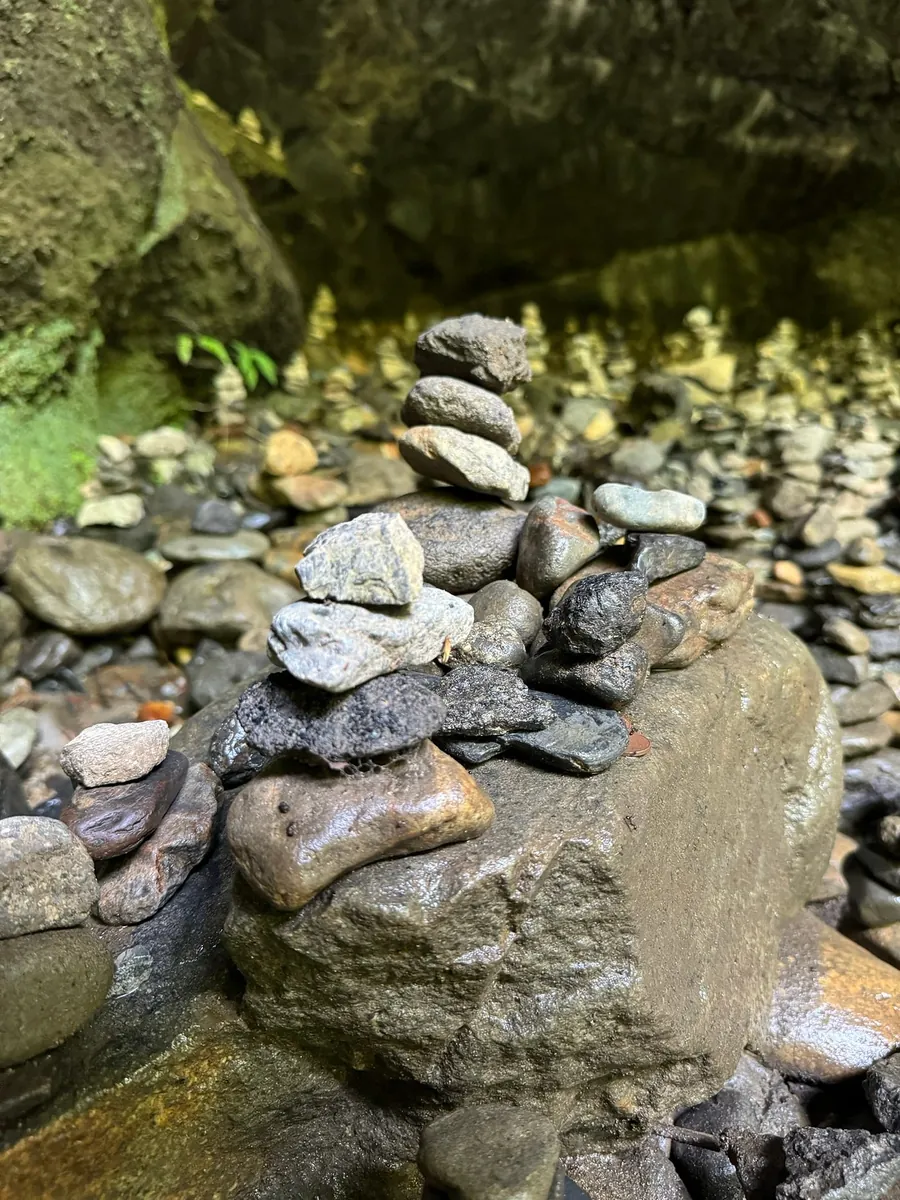
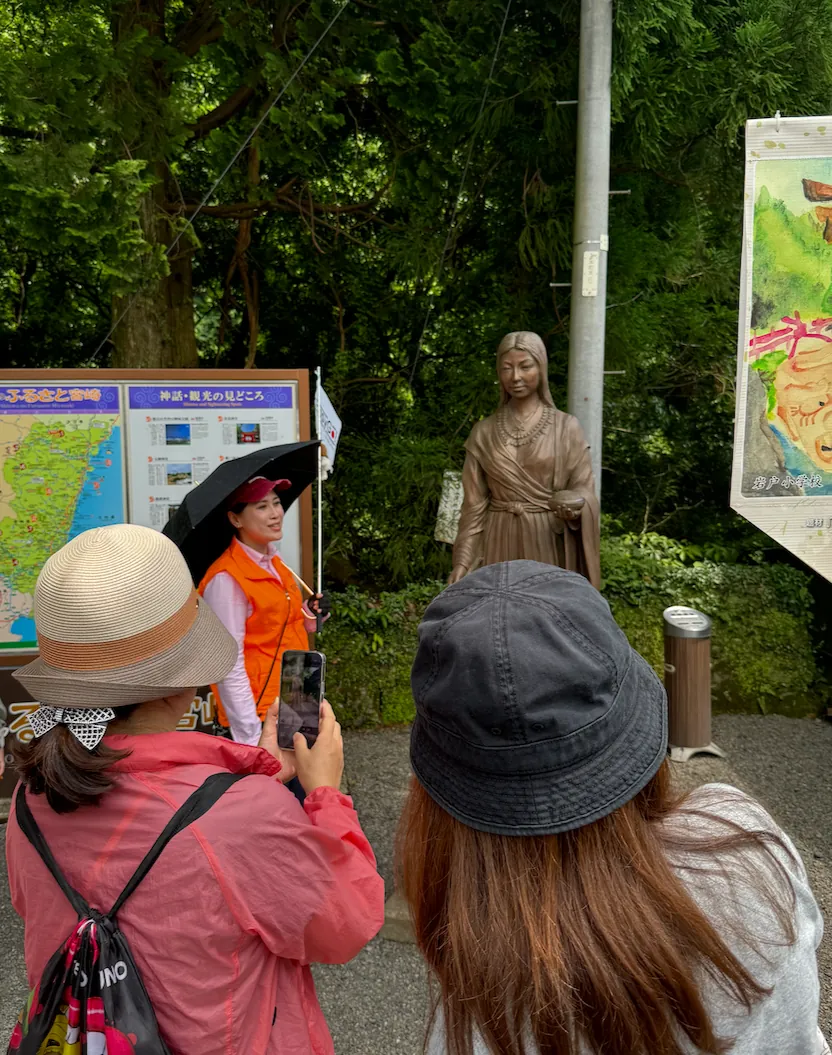
Amano Iwato Cave is the place where the sun goddess Amaterasu once hid; the shrine’s torii gate is surrounded by stones left by worshippers.
On the way back from the shrine visit, we passed by an ice cream shop.
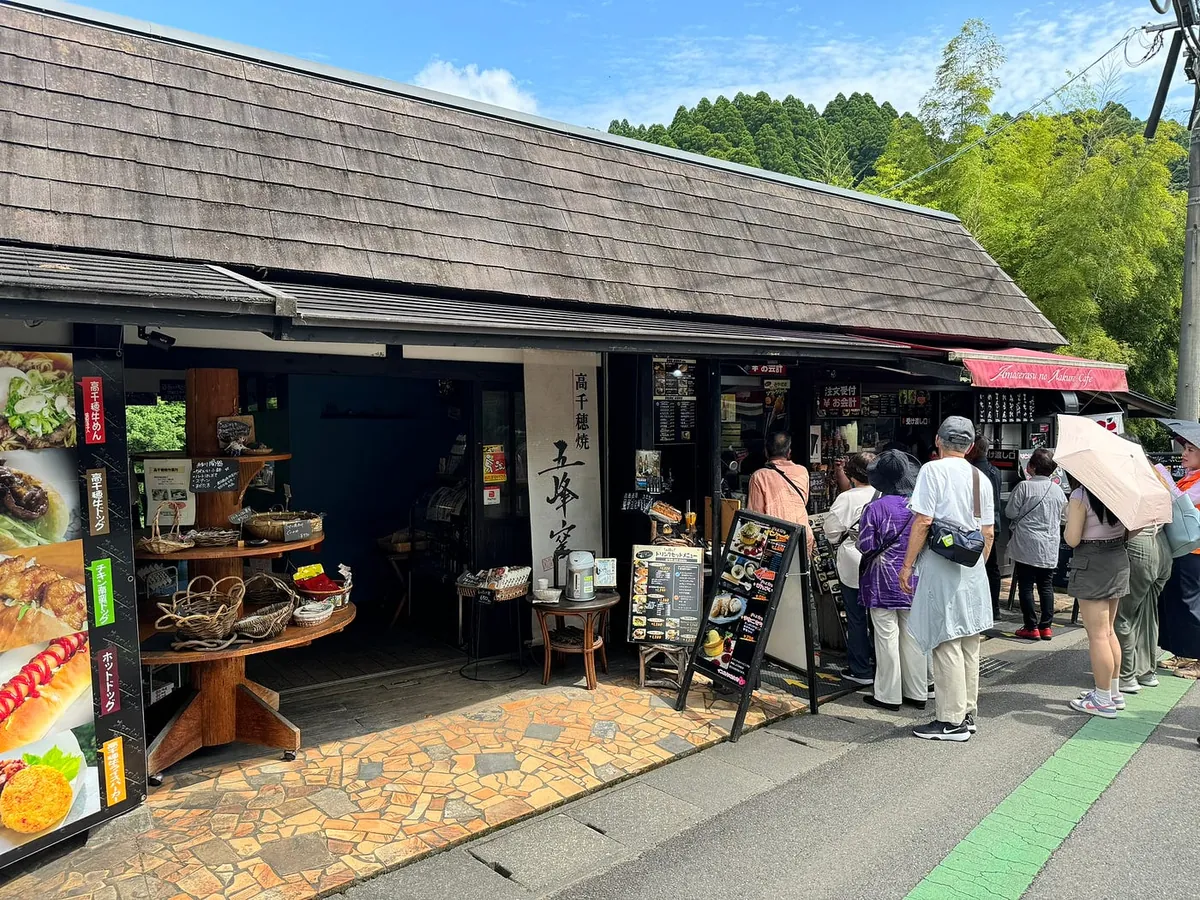
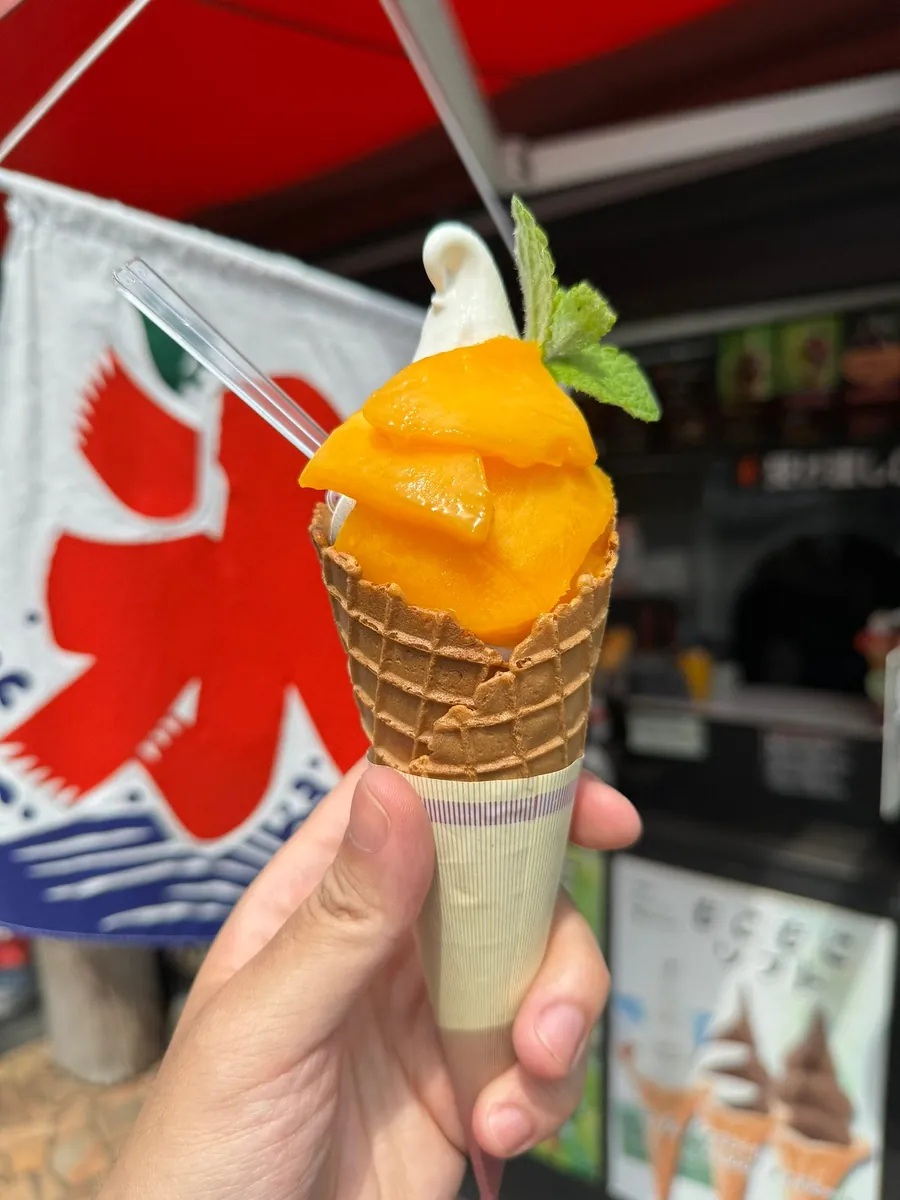
Everyone was lining up here for the ice cream, so we also tried the local Miyazaki mango ice cream (900 yen). The guide said Miyazaki mangoes are premium, but honestly, Taiwanese mangoes still have a stronger mango flavor.
After resting, slowly walk back to visit the Ama-no-Iwato Shrine.
Around 15:10 Gather for Return Trip
After the last activity, it was already past 3 PM, so it was time to start the return trip (still a three-hour drive back to Fukuoka).
Around 16:40 Stop at Rest Area
The return trip will also stop at rest areas for everyone to use the restroom and stretch.
Return to Hakata Station Chikushi Exit (Hakata Back Exit) around 18:00
The trip concluded smoothly. Thanks to Shinan for the leadership and itinerary planning 👏👏👏👏👏.
For dinner, I casually bought a convenience store hot dog and a rice ball from the Tenjin Underground Mall that I had on Day 6. The new grape-flavored Suntory is delicious!! For a snack, I had a BRULEE.
Good night.
Day 10 Shopping in Hakata, Shopping in Tenjin, Watching Baseball at PayPay Dome
The Kyushu sightseeing itinerary is almost complete, leaving nearly two days for shopping and strolling.
In the morning, first go to Don Quijote (24 hr) for some quick shopping. The Tenjin Main Store is very large, with several floors to explore.
Around noon, visit the department stores near Hakata Station to browse, buy souvenirs, Fukuoka sake, Fukusaya Nagasaki castella cake, Kokura Meigetsu rice crackers, and more.
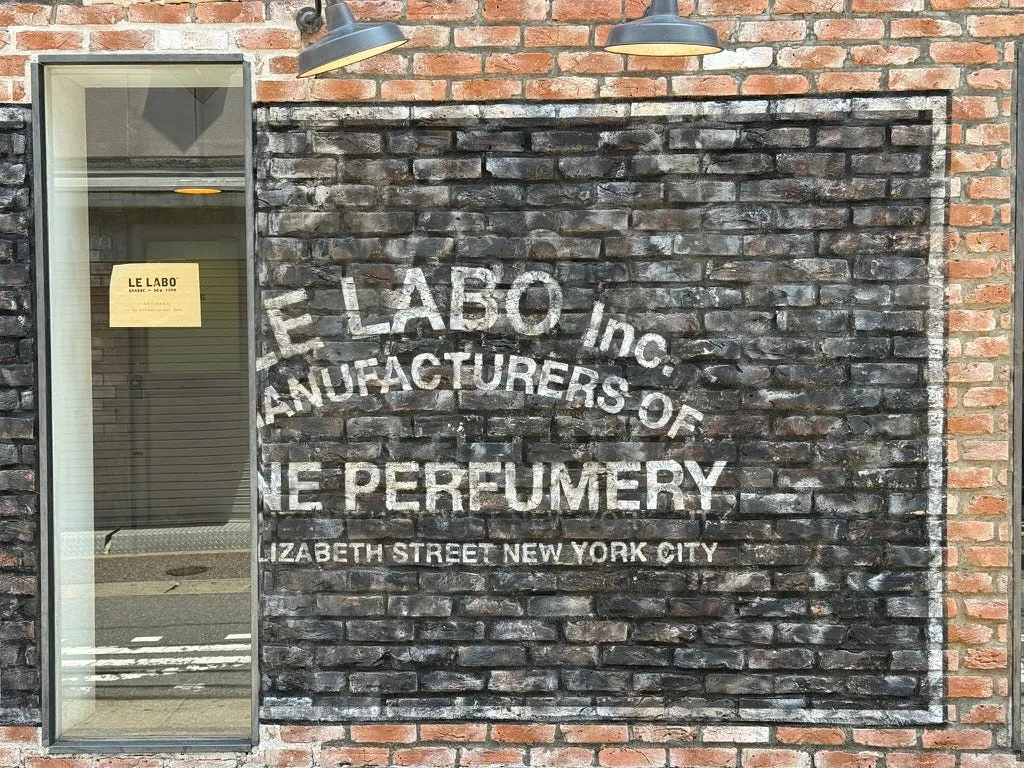
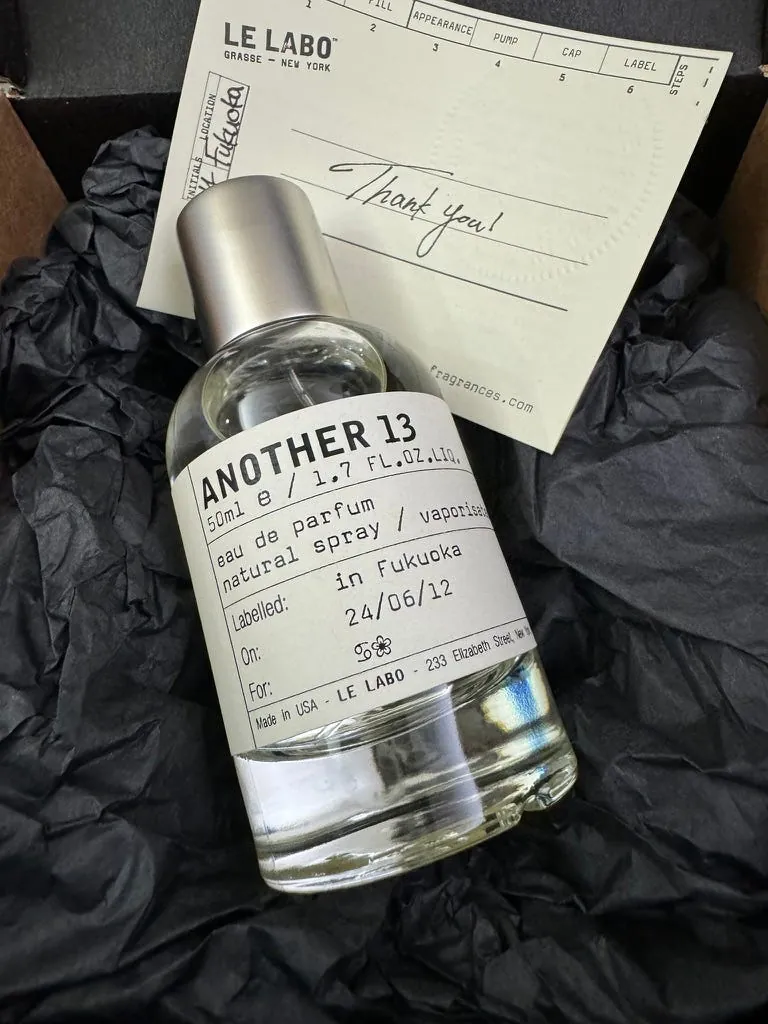
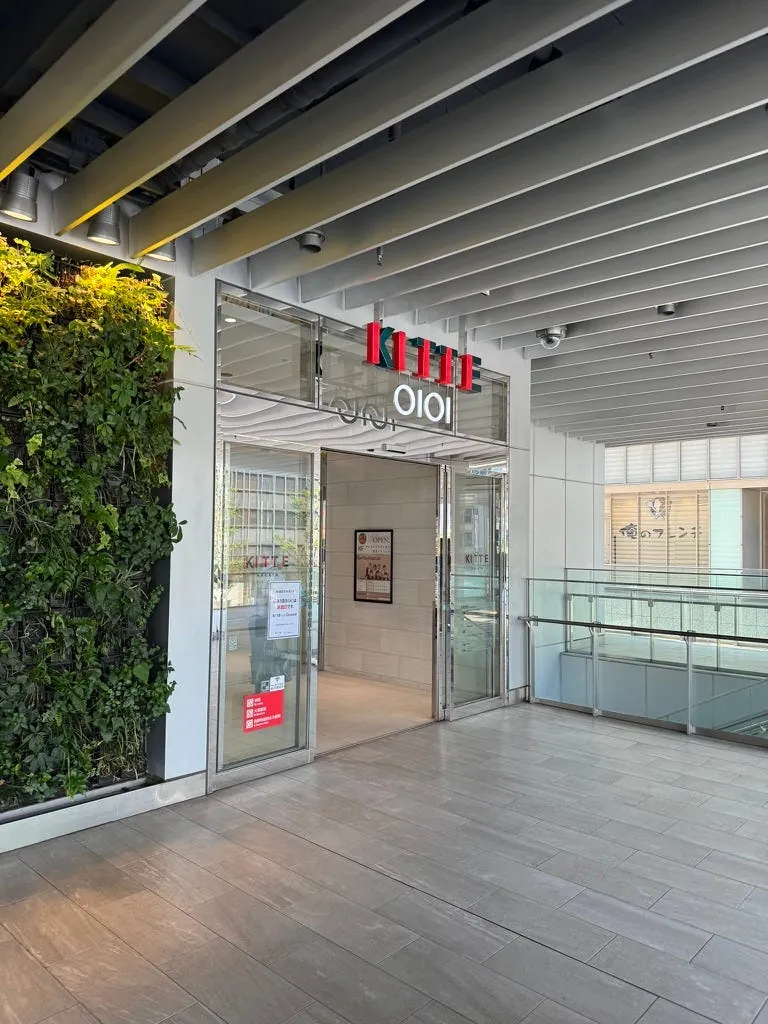
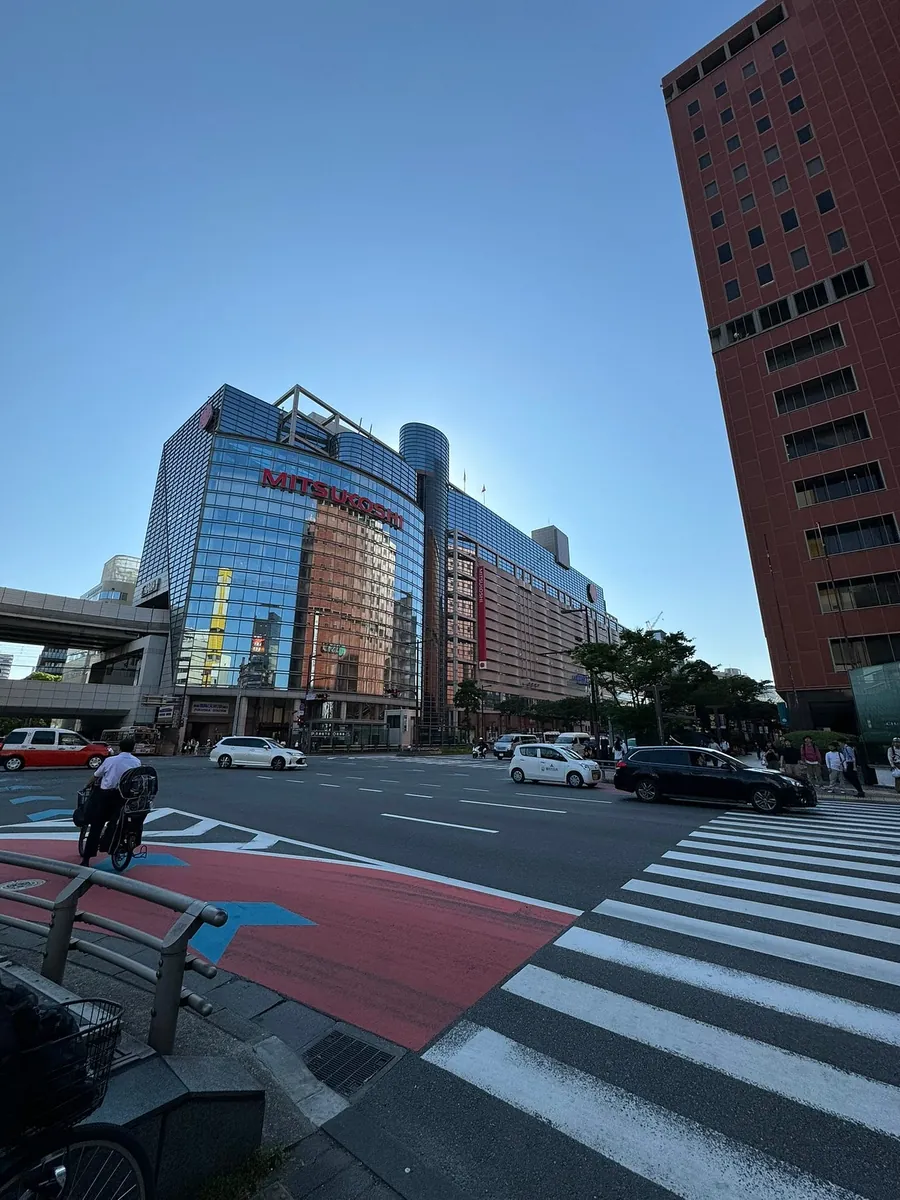
In the afternoon, return to the Tenjin area, Tenjin Underground Shopping Mall, Le Labo, Iwataya Department Store, Mitsukoshi Department Store, and more (there are many department stores around Tenjin).
Le labo Another 13 just ran out and restocked. This time I bought 50ml (about NT$5,800 after tax refund).
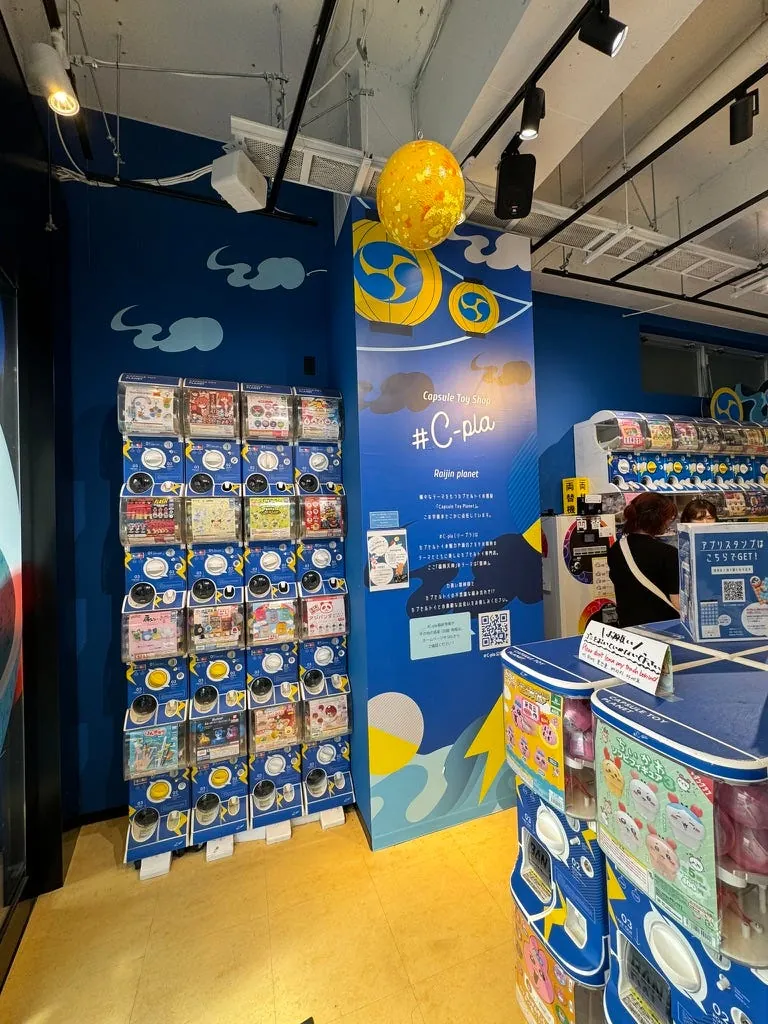
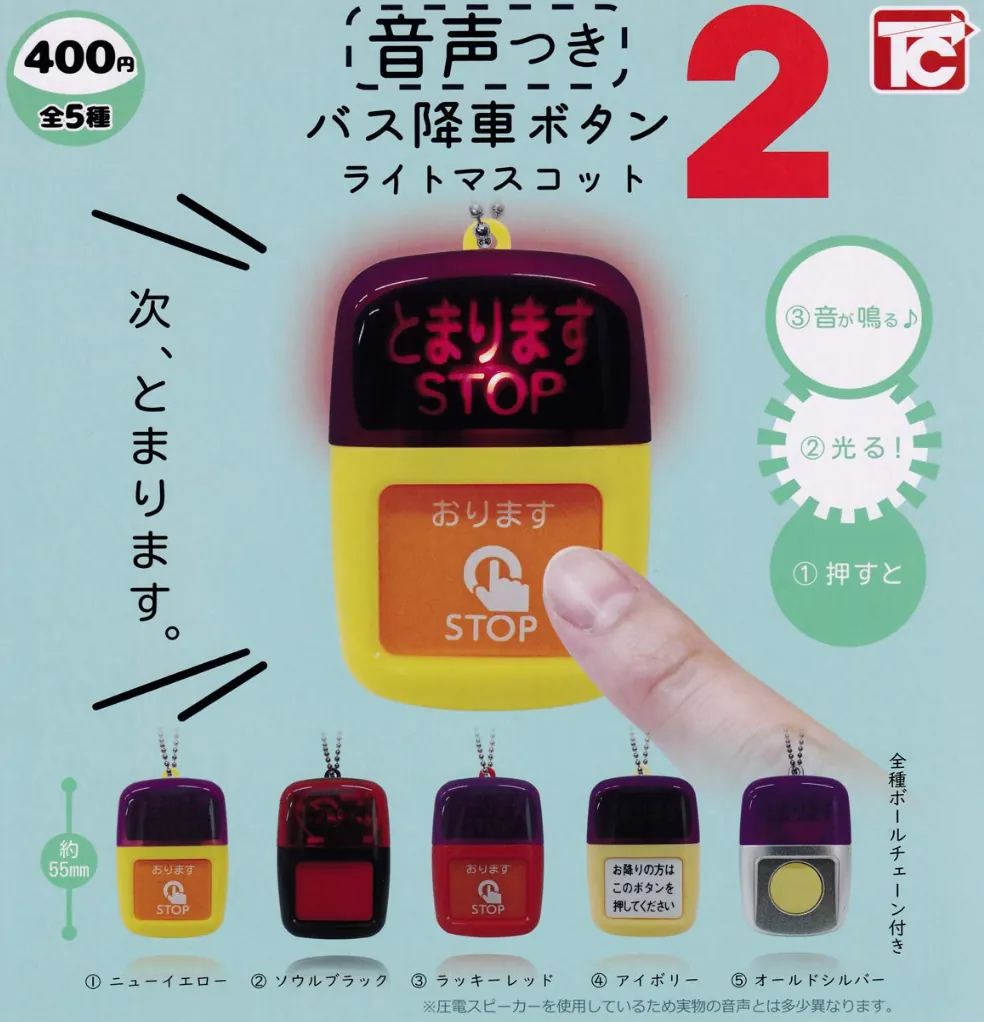
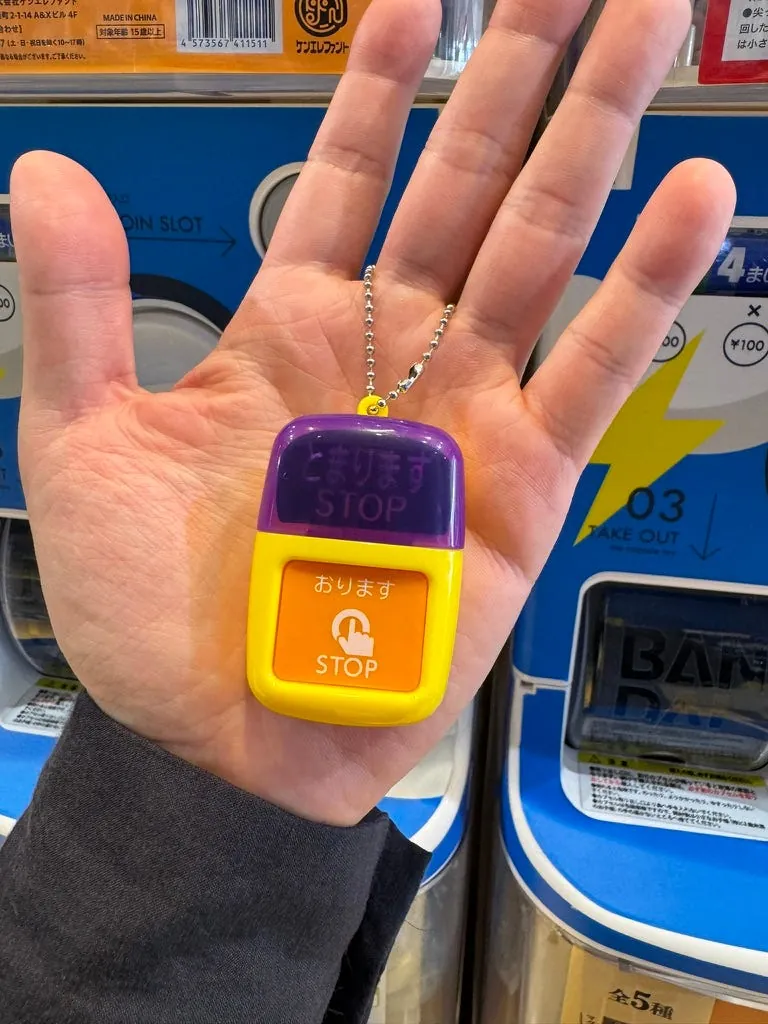
At Tenjin C-pla, I found a fun bus stop button XD
It makes a sound when pressed XD.
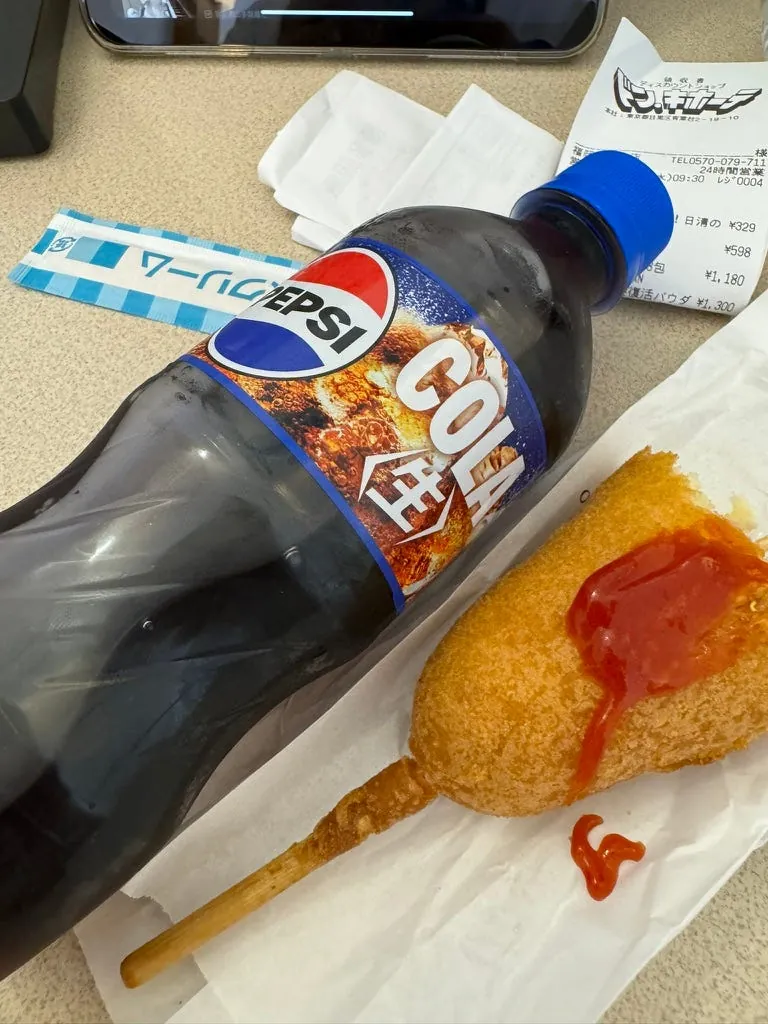
Heading back to the hotel with our loot to rest, enjoying a hot dog, dessert, and a must-try in Japan! Fresh cola!
Hakata Canal City
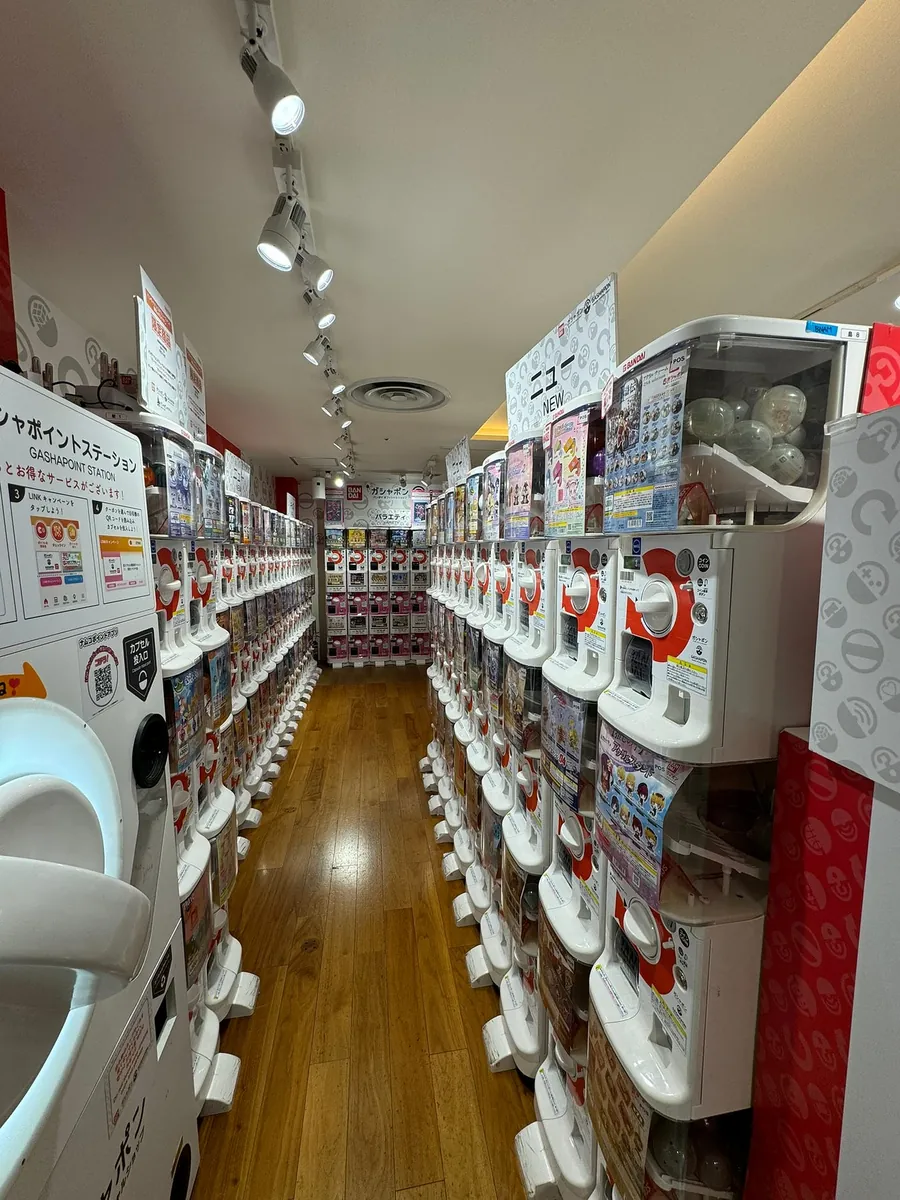
After taking a break, head out again and arrive at Canal City Hakata at 16:30.
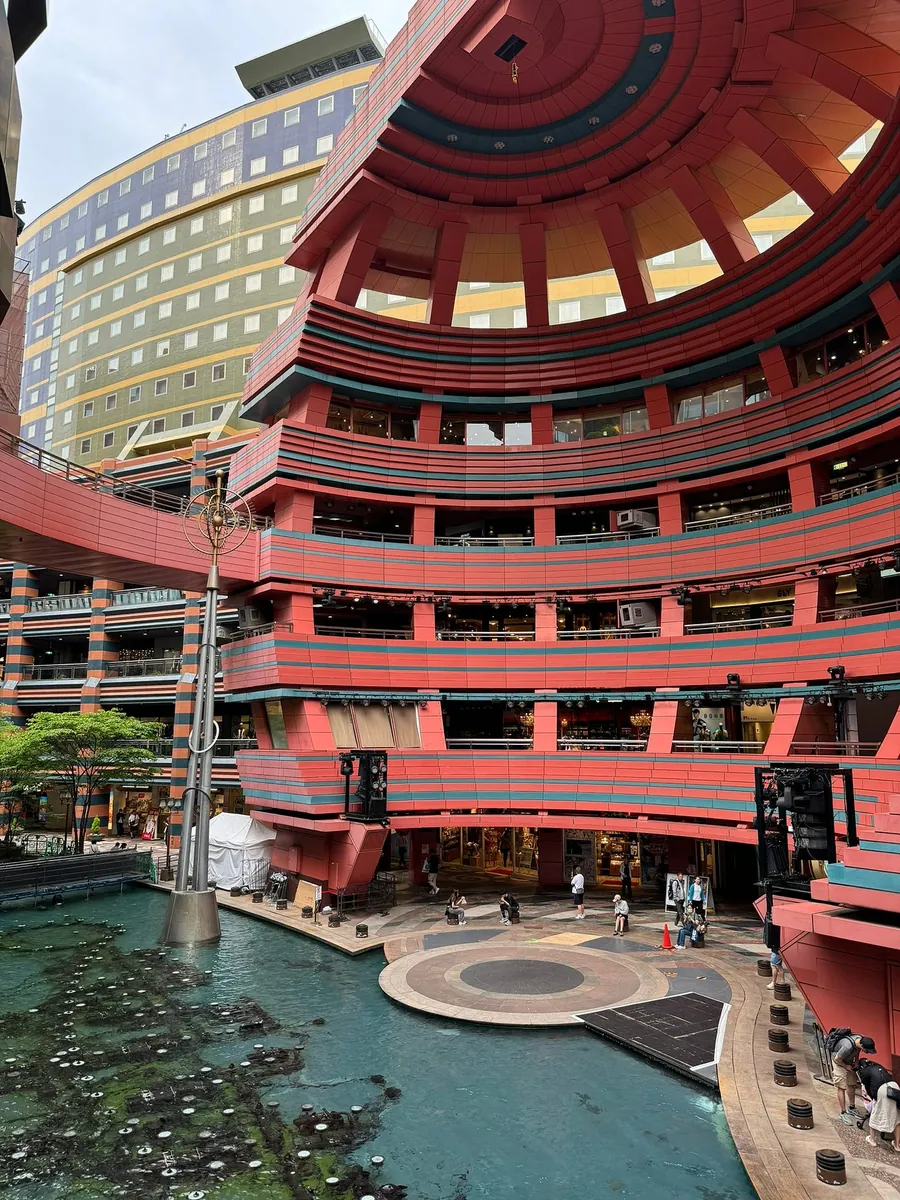
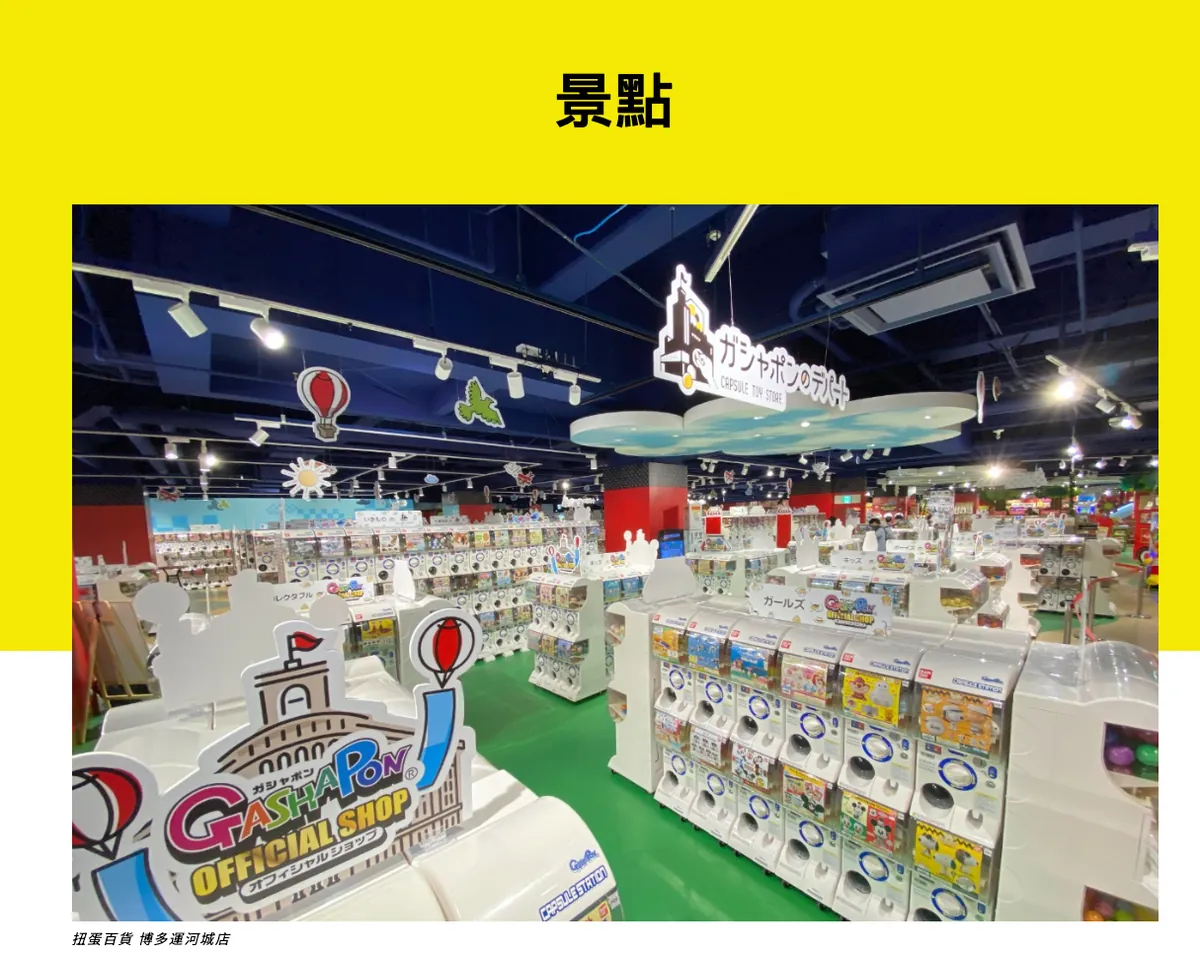
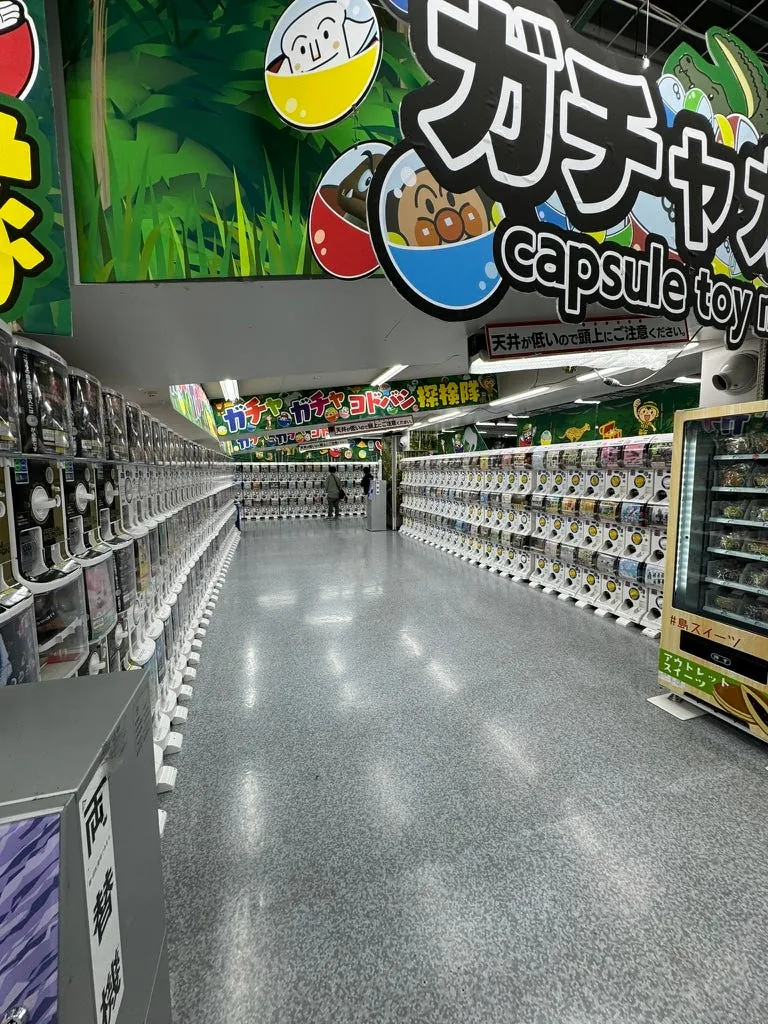
Mainly to visit the huge gachapon department store in B1.
https://gofukuoka.jp/zh-tw/spots/detail/196050
After shopping, head to Hakata Station.
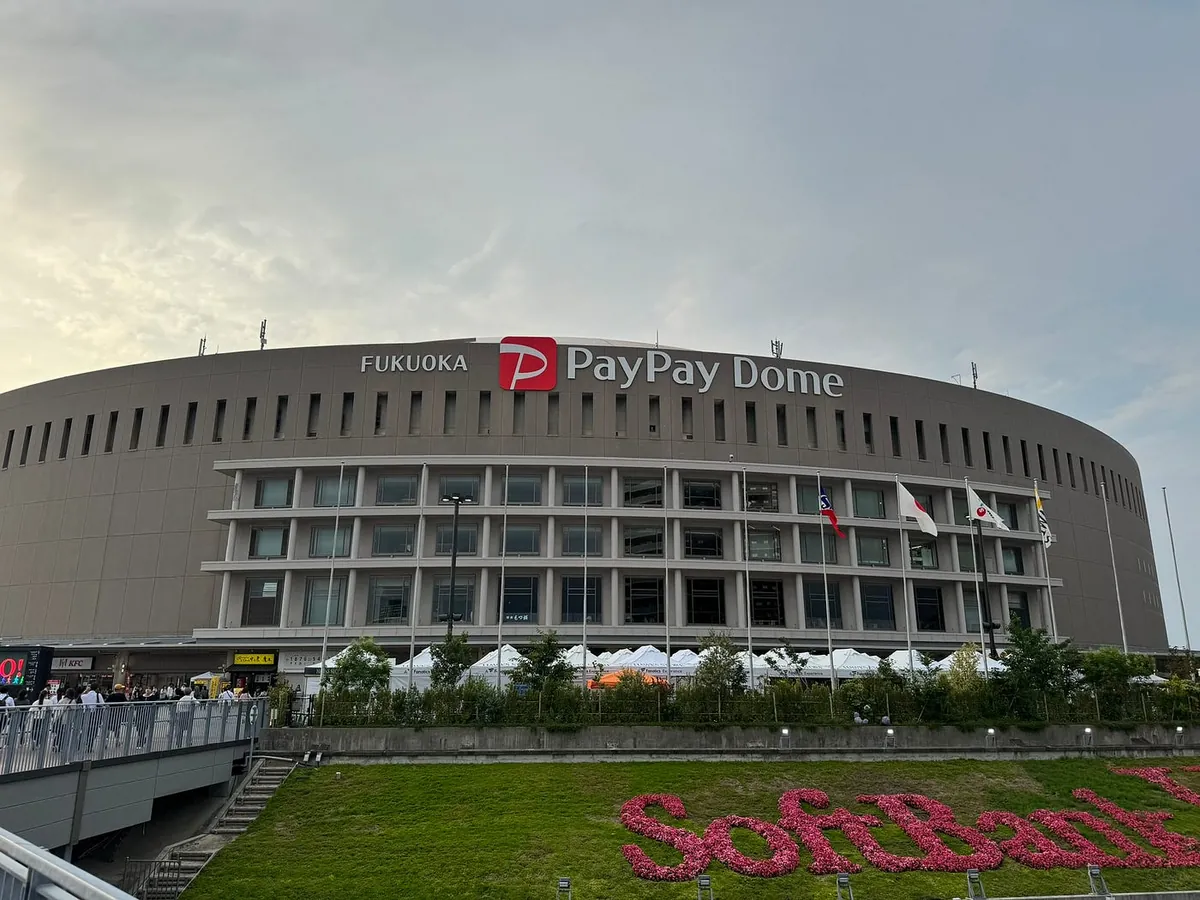
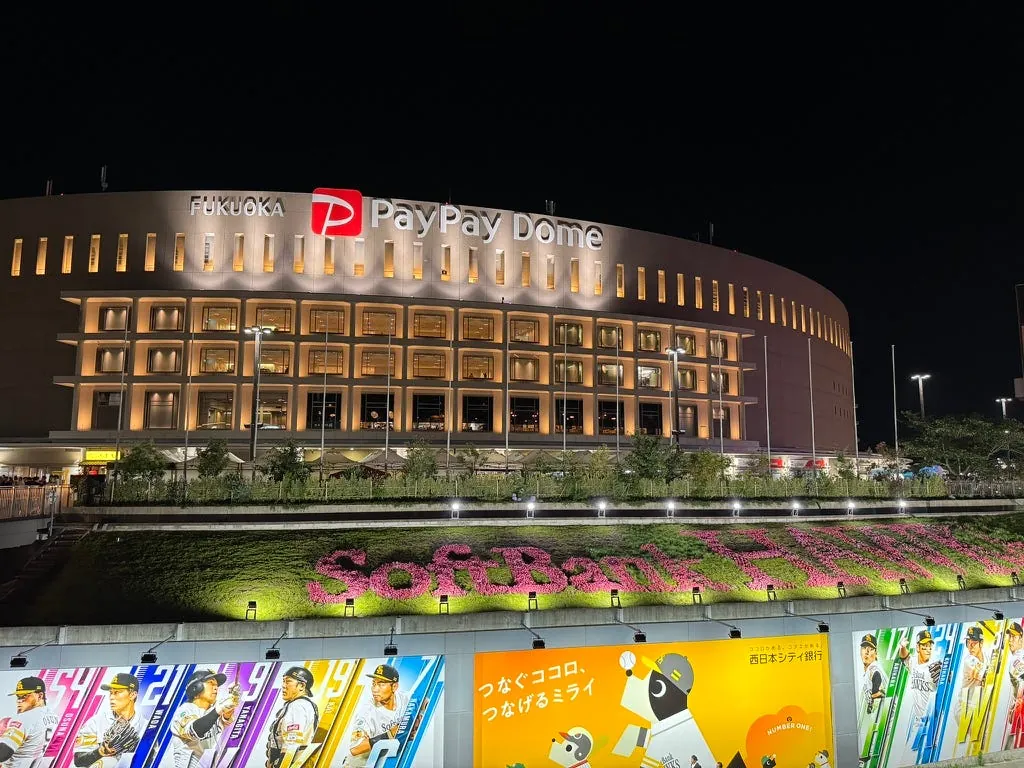
Around 17:30, take a bus from Hakata Station to PayPay Dome. Watch the baseball game at 18:00.
Fukuoka SoftBank Hawks Game @ Fukuoka PayPay Dome Stadium
Today’s matchup: Fukuoka SoftBank Hawks vs. Tokyo Yakult Swallows
Some Entry Rules Reminder : You need to open your backpack for security check, no outside food allowed, you can bring one bottle of tea or beverage, no outside alcohol allowed, alcohol and food are sold inside, remember to get a re-entry permit if you leave and want to come back.

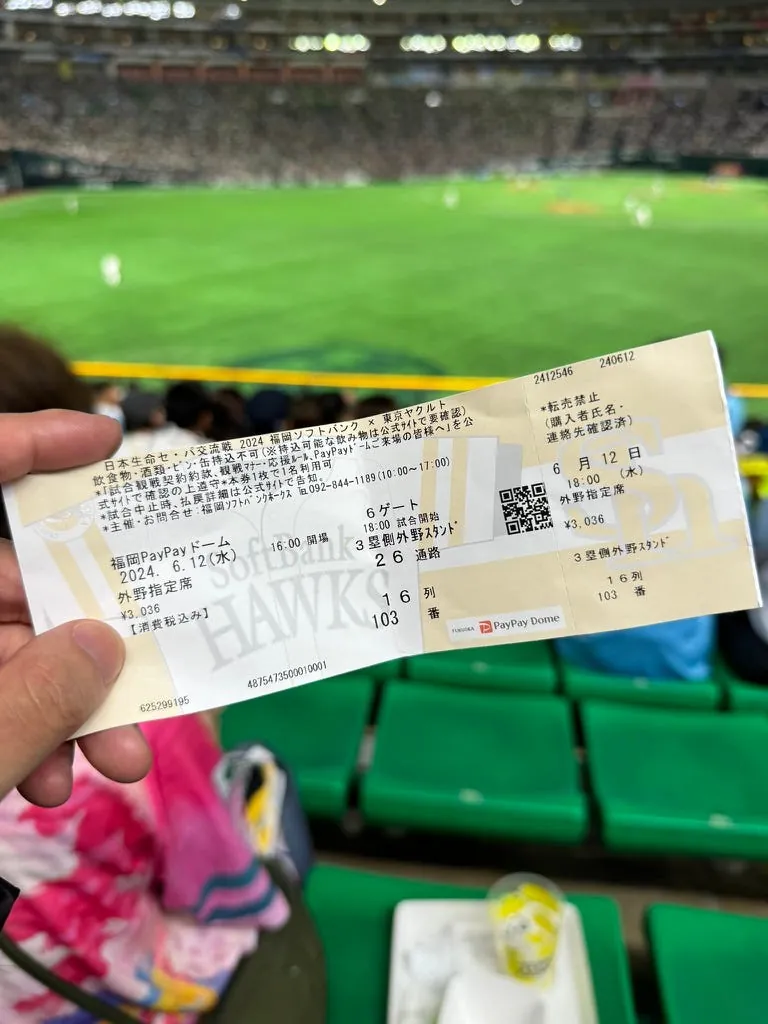
The mascot of the Fukuoka SoftBank Hawks is named Harry, so of course, I had to watch the game and show my support.
Last time I sat in the more expensive infield home plate area, this time I wanted to try the cheapest seats just to experience the atmosphere. I thought there would be general admission, but all seats were reserved. So I chose a spot in the last row on the edge of the outfield side for easy access (the outfield seats have no backrests, which makes it easier to get in and out).
I have to admire the professional sports culture in Japan. On weekdays at 6:00 PM, the stadium with about 40,000 seats is almost full. When choosing seats, there are no entire rows empty or seats at the edges and corners available.
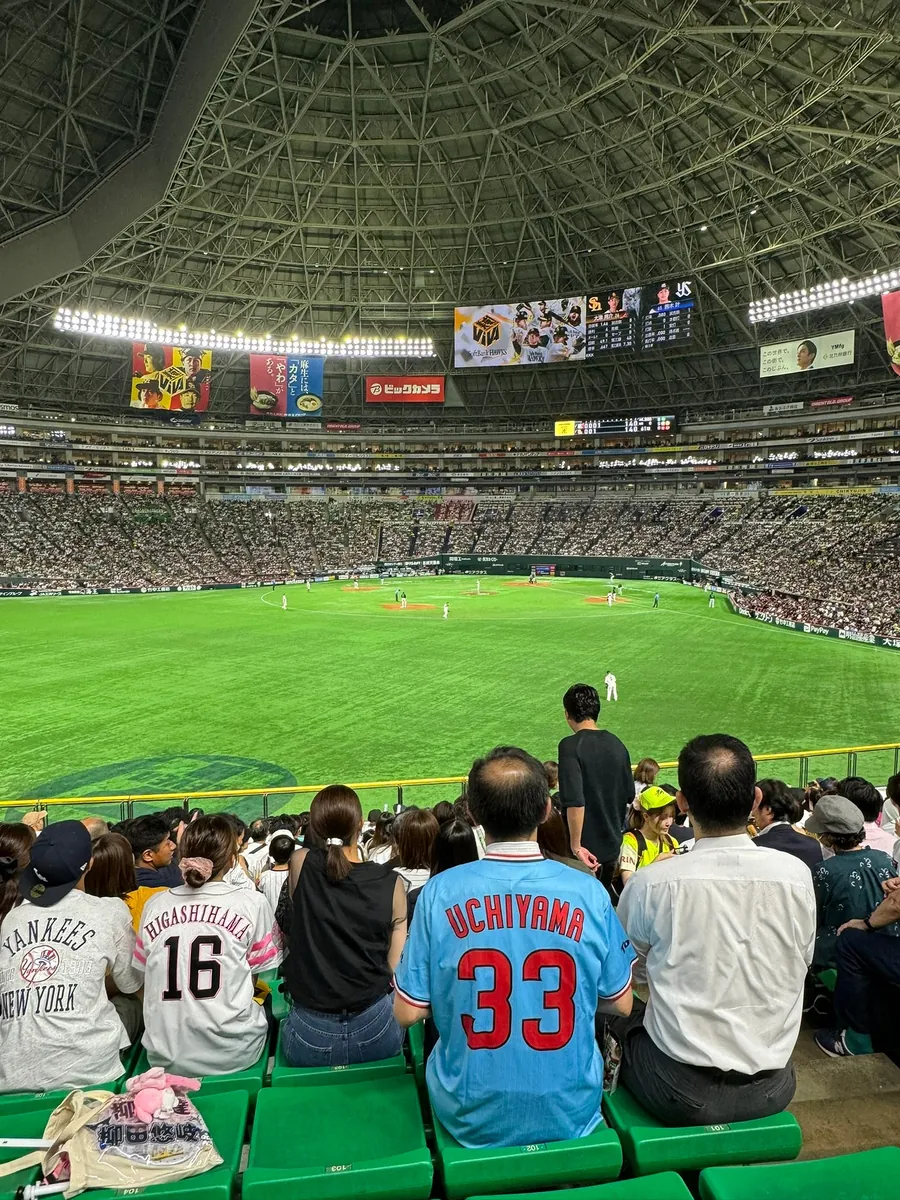

The view and distance are much worse compared to last time.
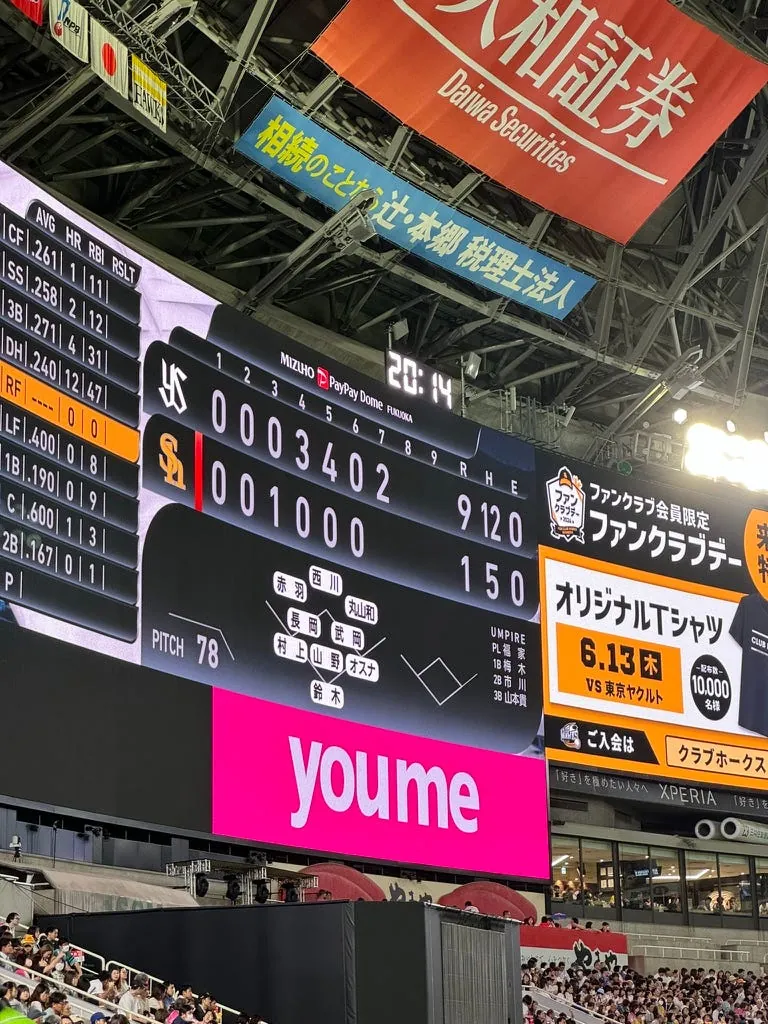
This time, they lost by a large margin, ending the game at 9:3. There were no fireworks to watch, but we did see the cheering activities of both teams. (Fukuoka SoftBank Hawks’ balloon cheering and Tokyo Yakult Swallows’ umbrella dance cheering)
After about 7 innings, the score was already 9-1, and everyone started leaving one after another. I didn’t watch until the end.
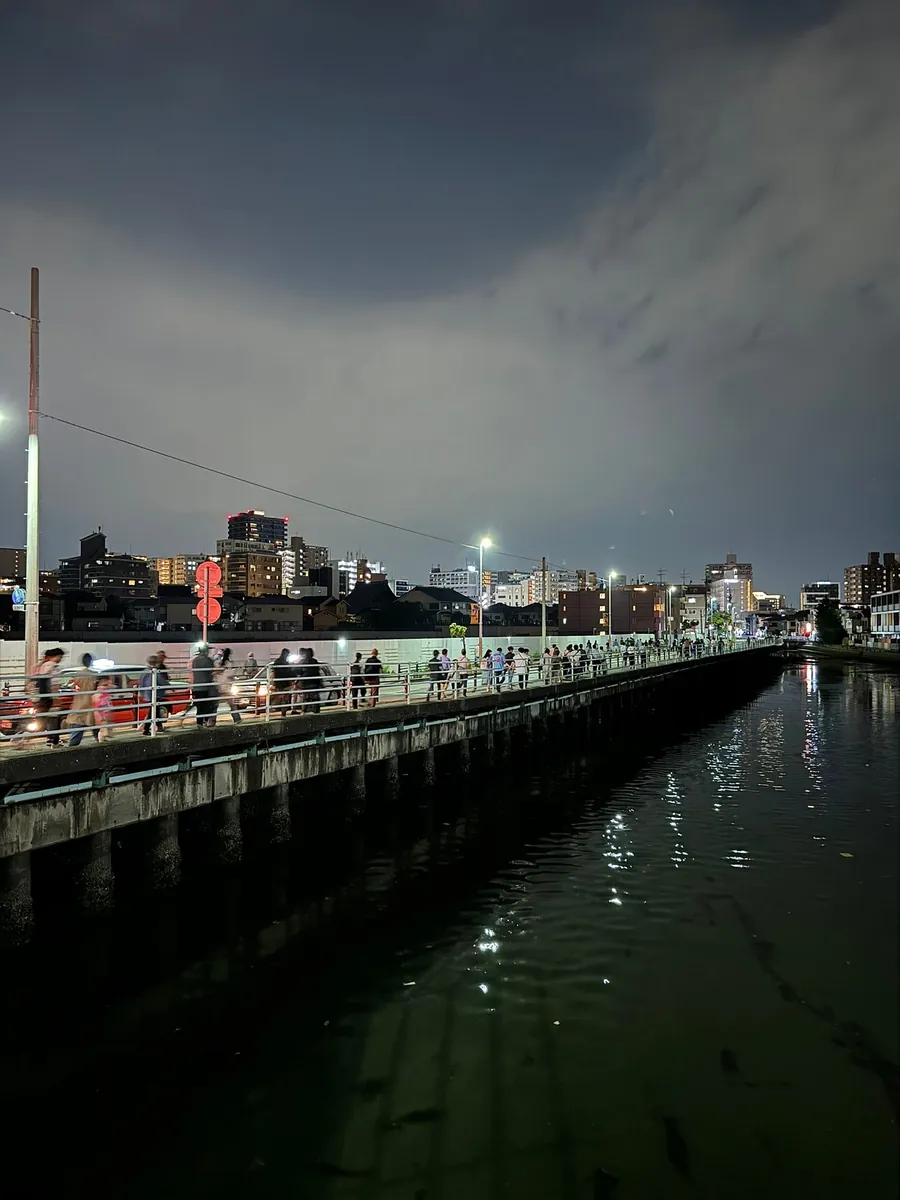
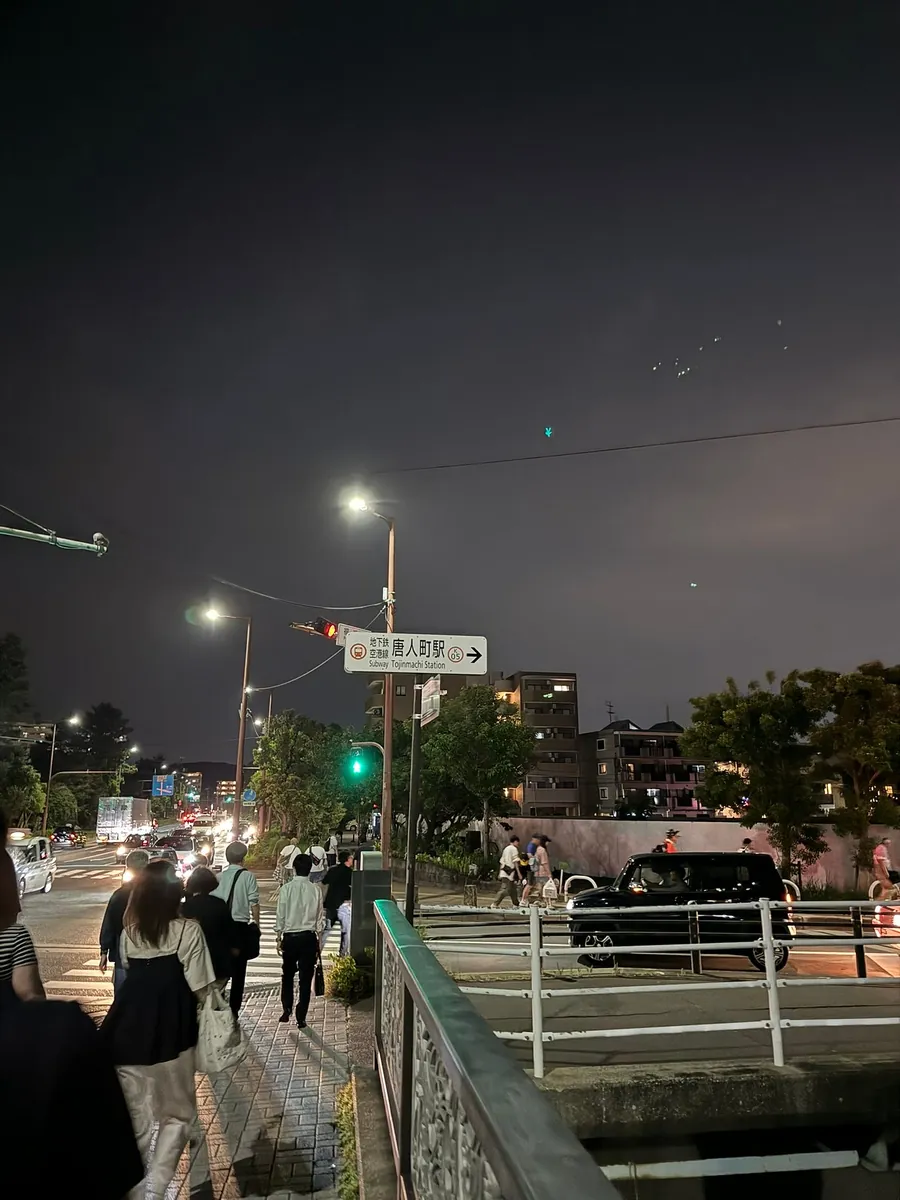
The bus stop was also crowded with people. Like last time, I followed the crowd and walked back to the Tojinmachi subway station. (About 15 minutes)

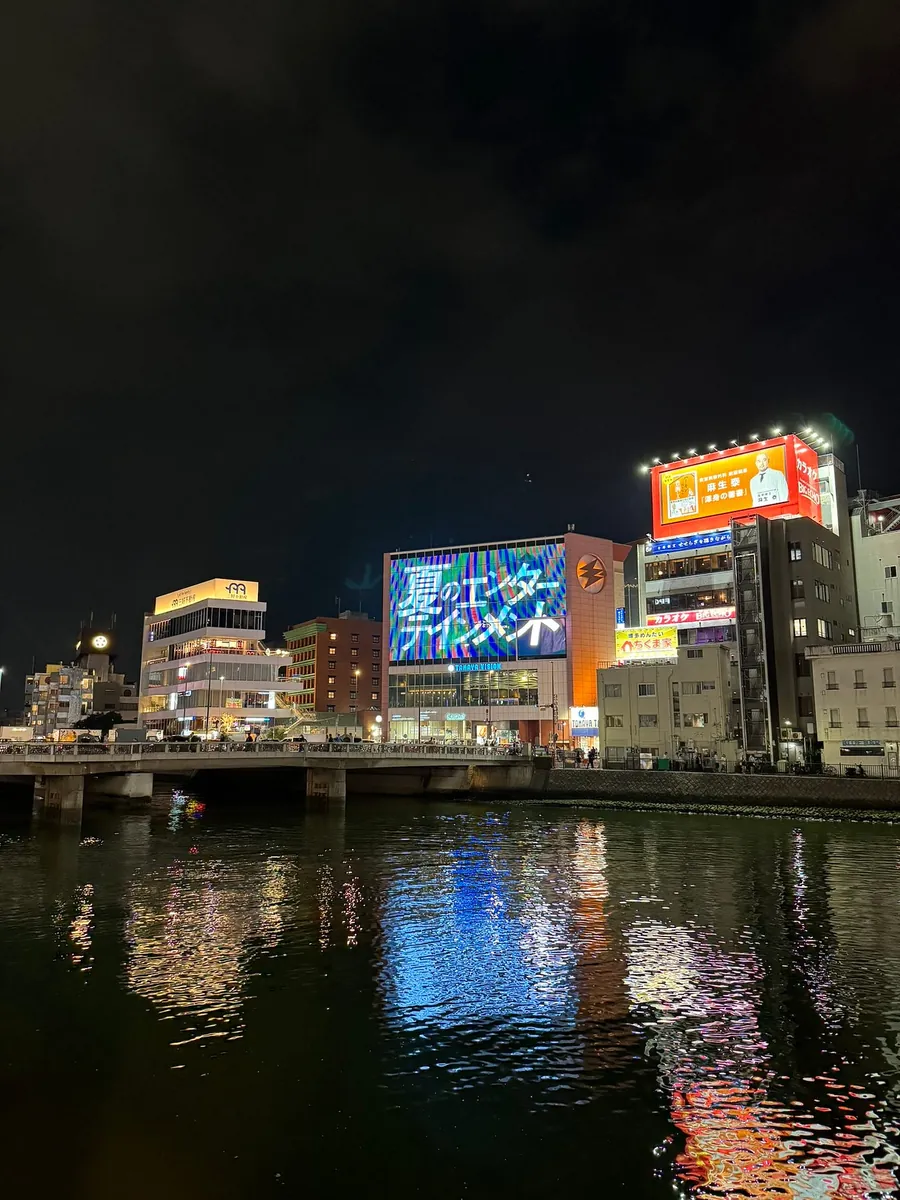
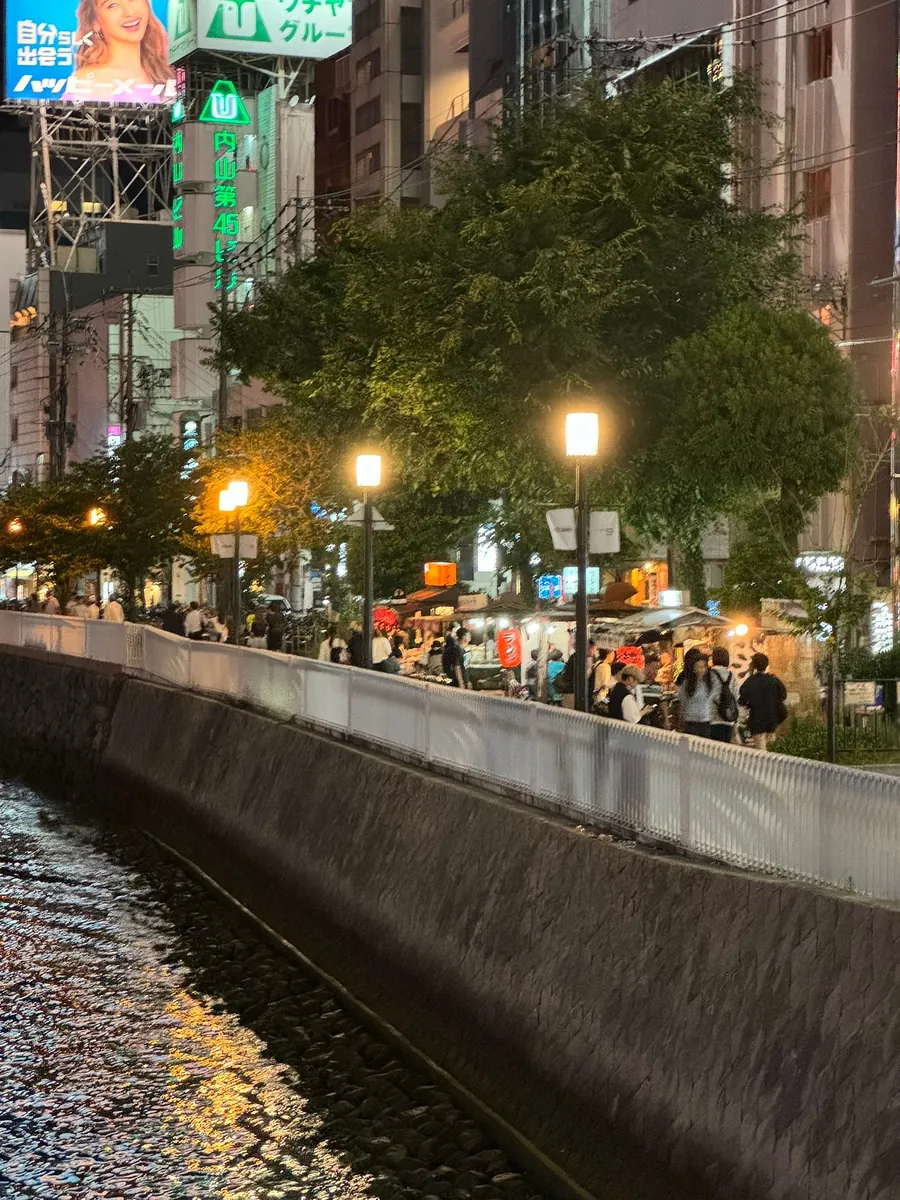
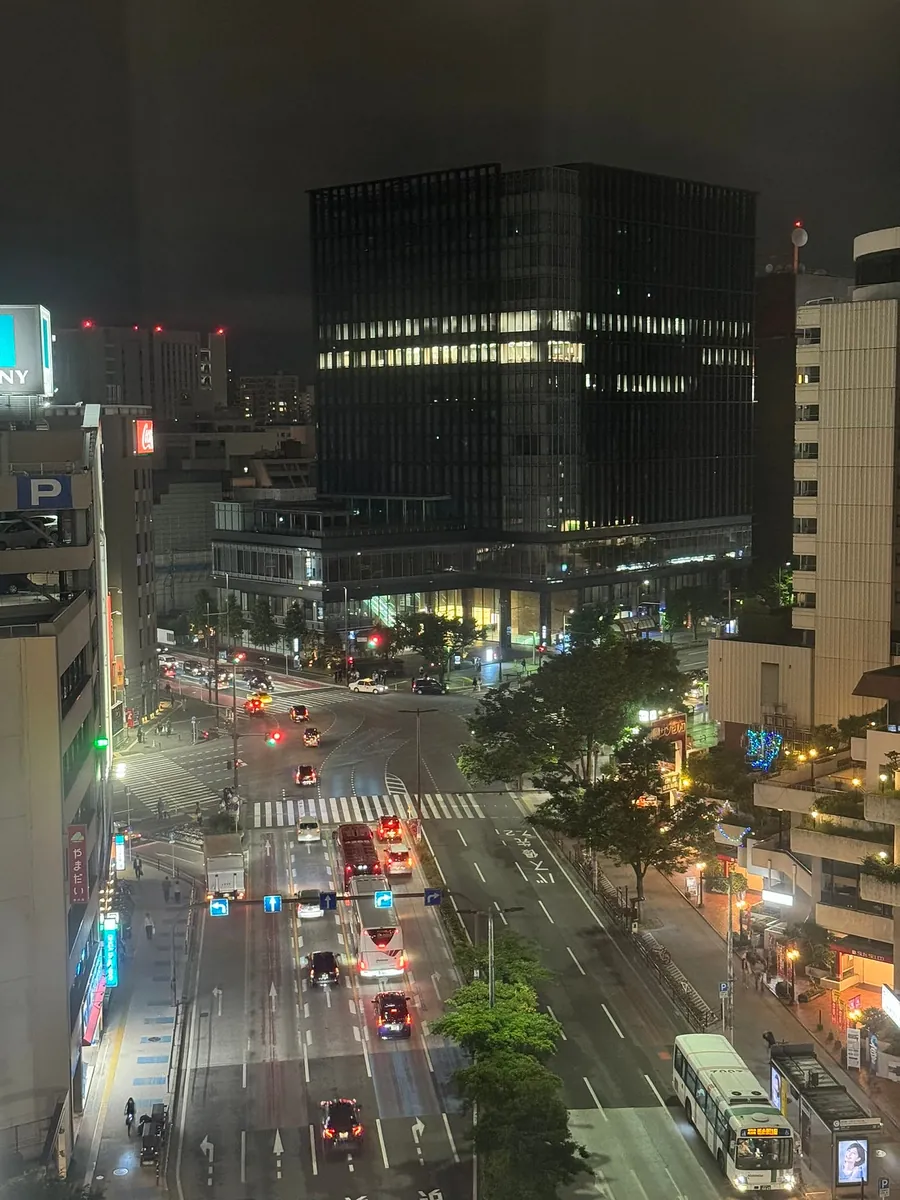
Before heading back to the hotel to rest, I deliberately stopped at Nakasu Yatai in the corridor to take one last look at the night view before leaving Fukuoka.
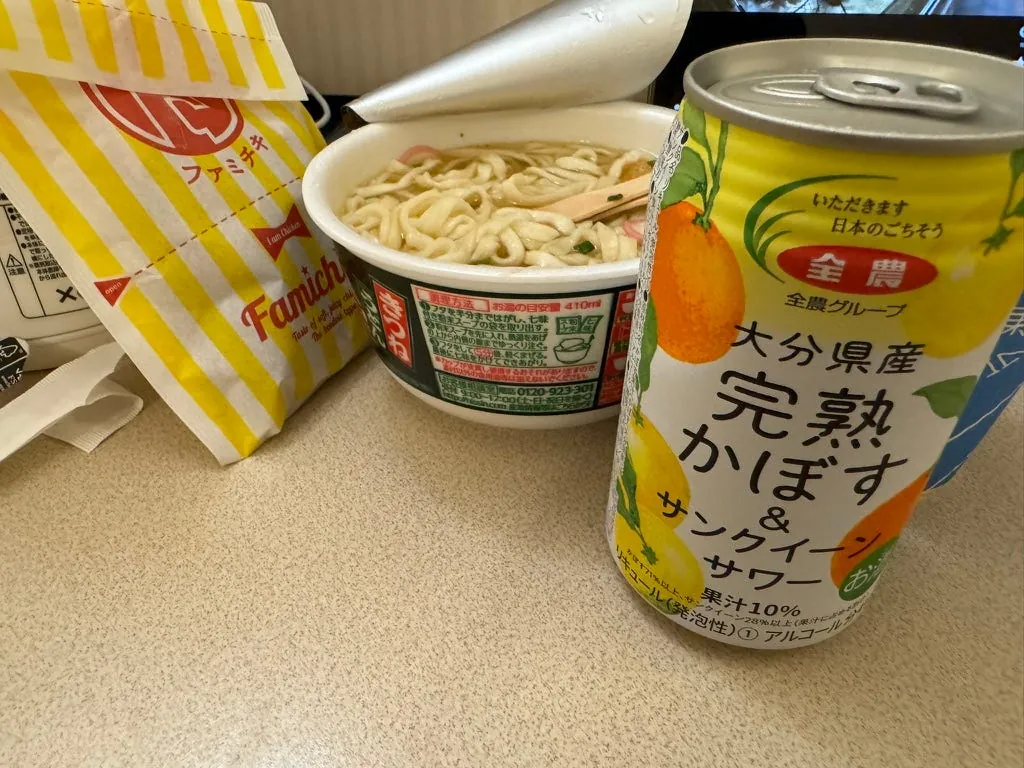
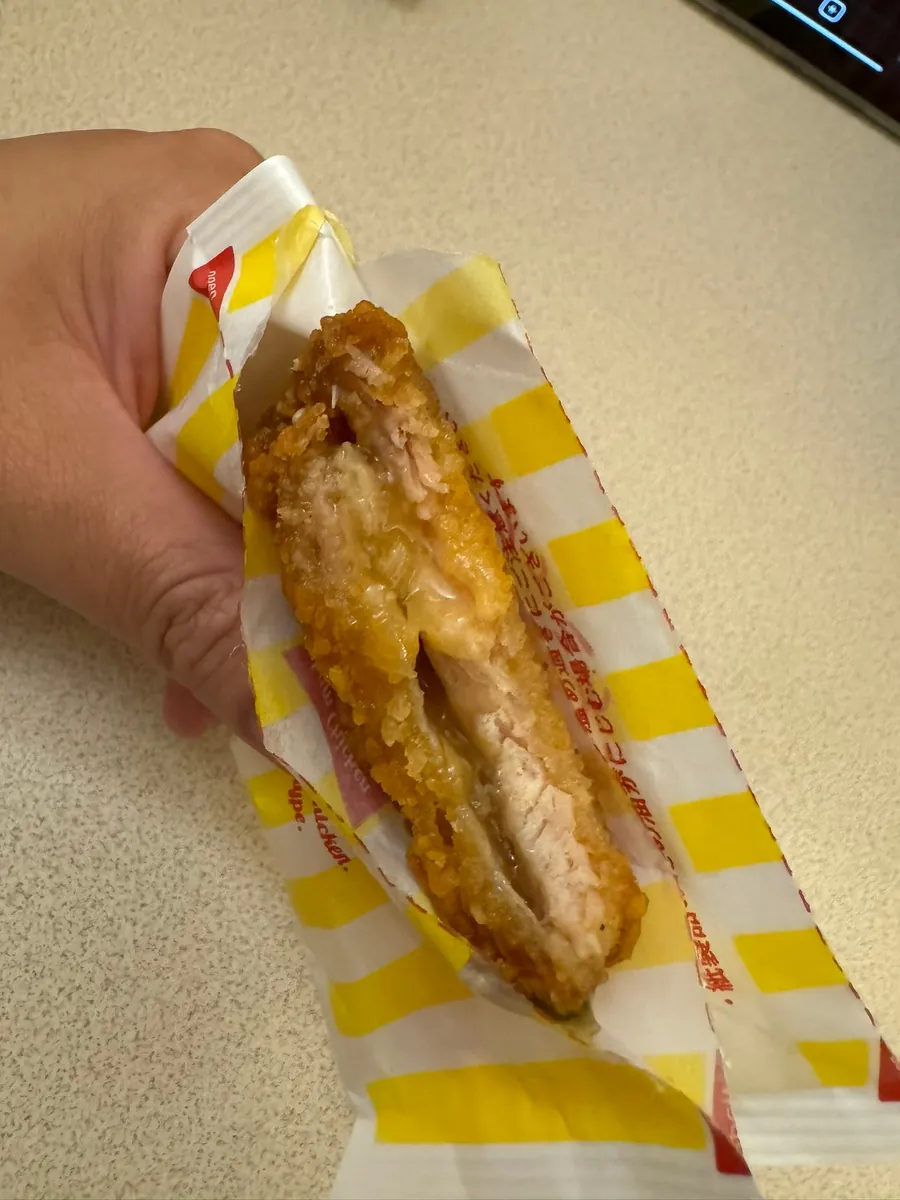
Late-night snack: Nissin Donbei Inari Udon (first time trying it after so many days here), fruit wine from Oita, and convenience store fried chicken with chicken oil (juicy and delicious).
Day 11 Lalaport, Shopping in Hakata, Shopping in Tenjin, Return Trip
Unknowingly, it’s been 11 days abroad, and I’ve started to miss Taiwan’s delicious food. The flight at 9:00 PM still leaves plenty of time to wander around.
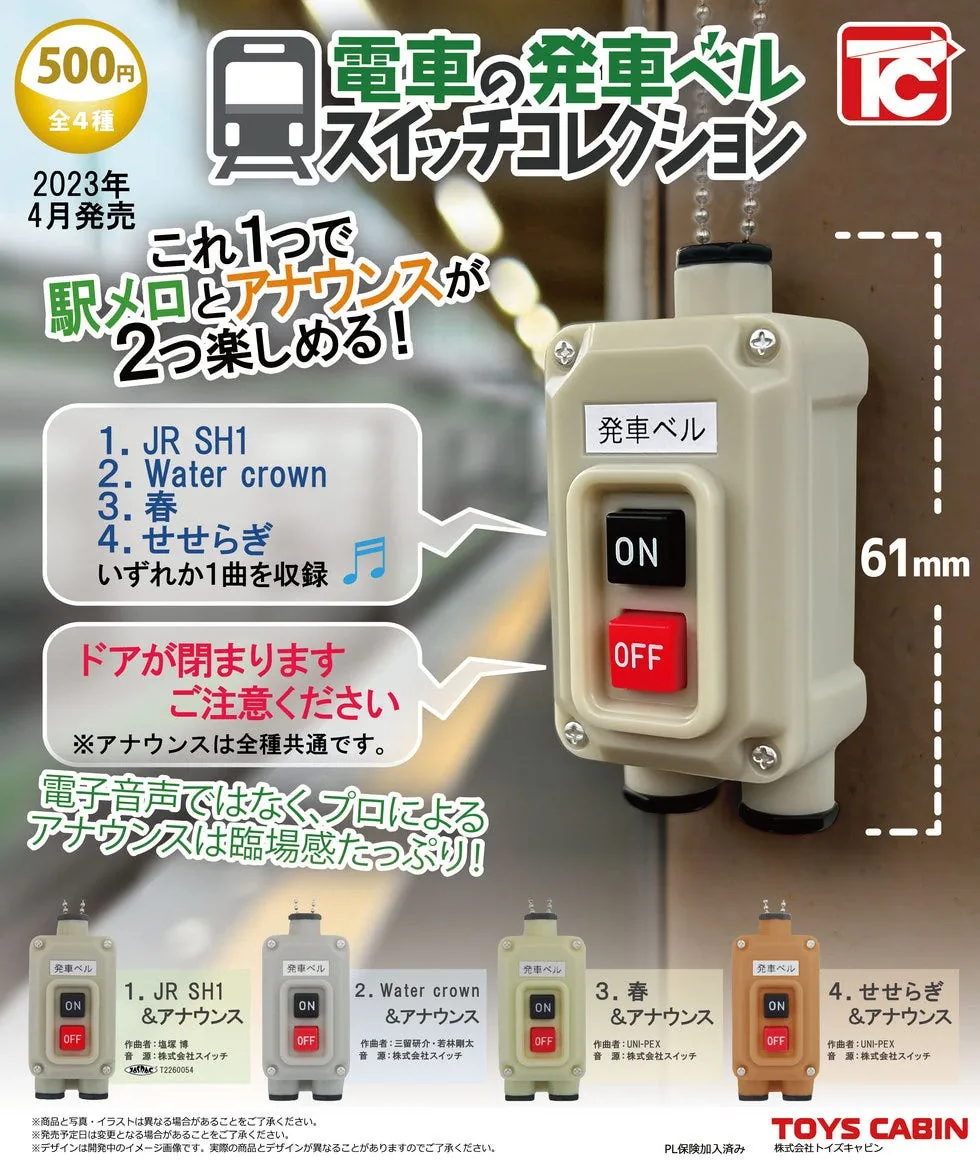
https://toyscabin.com/product/20221201_546.php
The main souvenirs have been bought and packed. Today, I just wandered around looking for the tram gacha machine. (In the end, I couldn’t find it. According to the vendor-provided store list, all in the city are sold out.)
Lalaport
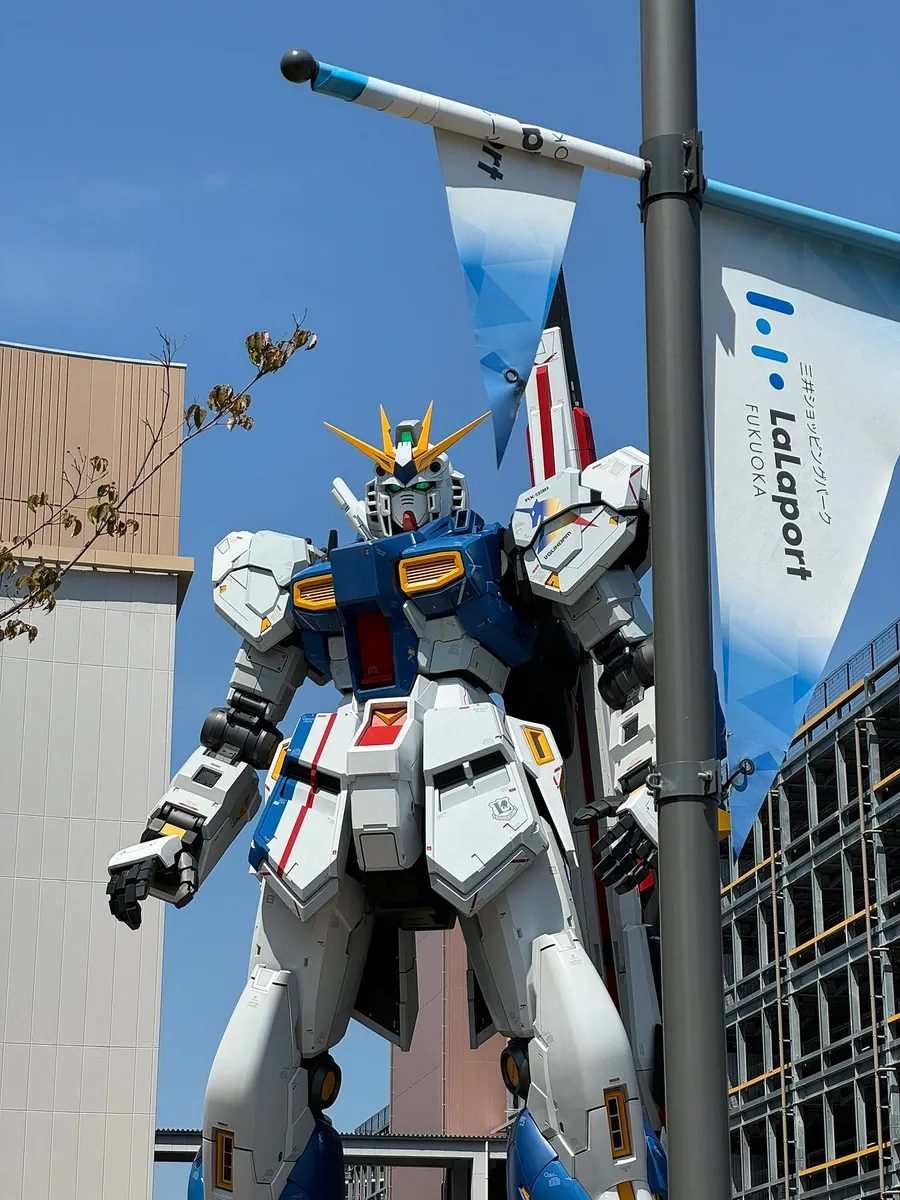
No plans in the morning, so went to Lalaport first. (Opens at 10 AM)
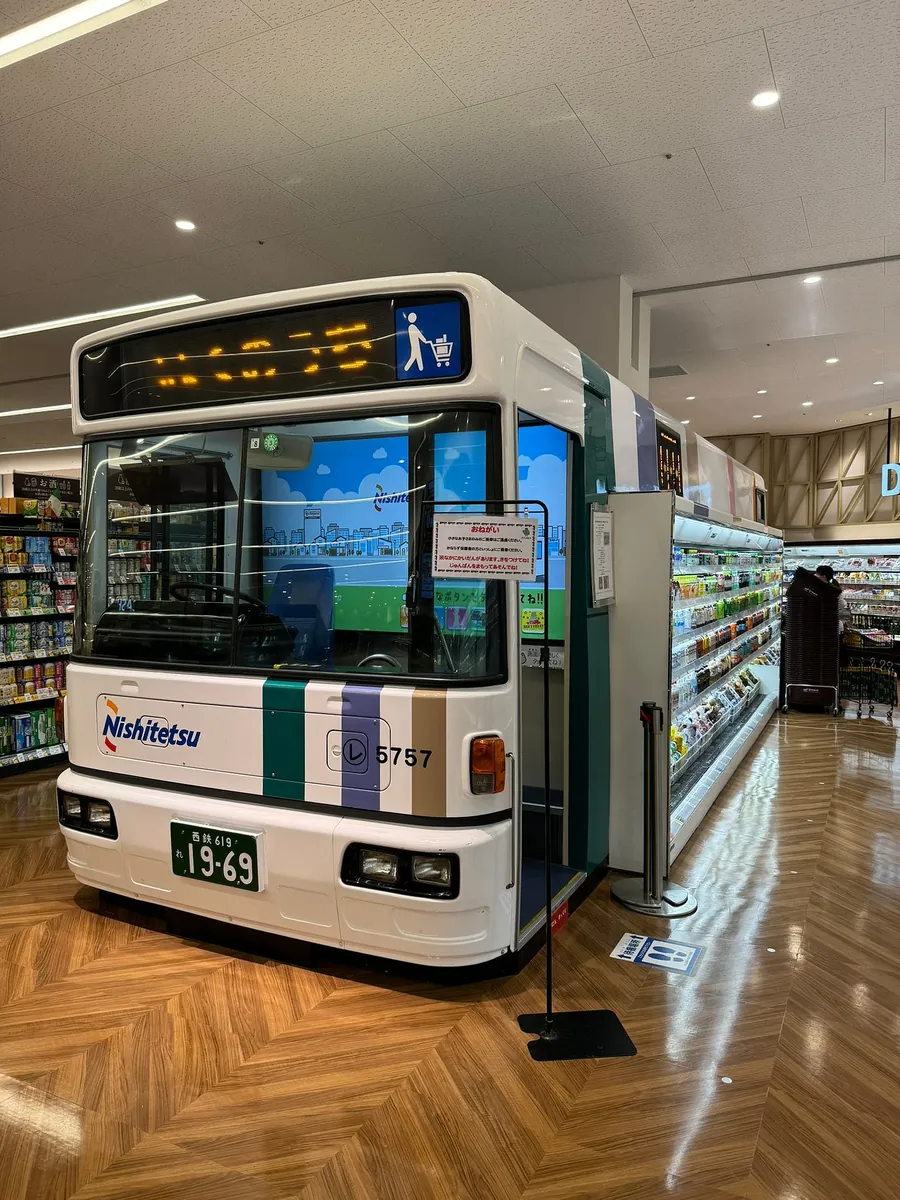
The supermarket on the first floor has a drink cooler made from a converted West Rail bus. It’s really cool XD.
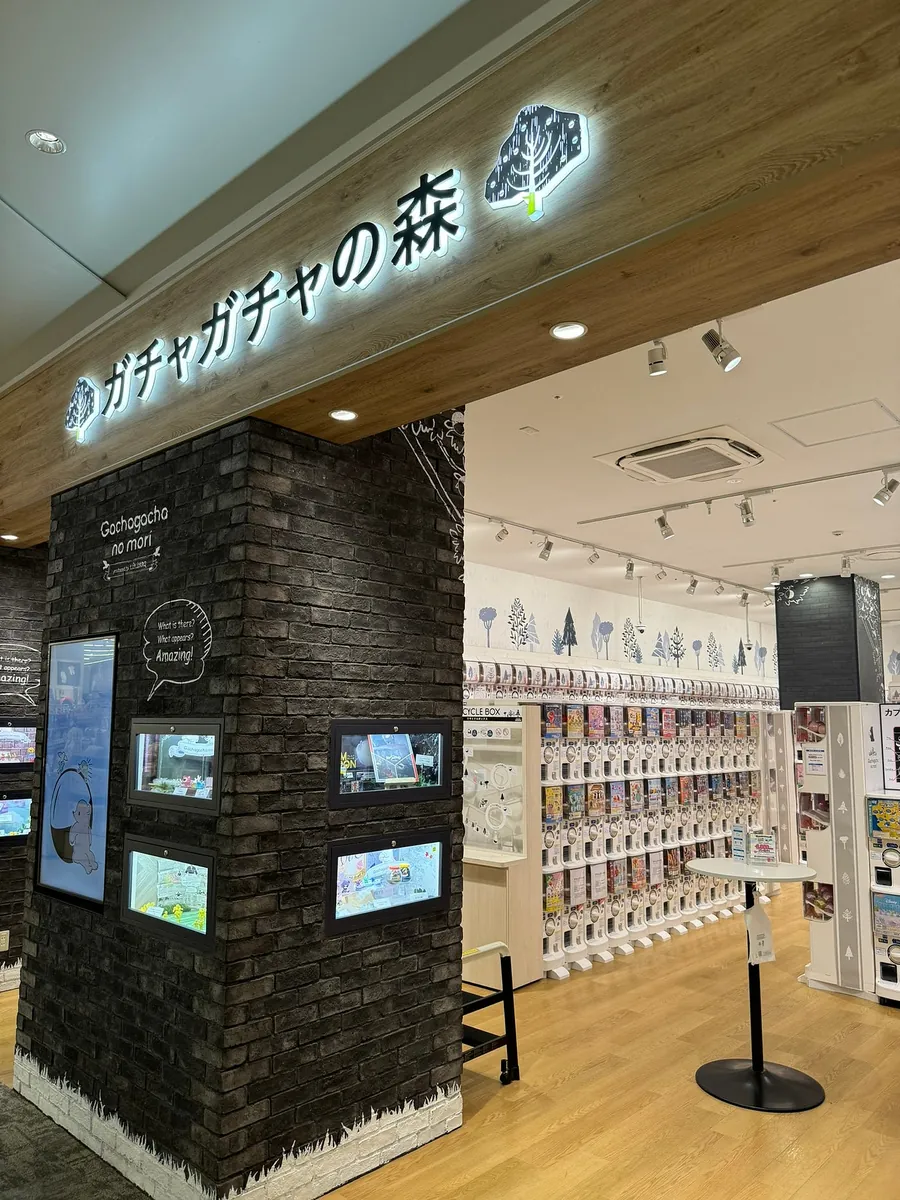
Mainly went to the 3rd floor Gachagacha Forest and the Pon! near the escalator on the 1st floor to see if they had the capsule toys I was looking for. (No luck)
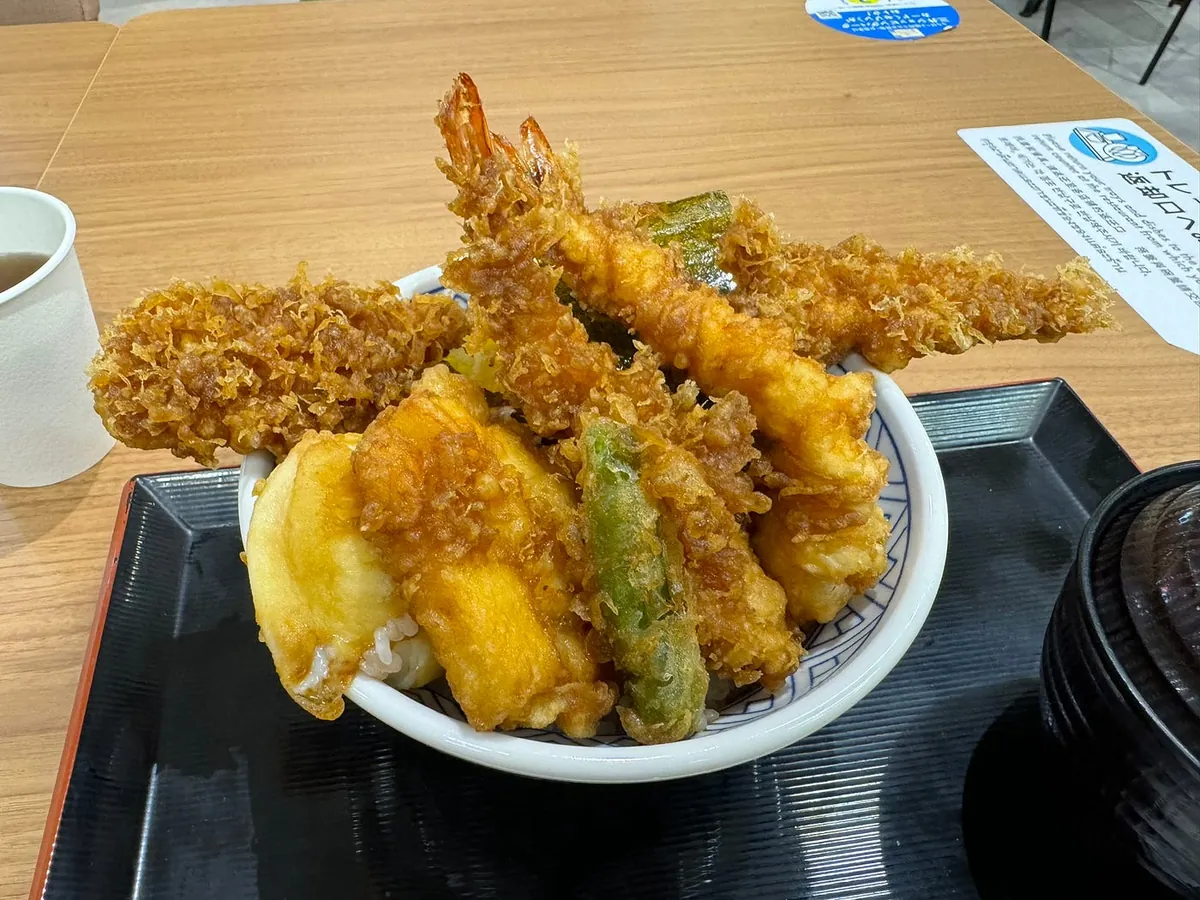
It’s almost 11 o’clock, and I’m very hungry since I haven’t had breakfast. I ate a seafood tempura rice bowl at the food court on the third floor (found it quite salty).
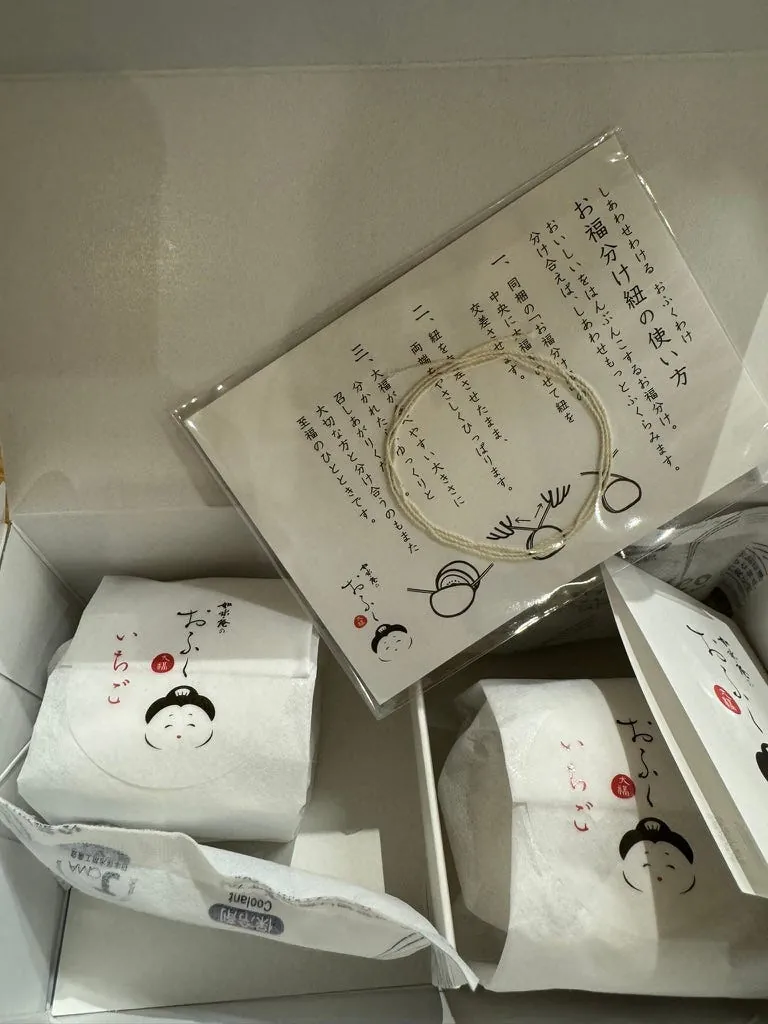
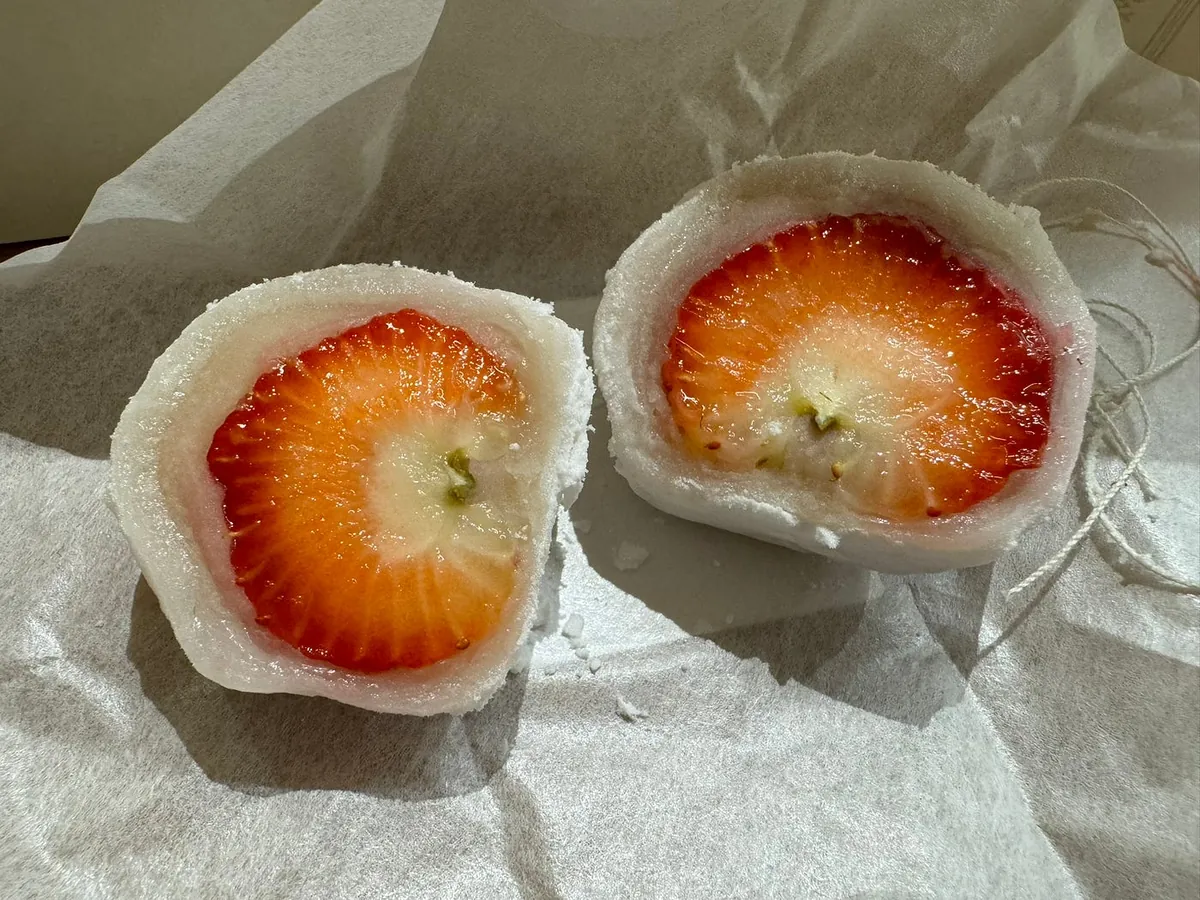
Back to the first floor to buy Rusuian’s strawberry daifuku to refresh the palate.
Couldn’t find the capsule toy I wanted, so I left Lalaport and returned to Hakata Station. Pon! is also inside 1010, but it wasn’t there either.
I also couldn’t find it in the capsule toy area at Hakata Yodobashi.

After the setback in Hakata, I returned to the capsule toy shops in the Tenjin area to search but still found nothing.
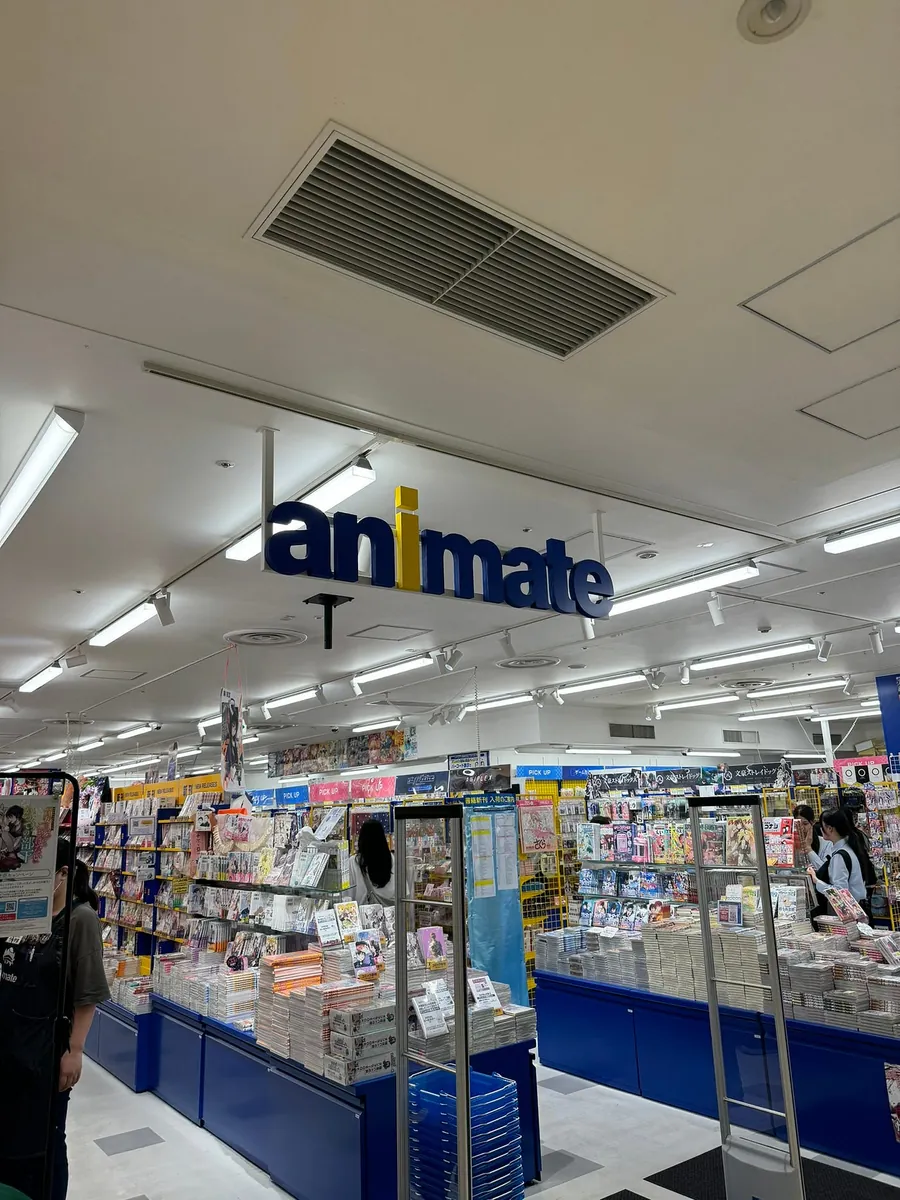
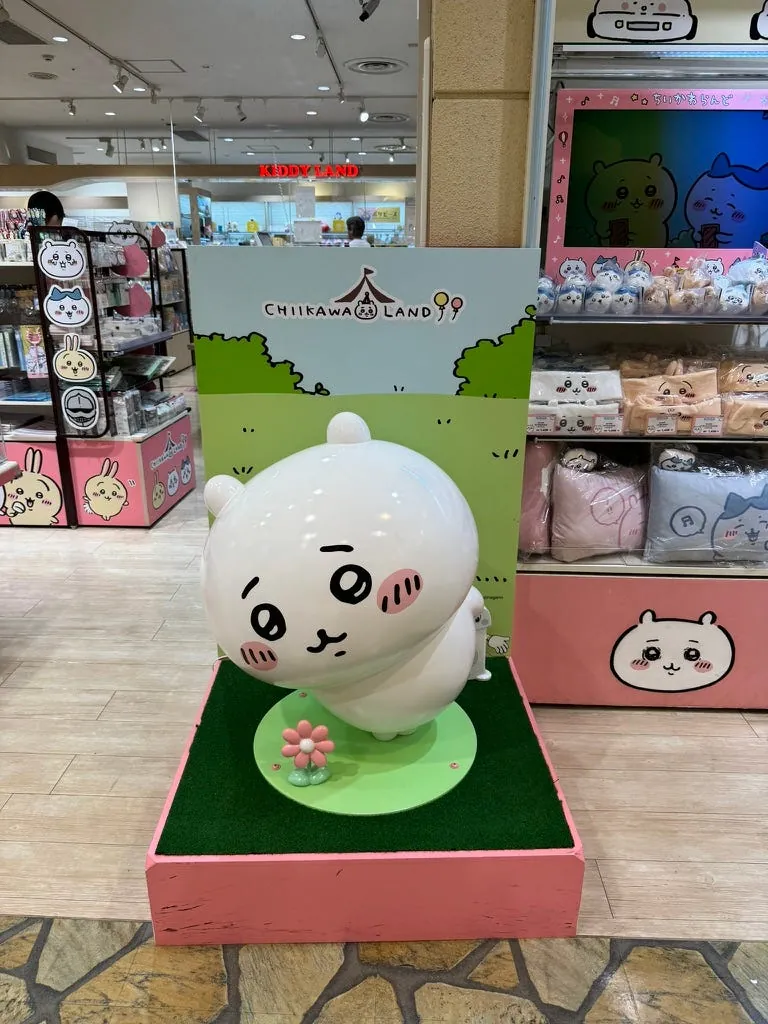
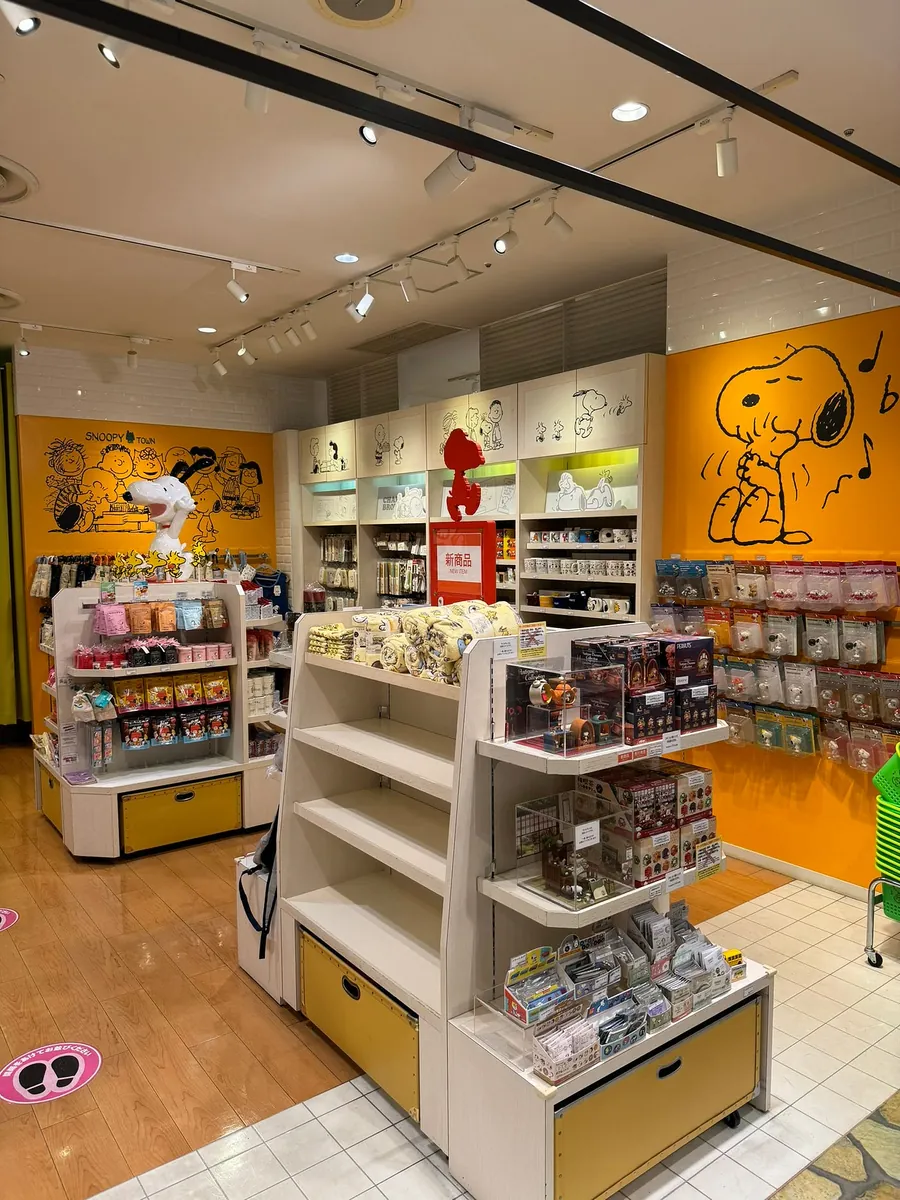
Finally gave up and went upstairs to visit Animate and Kiddy Land (which have lots of IP merchandise).
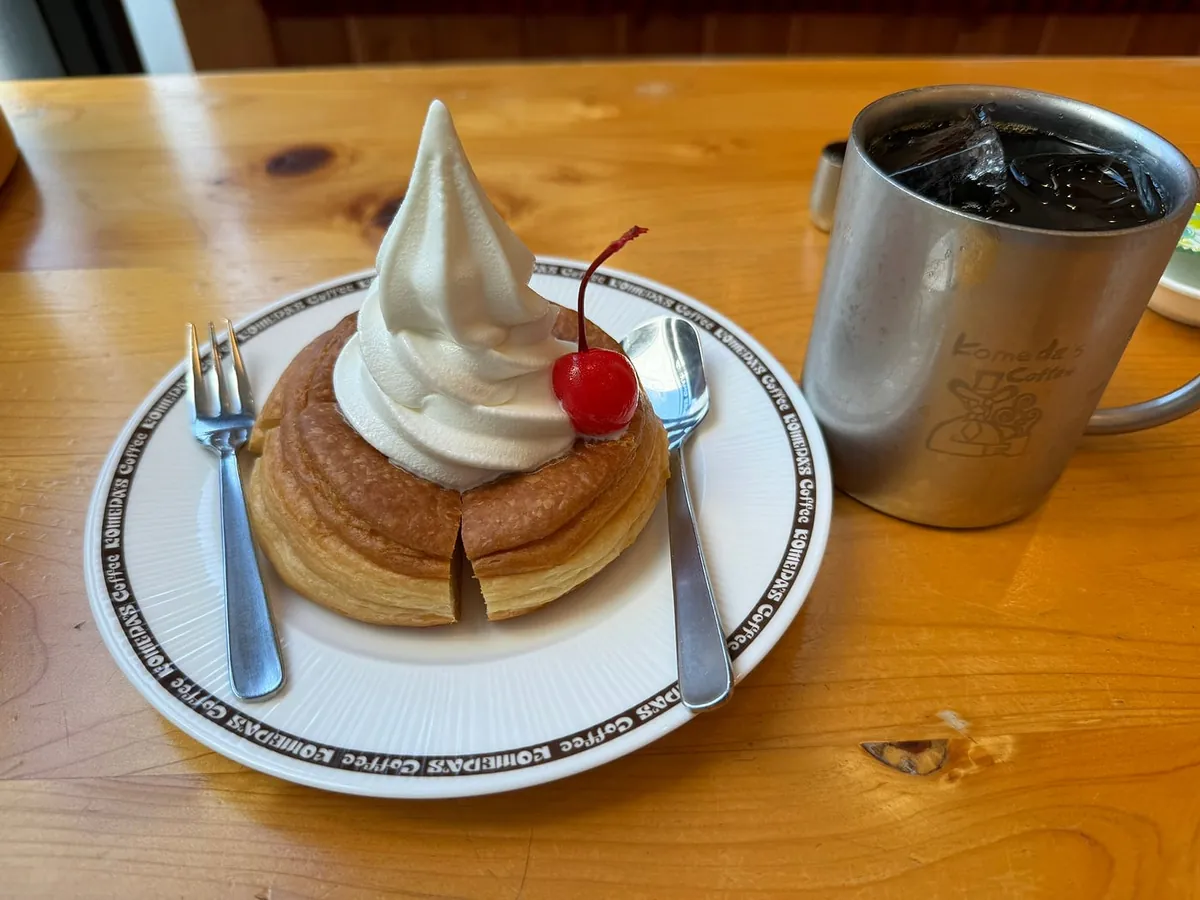
The time is around 4:00 PM, and the trip is about to end. Finally, I sat at Komeido Coffee to enjoy some dessert and coffee to rest.
Around 17:00, returned to the hotel to pick up luggage and slowly headed to Fukuoka Airport. I originally thought the subway would be crowded after 5 PM, but it was actually quite empty.
It’s quite a distance from Tenjin Minami to Tenjin. Dragging luggage takes about 15 minutes.
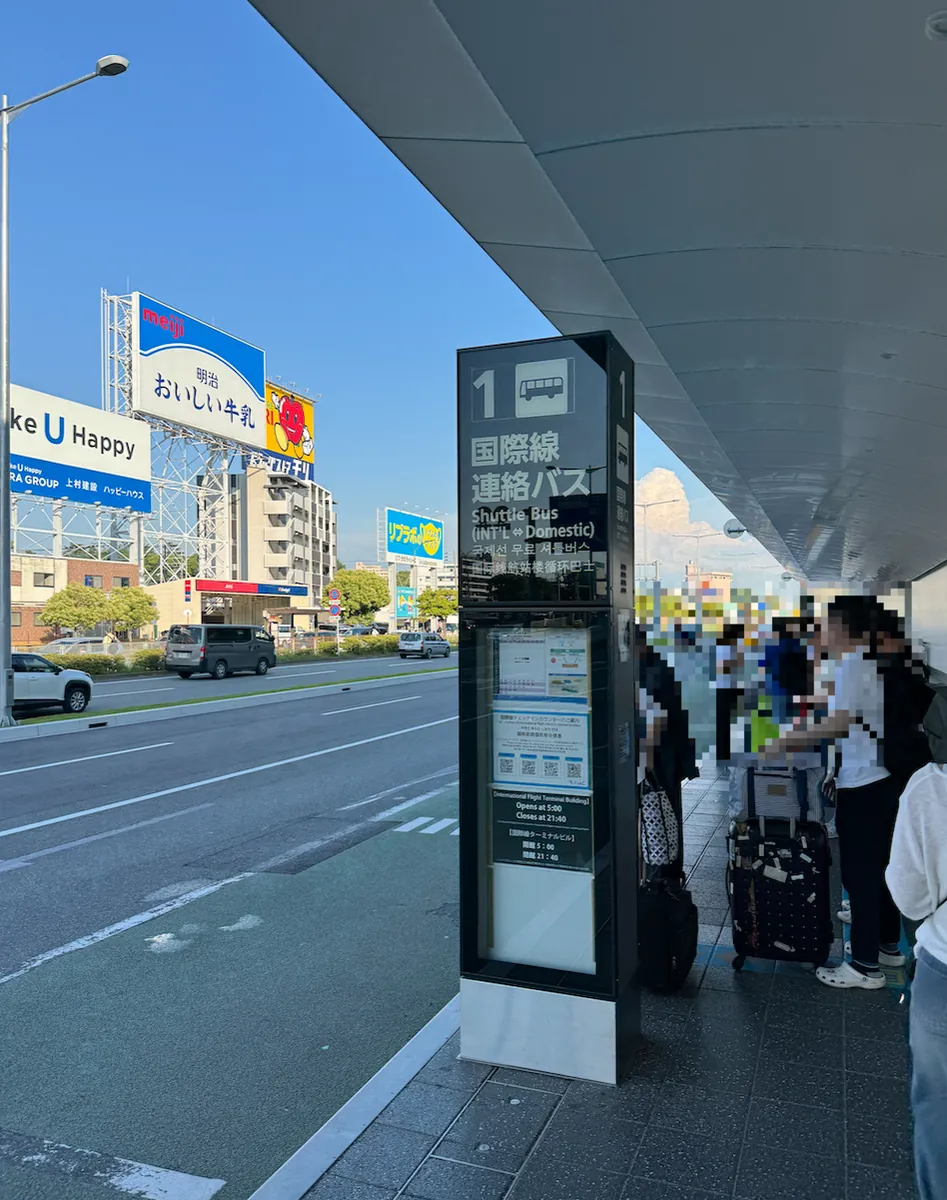
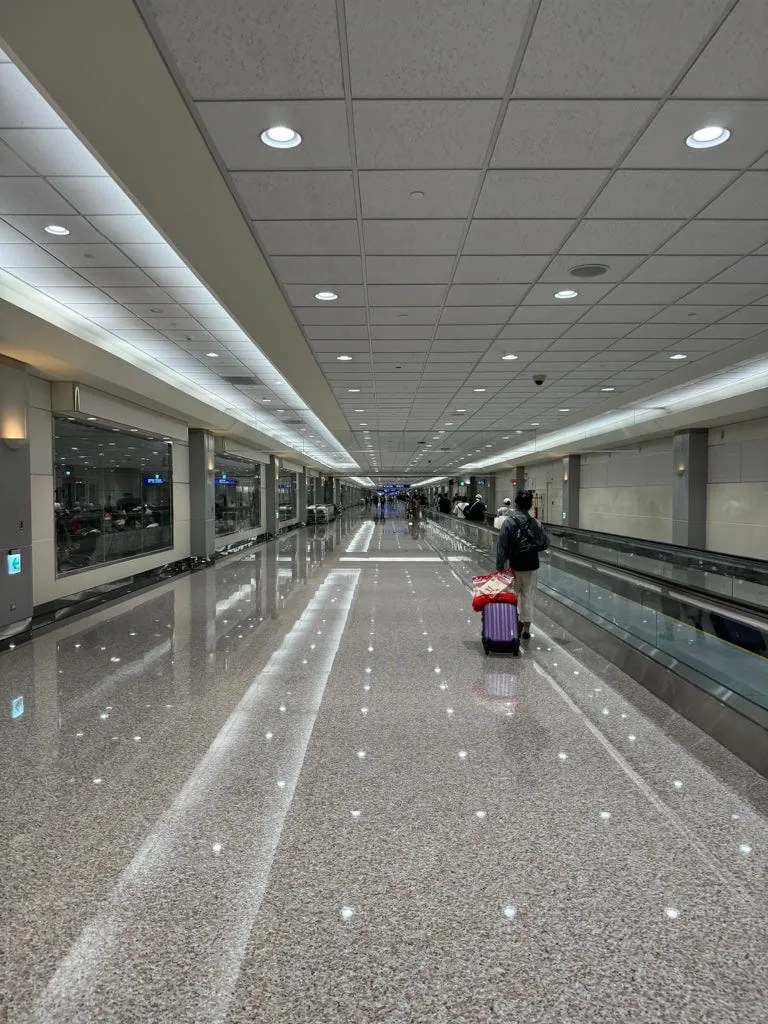
After taking the Airport Line to Fukuoka Airport Station (Domestic Terminal), you need to transfer to the airport shuttle bus (free) to reach the International Terminal.
Shuttle buses run frequently, about every 5–10 minutes, with a trip time of around 10 minutes. After getting off, you still need to walk to the 3rd floor departure hall. Conservatively, it takes an additional 30 minutes from the airport metro line to actually reach the international terminal.
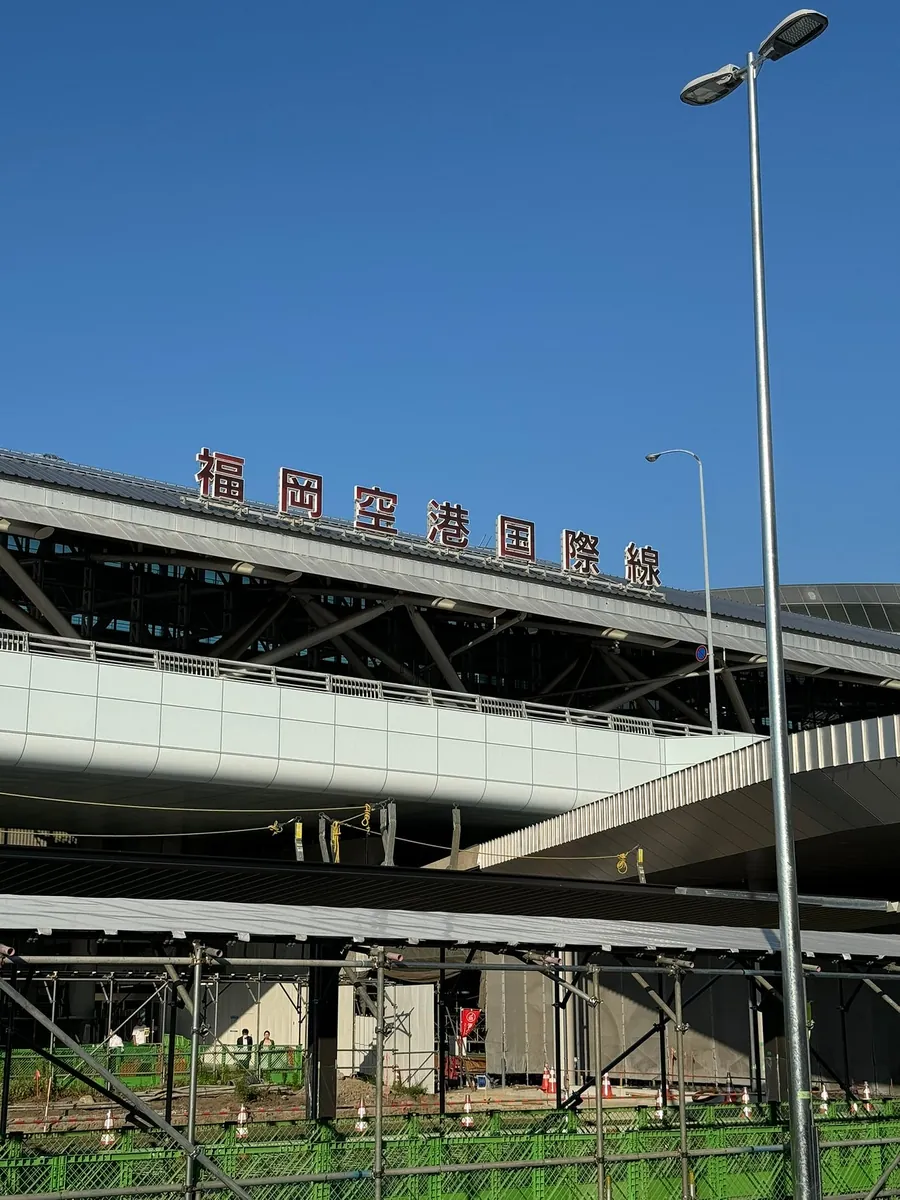
Fukuoka Airport is under renovation and is somewhat chaotic.
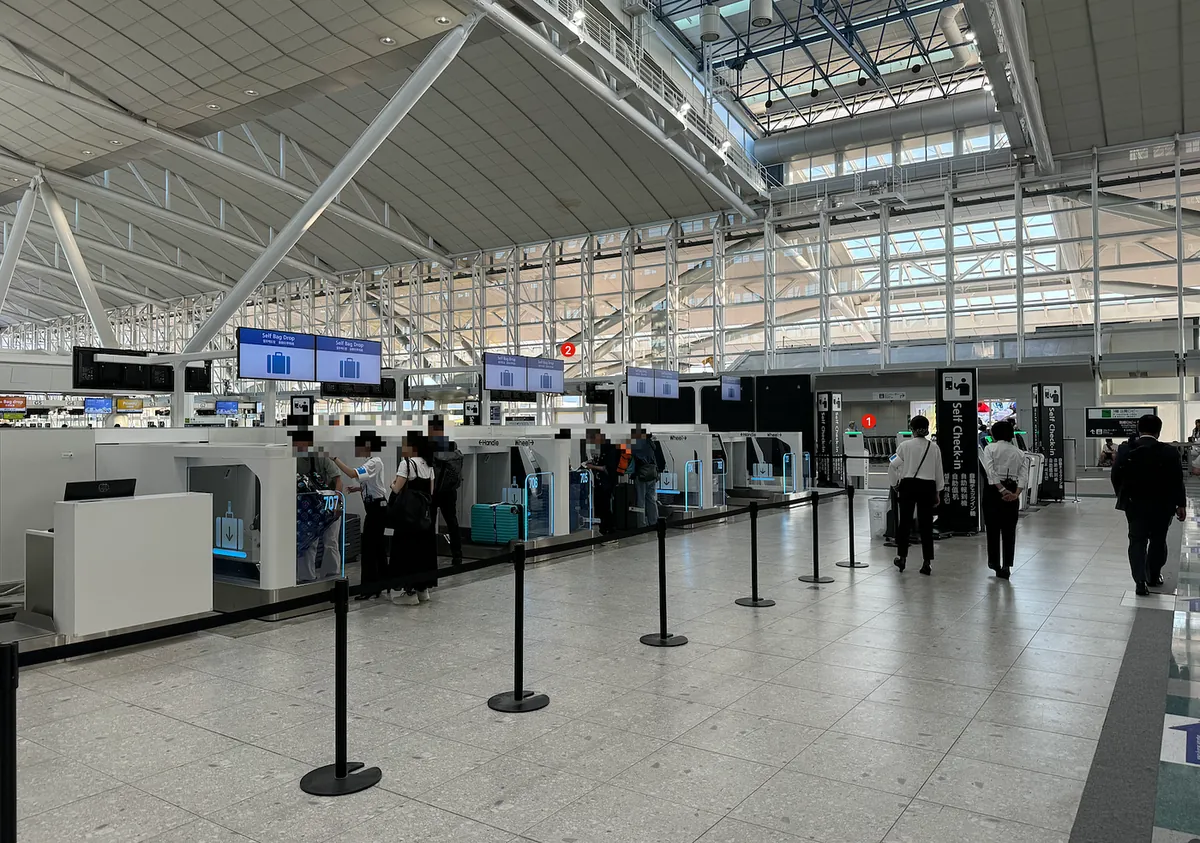
It was still too early to go to the airport; the counters were not open yet. The ground staff guided us to first use 1 self check-in, then 2 self baggage drop. They assisted us throughout; we quickly completed the baggage check-in (this time only 17 Kg).
Around 18:30, we started waiting for the flight.
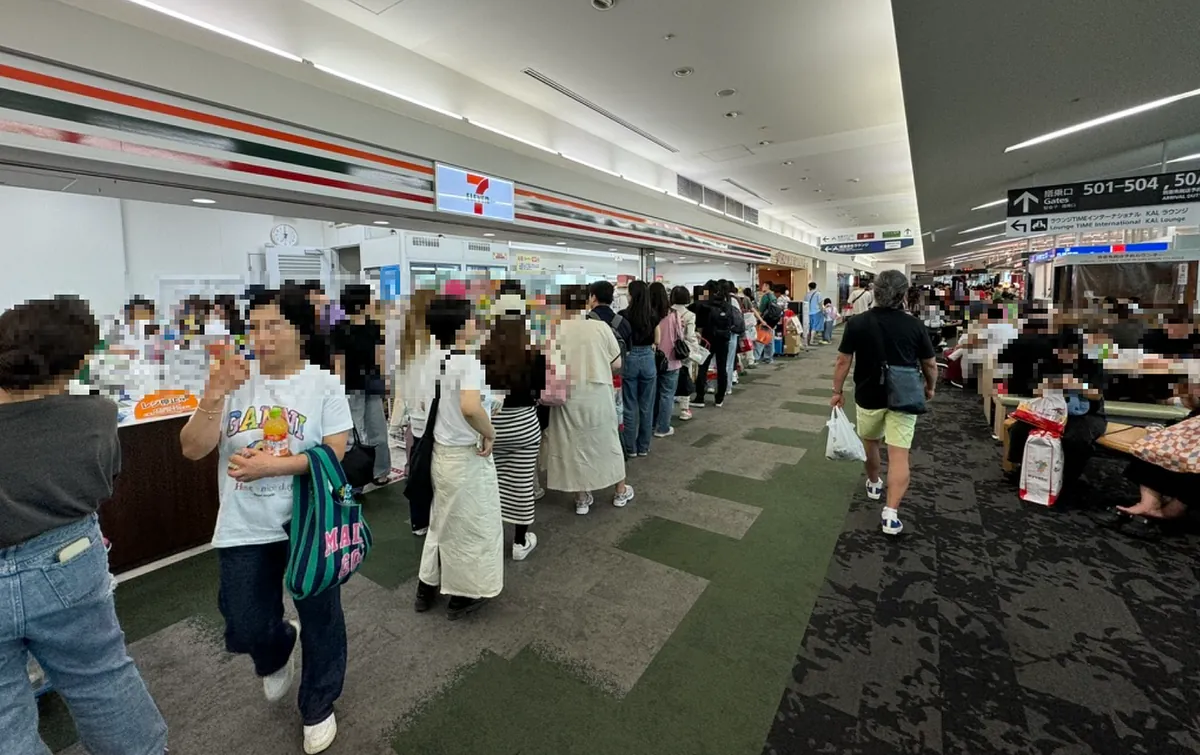
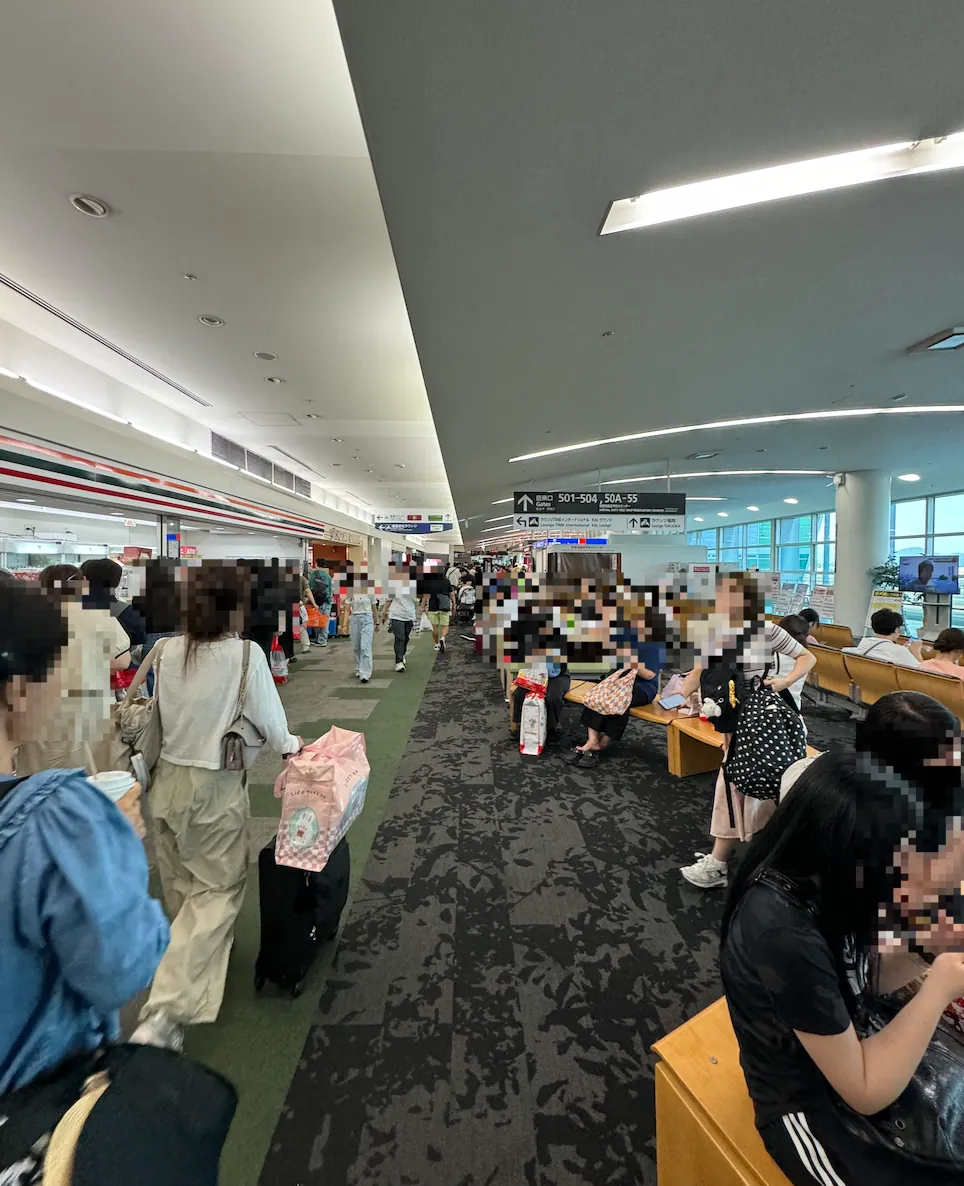
The departure lounge at Fukuoka Airport is long and narrow, very crowded and chaotic. (Not sure if it’s because of ongoing renovations and too many flights waiting to take off.)
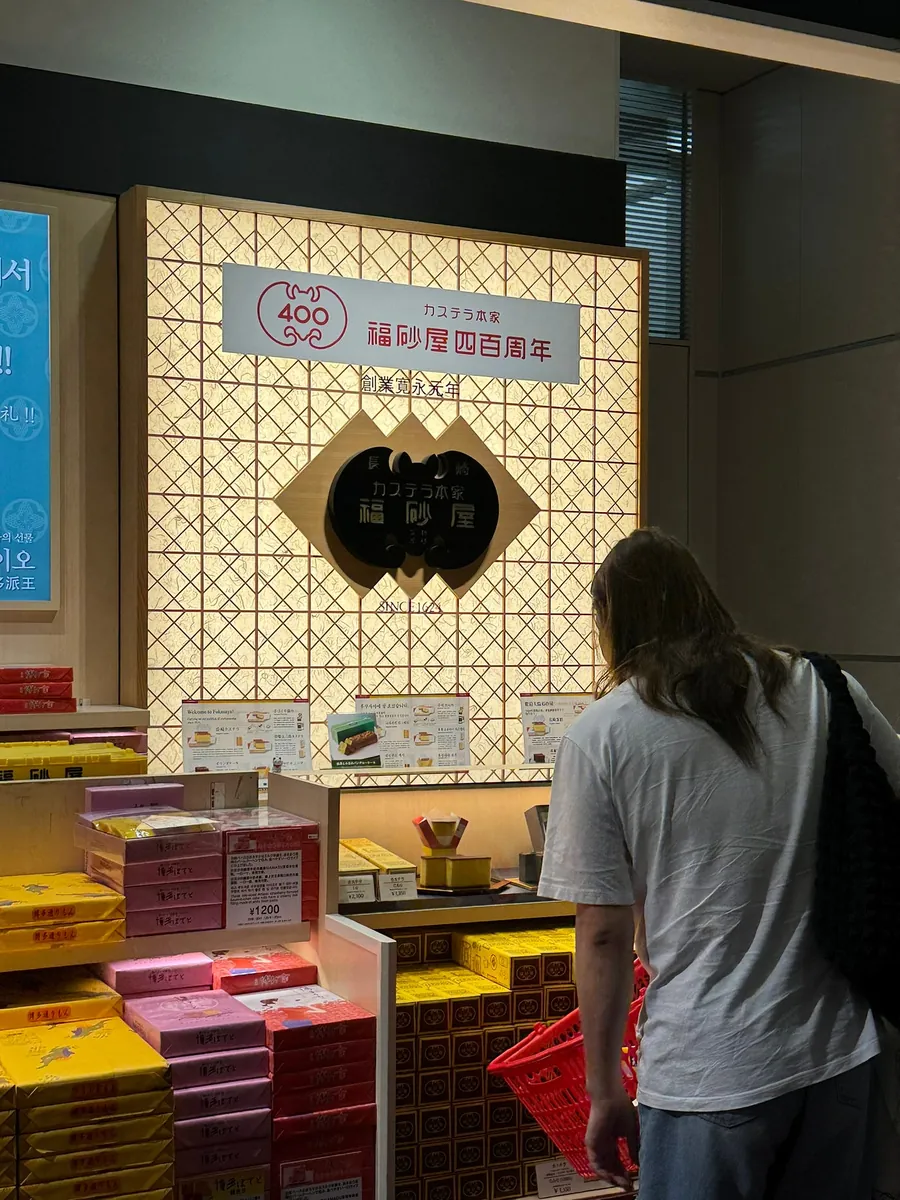
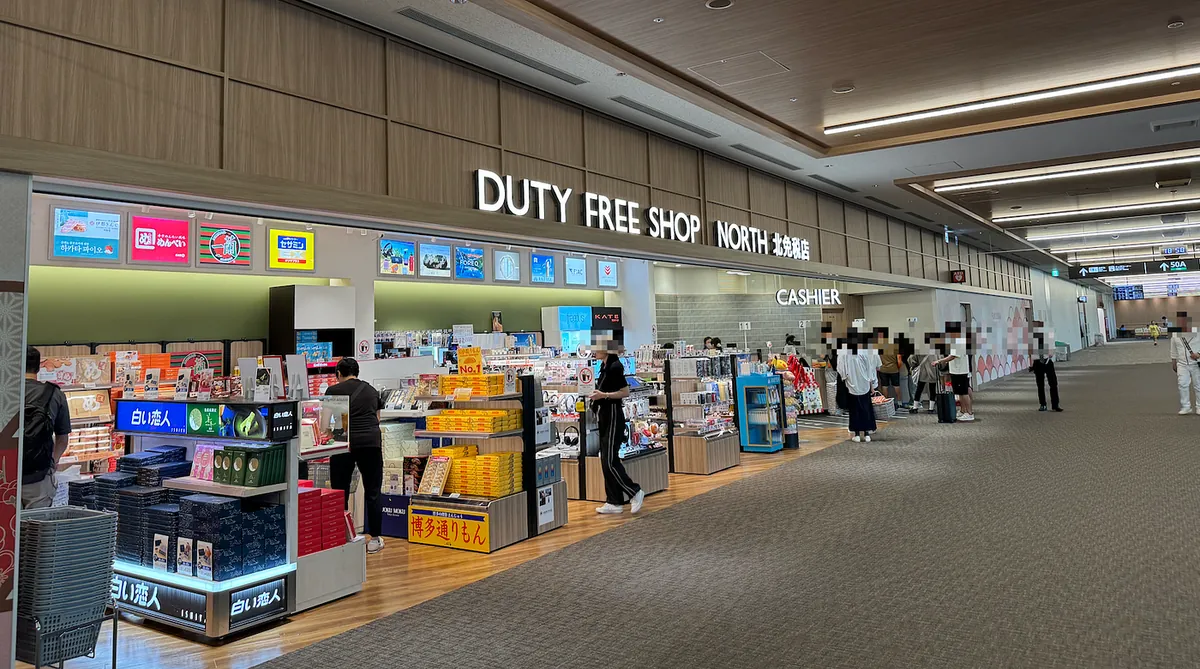
The duty-free shops for luxury goods and cosmetics are quite comprehensive, and the staff all speak Chinese; there are also souvenir shops (including Fukusaya Nagasaki Castella here); there is only one duty-free tobacco and alcohol shop, which requires lining up, and the food and convenience stores are even busier, with long queues everywhere.
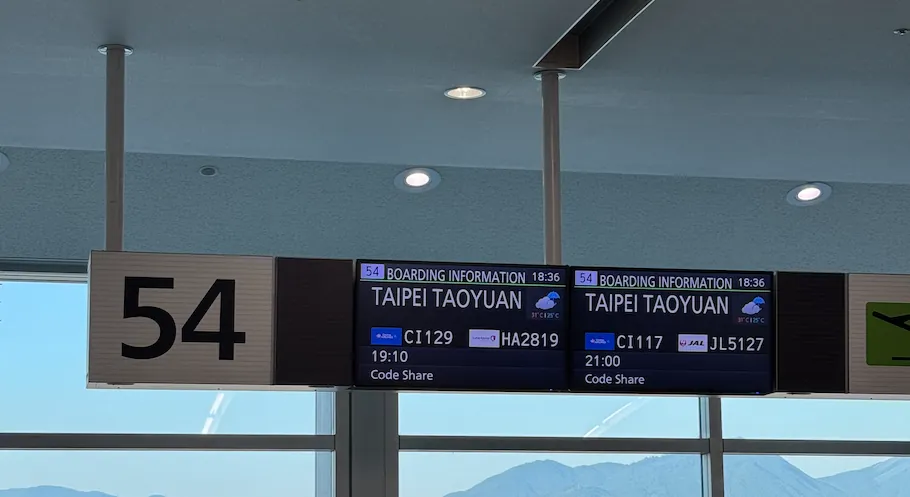
Special announcement for the previous flight CI129 at 19:10: Please follow China Airlines’ rule of carrying only one piece of carry-on luggage. Additional items require extra purchase (this flight appears fully booked).⚠️
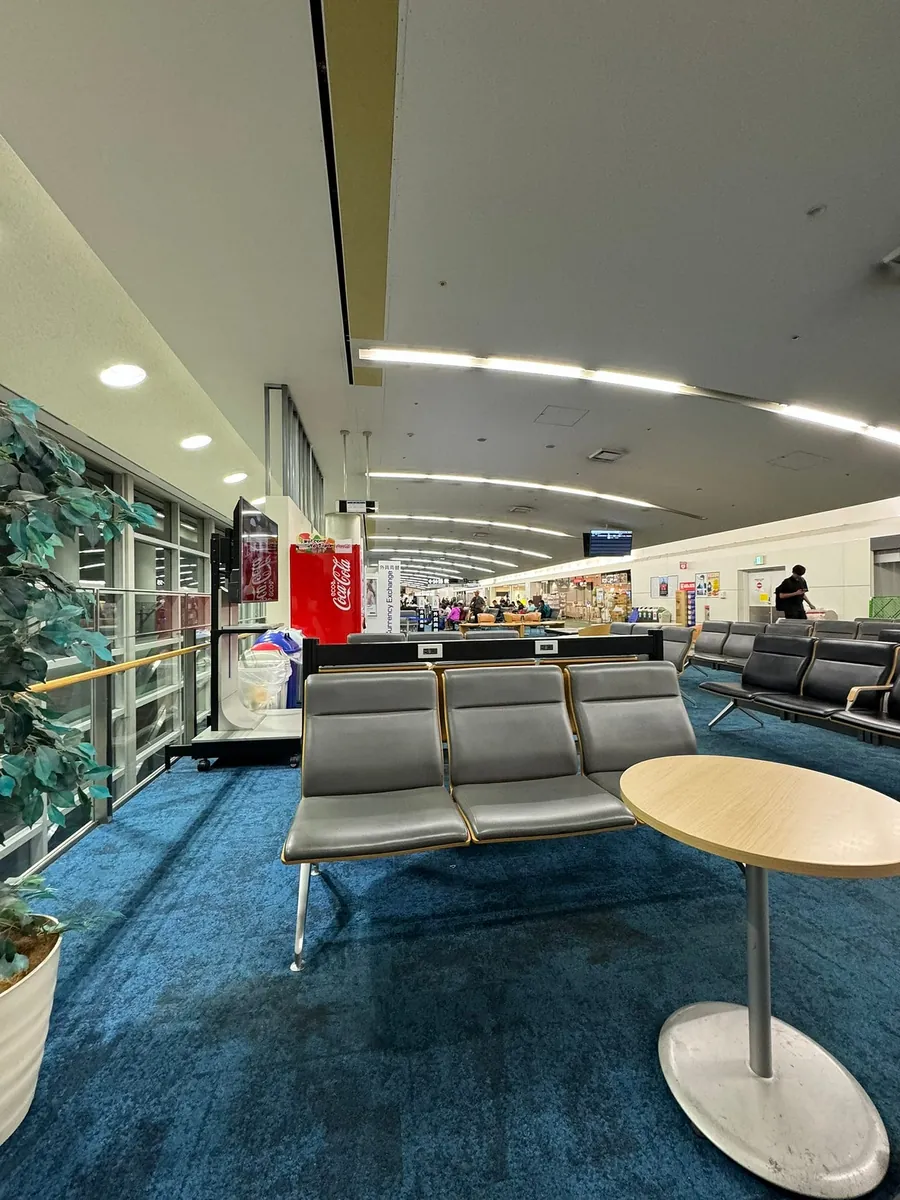
Later, feeling that this area was too noisy and chaotic, I walked north towards 501–504, where there were fewer people; there was also a café and light meal shop to eat at.
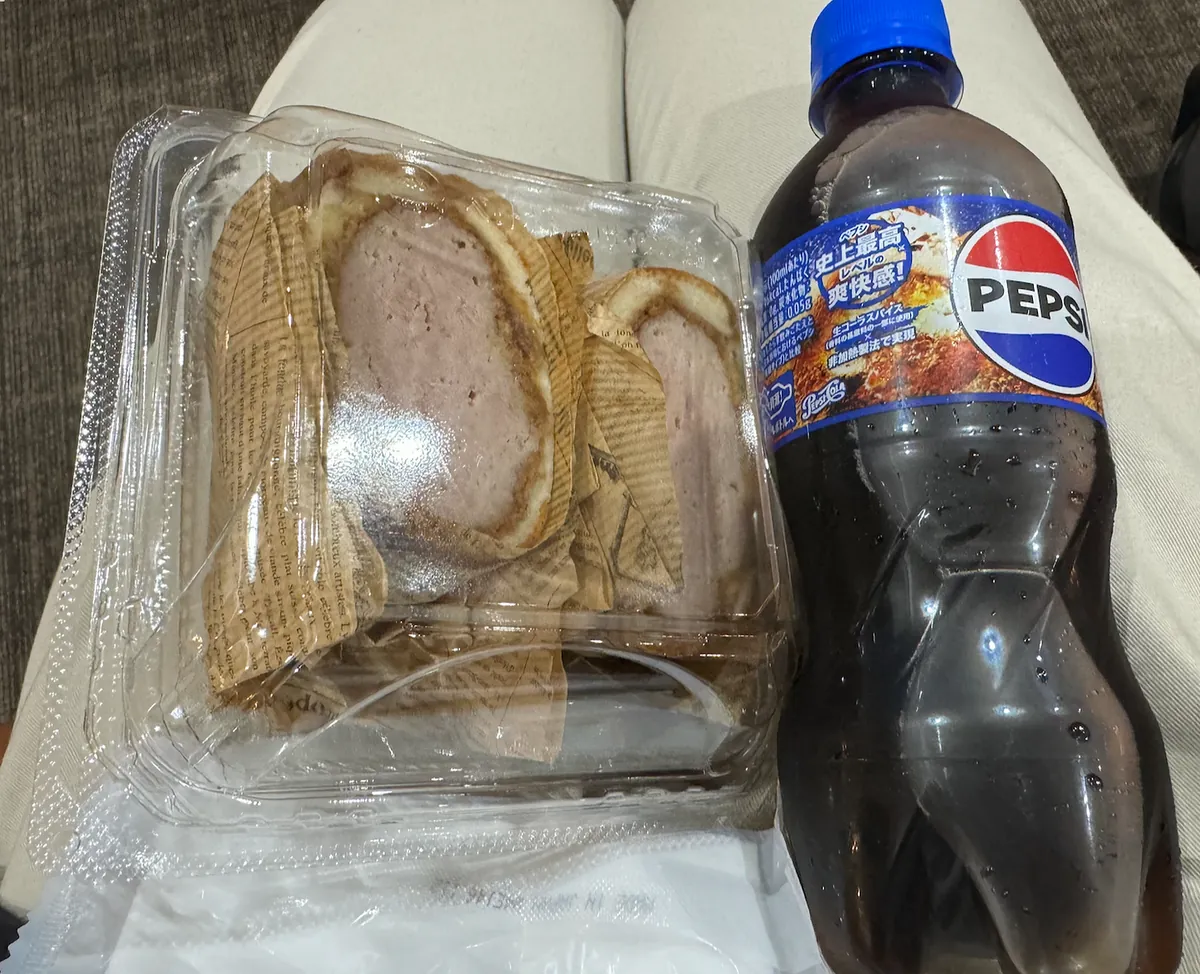
Just buy a pork cutlet sandwich and grab a few cans of draft cola and peach water to bring back to Taiwan.
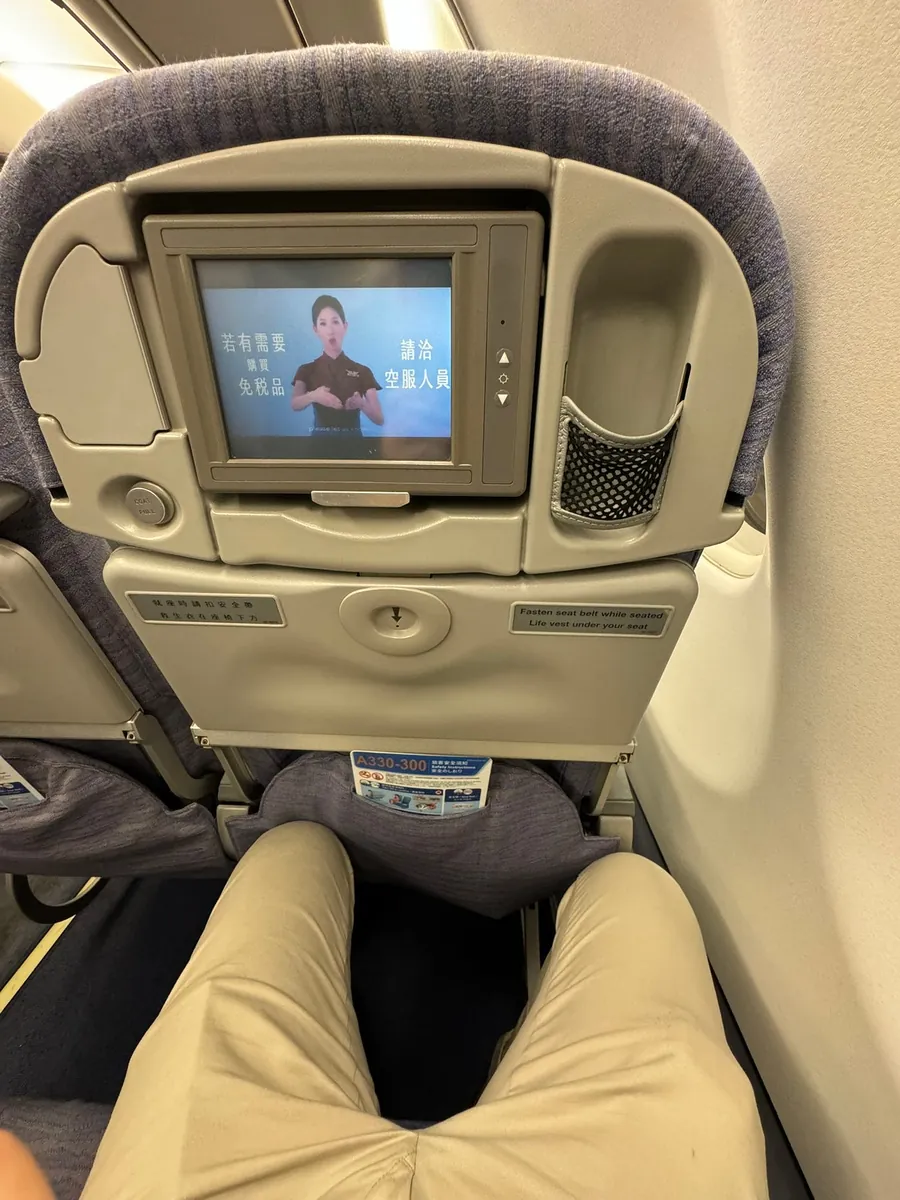
Boarding started around 20:30. This flight did not have a special rule for checking one carry-on bag (but I had already packed everything into one bag…). At 21:00, we prepared for takeoff, and at 21:09, the plane took off. The aircraft is an A330-300, which is relatively older.
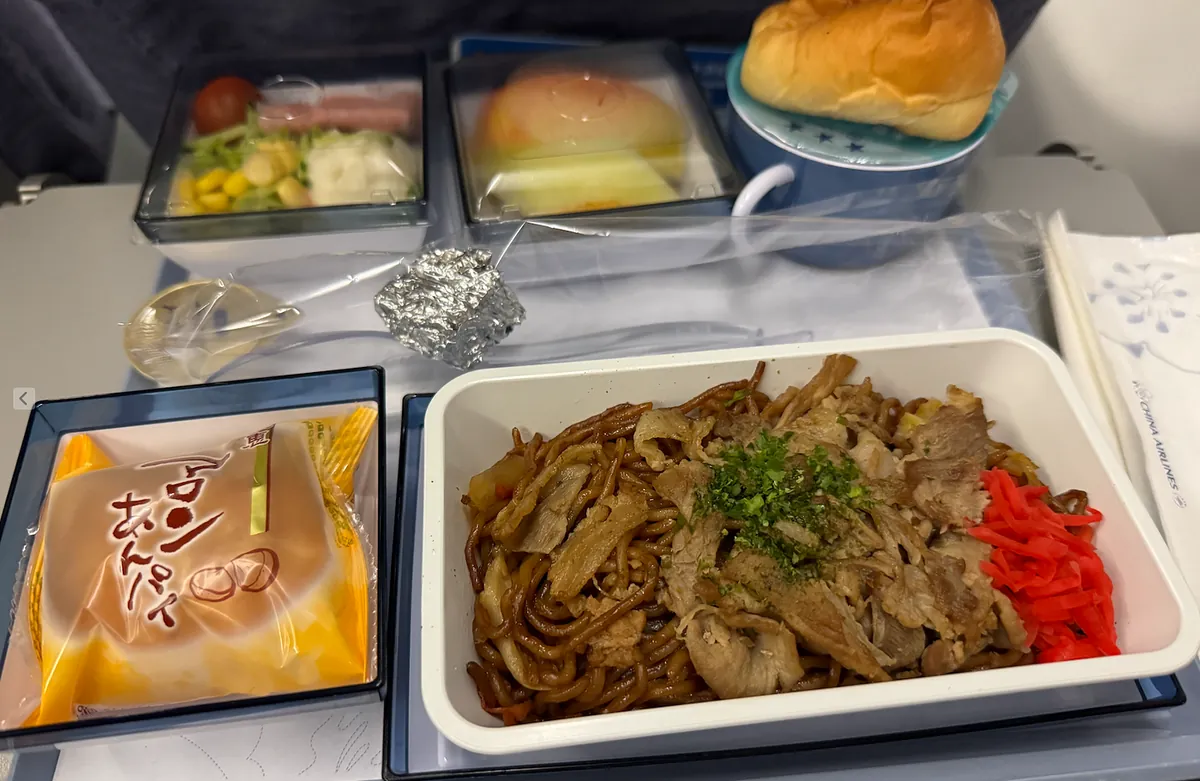
Goodbye Kyushu, goodbye Japan. The airplane meal was ginger pork fried noodles, not very good, but the fruit included cantaloupe!
The flight encountered turbulence and was quite bumpy, but it landed safely in Taiwan. The arrival was delayed by nearly 30 minutes, arriving close to 11 PM (scheduled for 10:25 PM).
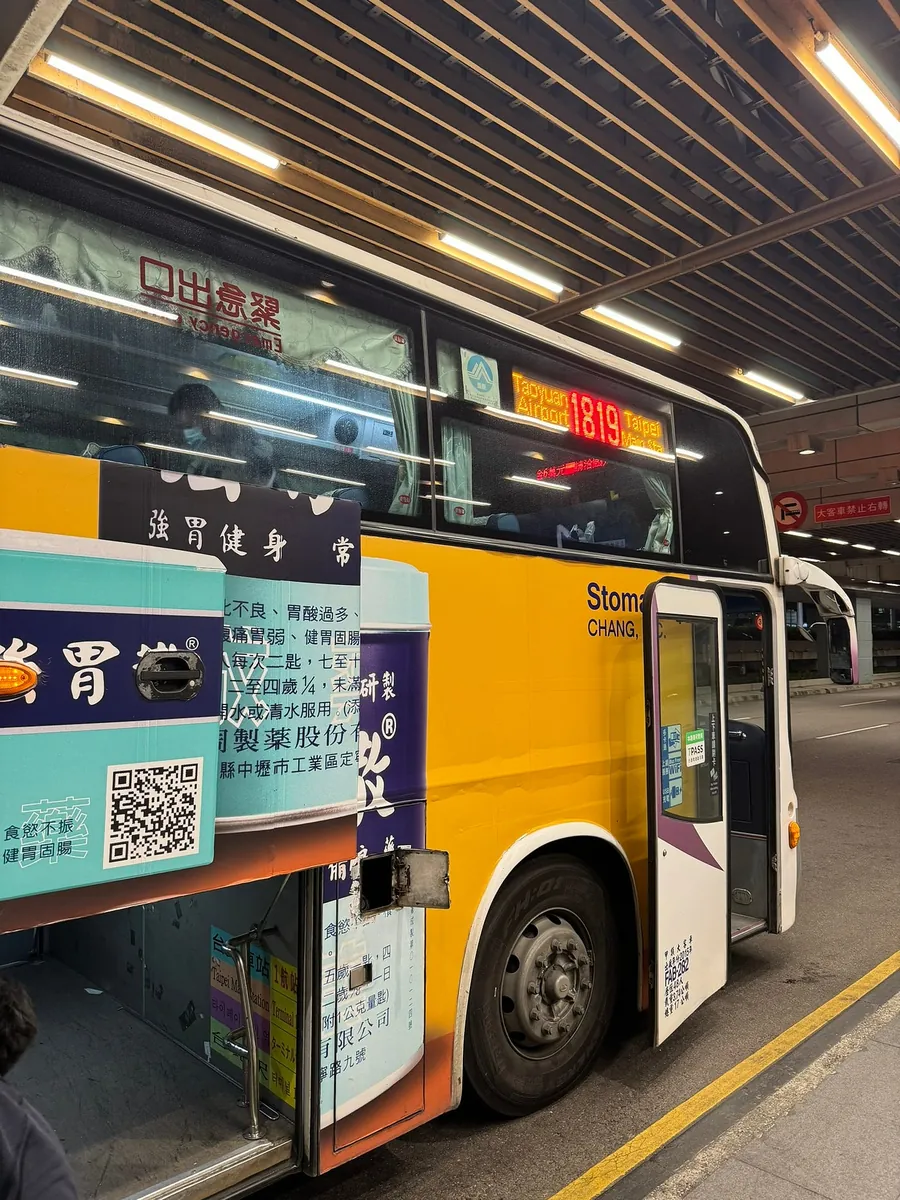
Because I was afraid of missing public transportation, I ran all the way. I missed the airport express train but luckily caught the bus at the end. Otherwise, I would have had to take an unsafe unlicensed taxi back to Taipei.
Route 1819 , my god, the trip to Taipei Main Station takes about 55 minutes.
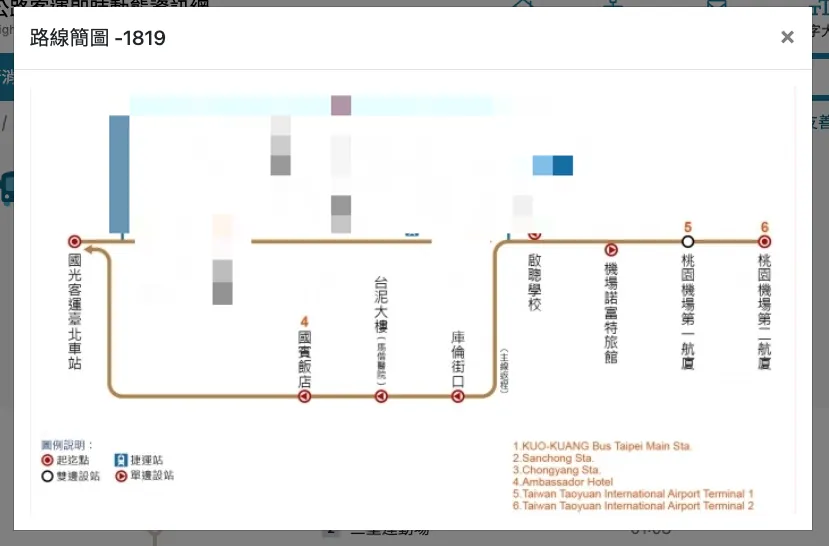
The midway stops are shown in the above image. If you want to get off midway, inform the driver in advance when loading your luggage. He will separate your bags; otherwise, all luggage for Taipei Main Station will be placed together, and you won’t be able to retrieve your bags if you get off midway. ⚠️
Around 00:00 on 6/14, returned to the cozy home, ending this 11-day trip.
The daily average steps are around 20,000, with a maximum of 27,000 steps.
Loot
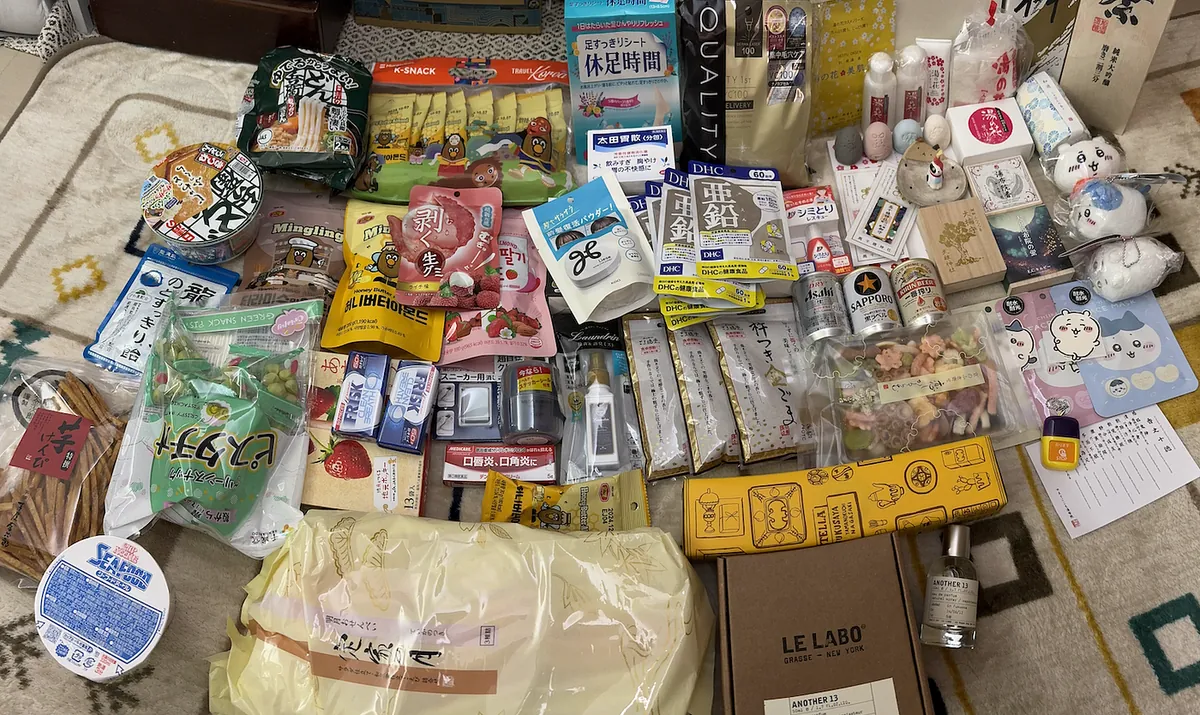
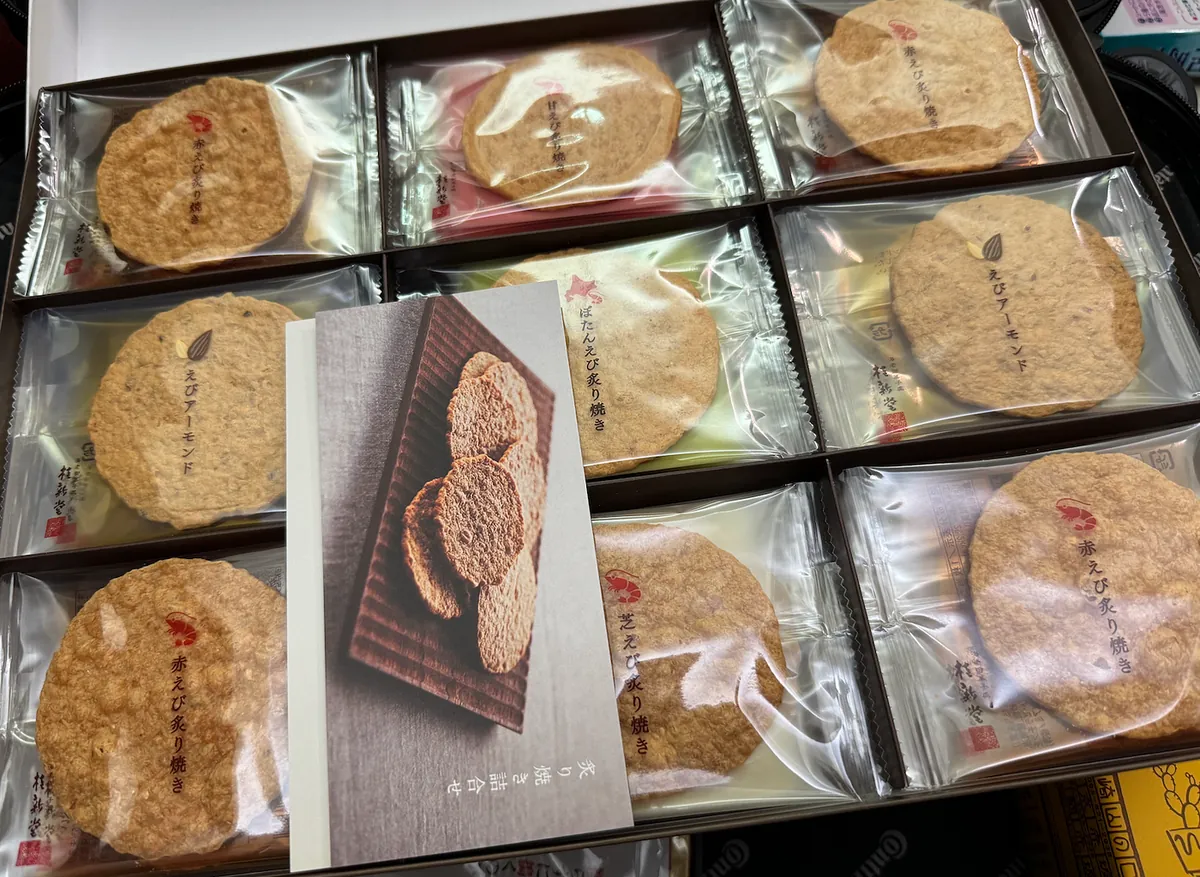
The box on the right was missed in the photo. It’s shrimp crackers that I tasted and liked at the shopping street in Hakata Station department store.
Small Items Collected from Various Parts of Japan
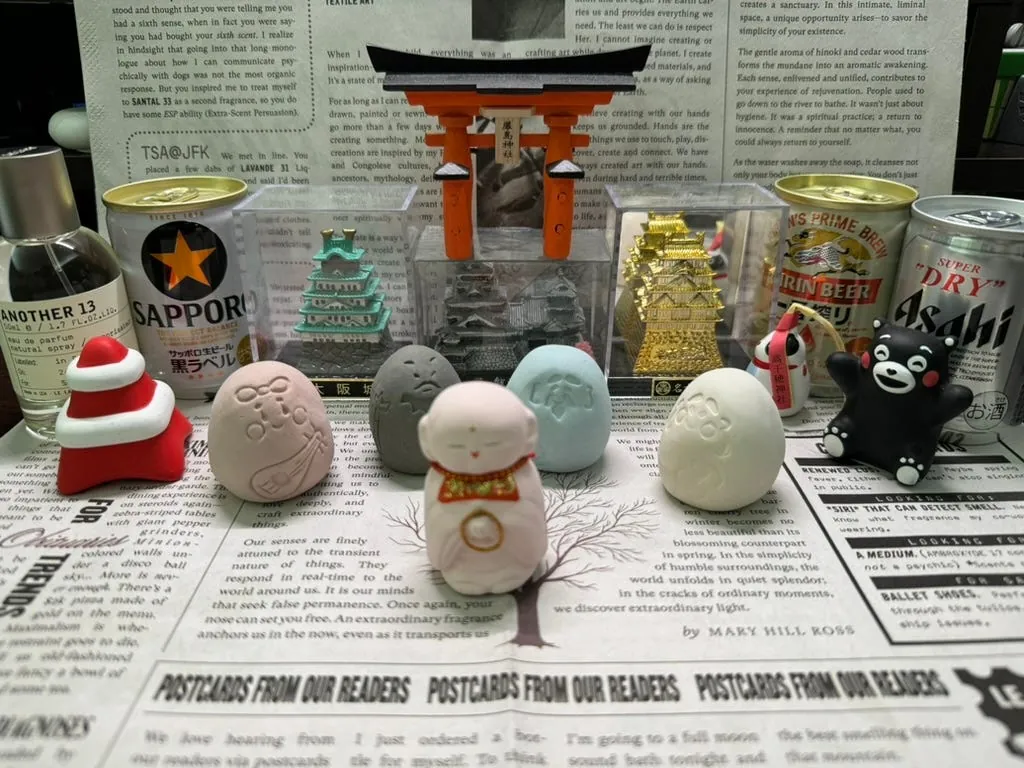
This time, we added four of the Seven Lucky Gods, mini beer, and the Takachiho (dog) Year of the Dog amulet.
The background newspaper was a gift with the purchase of Le Labo.
Finally, thank you for reading my travel log; also, thanks to my travel companion James.
Inspiration for Your Next Trip
Southeast Asia
Southern Kyushu Kagoshima landing -> Oita -> Sunflower Ferry -> Kobe -> Himeji Castle -> Amanohashidate -> Nagoya Airport return
Tohoku Region, Sendai
KKday Promotion
Japan JR PASS|Kyushu Area Rail Pass|North Kyushu & South Kyushu & All Kyushu|E-ticket
Japan Nagasaki | Kyushu Huis Ten Bosch Ticket Huis Ten Bosch
Japan Fukuoka | Hakata Port – Busan Port Cargo-Passenger Cruise “New Camellia” Camellia Line
Japan eSIM Card|Daily High Speed, Total Data, Unlimited Data Plans
More Travel Stories
[Travelogue] 2025 Busan, South Korea 8 Days 7 Nights Free Travel
[Travelogue] 2023 Kyushu 10-Day Solo Trip ⭐️ (Kyushu Part 1)
[Travelogue] 2023 Tokyo 5-Day Free Travel
[Travelogue] 2023 Kyoto-Osaka-Kobe 8-Day Free Trip
If you have any questions or feedback, feel free to contact me.
More Travelogues
- Tokyo Area Travel Guide|Kawagoe Little Edo & Atami Fireworks Festival 5-Day Itinerary
- Busan Travel Guide|8-Day Itinerary with VISIT BUSAN PASS for Seamless Exploration
- San’in & Kansai 7-Day Solo Trip|Explore Izumo, Matsue, Tottori, Himeji, Osaka, Kobe
- Bangkok Travel Guide|5-Day Independent Trip Highlights in Thailand
- Kyushu 9-Day Independent Trip|Busan to Hakata Cruise Entry and Scenic Tours
- Sanyo Region Travel Guide|6-Day Hiroshima & Okayama Itinerary for Freedom Seekers
- Kyushu 10-Day Solo Travel Guide|Explore Fukuoka, Nagasaki & Kumamoto Efficiently
- Nagoya One-Day Quick Trip|Peach Aviation Flight Experience and Travel Tips
- Tokyo 5-Day Travel Guide|Top Tips for Food, Stay & Transport
- Kyoto Osaka Kobe 8-Day Itinerary|Free Travel Guide with Food, Stay & Transit Tips

This post was originally published on Medium (View original post), and automatically converted and synced by ZMediumToMarkdown.