
Try iOS 12 CoreML — Use Machine Learning to Automatically Predict Article Categories, and Train the Model Yourself!
Exploring CoreML 2.0: How to Convert or Train Models and Apply Them in Real Products
Continuing from the previous article on machine learning research on iOS, this article officially dives into using CoreML.
First, a brief history: Apple released the CoreML machine learning framework (including Vision introduced in the previous article) in 2017. In 2018, they followed up with CoreML 2.0, which not only improved performance but also supported customized CoreML models.
Introduction
If you have only heard the term “machine learning” but don’t know what it means, here is a simple explanation in one sentence:
“Predicting the outcome of the same event based on your past experience”
For example: When I eat an egg pancake, I add ketchup. After buying it a few times, the breakfast shop owner remembers and asks, “Handsome, ketchup?” I answer, “Yes” — the owner predicts correctly; if I answer, “No, because it’s radish cake + egg pancake” — the owner remembers and adjusts the question next time in the same situation.
Input data: Egg pancake, cheese egg pancake, egg pancake + radish cake, radish cake, egg
Output data: Add ketchup / Do not add ketchup
Model: The Landlady’s Memory and Judgment
Actually, my understanding of machine learning is mostly theoretical, and I haven’t explored it in depth. Please kindly correct me if there are any mistakes.
Speaking of this, I have to pay tribute 🛐 to the Apple gods. They have productized machine learning so that you only need to know the basics to use it, without requiring extensive knowledge. This lowers the entry barrier. It was only after implementing this example myself that I truly felt a tangible connection to machine learning, which sparked my great interest in this field.
Getting Started
The first step, and the most important, is of course the “model” mentioned earlier. Where does the model come from?
There are three methods:
- Find pre-trained models online and convert them to CoreML format
Awesome-CoreML-Models This GitHub project collects many pre-trained models from others.
Model conversion can refer to the official website or online resources.
-
At the bottom of Apple’s Machine Learning official website, under Download Core ML Models, you can download models pre-trained by Apple (mainly for learning or testing purposes).
-
Train Your Own Model Using Tools 🏆
So, what can it do?
-
Image Recognition 🏆
-
Text Content Recognition and Classification 🏆
-
Text Segmentation
-
Text Language Detection
-
Named Entity Recognition
For word segmentation, please refer to Natural Language Processing in iOS Apps: Exploring NSLinguisticTagger
Today’s Key Points — Text Content Recognition and Classification + Training Your Own Model
In simple terms, we provide the machine with “text content” and “categories” to train the computer to classify future data. For example: “Click to see the latest offers!” and “Get $1000 shopping credit now” => “Advertisement”; “Alan sent you a message” and “Your account is about to expire” => “Important”.
Practical Applications: Spam Detection, Tag Generation, Classification Prediction
p.s Since I haven’t figured out what to train image recognition for, I haven’t studied it; interested friends can check this article, the official GUI training tool for images is very convenient!!
Required Tools: MacOS Mojave⬆ + Xcode 10
Training Tool: BlankSpace007/TextClassiferPlayground (The official release only provides a GUI training tool for images; for text, you need to write your own. This is a third-party tool provided by an expert online)
Preparing Training Data:
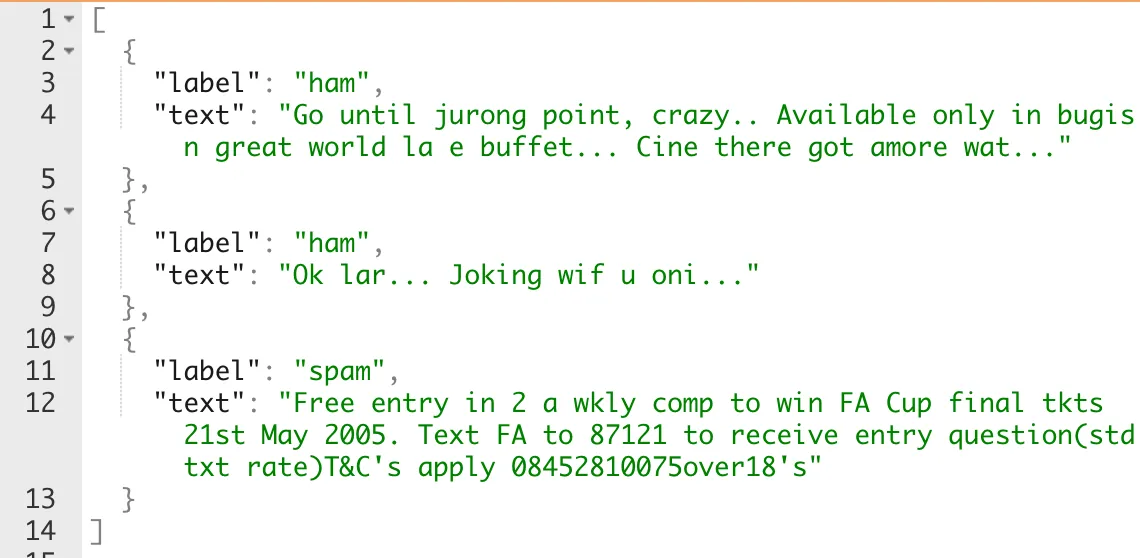
The data structure is as shown above, supporting .json and .csv files.
Prepare the data for training. Here, export the training data using Phpmyadmin (Mysql).
SELECT `title` AS `text`, `type` AS `label` FROM `posts` WHERE `status` = '1'
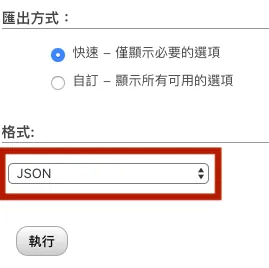
Change export format to JSON
[
  {"type":"header","version":"4.7.5","comment":"Export to JSON plugin for PHPMyAdmin"},
  {"type":"database","name":"db"},
  {"type":"table","name":"posts","database":"db","data":
    //Remove above
    [
      {
         "label":"",
         "text":""
      }
    ]
    //Remove below
  }
]
Open the downloaded JSON file and keep only the content inside the DATA structure.
Using the Training Tool:
After downloading the training tool, click TextClassifer.playground to open the Playground
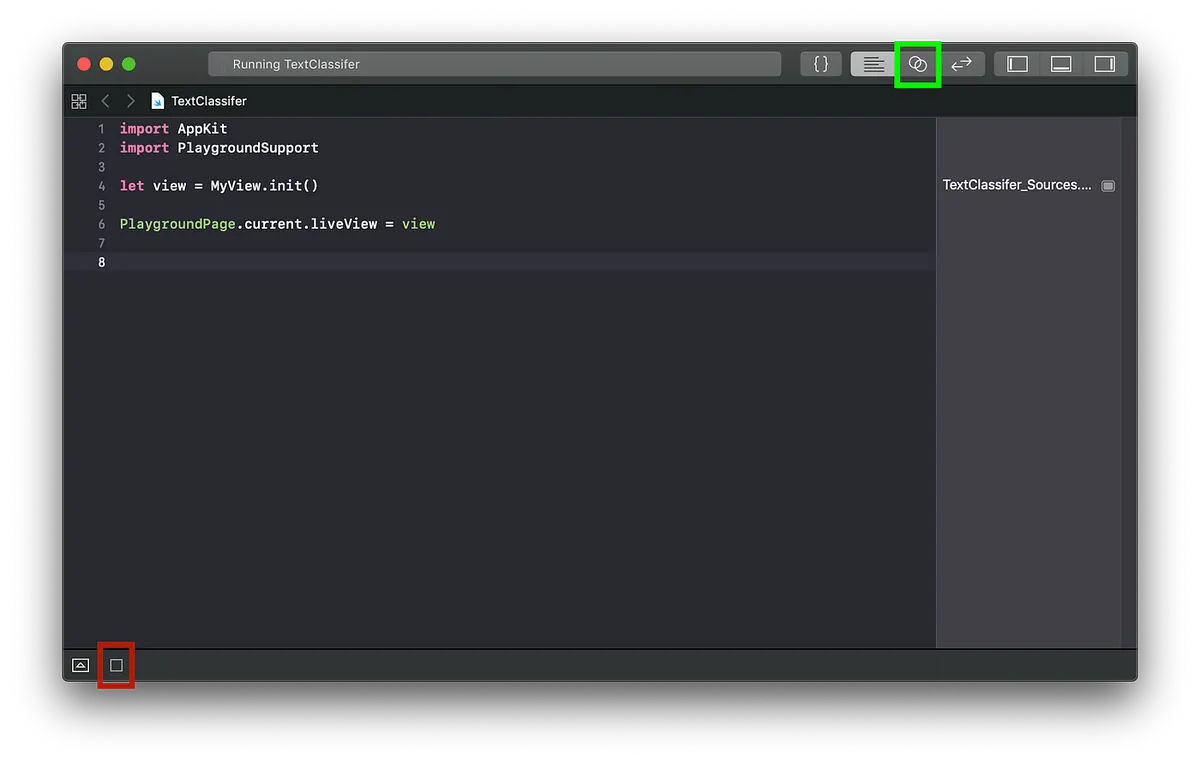
Click the red box to execute -> Click the green box to switch View display

Import the JSON file into the GUI tool
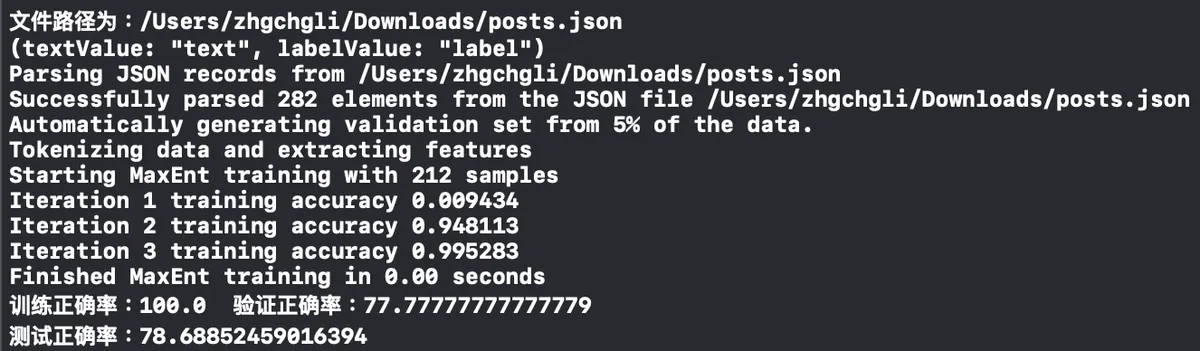
Open the Console below to check the training progress. Seeing the line “Test Accuracy” means the model training is complete.
When there’s too much data, it’s time to test your computer’s processing power.
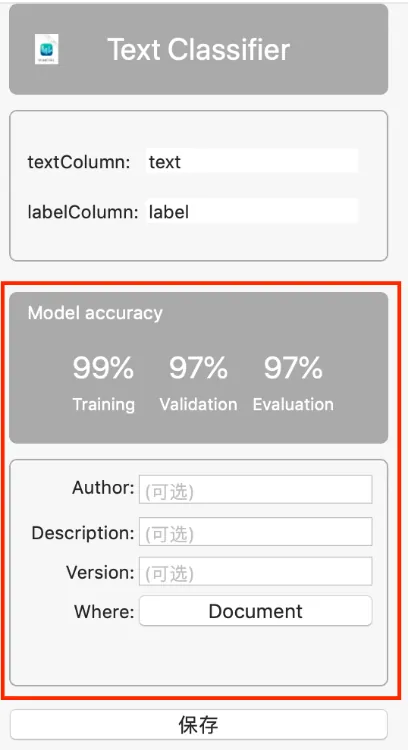
After filling in the basic information, press “Save”
Save the trained model file
![]()
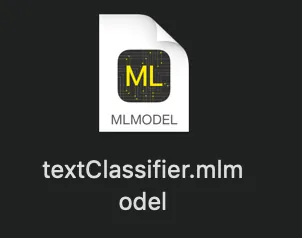
CoreML Model File
Your model is now trained! Isn’t it easy?
Specific Training Method:
-
First, perform word segmentation on the input sentence (e.g., “我想知道婚禮需要準備什麼” => “我想”, “知道”, “婚禮”, “需要”, “準備”, “什麼”), then determine its category and carry out a series of machine learning computations.
-
Group the training data, for example: 80% is used for training and the other 20% is used for testing and validation
Up to this point, most of the work is done. Next, just add the model file to the iOS project and write a few lines of code.
{: loading=”lazy” decoding=”async” width=”1200” height=”712” lqip=”data:image/svg+xml;base64,PHN2ZyB4bWxucz0iaHR0cDovL3d3dy53My5vcmcvMjAwMC9zdmciIHdpZHRoPSIxMjAwIiBoZWlnaHQ9IjcxMiI+PHJlY3Qgd2lkdGg9IjEwMCUiIGhlaWdodD0iMTAwJSIgZmlsbD0iI2VkZTJjZiIvPjwvc3ZnPg==” data-orig=”/assets/793bf2cdda0f/1*4Uc1elBmhEnQ-J8z_RIQHQ.png” }
Drag and drop the model file (*.mlmodel) into the project
Code Section:
import CoreML

//
if #available(iOS 12.0, *),let prediction = try? textClassifier().prediction(text: "Text content to predict") {
    let type = prediction.label
    print("I think it is...\(type)")
}
Done!
Questions to Explore:
-
Can it support further training?
-
Can the mlmodel file be converted to other platforms?
-
Can you train models on iOS?
Regarding the above three points, the information found so far indicates none of them work.
Conclusion:
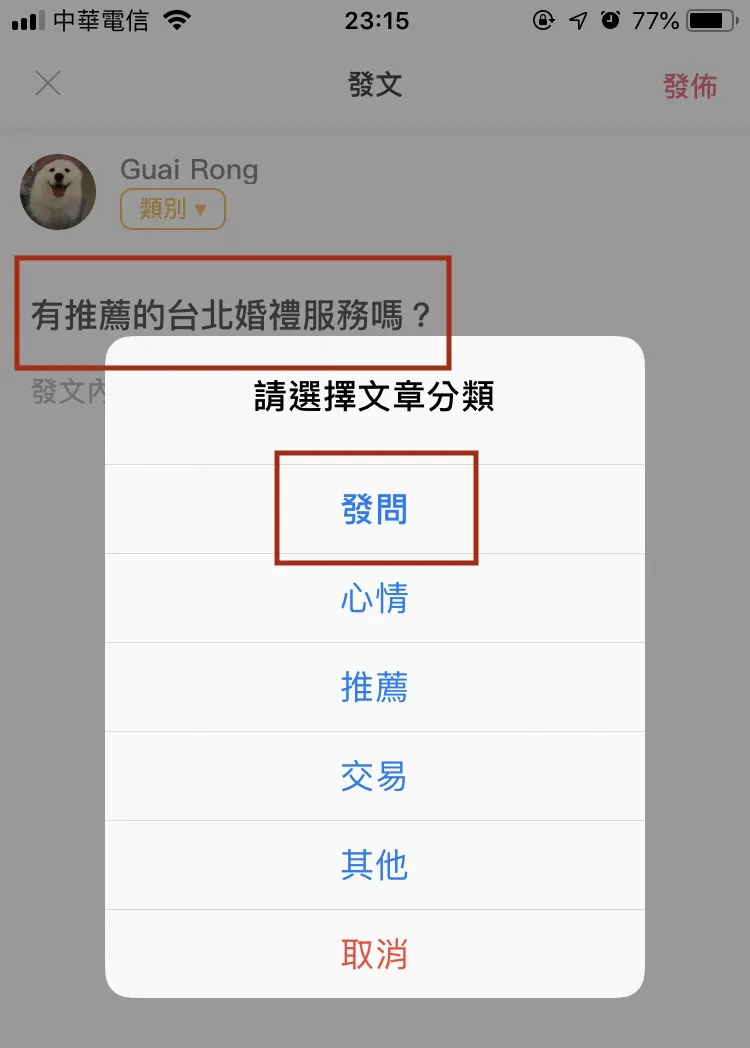
Currently, I apply it in a practical app to predict the category when posting an article.
I used about 100 training samples, and the current prediction accuracy is around 35%. This is mainly for experimental purposes.
— — — — —
It’s that simple to complete your first machine learning project in life; there is still a long way to go to understand how the background works. I hope this project can inspire everyone!
Reference: WWDC2018 Create ML (Part 2)

Comments