iOS 12 以上:Swift 實作APP通知設定頁捷徑|提升使用者通知體驗
針對iOS 12以上用戶,透過Swift新增APP通知設定捷徑,讓使用者可直接在APP內調整通知偏好,避免系統直接關閉通知導致錯過重要訊息,提升推播精準度與使用者滿意度。
基於 SEO 考量,本文標題與描述經 AI 調整,原始版本請參考內文。
文章目錄
iOS ≥ 12 在使用者的「設定」中增加「APP通知設定頁」捷徑 (Swift)
除了從系統關閉通知,讓使用者還有其他選擇
緊接著前三篇文章:
- iOS ≥ 10 Notification Service Extension 應用 (Swift)
- 什麼?iOS 12 不需使用者授權就能傳送推播通知(Swift)
- 從 iOS 9 到 iOS 12 推播通知權限狀態處理(Swift)
我們繼續針對推播進行改進,不管是原有的技術或是新開放的功能,都來嘗試嘗試!
這次是啥?
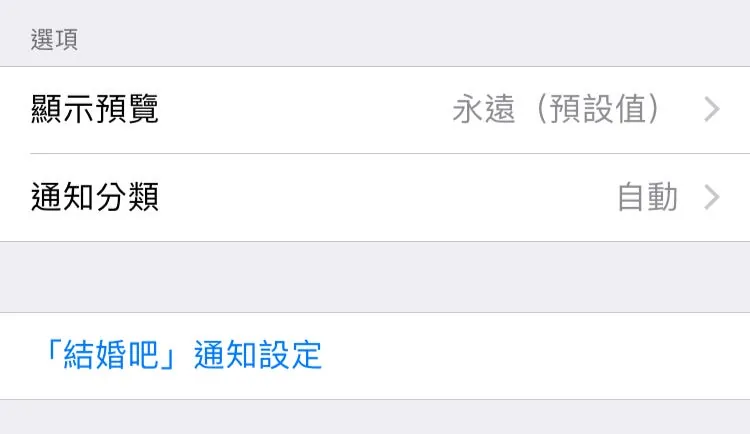
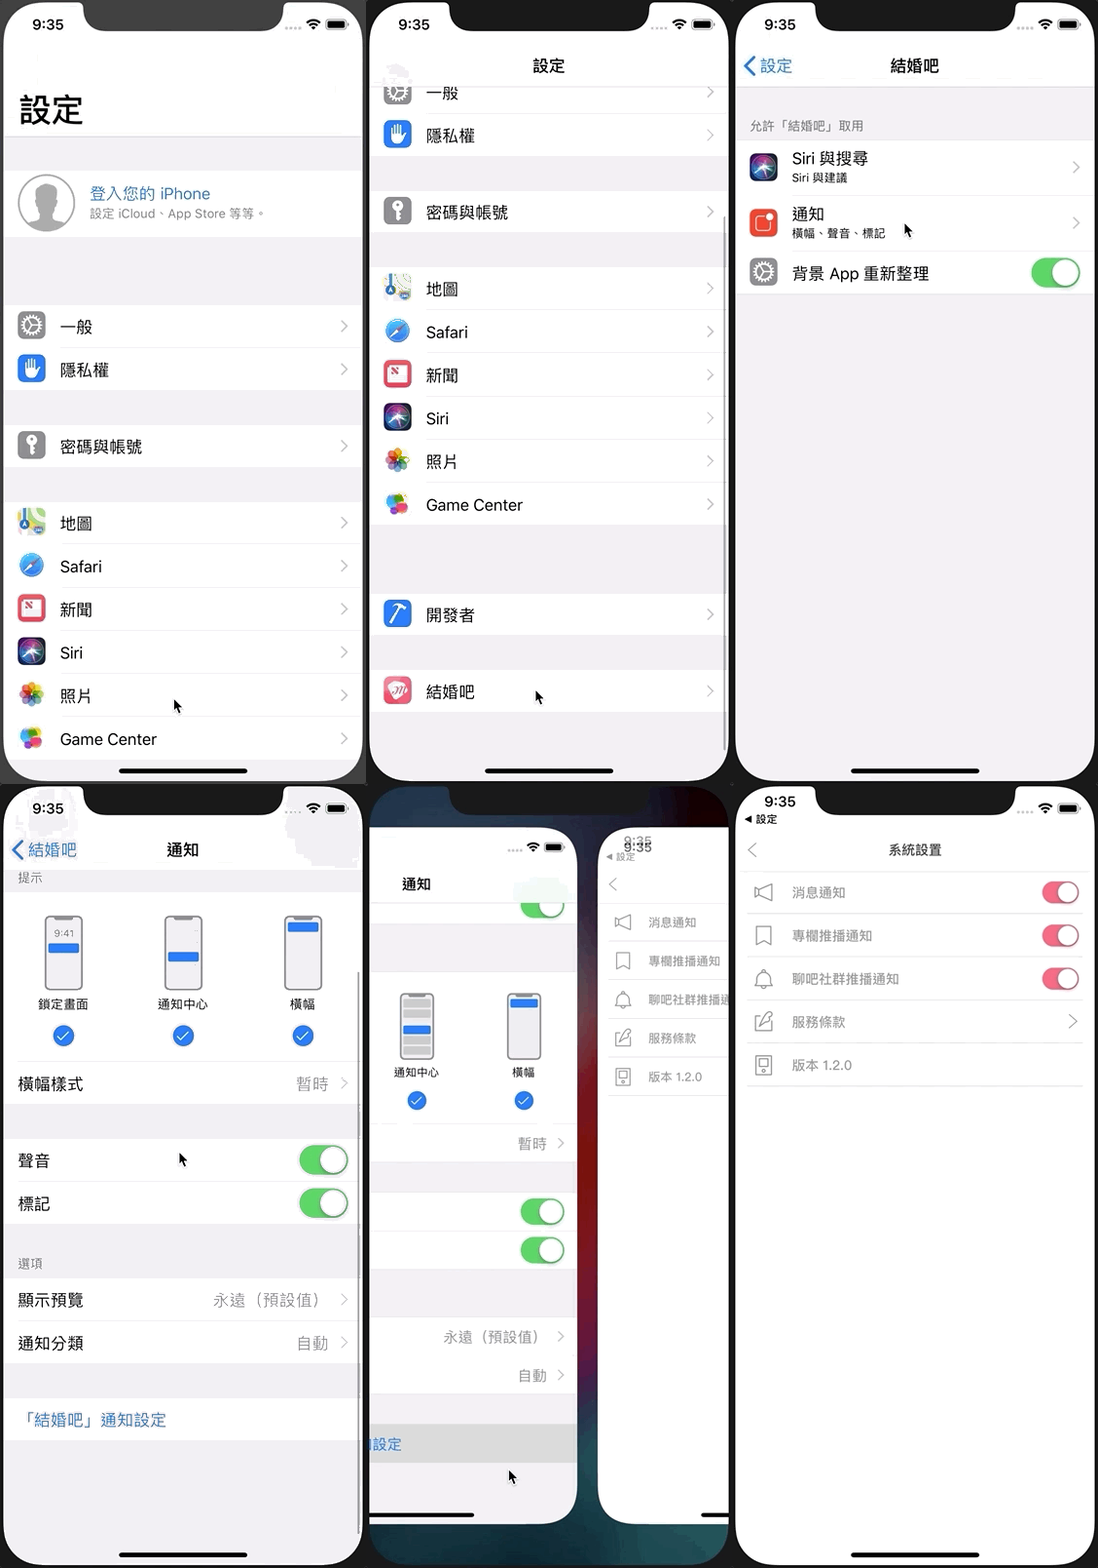
iOS ≥ 12 可以在使用者的「設定」中增加您的APP通知設定頁面捷徑,讓使用者想要調整通知時,能有其他選擇;可以跳轉到「APP內」而不是從「系統面」直接關閉,ㄧ樣不囉唆先上圖:
「設定」->「APP」->「通知」->「在APP中設定」
另外在使用者收到通知時,若欲使用3D Touch調整設定「關閉」通知,會多一個「在APP中設定」的選項供使用者選擇
「通知」->「3D Touch」->「…」->「關閉…」->「在APP中設定」
怎麼實作?
這部分的實作非常簡單,第一步僅需在要求推播權限時多要求一個 .providesAppNotificationSettings 權限即可
1
2
3
4
5
6
7
8
//appDelegate.swift didFinishLaunchingWithOptions or....
if #available(iOS 12.0, *) {
    let center = UNUserNotificationCenter.current()
    let permissiones:UNAuthorizationOptions = [.badge, .alert, .sound, .provisional,.providesAppNotificationSettings]
    center.requestAuthorization(options: permissiones) { (granted, error) in

    }
}
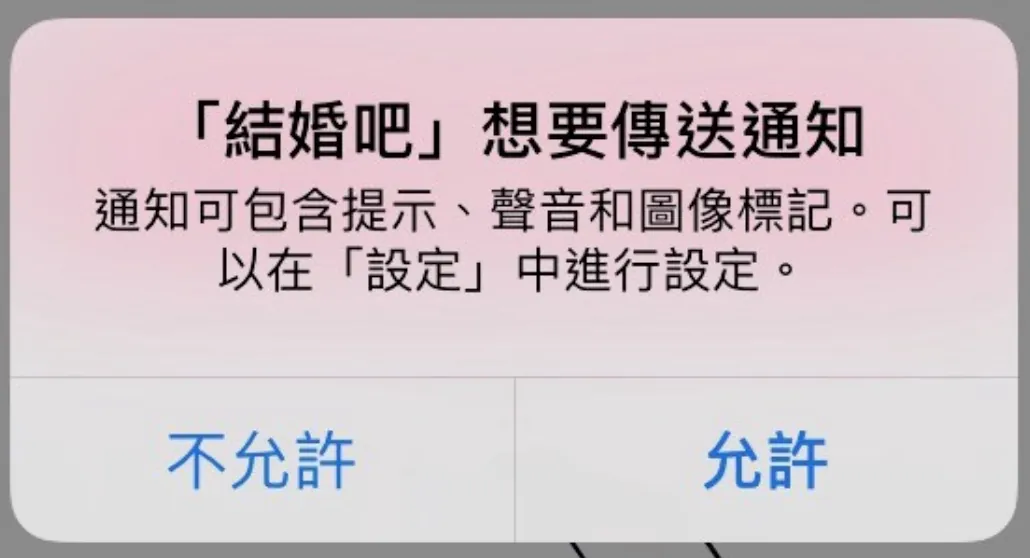
在詢問過使用者要不要允許通知之後,通知若為開啟狀態下方就會出現選項囉( 不論前面使用者按允許或不允許 )。
第二步:
第二步,也是最後一步;我們要讓 appDelegate 遵守 UNUserNotificationCenterDelegate 代理並實作 userNotificationCenter( _ center: UNUserNotificationCenter, openSettingsFor notification: UNNotification?) 方法即可!
1
2
3
4
5
6
7
8
9
10
11
12
13
14
15
16
17
18
19
20
21
22
23
//appDelegate.swift
import UserNotifications
@UIApplicationMain
class AppDelegate: UIResponder, UIApplicationDelegate {
    var window: UIWindow?
    func application(_ application: UIApplication, didFinishLaunchingWithOptions launchOptions: [UIApplicationLaunchOptionsKey: Any]?) -> Bool {
        if #available(iOS 10.0, *) {
            UNUserNotificationCenter.current().delegate = self
        }

        return true
    }
    //其他部份省略...
}
extension AppDelegate: UNUserNotificationCenterDelegate {
    @available(iOS 10.0, *)
    func userNotificationCenter(_ center: UNUserNotificationCenter, openSettingsFor notification: UNNotification?) {
        //跳轉到你的設定頁面位置..
        //EX:
        //let VC = SettingViewController();
        //self.window?.rootViewController.present(alertController, animated: true)
    }
}
- 在Appdelegate的didFinishLaunchingWithOptions中實現代理
- Appdelegate遵守代理並實作方法
完成!相較於前幾篇文章,這個功能實作相較起來非常簡單 🏆
總結
這個功能跟 前一篇 提到的先不用使用者授權就發干擾性較低的靜音推播給使用者試試水溫有點類似!
都是在開發者與使用者之前架起新的橋樑,以往APP太吵,我們會直接進到設定頁無情地關閉所有通知,但這樣對開發者來說,以後不管好的壞的有用的…任何通知都無法再發給使用者,使用者可能也因此錯過重要消息或限定優惠.
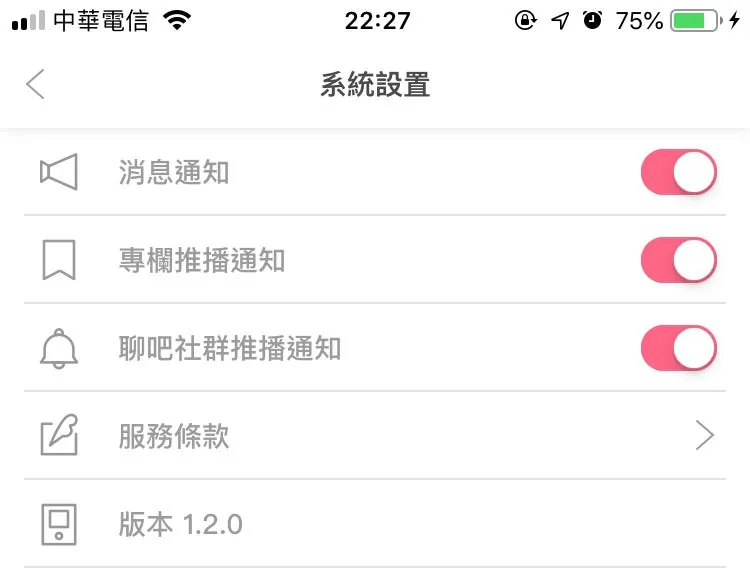
這個功能讓使用者欲關閉通知時能有進到APP調整通知的選擇,開發者可以針對推播項目細分,讓使用者決定自己想要收到什麼類型的推播。
以 結婚吧APP 來說,使用者若覺得專欄通知太干擾,可個別關閉;但依然能收到重要系統消息通知.
p.s 個別關閉通知功能是我們APP本來就有的功能,但透過結合iOS ≥12的新通知特性能有更好的效果及使用者體驗的提升
有任何問題及指教歡迎 與我聯絡 。
本文首次發表於 Medium (點此查看原始版本),由 ZMediumToMarkdown 提供自動轉換與同步技術。


